Once upon a time in a land far, far away (Stillwater) I saw a beautiful painted dresser in a shop. The color was a gorgeous, deep, dark blue-green. I ask the proprietress of the shop if she knew what paint was used on the dresser and she said it was milk paint from The Real Milk Paint Co. Sadly though, the evil queen had cast a spell upon her and she couldn’t remember exactly which color it was.
OK, I made up the part about the evil queen, but the rest is true. The shop owner thought it was either Dragonfly or Peacock, but she just wasn’t sure.
So I embarked upon a quest to find that magical color and paint something with it myself.
I started with Dragonfly …

But it was clearly way too blue.
Next I tried Peacock …

It was much closer, definitely the same level of darkness, but it was a bit too green.
Trying to recreate a color exactly like one on a piece that you’ve seen, in person or even worse, online, can be rather difficult. Especially so with milk paint which is far more translucent than other kinds of paint. Sometimes the original color of the wood that you are painting over will make a difference in the look of the final color. I’ve also found that there can be pretty wide variations from package to package of the same color of milk paint (well, that can be true of other paints too). In addition, the topcoat you use can also really affect the color. In the case of that Peacock dresser, I think the hemp oil topcoat combined with the orange-ish color of the wood really brought out the green.
Still hoping that I would be able to find that magical color, I tried The Real Milk Paint Co’s Blue Spruce next. But as it turns out, this was no fairy tale. The third color I tried was not ‘just right’. Instead it was even more green than the Peacock.
After giving it some more thought, I realized that the original dresser I saw in that shop was probably painted in Peacock. Maybe it just didn’t have a hemp oil topcoat? I had enough Peacock left to give it another go, so I pulled out this dresser that I purchased at the Linden Hills sales.
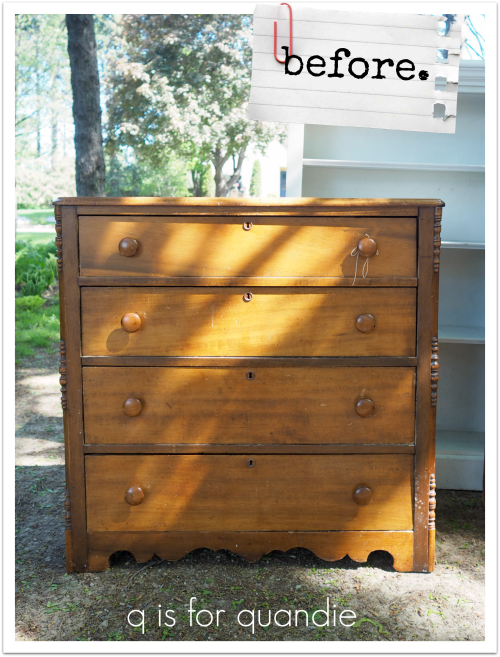
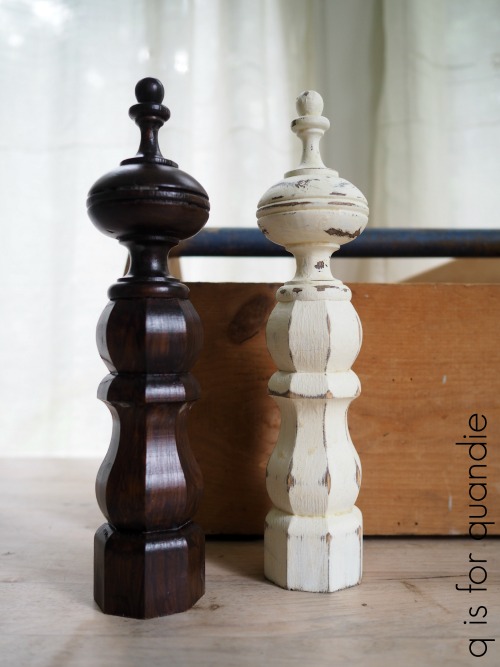
Before painting it I stripped the top using Citristrip. While the Citristrip was working its magic, I started prep on the drawers. I grabbed my screwdriver so I could remove those wooden knobs for painting. Imagine my surprise when I couldn’t find screws on the back.
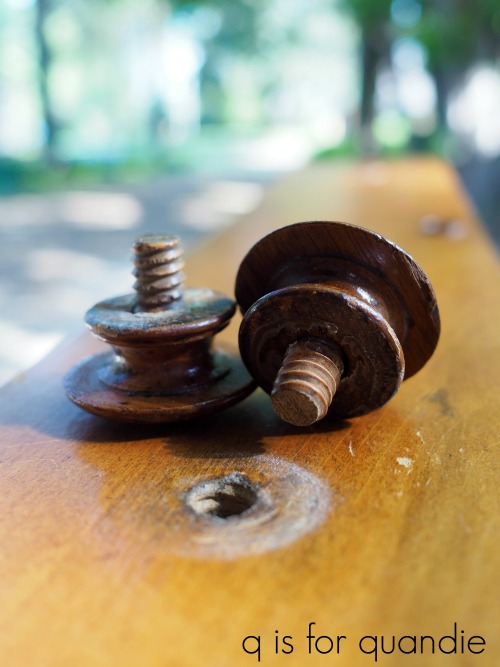
Turned out that the knobs themselves just screwed into the drawer. Pretty cool, right?
After the top was stripped and I’d prepped the rest of the piece by sanding it lightly and cleaning it with TSP Substitute, I mixed my paint. That’s when I had what turned out to be kind of a dumb idea. I decided to mix a little blue milk paint into the Peacock to ensure it would be a little less green than last time. So I pulled out some of Homestead House’s Homestead Blue. I didn’t add much, maybe a heaping tablespoon of Homestead Blue to a quarter cup of Peacock.
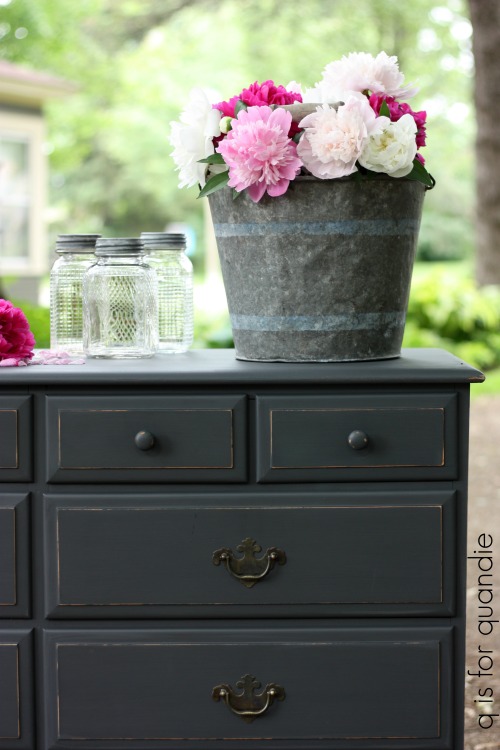
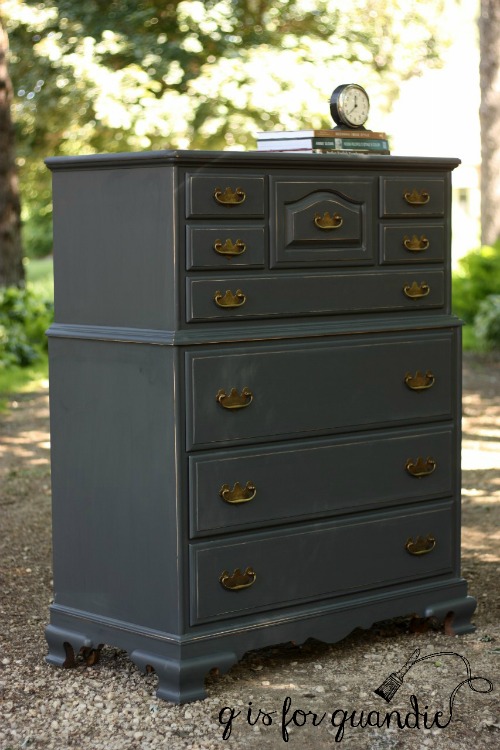
And after two coats of paint and a top coat of Miss Mustard Seed’s clear wax, here’s the color I got.
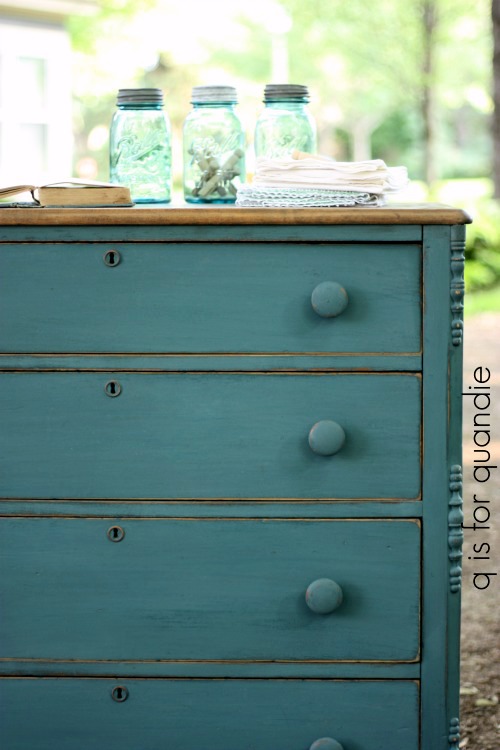
Hmmmmm. In case you are in doubt, this is nowhere near the color I wanted or expected. How did it end up so light, and so very blue? What happened to the green?
For a minute I even thought maybe I confused the Dragonfly for the Peacock while I was mixing, but no, I checked. This was definitely the Peacock.
Go figure.
Did that heaping tablespoon of Homestead Blue really make that much of difference to the Peacock? Or was it the clear wax topcoat? Honestly, I’m baffled. This color not at all what I envisioned for this dresser, so I’m having trouble being happy with how it turned out.
But I’ve realized that even though this isn’t what I expected, it is a pretty color.
The moral to our fairy tale story is that you don’t always get what you wish for when mixing your own shade of milk paint, so you have to be flexible and willing to just go with the flow.
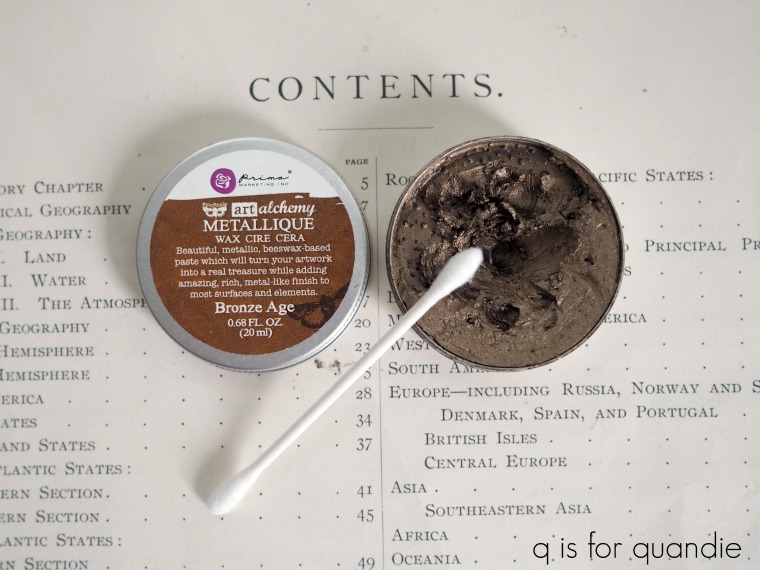
The top of the dresser turned out beautifully. As I said, I stripped it. Then I sanded it a bit and finished it with Miss Mustard Seed’s Antiquing Wax. I love that it has some dings from many years of use, but looks clean and fresh with the wax.

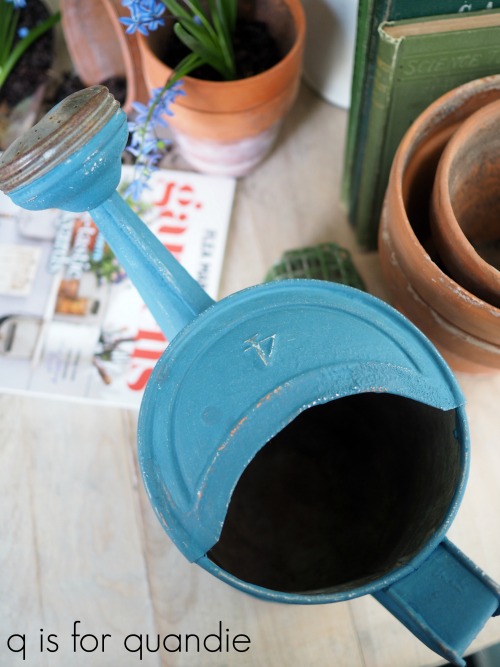
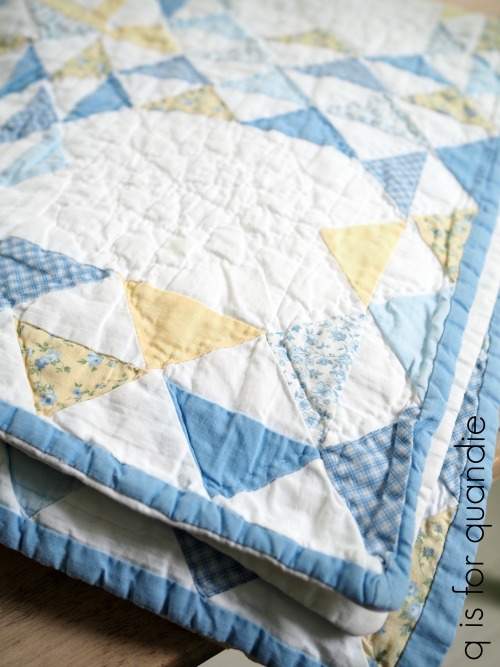
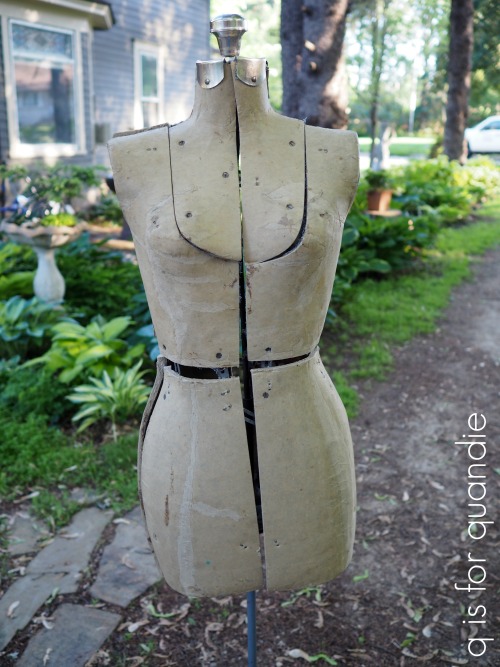
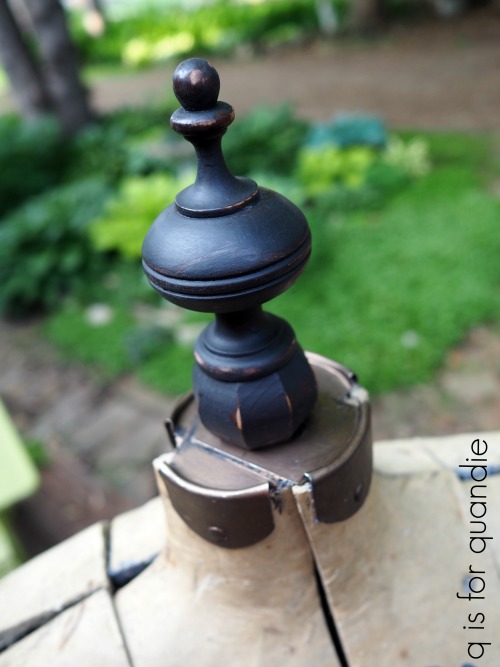
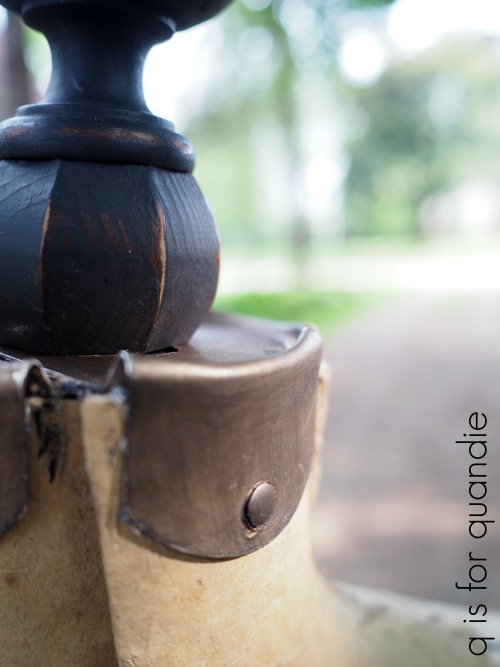
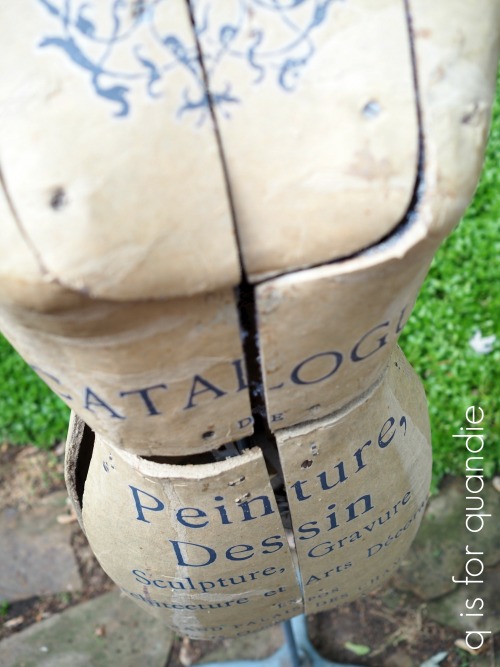
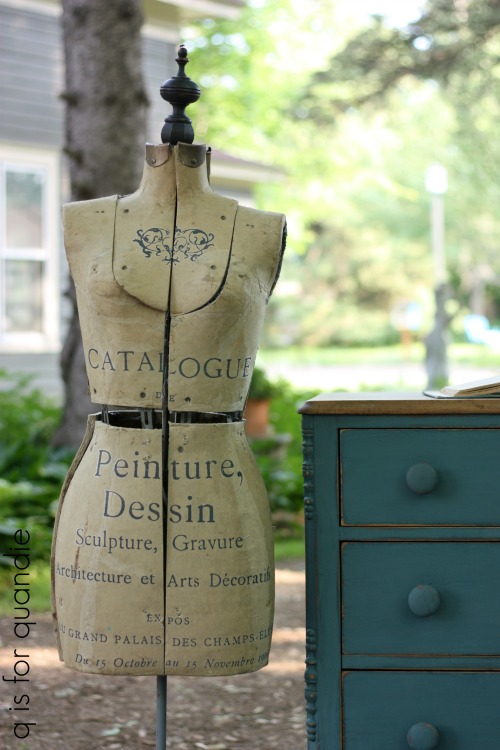
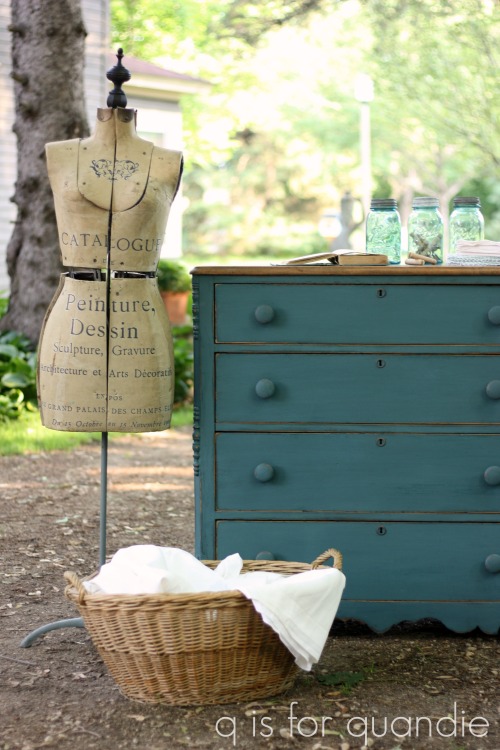
I staged this piece for a laundry room complete with my new dress form, Collette, and some pretty vintage linens.
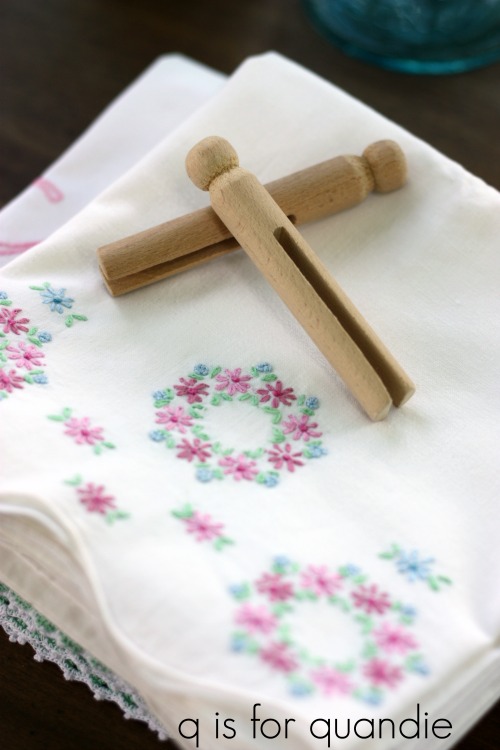
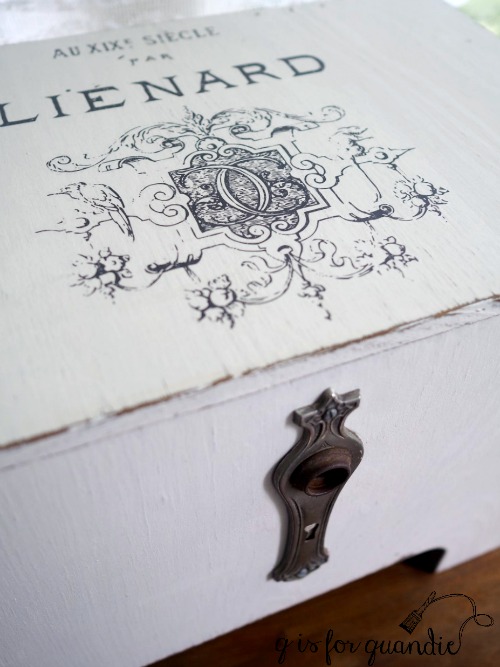
I’m going to be bringing some of these linens to Reclaiming Beautiful to see if they will sell. I’ve always sold pretty vintage pillowcases, napkins, tablecloths and sheets at my own occasional sale so I’ll see if they sell well in a shop or not.
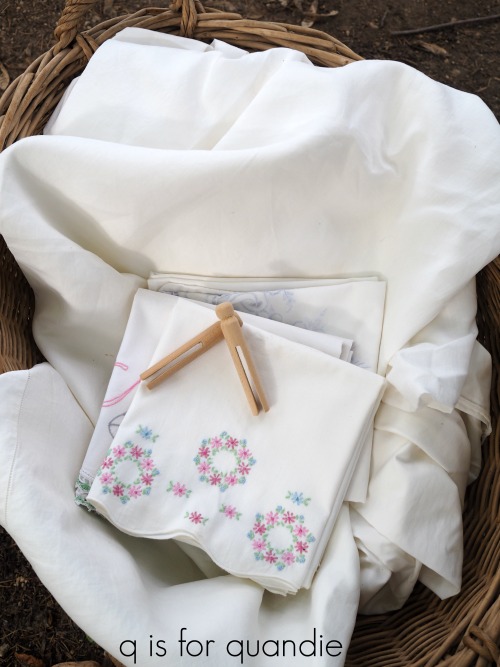
These are all in incredibly good condition, which tends to mean that the owner received them as a gift and never used them. I hate to see them wasting away in a linen closet, so I hope someone buys them and uses them.

I hope you enjoyed today’s painting fairy tale. I’ve got another for you on Friday!

And in the meantime, if any of you locals need a pretty blue antique dresser be sure to check out my ‘available for local sale’ page!