I told you guys all about my July dry spell, only one piece of furniture sold in the entire month. As a result of the dry spell, I spent some time re-evaluating my business plan (that’s a fancy way of saying that I obsessed about this while I was in the shower every morning) and decided to look for a few more mid-century pieces because they seem to sell more quickly.
So I picked up a few mid-mod pieces in the first part of August and got to work.
And then while I was working on those, I sold eight pieces. All of them vintage farmhouse style rather than mid-century.
Naturally.
Well, of course that’s a good thing because those are the pieces that I love working on. So now I feel confident in doing more of them.
In fact, sales really took off in August. I went from having my worst month ever in July to having my best month ever in August. Such is the world of furniture sales I guess, it’s like a roller coaster.
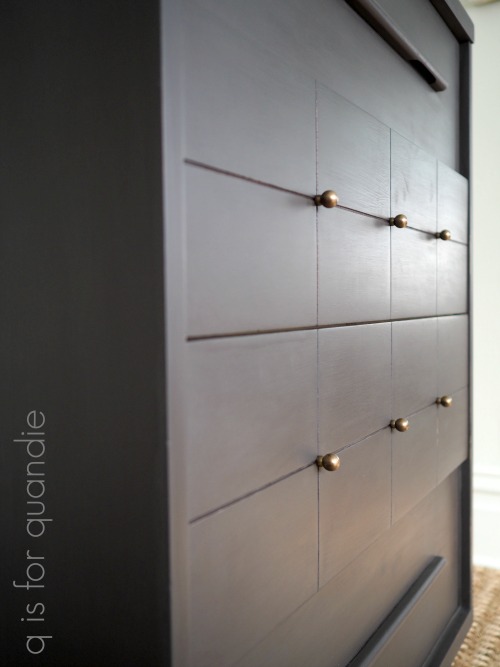
Meanwhile, I finished up one more mid-mod piece last week. It’s the third piece in a set of three. You’ll remember the first two that I painted in Fusion’s Ash. Unfortunately I totally neglected to get a ‘before’ photo of this last piece, but suffice to say it looked just like the other two …

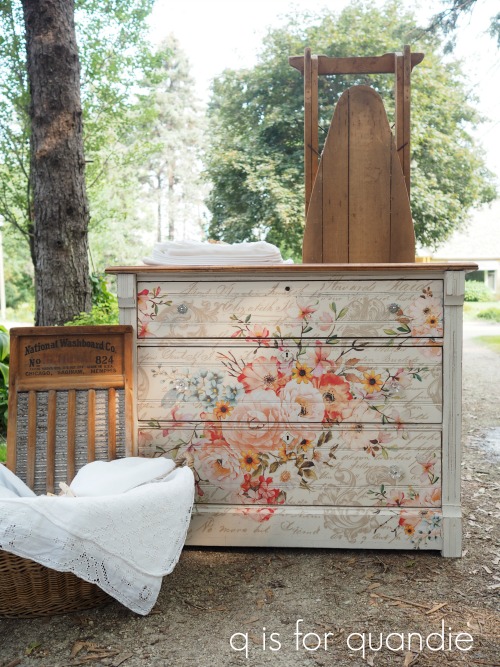
But this time, instead of the Ash, I went with my go-to color for mid-century low boys … Fusion’s Park Bench.

This shade of green just works beautifully with the mid-mod vibe.
I followed my usual m.o. of sanding lightly, cleaning with Krud Kutter kitchen degreaser, rinsing with clear water and then painting with two coats of Park Bench.
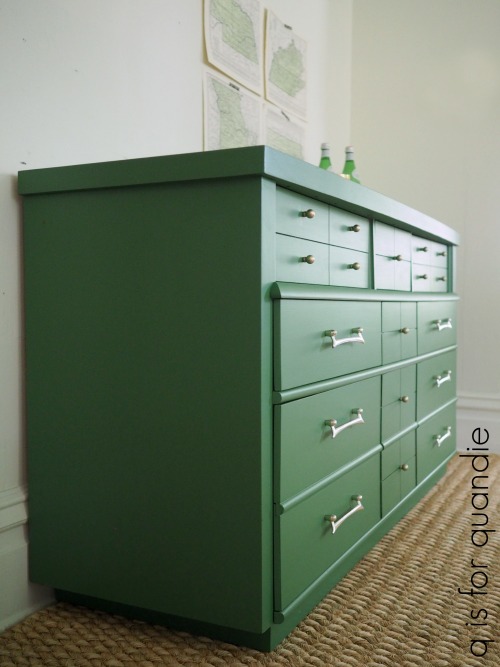
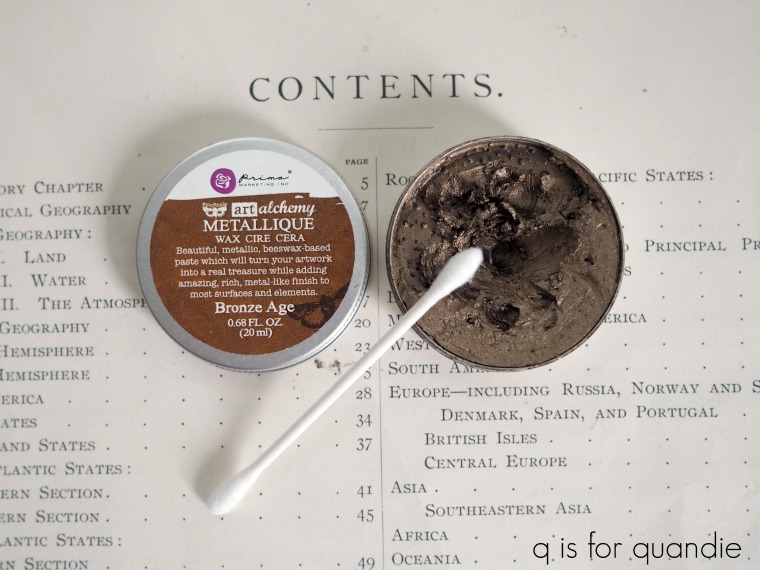
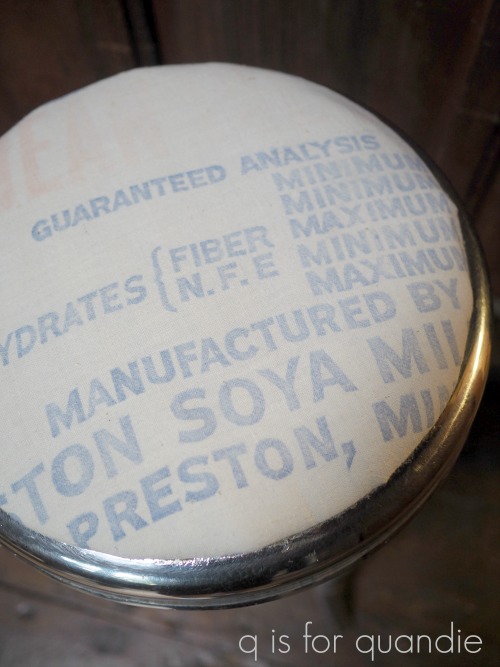
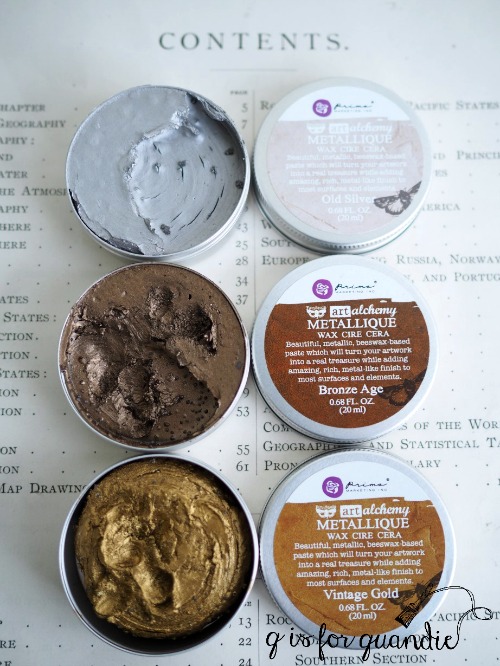
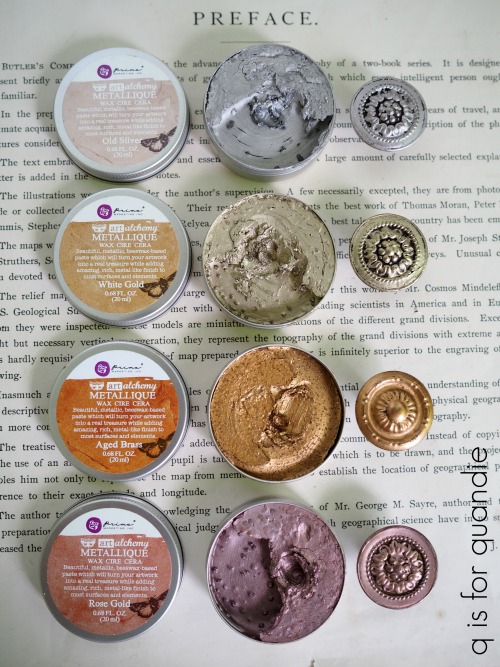
You may remember that I spruced up the hardware on the dark grey pieces using Prima Marketing’s Metallique wax in Bronze Age. But for this piece I wanted to retain the light gold on the drawer pulls, so I just washed those with soapy water and put them back on. But the little round knobs were a much darker brass color than the pulls. To get a better match, I again used the Metallique wax, but this time in a color called White Gold.
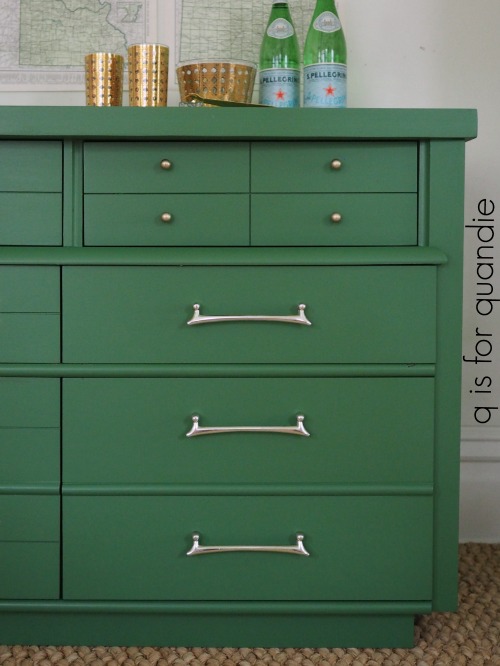
It ended up being the perfect match for the existing color on the pulls.
Just for fun, I staged the piece as a buffet.
These pieces are really very versatile. Of course you can just use them in a bedroom, but they also work beautifully as a sideboard in the dining room or to hold a wide screen TV in the living room.
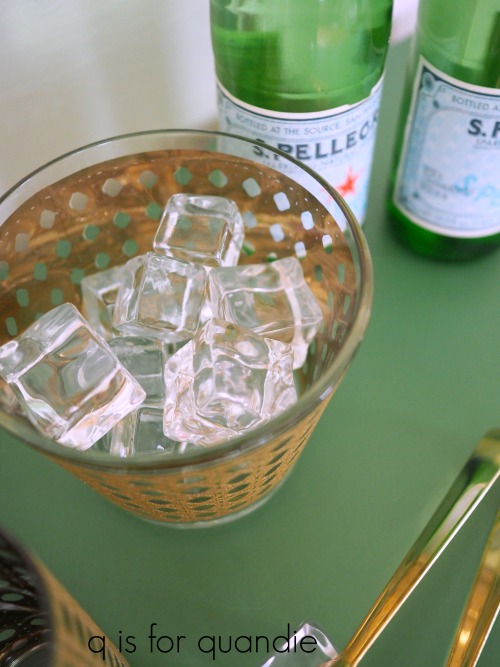
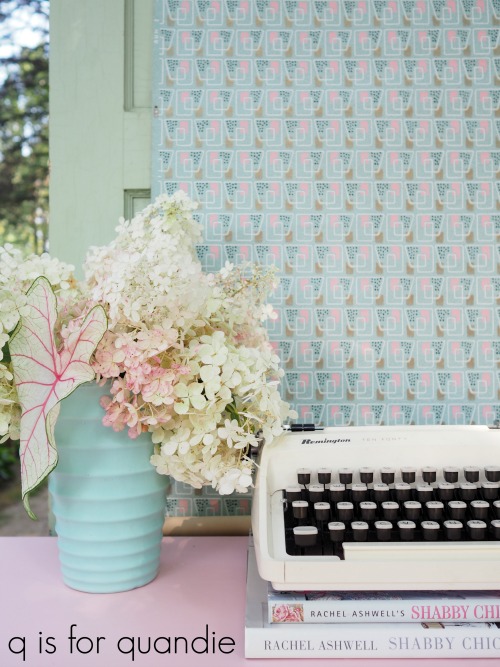
Remember my fake ice cube purchase at a garage sale? I still just love the fake ice and how much fun it is for photo shoots!
You may also remember that I purchased an old Atlas at a garage sale earlier this summer because I thought the predominantly green maps inside would be perfect for styling pieces painted in Park Bench.

Yep, perfect shade of green.

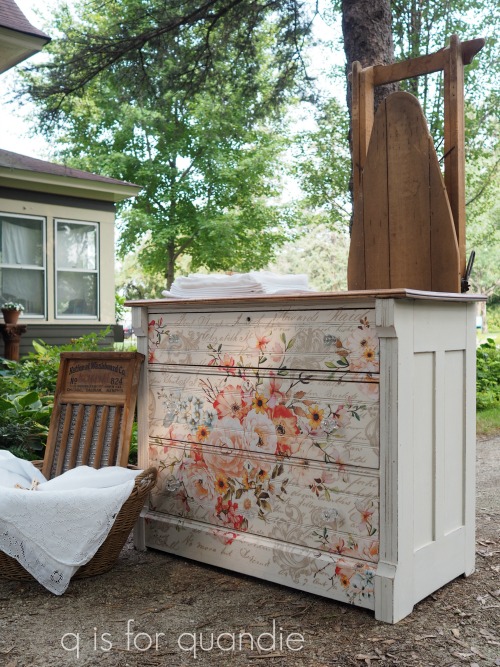
Have you noticed that there are a lot of furniture re-finishers out there who line their drawers with really pretty paper. I think that looks gorgeous, but I rarely do it. Mainly that’s because I find lining drawers to be an annoying little task. But also, the really pretty paper is kind of expensive.
I’ve checked Spoonflower.com and a 26″ x 72″ roll is typically about $15 plus shipping unless you spend at least $60, then shipping is free. I would need three rolls to line all of the drawers in this dresser … so yep, $45 plus shipping. Yikes! That adds up fast.
However, when my sister and were out at the Mac-Grove sales last Saturday we stopped for lunch at Billy’s on Grand and right next door was the Paper Source. The full price for most of their rolls of paper was $9.95 and the rolls contain two sheets of 27″ x 39″ paper, so just a tad more paper for a bit less money than the Spoonflower rolls, but still a bit pricey.
They also have loose sheets of 20″ x 30″ paper starting at $4.95 per sheet.
But the real bargain turned out to be the summer clearance rack where the loose sheets of paper were 50% off. That’s where I found the perfect paper to go with the Park Bench green.
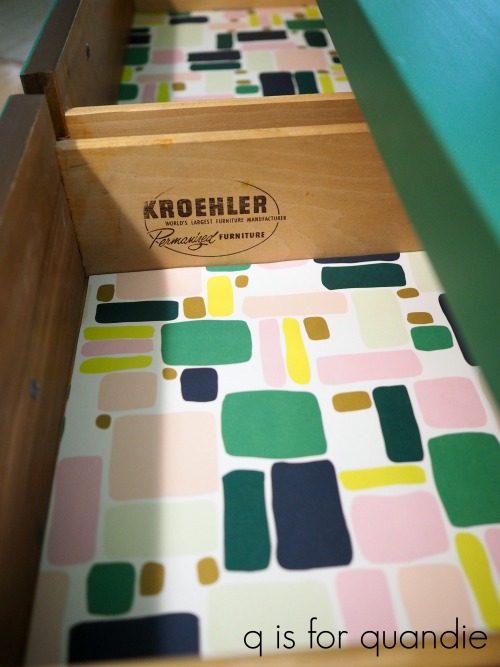
Unfortunately there weren’t enough sheets to do all of the drawers, so I just lined the top three. But I was able to do it for less than $5.
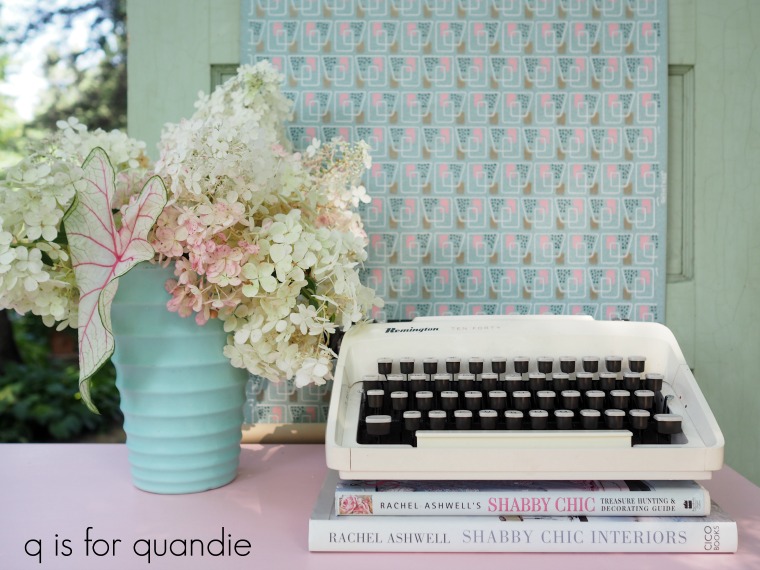
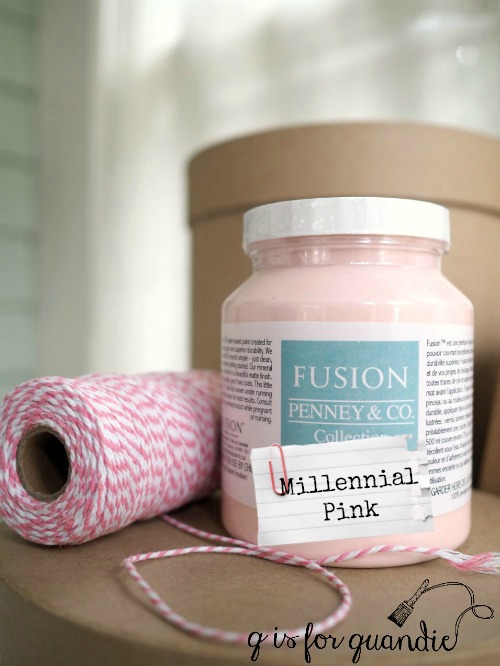
I wish they’d had more of this paper, it would work really well with the Millennial Pink mid-mod pieces I do too.
I’ll be listing this piece online today and I’m hoping it sells as quickly as my previous Park Bench pieces.

Fingers crossed!
And of course, if any of my local readers need a fabulous green dresser, be sure to check my ‘available for local sale‘ page for more details.


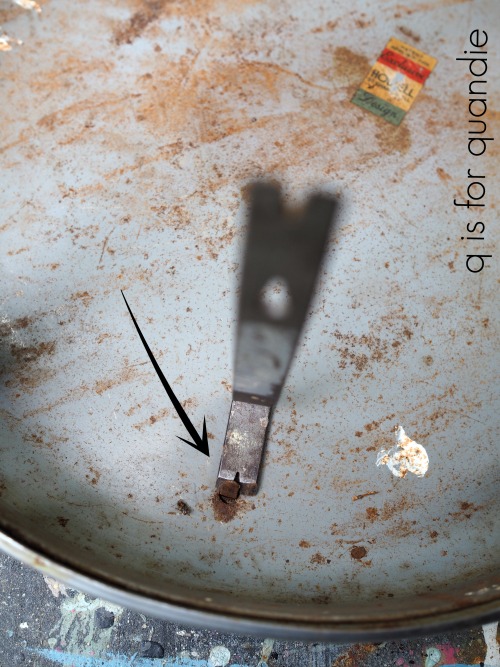


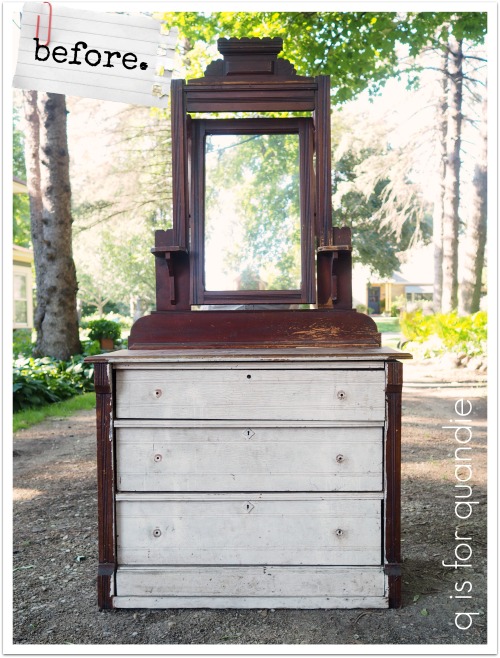


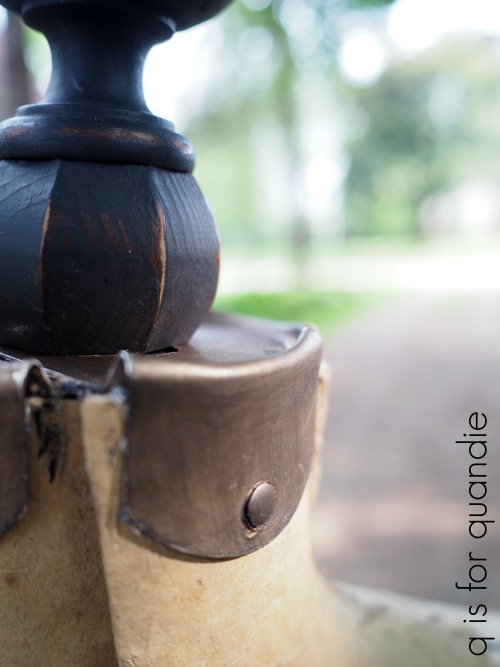


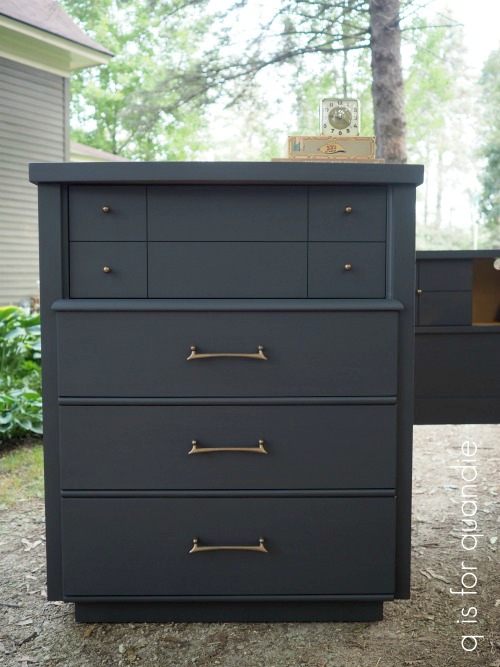 Have you noticed that the knobs and pulls on this piece look just a little bit different in the ‘after’ photos? Scroll back up and check them out again in the ‘before’ photo. See? They were a bright, shiny gold.