Happy Labor Day to those of you in the U.S. … or maybe other countries too, I don’t know. Do you celebrate Labor Day (or some similar holiday) where you are? This year it truly does feel like the long Labor Day weekend is signaling the end of summer. We’ve had cool, somewhat cloudy weather all weekend.
But that ended up being perfect weather for the Traders’ Market in Elko, MN.

I had heard about this event over the years but had never actually gone to it. My friend/picker Sue gave me a heads up that it was taking place this past weekend and it’s only about 30 minutes or so south of the Twin Cities, so my sister and I decided to check it out this past Saturday.
I would say that this event is a scaled down (more manageable?) version of Oronoco Gold Rush. We were able to see the entire thing in about 3 hours. There were your typical ‘antique’ dealers with piles of old stuff thrown on tables. Plus a handful of artisans with things made out of metal or wood.
But there also was a smattering of booths that really appealed to me.
I’m afraid I didn’t get names to go with the vendors who had most of the booths. I mentioned to my sister that it seemed odd that many booths seemed to be unmanned. I’m sure the vendors were around somewhere, but they weren’t hovering. I generally like to ask permission before taking photos, but I wasn’t able to for some of these.
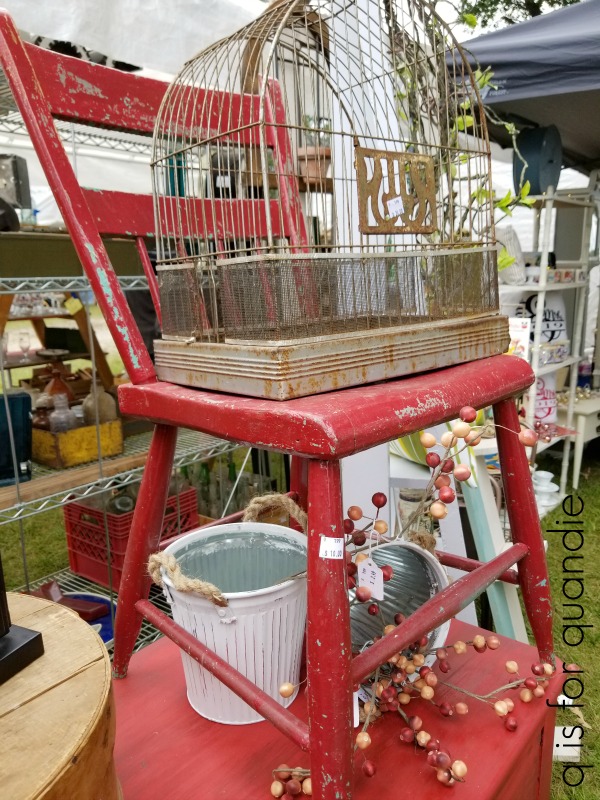
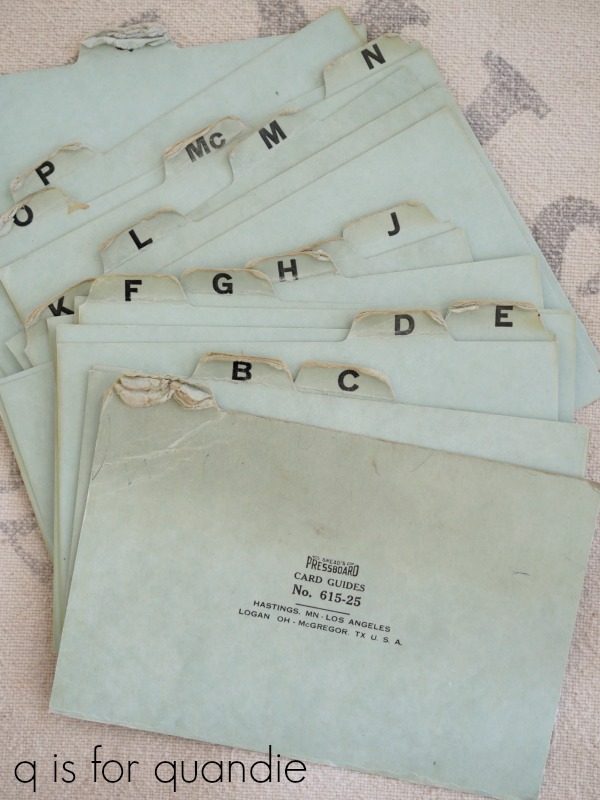
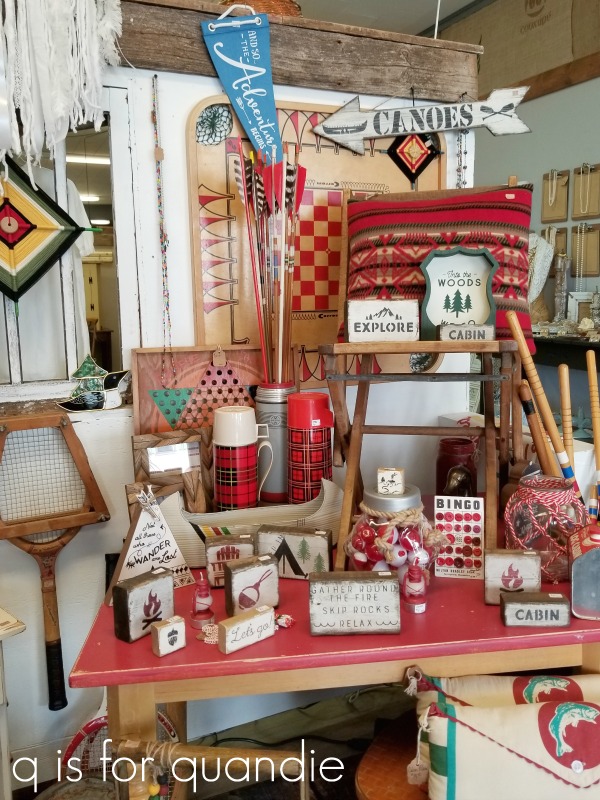
There were a couple of stand out displays, like this one …
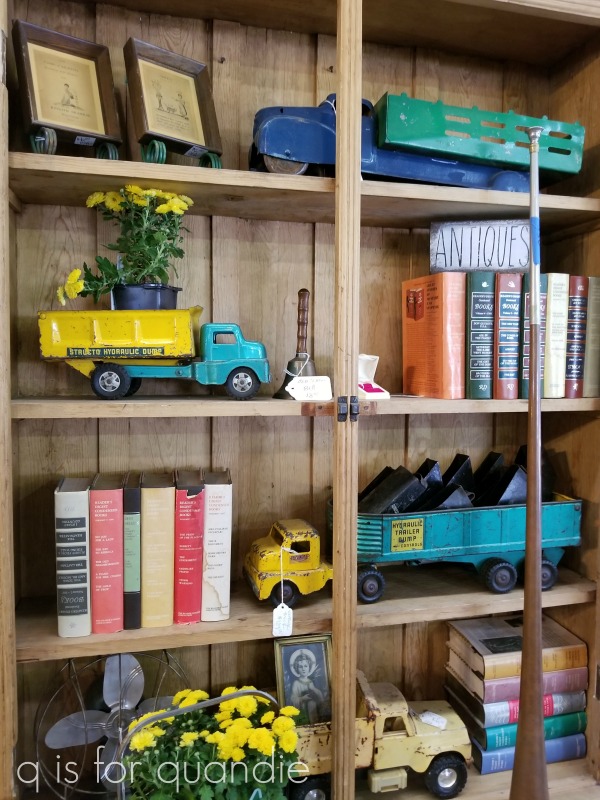
I love the way they used the colors of the book jackets to play off the colors on the toy trucks.
These next two photos are also from the same booth.

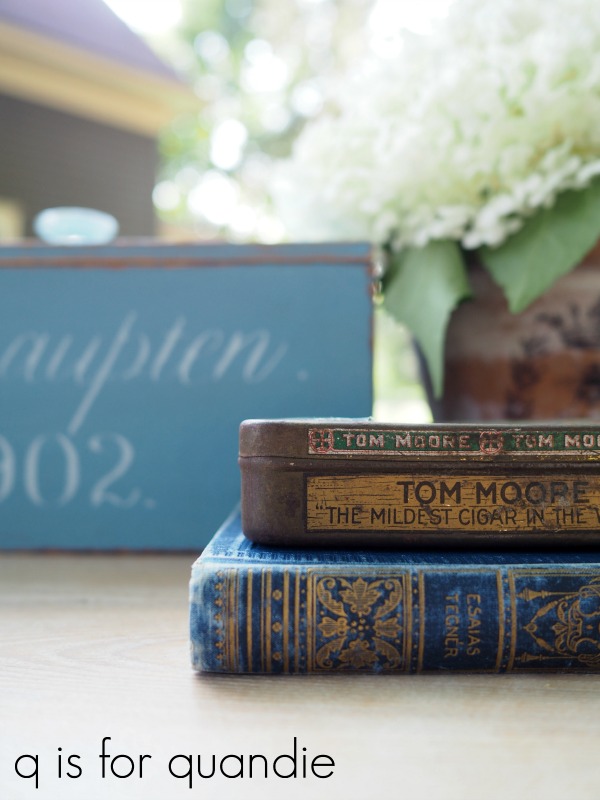
Gotta love the old books.

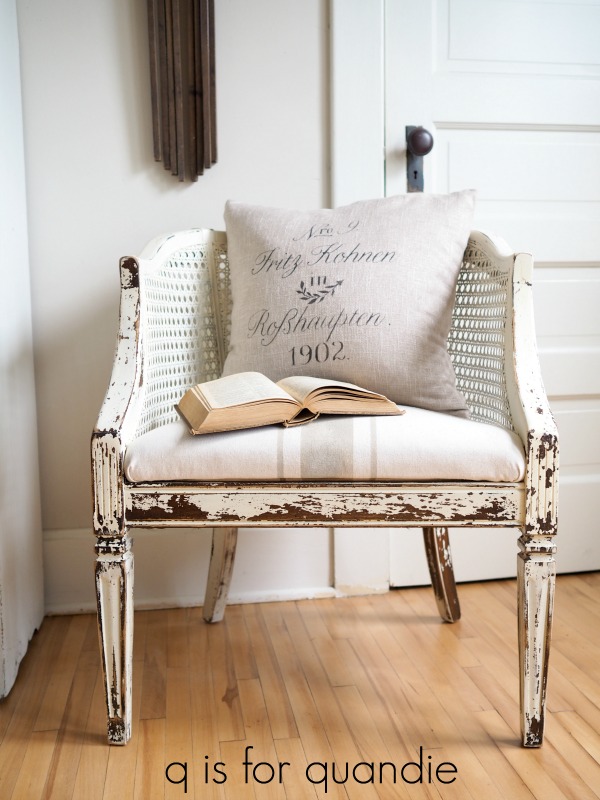
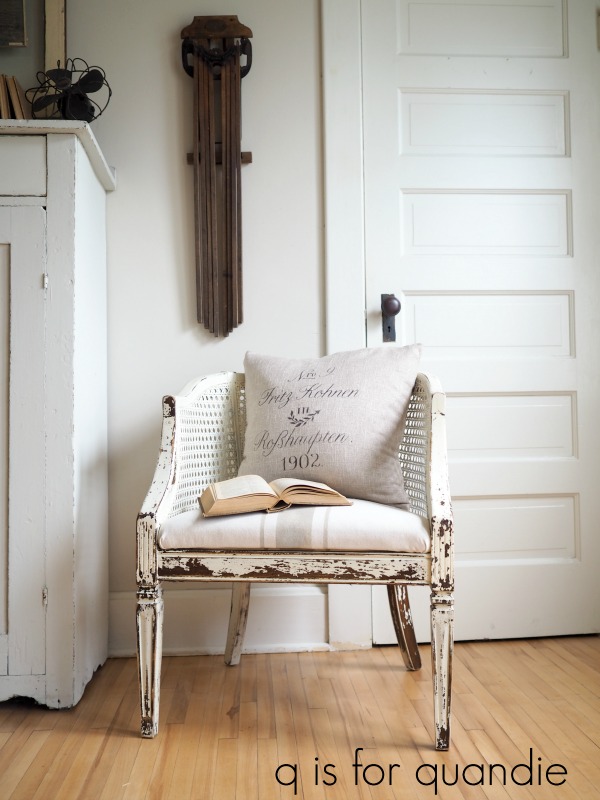
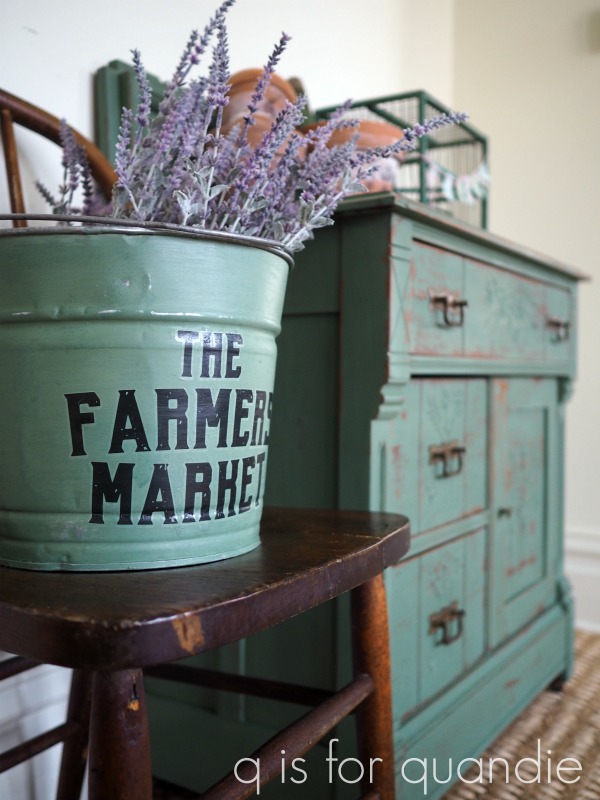
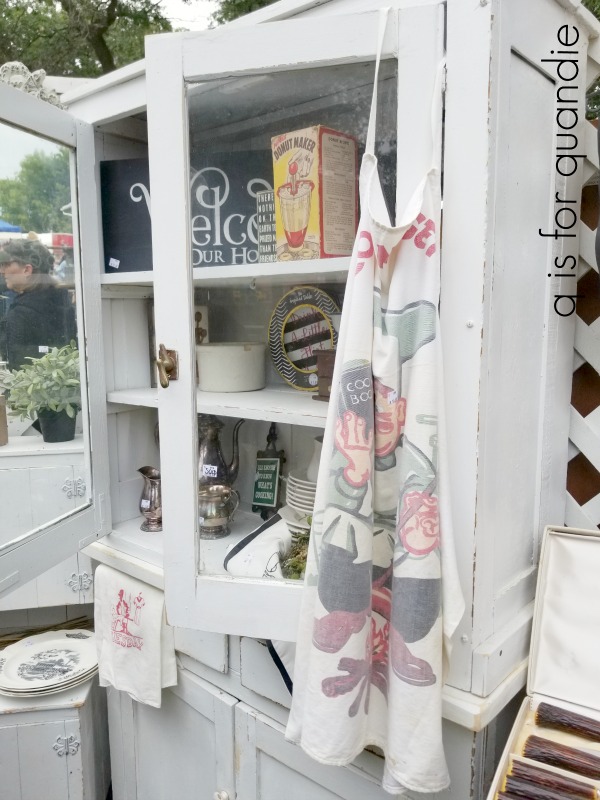
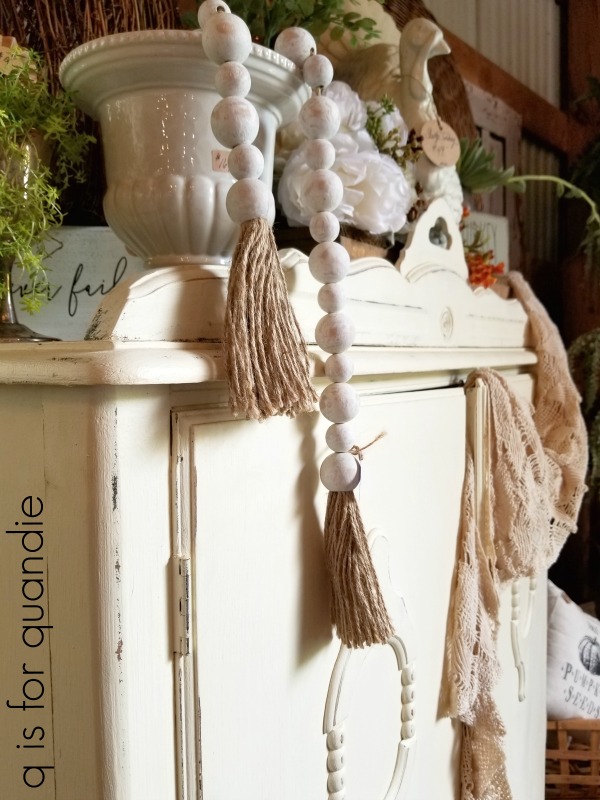
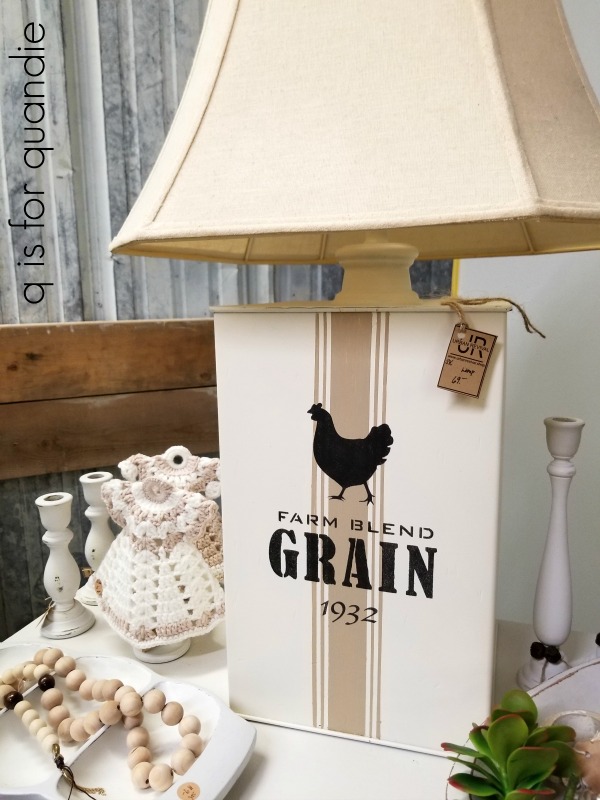
This next booth was my favorite of the day though …

Their display was gorgeous. I loved the creamy white color scheme.
I debated purchasing these grain sack pumpkins, but I rarely decorate much for Fall.
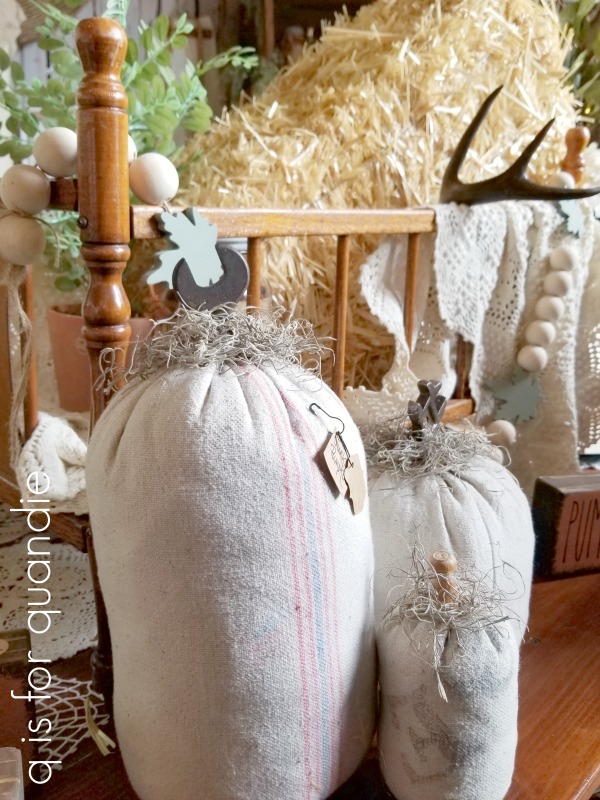
Check out the stems on those pumpkins. It’s hard to tell in my photo, but they are made out of old tools. How fun is that?
They had a lot of vintage tarnished silver mixed in with the creamy white too.

This wreath made out of old silver trays reminded me of a similar one that was at the 2011 Bachman’s Holiday Idea house. That was one of my favorite versions of the Idea House, if you’ve never heard of it or want to see more of it, check out Linda’s tour at Itsy Bits and Pieces here.

If you have a large dining room, this would be an incredible statement piece for the wall.
I did manage to pick up a card and chat with the vendors at this booth and it turned out they were from Urban Revival, a shop in Farmington, MN. Their shop had been recommended to me by several people in the past but I’d never made a trip out there, so since it was just a little bit out of our way Debbie and I decided to stop off there on the way home.
Farmington was a bit of a ghost town when we got there.

Maybe because it was a holiday weekend and everyone was out of town. And I suppose those that weren’t out of town were at the Traders’ Market at Elko!
The shop was adorable, I love the way they had everything displayed by color … much like their booth at Elko.

They had a few fun items made with some Funky Junk stencils.
By the way, they also carried both Dixie Belle paint and Miss Mustard Seed milk paint, so for any of you locals on the south side of the cities this is a great spot to pick up those products.
You might be wondering if I purchased anything on Saturday. I have to confess, being an avid garage saler has pretty much ruined me for these events/shops. I’m so used to finding things for a couple of dollars, so I cringe at real price tags. I mainly go to these places to get ideas and to see what other people are doing.
However, I did pick up an adorable set of ‘days of the week’ dish towels at the market.

I had initially looked at a vintage set that was $45, but that was a bit steep for me. Plus, I buy these towels to use them not to just display them somewhere. Ultimately they get worn and stained and … well … used. So I passed on the vintage set and later found this set for $35. The lovely older woman (gosh, I hope she’s not a blog reader of mine, she was clearly in her 70’s at least, but nobody likes to be called ‘older’) who was selling these made them herself. Kudos to her for her fine stitching skills!
Before we left the market, Debbie and I posed for a selfie with a new friend.

We had a great time exploring the Traders’ Market and Urban Revival. The Traders’ Market is held three times a year on the summer holiday weekends; Memorial Day, 4th of July and Labor Day. We’d definitely go back again next year!