losing my mojo.

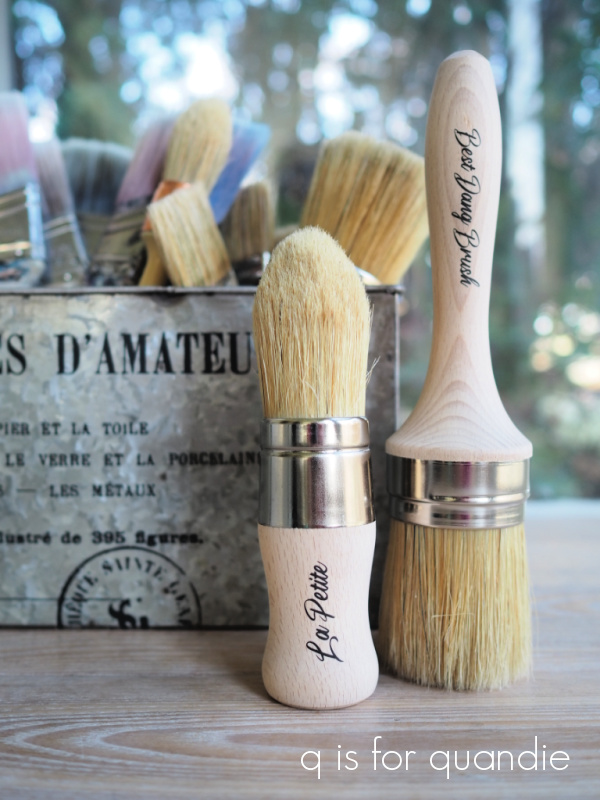
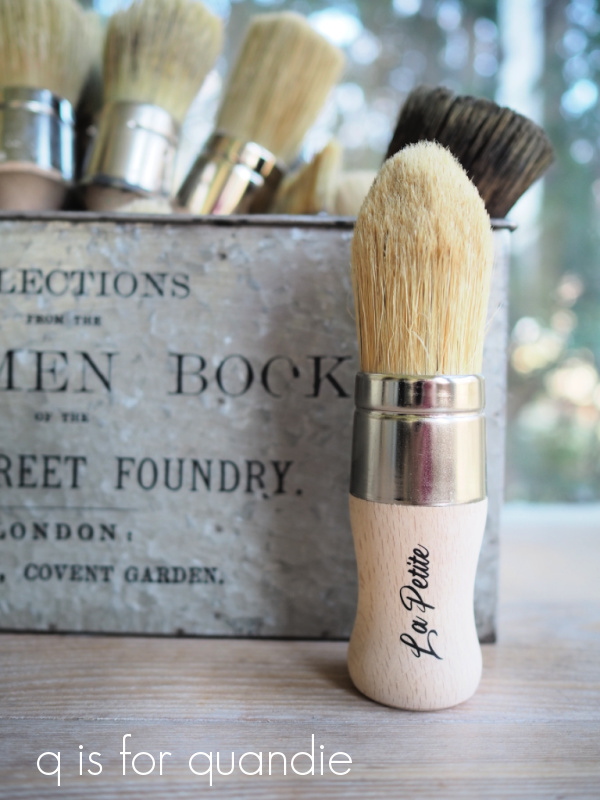
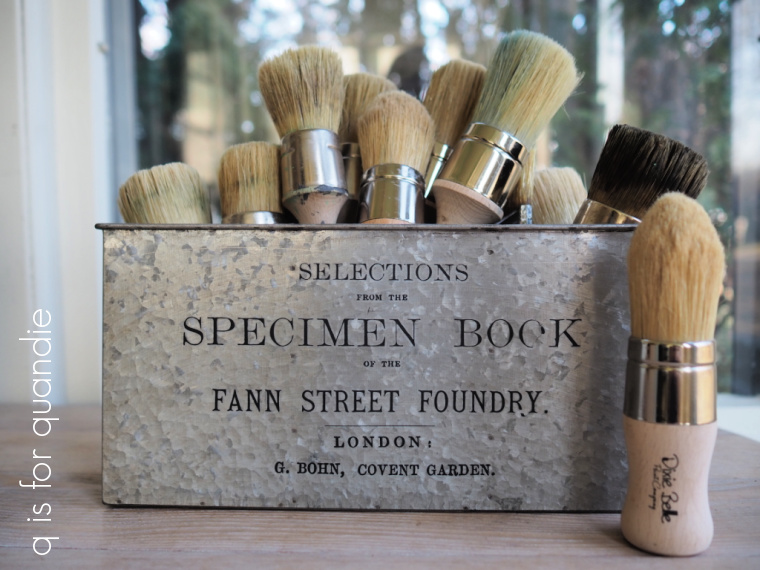
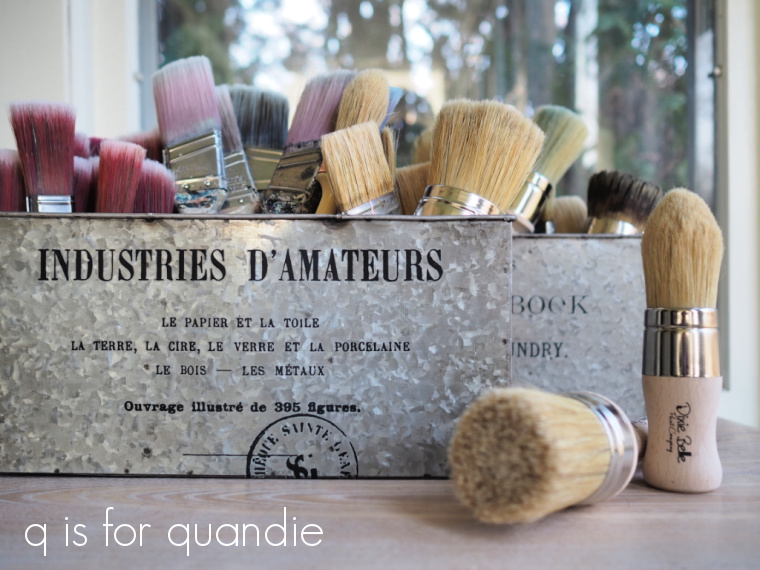
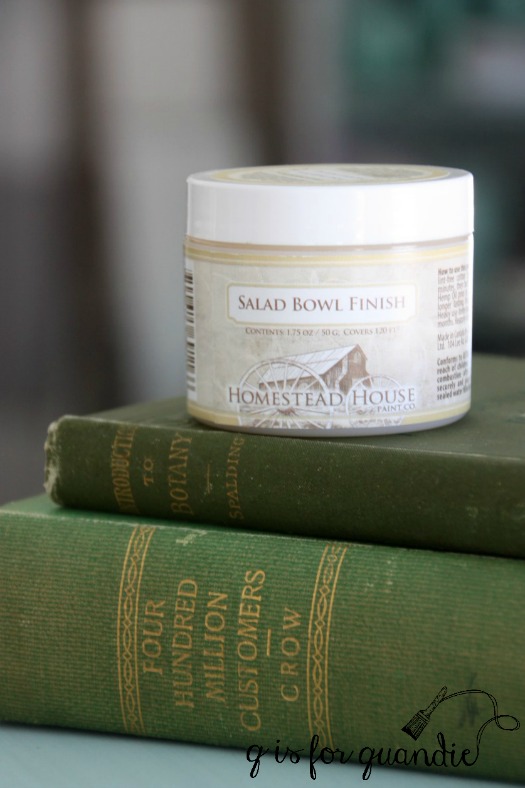
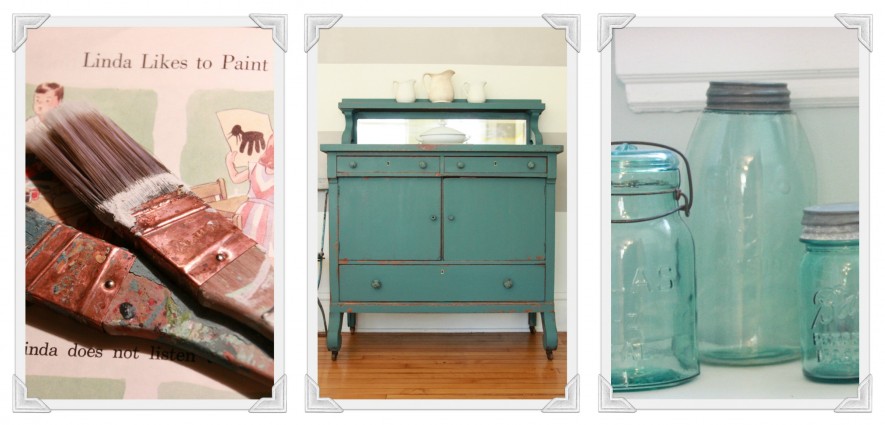
Before I get into today’s post, I just wanted to say that I really wish I could give some wax brushes to each one of you who left a comment on Monday’s post!  I never suspected that so many of you don’t even have one wax brush, let alone a bunch of them.  I have to say, once you’ve used a brush to apply wax you’ll never go back to using old t-shirts.  It’s just so much easier with a brush (although I do still buff it afterwards with those old t-shirts).  If you haven’t yet left a comment on that post, you have until midnight (U.S. central time) tonight to leave a comment and be in the running to win the pair of Dixie Belle brushes that I am giving away.

OK, moving on.  I have a confession to make.  Lately I feel as though I have really lost my mojo when it comes to painting furniture.

I just haven’t been having any luck at finding pieces to work on.  First of all, it seems like the prices people are asking for their cast off furniture have gone up (have any of you noticed that?) and it doesn’t seem as though the prices I can charge for my pieces have gone up commensurately.  I haven’t been able to find much of anything for less than $100, and that is typically the most I will spend.

Secondly, I’ve been striking out with the online purchases I do set up.  I’d arranged to meet someone at their storage facility to buy a dresser a couple of weeks back and the person never showed.  We waited in the parking lot for 45 minutes, I messaged repeatedly, and nothing.  I finally heard from her three hours later when she messaged to say that she got held up at work.  Really?  And she couldn’t bother sending me a message to let me know?  As you can tell, I’m still bitter about that one.

I found another piece on Craigslist recently and arranged to go pick it up on a Thursday evening, and once again I was ‘ghosted’ by the seller.  Although we’d agreed on Thursday evening, and I’d set that time aside, the seller never got back to me with her address.  I finally heard back from her on Sunday evening, ooops, she’d forgotten about me.

Not quite as annoying, but still somewhat frustrating, in many cases I send an inquiry about a piece of furniture and just never get a reply of any kind.  I assume the items are sold, but I still see the ads listed.

Really though, all of those things just feel like excuses.  The truth of the matter is that I don’t know what direction to take these days.  I know I could paint up some mid-mod pieces and they would likely sell quite quickly.

But the competition for snatching up these pieces has gotten quite fierce, and now the sellers seem to know that they can get more than $50 for them too.  Plus, I’m just not feeling inspired by the mid-mod pieces of late.

I sometimes wonder if I should just play it safe with some more traditional sort of pieces painted in neutral colors, like the sofa table I painted a while back.  It sold quite quickly, so I think this style is a safe bet.

But I’ve never really been drawn to this style, and it doesn’t satisfy my need to feel creative to paint these pieces.

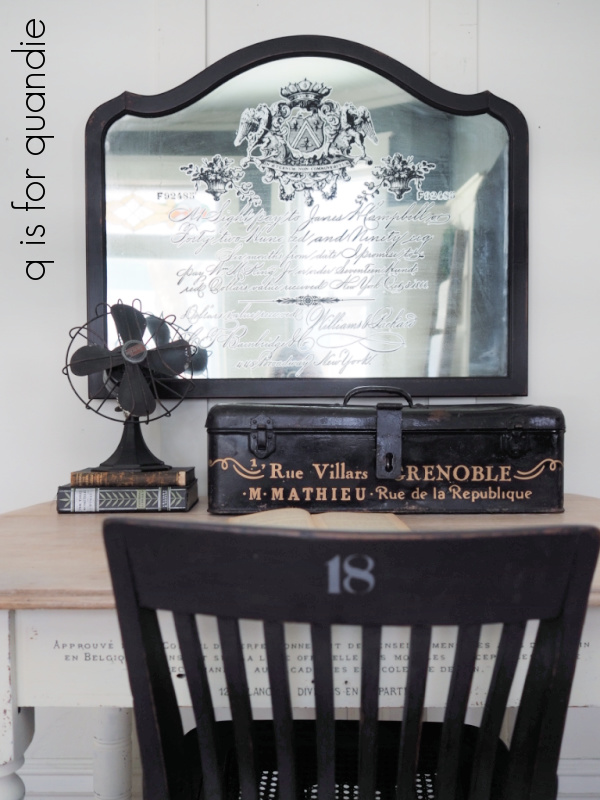
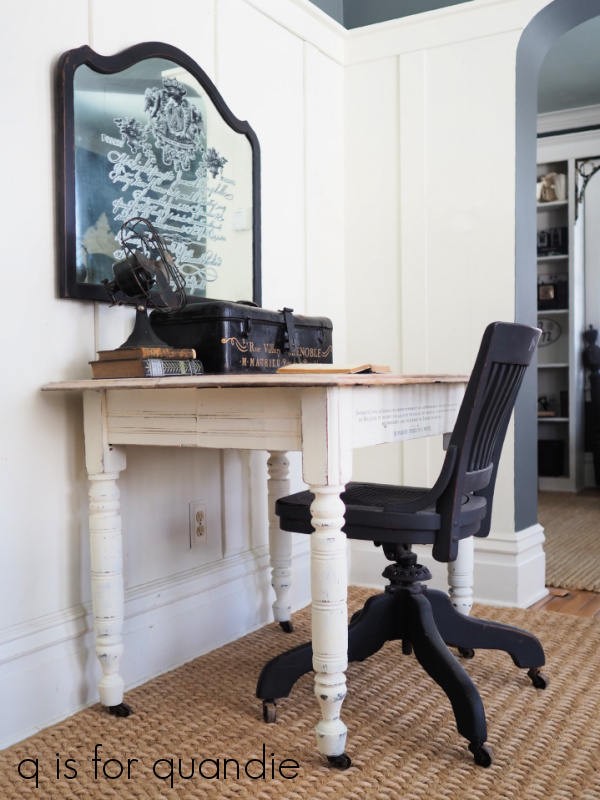
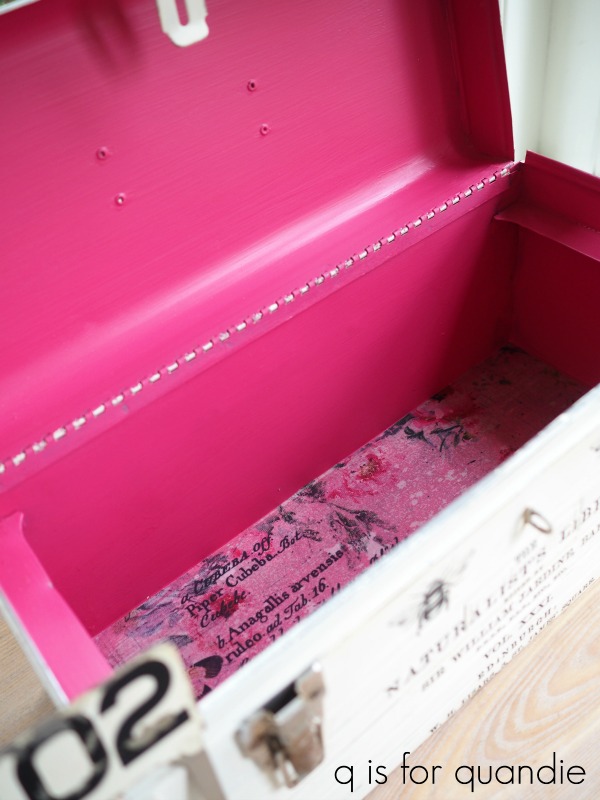
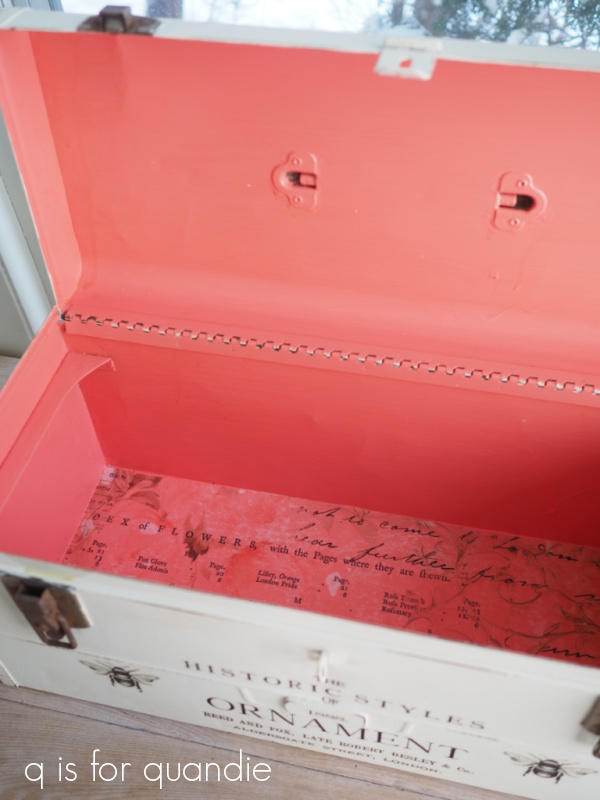
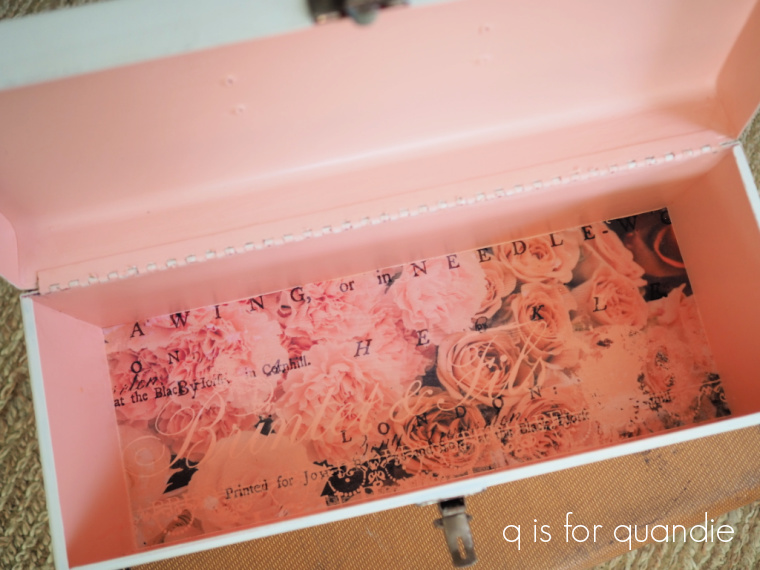
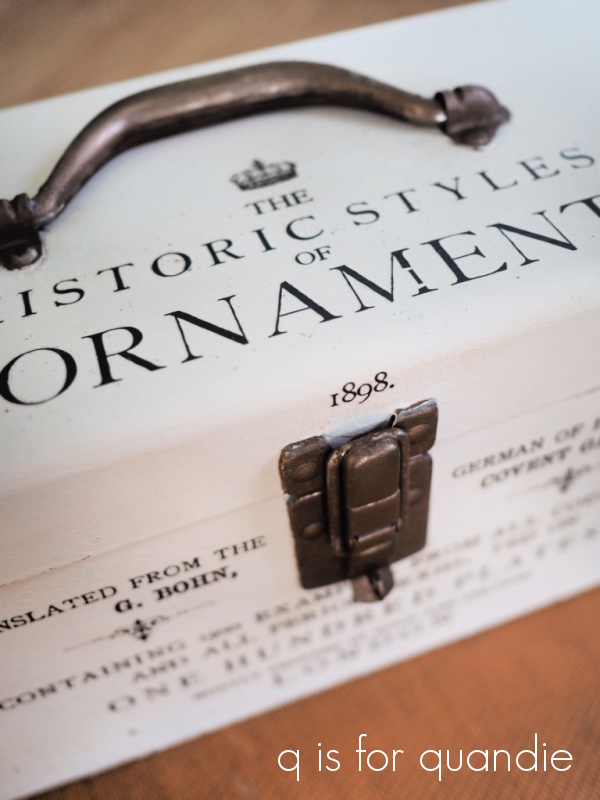
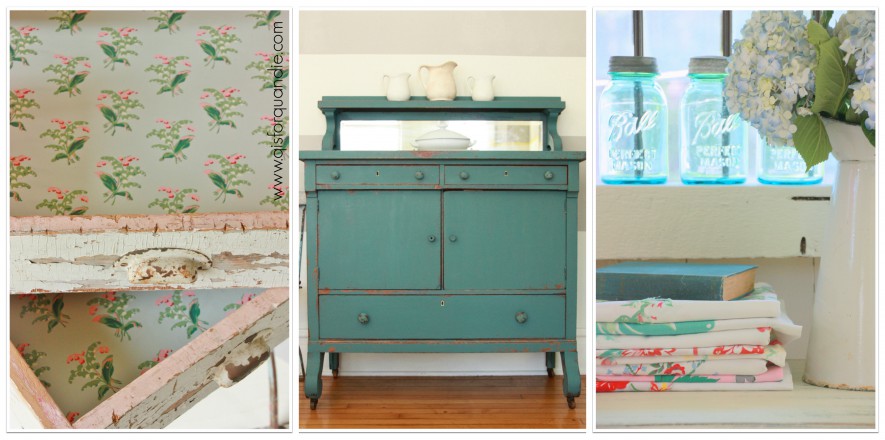
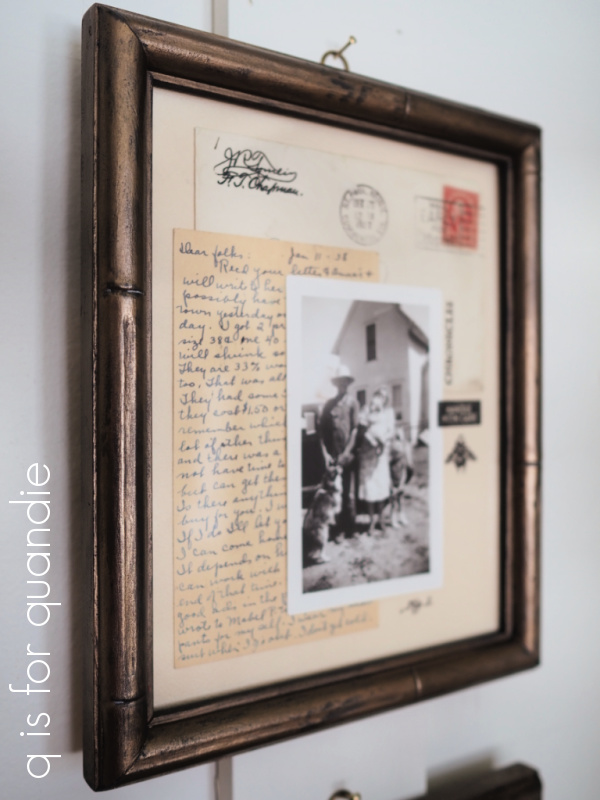
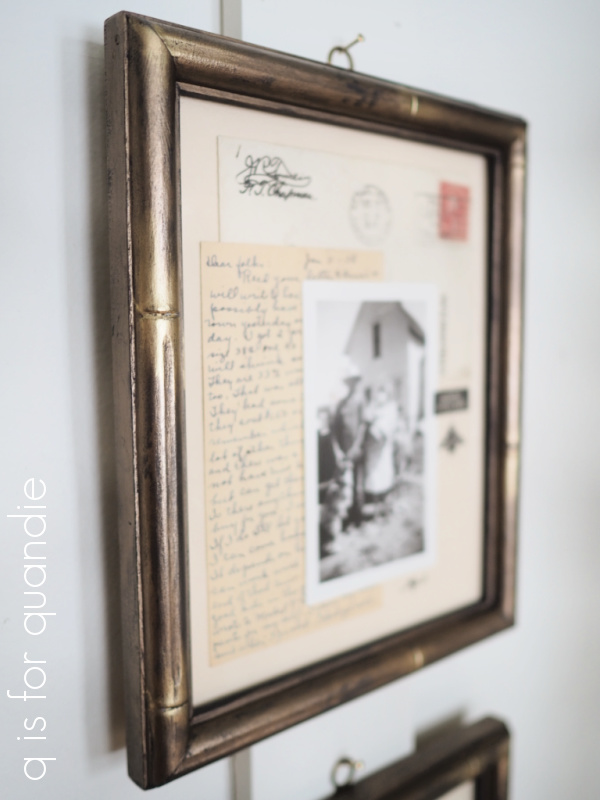
I really love pieces that have that sort of shabby chic vibe.

I’d certainly work on more of these if I could find them.

bed full

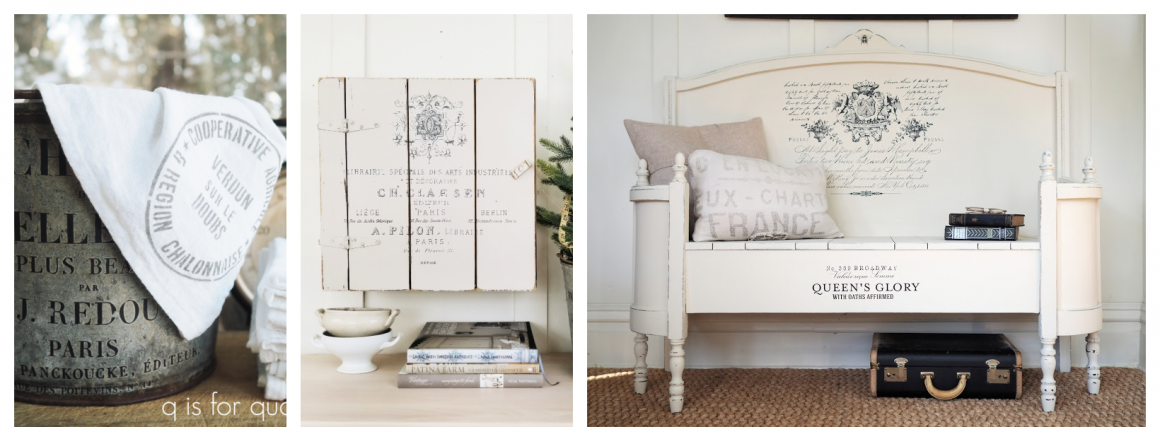
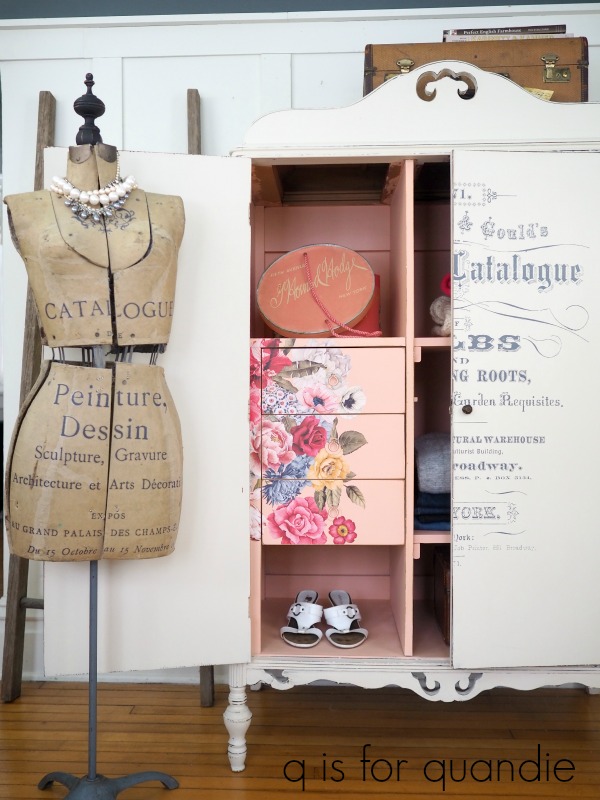
What I really love most of all though are the primitive, farmhouse, rustic sort of pieces.

This is the style that I have in my own home, and the look that really speaks to me personally.

But, these pieces generally require more repair work and it’s difficult for my handyman Ken to work on larger pieces in the winter.  It gets so much easier when he can just pop over to my carriage house workshop and let himself in to work on something.  Then I just come home from the day job to find pieces magically repaired.

Hopefully I’ll find more of these primitive sort of pieces this summer.

For those of you who also paint furniture, I’m curious to know, what kind of pieces are you working on these days?  What styles are selling best for you?  Are you still finding good bargains on Craiglist?  Do you choose pieces that inspire you creatively, or do you stick with pieces that you know will sell easily (or maybe you are lucky enough that those two things are one and the same)?  Inquiring minds want to know, leave me a comment!

In the meantime, I did manage to bring home a dresser that I found on Facebook Marketplace last week.

dresser before

I’ll be finishing this one up over the weekend and sharing its makeover with you next week (and I think you might be surprised by my choices on this one!), so be sure to stay tuned.

an embarrassment of riches.

Recently Dixie Belle sent me a few of the new brushes they have come out with. In fact, they sent me three sets of two of them. The first set were prototypes of a sort and they just wanted some feedback on the quality. Then they sent a 2nd set of them … honestly, I’m not quite sure why … maybe they just mistakenly sent them? The third set was the final version of the product, and they have the name of the brush engraved on the side of the handle which is a nice touch.

OLYMPUS DIGITAL CAMERA

I’ve worked with both of these brushes now and I found that the Best Dang Brush works beautifully for stenciling.

It’s nice and big, so you can make quick work of it.

I also think the Best Dang Brush would work well for waxing, although I haven’t tried it.  I did try the La Petite brush for waxing, and it worked quite well.

That pointy end is perfect for working the wax into corners.

Both of these new brushes are now available on the Dixie Belle website in case you are in need of a fantastic stenciling or waxing brush.

Receiving these new brushes made me realize that my brush storage system was already at full capacity and I needed a new solution. So I headed off to Hobby Lobby and I came home with these galvanized containers.

They are divided into three sections each (although you can’t see that in the ‘before’ photo) which will help keep my brushes standing upright.

They aren’t terribly exciting to look at, but I liked the size of them and the price was right. They were originally $12.99, but 50% off the day I found them, so I got them for around $6.50 each.

Of course I had to dress them up a bit first, so I added some sections of the IOD Label Ephemera transfer to the front of each one.

Someone recently mentioned in a comment that this transfer has been retired.  Such a bummer!  It was so perfect for using on small projects like this.  I guess you should stock up while they last (but leave some for me please)!

I decided to put all of my paint brushes into one container, and my wax brushes in another.

I know some of you must be looking at all of those brushes and thinking ‘jeesh, that’s an embarrassing quantity of brushes!’ and I don’t disagree.

When it comes to paint brushes, I really can use lots of them though.  In the summer when I’m able to paint out in my carriage house workshop I often have multiple projects in different colors going at one time.  I’ll often have half a dozen or more brushes in use simultaneously.  I also like having different brushes for different things.  Sometimes I want an angled brush (to get a clean edge), sometimes a brush with a short handle (to paint the insides of cupboard), sometimes a smaller brush, sometimes an inexpensive chip brush because I know I’m going to wreck it (using it for applying mod podge, I can never get that brush perfectly clean again) and so on.

OLYMPUS DIGITAL CAMERA

So yes, I really can use this many paint brushes.

On the other hand, I definitely have too many wax brushes.

Don’t get me wrong, I always apply my wax with a brush and it’s very convenient to have enough wax brushes that I can use each one exclusively for a particular color of wax.  At a minimum it’s good to have one brush for dark wax, one for white wax, and one for clear.

But as you can see, I have far more than that.

Quite honestly, having this many extra wax brushes has led to total laziness on my part.  Rather than wash my wax brushes, I just pull out a new one when I’m ready to wax.  How wasteful is that?  So as soon as I’m done writing this post, I’m going to wash all of my wax brushes so that they are ready to go for my next painting project.  I find the Fusion Brush Soap is perfect for cleaning wax brushes (check out this post for more on keeping your brushes clean).

I always end up feeling a bit guilty when I have ‘too much’ of something.  Excess makes me uncomfortable.

So I’ve decided to give away the extra set of these brushes that I received from Dixie Belle.  I suspect that some of you don’t have a bunch of wax brushes, or possibly don’t have any at all.  For the first couple of years that I was painting furniture I applied my wax with an old t-shirt because I didn’t want to splurge on a good quality wax brush (and FYI, it’s much easier to apply wax with a brush).  I’m hoping this pair of brushes can go to someone who will put them to good use.

The rules:  Simply leave a comment on today’s blog post to have your name thrown in the hat to win.

Your comment must be left on this blog post, not on Facebook or Instagram.  You are not required to follow my blog, although it would be awesome if you did!

I will randomly draw the name of a winner for today’s prize from all of the comments left on this post by Friday, March 26, 2021 at the stroke of midnight (U.S. Central time).

The fine print: no purchase necessary, you must be 18 years of age or older to win, void where prohibited by law, the number of eligible entries received determines the odds of winning, approximate retail value of prize is $50, if the prize is not claimed by Friday, April 2, 2021 another name will be drawn at random to win, blah, blah, blah.

As always, thanks to Dixie Belle for providing the items I am giving away.  Good luck!

a tiny dresser.

When I returned to the office at my day job after my recent trip, I found this waiting for me on my desk.  My picker/co-worker Sue had picked it up for me at an estate sale while I was gone.

Nothing special to look at ‘as is’ really, it was definitely in need of a makeover.

I didn’t get a photo of the insides of the drawers, but they were lined with green felt.  So, I removed the green felt and then immediately painted the outside in Dixie Belle’s Drop Cloth.

Then I picked out some pretty scrapbook paper to use for lining the drawers.

Once I’d chosen the paper, I also chose another Dixie Belle paint color to paint the insides of the drawers, Vintage Duck Egg.  I thought it worked beautifully with that blue ribbon on the paper.

Once everything was painted, I sanded to distress the edges and then I pulled out some transfer scraps to add some personality to the outside too.

I used a combination of bits from the IOD Label Ephemera transfer and from the Tim Holtz Specimen rub-on’s (the butterflies and the numbers on the knobs).

Once I had the transfers on, I added a top coat of clear wax.

I used my tiny camera and an old family photo displayed in a vintage flower frog to stage my photos.

In case the scale of this piece isn’t coming across at all, this little dresser is only 7″ tall and 6″ wide.

Using this little piece as a jewelry box is the most obvious choice.

But I think it would also work well to store smaller craft supplies, like your washi tape.

Or maybe your metallic waxes …

It might also work well on your desk holding all of those pesky office supplies like post it note pads and paper clips.

It would make a unique container no matter what you choose to store inside of it.

This tiny dresser is for sale, in case any of you locals are interested (check out my available for local sale page for details).

As always, thanks to Dixie Belle Paint Co for supplying the paint used on today’s project.

a mirror makeover.

I find mirrors so challenging to photograph.  I re-do my share of mirrors, but I rarely share them here on the blog simply because I can’t seem to figure out how to take a good picture of one.

But I thought I’d give it a go today.  Please don’t judge my photos too harshly, starting with this ‘before’ picture.

Of course this is simply a mirror that I removed from a dresser.  As you probably know by now, I like to do that.  Dressers just seem to sell more quickly without their mirrors, in my opinion.

But I don’t just trash the mirrors, I generally revamp them.  Sometimes I remove the mirror and switch it out for a chalkboard (like these).  Sometimes I paint the frames and add hangers to the back so that they can be hung on the wall instead of mounted on a dresser (like these).

In the case of this particular mirror, neither of those two options seemed like exactly the right choice.  The silvering was not in great shape so leaving it a mirror wasn’t going to be the best choice.  The frame wasn’t terribly interesting, so turning it into a chalkboard wasn’t going to be a great option either.

This was the best I could do trying to capture the look of that silvering on film.  All of those black spots and markings are in the silvering behind the glass of the mirror.  In other words, they could not be cleaned off.

So ultimately I decided to let those flaws add to my piece rather than detracting from it by adding a transfer over the front of the mirror.

But first I painted out the wood frame in Miss Mustard Seed milk paint in Typewriter (a.k.a. black).

Here’s a quick q tip for you; I never tape off mirrors or windows when painting them.  I find that it’s quite easy to remove excess paint from the glass using a razor blade.  Just be sure to use a sharp blade.  No need to waste your tape!

It’s interesting how milk paint reverts back to powder when you do this, while chalk paint comes off in curls or strips.  I wonder if you could sort of reconstitute that milk paint powder by adding water to turn it back into paint again.  Hmmmm.  That would be an interesting experiment.  Maybe one for another day.

I was hoping to get some good chipping on the frame, so the only prep work I did was to clean it with some TSP substitute.  I didn’t do any sanding.  Sure enough, I got some amazing chippy-ness.

Next up was applying the transfer.

I must warn you that applying a transfer to glass or mirror can be a little tricky.  The transfer will be attracted to your glass surface like a magnet.  Seriously.  Get too close and it will reach out and grab that glass and not let go.

So when working with glass, my advice is to dry fit your transfer with the backing paper still in place.  When you have it exactly where you want it to go, tape it down along one side.

Next, carefully, keeping that taped edge down, fold the transfer towards you along that taped edge and then remove the backing paper.

Then very carefully flip it back over and apply as usual.

Goodness.  Trying to get my camera to focus on that was an exercise in futility.

By the way, that is a section from the Parisian Letter transfer from re.design with prima.

For my photos I’ve hung the mirror over a desk.  It would work really well in any spot where you want to reflect some light, or maybe get a quick glimpse of your hair before you head out of the house.  It certainly won’t let you examine yourself in any kind of detail though.  At my age, that seems like a bonus rather than a flaw.

I probably would have had better luck with my photos if I’d waited for an overcast day.  Instead it was bright and sunny and we had lots of snow to reflect the light as well, so my piano room was flooded with bright light.

But hopefully my photos do some justice to the end result.  I think it looks pretty fabulous and if I had a spot for it, I’d keep it.  But I don’t, so this mirror will be for sale.  If you’re local and you need a mirror to bounce some light around be sure to check out my ‘available for local sale‘ page for more details.

a simple (or maybe not so simple) wooden box.

Last summer my friend Sue picked up a couple of old wooden boxes for me.  I painted one of them last summer and I ended up selling it before I even had a chance to take photos of it.

I tucked the 2nd one away to save for a winter project.  I like to have some smaller things to work on when I’m stuck doing all of my painting in the house.

Here’s the outside of the box …

Yep, it was pretty grungy.  And the inside was even worse, making it the perfect candidate for some paint.

Once again, this is a story of an original idea that was modified a few times before I got to the end.

First I thought I’d paint it in Dixie Belle Drop Cloth inside and a dark blue outside.  I have a really gorgeous re.design with prima decoupage tissue that I wanted to use to line the bottom that I thought would work beautifully with that color scheme.

So after cleaning the box, I painted the inside with a coat of Drop Cloth.  As it dried I could see that some of those gross stains on the inside were bleeding thru my paint.  Ewwww!

I could have stopped and added a coat of Dixie Belle’s BOSS at this point, but as I was contemplating the situation I decided that I didn’t want to paint the inside white after all.  Instead I wanted to paint the outside white and add a pop of color inside, and switch up my choice of decoupage tissue.  So I pulled out all of my tissue and chose another option that had a lot of pink in it.

That’s when I realized that this would be the perfect opportunity to try some of the new Silk paint from Dixie Belle for a few reasons.

First of all, the Silk paint has a built in top coat that is washable once cured.  That makes it perfect for the insides of things (cupboards, hutches, boxes).  Two coats of paint and you’re done, no need to add a durable top coat as well.  Once cured, the inside of the box will be washable.

Second of all, and this is key, the Silk paint also has a built in stain blocker.  Holy cow, that could be a game changer.  Why purchase three products; a stain blocking primer (like BOSS), the paint, and a top coat, when one will do?

Third, Dixie Belle had sent me a color that I thought would be perfect for the inside of the box, a pale-ish pink called Conch.

So, I painted a coat of Conch on the inside of the box.  It went on beautifully, and it blocked the stain completely in just one coat.  See …

Now, just a heads up on that.  Although the Silk blocked my stain in one coat, some more stubborn bleeders might require more coats.  Dixie Belle recommends three coats of paint with 4 hours of drying time between each coat for the really stubborn bleeders.

I was really impressed with the stain blocking quality of the paint on my box.  Unfortunately, I wasn’t terribly fond of this color.  I would describe it as a cool, muddy sort of pink with a lavender-ish undertone.  Personally, I like my pinks to be warm rather than cool.  It’s just a preference thing, and this particular color wasn’t working for me.

So I went back to the drawing board again.  I chose yet another decoupage tissue paper, and this time decided to pair it with Dixie Belle’s Gravel Road.

The inside of the box got two coats of Gravel Road, the outside got two coats of Drop Cloth.

Once dry, I lined the box with re.design with prima’s decoupage tissue paper in Celeste.  I used Dixie Belle’s Gator Hide as a decoupage medium (you can read more about that technique here).  I also added a top coat of Gator Hide over the Gravel Road so that the inside would be durable and water repellant.

Then I stenciled two sides of the box on the outside using a stencil from Maison de Stencils and some Gravel Road paint.  I used one of Dixie Belle’s new brushes, the Best Dang Brush, for the stenciling.

I think this brush is meant to be a wax brush, and it would work fantastically for that I’m sure, but I’m loving it for stenciling.  Since it’s quite large with a 2.5″ diameter you can cover a lot of area quickly, which is great when doing these larger stenciling jobs.

Once the stenciled design was dry, I sanded the outside of the box heavily to distress it and then gave it a coat of clear wax.

I popped it up on top of my giant pine cupboard and it would work beautifully there for storing additional items that I don’t need to get to frequently, but I am not going to keep this one.

To be entirely honest, and I probably shouldn’t admit to this, but I never would have dressed up the inside of this box to keep for myself.  I only do that to make it special for someone else.

It adds a nice touch, don’t you think?

As always, thanks to Dixie Belle for providing all of their products that were used on this box.  You can find Dixie Belle products here.

toolbox no. 3

Sometimes when you have a formula that’s working really well you just have to stick with it.

This is the umpteenth toolbox that I have painted, and the 3rd one that I have specifically painted in Dixie Belle’s Drop Cloth.  Each time I post one of these I have multiple people who’d like to purchase it, so I thought, why not do another?

Before I proceed with today’s post though, I want to mention that this one is already sold.  I offered it to one of the people that missed out on the last one and she has already come by and picked it up.  In fact, I think I am going to start keeping a list of who wants one so if you want to be on the list let me know (you can leave a comment on this post, or email me at qisforquandie@gmail.com).  I am definitely going to be on the lookout for more toolboxes!

In the meantime, I popped out into the carriage house and looked around to see if I had any toolboxes left, and sure enough I did.

Yikes!  It was in rough shape though.  But then again, they have all been in pretty rough shape.  I think that is part of their charm.

So, once again I sanded off the rough spots a bit, then scrubbed it up with Dawn dish soap, let it dry and then gave it a coat of Dixie Belle’s BOSS to seal up that rust. Although all three of the toolboxes have been painted in Drop Cloth on the outside, I’ve chosen a different color for the inside of each.

The first one was Peony.

The second one was Flamingo.

And now this one is Apricot.

I apologize that I haven’t really kept track of the names of the different decoupage tissue papers I’ve used to line them.  If you really want to know, leave me a comment and I’ll look them up for you.

But in the meantime, which is your favorite color for the inside?  I originally thought the Peony was perfect, but then I loved the warmer color of the Flamingo, and now I must say that I also think the Apricot is lovely.

Although the outside is Drop Cloth on all three, the snippets of transfers I’ve used are slightly different on each.

The first one had the large crown on top, and sort of naturalist themed wording.

The second one has a crest on top and the historic styles of ornament wording.

This last one is similar with the wording just moved around a bit.

I did treat the hardware a bit differently this time around.  It was quite rusted up, which isn’t necessarily a bad thing in my opinion …

But I decided to spruce it up a bit.  So I pulled out the new Gilding Waxes from Dixie Belle.

I chose the Bronze and applied it to both the latch and the handle.

I had first sanded the handle to get it a little more smooth, but I think you can see that I left the texture of the rust in place for the most part on the latch and just applied the wax over it.  Once again I used a small artists brush to apply the wax because I wanted to be precise and not get any on my white paint.

After letting the wax dry overnight, I buffed it a bit to bring out some shine.

I just love working on these toolboxes, although they can be a bit putzy.  There is a lot of ‘paint the outside, let it dry, paint the inside, let it dry, paint the bottom, let it dry,’ going on.  Each step doesn’t take more than 5 minutes, but there is a lot of drying time in between.  They are great projects for those of us who have day jobs because each evening after work you can add a coat of something and by Saturday you are ready to add transfers!

And that’s the really fun part.  I cut them up and place them where I think they look best, and sometimes I keep adding more here and there until I have a look that I like.

Here’s hoping I find a few more toolboxes to paint at garage sales this summer!

hello old friend.

I found this lidded stave bucket at a garage sale last fall.

It’s obviously old, and seems genuine rather than a reproduction sort of piece (although I’m definitely no expert on antique buckets and it could just be one of those 80’s look-a-likes).  It is constructed of wooden staves that are held in place by the metal band that goes around them.

I suspect there will be some of you who think I should have just spruced it up and left it unpainted.  Sort of like I did with the recipe box a few weeks back.

But I really wanted to paint it.  I love the look of an old, worn paint finish on these wooden buckets.  So I headed to pinterest for some pinspiration and I found this …

Isn’t that a gorgeous shade of blue?  There were actually quite a few examples of wooden buckets and/or firkins in similar shades of bright blue.

So I was pondering how to recreate that look, or at least something similar, when I remembered the gorgeous color of Soldier Blue milk paint by Homestead House.

I used this paint on a small chair in January 2020 and I absolutely loved the color.

As I was digging it out of my stash of milk paint, I realized that it has been quite some time since I’ve used milk paint.  I did attempt to use it on a large cupboard last summer, but ended up painting over it with Dixie Belle chalk paint.  In fact, I think the last time I used milk paint was when I painted that chair last January.

I have to confess that I have been seduced by the ease of using Dixie Belle paint.  No mixing required, no clumps of undissolved pigments, no variations in color from one drawer to the next, no worries about whether or not the paint will stick.

All of that aside, I went ahead and mixed up some Soldier Blue.  And you know what?  It mixed up beautifully despite having been stored for over a year.  I always leave my mixed milk paint to sit for 10 minutes or so before using it to make sure that all of the pigments have had a chance to dissolve.  For more tips on using milk paint, check out my milk paint basics post:

While letting the paint rest for 10 minutes, I prepped the bucket for painting.

The metal ring that holds the staves in place slipped off quite easily, and then I taped off the metal base of the bucket.  I wanted to make sure I didn’t drip any paint onto it.

Next I added a bit of the Homestead House Salad Bowl Finish around the edges to encourage chipping and/or distressing.

I’ve shared this technique before, so if you want more details check out this post.  The Salad Bowl Finish is a beeswax finish that is food safe (so you could use it on cutting boards or wooden salad bowls, hence the name).  It’s very similar to the Miss Mustard Seed 100% beeswax (which is also food safe).

Once that was done, I gave my paint another good stir to make sure it was mixed well and then painted the bucket with two coats.

Once dry, I added one of my favorite stencils from Maison de Stencils to the lid.

That’s not white paint by the way, it is Dixie Belle’s French Linen which is a greige sort of color.  I rarely use white (or black) to stencil.  Using a shade of grey gives you a more subtle look.

Once that was fully dry, I sanded the lid and bucket with 120 grit sandpaper.  I wanted a worn look around those edges where I had applied the beeswax, and that is exactly what I got.  I think it looks quite authentic, don’t you?

Ahhh, hello old friend.  I have missed you, milk paint.  You just can’t beat milk paint for creating a worn over time finish that looks authentic.

It was easy to sand the edges of each of the staves before putting the metal ring back in place to hold them together tightly.

I topcoated the milk paint with clear wax.  I had also pulled out my antiquing wax thinking that I’d need some of that to give it a more aged look, but in the end I thought it looked perfectly aged even without it.

The Soldier Blue brings out the pretty blue color in my bluebird china.

Milk paint was the perfect choice to recreate the look from the inspiration piece from pinterest.

Now, I know some of you may still think I should have left this stave bucket unpainted, but I beg to differ.

I think it needed this brilliant pop of Soldier Blue to fully bring out its character.

If you’re looking for Homestead House Milk Paint, you can find it here.

making the most of winter.

Although I tend to complain now and then about winter, the truth is, I rather look forward to it.  Mainly because it gives me a chance to slow down a bit.  I can spend a Saturday afternoon watching movies on the sofa without feeling like I really should be outside weeding the garden, or refinishing the deck, or painting furniture assembly line style out in my carriage house workshop.

There is also something really peaceful about the quietness of winter.  The windows are all sealed up, so outside noises don’t invade my space.  A nice layer of snow also tends to muffle sound nicely.

I also think winter is one of the most beautiful seasons.  Especially when there is a layer of freshly fallen snow, or a coating of hoarfrost on everything.

I have to admit though, it took me years to learn to appreciate this season and one of the tricks that helped is to find ways to get outside.

Mr. Q and I walk in our local park almost every day throughout the winter, although I admit we took a pass yesterday when the temp was below zero even at noon.  But for the most part we have had a very mild winter this year, which is lucky because it has felt more important than ever to get outside with this whole COVID thing still going on.

Another way I got outside (well, sort of) recently was to head to the Drive Thru Ice & Snow Sculpture Park that was part of the St. Paul Winter Carnival this year.

Typically this is not a drive-thru event, but to keep everyone safe from COVID this year you were able to remain in the heated comfort of your vehicle as you drove through the St. Paul fairgrounds and admired the sculptures.

I much preferred the snow sculptures over the ice sculptures, I think because you could see more detail on them from the car.

Mr. Q opted to stay home, so I was with my sister and niece.  However, as a huge Lord of the Rings fan, he would have really liked this one called “You Shall Not Pass” …

And I think my bff would have loved this one …

I probably should choose this next one as my favorite, you know … because it’s furniture …

But no, I absolutely loved this next one.

It totally brings to mind Georges Méliès Le Voyage dans la Lune.

In hindsight, I think we probably would have been better off going at night when the sculptures are all lit up with colored lights (and the lights and all of their electrical lines running everywhere wouldn’t have been so obvious).

For you locals, I’m sorry to say this event ended last weekend.  But even if I had posted sooner, the tickets (yes, it was a ticketed event) sold out early.  Maybe they’ll do it again next year!  I’m not sure whether to hope for that or not since the drive-thru feature was specifically a result of COVID.

This coming weekend is going to be another tough one.  Our highs are going to be in the negative digits, and that’s the high.  I’m afraid to even look a what the lows will be, let alone the wind chill.  It might be a great weekend to do some of that guilt-free movie watching on the sofa!

a fresh look.

In case you didn’t notice, I’ve changed up my look.  Not personally (although that is well overdue also), but the look of my blog page.

Recently my friend/picker/co-worker/garage sale mentor Sue gently suggested that my blog header needed a makeover.  And she was right, the one I was using was rather dated and didn’t really reflect my most recent work.

I’d added it back in 2016.  Holy cow!  Can you believe it?!  That was nearly five years ago.  Man, time flies.

Here’s the one from before that …

Not terribly different.  Same color palette.  I really loved that buffet painted in Miss Mustard Seed’s Kitchen Scale.

In the very beginning, I used this one.

Once upon a time I changed up my header for the holiday season too.

Hmmm.  Definitely not loving that font/logo.  Ugh.

This past frigid February weekend seemed like the ideal time to sit down and come up with some changes.

This was the first collage I tried.

It features some of my most recent pieces, along with my renewed love of painting things white.  I wasn’t super happy with that center photo though, for some reason it kept ending up blurry looking (even though the original photo on its own is not blurry at all).

So next I switched it up for this …

I like that this one represents the variety of things I do here on q is for quandie.  I’m not just about painted furniture these days.  I was going to stick with this one, but then I thought … hey … maybe I should put one of my painted toolboxes in the mix.

So I came up with this one.

Done.

Next up was changing the background.  I felt like my old aqua and white background didn’t work at all with my new photo collage, so I switched it up for simple, chippy, white painted wood.

At that point, my original logo looked totally out of place with its aqua and coral.

I’d paid someone to design that logo for me way back in the beginning.  Not only did I have the colorful one above, but I also had a black one (and a white one) that I used to watermark my photos for a while.

I gave up doing that because I felt like the logo was hard to read as a watermark.  Here’s an example of a photo with this watermark.

For me, the purpose of watermarking my photos is to help people find my blog (not to mark my territory), so I quit using that watermark and just started adding my blog name in a simple, clean, easy to read font to my photos.

Still, I’d paid good money for those logos so I thought maybe I should try using the black one on my blog header.  Nope, it really just wasn’t working.

So I played around on PicMonkey and came up with a couple of different options to try.

First up was this one …

Again, kind of blurry … or maybe it’s just my aging eyesight.

Next I tried this one …

Ah, a bit clearer.  I love the font and it was simple enough to mesh well with the other elements of my header.

But in the end I went with this one …

Really, mainly because it feels really similar to my original font, so I thought it would be a smoother transition to my new look.  But I admit I’m a little on the fence on this one and may end up using one of those first two down the road.

So everybody, what do you think of the new look?  Was it about time?  Should I switch out the logo to one of those non-cursive fonts?  Leave me a comment a let me know.

adding just a little glam.

First up, congrats to Jill O. I drew her name and will be sending her the paint blending giveaway from last week.  Second thing, the toolbox from Wednesday went super fast and I had about 4 more people who wanted it.  Clearly I need to be on the lookout for more toolboxes to paint!

In the meantime, remember a while back when I painted these faux bamboo picture frames?

I have to confess that in the end, the paint was just a little bit too flat.  It didn’t bring out the bamboo-ish-ness of the frames at all.

So when Dixie Belle sent me some of their new gilding waxes to try I decided to dress them back up again.

The gilding waxes come in six colors; gold, copper, silver, bronze, black and zinc and they have a metallic look to them.

Although these are just little bitty pots of wax, a little bit goes a long way with them.  I suspect one pot will last a long time unless you are gilding an entire piece of furniture or something.

Dixie Belle also sent some of their iridescent wax called Chameleon Wax.

The first step was to test out all of the waxes to see how they looked, so I pulled out an old painted board and used a q tip to add a swatch of each wax.

My favorites are the gold (seriously, isn’t that gold amazing?) and the copper, and I really can’t wait to find something to use the zinc on.  You can really see the iridescence of the Chameleon waxes on my sample board too.

The black doesn’t look like much in my photo, but it does have a bit of a metallic look to it in person and reminds me quite a lot of the wax I used on this piece.

All of these Dixie Belle waxes would work brilliantly when applied with a stencil like I did on that buffet.

But for my frames I ended up deciding to go with the bronze.

I used a small artists brush to apply the wax, but you could use your finger, a cloth, or a q tip.  In my case I wanted to wax the frame without removing the glass (pure laziness on my part), so I needed to be precise and the brush worked perfectly for that.

After applying the wax you can wipe it back immediately if you want to remove some of the product (and I did do that).  You need to do that right away, the wax will dry in 30 to 60 minutes and then you won’t be able to wipe it back.  Once the wax has dried for 12 hours, you can buff it to bring out more shine.

I tried to get a good photo of the difference once you buff it (above), but I’m not sure you can really see it.  The frame on top is not buffed, the one underneath is.  It does add quite a bit of shine if you buff it after 12 hours.

Just a couple of q tips on these waxes.  Keep in mind that they are not VOC free like so many of the products I use, so be sure to use them in a well ventilated area.  Also, they are an oil based product, so you’ll have to clean your brush (if you choose to use one) using mineral spirits.  Although in my case I used the Fusion brush cleaner and that seemed to work perfectly fine.

I had debated whether to use the gold or the bronze, but in the end I chose the more subtle look of the bronze.  The warmth of the bronze color works well with my collages of old family photos and ephemera.

Then again, if I change my mind later I could always add the gold over the bronze because these gilding waxes can be layered …

In fact, as I’m writing this I’m thinking maybe I should try that.  Just add a little touch of gold here and there.  Maybe I’ll just go do that real quick …

OK, I added just a dab of the gold here and there, mostly at the joints of the faux bamboo.  It really brightened things up, didn’t it?

If you’ve never tried any of these metallic waxes, I highly recommend giving them a try.  They are perfect for use on old metal hardware, or in this case on old picture frames.

What do you think?  Would you have left the frames in the flat black paint, or left them with just the bronze wax added?  Or do you like the brighter look with the gold added?

Thank you to Dixie Belle for providing me with the gilding wax used on today’s project.