At the middle of last week I was lamenting how dry the ground was for spring. Typically we get plenty of rain this time of year, so it was odd that I was debating getting out the sprinkler in mid-May. But then it rained … and rained … and then rained some more. That’s because I had taken a couple of days off at the day job. First to recover from vaccination number two, and second, to get some stuff done in the garden. If we need rain, all I have to do is take a vacation day to work in the garden and voila! Rain.
OK, maybe I’m being just a little bit dramatic.
And the real reason for that blog post title has to do with old toolboxes rather than weather.
You may remember that the last time I posted one of my painted toolboxes it was already spoken for and I had several people who wanted to buy it. I was really wishing I had more.
Here’s the thing about the toolboxes. At the price I sell them for, I really can’t pay more than $10 for the toolbox to start with. And it’s better if I can get them for $5 or less (even then I’m probably making about $5 an hour for the time that goes into them).

That may sound impossible, but they can be found at garage sales for those kind of prices. At least here in my area (Twin Cities, MN). I never find them that cheap at thrift stores though. So back in February when I posted that last toolbox, I knew I probably wouldn’t have more to paint until garage sale season.
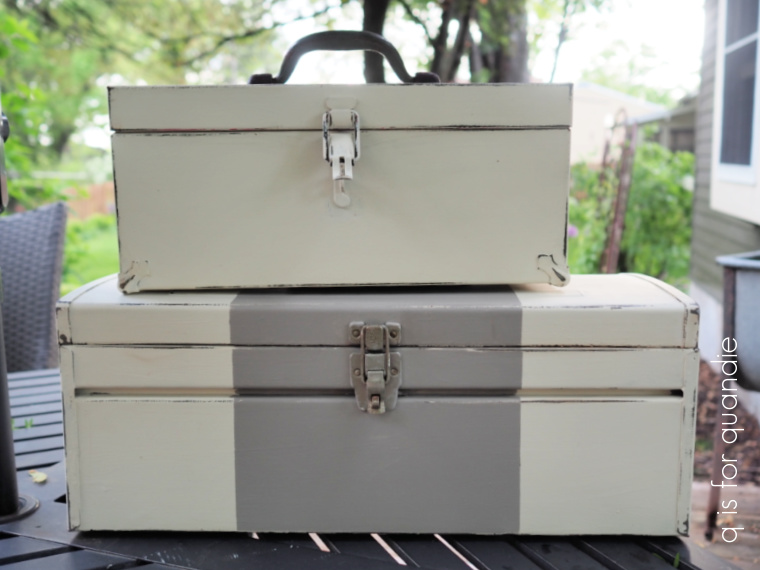
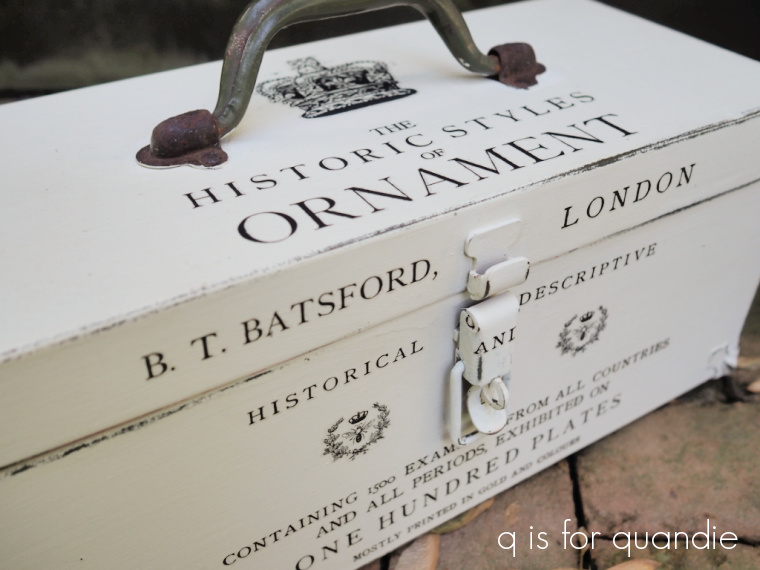
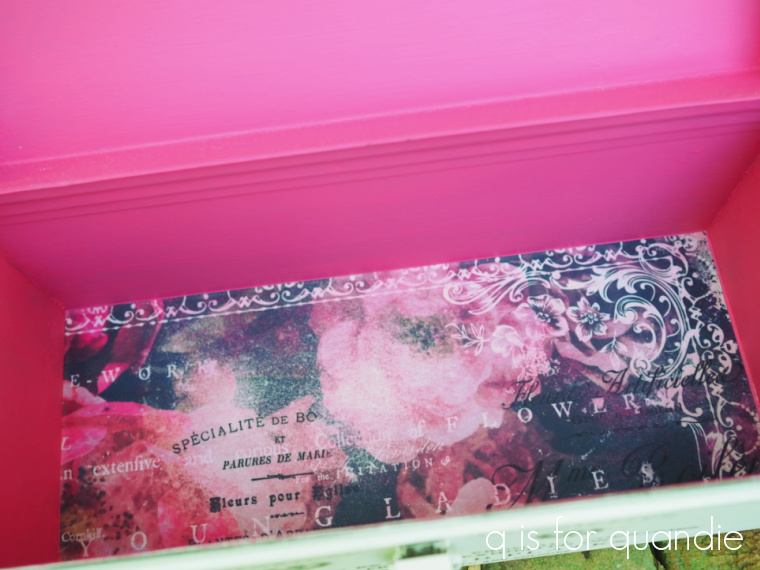
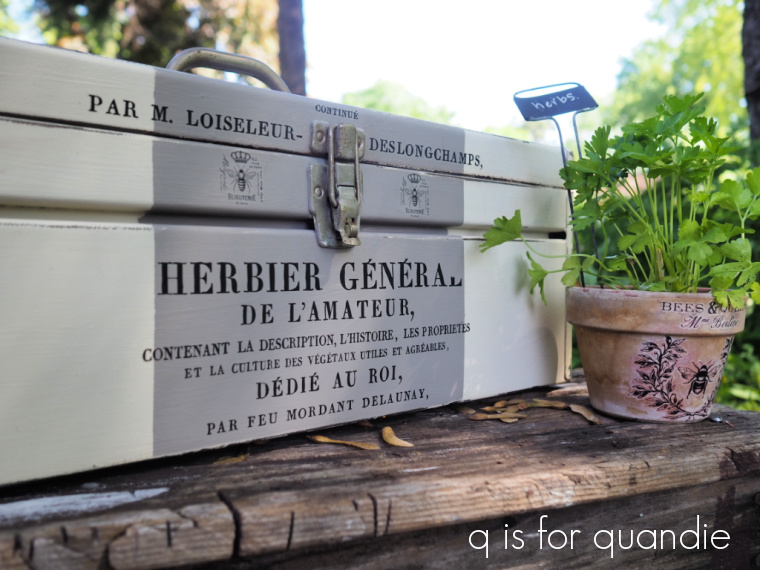
Then one of my readers contacted me and asked if I’d paint up a couple of toolboxes that she already had. Typically I don’t do custom work, but I will make an exception if the client gives me carte blanche to do what I want, which she did. I’ll be sharing what I did with her toolboxes in a separate post, so stay tuned for that one.
Next one of my co-workers found another toolbox for me and oops, I totally forgot to get a ‘before’ picture. Well, no worries, you can just imagine an old rusty metal ‘before’.
For this one, I followed my usual prep process for old toolboxes; sanding down the rust a bit, cleaning well (in this case I used Dixie Belle’s White Lightning cleaner to remove any greasy residue), and then sealing the box with Dixie Belle’s BOSS which will help prevent the rust from coming back through the paint.
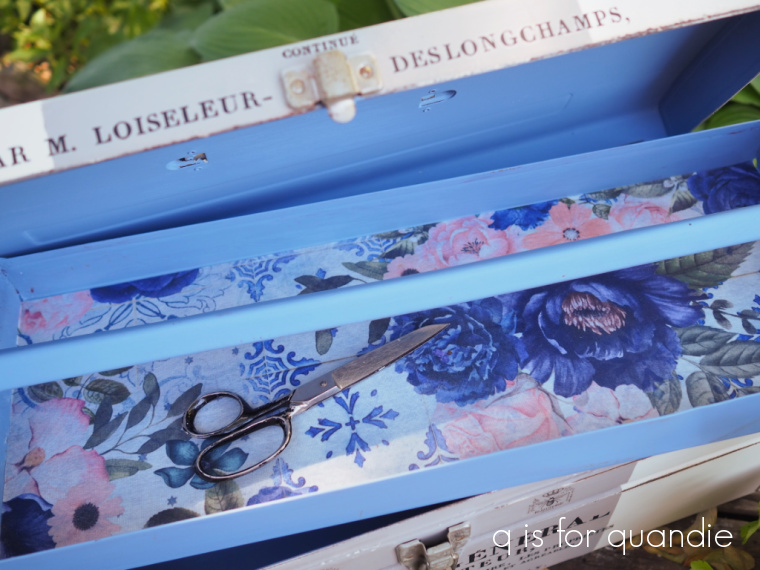
Then I painted the inside in a Dixie Belle color that I had not used before, Blueberry.
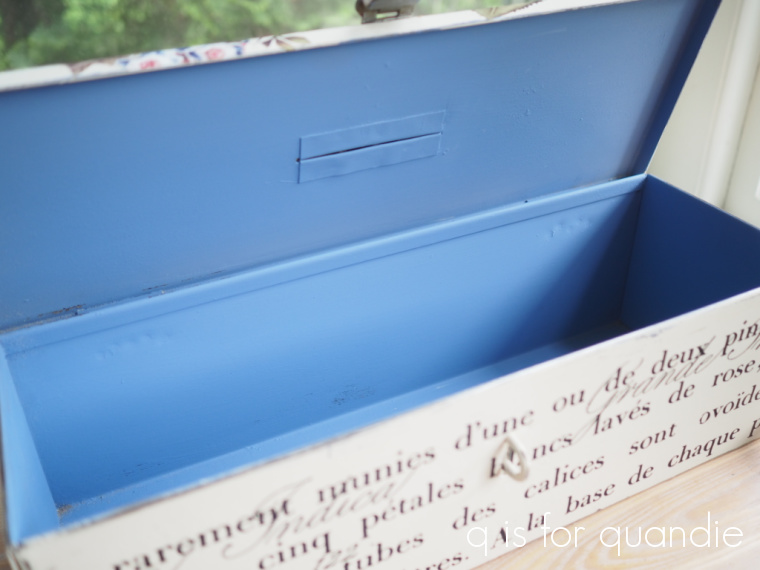
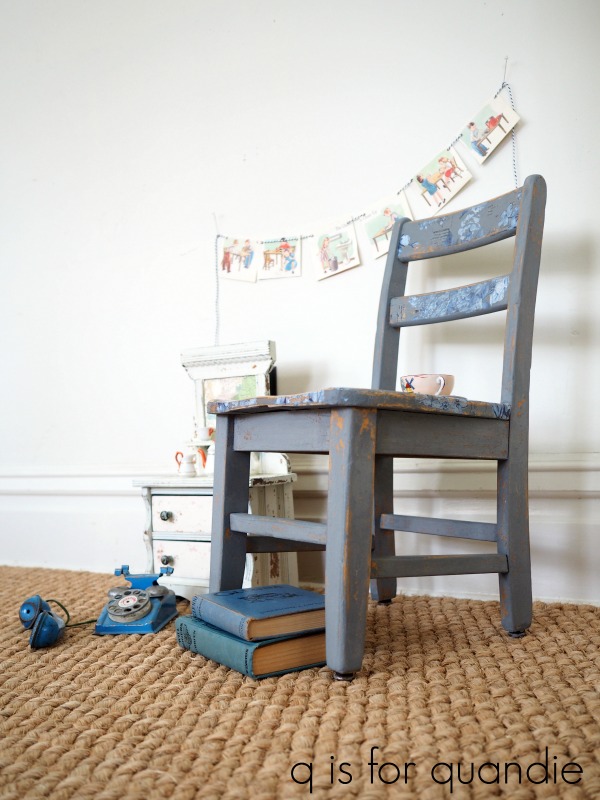
Isn’t that a lovely color? Sort of a periwinkle blue. I love pulling out these pretty colors for the insides of the toolboxes. I’m not sure I’d ever paint a full on piece of furniture in this shade, but it’s perfect for a pop of color inside something like this. And I’d definitely use this color on a kid sized chair.
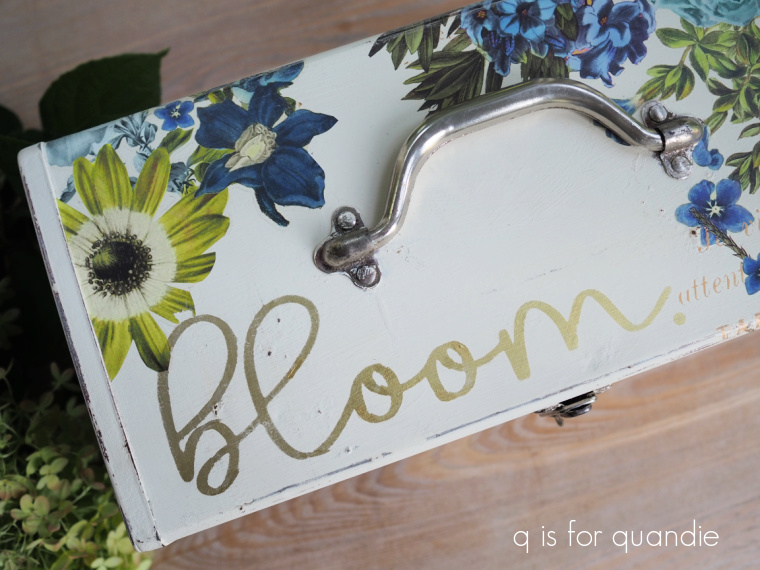
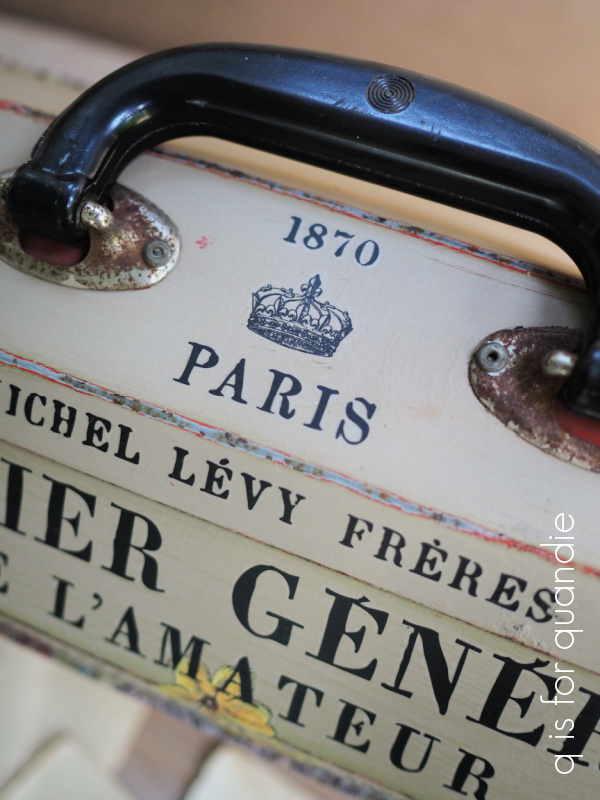
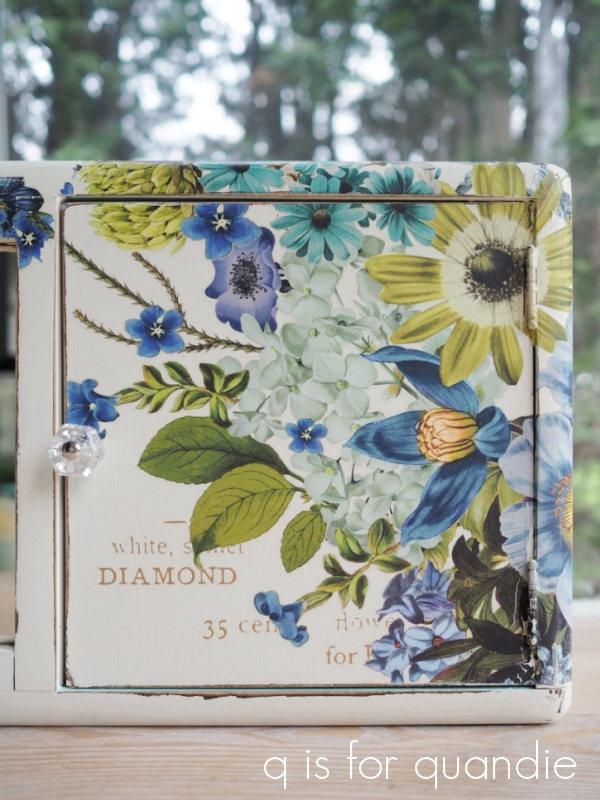
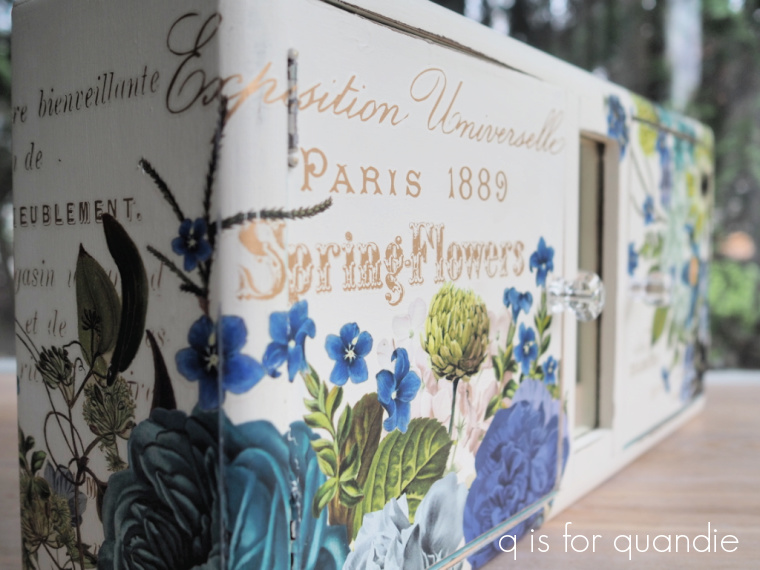
Next I painted the outside in Dixie Belle’s Drop Cloth. Then I pulled out my transfer scrap pile. I have quite a few remnants of transfers left over from projects where the entire transfer didn’t quite fit. I had a 4″ section left from the bottom of the large version of IOD’s Le Petit Rosier transfer and it fit perfectly on the front of the toolbox.

Then I pondered what to put on the top. With all of my other toolboxes, I’ve been sticking with just black transfers. This time I decided to add a little color with some florals.

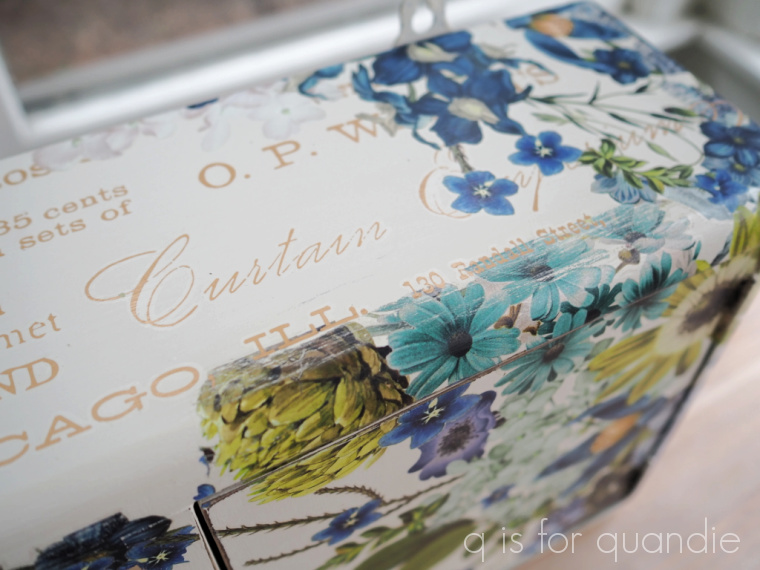
I had a partially used re.design with prima transfer called Wondrous Floral II, it has the prettiest flowers and in particular I thought the blue hydrangea would tie in well with the Blueberry interior of the toolbox. The transfer didn’t fit perfectly ‘as is’, I ‘cut and pasted’ the individual flowers where I wanted them.
I added one to the side of the toolbox as well.
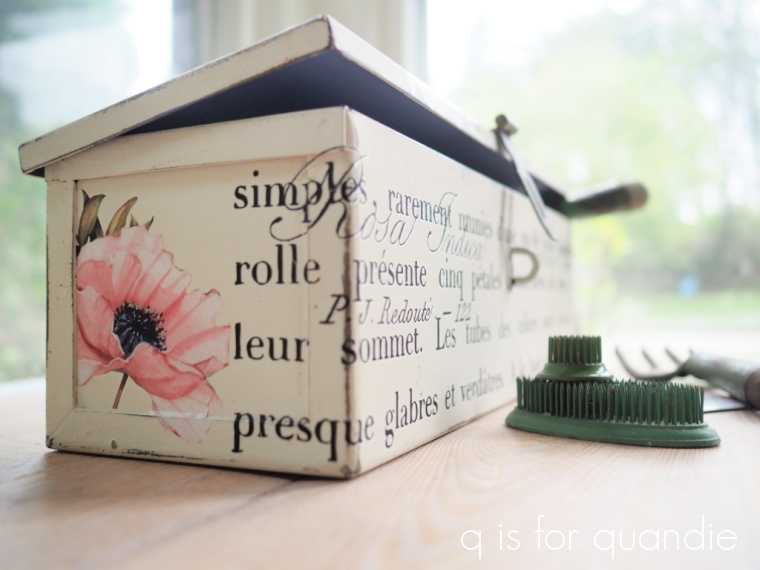
I left the handle and latch untouched.
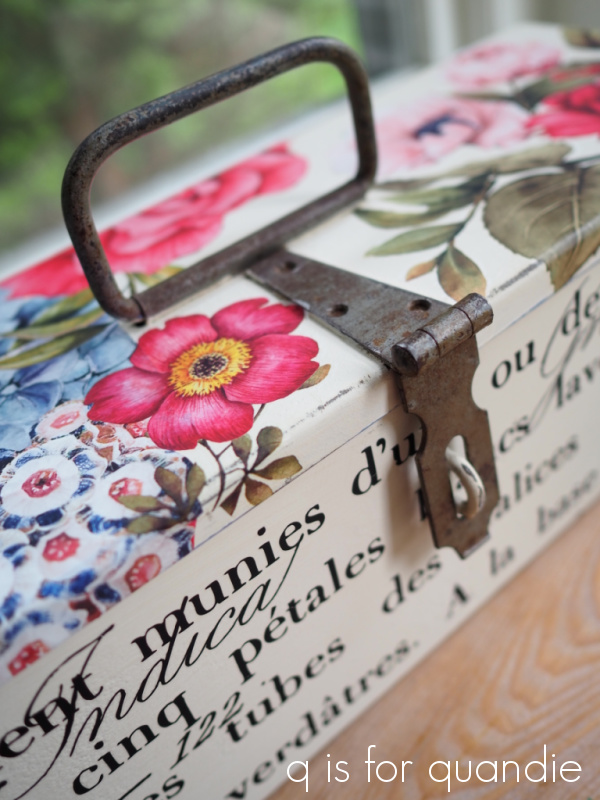
They have an awesome patina, don’t they?
This toolbox would be the perfect container for gardening, or floral arranging, supplies.

Sidebar note, that is one of my favorite lilacs. Isn’t it gorgeous?
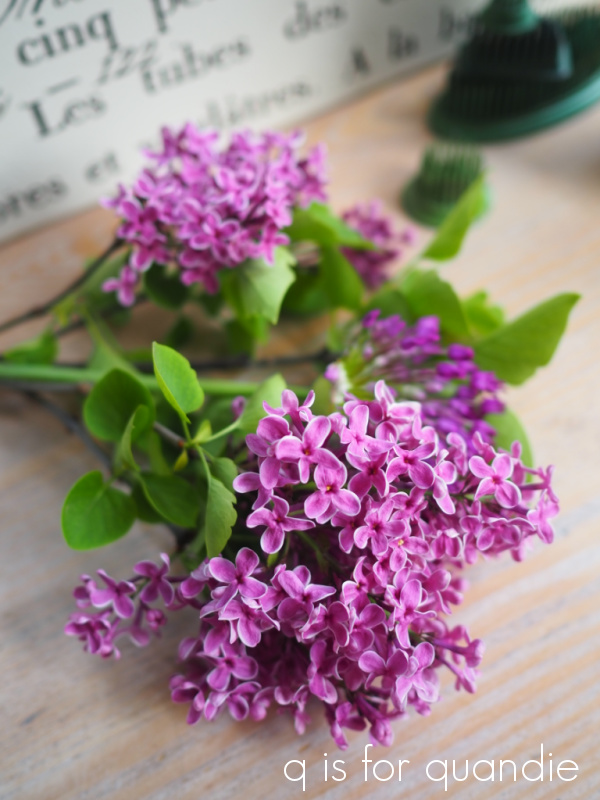
If you’ve followed the saga of my sad lilac hedge, that lilac is one of the original plants I put in 10 years ago. I started out with a row of really gorgeous modern hybrids rather than the classic old fashioned variety (because of course, who wouldn’t want the prettier ones?). None of the hybrids have done well. Over the last 8 years or so I have ended up pulling out at least one or two at a time and replacing them with the plain, old fashioned ones.
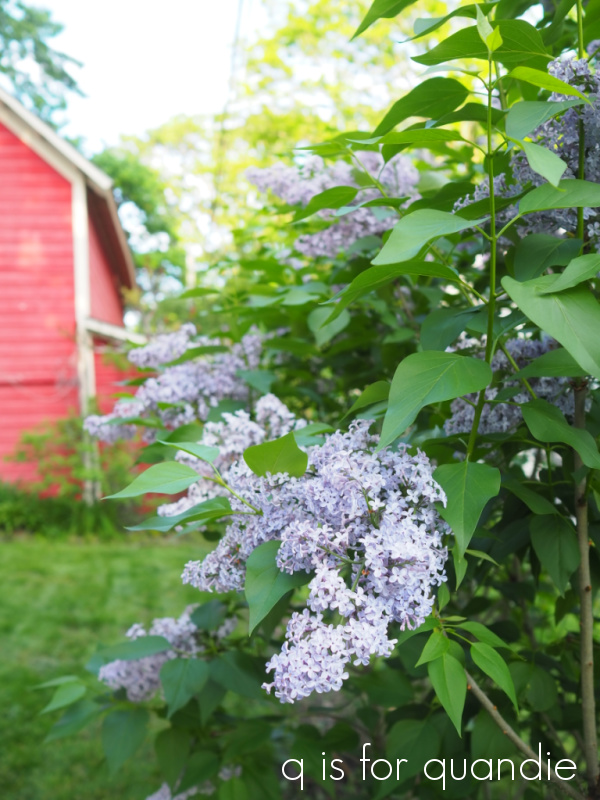
The old fashioned ones are growing (and blooming) like gangbusters now, while the hybrids continue to look scraggly. I’ll be pulling out two more this year and replacing them.
Anyway, I digress. Back to today’s post. You might be thinking hey, she said ‘when it rains it pours’ and three toolboxes don’t really constitute pouring. Especially when two of them are custom projects.
Well, while I was working on these three, my picker found 4 more toolboxes for me!
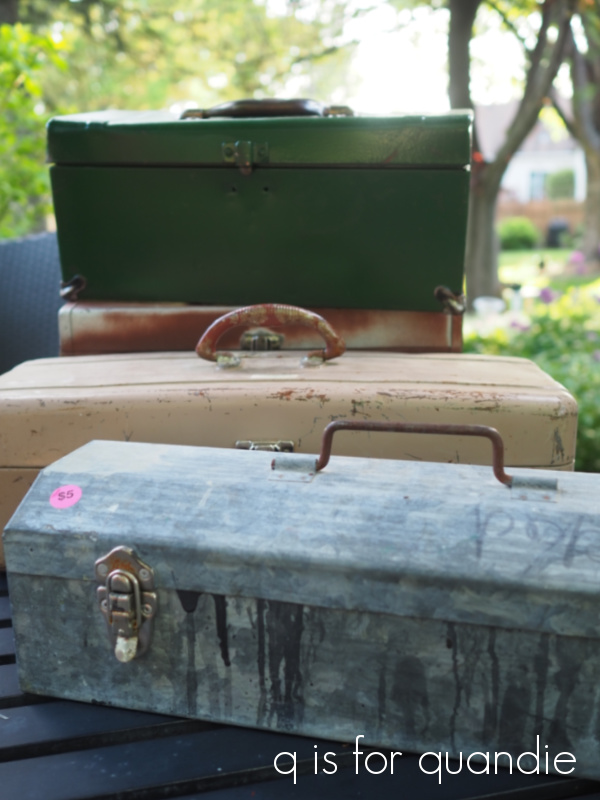
So there’s going to be a few more painted toolboxes in my future.

In the meantime, this one is already spoken for. If anyone would like to be on a waiting list for the next four, be sure to send me an email at qisforquandie@gmail.com.
So, tell me, what do you think of this one? Are you a fan of the flowers, or do you prefer the wordier ones? And have any of you had success with hybrid lilacs? I’d love to know, so be sure to leave me a comment.
Thank you to Dixie Belle Paint Co for providing some of the products used in this toolbox makeover.