seeing double.

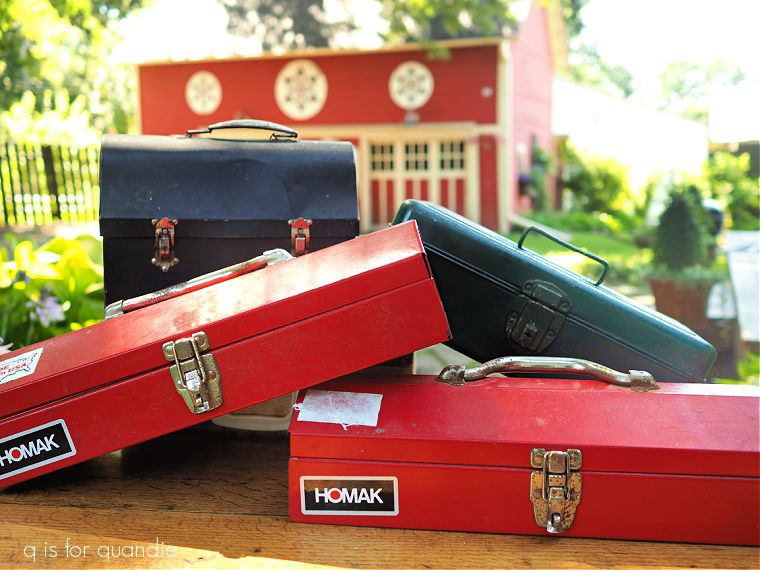
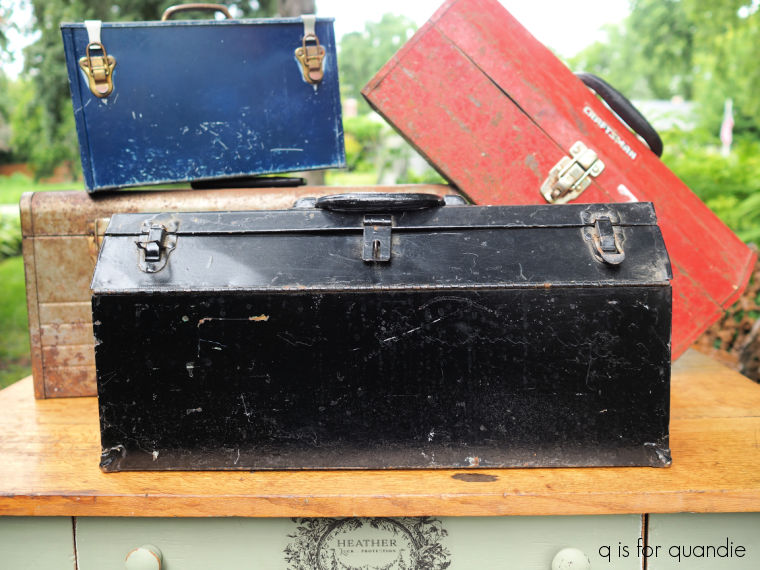
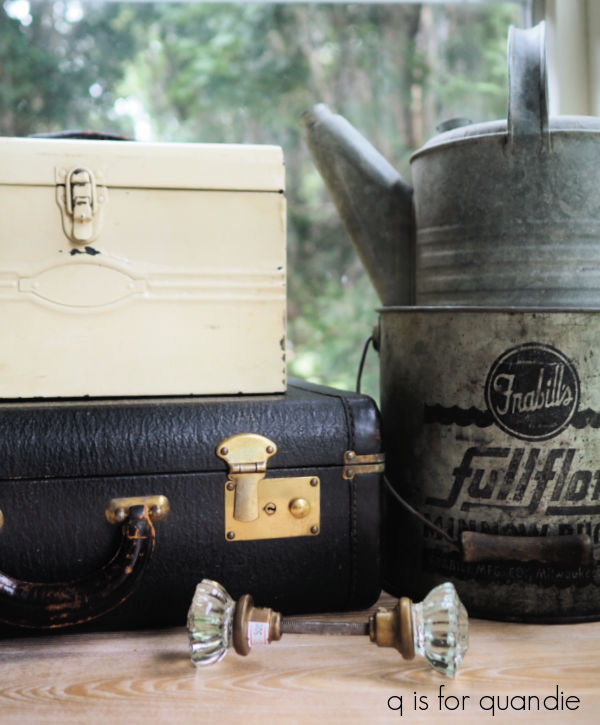
Earlier this summer I picked up this black toolbox at a garage sale.

While giving it a good cleaning, I noticed that there was a pretty blue/green/grey color underneath that black paint.

So that inspired me to use one of the new Dixie Belle colors on the inside, Oxford Fog.  Since this color is from their Silk paint line and thus has a built in primer, I thought I could get away with skipping my usual Bonding Boss.

But I was wrong.  If you look closely in the photo above, you can see little pin points of rust bleeding through the paint.  See them?

So that’s just a heads up for you if you like to paint rusty metal, you’ll want to use the Bonding Boss to prevent that rust from bleeding through your paint, even when using the Silk paint with its built-in primer.

All is not lost at this point, I went back and applied a coat of the Bonding Boss over the Oxford Fog.  Keep this in mind if you ever run into a similar problem, you can apply Bonding Boss over a coat of paint, you’ll just have to add another coat of paint over it.

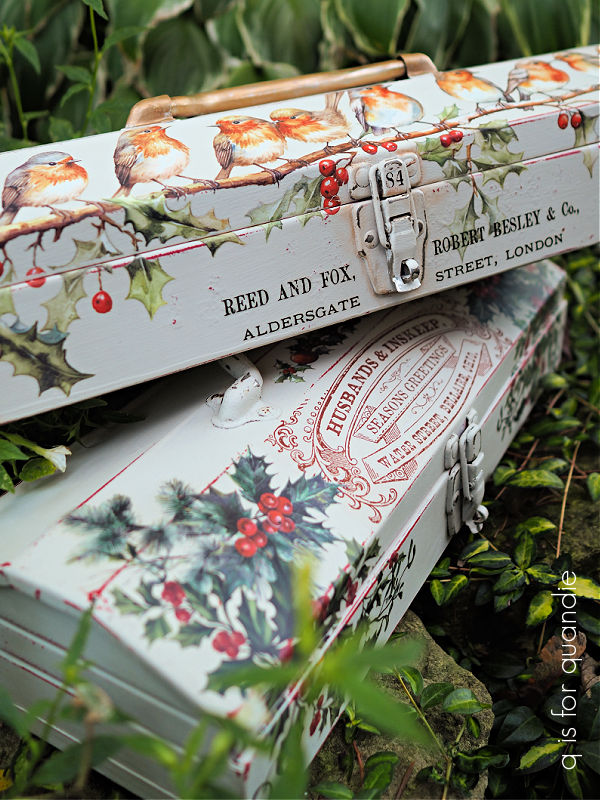
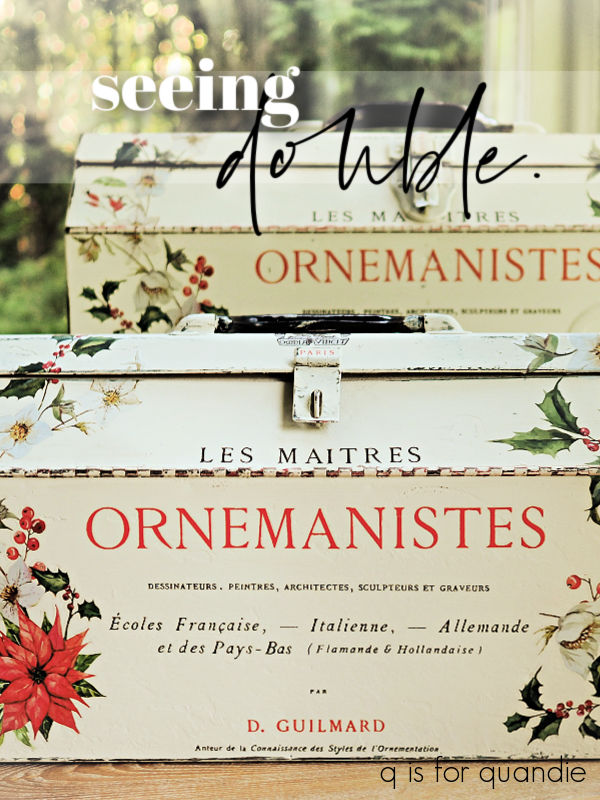
So I could have then added another coat of Oxford Fog over the Bonding Boss, but instead I decided to pivot.  I realized that this particular toolbox wax almost identical to one that I painted back in 2022.

Remember this one?

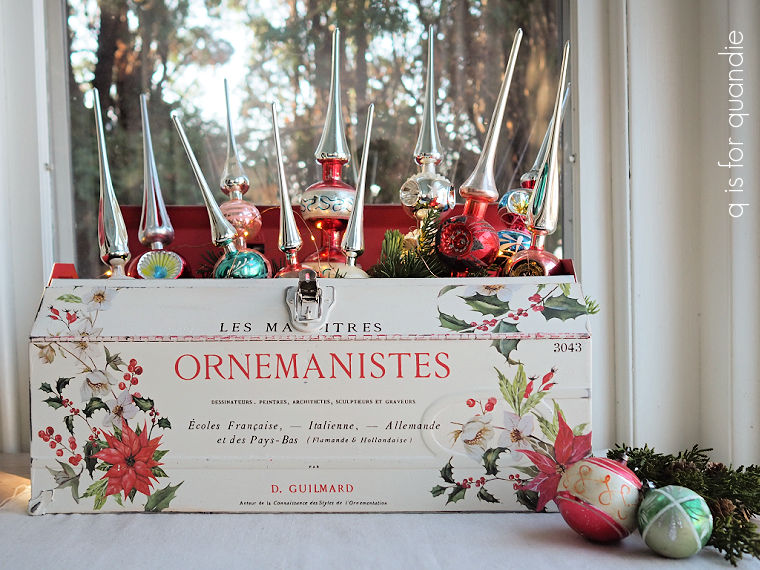
It’s one of my all-time favorites, and in fact I even kept it for myself and have since used it to display my vintage glass Christmas tree toppers.
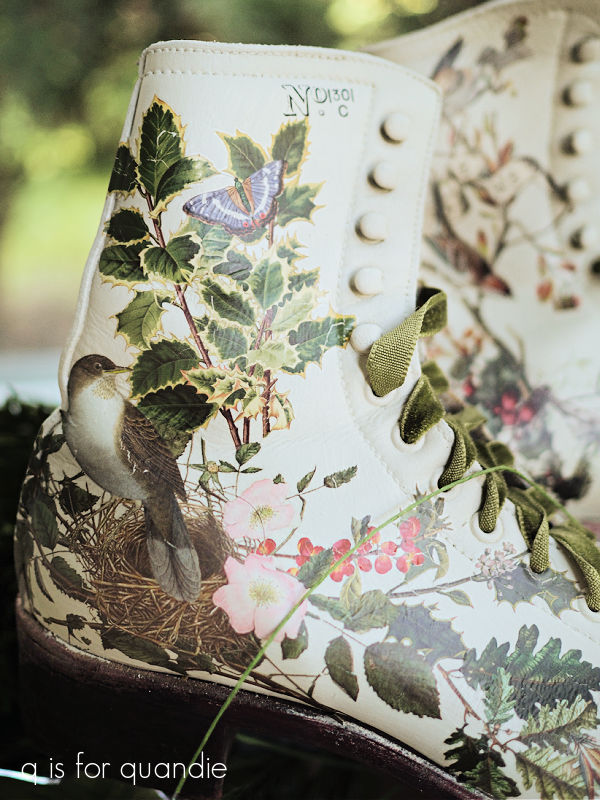
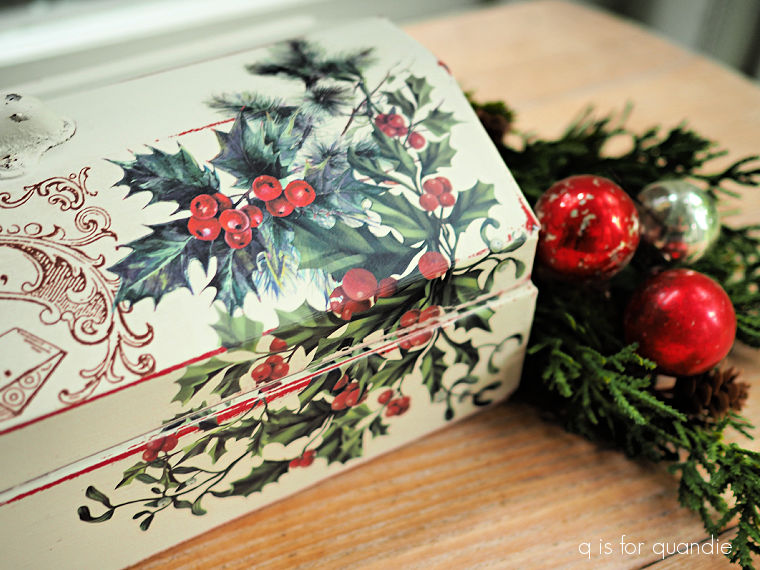
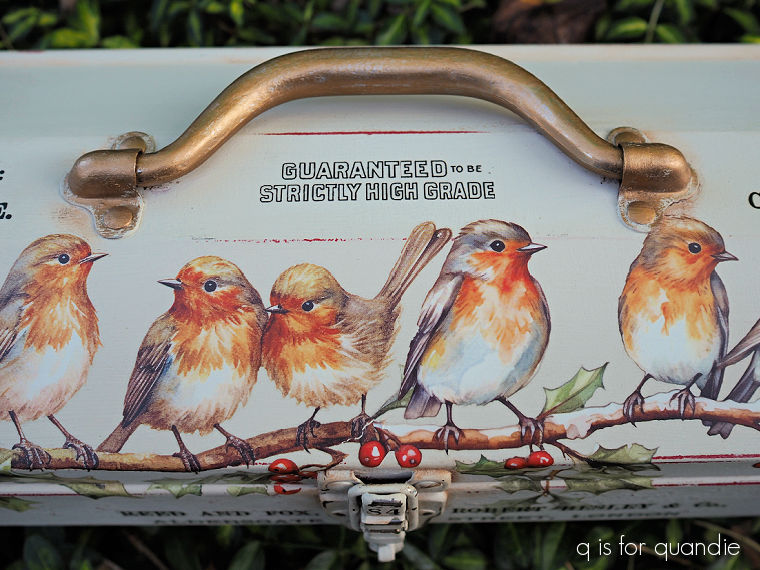
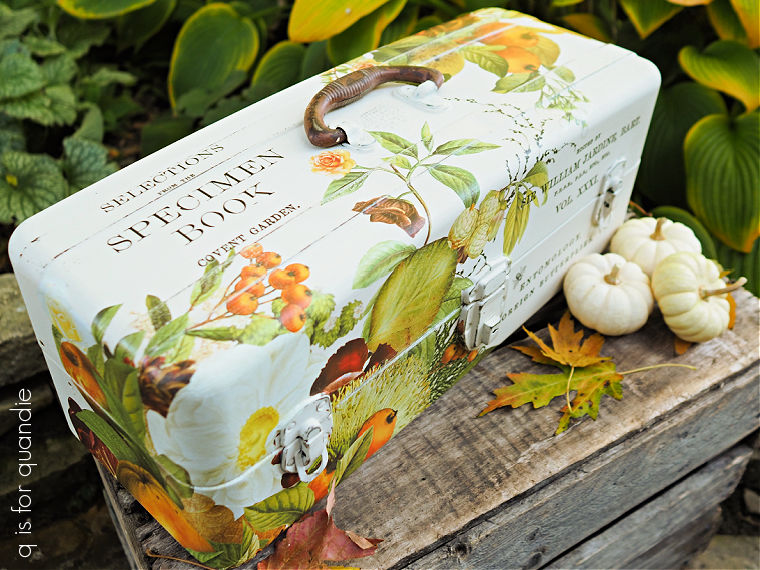
I also found that I could still order both of the transfers that I used on it, the I.O.D. Cosette transfer for the wording and the Dixie Belle Evergreen and Holly transfer.  Both are older transfers, but I was easily able to find them online.

So I decided to simply copy my own work and make another one just like it.

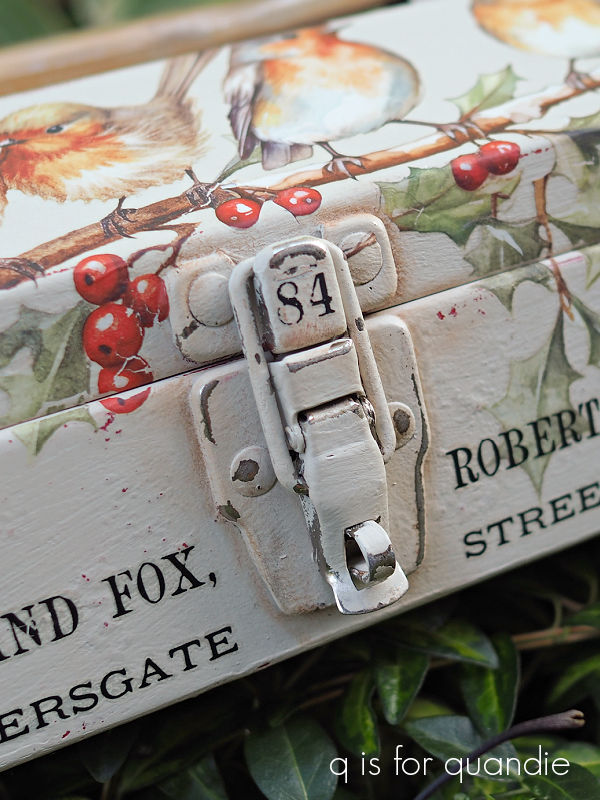
It’s not an exact duplicate.  This toolbox has two latches rather than a single centered one like the first toolbox.  But otherwise they are pretty much the same.

I also switched up a couple of other elements.  The older toolbox was painted in Dixie Belle’s Drop Cloth, this newer one is painted in Ecru.  The Drop Cloth definitely has more of a yellowish cast to it and you can really see that with them side by side.

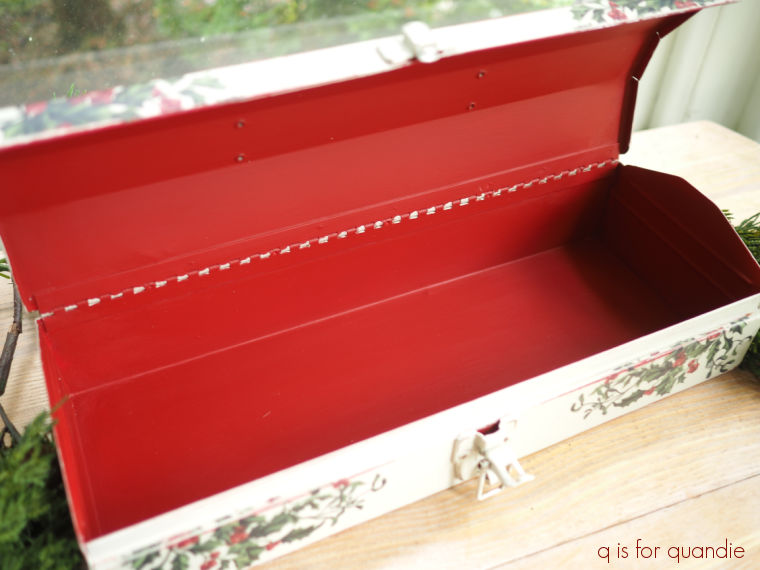
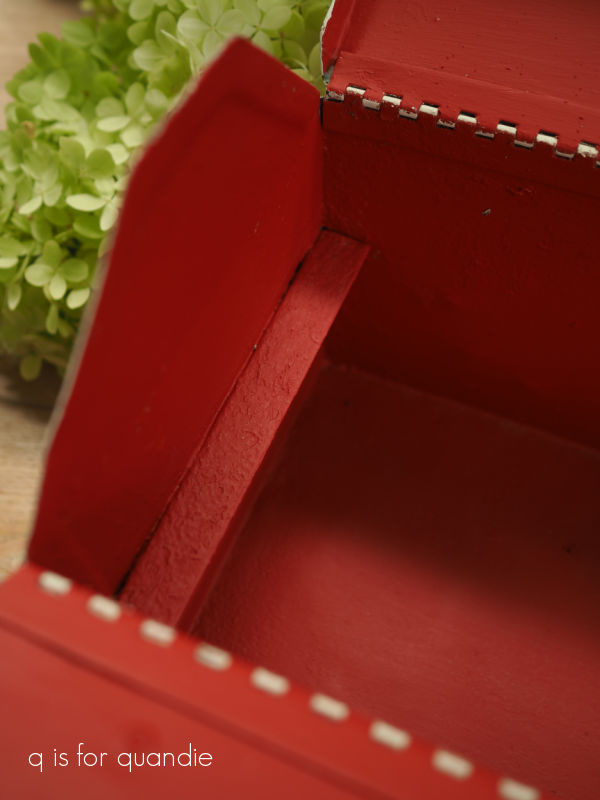
I also opted for a different color on the inside.  The original toolbox has Dixie Belle’s Honky Tonk Red on the inside, and I painted over that Oxford Fog with Barn Red on the new one.

It’s a subtle difference, but the Honky Tonk Red (top toolbox) is a bit brighter than the Barn Red.

By the way, I’m not sure that you can really see it in this next photo, but the Bonding Boss did do its job and prevented the rust from bleeding thru that Barn Red.

For those of you who may not be familiar with this product, it’s a combination of two of Dixie Belle’s original products, Slick Stick and B.O.S.S.  The Slick Stick was a product that improved adhesion over slick surfaces, and the B.O.S.S. ‘blocks odors and stops stains’.  Now one product does all of that, the Bonding Boss.

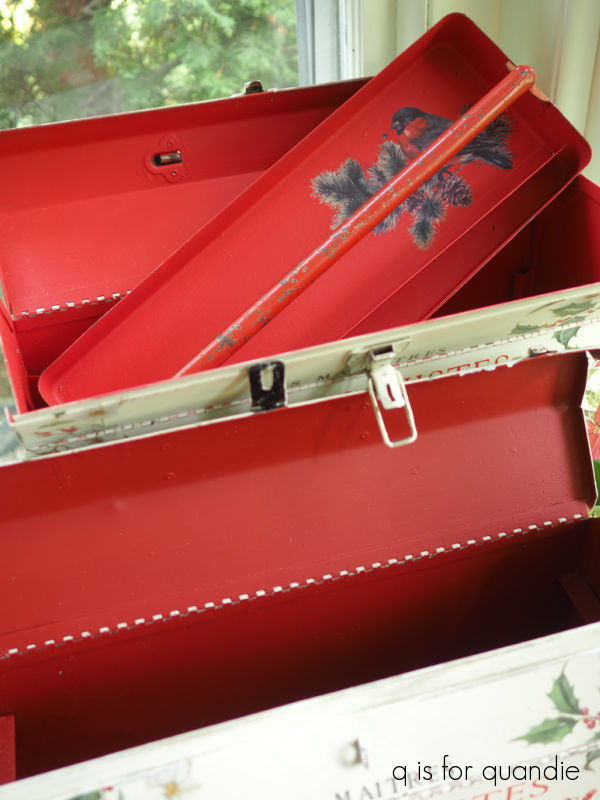
There is one other significant difference between the two toolboxes, the first one had a tray that I painted up.

This newer one also came with a tray, but I didn’t bother with painting it.

That’s because I’m planning to keep this 2nd toolbox now.  Since I always used the previous one for those glass toppers, I didn’t have a use for the tray.  I suppose I could have come up with some sort of use for it, but I never did.  It really was just something I had to store somewhere while the rest of the toolbox was in use.

So now I plan to sell the original with the tray, and keep the 2nd one with no tray for myself.  I will definitely be pulling it out again this Christmas to display my toppers.

By the way, I fully realize that this is WAY too early to be sharing Christmas decor.  However, I plan to have some holiday merch at my upcoming occasional sale which is precisely one month away (Saturday, October 4).  So I am getting cracking on some things for that and I hope you’ll forgive me for the early holiday post.  But then again, this gives you guys plenty of time to order these transfers for yourself and make your own Christmas toolbox, so maybe early isn’t such a bad thing.

What do you think?

the black hat society.

If you’ve followed me for long, you probably know that I’ve taken quite a few cast off cupboard doors and turned them into ‘signs’ using stencils.

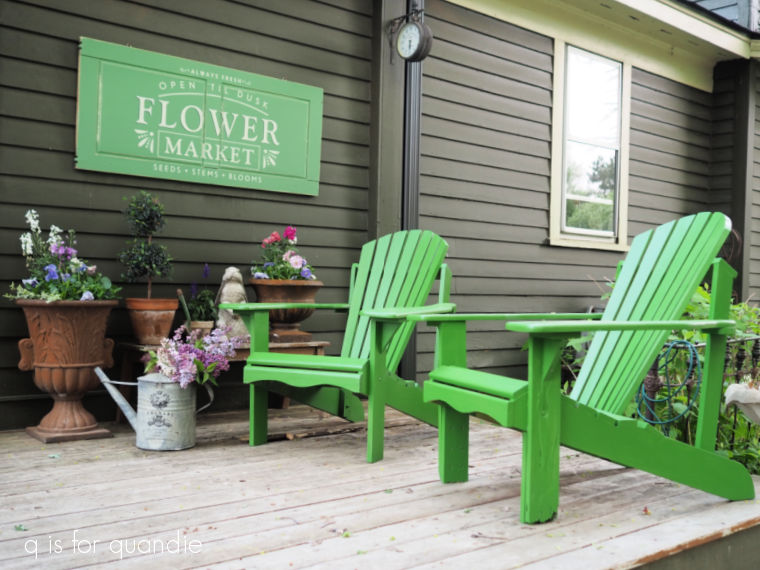
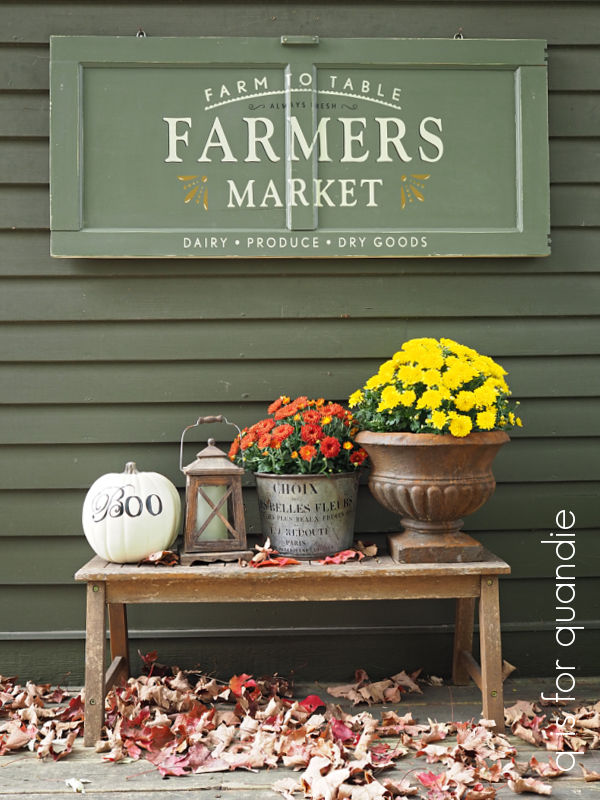
I’ve done a few signs with garden themes, and lots of signs for Christmas.
But I’m noticing that sales on these have kind of slowed down.  I had quite a few of them at my sale back in June that did not go.

So I’m taking a step back from producing quite so many.

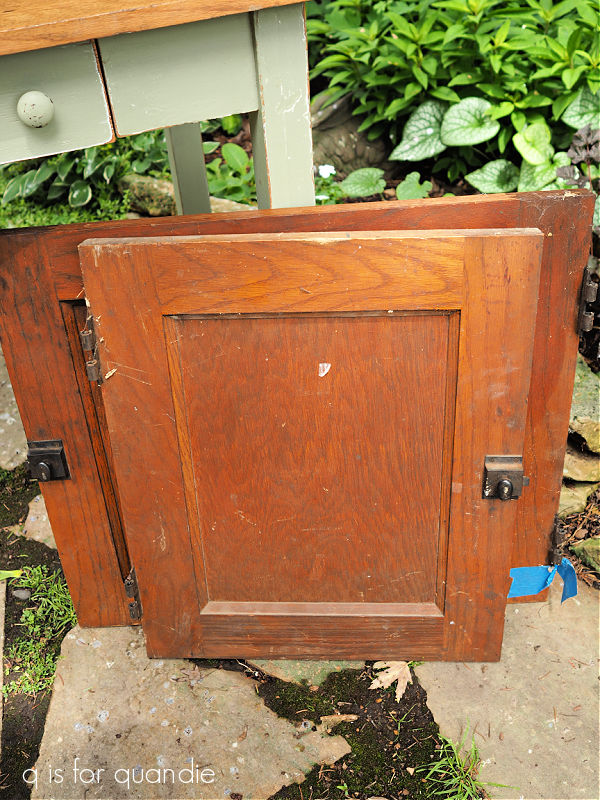
That being said, I did pick up an awesome pair of old cupboard doors at a garage sale earlier this summer.

And I certainly didn’t want them to go to waste.

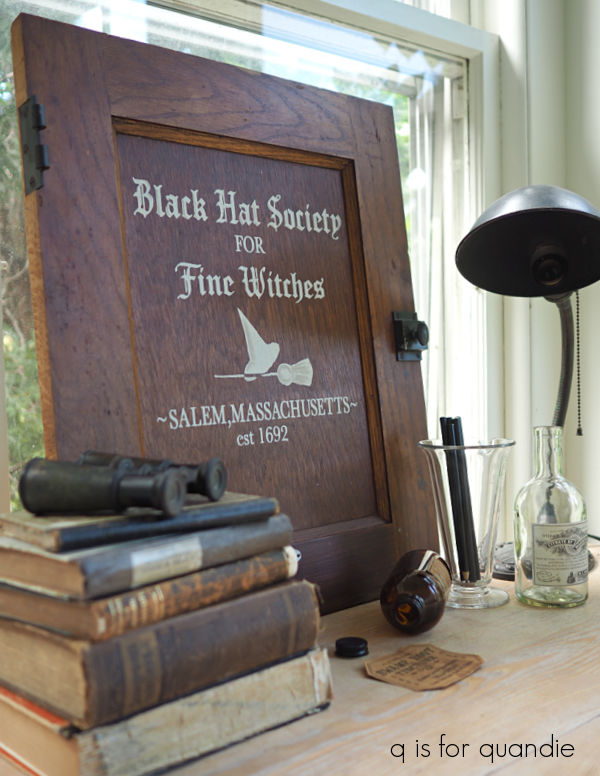
So I pulled out the smaller one a week or so ago and after giving it a good cleaning, I decided to give it a Halloween look.  Now that September is officially here, I think it’s OK to start transitioning to autumn, right?

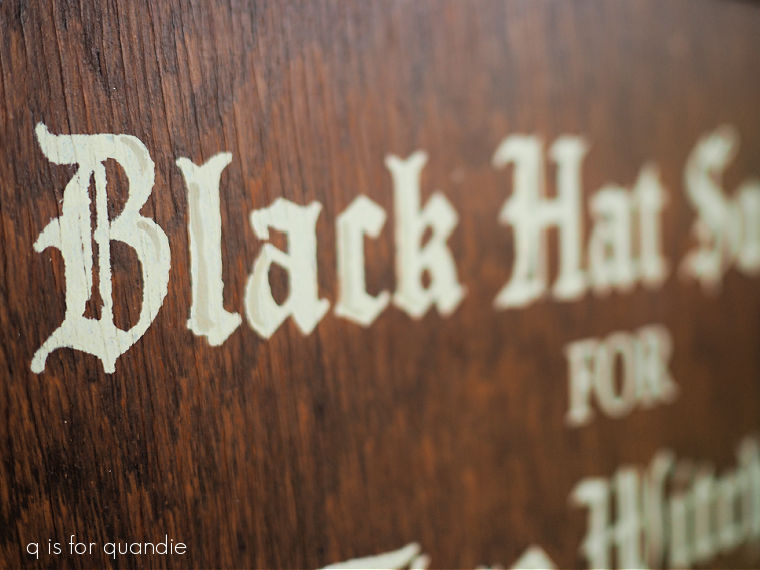
I just happened to have a stencil on hand that fit perfectly.

Rather than painting the door first, I decided to keep the original finish.  I just simply added the stencil using Dixie Belle chalk style paint in Ecru.

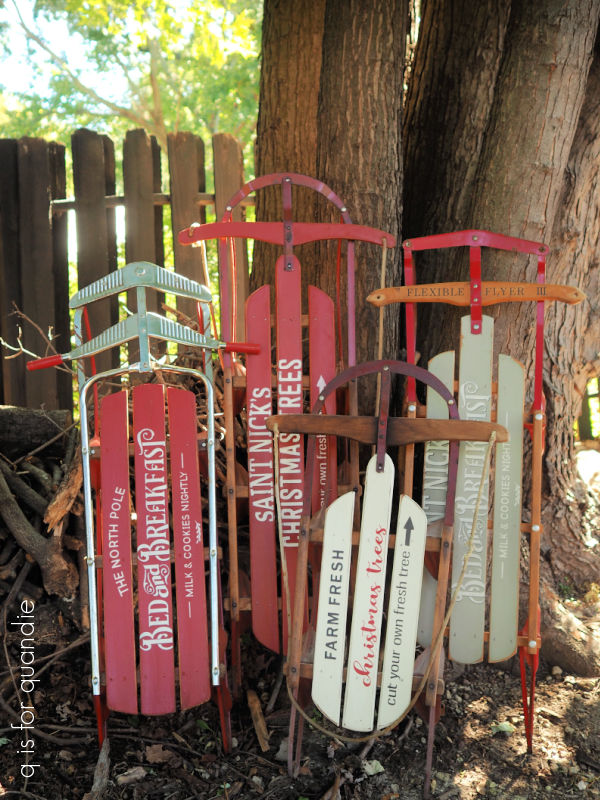
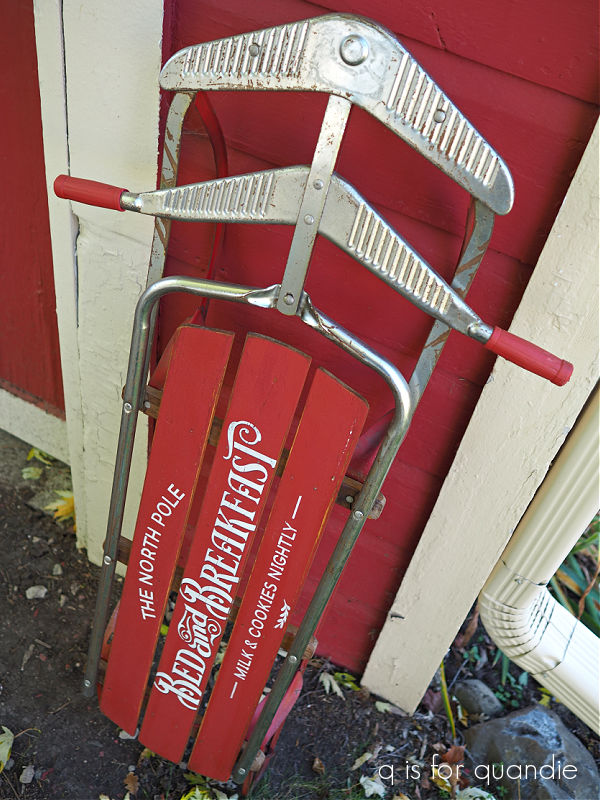
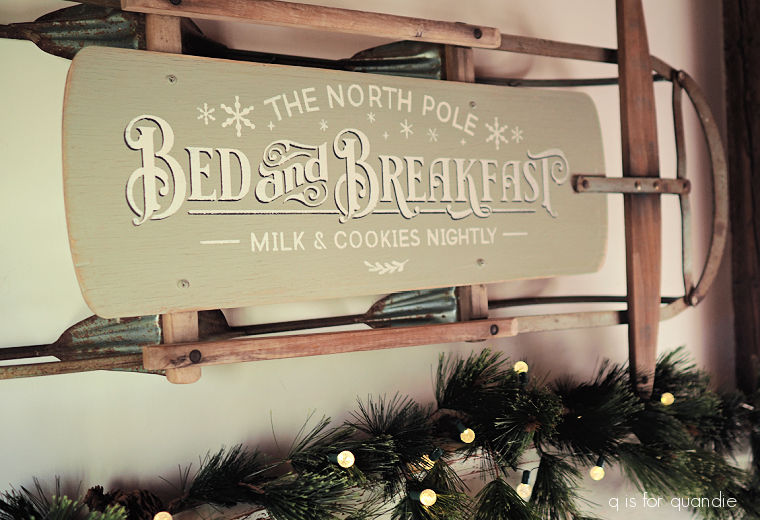
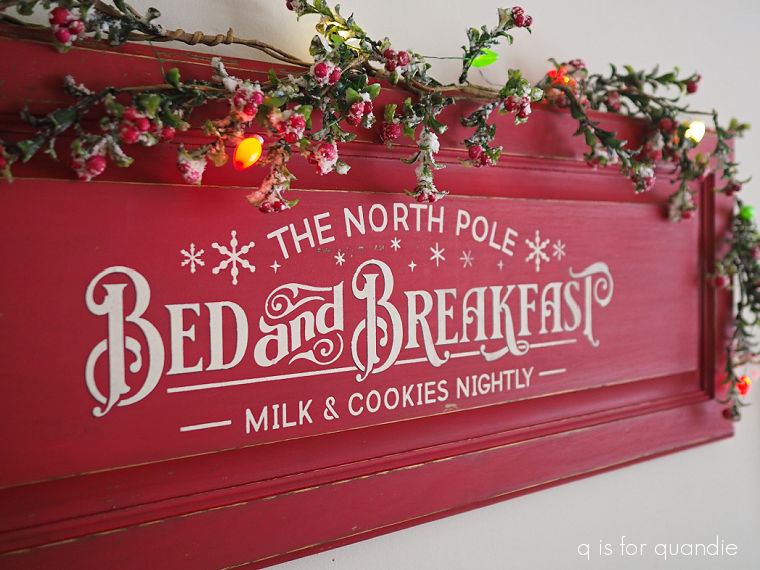
I usually like to add a shadow behind the larger wording on stencils.  For example, you can see that on the Bed & Breakfast sign below …

I do that by first stenciling the words in a darker color, and then moving the stencil slightly up and over and stenciling again in my final color.

But the wording on this particular stencil was just a bit too fine for that to work.  So instead I added a little bit of shading using Dixie Belle’s French Villa from their new Countryside Collection.

It’s definitely subtle, but I think it adds just a little bit more dimension.

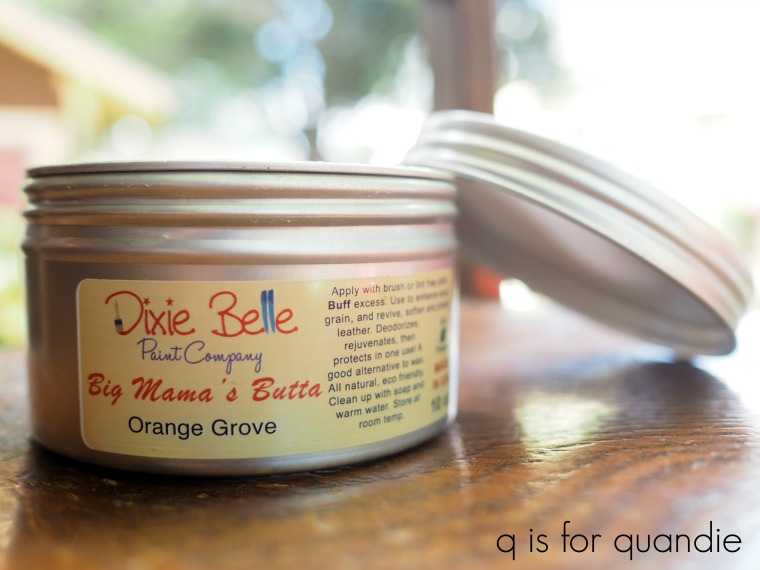
Once the paint was dry, I sanded over everything with 220 grit sandpaper and then I followed that up with Dixie Belle’s Big Mama’s Butta.

The original wood finish really need a bit of a refresh, and the Butta was perfect for that.

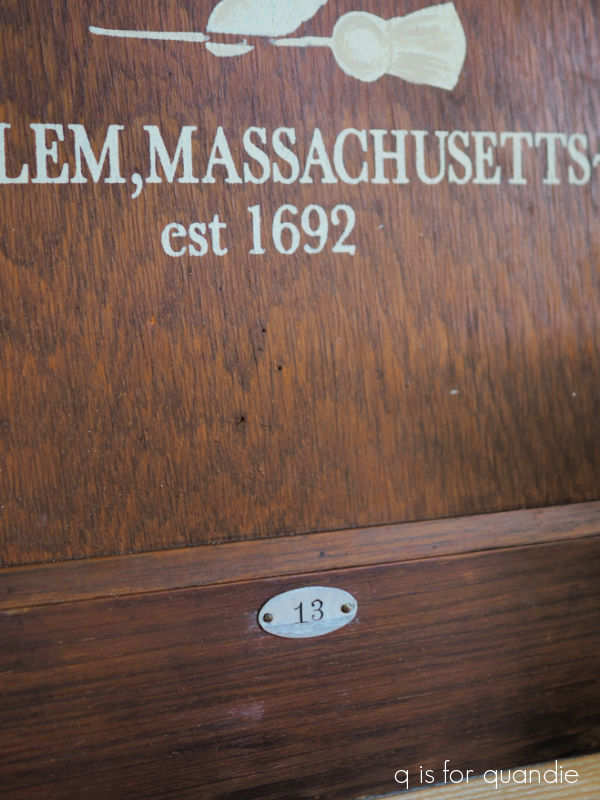
Last up, I added a little metal ’13’ to the lower part of the door.

I left all of the original hardware in place because I thought it provided some nice vintage charm.

I put a sawtooth hanger on the back so that it could be hung on the wall, but I rather like it just leaning … maybe on a mantle or at the back of a bookshelf.

Unfortunately, I didn’t seem to have any ‘witchy’ sort of items to use for staging my photos so I made do with a beaker, some bottles and a stack of old books.

I think this particular cupboard door sign would be a unique bit of Halloween decor, how about you?

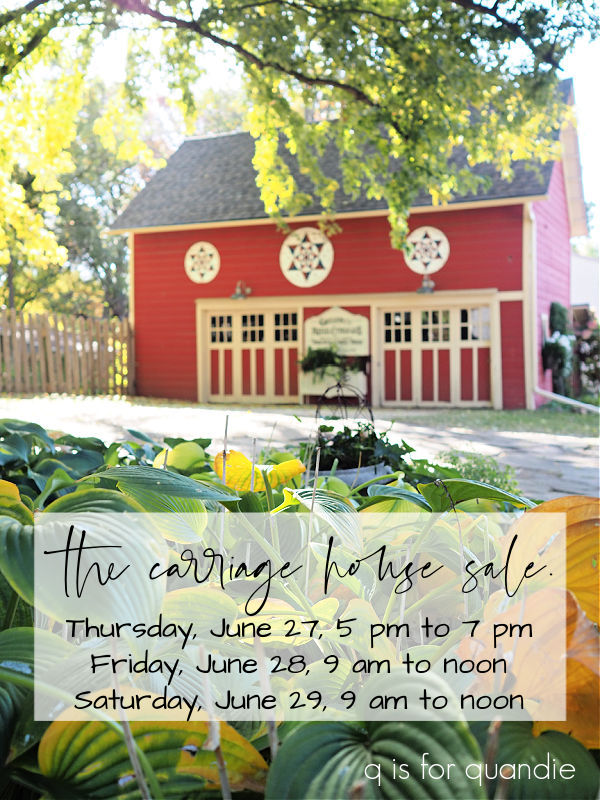
I plan to hang onto it for my upcoming occasional sale.  I’m planning to have the sale on Saturday, October 4, rain or shine (fingers crossed that it’s both sunny and relatively warm), so if you’re local, be sure to mark your calendar!

red, white and blue.

Happy 4th of July to my American readers!

I’ll be heading up to nnK’s family lake home to celebrate, but first I thought I’d share some red, white and blue.

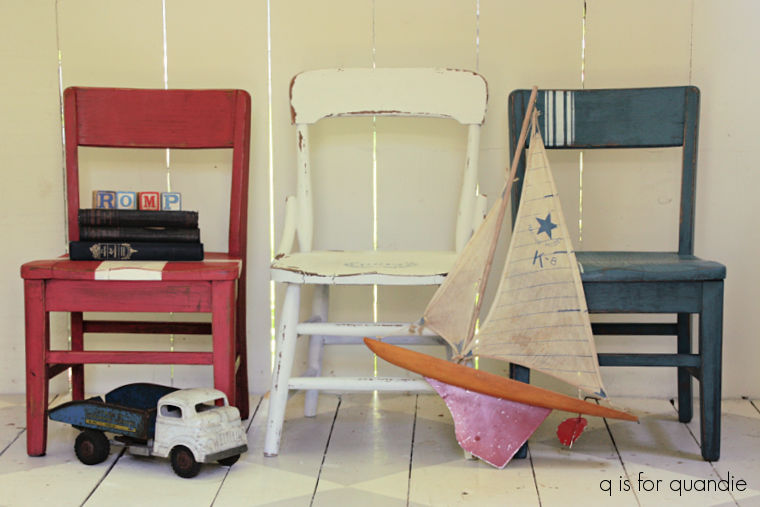
One of my all time favorite 4th of July themed makeovers was this trio of chairs from back in 2016.

I loved how they turned out, especially the red and white chair.  I have another small chair to paint waiting in the wings, maybe I’ll try that look again.

Those old pics taken in the ‘photo cottage’, which is now the potting shed, remind me why I didn’t like taking pictures in there.  I could never get the lighting and/or white balance right.

But those chairs sure were cute.

I grabbed this pair of buoys from the thrift store one year and gave them a red, white and blue makeover.

My Norske toolbox was my favorite red, white and blue toolbox.

OK, so it’s not exactly an American version of red, white and blue, but hey, we don’t have a monopoly on those colors.  According to Google there are 29 countries that have red, white and blue flags including the U.K.  I often paint the union jack design in other colors, but I did paint a traditional one on this desk in Mr. Q’s study.

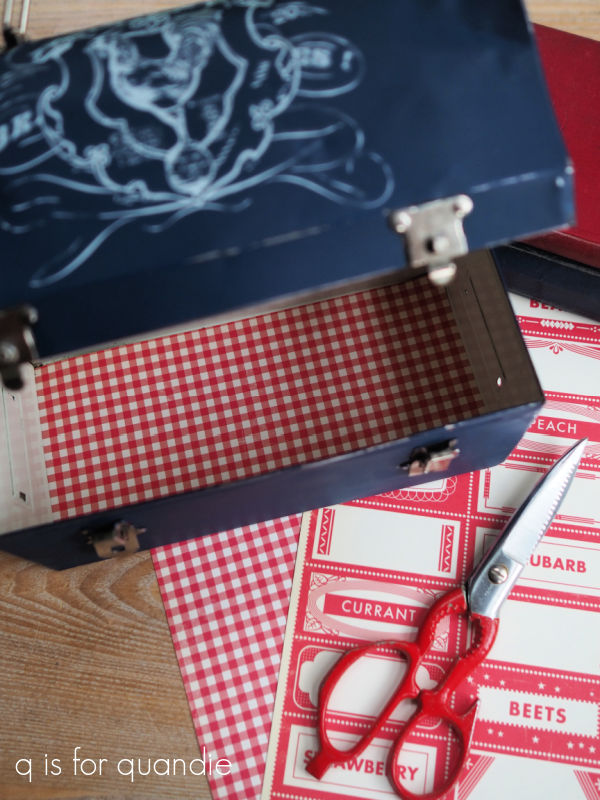
More than one of my red, white and blue projects were flops including this lunchbox makeover.

I ended up painting back over it and giving it an entirely different look, at which point it sold quite quickly.

I have to admit, I like that look much better myself.

I also had to makeover this patriotic themed desk.

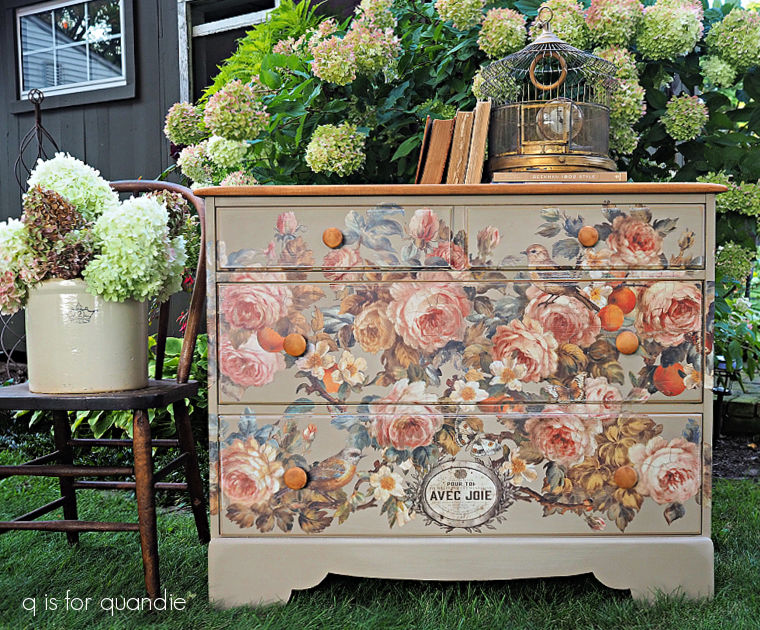
It just didn’t sell with a simple blue and white paint job, so eventually I also converted it to a more floral look and was able to sell it.

So, I don’t know.  Maybe the red, white and blue is OK for the 4th of July, but not so much on furniture.

Regardless, I hope you’re having a great day whether you’re celebrating the 4th of July or not!

the year in review.

Happy New Year!

At the close of each year I typically like to put together a blog post sort of summarizing the year.

Unfortunately, I suspect that it comes across as one of those annoying holiday letters that some people send out.  You know, the ones where they talk about all of the trips they went on, and how great their kids are doing, and how much they love their new winter place in Aspen.

You know what I mean, right?

But in all honesty, this particular blog post is more for me than for you.

I like to have a summary of the year to look back on later.  I often go back and read  previous year’s posts to remind myself of things that I have done from year to year.  There is a common theme to all of these year end review posts; that I feel like I haven’t really accomplished much this year, but discover upon review that I actually have.

So if you’re annoyed by those holiday letters you may want to stop reading here and just come back later in the week for a less boring post.

But if you’re sticking with me, let’s review 2024 starting with the elephant in the room … a.k.a. furniture painting.  Yep, in the beginning this blog was mainly about furniture painting.  But I have been moving away from that for a while now.  I did do a few furniture pieces in 2024 though.

Well, OK, literally just a few … or well … like maybe 4.

I’ll admit, I mainly did this one because I wanted to use that gorgeous transfer from I.O.D.

I did a couple of other very simple makeovers of pieces that I found really cheap (and/or free) at garage sales, like this bookcase.

But overall 2024 was not the year for furniture makeovers for me, unless you count the miniature ones.

I have been having way too much fun with those.

There is much less heavy lifting involved in painting dollhouse furniture.

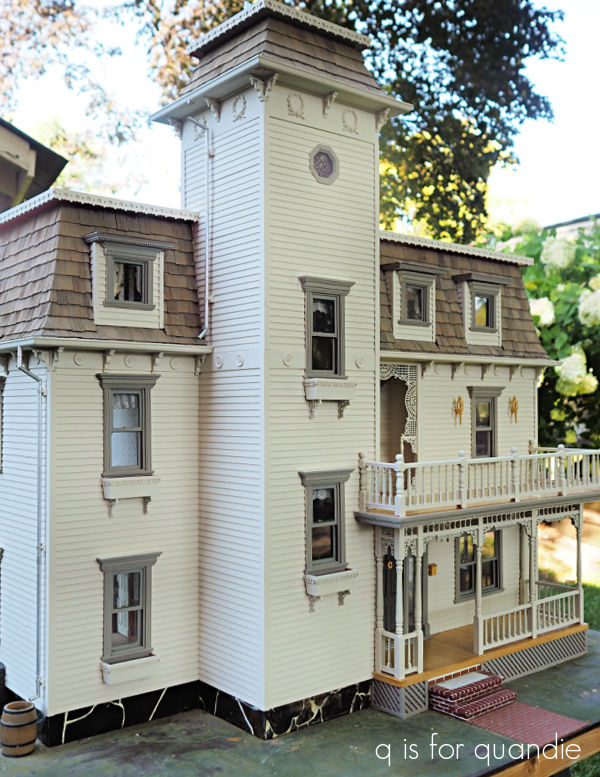
I also retrieved my dollhouse from the in-laws, and gave it a makeover on the outside (plan to see more of the inside in 2025).

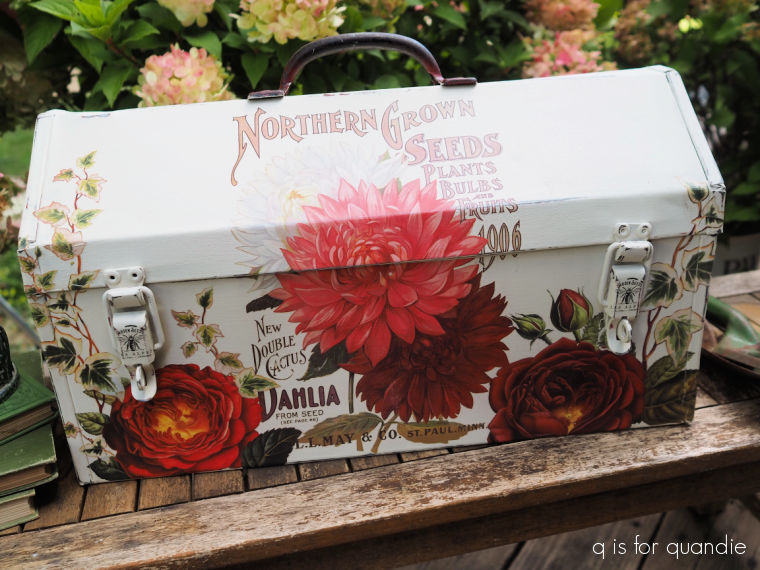
Once again, 2024 saw lots of toolbox refurbs with the northern grown toolbox being one of my favorites.

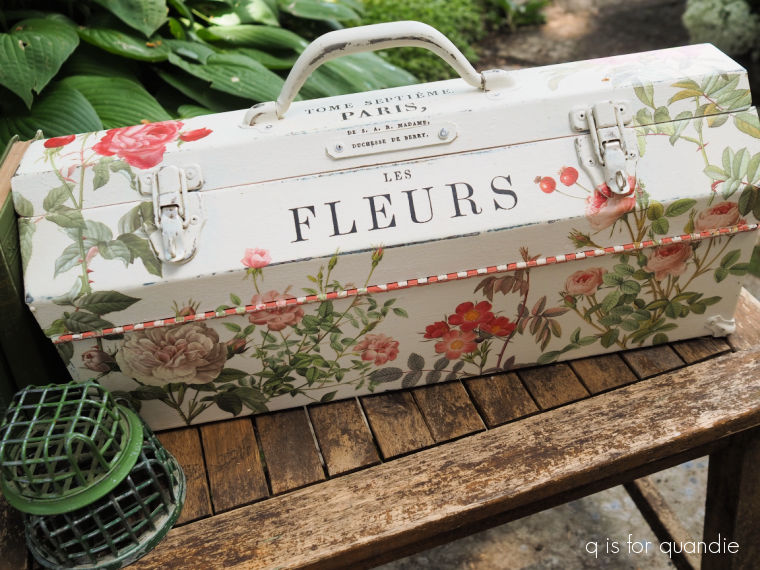
I also really loved how the duchesse’s toolbox turned out.

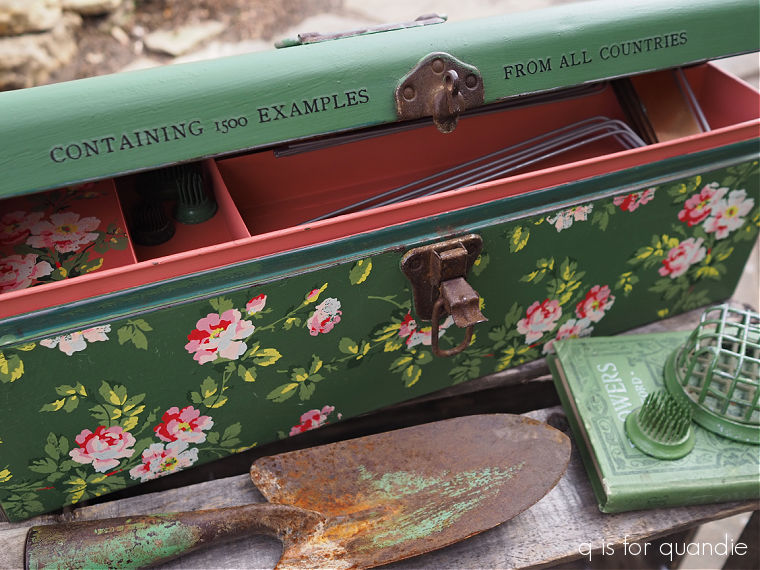
And just to prove I don’t always paint everything in Dixie Belle’s Drop Cloth, I went green with the st. patty’s toolbox.

I have to admit, 2024 wasn’t a spectacular year for garage sale finds.

I did bring home a few goodies here and there though, including this haul from the Tangletown sales.

That little mirrored cupboard was one of my favorite makeovers in 2024.

And remember this guy from the Bryn Mawr sales?

He was an awesome find.

But speaking of sales, 2024 saw the return of the Carriage House Sale!

That was a biggie.  It had been 8 years since my last sale.

It went rather well, so I’m tentatively planning to have another sale in 2025.  This time I want to schedule it a little earlier in the season, late May possibly.  Don’t hold me to that though, we’ll have to see whether or not I can find enough inventory by then.

I did manage a few home improvement projects in 2024 starting with redecorating the q branch.

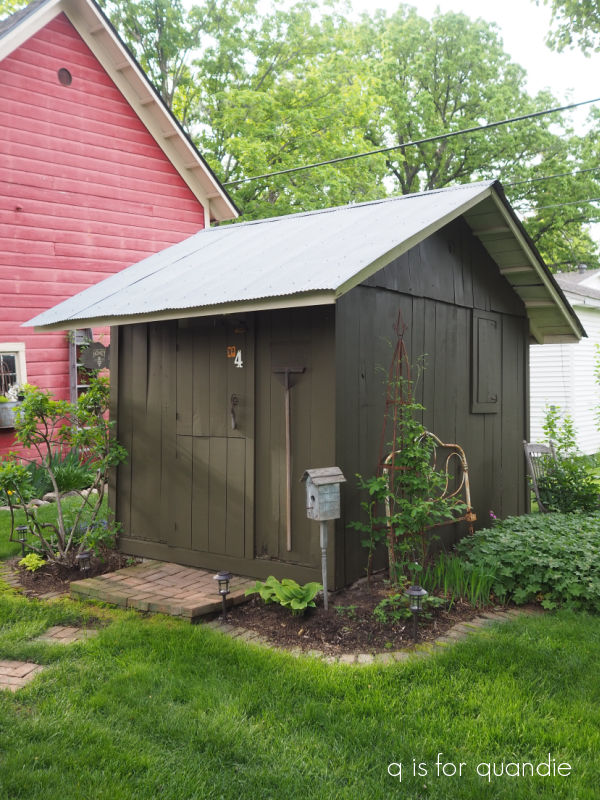
In May, I painted the shed …

and the fence.

I’m still quite happy with my decision to go with a black stain on the fence.  It does exactly what I want it to do, which is recede into the background and become nearly unnoticeable.

It was lucky that I got both of those projects done early in the season, because the summer ended up being so rainy that I was barely able to find three sunny days in a row to recoat the sealer on our deck.

On a rainy morning in July I finally got around to painting the sections of wall in the dining room that I’d stripped the wallpaper from more than a year ago.

Speaking of all that rain, 2024 ended up being a tough year in the garden.  It started out great.  Things were looking really good.

I initially thought the rain was a good thing for my plants.

I never had to water anything.

But then there was a hail storm.

It did a fair amount of damage, especially to the hostas.

Then the wet weather started to cause other problems like the leaf spot fungus on my lilacs, and a massive earwig infestation on the hostas.

The super wet summer also led to a jumping worm population explosion that I’m going to have to figure out how to control going forward.

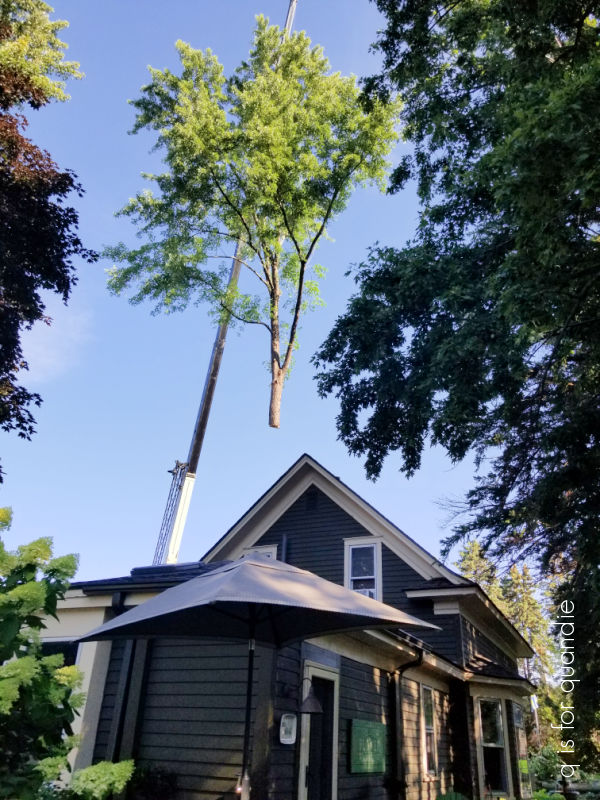
And then there was the loss of my neighbor/handyman Ken’s tree.

I’m not gonna lie, I’m struggling with this one.  I can totally blame this loss on the rain as well.  We had numerous storms that led to trees coming down all over in our area, and Ken was worried that his tree would be next.  So he had it cut down instead.

I’m still not over it, and I don’t want to talk about it so let’s move on.

It did lead to me planting a hedge of Quick Fire Fab hydrangeas though, so it will be fun to see how that turns out (hopefully better than my lilac hedge).

Although I did manage to go on a few trips in 2024, they were mostly repeats.  My sister and I went to Disneyworld for the Festival of the Arts back in February.

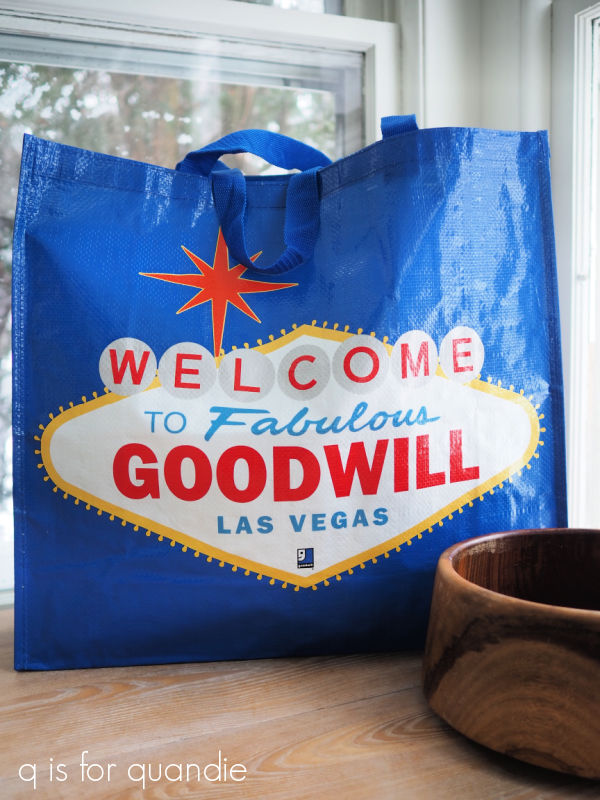
I visited my mom in Las Vegas in March, but didn’t find anything fabulous at her local Goodwill.

Then I went back again in April with my sister …

and again in October with both my sister and my niece when the three of us also took a side trip to Disneyland.

And we visited the Clark Co. Museum for the first time.

Finally, I also went to Mexico with my neighbor nnK’s family in early December.

Mr. Q and I plan to visit a couple of places that are new to us in 2025, so be sure to stay tuned for that later in the year.

Once again writing this annual post has reminded me that I did get a few things done in 2024.

I totally recommend this exercise for all of you too.  Rather than making a list of New Year’s Resolutions for 2025, take some time to acknowledge the things you’ve already accomplished.  Just get out a pad of paper and make a list of everything you got done in 2024.  You might also be surprised to see just how long that list is.

happy holidays.

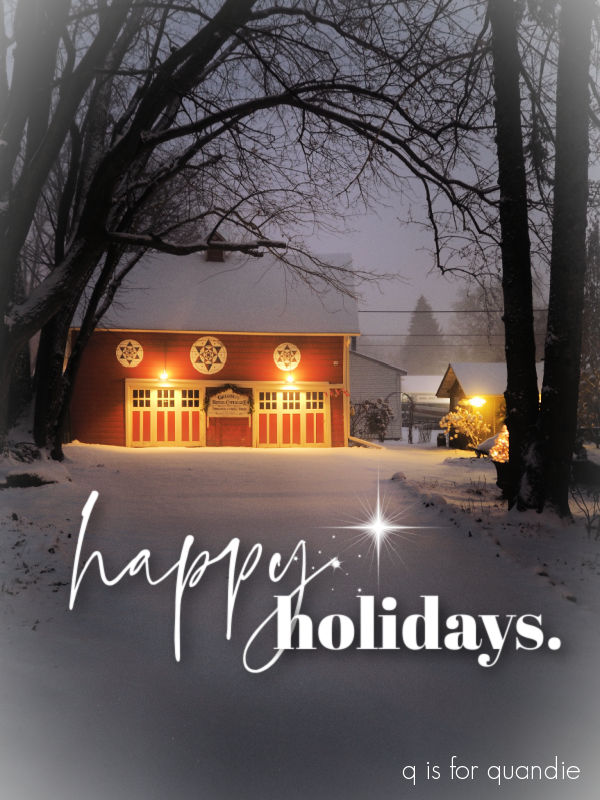
Just a quick message to say happy holidays, whatever holiday you may celebrate.

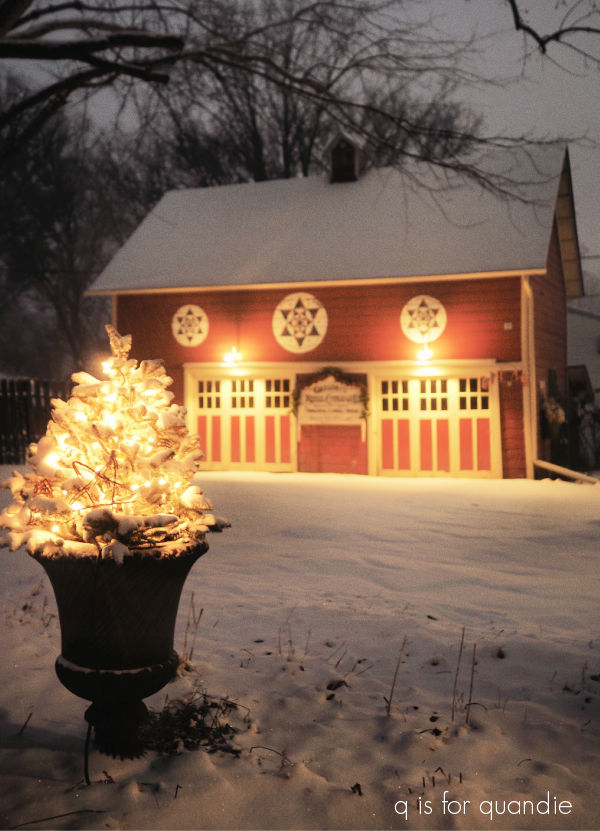
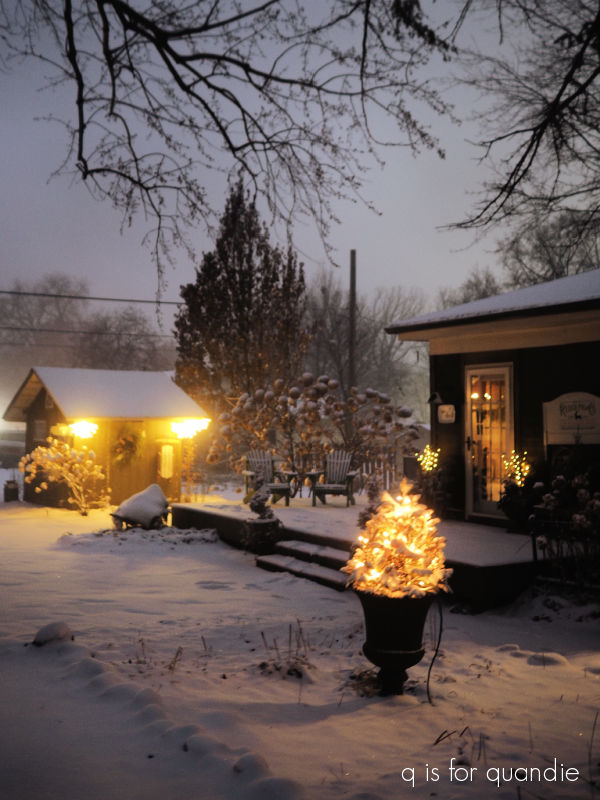
We had a very pretty snowfall last week, so I popped out into the garden just as the sun was coming up to get a few photos of my winter lights.

I’m purposely not calling them Christmas lights because I like to keep them on through the winter, well past the holidays.  I think you can do that with white lights.

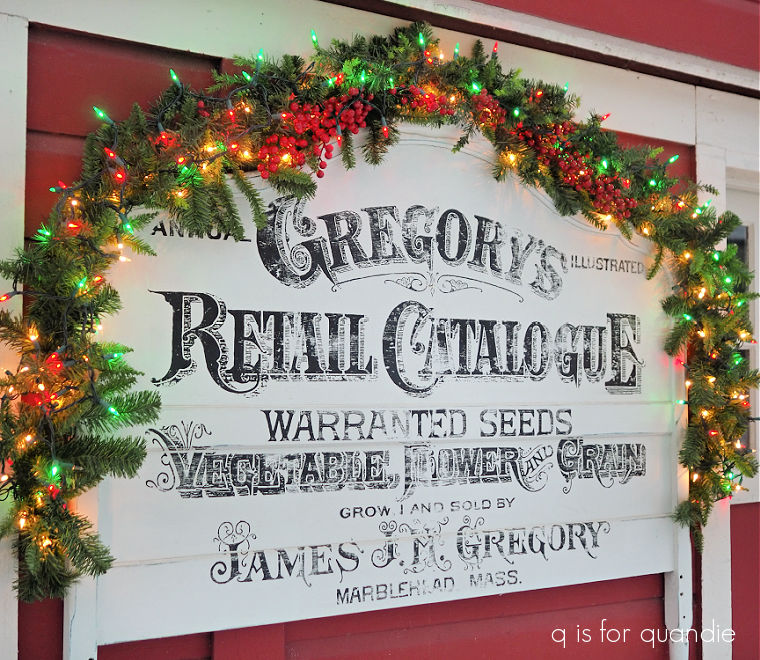
Last year I tried using red and green lights …

And I have to admit, they just weren’t me.

So I went back to classic warm white lights this year.

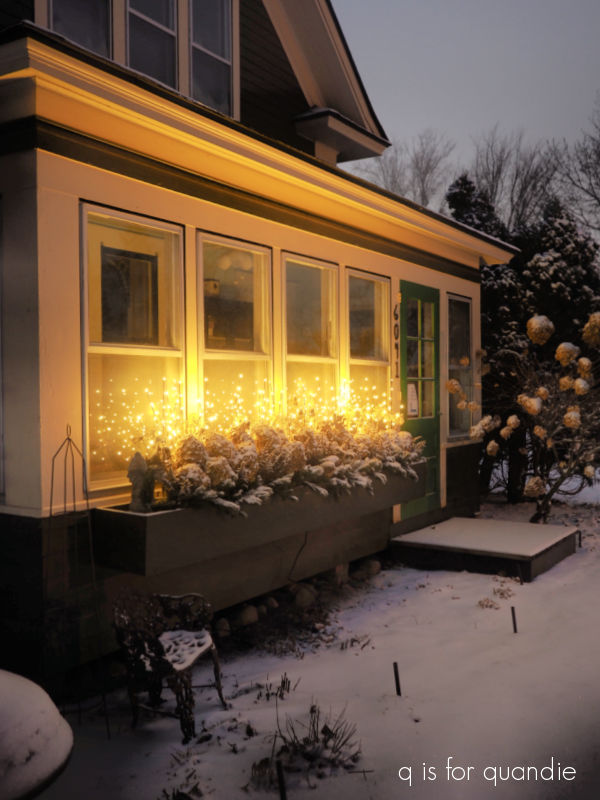
I had to replace the twig lights that I use in the front window box.  I had some that were quite a few years old, but they were finally giving up the ghost.  So I got some new ones at the after-Christmas sales last year.

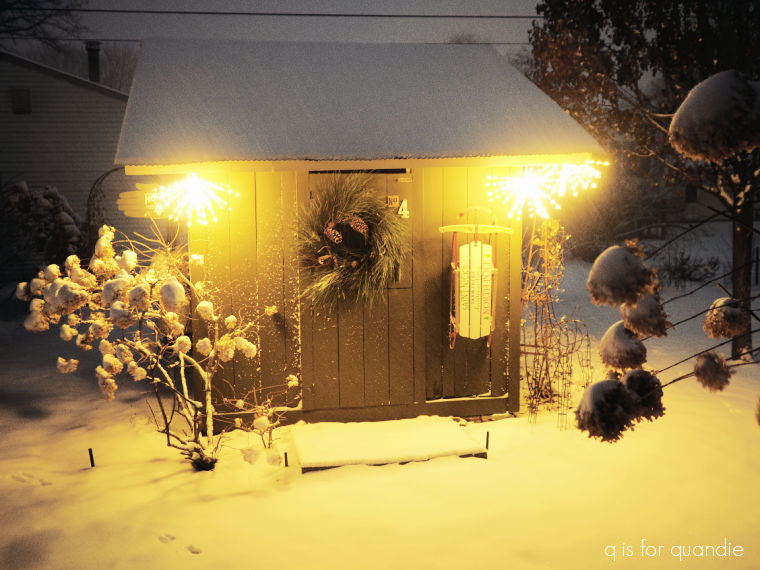
I also purchased some of the starburst style lights at an after Christmas sale two years ago, but hadn’t really figured out a good spot for them until this year.

I’ve hung them on the potting shed and I love the way they light up the night.

Whether you’re hanging out with family and friends, or just bundled up on the sofa watching Hallmark Christmas movies, I hope you’re enjoying the holiday.

I’ll be taking a wee bit of break from blogging this week, but I’ll be back next week with some non-holiday painting projects.  I’m not gonna lie, although I’ll enjoy those outside lights for a couple of months yet, I’m already itching to put the indoor decorations away and get started on that dollhouse renovation!

How about you?  Are you pretty much done with Christmas before it even gets here, or are you one that leaves your tree up until the middle of January?  Leave a comment and let me know.

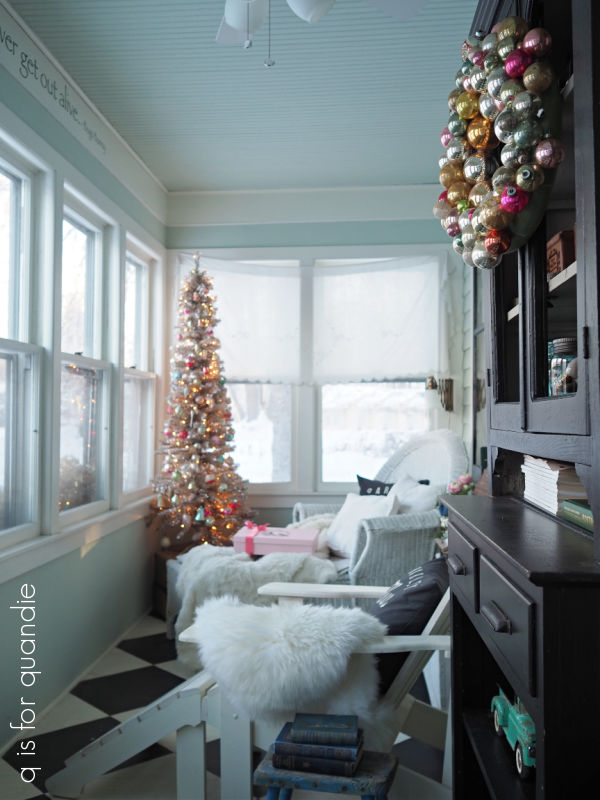
the tree spot.

I was recently watching a Christmas decorating vlog on YouTube.  The vlogger had recently moved into a new house and was deciding where to put the Christmas tree.  She mentioned that in her former home, once she found the perfect spot for her tree, she just kept putting it in the same spot year after year.

That got me thinking.  I realized that I’ve put my current tree in five different spots in my house since I purchased it in 2016.

So, nine Christmases, five spots.  Clearly I don’t like to repeat myself.

And actually, if we go back even further, I had an even smaller silver tree that was in yet another spot.

That was back before I added the giant English cupboard to the q branch.

It helps that my current tree is a ‘slim’ model, so it’s easier to tuck into various corners.  The rooms in my 1904 farmhouse are fairly small, I don’t think I could fit a ‘normal’ sized tree anywhere except possibly in the dining room.
Also, I realize that my silver tree isn’t quite traditional.  But it works beautifully with my non-collection of vintage glass ornaments.

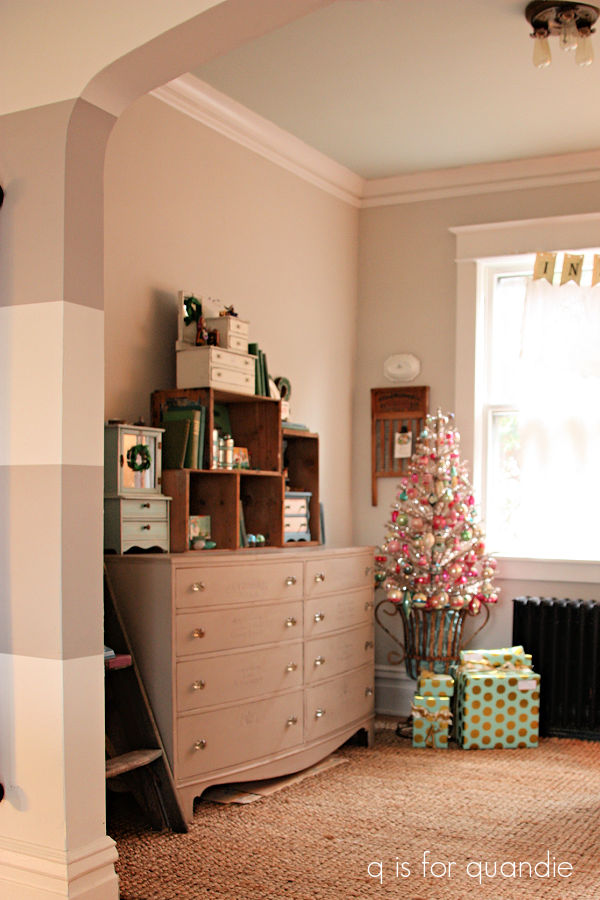
In 2016, I put the new, taller silver tree in the piano room near the bay window.

That’s back when I thought Christmas trees were supposed to be near a window so they could be seen by people passing by outside.

I think many of us imagine the perfectly lit tree centered in a big picture window as being the epitome of Christmas.

But by 2017 I decided that I should put the tree where I wanted to see it.  I had acquired that English cupboard in the q branch by then, and I had just enough room in the corner beside it to tuck in the tree.

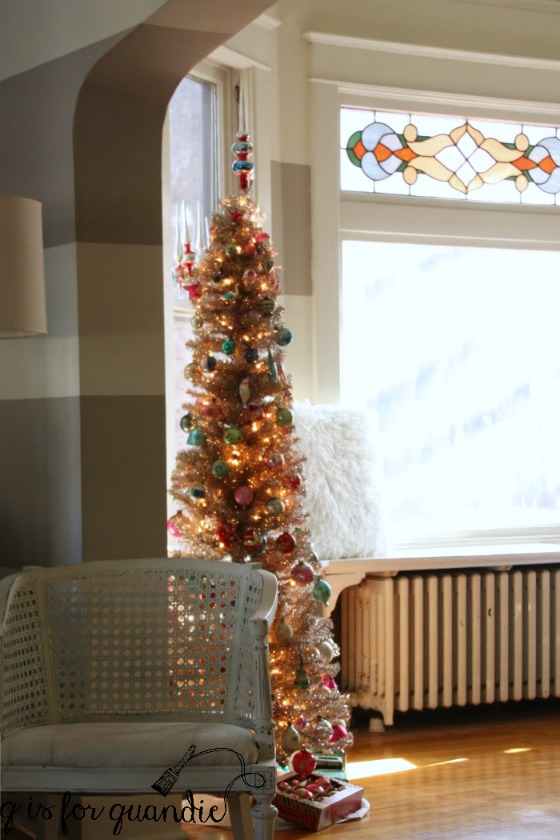
Fast forward to 2019.  I decided to change things up a bit again and I moved the tree to the living room.

I also changed the color scheme a bit.  Instead of using all of my vintage glass ornaments, I just used those in silver and/or gold.

And I added some brass horns that I’d found at a garage sale.

It was a very pretty tree, but I felt it looked a bit too small for that corner of the living room.

In 2022 I decided to try something totally different.  I moved the tree out to my three season porch.

Or as I call it in winter, my walk-in fridge.

I did really love it in that spot, although it was a bit of a chilly job to set it up.  And it was even colder when I took it down.  Plus, there isn’t any electrical out there so I had to run a cord through a cracked window which probably wasn’t terribly energy efficient.

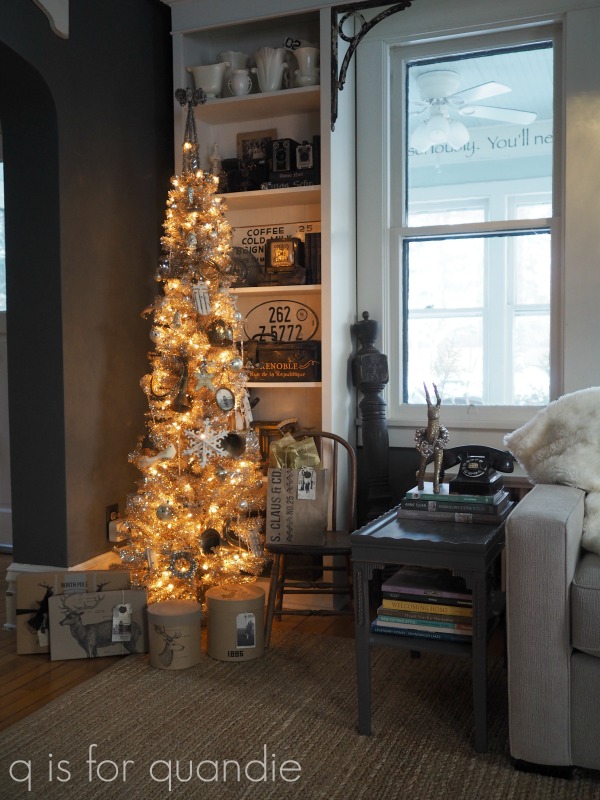
After giving the q branch a little bit of a makeover last January, I realized that I had a bit of space in another corner of the room for the tree this year.

I will admit that when my sister saw it in this location, she pointed out that it wasn’t very visible from the rest of the house.

But you know what, that’s OK.  This tree is mainly for my own enjoyment anyway.  And every morning as I sit here at my desk working on my blog I can admire the tree.

Will I put it back here next year?  Maybe.  Or maybe not.  But so far I think this has been my favorite location for the Christmas tree.

Now how about you?  Do you pick a new spot for your tree from year to year, or does it always go in the same spot?  Leave a comment and let me know.

good is good enough.

You may remember the brass bird cage that my neighbor nnK gave me a while back.

I’ve used it to stage a few photos here and there.

But otherwise it just sits on a shelf in our living room.

Last year I dressed up a similar birdcage for Christmas and I really loved how it turned out.

I ended up selling that one, so now I want to do something similar with the round birdcage to keep for myself.

I started out by lining the bottom of the cage with a sheet of moss.  This way I’m hot gluing my decor onto the moss rather than onto the cage itself.  I plan to just remove the whole shebang after the holidays.

I knew I wanted to use bottle brush trees in the cage, and I wanted gold ones.  So I ordered a set of 24 bottle brush trees in gold, cream and green from Amazon.

And once again I fell victim to not reading the fine print.  I really need to get better about that!

When 24 trees arrived in a box that was smaller than a shoe box, I knew I was in trouble.

Let’s be honest, the price should have been my first clue.  At a little less than $15 for 24 trees … well, duh.  The trees range in size from 2.5″ to 4.5″ tall.  That aqua tree in the background is the size that I thought I was getting.  Silly me.

Well, not to worry.  I’ll find a use for the smaller trees.  Some of them have already found a home in my little wooden village.

But I still needed some gold trees for my birdcage, so I went looking for them in the shops.  I went to Hobby Lobby and Michaels, with no luck.

Then I thought, why not just spray paint some of the bottle brush trees that are already in my stash?  So I pulled my gold spray paint back out and got to painting.

Luckily I was able to get that spray painting done outdoors while it was in still in the 40’s outside.  I’m not sure what would happen if I tried to spray paint outside today when it’s in the single digits.

I achieved a much more subtle look with the gold spray, my trees are definitely less glittery than the small trees from Amazon.  But I rather like that.

After using hot glue to tack in my trees and a little golden reindeer (purchased at Target last year, but they still have them this year), I added fairy lights and a sprinkling of snow.

I also added a few bits of lichen covered bark to the ground.

I did forget to take one minor detail into consideration when working with this bird cage …

and that’s the metal mesh that surrounds the bottom half of the cage.

It’s a little hard to see the reindeer through that mesh, and I didn’t really think about that until I put the top of the cage back on the base.

But that’s OK.  I’m placing the cage on an end table in the living room, so it will mostly be viewed from slightly above.

So I think it still works.  I’m trying to embrace the Dutch idea that striving for perfection isn’t necessary, and fussing over unimportant details isn’t worth the effort.  As they say, goed is goed genoeg, or ‘good is good enough’.

What do you think?  Is it good enough for you?  Leave a comment and let me know.

a tropical holiday.

First up before I get into today’s post, congratulations to the winner of my blogiversary giveaway, Linda Moore.  I drew Linda’s name using a random number generator (if you’re reading Linda, be sure to check your inbox for an email from me).

I have to admit, taking a tropical vacation just before Christmas can feel a bit discombobulating.  As you know, I did the bulk of my Christmas decorating before I left for Mexico, and lucky thing because now I’ve been lulled into thinking it’s still summer.

This was my third year at Velas Vallarta, a resort quite near the airport in Puerto Vallarta.

I’m extremely lucky in that my neighbor nnK’s family invites me along on their annual family holiday, and this year they invited my sister too!

As much as Velas goes all out to decorate for the holiday, it just doesn’t feel Christmas-like to me.

They fill their grounds with the most lovely poinsettias.

And they also have a very impressive Christmas tree in the lobby.

This year we were there for the Christmas tree lighting ceremony too.  They serve hot chocolate and cookies and have a performer singing Christmas carols.  I will admit that for that one evening I was reminded that Christmas was coming.

But honestly, when the bulk of your day is spent like this …

you very quickly forget all about the hustle and bustle of the holiday season.  You also quickly forget about the winter weather!

If you are looking for a nice resort in Puerto Vallarta, I can 100% recommend this one.

The grounds are absolutely immaculate.

The beach is lovely.

I like that it’s located deep in Banderas Bay, so rather than an endless horizon out to sea, you look across the bay at a lovely view of mountains.

The pools are incredible, and gigantic.

I’ll also note that they allow you to use flotation devices.  Maybe resorts ban them from their pools, but not Velas.  We bring our own floaties, you know, the kind with a drink holder …

and we float with a cocktail and/or a good book.

The rooms are very clean and spacious, and there is a large balcony.  The staff is excellent, very friendly and accommodating.

The breakfast buffet is fantastic.  They have a large selection of fruit, juices, eggs, bacon, sausages, etc.  They also have a custom omelette bar where they will make one with whatever you want inside.  They also have waffle/pancake/french toast chef and I visited her almost every morning.

Eating a delicious waffle and washing it down with a mimosa while sitting in a lovely open air restaurant right on the beach was heavenly.  Unfortunately it wasn’t until the last day that I figured out I could get a passion fruit mimosa, but the ones made with plain old orange juice were quite good too.

We ordered lunch by the pool nearly every day, and our poolside waiter Eric was happy to deliver whatever we wanted; hamburgers, pizza, sandwiches, nachos, salads, and more.

There are two restaurants at Velas, the more casual beachfront option where we had breakfast and a little fancier option that doesn’t have the view.  We had dinner in both, and we also ordered dinner from room service a couple of times and dined on our own balcony.

I mentioned that Velas Vallarta isn’t far from the airport, and you can see and hear planes taking off from poolside.  It really is hardly noticeable after a day or so.  It’s also in walking distance from the marina.

My sister and I walked down there a few mornings before breakfast.  I’ll share more about that in another post, so be sure to stay tuned!

And on that note, I have to go get re-acclimated to winter … the projected high of only 4° on Thursday should help, and maybe do just a little bit more Christmas decorating.  As much as I loved soaking up the sun for a week, it’s also good to be back!

holiday toolbox roundup.

While I’m off enjoying the sunshine in Puerto Vallarta, I thought I’d just share a quick recap of all of the Christmas themed toolboxes/tackleboxes/lock boxes that I’ve created over the past several years.
I started making Christmas themed-ish boxes back in 2019 with this Oh Deer tackle box.

It wasn’t overtly Christmas themed, but featured reindeer from re.design with prima’s Oh Deer transfer.

I really wasn’t sure if this sort of thing would sell.  And in fact, I didn’t even try to sell this one.  I included it in a giveaway here on the blog.

I ended up making a 2nd similar toolbox that I did try to sell, but it didn’t go.

I ended up giving that one away a year later.

I made up this next toolbox as a secret Santa gift in 2019.

It also doesn’t have an overtly Christmas look to it, but it’s hinted at with its red and white color scheme and the re.design with prima Classic Vintage Labels cranberry transfer.

The contents had a peppermint theme which made it more Christmas-y as well.

It wasn’t until October 2022 that I decided to go all out with a truly Christmas themed box.

When I posted about it here, I mentioned that I purposely chose a simple unassuming lock box, rather than a larger toolbox, because I really wasn’t sure if I would like it.  I also really wasn’t sure if there would be a market for a Christmas themed box.

I used two Dixie Belle transfers on this one, Evergreen and Holly and Vintage Post.

And of course I loved it.  Plus it sold rather quickly so I thought perhaps Christmas themed boxes would be good sellers after all.

So the following month I made up another one with different segments from the same two Dixie Belle transfers, the Christmas Curiosities box.

I still have yet to find another transfer with Christmas florals that I like as much as those in the Evergreen and Holly transfer.

This one sold fairly quickly as well.

Fast forward to the 2023 holiday season.  One of my favorite readers asked if I would do a custom lock box for her.

At the time I was all out of the Dixie Belle Evergreen and Holly transfer, but she had one herself.  So in exchange for creating her custom box, she let me keep any of the transfer I didn’t use which was a definite bonus.
And technically I guess you can count that one as sold before I even made it.
I used some of that leftover Evergreen and Holly on this Christmas Tackle Box.

I painted the inside of this one in Dixie Belle’s English Ivy.

As of the last time I checked, this one has still not sold.  I did bring it into Reclaiming Beautiful (the shop where I sell on consignment in Stillwater, MN) a few weeks ago.

I also created the Candy Cane Toolbox in 2023.

I used elements from the I.O.D. Candy Cane Cottage transfer on this one.

This one sold rather quickly.

This year I ordered two of the new Dixie Belle Christmas transfers, Yuletide Hearth and Caroling Cardinals …

and I used them on a Lane cedar box and a tackle box.  Don’t get me wrong, they are both nice.  But in my opinion, not as pretty and also not as versatile as the Evergreen and Holly transfer was.

I also added a stencil to a toolbox this year.

I love how this one turned out, but last I checked it hasn’t sold yet either.  There is still time this year, so we’ll see what happens.

I’ve saved my all time favorite Christmas toolbox for last, and that’s the tree Topper toolbox from November 2022.

The red and black wording is from the I.O.D. Cosette transfer, and it has nothing to do with Christmas.  But the red wording was perfect, and “ornemanistes” is French for one who ornaments, in other words a decorator.  So that seemed somewhat apropos.

By the way, complete sidebar here, as I was researching this post I found that this entire segment of the Cosette transfer is from a book from 1880 (you can see it here).

Who knew?

Anyway, the holly and poinsettia florals on this toolbox are also from my favorite Dixie Belle Evergreen and Holly transfer.

As much as I love this particular look, I have never recreated it on another toolbox.  Mainly because the cost of the Cosette transfer is about $40 .  The full Cosette transfer looks like this …

And it’s gorgeous.  So it feels like a bit of a waste to harvest the wording from the middle and not use the rest of it.  Unfortunately I still haven’t come up with a use for the rest of the one I used on that toolbox.

I usually like to stick with transfers that can be cut up and used on multiple small projects, or one piece of furniture that I can price high enough to cover that cost.

So it’s definitely one of a kind, and I’ve hung onto it because a; I love it and b; it’s perfect for displaying my non-collection of vintage glass tree toppers.

That brings me to the end of my holiday toolbox recap.  I hope you’ve been inspired to consider creating your own Christmas themed toolbox … or lock box … or tackle box.

Which one of these was your favorite?  Be sure to leave a comment and let me know.  It will give me something to read while lounging at the pool.

a tale of two rugs.

Remember way back to last winter when I repainted the walls in the q branch (a.k.a. my study)?

I absolutely love the color I ended up choosing, Globe Artichoke from Pittsburgh Paints.

Once I had the walls painted, I then hung my gallery of garage sale art on the wall.

The room still looked rather unfinished.

It needed a rug, and I also needed to wait until summer to paint those radiator pipes in the corner.

I’ll be the first to admit that I am not very patient when it comes to shopping for things like rugs.  I went to a few different brick and mortar shops with my friend opK, but nothing jumped out at me.  I also did a bunch of online browsing, but every time I picked a rug that I thought might work I either couldn’t get it in the size I wanted, or it was too expensive, or I just wasn’t absolutely sure I liked it.

And then there’s this little consideration …

That’s Lucy, a.k.a. the barfer.

Yep, she has a tendency to upchuck.  She’s also somewhere around 19 – 20 years old at this point (she was a rescue, so we’re not entirely sure, but we’ve had her for 18 years and she wasn’t a kitten when we found her), so we don’t hold it against her.

Usually we get a little warning when she’s about to blow, she makes a very unique and rather loud noise.  So we have time to move her to a washable surface.  But if we’re not home, then all bets are off.

So for that reason, we don’t want to invest in a high quality rug right now.

Which brings me to the rug I finally ordered from Wayfair.

This is the DeSoto Oriental in cream/grey.  It also comes in 4 other colors, including an option that has some green in it.  Unfortunately that one was not available in a square, and I really wanted a square rug.  As you can see above, a square fits really nicely in almost perfectly square room.

It also was less than $100, which was a good price for a rug that I don’t plan to keep forever.

So I thought I’d take a chance with this one, and that perhaps the grey would pull in the color of my dark grey walls in the neighboring piano room.

Now that the rug is in place in the room, I think it’s OK, but not spectacular.  It definitely helps give the room a more finished look.  It was also cheap enough that I plan to just keep it and use it until the perfect rug comes along, if it ever does.

As you can also see, I did manage to get those pipes in the corner painted over the summer.

I may have to bite the bullet and paint the radiator too, but that’s another job that has to wait for summer.  I’d kind of like to paint it gold, like this inspiration photo from pinterest.

I think the gold radiator would tie in with all of the gold frames in the room, and it would look gorgeous with the green walls.  What do you think?

In the meantime, next on the list is going to be window treatments of some kind, and hey, maybe I’ll even sew them myself on my new sewing machine!

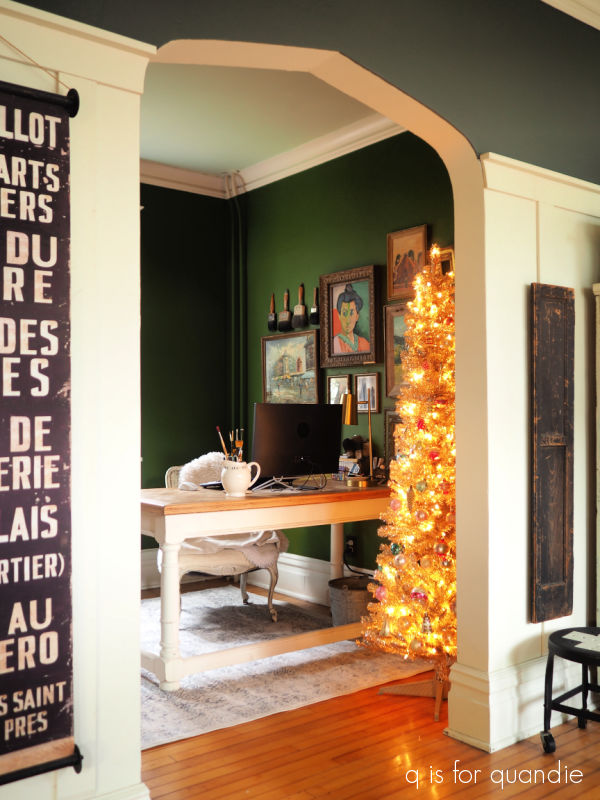
One quick side note, as you may have noticed, I placed my skinny silver Christmas tree in the q branch this year.  It fits perfectly in this wonky little corner, and I can admire it while I sit at my computer working on this blog.

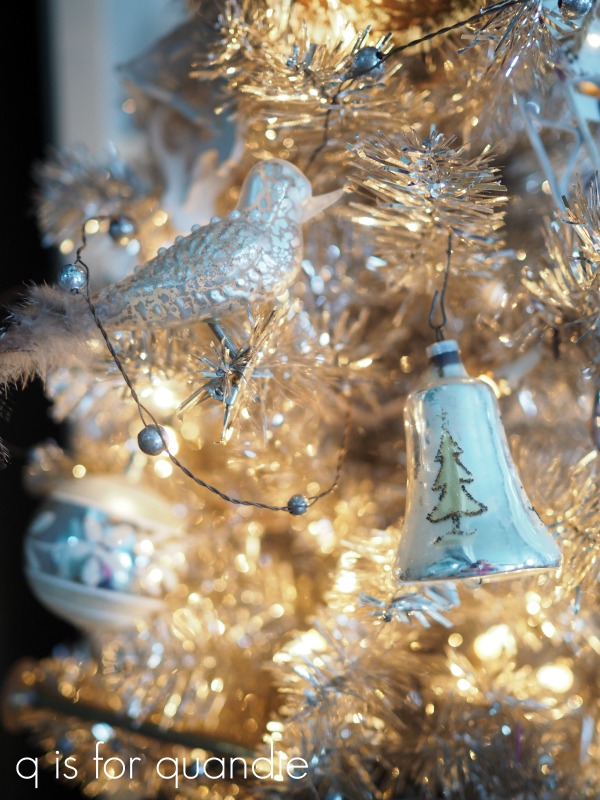
This tree holds my non-collection of vintage glass ornaments.

I also hung my ornament wreath over the mirror that hangs in the q branch.

Last year I displayed my Christmas village on top of the giant English pine cupboard that is in this room …

but this year I decided to forgo putting up the village.  Maybe I’ll get it back out again next year, if I have a little more time for decorating.

But wait, the title of this post is a tale of two rugs.  Are you wondering about the 2nd?

Well, here it is.

Ironically, I was shopping for both full size rugs and miniature rugs at the same time.  I looked at so many options online for both that at one point I was getting them mixed up.

I had similar requirements for both rugs; pale neutral colors, a muted pattern and a specific size.  A square no more than 7′ x 7′ for the q branch, and a rectangle at least 8″ x 10″ for the dollhouse.

I ended up finding the dollhouse rug at Life in a Dollhouse.

And I think it works perfectly with my French Country Cottage style dining set.

What do you think?