Good morning from the garden!
You may remember that a couple of years ago I made the mistake of not cutting and drying any of my hydrangeas before they turned brown.
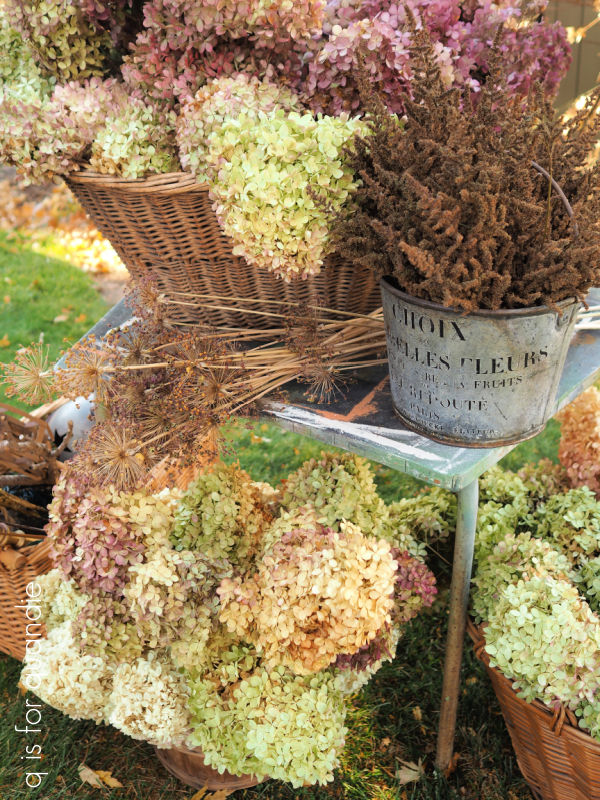
Well, I definitely did not make the same mistake this year. I had bushels and bushels of hydrangeas drying in the carriage house and in the potting shed.
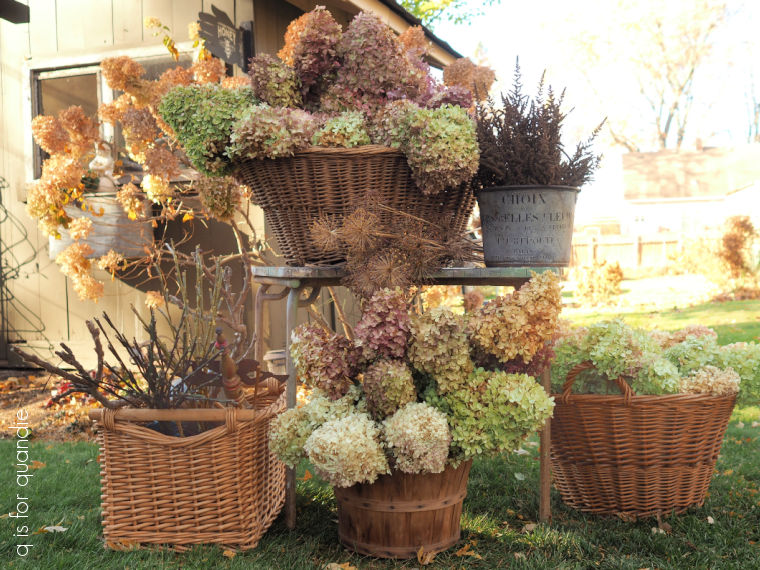
I also dried more allium and astilbe flowers this year.
So a week or so ago when we had an unseasonably gorgeous day, sunny and a high of 70°, I took advantage of the beautiful weather and put together my winter window box arrangements.
Honestly, it’s lucky that I have so much dried material to work with because I have a lot of containers to fill outside. I usually put arrangements in both of my galvanized boiler ‘window boxes’, my two rusty planters at the back door, one or two rusty planters in the shade garden, and my ginormous window box on the front of the house. If I had to buy everything to fill all of those each winter it would cost a fortune.
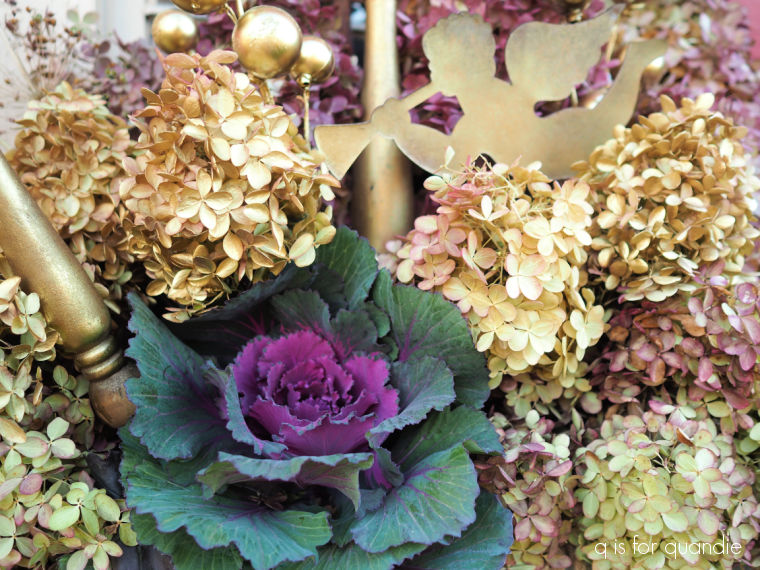
I started with the galvanized boiler window box on the carriage house. I had done a fall arrangement in that one right before my sale, and although the mum I used had totally bit the dust, the ornamental kale and heuchera still looked pretty good. So I decided to leave them in place.
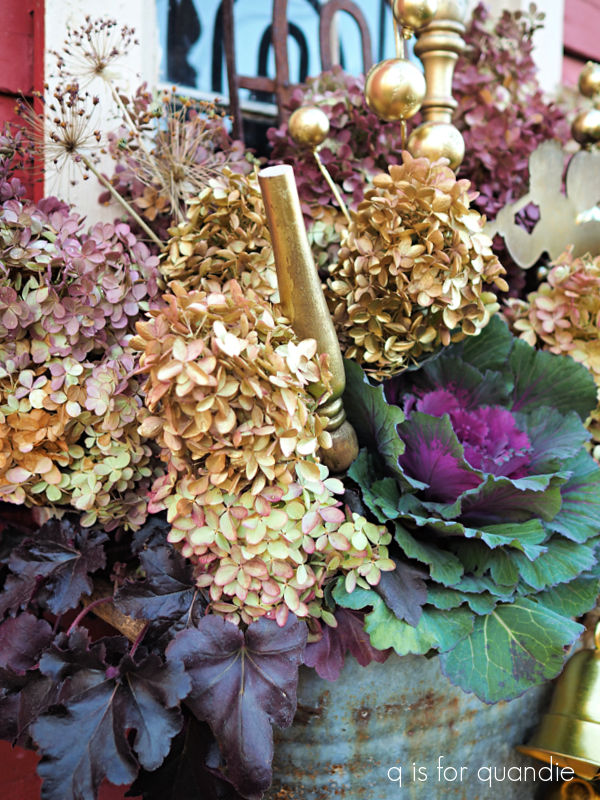
The kale can handle temps down to around 5°, so hopefully they will last through Christmas. In case you are new here, I garden in zone 5a in a suburb of St. Paul, MN. So yes, we’ll definitely get colder than 5° over the course of the winter. Eventually they will start to look pretty sad. As for the heuchera (dark purple foliage at bottom left), so far it seems to handle a bit of freezing weather as well (we have had lows in the 20’s already).
Since I was keeping those deep purple shades, I decided to use the Vanilla Strawberry dried hydrangeas because they dried to nearly that same color this year.
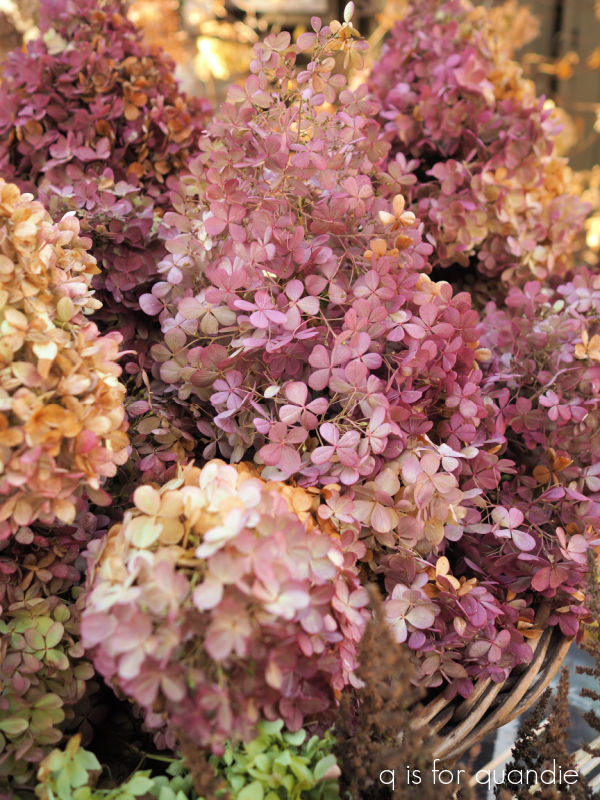
In case you aren’t familiar, the flowers on this variety start out white and then slowly turn more and more pink as they age. I waited longer to harvest them this year, so they were pretty dark when I cut them.
After filling in the back of the planter with the Vanilla Strawberry, I used some of my dried Little Lime flowers in the front.
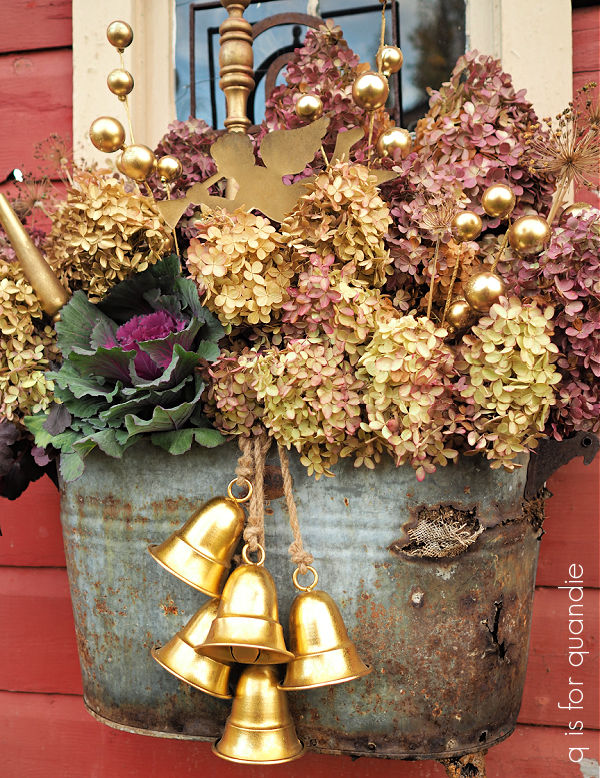
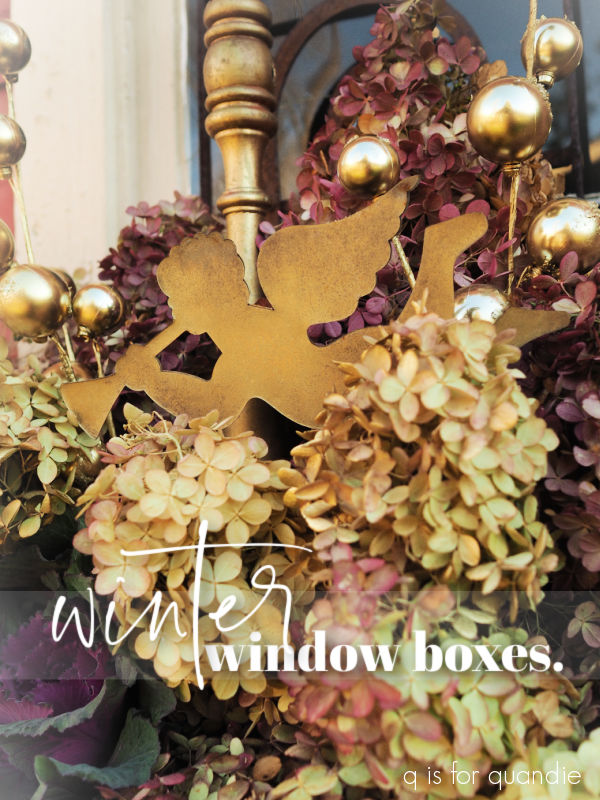
I then decided to embellish it all with some touches of gold including that bunch of gold bells that I picked up at last year’s Bachman’s after-Christmas sale.
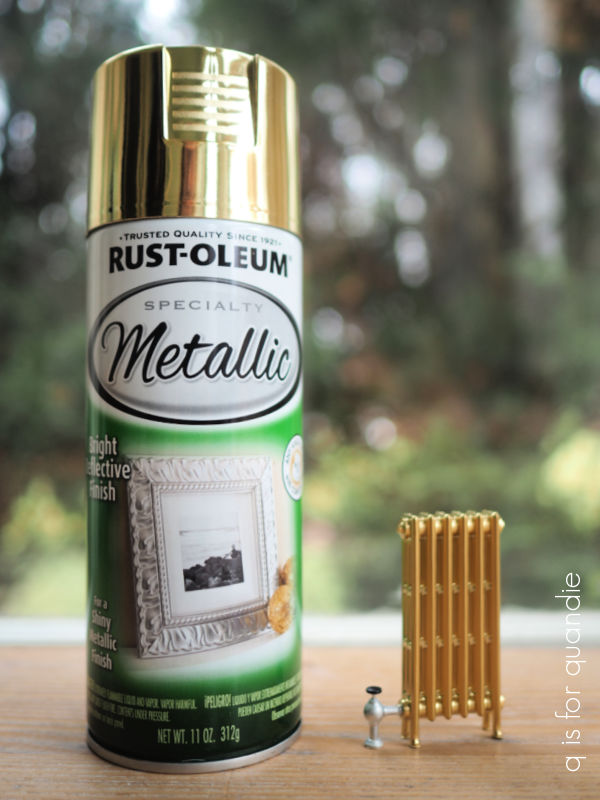
The sprigs of gold balls that I used were initially way too bright for my arrangement, so I sprayed them with some of the Rust-Oleum metallic paint that I had on hand.
I also sprayed a few of my Quick Fire Fab dried hydrangeas and popped them in here and there. You can see the gold on the hydrangeas much better in person than you can in photos though.
You may remember that I did that last year for my front window box too.

They didn’t hold up all winter, but they did make it through Christmas.
I kept the front window box super basic this year. I started with a base layer of faux evergreen garland and my twig lights
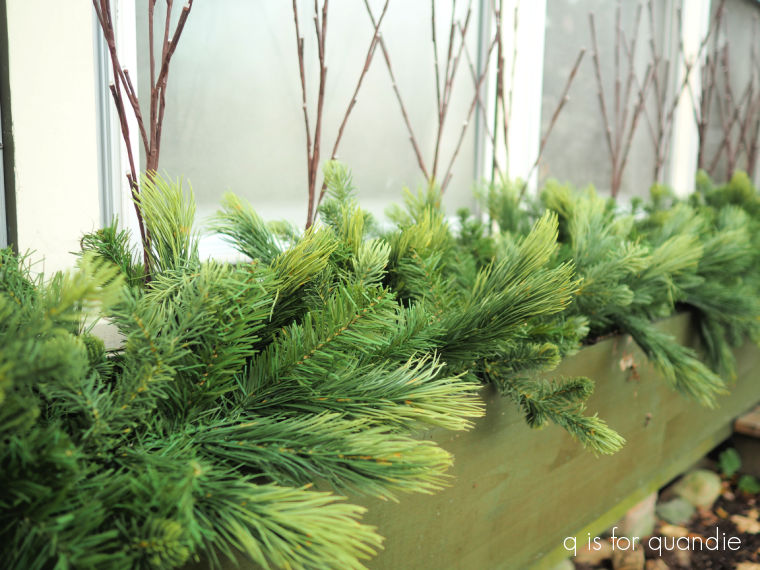
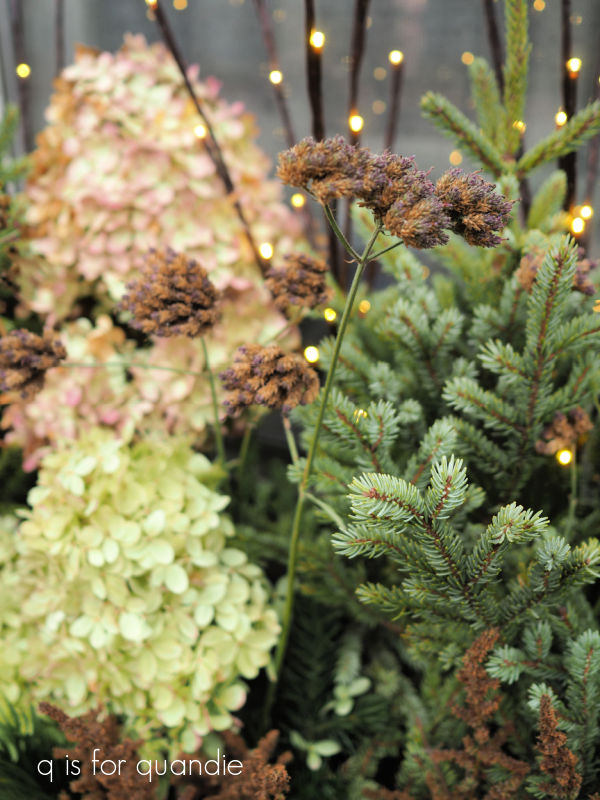
Then after adding some spruce tips from Home Depot, I just filled in with dried hydrangeas, astilbe, and allium.
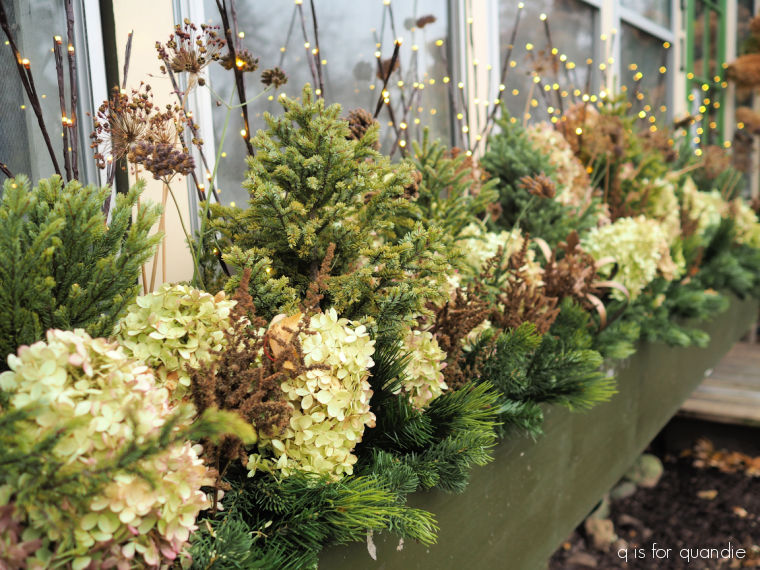
I also found that my verbena bonariensis dried quite nicely on its own, so I cut some and used it too.
This is definitely a more subdued look than some I’ve tried in the past, but I like it.
I did use some more traditional holiday colors on our deck.

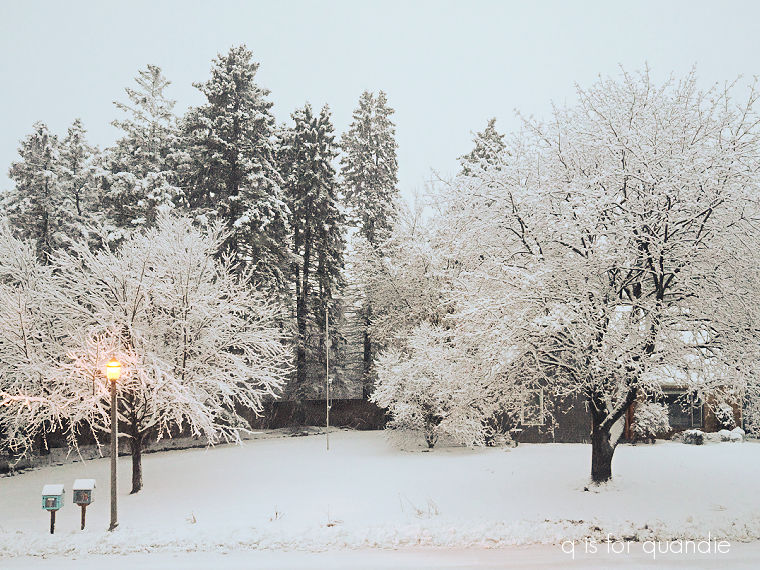
Now all we need is a little snow to brighten things up a bit!
How about you? Do you decorate outside for winter? Or do you try to hibernate as much as possible? Leave a comment and let me know!