been there, done that.

I know, I know.  These craft paper scroll signs have been around for years.  As tends to be the norm for me, I’m the last one to catch on to a new (and by now, old) trend.

I really debated even sharing this project, fearing that you guys will all be thinking ‘been there, done that’.

But I’ve always wanted to try my hand at making one of these, and I never found the time when I was a 9 to 5’er.  Now that I am retired, I’m going to have time to get to more of these little side projects.

Not only that, but for me this project was completely free, only requiring supplies that I already had on hand.  Now that I’m on a fixed income, I’ll need to be watching my budget more closely.  Ha … who am I kidding?  I’ve always been a penny pincher, nothing has changed there.

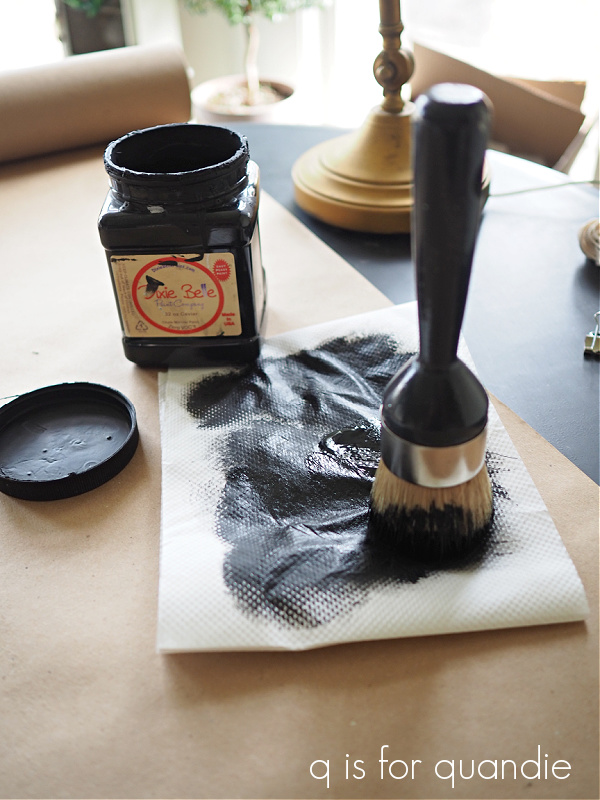
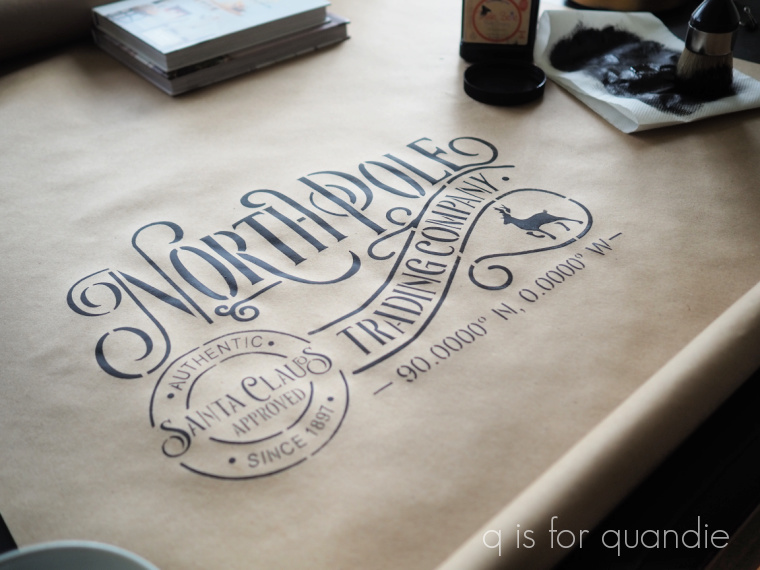
First up, I gathered my supplies.  I always have a giant roll of brown craft paper on hand.  In addition, I pulled out my Dixie Belle paint in Caviar, my re.design with prima 1.5″ wax brush (which works great for stenciling larger designs), some stencils and some string (oh, and not pictured, some paper toweling and some Frog tape).

I rolled out a section of the kraft paper and weighted down the ends with heavy items that were close at hand to keep it from rolling back up as I worked.  Then I used yellow Frog tape to secure my stencil (I ended up going with my North Pole Trading Co stencil from Wallcutz).  I left about a foot of paper at the top and bottom to roll up later, and then cut this piece from the roll.

The yellow Frog tape is the one for delicate surfaces and I really recommend it for this project in particular because it won’t leave a mark on your craft paper when you pull it up.

Libby left me a comment last week suggesting I write a post about my stenciling technique, and I plan to do a more detailed one later, but for now, here is one of my most important q tips … always use a dry brush for stenciling.

What does that mean?  Well, basically you load your brush with paint and then dab most of it off onto a paper towel before using it.  It feels rather wasteful, but it’s the best way to get a clean result.

Another of my stenciling recommendations is to use a thicker paint.  In this case, I am at the very bottom of this particular jar of Caviar.  I’ve gunked up the threads on the jar so badly with dried on paint that the lid no longer seals tightly.  As a result, the paint has really thickened up, making it perfect for stenciling!

Patience is also key while stenciling.  If you aren’t getting immediate coverage with your dry brush, that’s OK.  Wait for the first coat to dry and then go back over it with a 2nd coat.  Just make sure your stencil hasn’t shifted in the meantime.

Once the paint was dry, I used my Carpenter Square to make a pencil line where I wanted to trim down the width of my craft paper.

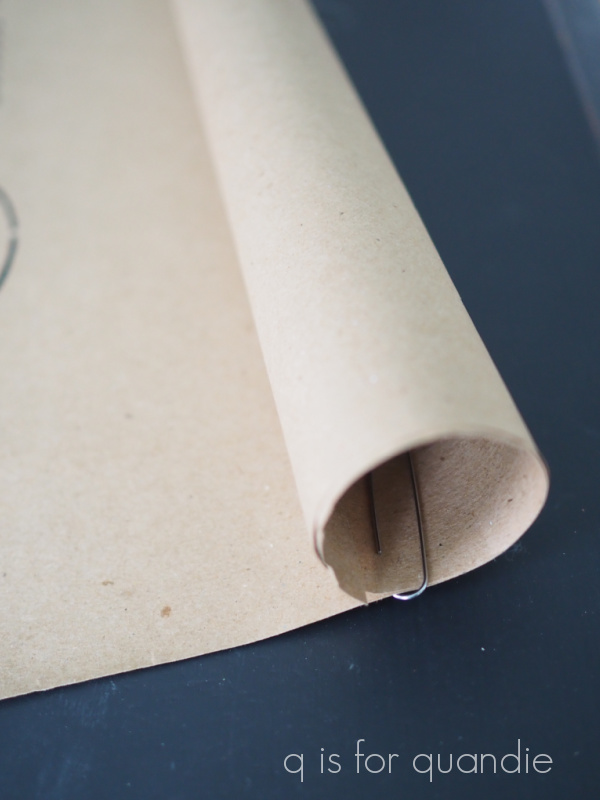
After trimming off the excess on the side, I simply rolled the top and bottom and secured the rolls using paper clips.

Then I threaded my string through the top roll, tied it in a bow, and hung my scroll on the wall.

Ultimately I felt like it needed just a little something more, so I added a garland of faux greenery to the top to dress it up.

This project couldn’t have been more simple, or more cheap.

Have you ever tried making a craft paper scroll?  Am I hopelessly behind the times with this project?  Been there, done that?  Leave me a comment and let me know.

a handful of stragglers.

First up, congrats to Jeanne Raway!  I drew her name to win my blogiversary giveaway.

Now, on with today’s post.

Way back before I went to Disney World in early November, I brought a load of Christmas items in to the shop where I sell on consignment, Reclaiming Beautiful.  At the time, I definitely thought I’d be painting up many more things and bringing them in.  And then life intervened and I spent a bunch of time and energy on arranging to retire from the day job.  And somehow I just haven’t quite managed to make it back down there again.  Now I feel like the Christmas decorating season is winding down and I may have missed the boat on that.  Do most people buy decorations well before the holiday so that they can enjoy them for a while?  Or is that just me?

Either way, I have a handful of stragglers that haven’t made it into the shop, and I thought I’d share them here today and see if any locals what to snatch them up (must be able to pick them up at my house in Oakdale, MN).

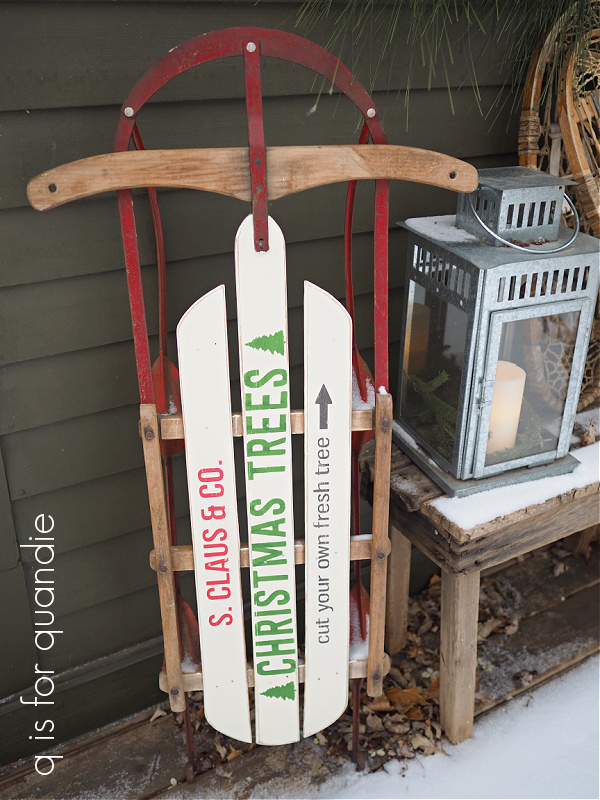
First up is one more stenciled sled.

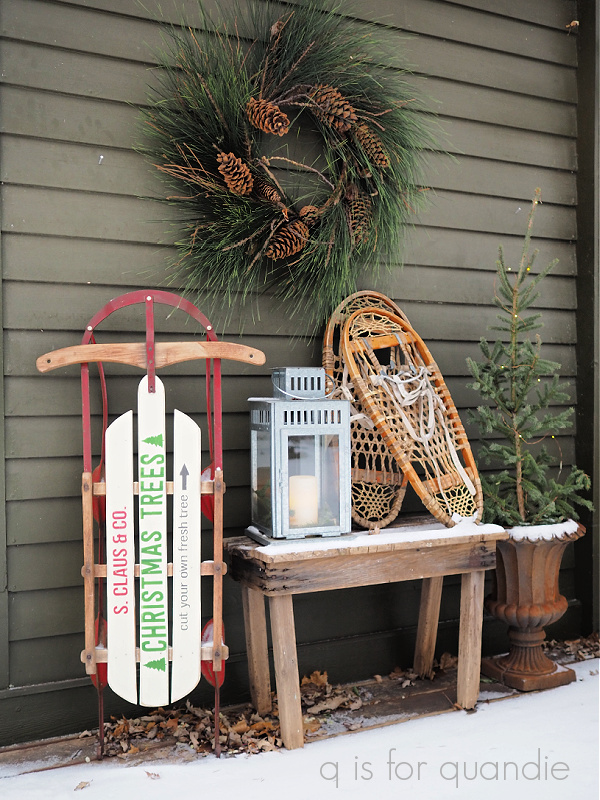
It looks pretty cute on my deck …

but I have another very similar sled that I’ve kept for myself for this spot.  So this one is up for grabs.  It is 46″ tall by 22″ wide.  It’s for sale at $50.

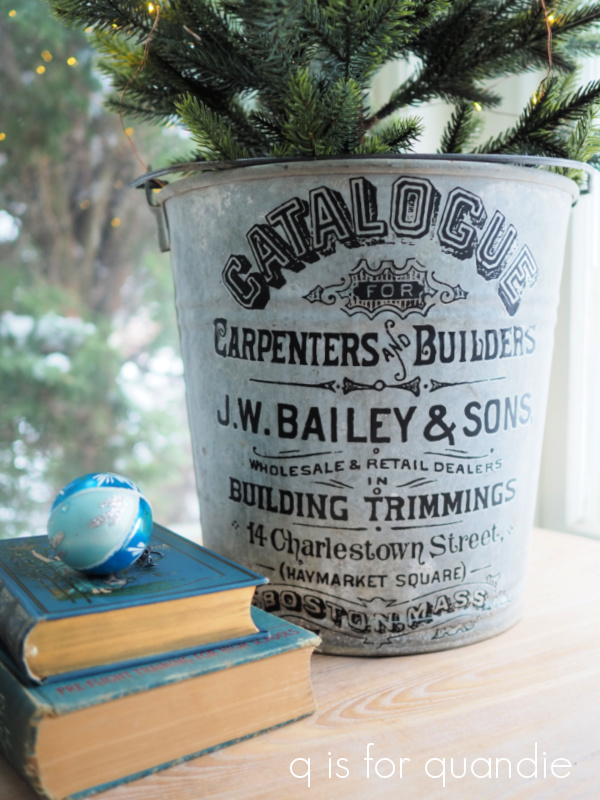
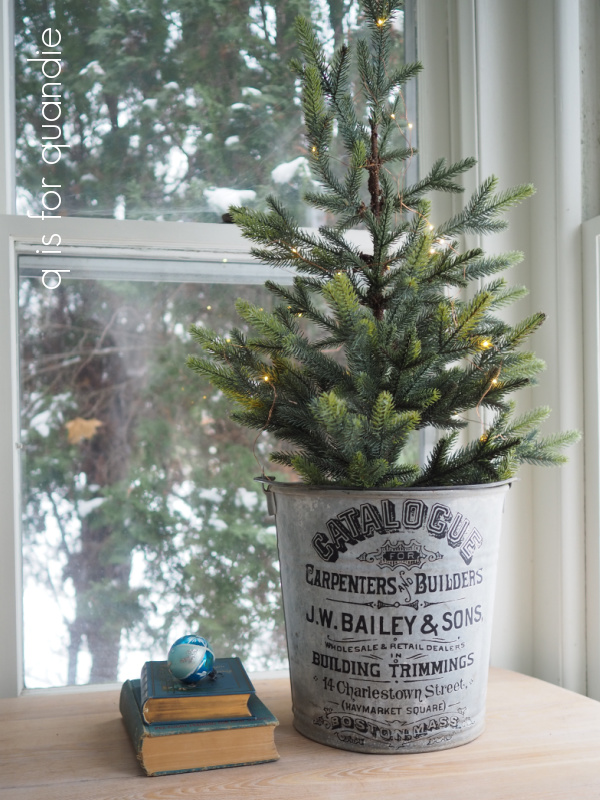
Next up is this bucket (tree not included).

The bucket itself isn’t especially Christmas themed, but it’s the perfect container for a small tree.  And as a bonus, you can use the bucket year round for other things.

The bucket is $40.

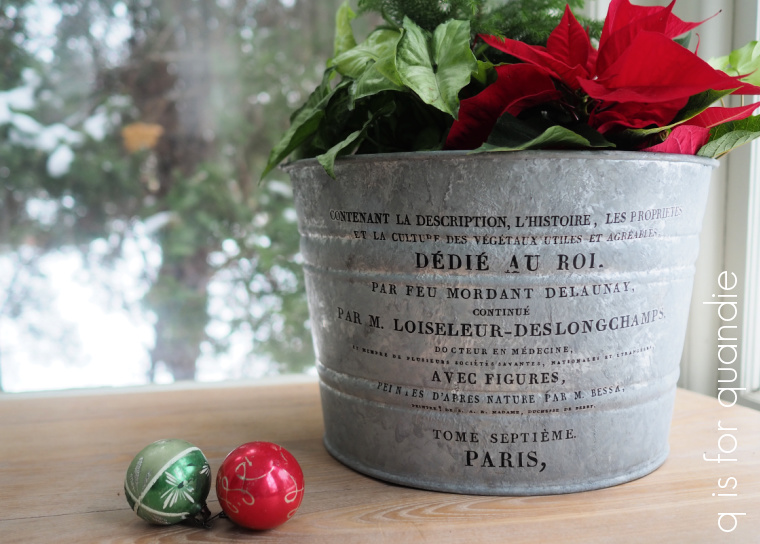
And I have a 2nd bucket …

The buckets work well with a Christmas floral arrangement too.

This one is also available for $40.

I completely missed bringing this pair of ice skates into the shop this year.

I actually created these last year, but they didn’t sell.  So I put them away, and then forgot all about taking them back in to the shop again.

They would be fabulous filled with greens and hung on the door instead of a more traditional swag.

The skates are $28 (greens not included).

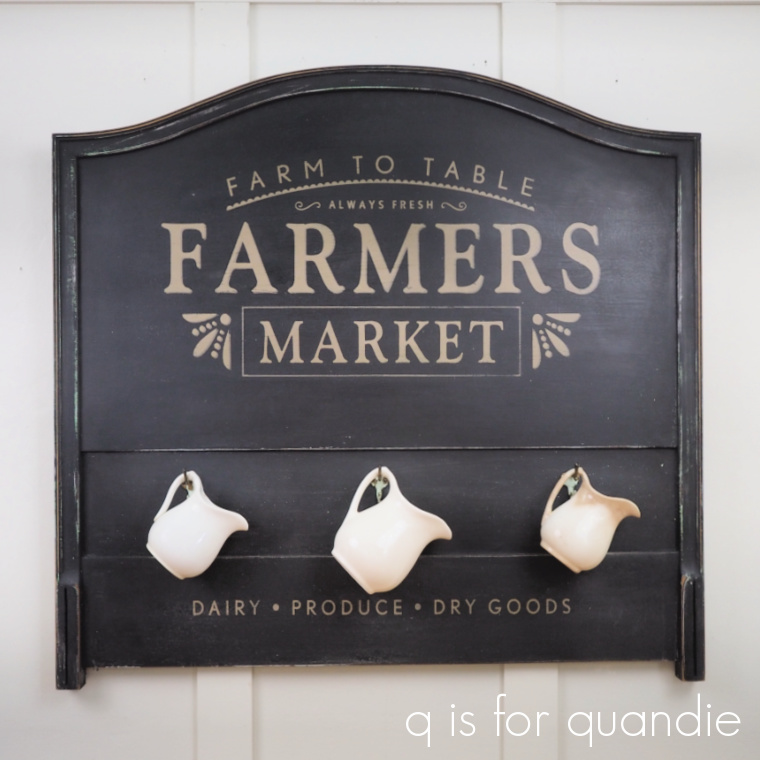
Last up is one more cupboard door sign.

It would be perfect for holding a couple of Christmas stockings.  Or maybe hang some mittens from those knobs.

It is 25″ wide x 10.5″ tall and is available for $28.

If any of you locals are interested in these items, be sure to shoot me an email at qisforquandie@gmail.com.

milk and cookies.

Unfortunately, I neglected to get a ‘before’ picture of the pair of kid sized chairs that my picker, Sue, found for me last summer and I’m sharing here today.  Gosh, I’ve really been bad about that lately, especially with these Christmas items.

Anyway, I don’t have a ‘before’, but here is the after.

These chairs were a little bit smaller than the kid sized chairs I’ve painted in the past …

So the Christmas Farm stencil wasn’t going to fit on their seats.

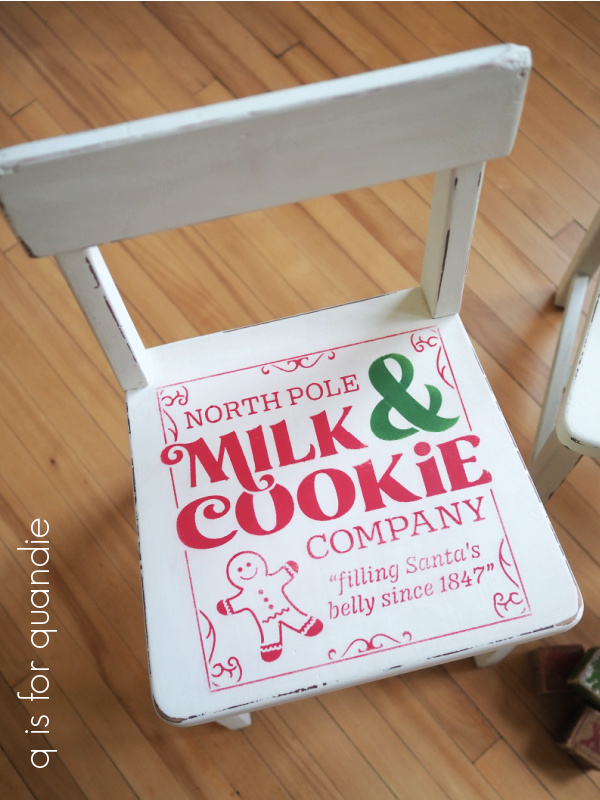
I measured the seats of the chairs and determined that the 9″ x 9″ version of the Milk and Cookies stencil from Wallcutz would fit perfectly though.  So I ordered it a while back and had it ready and waiting.

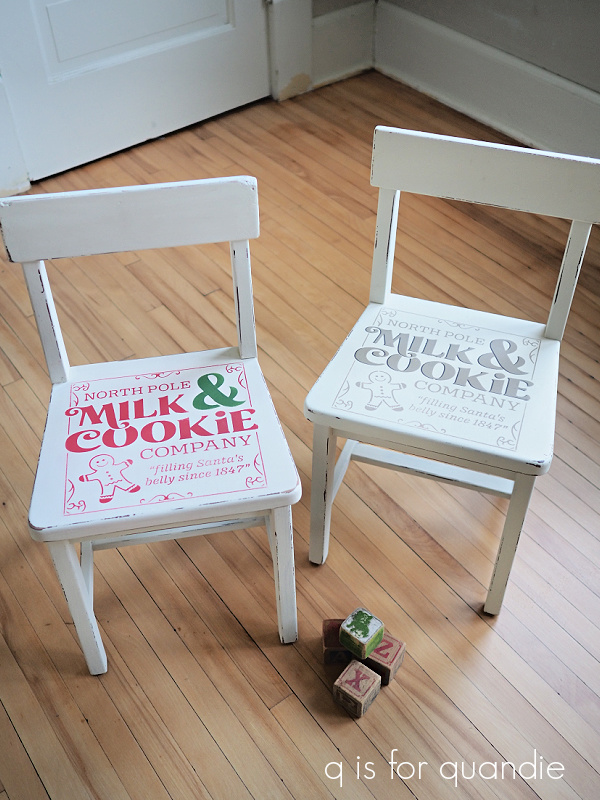
I painted the chairs in Dixie Belle’s Drop Cloth first.  Then I decided it would be fun to do one of the chairs in traditional red and green, and the other in a more neutral palette so that you all could see a comparison.

To give the design a little more depth, I added a shadow to the ‘milk & cookies’ wording on the neutral version using Dixie Belle’s Coffee Bean.

To accomplish that, I simply stenciled just that portion first in the Coffee Bean.  Then I moved the stencil just a hair up and over and stenciled the entire design in Dixie Belle’s Putty.

So cute!  And perfect for those who aren’t necessarily fans of the traditional Christmas colors.

For the red and green version, I decided not to add a shadow.

I wasn’t sure what color I could use that would look good, so I went without.

Still super cute I think.

They are the perfect size to tuck under the Christmas tree, and a great spot to leave out the milk and cookies for Santa!

I took these chairs into the shop back before I went to Disney World (gosh, that seems like forever ago now!), so I’m fairly sure they are no longer available.  But which one would you choose?  Traditional red and green, or the more neutral option?  Leave me a comment and let me know!

once in a blue moon.

If I do say so myself, I think I’m pretty good at letting go of the things that I create.  Many of you often leave comments saying that you wouldn’t have been able to part with this or that, and I know what you mean.  But for the most part, I am happy to sell my items on for someone else to enjoy.

But every once in a blue moon I finish something and realize that I don’t want to part with it.  Such is the case with today’s project.

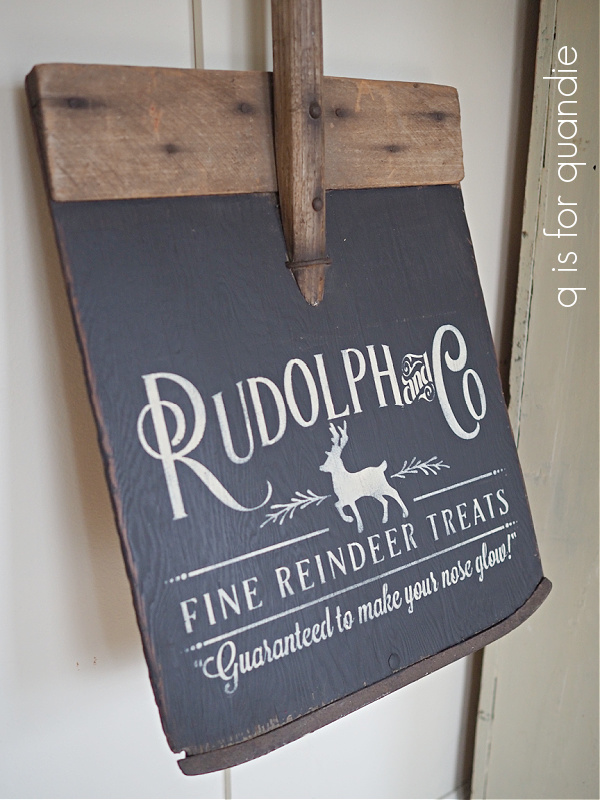
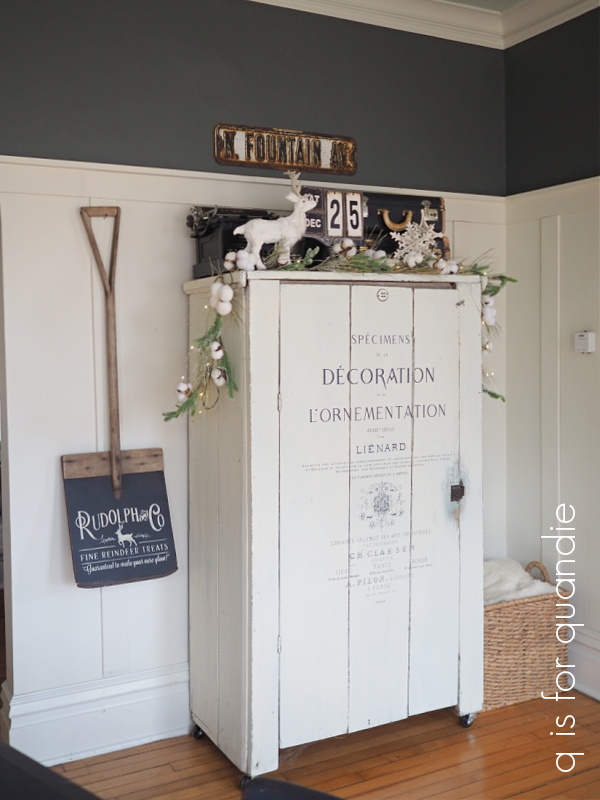
I purchased an old wooden grain shovel (or at least that’s what I was told it is) at a barn sale last summer.  I paid a little more for it than I usually would spend on such items, mainly because it had the perfect surface for a stencil.  I was immediately able to picture it dressed up for the holidays!

Unfortunately, once again I neglected to get a ‘before’ photo … I’m going to work on being better about that.  If I had one, I’d insert it here 😉

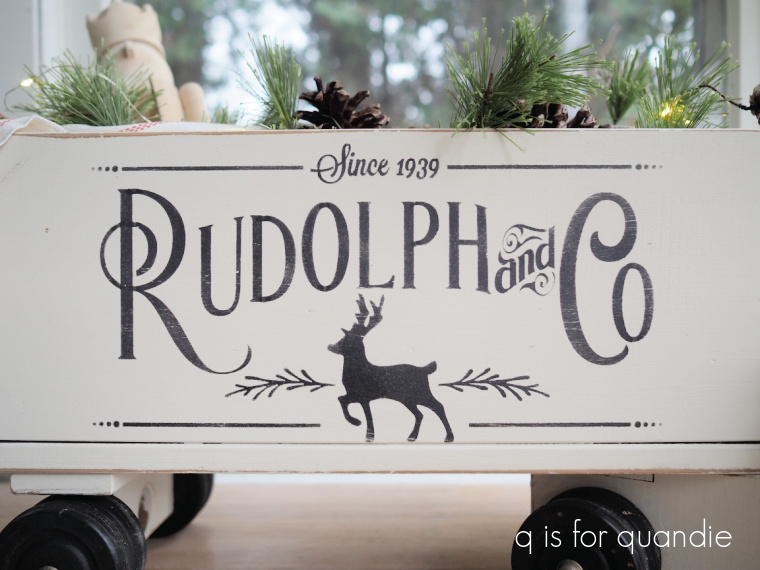
I had purposely purchased the Rudolph & Co stencil (from Wallcutz) in a size that would fit on the toy truck that I shared last week …

and coincidentally, it also just happened to be the perfect size to fit on this shovel.

As you can see, once again I went with my black and white color scheme.  I painted the background in Dixie Belle’s Midnight Sky, and then stenciled using their Drop Cloth.

Next up I used clear wax on the entire thing, which freshened up the remaining unfinished wood without taking away from its vintage patina.

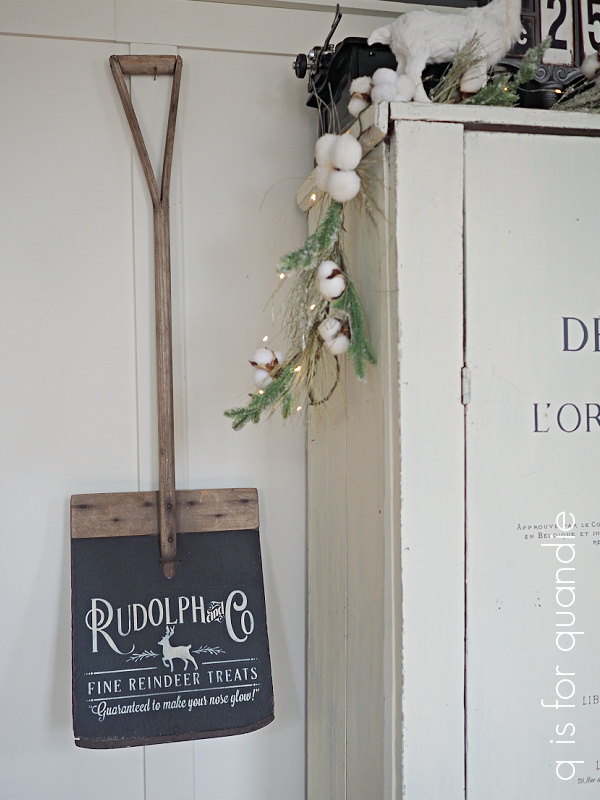
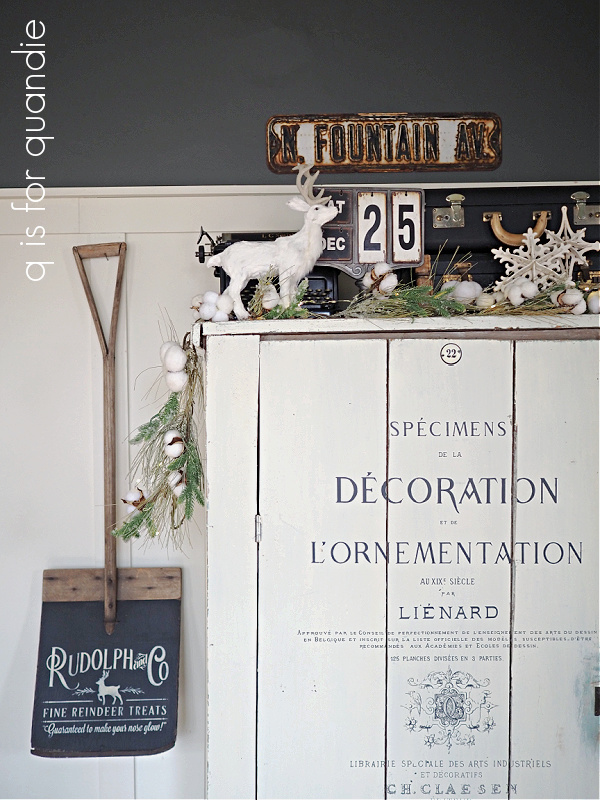
I hung it on the wall next to the cupboard in my piano room.  It works perfectly with the rest of the black and white Christmas décor that I use in that room.

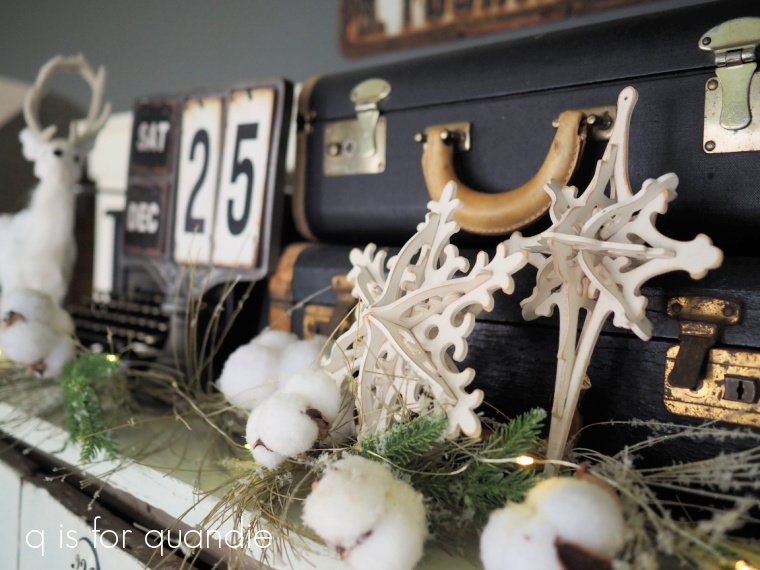
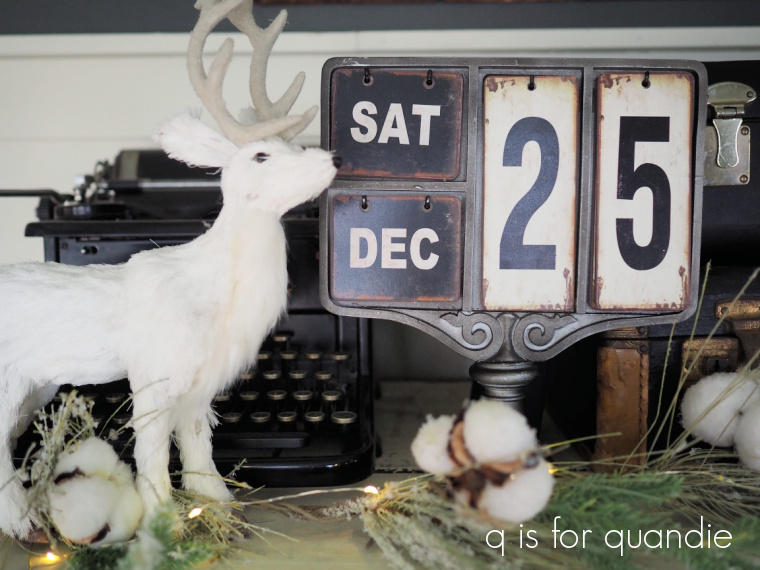
Is it weird that I use a perpetual calendar as Christmas décor?

I know that a lot of people would be tempted to dress up the handle of the shovel with some greens and maybe some ribbon, but I like the simplicity of it without that.

Maybe I’ll grow tired of the grain shovel, and next year I’ll sell it on.  But for now I think I’m going to hang onto it.

How about you, do you have a hard time letting go of things?  Or are you more like me, keeping only the really special ones, and letting the rest go to be enjoyed by someone else?

keep on truckin’.

It’s Wednesday!  I’m posting!  And I’m not even retired yet!

But I’m anticipating having plenty of projects to share with you guys from here on out, so I’m planning to go back to posting three times a week starting now.  Hopefully I can keep it up throughout the winter.  Now that we’re both retired, I’m planning some thrifting dates with my buddy Sue (yep, in case I didn’t already mention it, both Sue and I are retiring from our day jobs with the same employer), so fingers crossed that we find good stuff for me to work on.

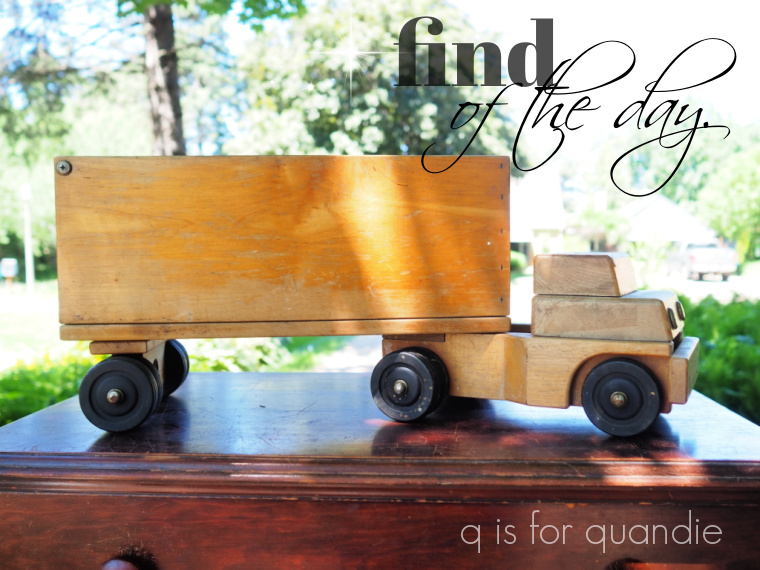
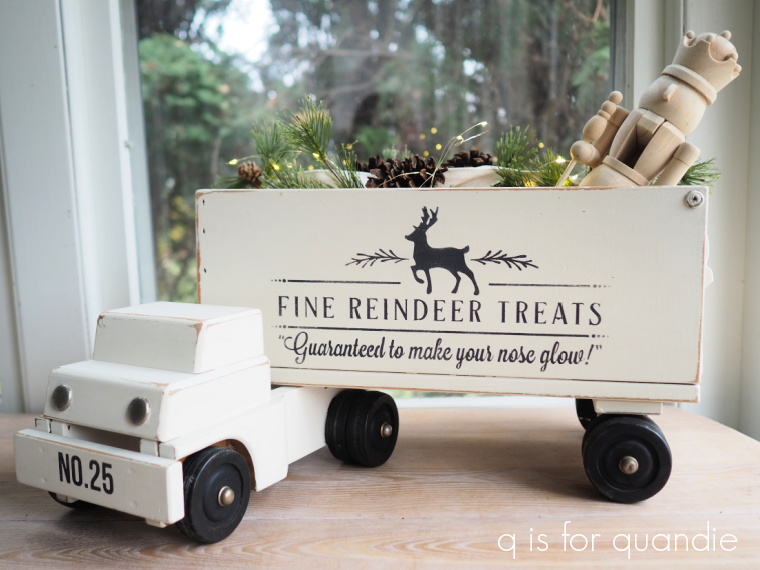
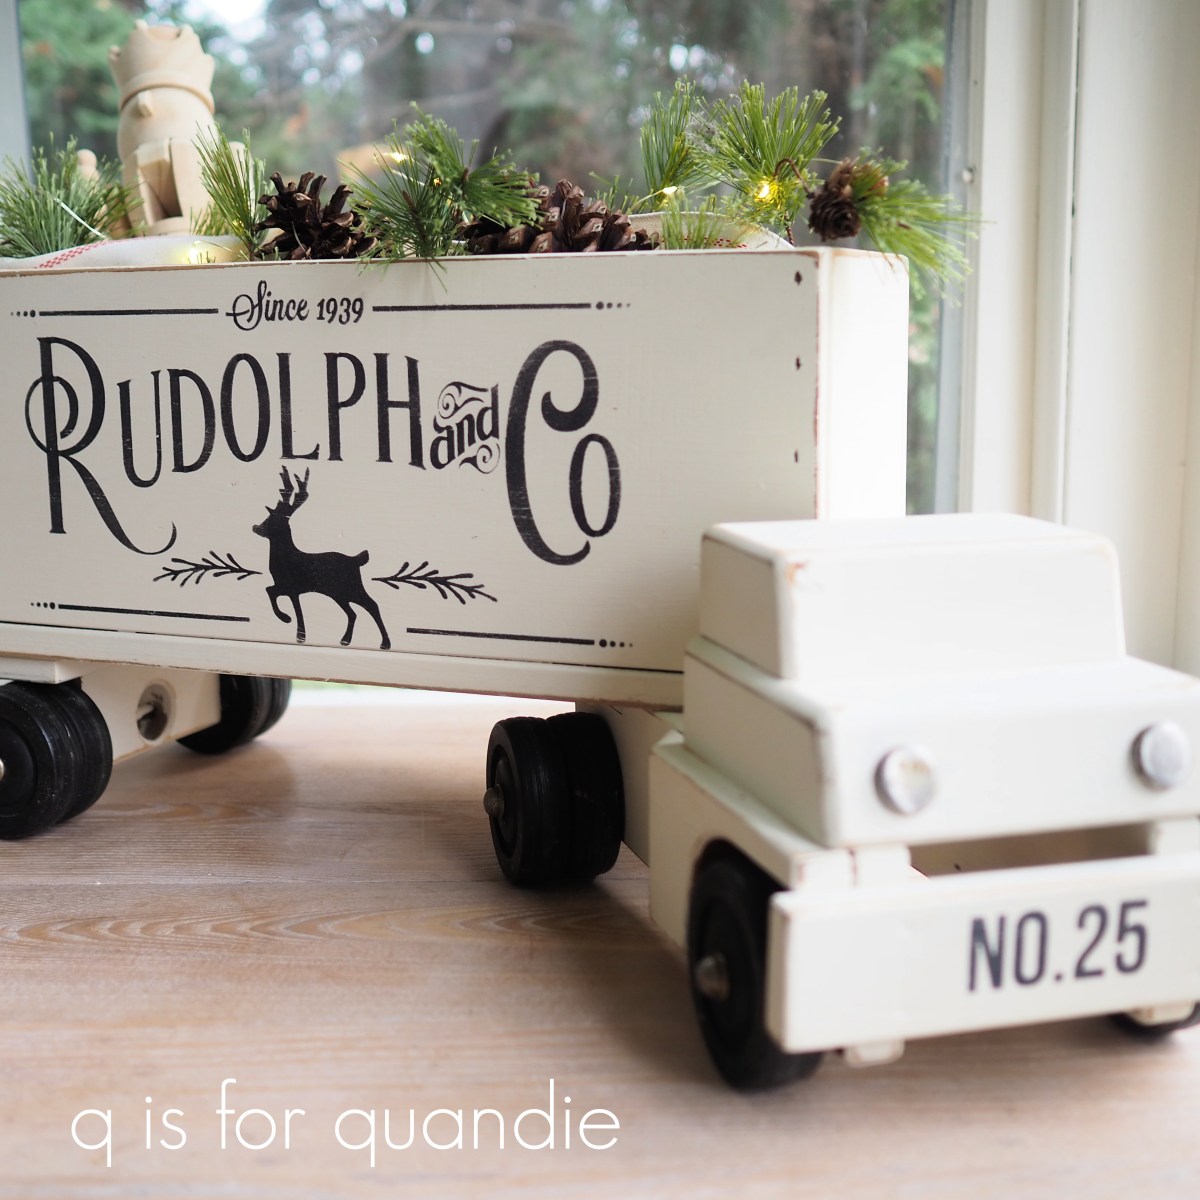
I picked up this wooden toy truck last summer at a garage sale.

I knew it would be a fun one to paint, and that I wanted to turn it into a Christmas decoration.

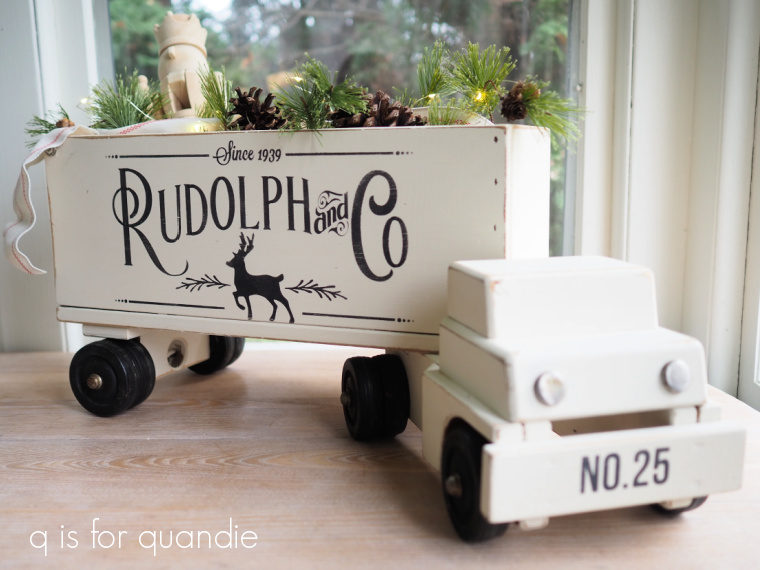
I took some measurements and ordered a Christmas themed stencil from Wallcutz in a size that would fit.  Last weekend I pulled it out of storage and gave it a couple of coats of Dixie Belle’s Drop Cloth.

Then I added my stencil using Dixie Belle’s Midnight Sky.

You might recognize that design.  I used a larger version of the same stencil on my drop leaf signs.

You’ll be seeing it a couple more times before the end of the season!

I debated using the same red, green and black color scheme on the truck, but ultimately decided to go with a more neutral palette.

I used the top portion of the stencil on one side …

and the bottom portion on the other …

The number 25 stencil on the front bumper is part of another stencil.

I have to admit, I don’t find the black and white to be quite as festive as red and green.  But I’ve been known to decorate for Christmas in black and white, so I went with it.

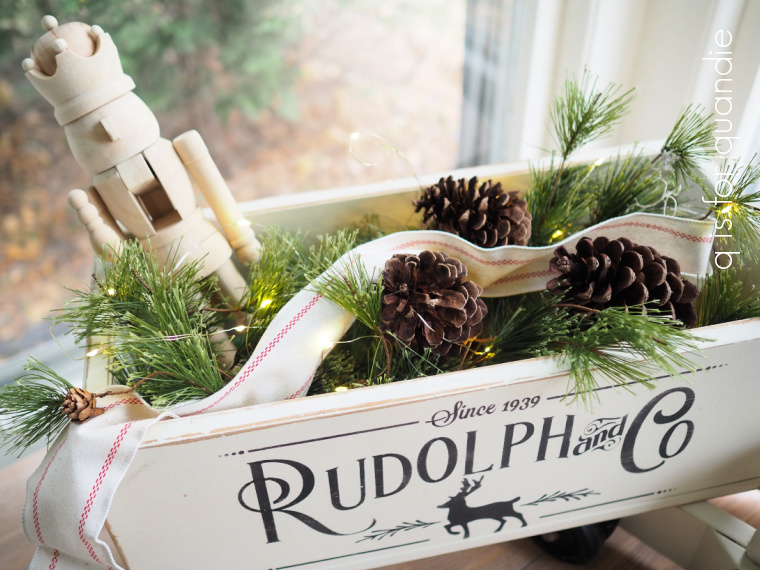
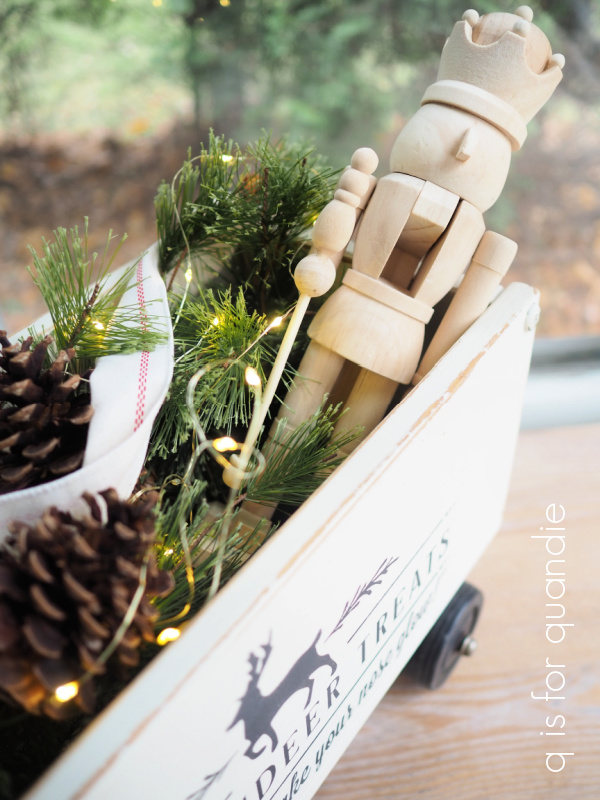
The truck is open on the top, making it perfect to use as a table centerpiece when filled with greens, pinecones and fairy lights.

How do you like the nutcracker?

I just picked him up at Hobby Lobby for $5 (he was half off).  He’s meant to be a craft project, you’re supposed to paint him.  But I rather love him as is, so I’m planning to use him just like this.  Once I have my Christmas decorations up, I’ll share where I put him.

They had two sizes.  This is the bigger one.  The smaller one came packaged with some cheap paints, and I think was only about $4.

As much as I love this one, I am going to sell it ($45, SOLD).  So if you’re local and want to snatch it up before I take it into the shop, you’ll need to act fast and send me an email at qisforquandie@gmail.com.

As for the rest of you, what do you think?  Would you have gone traditional with red and green?  Or do you like more of a neutral Christmas like me?

sleigh rides since 1932.

Before getting on with today’s post, I want to express my very heartfelt thanks to all of you for your congratulatory comments on my retirement post.  I can’t tell you how much it means to me to have such a supportive group of blog followers.

Quite honestly, having this blog is one of the factors that made it easy for me to make the decision to retire.  I’m so excited about moving forward and having more time to devote to bigger and better projects on q is for quandie!

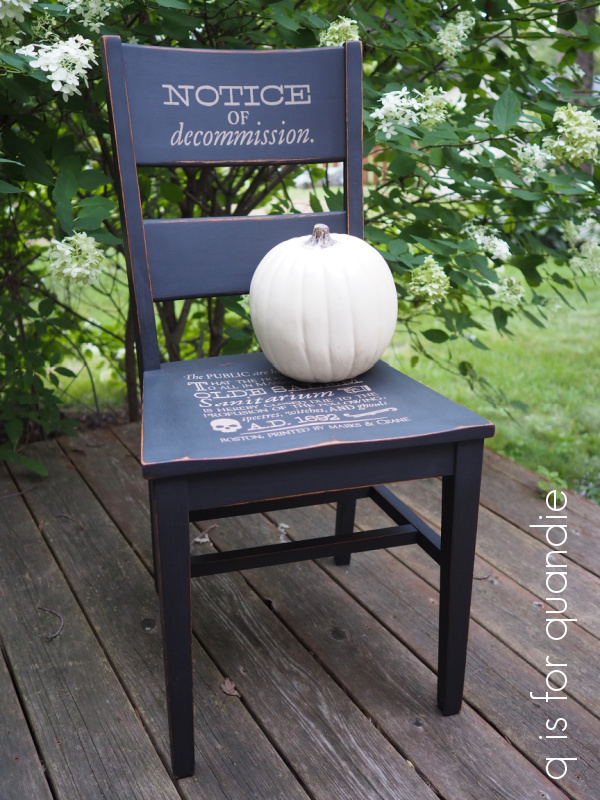
But for today, I’m just sharing a simple chair makeover.  I purchased this pair of chairs at a garage sale last summer.

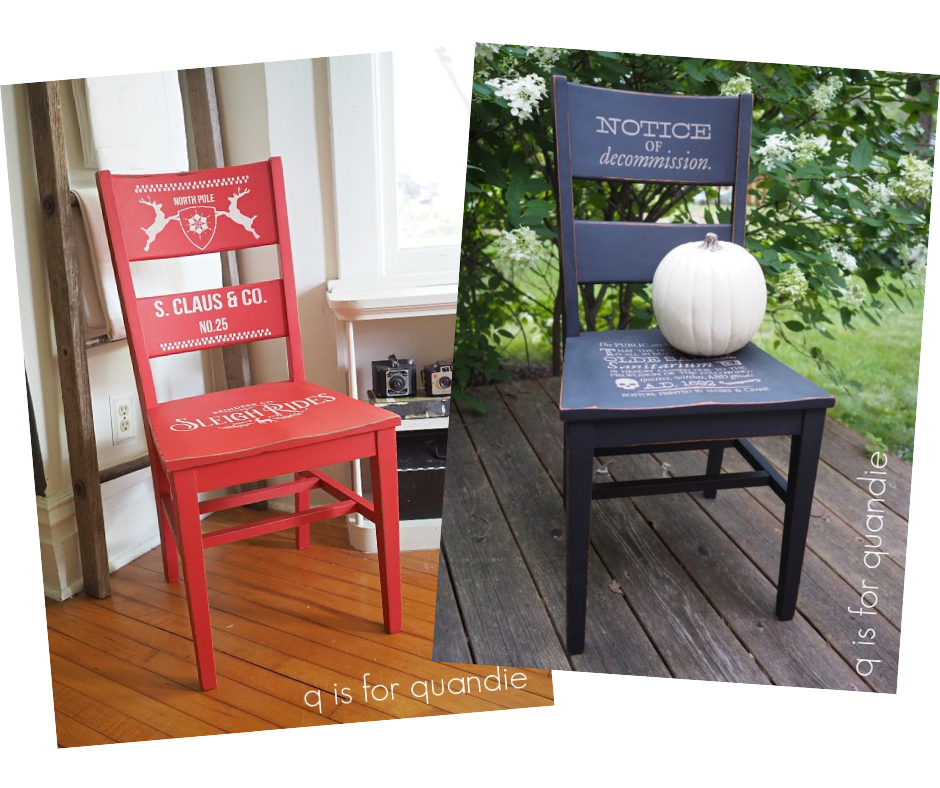
If you’ll remember, I painted up one of them with a Halloween theme back in October …

It was the perfect canvas for stenciling.

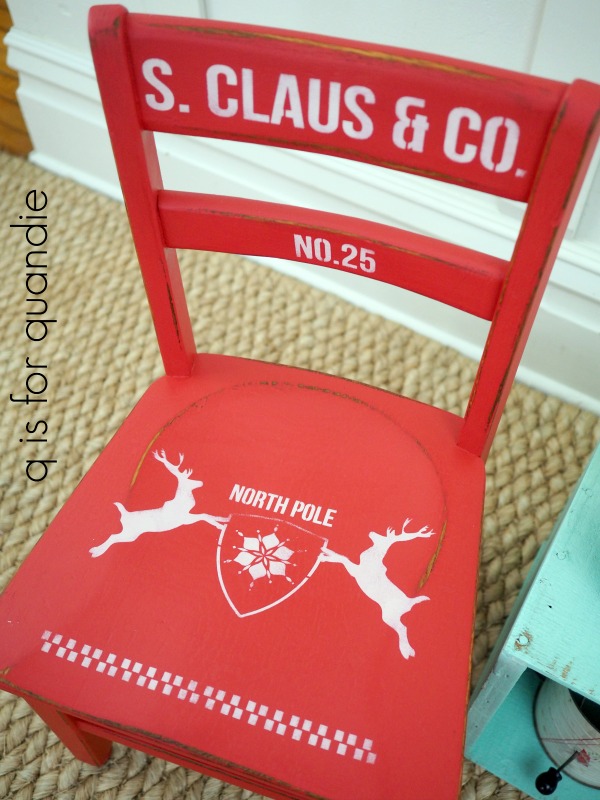
At the time, I purposely kept the 2nd chair knowing that I wanted to give it a Christmas look.  I’d recently been at a planning meeting for the vendors at Reclaiming Beautiful and they had mentioned wanting Christmas items with a Scandinavian look.  I remembered the small chair I painted back in 2019, I thought it had a bit of a Scandi look at the time.

So I decided to do something similar with this larger chair.

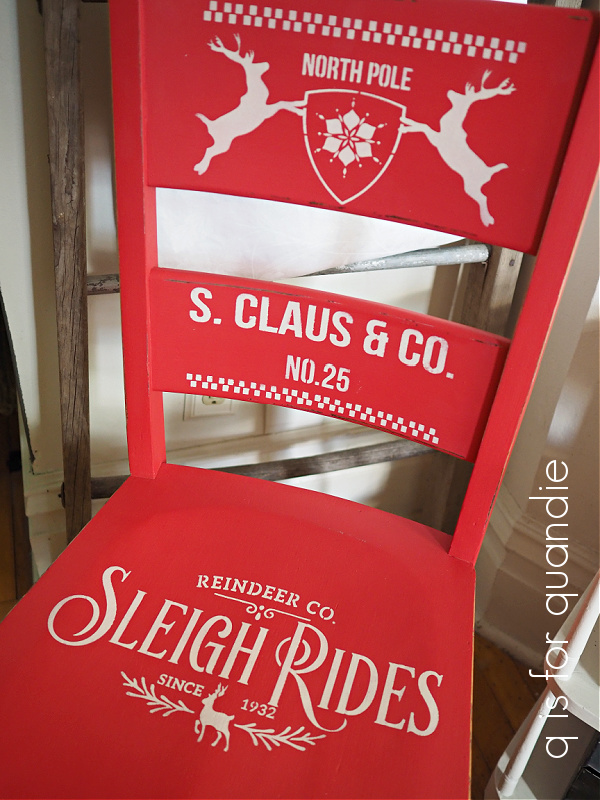
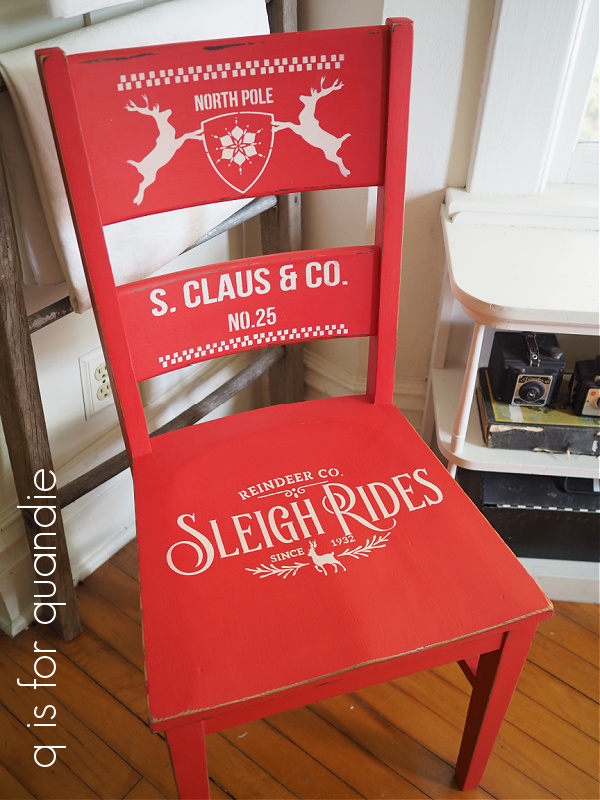
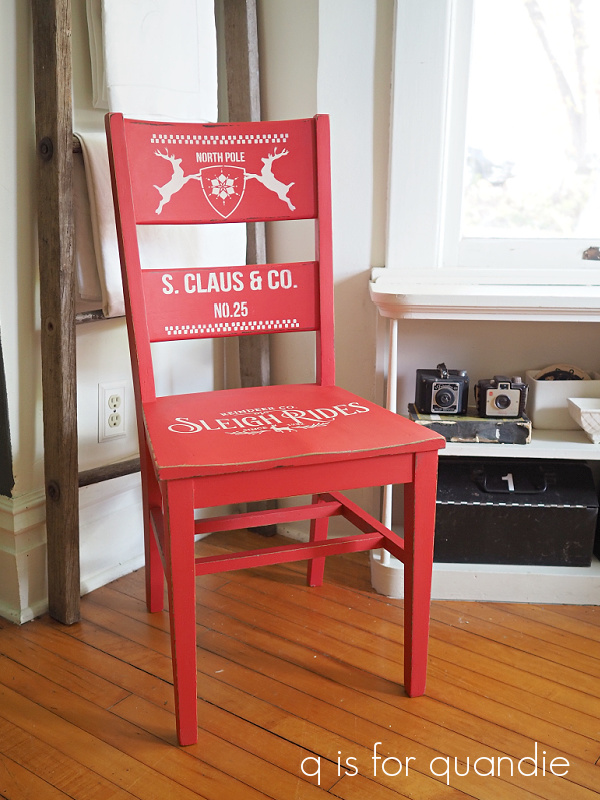
But before I got Dixie Belle’s Honky Tonk Red out of the cupboard, I first gave the chair a coat of their B.O.S.S. in gray.  I’d read somewhere that a base coat of gray will make it easier to get good coverage with red.  If you’ve ever painted anything red, you’ll know that it often takes 3 or more coats to get good coverage.  So I thought I’d give that a shot.  After one coat of the gray B.O.S.S., I did get great coverage with the Honky Tonk Red,  although I did still need two coats.

I think going forward I’d also use the gray B.O.S.S. under Dixie Belle’s Flamingo.  I found that it took 4 coats to get good coverage with that color on a dresser a while back and I bet I could have saved myself some effort, and some paint, had I used the gray base coat.

After the Honky Tonk Red was dry, I sanded the chair down, focusing on the edges for a distressed look.

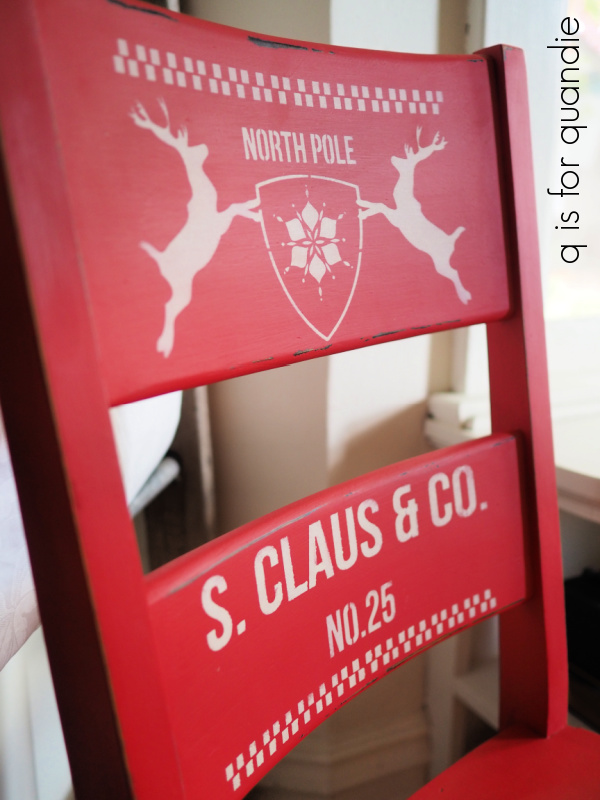
Here’s an important q tip regarding stenciling with white paint (in this case it’s Dixie Belle’s Fluff) over red.  Do not plan to sand much after adding the white.  Your sandpaper will drag the red sanding dust into your white stenciling, and that’s not a good look.  That’s why I did most of my sanding before moving on to the stenciling.  After stenciling I used a very light hand and 220 grit paper to sand the white just ever so carefully to smooth it out a bit.

I used portions of a couple of different stencils on the chair.  On the chair back, I used the Santa Claus and Co Feedsack stencil from Maison de Stencils.

Next up I added the Sleigh Rides stencil from Wallcutz to the seat.

I followed all of that up with a top coat of clear wax.

It doesn’t get more festive than that!

I love the graphic punch of the white on red.

Wouldn’t a chair like this be cute placed in your foyer to greet Christmas guests?  Or maybe just tucked next to the Christmas tree.  I can also see it being used in the guest room as a substitute bedside table, how fun for your holiday houseguests!

This chair is one of the items that I took into Reclaiming Beautiful before I left for Florida, and it has already sold!  I usually find that red items aren’t quick sellers, with the exception of Christmas items.

So which is your favorite?

Christmas red or Halloween black?

flipping a switch.

Well, I’m back from a week at Disney World.  I had planned to be able to share a blog post or two about Disney at Christmas-time, but in the end I took a grand total of about a dozen photos on the entire trip.  Anyone who knows me well is now thinking ‘What?!  How is that even possible?!’  Usually I take at least 200+ photos on a trip.

What happened?

Well, first of all, I found it really challenging to get good photos on the fly.  I would have needed to take much more time with the composition to get anything good, and I didn’t want to make my family stand around waiting while I did that.

Also, the parks were super crowded!  Supposedly early November is one of the ‘least crowded’ times to visit.  If so, I can’t even imagine what it’s like during peak season!  There were very few opportunities to get photos without a ton of people in them.

The only times the parks were a little emptied out was at the very end of the night right before closing, at which point I was exhausted, my feet were killing me, and the last thing I wanted to do was take photos.

That being said, the parks were definitely dressed up for the holidays and it was fun to see that.  I especially loved the window displays along Main Street.

We attended the Disney Very Merriest after hours event while we were there.  We saw the Christmas parade with Santa at the end and the holiday fireworks show.  We ate the cookies and drank the hot chocolate that was included.

But in the end, I had a hard time getting in the Christmas spirit while wearing shorts and a t-shirt.  Palm trees and sunshine just don’t scream Christmas to me.

We returned home on Saturday evening to a snow storm though, and when I got up Sunday morning and saw an inch or so of snow on the ground it was like flipping a switch.  There it was!  The Christmas spirit.

I guess to me Christmas is all about cozying up on the sofa with a furry blanket and watching the snow fall outside.  It’s good to be home!

I’m looking forward to sharing a few more Christmas projects with you over the coming weeks, and I also have an exciting announcement to share later this week.  So be sure to stay tuned!

where did the time go?

First up, congratulations to Lisa K.  I drew her name at random to win my paint giveaway from last week.  I wish I had a prize for everyone who left a comment.  I don’t know if you guys realize how much your comments mean to me, a big thank you to each and every one of you.

I have to say, I can’t seem to wrap my head around the fact that it is already November.  How did that happen?  In my head it’s still summer.

We’ve certainly had a mild autumn here in Minnesota this year, so I think that’s part of it.  It has been relatively sunny and warm and I’ve barely even needed a jacket up until this week.  I was even able to keep working out in my unheated carriage house workshop until this past weekend.

And then there was my trip to visit my mom back at the end of September.  It was still in the upper 90’s at her house in Henderson, NV.

So that certainly extended the season for me.

Although in my head it’s still summer, I’m now working on Christmas projects!  The shop where I sell a lot of my small items (Reclaiming Beautiful in Stillwater, MN) is preparing for their Christmas Open House which is taking place on Thursday, Nov 11, so I wanted to have some things ready to go for them.
One of my favorite items I finished up over the weekend is this suitcase.

You may remember that my neighbor brought home a couple of suitcases from her uncle’s estate sale for me this summer …

This is the cream colored one just in front of the green one in the photo above.

I cleaned it up, gave it a coat of spray primer in flat black and then added a quick coat of Dixie Belle’s Midnight Sky over that.  You may be wondering why I opted to use a spray primer this time, and really it was mainly just laziness.  I knew I wanted to paint the entire thing, hardware and all, black.  I had black spray primer on hand.  And I knew I could get into all the nooks and crannies with spray easier and more quickly than with a brush.  So I just went for it.  I followed up the primer with just one coat of Midnight Sky, which was totally sufficient.

I used Dixie Belle’s Cashmere, one of their fall colors, for the stencil (which is from Wallcutz, if you want to find it).

I love how it turned out!  It would be perfect to just place in the foyer somewhere to greet your holiday guests.

I also painted up a couple of sleds.

Nothing super exciting to share on these.  If you’ve been following me for long you’ll know that I’ve done a bunch of these sleds over the years.

I brought both of these into the shop, but I do have one more to finish up.

I also painted up a few cupboard door signs.

Isn’t the detail on that stencil fabulous?  It’s another one from Wallcutz, and so is this one …

Those are a couple of old table leaves that I’ve turned into signs.  Wouldn’t they be adorable hung on the wall outside your front door?

I totally ran out of time to get these properly staged and photographed, but I wanted to share them here today in case any of you locals want to head to Reclaiming Beautiful this weekend to check them out.

Also under the heading of ‘where did the time go?’, in other news my sister, niece and I are heading to Florida today for our 2nd Disney trip this year.  In some ways it feels like we just got back from our Disneyland trip, while in others it feels like that was ages ago.  Either way, we fly out today and return a week from tomorrow.  Once again, I’ll be taking a break from blogging while we’re gone.  But stay tuned, I’ll be back soon and I plan to share a few more Christmas projects over the next month or so.  Hopefully I’ll have more time to stage them and get proper photos for you!

good tidings of comfort and joy.

I thought I’d squeeze in one more holiday post before the big day.

On Monday I shared a sweet little chair that I revamped using a stencil from Wallcutz (you can find them on Etsy).  Well, when I ordered that Fresh Honey stencil, I also ordered a couple of others including some Christmas stencils.  I knew that I wouldn’t be able to get anything completed and out to the shop to sell before the end of the holiday season this year, but there’s always next year right?

Plus, I wanted to make something for myself.  Shocker, right?  Nine times out of 10, I’m making things to sell.  But I wanted a black, stenciled sign for my own house.  I made up this one earlier in the month …

I loved it, but the dimensions weren’t quite right for the spot I had in mind.  So I sold it.

Then I saw this stencil from Wallcutz.

North Pole Stencil – WallCutz

Pretty adorable, right?

So I went back to the Habitat for Humanity ReStore and found some more cupboard doors that it would fit on.

I painted mine in Dixie Belle’s Midnight Sky, and stenciled it using French Linen for a shadow (just around the words North Pole) …

and Drop Cloth for the 2nd layer of stenciling.

I sanded everything, and this is definitely one of those cases where sanding all of the edges really brought out a lot of detail.

I hung it in this spot for getting some suitable photos of it, but ultimately it’s going to go on the wall behind the piano.

You can catch just a glimpse of my non-collected Christmas village in the background of the photo above.  I put it up on my giant pine cupboard.  I love the way it looks all lit up at night.

I use things like vintage suitcases, old books and game boxes to create varying heights.

And this year I put Ebenezer’s house in a bird cage.

So, probably not your typical Christmas village set up, but I like it.

These pieces are all from the Dept 56 Dickens Village.  If you buy them new they are silly expensive.  But I’ve gotten all of mine at either garage sales or thrift stores.  I don’t think I’ve ever paid more than $15 and usually it’s less.

I also want to share the throw pillow on my chair …

I found that at the Turn Style consignment store in Roseville for only $10.50.  They had quite a few of them when I was there last week.  I don’t know if they have a big post-holiday sale on Saturday or not, but some of you locals might have a shot at getting one even cheaper.

And on that note, I wish you all good tidings of comfort and joy!  Mr. Q and I will be enjoying a quiet Christmas this year with my niece and sister.  I have a couple of year-end wrap up posts planned over the next week, but other than that I plan to just chill out, rest up and get ready to ring in 2021.  It has to be an improvement on 2020, don’t you think?

making do.

Over the past several years I’ve sort of accidentally started a new Christmas tradition for myself.  Each year I create a new theme for my holiday gift wrapping.

Last year I kept the colors really neutral and I used some Deer transfers from re.design with prima.

I also made gift tags using photocopies of old black and white family photos.

In 2018, I was inspired by a recent trip to a velvet making factory in Venice and I stenciled my own wrapping paper to simulate the look of their beautiful fabrics.

In 2017 it was a pretty in pink Christmas.  I painted boxes pink and used Fusion’s transfer gel to apply some 12 Days of Christmas graphics to them.

Back in 2016 I used Fusion’s Copper paint and old rolls of player piano music to create some unique Christmas gift packages.

I started this 2020 holiday season feeling a little bit stumped about what I was going to do.

Then I remembered this set of IOD Crockery stamps that I purchased a while back.

I absolutely love the designs on these, but here’s the thing … I really think it’s difficult to use rubber stamps effectively on anything other than paper.  I’ve used them on fabric in the past, and also on painted furniture, but I didn’t like the results well enough either time to repeat the experience.  I’ve also seen people use them on curved surfaces, but to me the results always just look sloppy.  In my opinion, it’s extremely difficult to get a crisp look with a stamp on anything other than a flat surface.  It’s also entirely possible that I am just a tad too picky about these things 😉

What I wouldn’t give to have some transfers in these designs, they’d be gorgeous on jars, plates, clay pots, the possibilities would be endless (come on IOD, make these as transfers!).  Unfortunately you can’t get anywhere near this level of detail with a stencil, or that would be awesome too.

Anyway, despite the fact that they aren’t Christmas-y at all, my idea was to somehow use these stamps to create some holiday gift wrapping.  I made up a shopping list for the craft store and planned to get some supplies and see what I could come up with.

I was literally in the process of putting makeup on so I could go out in public (to Hobby Lobby) on Black Friday when I decided that I really didn’t want to go to a crowded store.  I’d just avoided going to my in-laws for Thanksgiving, and that would have been just six of us.  How could I possibly justify going to a crowded store on Black Friday of all days?

Instead I decided to just make do with things I already had around the house.

I had a roll of brown craft paper, and some brown paper shopping bags.  I also pulled out some book pages and some simple shipping string.

I started with the bags.  I needed to cover up the store logos, so that’s where the book pages came in.  I wasn’t sure if I’d like the look of the stamps over a book page, but I gave it a shot.

Always make sure you have a firm, flat surface underneath your paper when stamping.  I used a large clip board on top of my drop cloth covered piano.

Turns out that I did like the look of the stamps over book pages, so I made up a couple and glued them to the bags to cover up those store logos.

And then I wrapped some boxed gifts in craft paper and added book pages to them as well.

If you aren’t a fan of the book page look, or if you simply can’t bear ripping apart an old book, you could also just use plain paper.  Or in this case some paper that was tea stained to make it look old.

But the look that ended up being my absolute favorite was to just stamp right on the brown craft paper.  This was a little tricky because I stamped on the paper first, then had to keep that design semi-centered while wrapping the gift.  You could try stamping after wrapping, but again, you need that firm hard surface to get a good result.  If your gift box has some give, you’ll not get a crisp image.

But seriously, how adorable are those?!  Totally worth the effort.

The best things come in small packages!

I needed some tags to go with my packages, so I used my Creative Memories tag punch and cut some out of cardstock.

Even though the stamps are a bit larger than the tags, I still think they worked.

I have to admit, I feel quite a bit of satisfaction that I was able to make do with things that I already had to create my gift wrap this year.

Who says you have to spend money?  Just dig through your craft stash to see what you can come up with this year.  Then again, you might just have to splurge on the Crockery stamps 😉

I mentioned in a previous post that I’ve decided not to put up a full sized tree this year, but I do have a little tabletop sized tree and these packages work perfectly with it.

So that’s another idea you can take away from this post.  If you don’t have time to fancily wrap all of your Christmas gifts, just wrap up some small boxes to use as decorations!

I hope you are all staying safe and healthy this holiday season.  If you’re stuck at home (or just choosing to stay home like me), challenge yourself to see if you can make do with stuff you already have on hand.