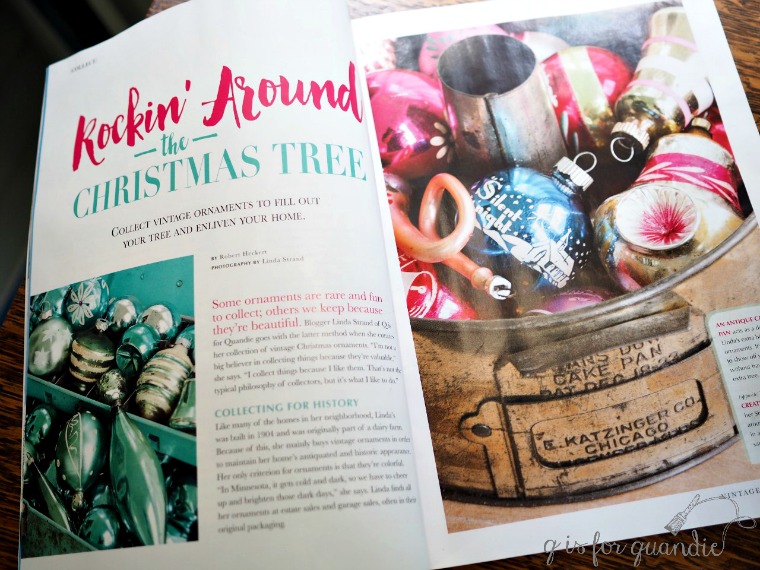
Before I get on with today’s post about the Green Alligator farmhouse table, two things. First, the Vintage Holiday magazine with the article about my vintage Christmas ornaments is on stands now!

I was so excited to see my name in print for the very first time!

But in addition to my feature, the magazine is jam packed with great vintage holiday decor including an article featuring Pam Kessler from House of Hawthornes (if you aren’t familiar with Pam, you should check her out). If you want to pick up a copy, I’m told they can be found at Target and Barnes & Noble. If you’re a local, I found my copies at Cub Foods. I picked up a couple of extra copies and plan to have a giveaway later this month, so stay tuned for that.
Second, I have to report that my ‘product differentiation‘ really paid off. I sold my sleigh bed yesterday afternoon. So, just over 24 hours! Possibly a new record. I truly believe it was the paint that made the difference, don’t you?
And now, on with today’s regularly scheduled post …
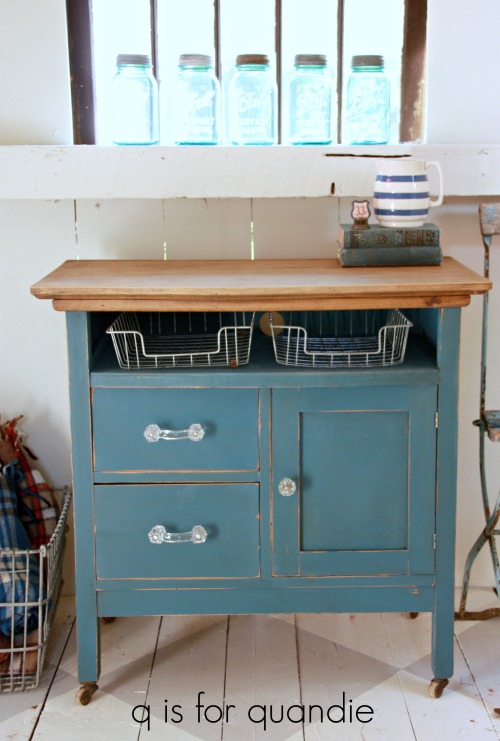
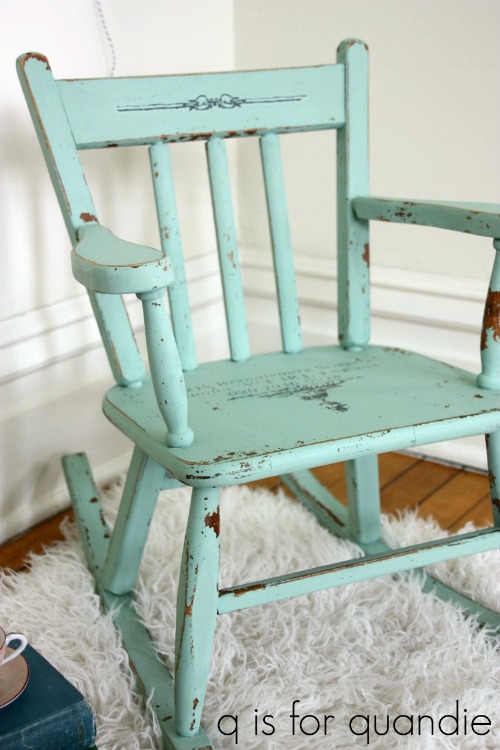
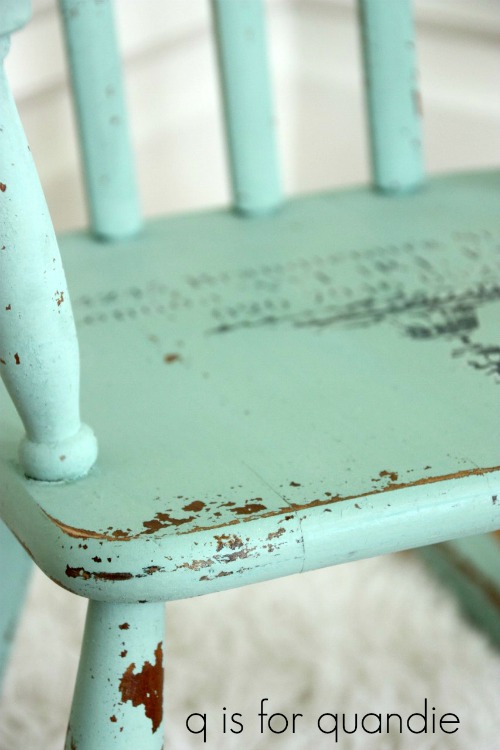
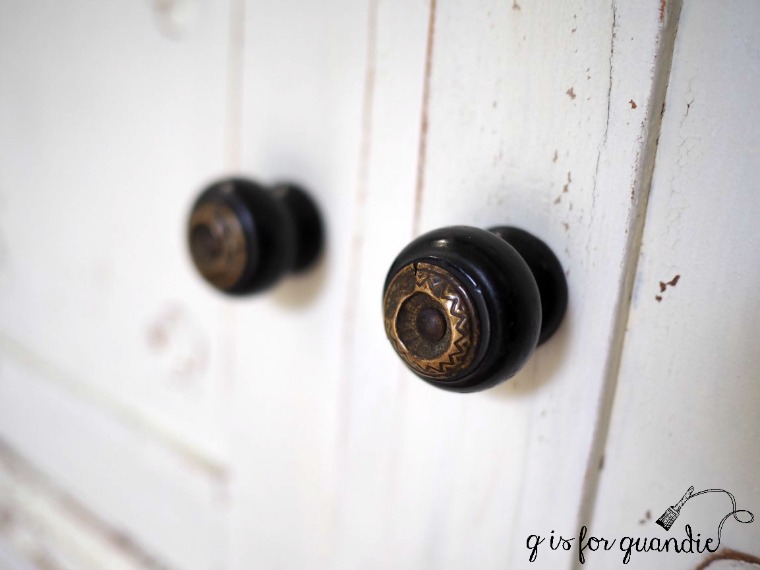
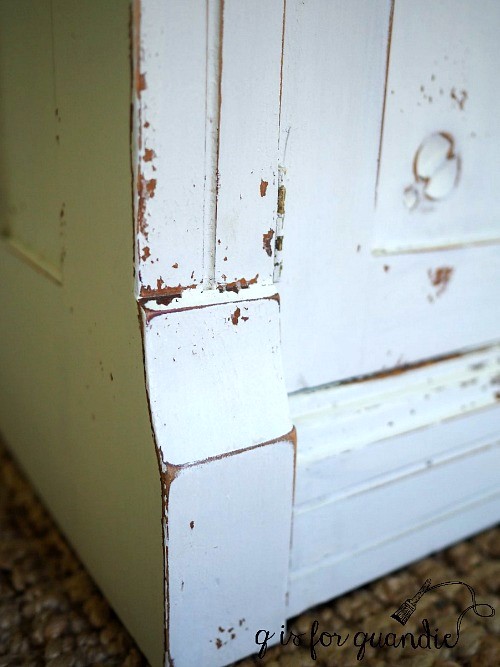
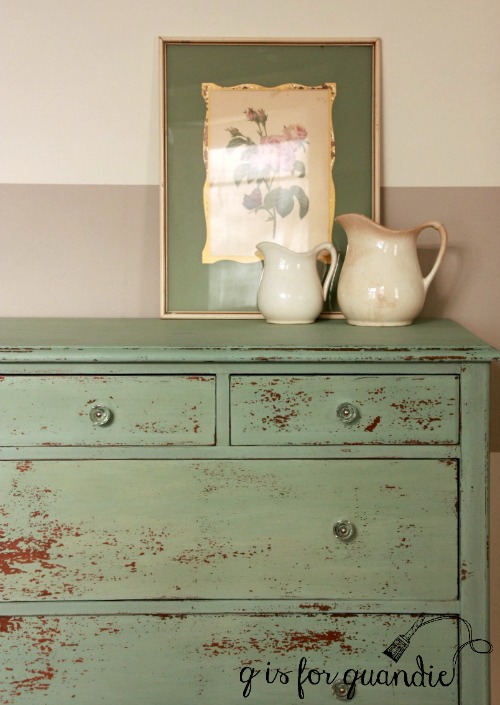
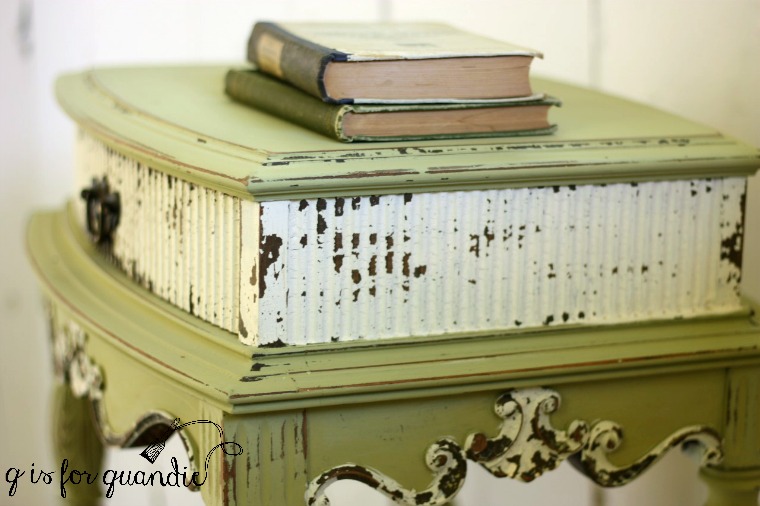
A while back I mixed a custom color that I called Blue Alligator. Not because blue alligators are a real thing, but because the surface of the piece I was painting was ‘alligatored’ and the color was a pretty blue-green. I found a lot of conflicting information on the web about what causes an alligatored finish and I don’t want to contribute to that further by pretending like I’m an expert. All I know is that sometimes the finish on old pieces will crack and separate leaving a bumpy surface similar to that of an alligator’s hide.

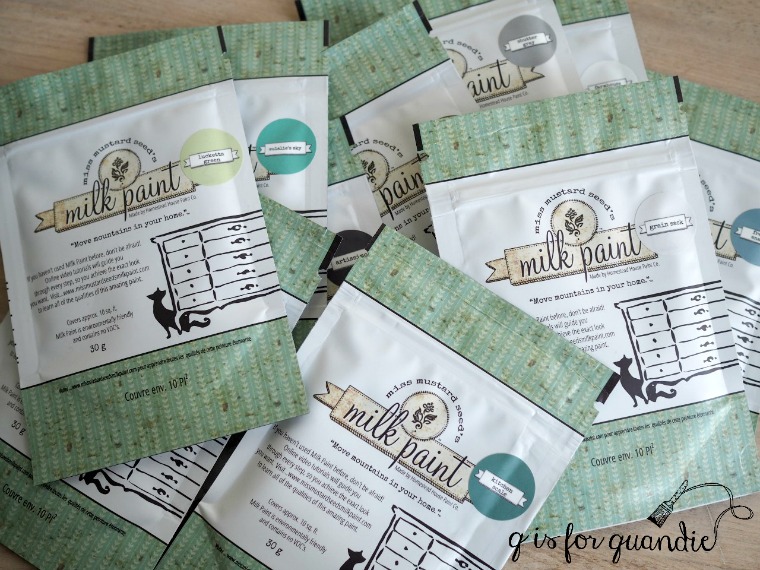
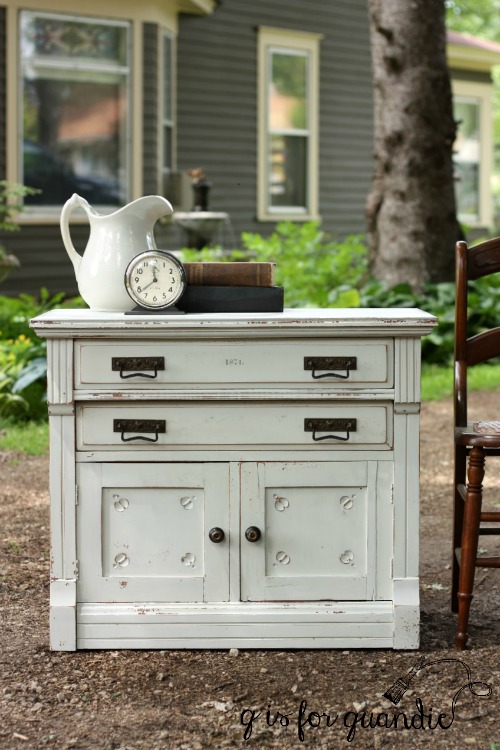
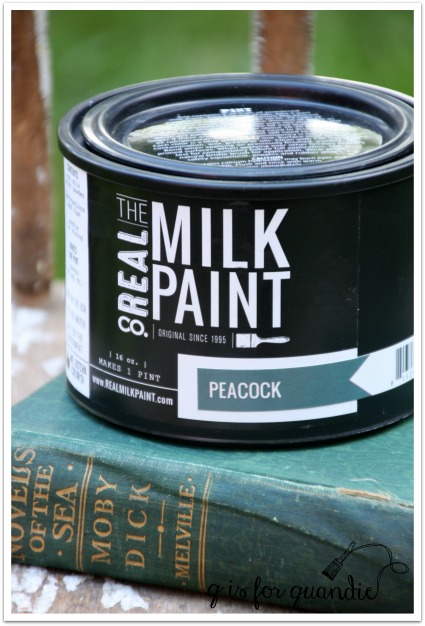
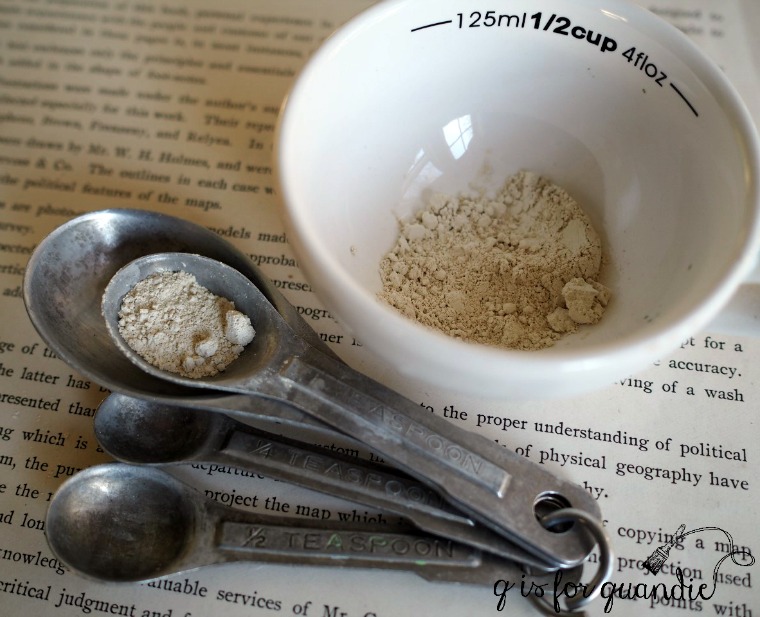
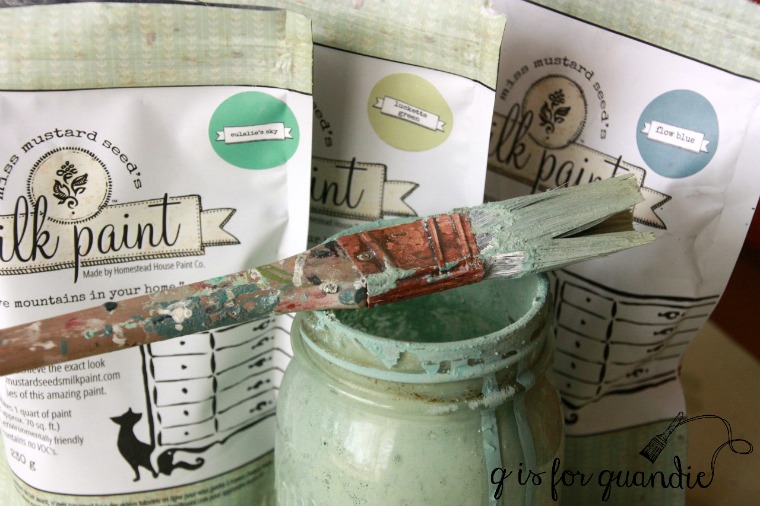
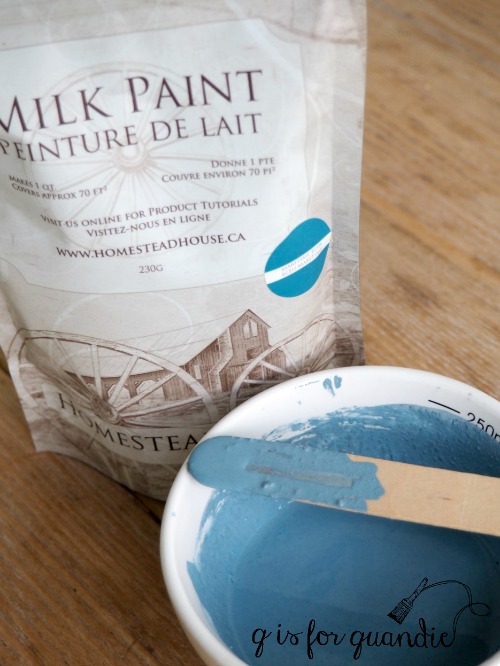
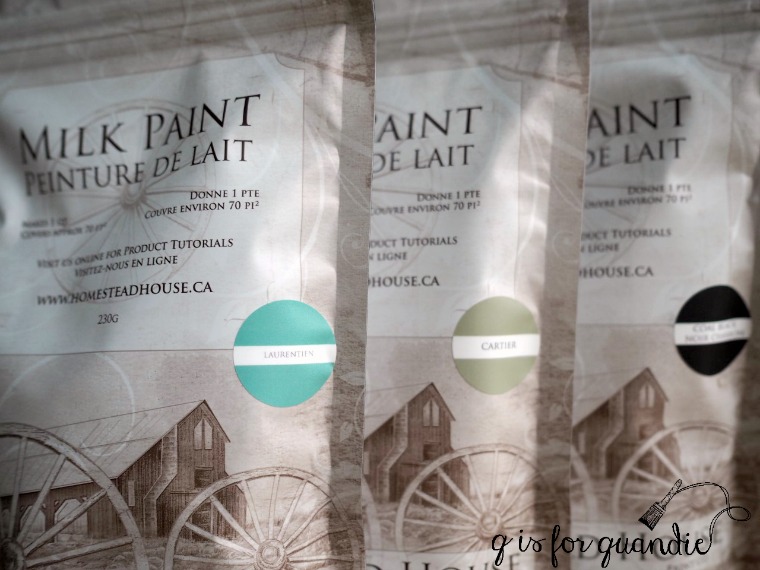
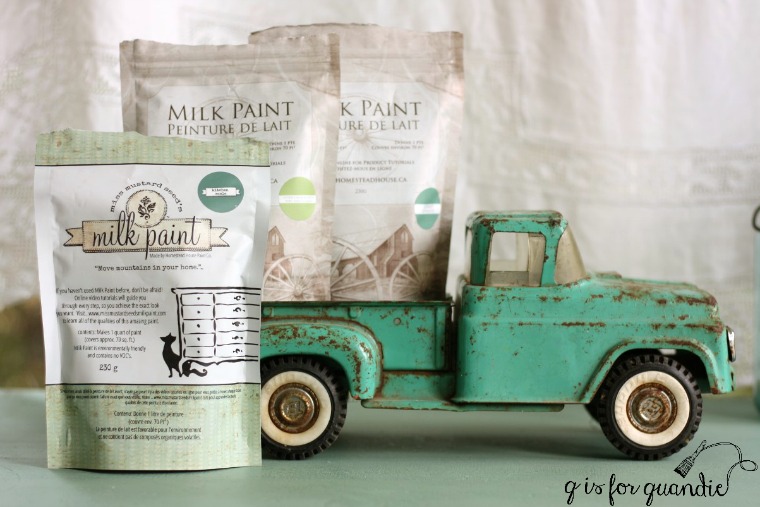
Well … anyway … I really loved the color I mixed for that dresser which was a combination of Miss Mustard Seed’s Kitchen Scale, Homestead House Upper Canada Green and Loyalist.
So I knew I wanted to use this color on something I was keeping for myself someday.
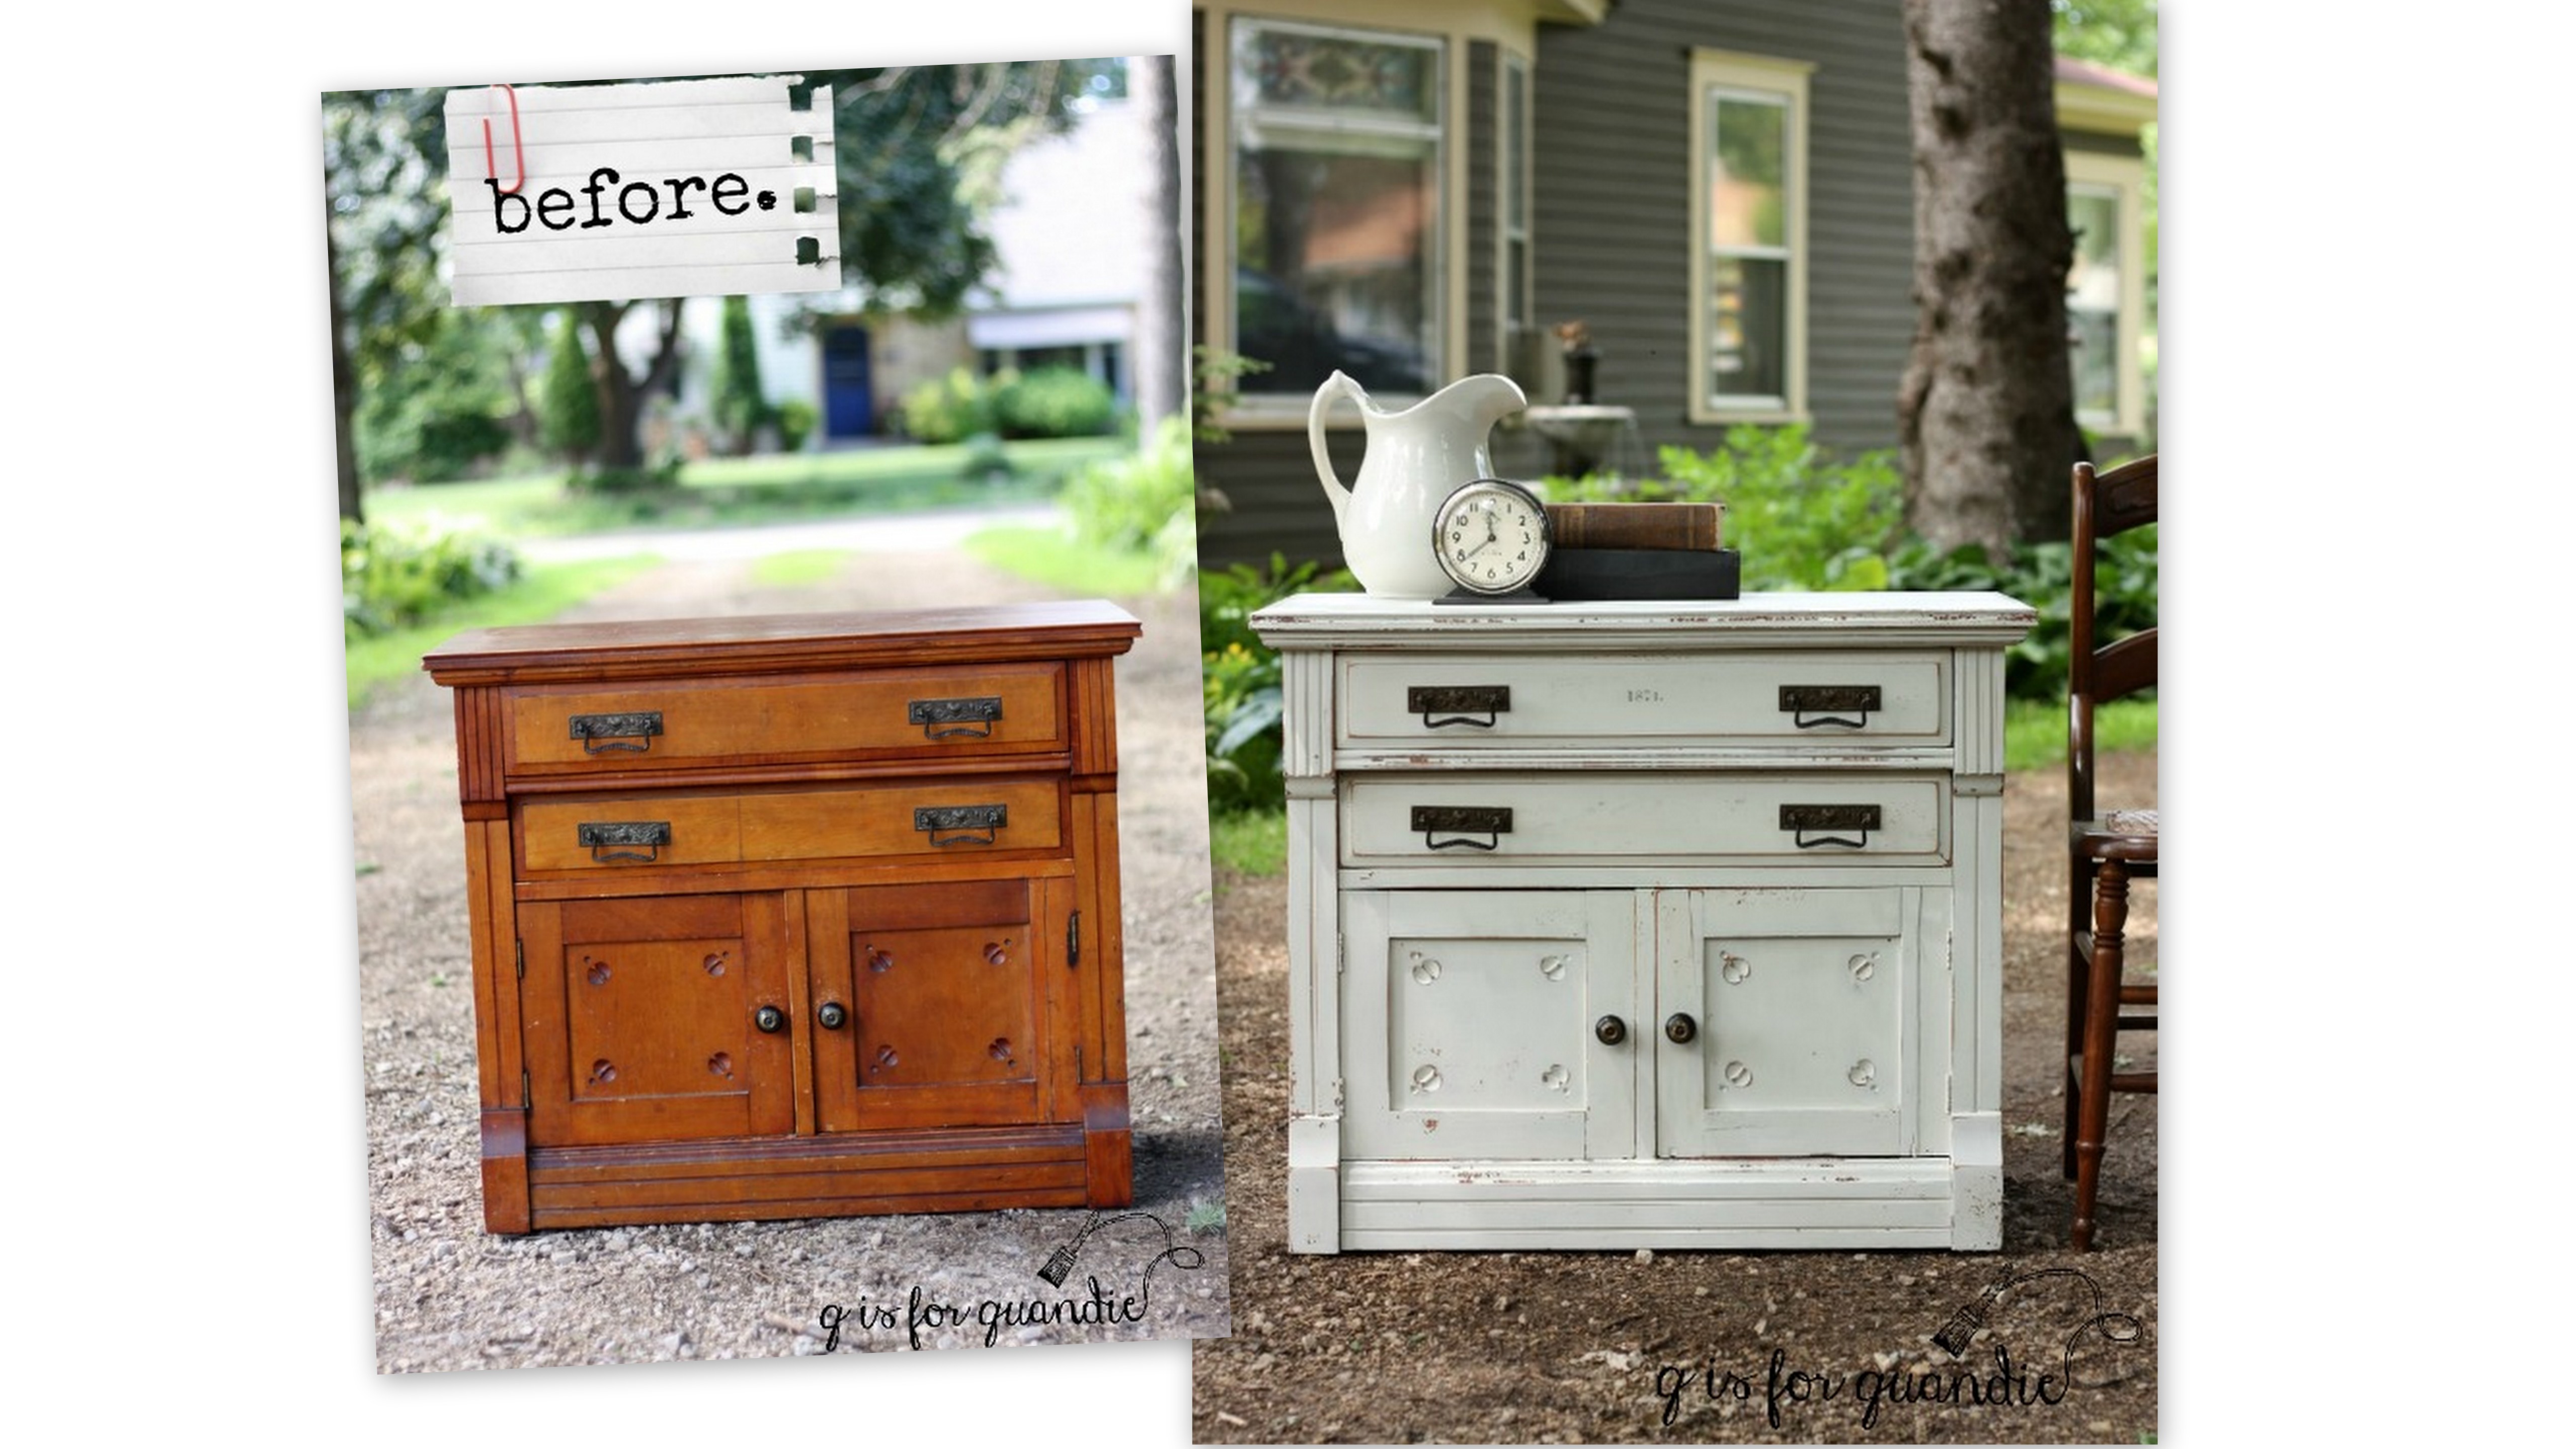
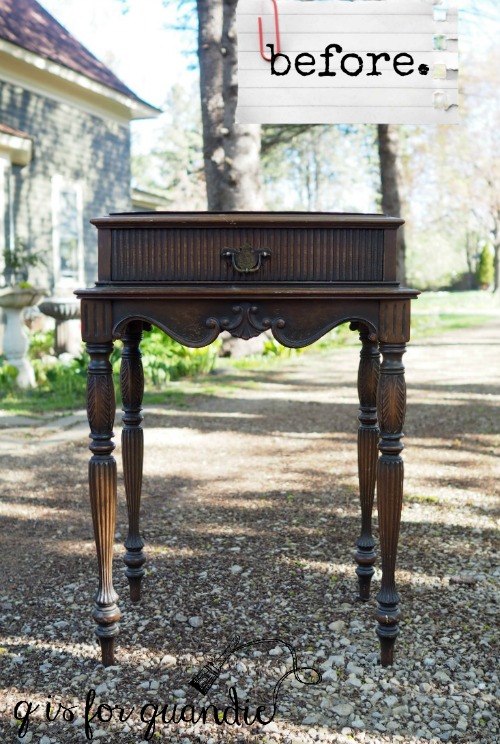
Flash forward to a week or so ago when Mr. Q and I brought home this drop leaf table.

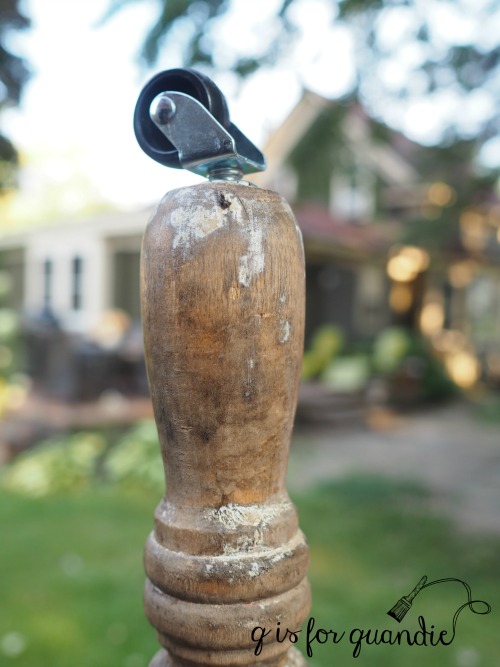
Technically, that’s not a true ‘before’ photo. I’d already removed the leaves and added new casters. I’ve done a few of these tables over the past several years (here, here and here). I’ve kept two of them for use in my own home. One is being used as the desk in my Q branch, and the other is now being used as a desk in Mr. Q’s study. The one that Mr. Q is using used to be on my front porch.
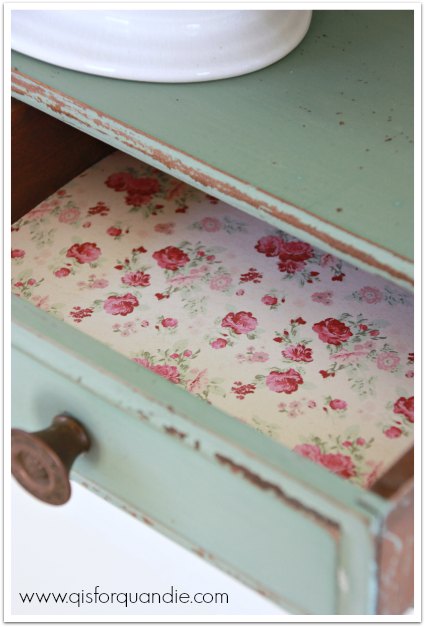
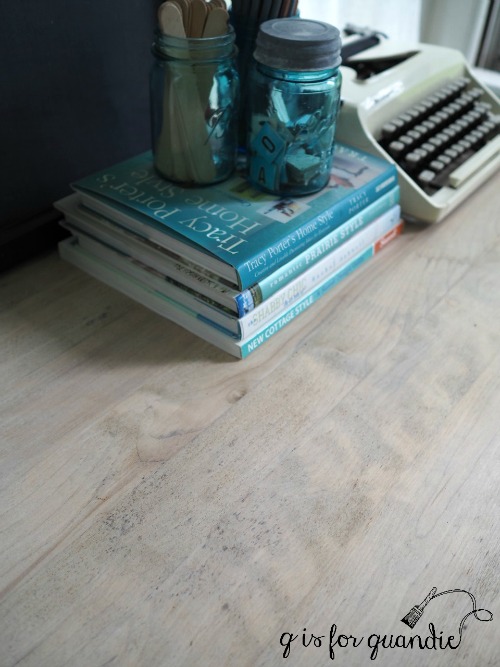
I found it so handy to have it in that spot because it made the perfect surface for close up photos for the blog, like this one …
But it was easy to move out of the way when I wanted to take a photo of something larger, like a piece of furniture, in that spot.
So after Mr. Q commandeered that table for his study I quickly realized how much I missed it and started looking for another. I find that tables like this are fairly common in my area, but prices for them on Craigslist can be all over the place. I was holding out for a bargain. When I saw the ad for this one at $25, and only 15 minutes away, I jumped on it.
After I got it home I started by removing those leaves. I’ve already turned one of them into a sign, and I’ll do the same with the other. And as I mentioned, I added some new casters to the legs. As much as I love the look of old metal or wood casters, I will be rolling this table in and out of position frequently. And I have a painted floor on my porch. So I decided it would be wise to add new rubber casters to this one to save my floor.
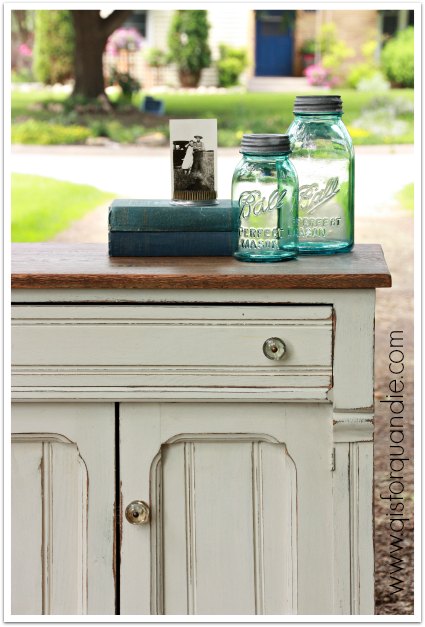
Next I stripped the finish off the top of the table and then waxed it with Homestead House white wax.

Qtip of the day: when using white wax on bare wood you need to decide how much white you want to see before you start. Full strength white wax on bare wood will leave obvious white areas in the grain. If you want a more subtle look you can either wax first with clear wax and then add white wax over that, or mix some white and clear wax together to get a ‘reduced strength’ white wax. For this table top I started with one coat of mixed wax, and then followed up with a 2nd coat of straight up white wax. White wax will be easier to blend over a base coat of clear or mixed wax rather than on bare wood.

This particular tabletop had some black spots. Had I planned to sell this piece I would have probably opted to go with dark wax on the top. But since I’m keeping it, and I wanted a lighter surface for taking photos on, I just chose to ignore them.
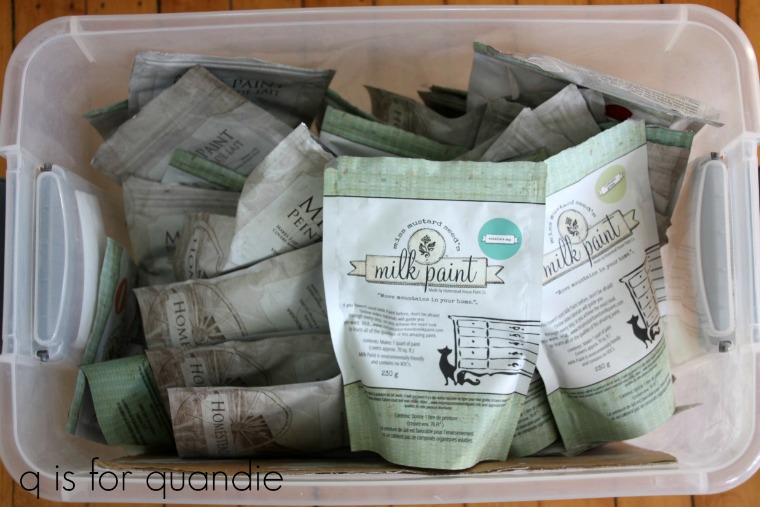
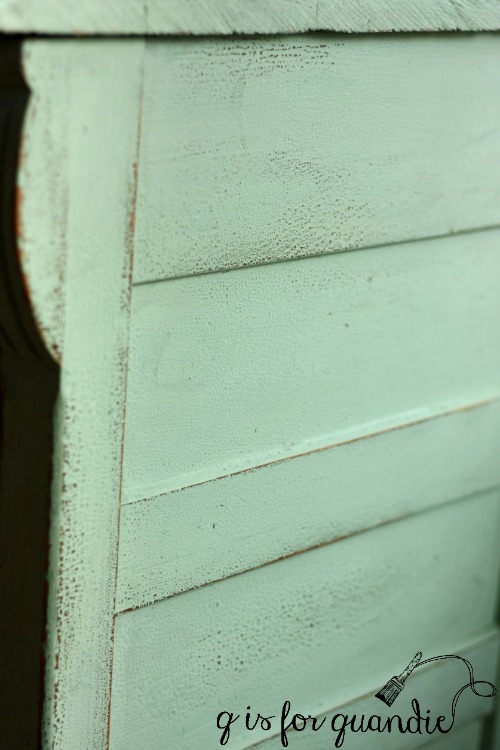
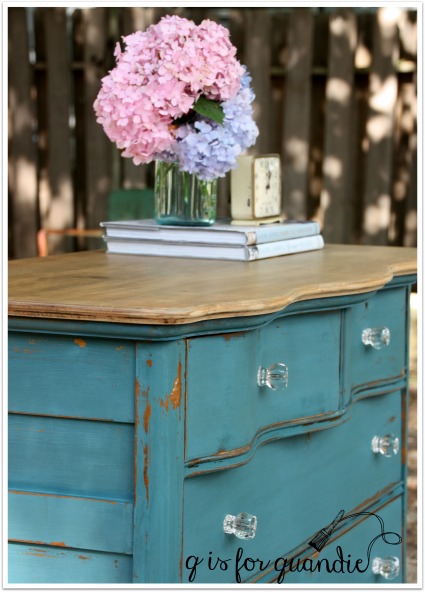
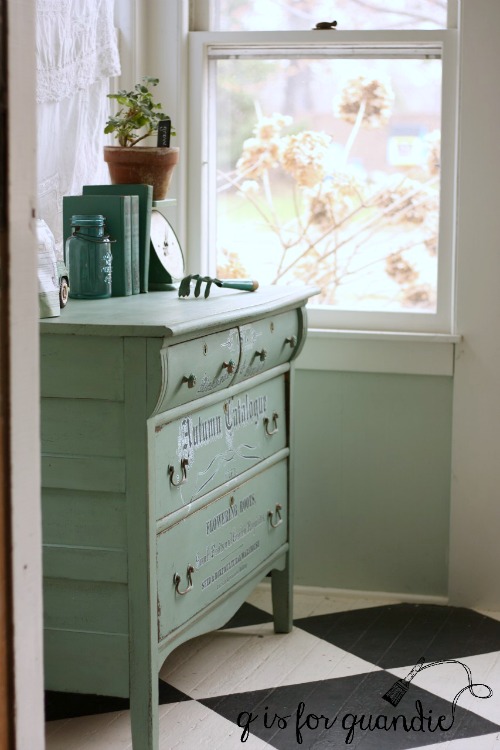
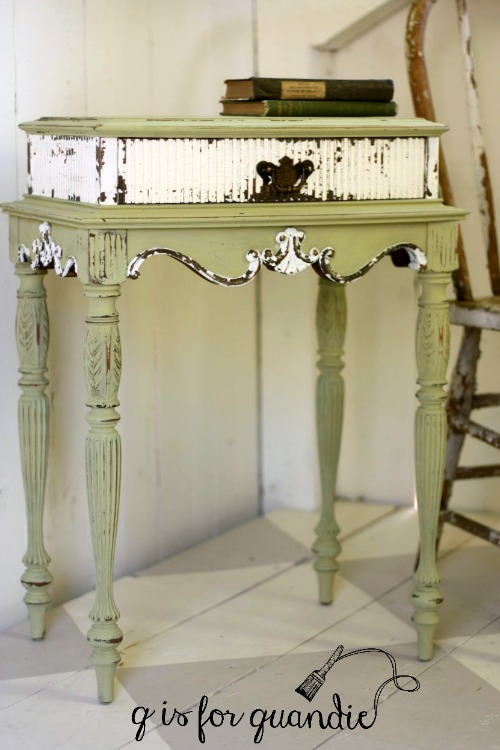
My next step was to mix up some Blue Alligator milk paint based on my recipe. That’s when I discovered that I didn’t have much Miss Mustard Seed Kitchen Scale paint left. So my ratio this time was a bit off. I used a little more Upper Canada Green and a little less Kitchen Scale. The resulting color is just a bit more green than the Blue Alligator. Thus, I give you, Green Alligator!

Fortunately, I love this color just as much as the Blue Alligator.

Possibly even just a little bit more.
I used clear wax as my top coat over the paint which darkened up the color just a tad.

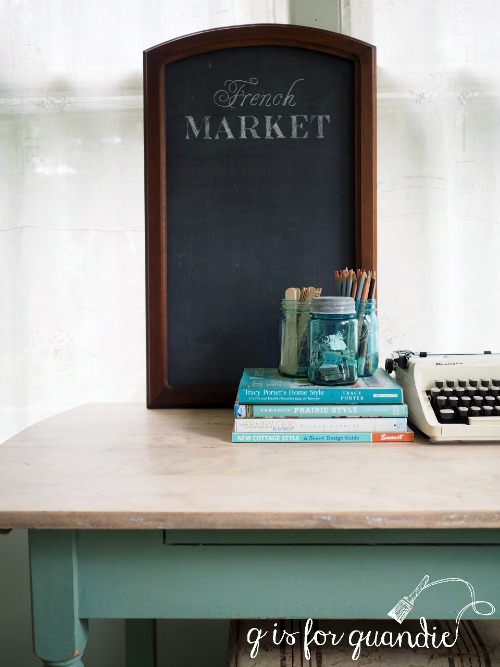
By the way, I took all of these pictures on a rather gloomy day so you can see why I love this spot for photos. I get great light here even on the most dismal days. With November and December just around the corner, I know I’ll be using this spot a lot in the next couple of months. Since this porch isn’t heated it can get pretty chilly mid-winter, but you’ll still find me out there taking photos even when I can see my breath in the air.
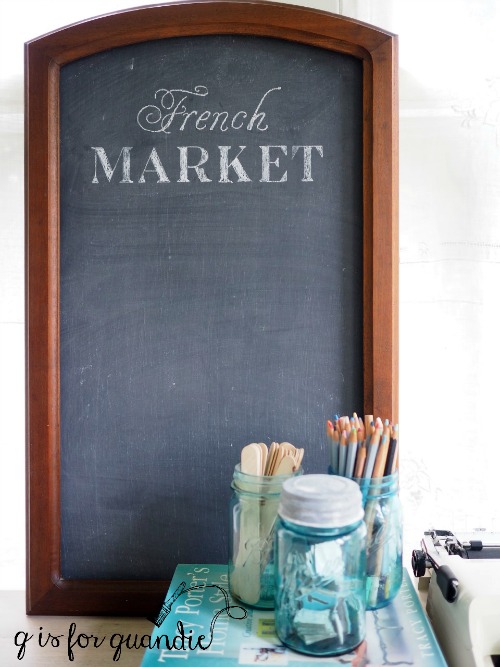
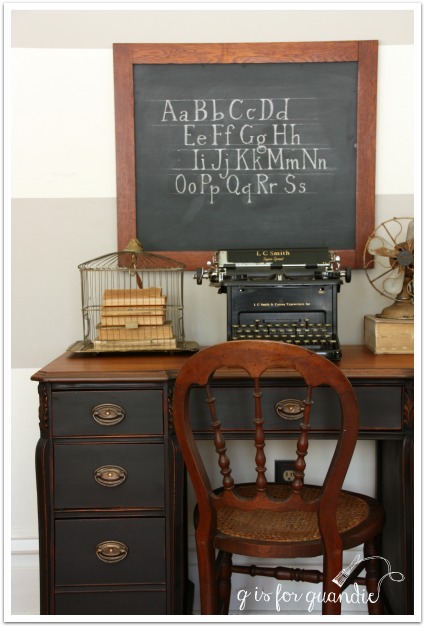
The chalkboard is made out of the framed mirror from a dresser Mr. Q picked up the other day. You’ll see more of that dresser and it’s mirror harp soon, but in the meantime I whipped up this chalkboard.

I simply removed the back panel, took out the mirror, flipped the panel over to its smooth side, painted it with black Rustoleum chalkboard paint, and reattached it. Easy peasy.
I freshened up the wood frame with a little of Miss Mustard Seed’s hemp oil.
It wasn’t until I was editing the photos for this post that I remembered that I had planned to embellish the frame with an old metal number plate, so I added it quickly and took one more photo.

It’s a small detail, but I love the small details, don’t you?