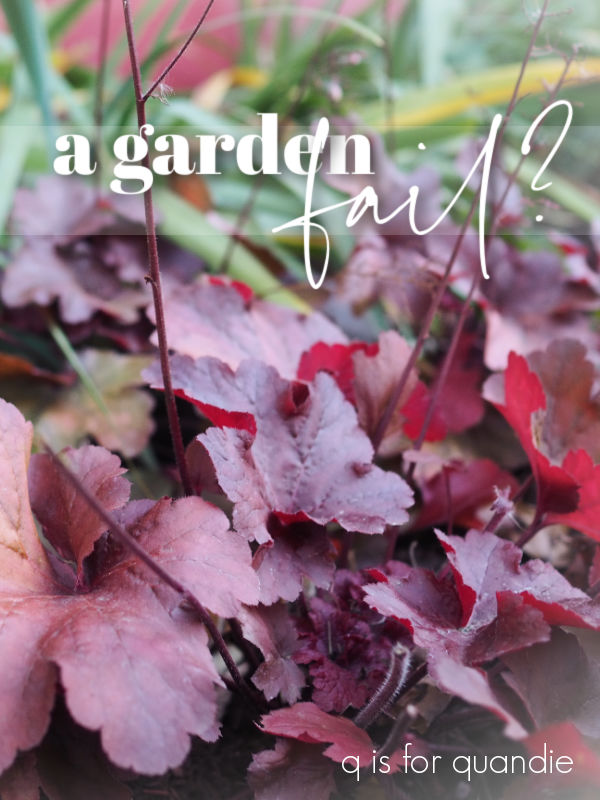
Rather than bring you another post about how fabulous everything looks in the garden, I thought I’d keep it real this week and share one of my garden fails.
It’s called heuchera (or coral bells), and it’s all the rage these days.
If you go to your local garden center you’ll likely see row after row of heucheras in nearly every color of the rainbow.

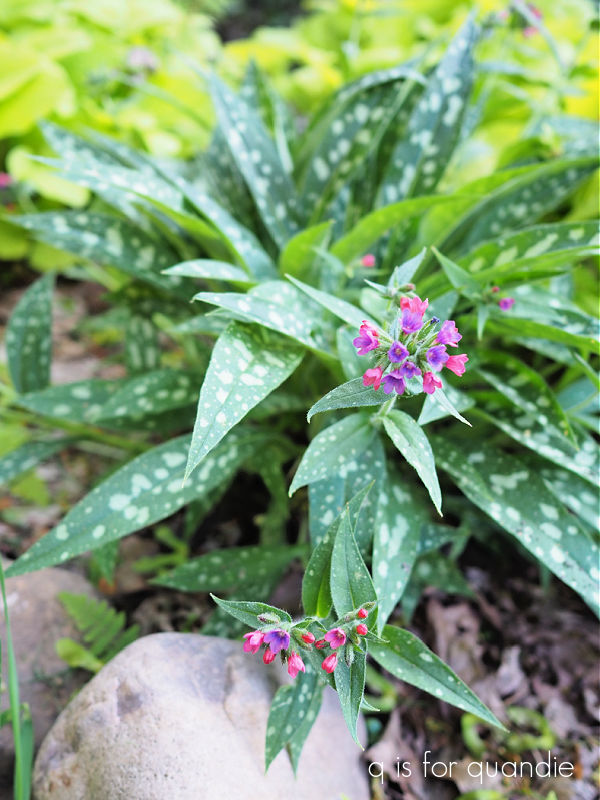
It’s hard not to be seduced by that amazing variety of foliage color. Especially for someone like me who gardens mostly in shade and tends to choose plants for their foliage rather than their flower. Heuchera do flower, but the flowers aren’t at all showy. They usually send out tall spiky stems with little bitty flowers on them, although there are varieties with flowers that are a bit showier than these …

In fact I often just cut the flower stalks off, much like I do with hosta flowers.
Isn’t this leaf color amazing though?

That variety is called Fire Alarm, and you can see why with that bright red foliage. I planted three of them in the garden near my carriage house last year and the red was perfect there.
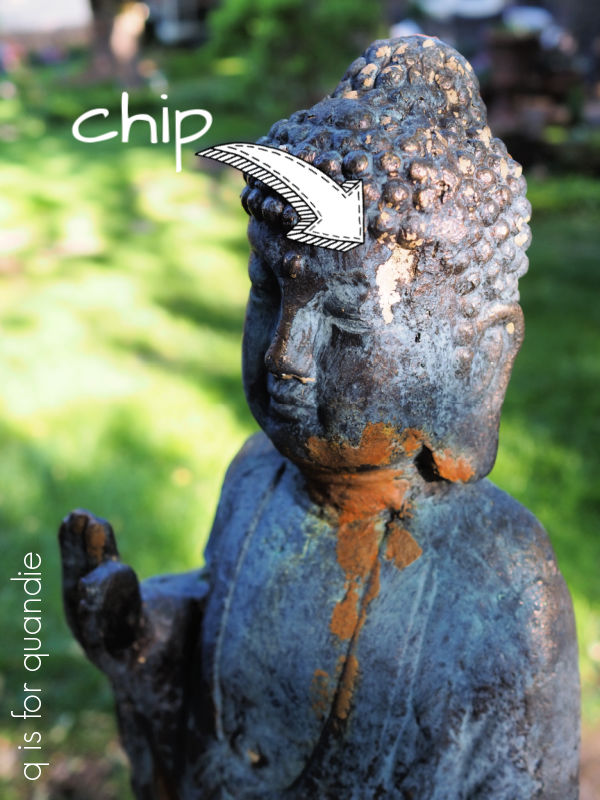
But here’s what they look like so far this year.

Yep, pretty sad. Not entirely dead, but really barely there. The third plant is so tiny that I had to add an arrow to the photo just so you could make it out.
I also planted five heuchera in front of my wrought iron bench last year, and here’s how they are looking now …

Also pretty sad.
When I get results like these with a plant I tend to immediately think ‘hmmm, what did I do wrong?’
But in this case, I’m hearing some of my favorite garden youtubers mentioning that heuchera does not reliably come back for them either, especially the newer cultivars. I’ve also read that although they are said to be hardy to zone 4, they really do better in no less than zone 5 (and I’m a 4b).
Heuchera also have a tendency to ‘lift’ over the winter, and you can see that on this one that’s in my front garden …

When that happens you can dig them up and replant them level with the soil, or simply add more soil around the crown. I dug that one up, pruned off some dead bits and replanted it.
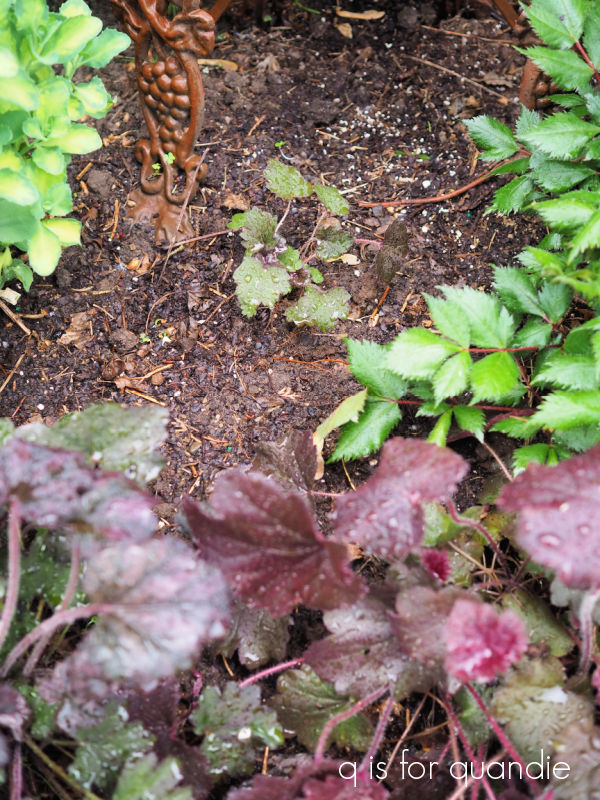
Now I just have to wait and see if it will catch up with its neighbors (the plants in the foreground are the same variety of heuchera, just much bigger).
Overall, I’m pretty disappointed with the performance of the heuchera I’ve planted. And honestly, I’ve gotten similar results for several years in a row now, so it’s not just a one-time weather based anomaly.
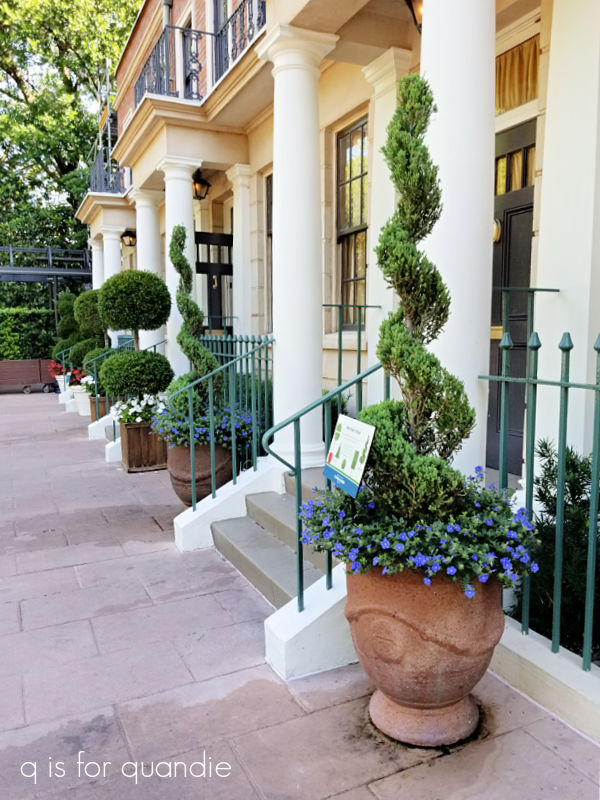
There is one possible solution to the heuchera problem and that is to treat them like annuals and put them in a pot. I saw lots of them in window boxes when we were in Charleston last year (that pop of bright chartreuse is a heuchera) …

That being said, they are usually priced as perennials and thus make a rather expensive annual. They definitely won’t survive the winter in a pot in our climate. Coleus will give you a very similar look, also comes in a wide variety of foliage colors, and is quite a bit cheaper, so it’s probably a better choice for pots.
However, when you happen to find a bunch of Black Taffeta heuchera in the clearance aisle at Gerten’s for $5 each, well, then it does make sense to treat them as an annual.
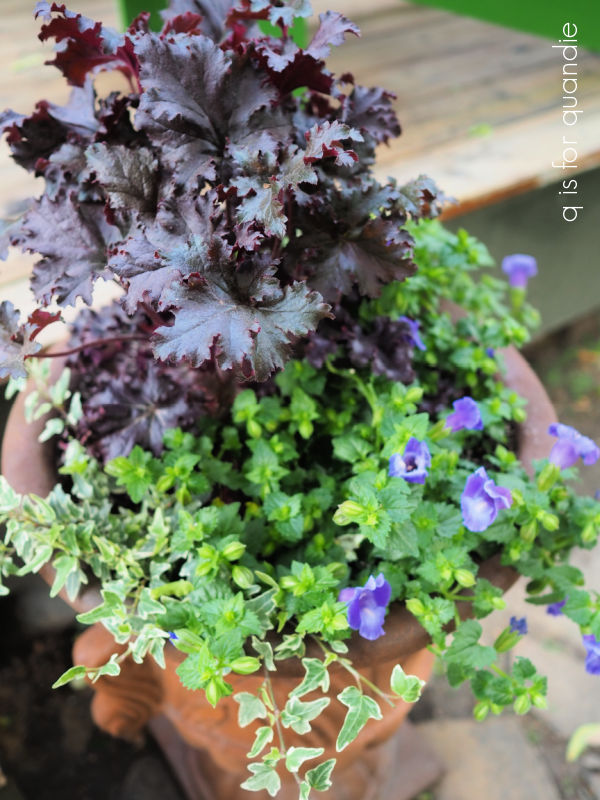
So I put them in a couple of my rusty pots along with some Summer Wave torenia.
I also paired one of the heuchera with a hosta that I dug out of the garden for this pot.
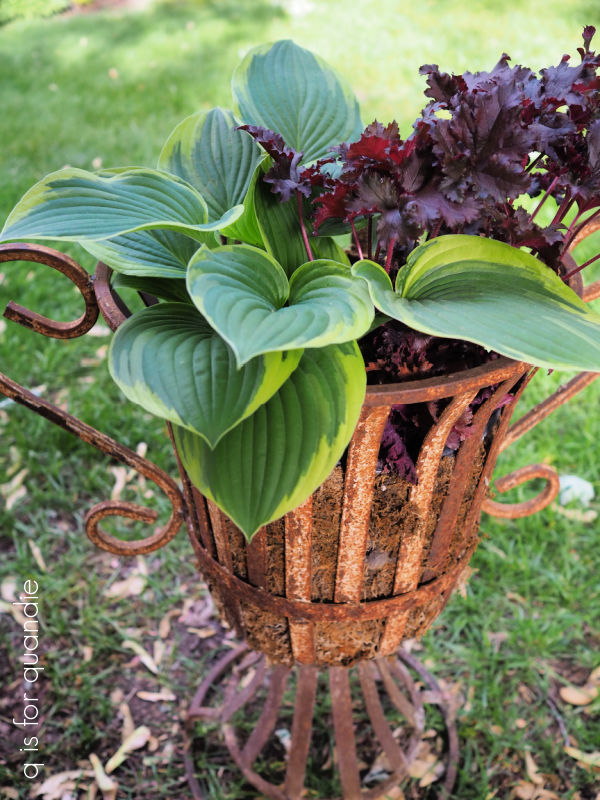
These days I’m finding that we have a lot more shade on our deck than we used to, the trees are getting bigger every year! So I’m giving up on trying to grow sun loving annuals in those pots. I’m experimenting this year to see what I can do with more shade, so maybe hosta, heuchera and torenia will be a good combination for that.
Aside from the discount heuchera, I think I’m going to stop throwing my money away on heuchera though.
How about you? Have you had much luck with heuchera? Are you tempted by all of those gorgeous foliage colors? Leave a comment and let me know.


 I also added a few rusty spots to him using the Iron paint with the green spray.