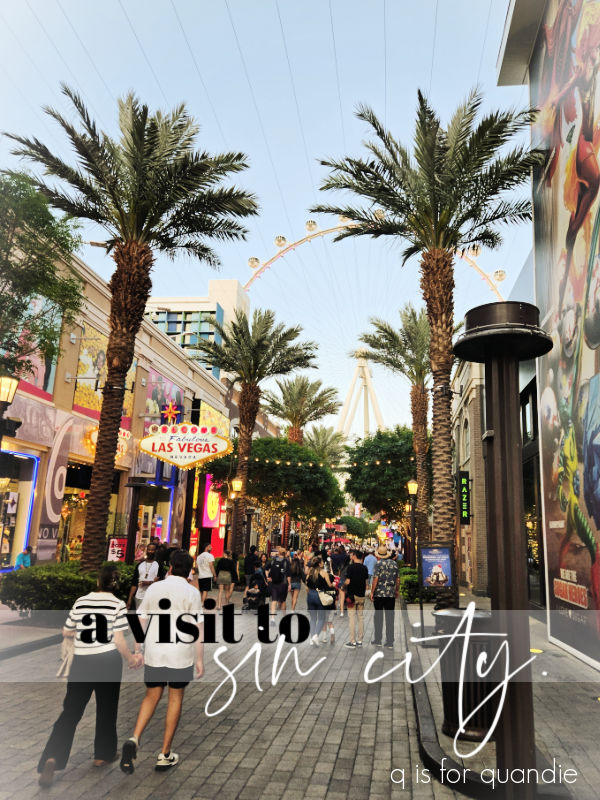
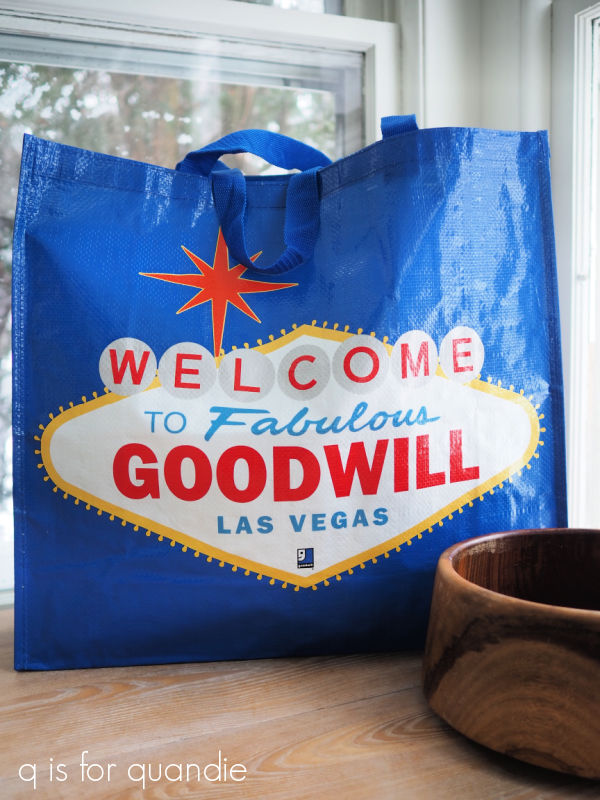
After the rather poor results from my garage saling and thrifting forays in Las Vegas, I had to get a fix as soon as I returned home from the trip I took out to my mom’s last week.
Luckily, I came home last Wednesday and my friend opK is always up for a little thrifting on Thursdays. So I was able to jump right in for some good upper mid-west thrifting.
We decided to head a little further afield this time, across the border into Wisconsin. My hairdresser had recently told me that her favorite thrift store is River Revival in Star Prairie, so we decided to check it out.
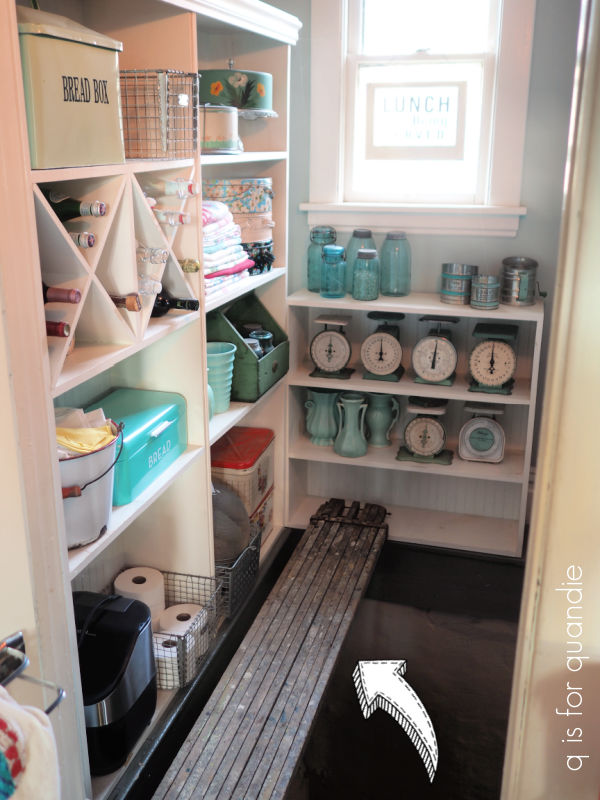
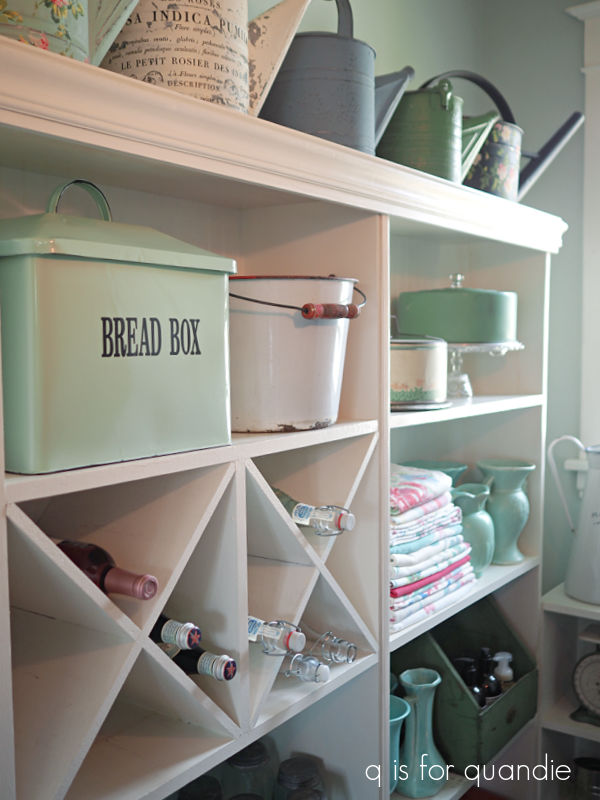
As soon as we walked in the door we knew we were in a well done thrift store. You know they’ve taken some time with their displays when you are greeted by this sight.

How cool is that?
Their prices were really good, and they had quite a few nice pieces of furniture. I found a few goodies to bring home.
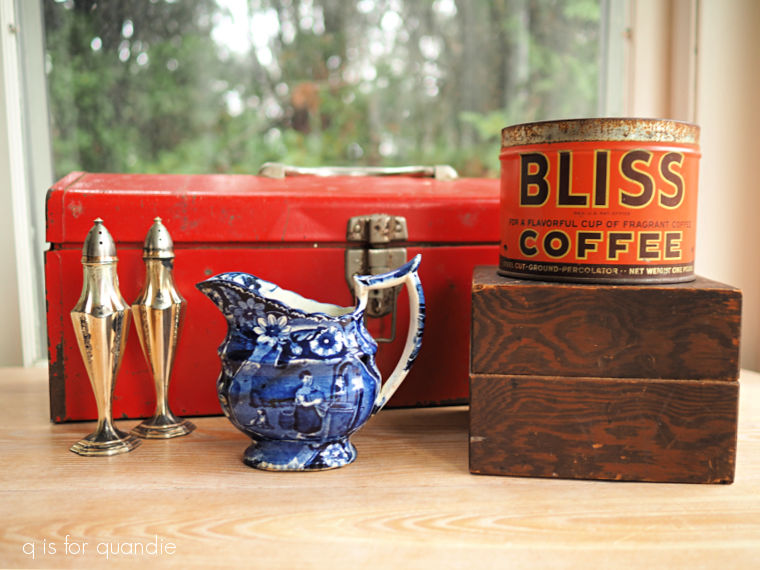
I couldn’t resist the little blue and white creamer. I think it will make the perfect vase for smaller flowers such as the scilla that is currently blooming in my garden.

Lily of the Valley will be pretty in it as well.
The price on these salt & pepper shakers made them too good to pass up.

For now I’ll be adding them to my own non-collection …
![]()
But to be honest, I’ve been considering pricing all of these up for my next sale and moving on. Then again … maybe I’ll keep them 😉
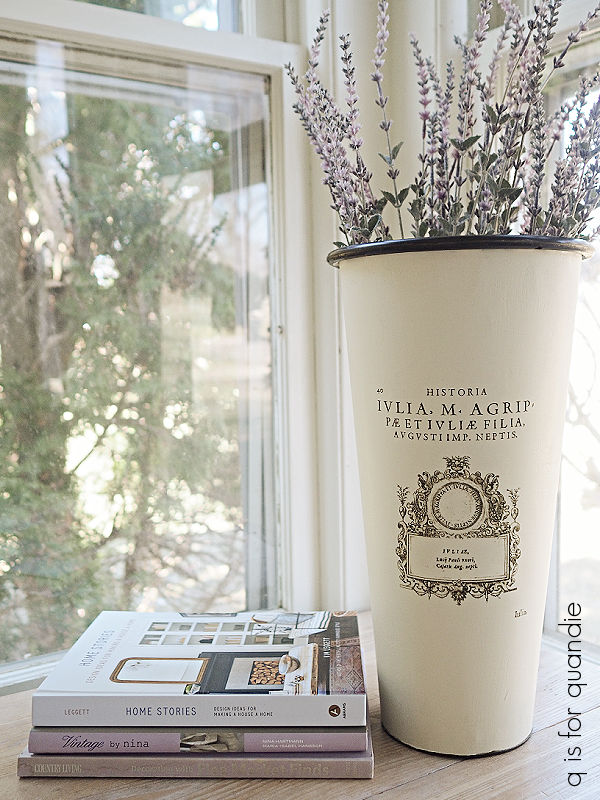
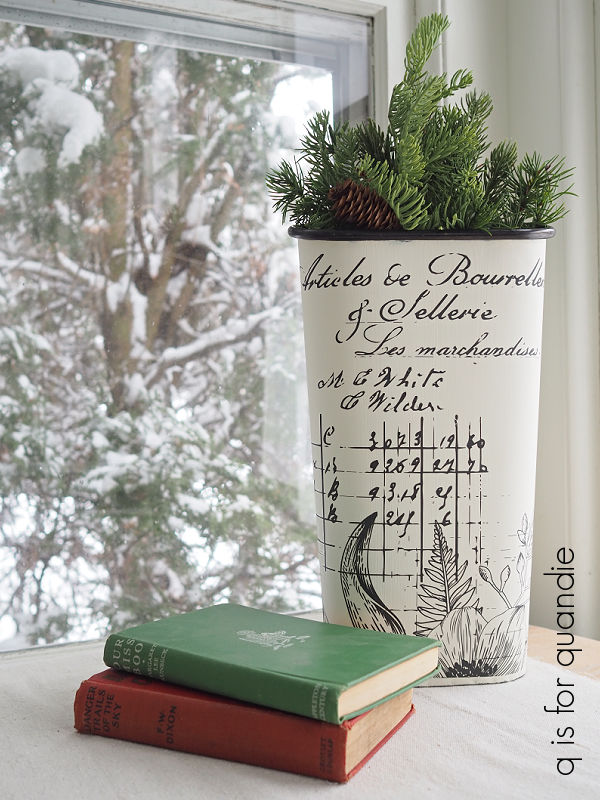
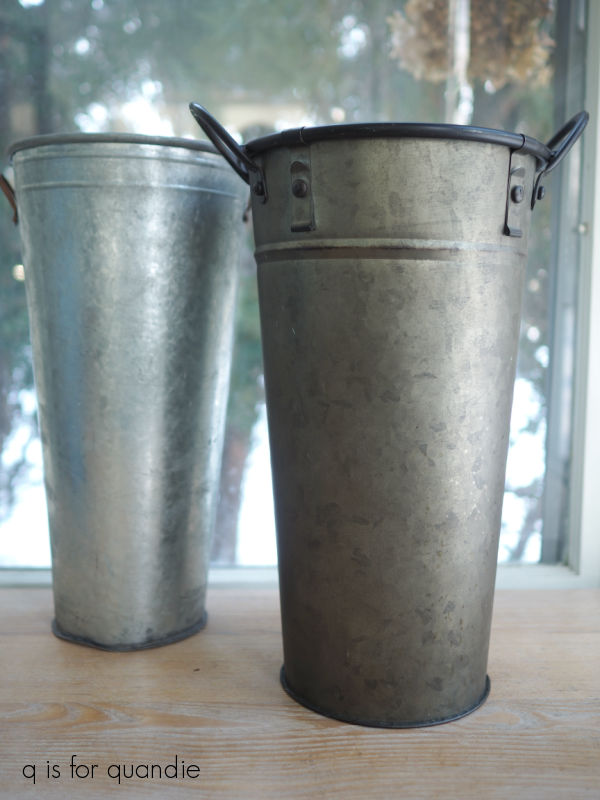
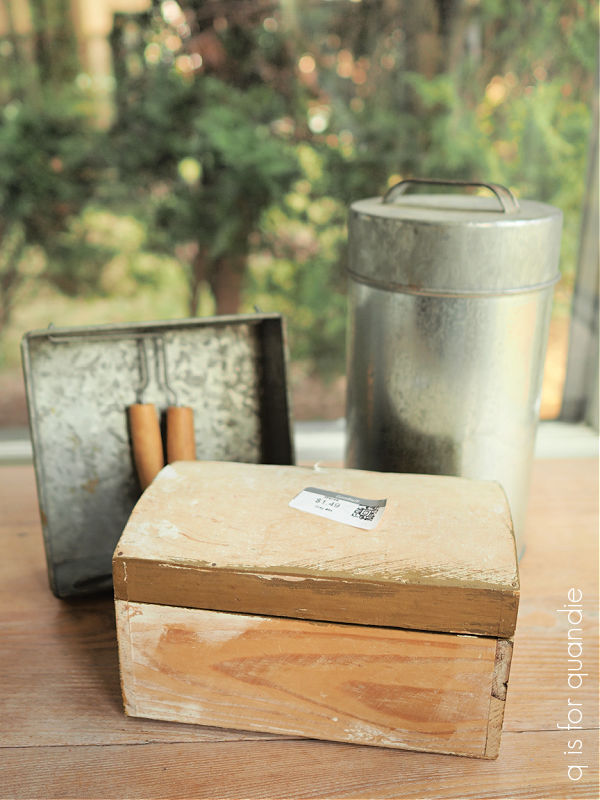
I was inspired to grab the coffee cannister by Ginger Chick Rehab.
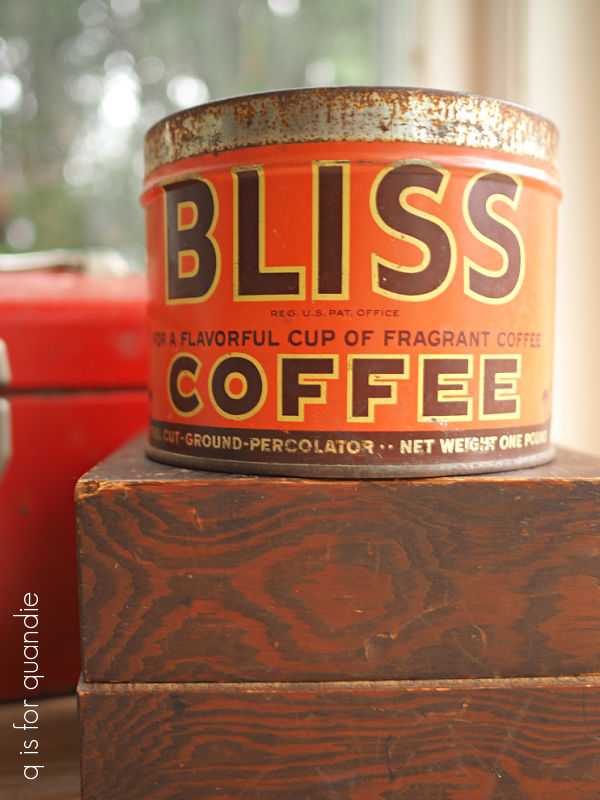
She has done quite a few fun projects with these, usually adding floral foam and then a variety of fillers like bottle brush trees, vintage ornaments, and such. Check out her YouTube channel for more details and inspiration.
At only .99 for the tin, I knew I had to give it a whirl. The fact that the lid was missing was a bonus, because this way I don’t have to feel guilty about removing and discarding a lid.
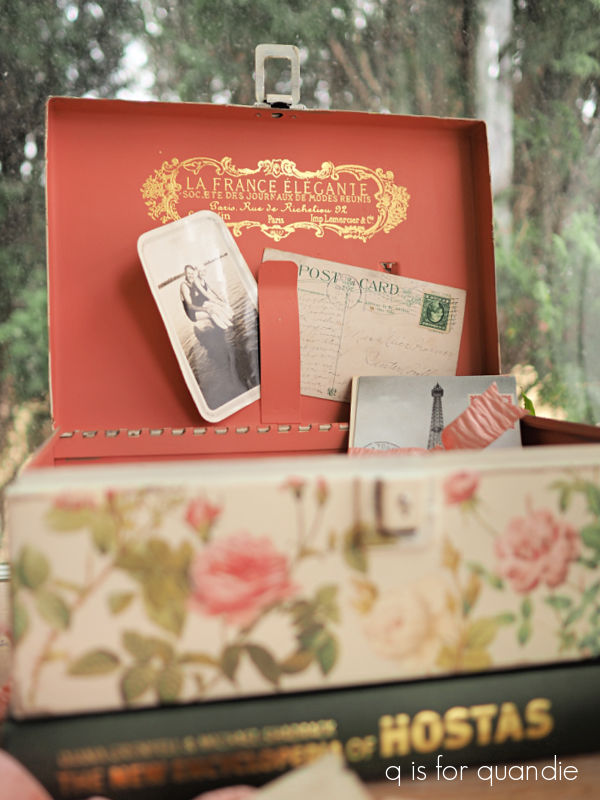
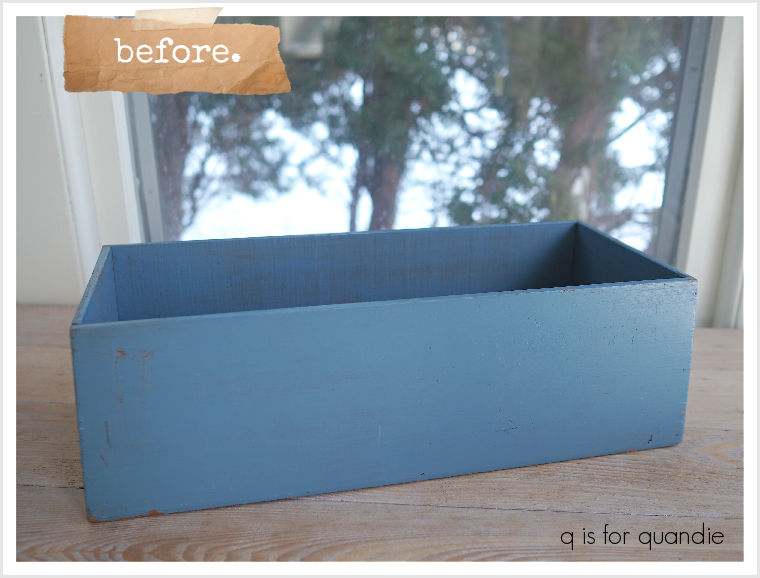
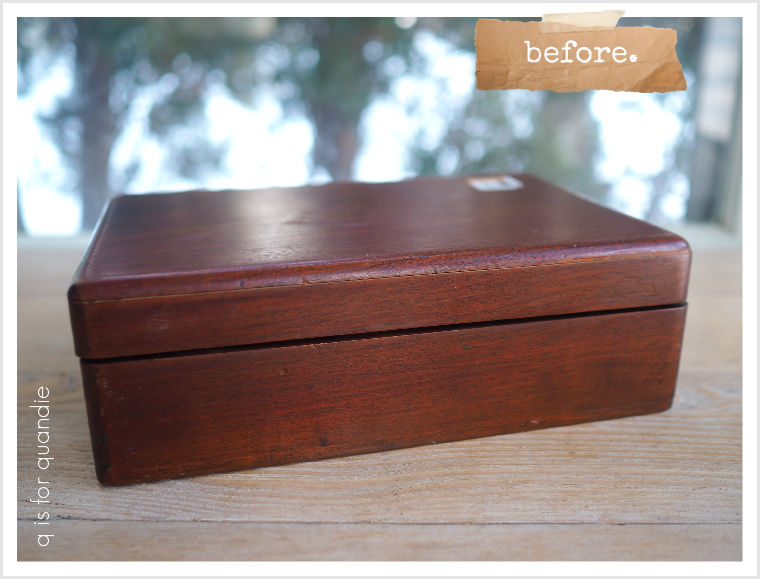
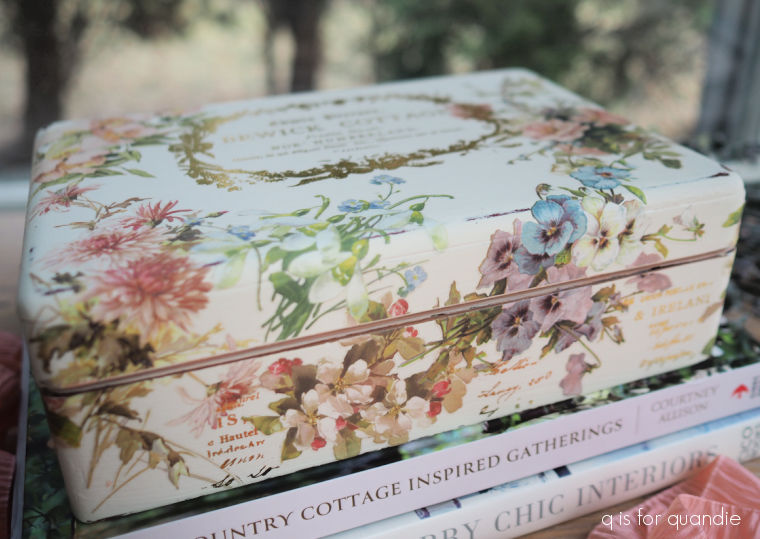
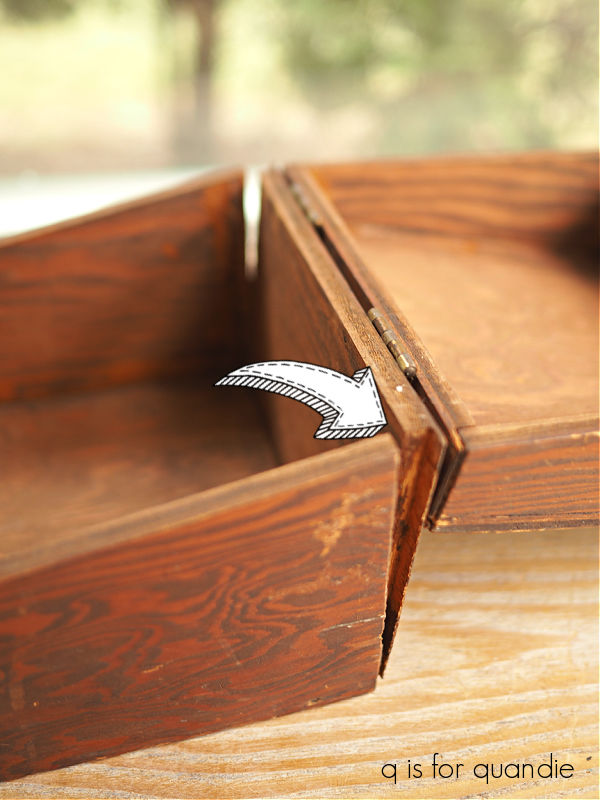
I also grabbed a wooden recipe box.
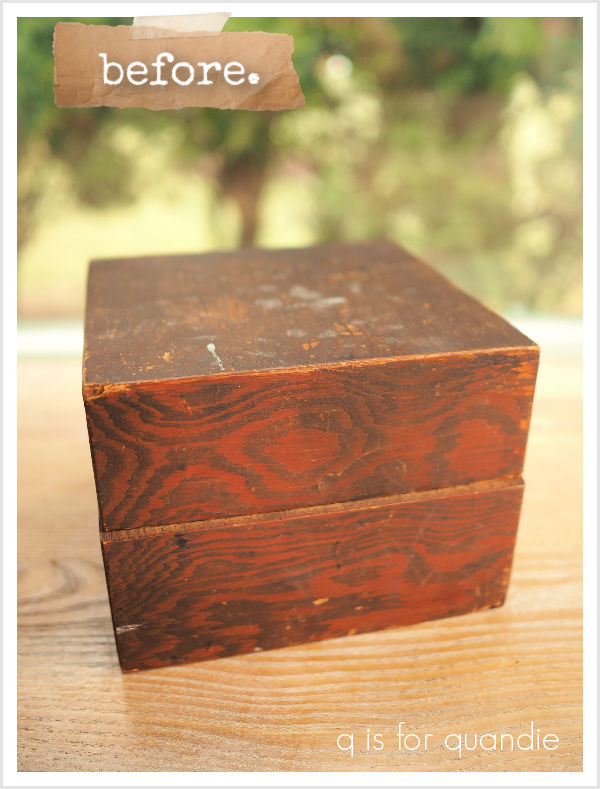
I’ve been keeping an eye out for these while thrifting over the winter, and I haven’t been finding any of them. Which is a bit odd since I used to see them all the time.
This one needed just a quick repair with some glue and clamps.
Once repaired, I gave it a quick scuff sanding and after wiping it with a damp cloth, I added a coat of Dixie Belle’s Bonding Boss. There was a distinct possibility that the existing finish would bleed through my paint, so better safe than sorry. The Bonding Boss will prevent that bleed thru.
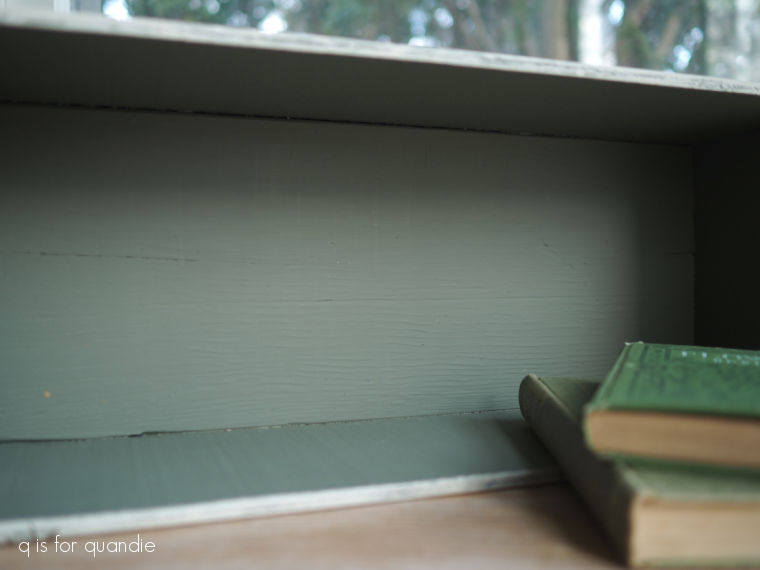
I then gave it a couple of coats of Dixie Belle’s Cottage Door on the inside.
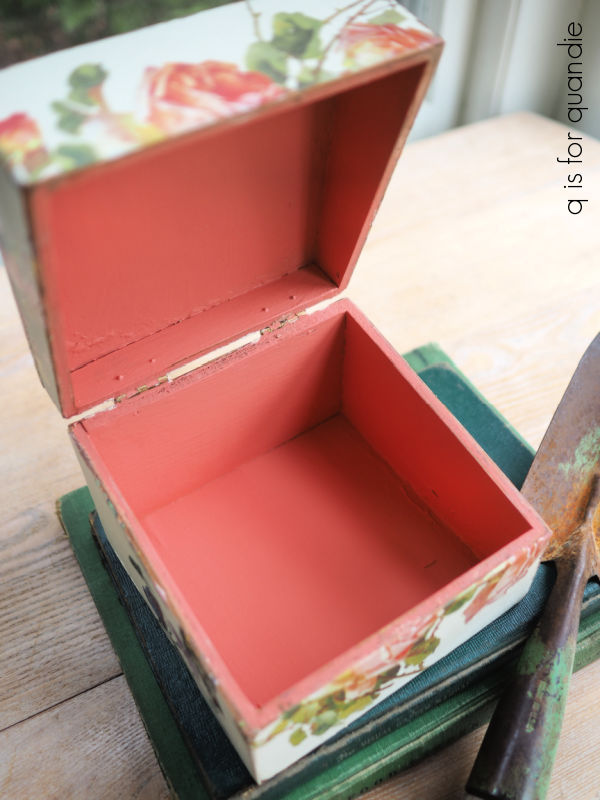
That was followed by a couple of coats of Dixie Belle’s Drop Cloth on the outside.
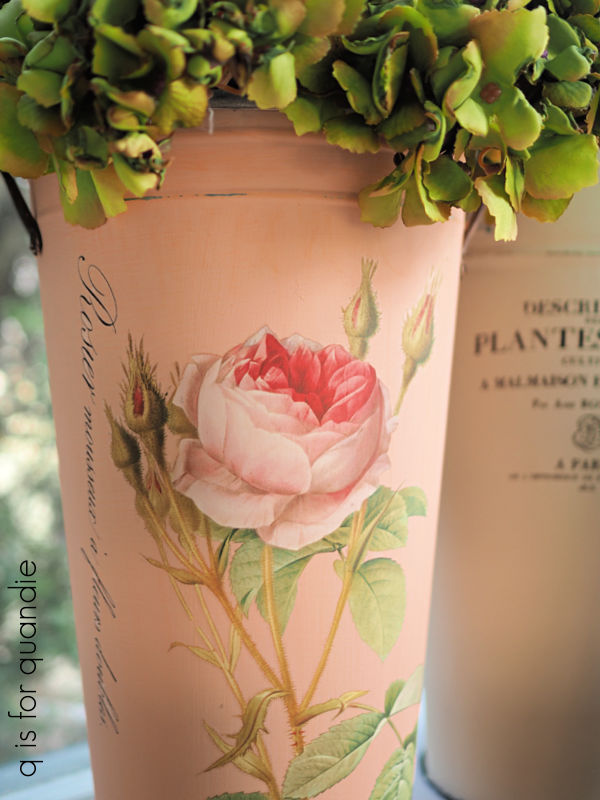
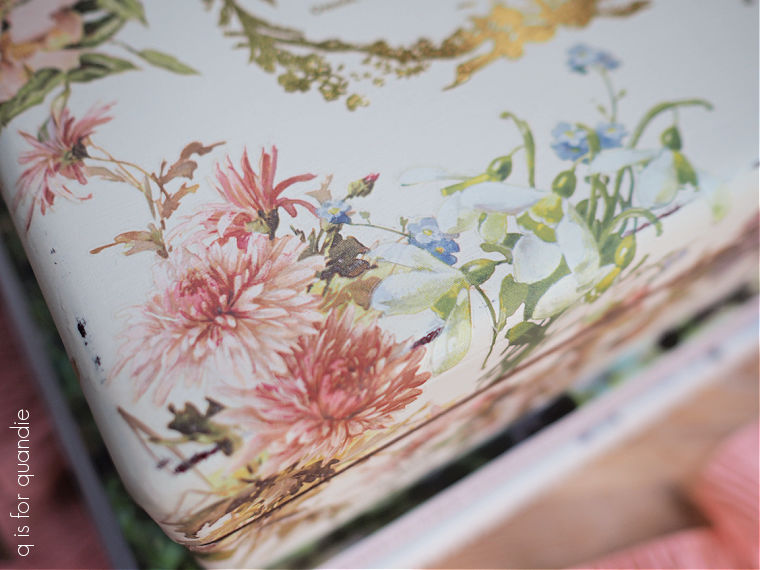
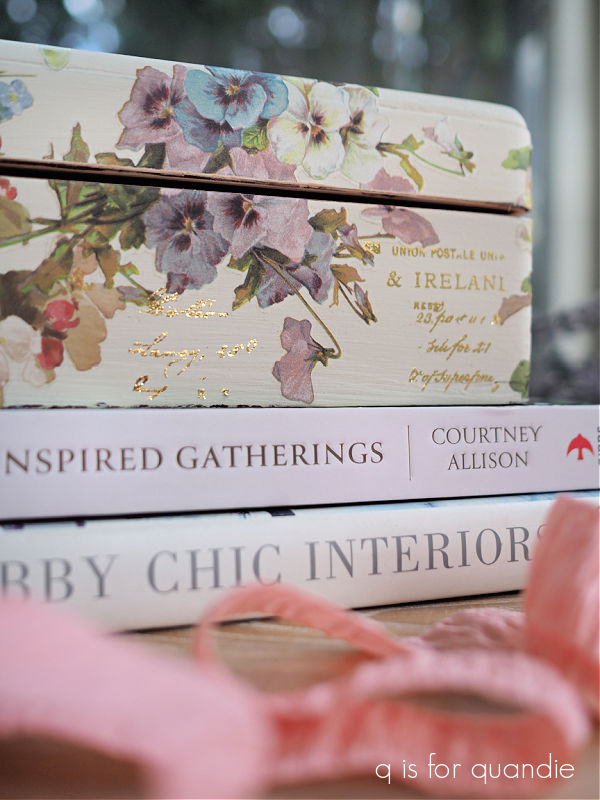
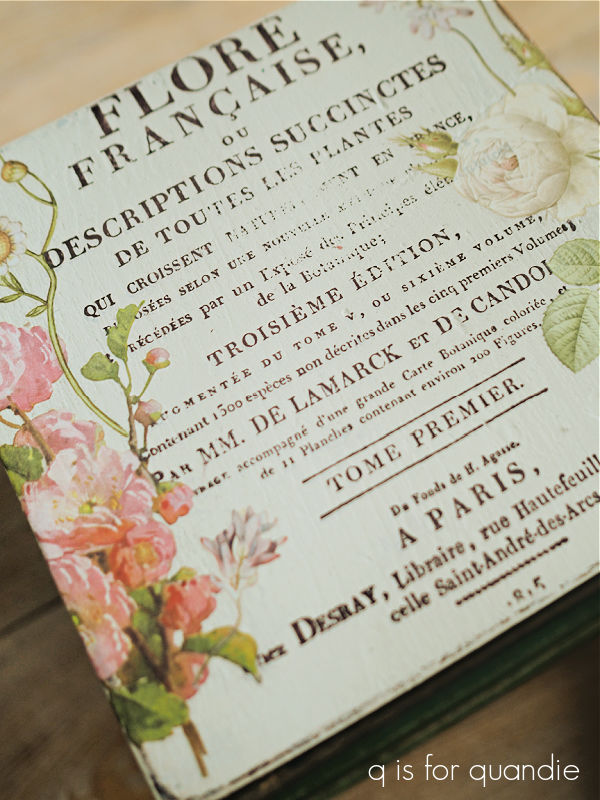
Next I decided to once again try my hand at stamping. I pulled out the I.O.D. Ephemeral Type stamps and my VersaFine Clair ink in Pinecone and applied a stamp to the top of the box. Then, like a complete novice, I decided it would be OK to apply transfers to the sides of the box while I waited for the ink to dry. Of course, I then handled the top of the box without thinking and smeared the freshly stamped image. Duh. So, I painted back over it and tried again. That is definitely a bonus with the stamps over transfers. If you mess one up, you can reapply over and over if necessary.
The 2nd time around I waited for the stamp to fully dry before adding my transfers. Dry time will depend upon your environment. If it’s humid it will take longer.
Finally I added some florals from a three different I.O.D. transfers, Rose Botanical, Wilde Bloemen, and Catharina.
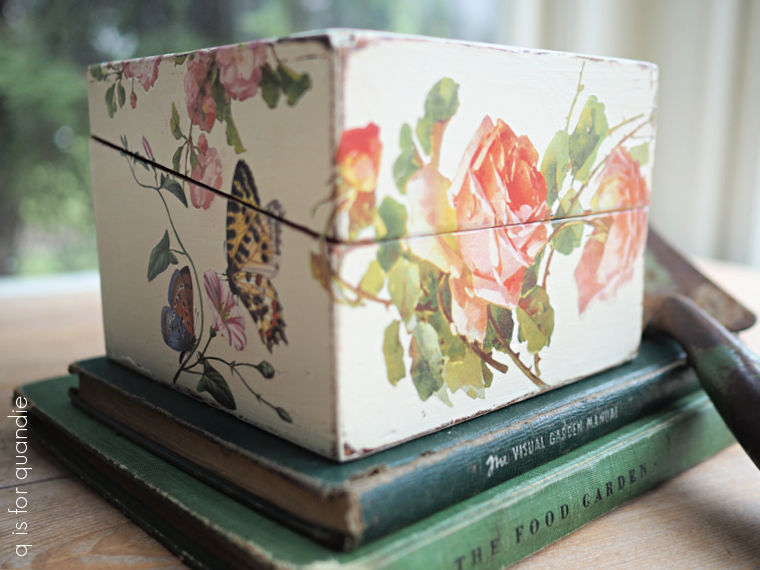
I finished it all off with a coat of Dixie Belle’s clear wax on the outside and their flat clear coat on the inside.

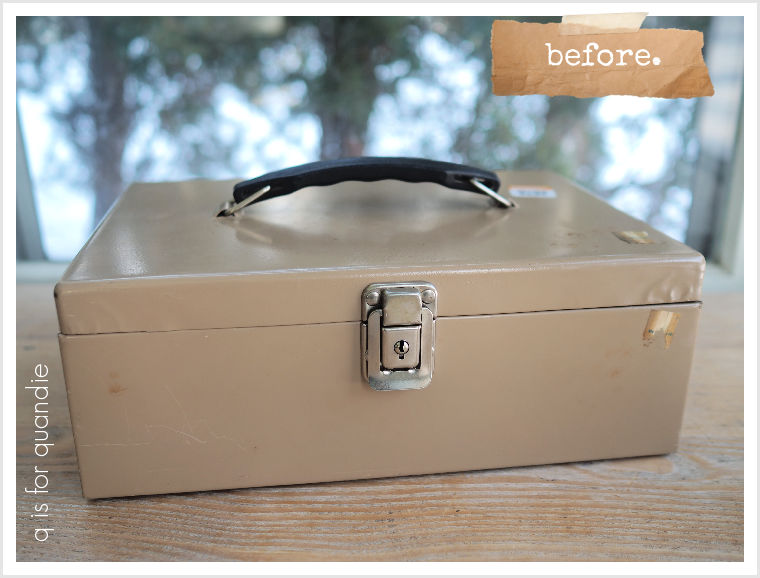
Finally, I also picked up another toolbox at River Revival.
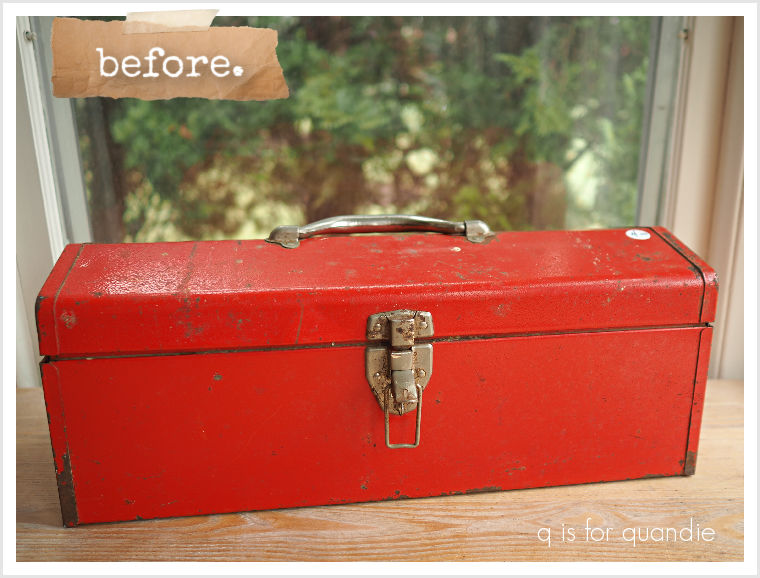
It was within my designated price range ($10 or less), so I snatched it up. I’ve already given it a makeover, but I think I’ll save that for a separate post.
After our stop at River Revival we planned to hit up a garage sale that wasn’t too far away. Unfortunately, we hadn’t read the fine print and after driving out to it we discovered that they weren’t going to be opening until 1 pm. Since it was only around 11 a.m., we didn’t want to hang about for 2 hours.
So instead we headed to Acme Junk Co in Amery, Wisconsin.
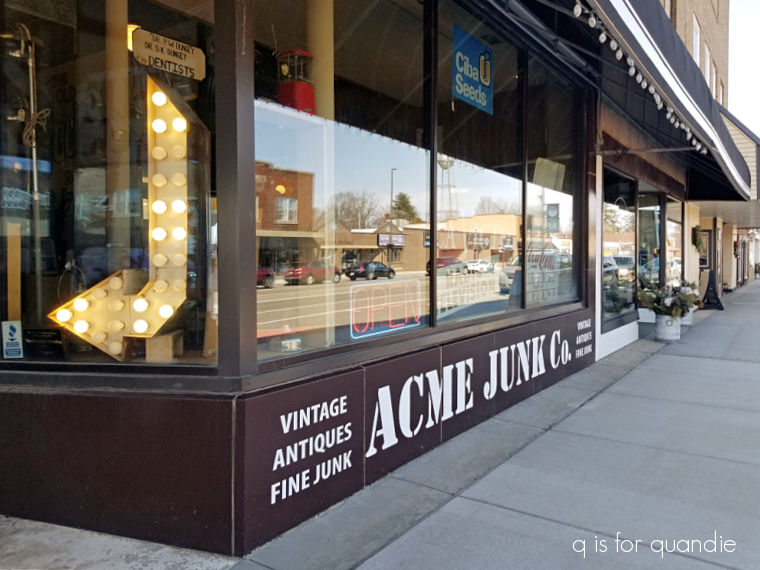
I’ve popped in here a few times, and unfortunately I tend to find that their prices are a bit out of range for me.
They have some amazing dress forms …
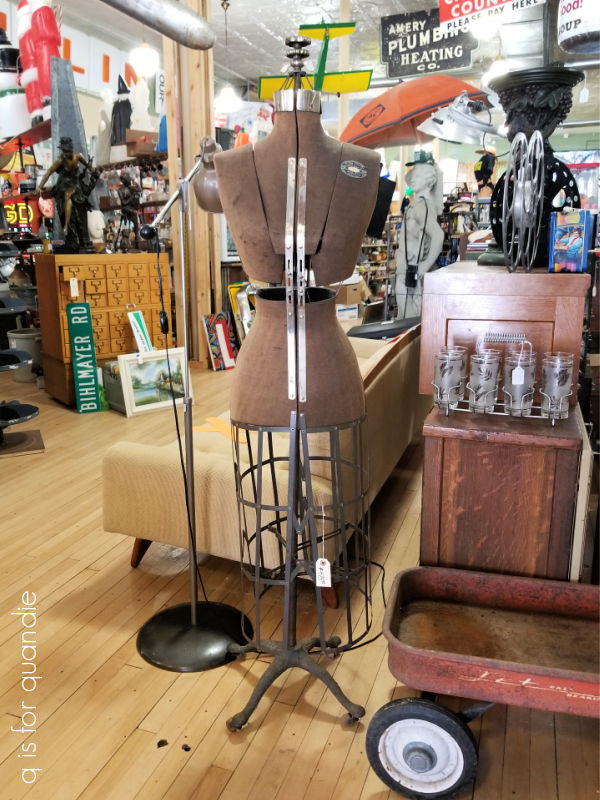
But, at $350 or so, they are too rich for my blood.
That being said, I did find something to splurge on.
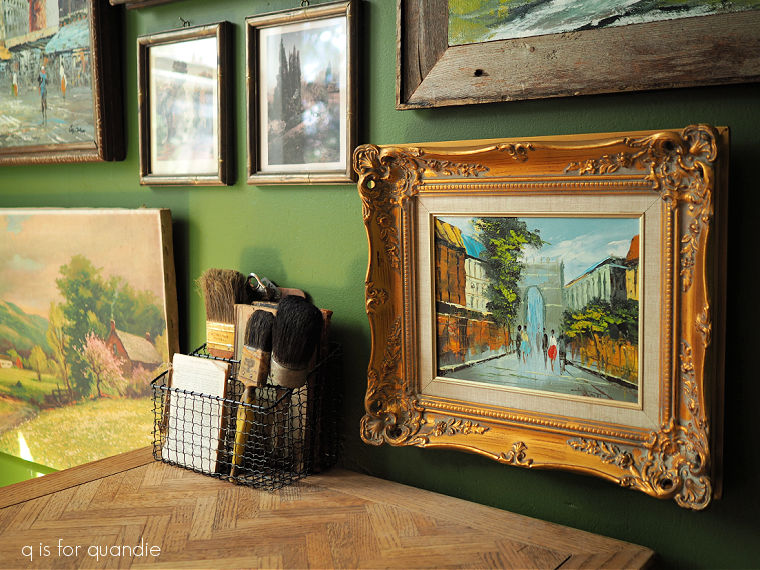
I just fell in love with that little painting in its ornate gold frame.
I thought it would be a perfect addition to the gallery wall in my q branch.
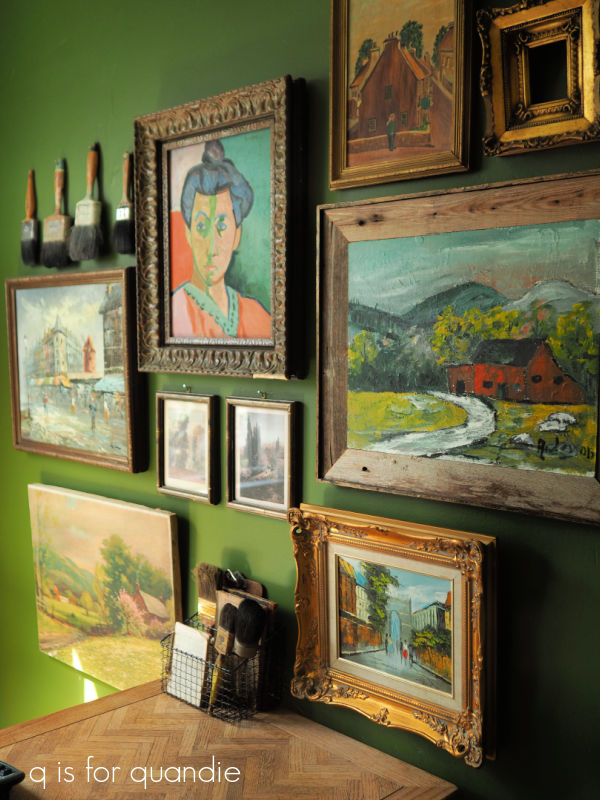
For now I’ve hung it just above my desk, but I may end up re-arranging the entire gallery to give it a place of honor. Then again, it’s in the perfect spot for me to admire it while I sit here typing up blog posts!
These thrifting trips are just tiding me over until garage sale season starts here in Minnesota. The big neighborhood sales start in earnest the first weekend in May, so it’s just around the corner. Be sure to stay tuned!