cut and carry.

Last summer I was at an estate sale and found a whole pile of old hand saws for sale.

Apparently I am just drawn to anything with a chippy painted finish, including old hand tools, because that red handled saw just jumped out at me.

My initial thought was “I bet that I could paint the other handles to look just as old as that red one using milk paint,”  sort of setting a little challenge for myself.  In my humble opinion, the greatest quality of milk paint is its ability to create an authentically aged looking finish.

Plus the price was right, so I bought them.

Next I dug out some Miss Mustard Seed milk paint in Boxwood (green), Tricycle (red) and Typewriter (black).  I mixed up just about a tablespoon of each color and I painted each handle a different color.  The Typewriter covered in one coat, but I needed two coats of the other colors.

Once dry, I sanded to distress them and then added a little bit of hemp oil as a top coat.

Now, you be the judge.  Here is the original finish on the red handled saw …

And here is the Boxwood milk paint finish …

Well, what do you think?  Does it look legit?

So now I’ve proven what you can do with milk paint, so what in the world am I going to do with old saws with Christmas colored handles?  Add stencils of course!

I used a stencil that I purchased from Etsy.  The entire stencil didn’t fit perfectly on each saw blade so I just used bits and pieces and fit them where they looked good.

I added some 3M Command Strips to the back of each saw so that they could be hung on the wall …

or perhaps attached to an outdoor window box?

The black handled saw ended up being my favorite, and it would have looked great in my black & white Christmas display.  But I ended up deciding to take them all in to Reclaiming Beautiful so see if anyone else wanted a Cut & Carry saw!

painting day.

A while back my friend Terri mentioned that she’d picked up a couple of boxes and a little stool at a garage sale that she wanted to paint up for Christmas gifts.  So last weekend I suggested she come over to my house for a painting day.  I invited my sister to join us as well.

Terri has become a big fan of Fusion paint since painting her kitchen cabinets with it earlier this fall.  I am planning to write a post about her kitchen, but I haven’t quite gotten around to that yet.

So anyway, she wanted no part of using milk paint, she just wanted to stick with the Fusion.  She started with the little stool and some Limestone.  Once it was painted, I suggested she add a stenciled number to it.  I just happened to have some number stencils that I thought would fit perfectly.  So I asked her what her lucky number is and guess what?  She doesn’t have one!  Of course mine is 22, or in a pinch just 2.  When Terri asked my sister if she had one, she immediately answered “Five!”

Doesn’t everyone have a lucky number?

Well, Terri has one now!  We officially chose the number ‘7’ for her (which, by the way, is the number of siblings in her family).

She chose Coal Black for painting the larger of her boxes, which will be a gift for her son (I’m pretty sure he doesn’t read my blog, so no spoiler alert necessary).

We went through my stash of stencils again for this box and Terri chose the Apothicaire stencil which I think has a more masculine vibe.

Although I only included one of the smaller boxes in my ‘before’ photo, Terri actually had two of them.  The first is intended for her daughter and when I asked her what color she wanted to paint it she settled on yellow.  Believe it or not, Terri carries around the lid to a can of yellow spray paint in her purse that exactly matches the yellow in her daughter’s living room.  Talk about a dedicated mom, right?

It happened to be almost the exact shade of Fusion’s Prairie Sunset.  I had to dig around in my paint stash, but I knew I had a little sample jar of that color somewhere.

I had just enough paint left in the jar to cover the box one time.  Since we weren’t sure if one coat would do it, we started with a base coat of Fusion’s Little Star, which is a brighter yellow, and then we covered that with the Prairie Sunset.

And that’s your q-tip of the day:  if you aren’t sure you have enough paint in your chosen color, but you know you’ll need more than one coat.  Use a similar color as your base coat saving your final color for your last coat.  I suppose you could also just buy more paint, but that’s not very frugal, now is it?

Terri’s second smaller box got painted in the Limestone.  She’s keeping this one, along with the little stool, for her own craft room.

By the way, she chose the warmer Limestone white for these pieces because she also has this dresser in her craft room …

I painted it last spring in Miss Mustard Seed’s Linen which is also a warm white and is very similar to Fusion’s Limestone.

You might be getting the impression that we only worked on Terri’s projects on painting day, but that’s not the case.  My sister brought over a little oil can to paint, but I neglected to get any photos of it.  And I had my own stash of stuff to paint …

But, uh, I sort of didn’t manage to get any of my own pieces finished!  So, you’ll just have stay tuned to see how they all turn out!

Christmas in black and white.

First things first, I want to say a huge thank you for all of the kind and really supportive comments many of you left on my blogiversary post yesterday!  You guys are the real reason why I keep doing this blog!  If you didn’t see that post yet, be sure to check it out and leave a comment by Thursday to be included in the giveaway drawing.

Now, on with today’s post!

I’m going to go out on a limb and guess that not many of you immediately think of black & white when it comes to Christmas decorations.  But I’m about to prove that it can be a festive combination (I hope so anyway).

A couple of years ago my sister gave me this funky barn wood Christmas tree.

She was definitely on the right track with a gift for me.  It’s distressed and rustic, which I love, but the traditional red and green just weren’t working for me.  Especially with the black ‘trunk’.

So I decided to give it a q-style makeover.

I started by painting the horizontal boards with Miss Mustard Seed milk paint in Linen.

Next I added an IOD transfer.

This is the small (11″ x 14″) Memoir transfer.  I cut it apart in sections to fit perfectly on my tree.

One caution I have for you is that sometimes the transfer backing will lift off chippy milk paint rather than leaving the transfer on your surface.  You can see where that happened on the right portion of the scroll-y design around the word “memoires”.  That’s just something to keep in mind if you are pairing a chippy milk painted piece with a transfer.

Personally I’m OK with this look, I just think it adds to the overall distressed style I’m going for.  But it could be frustrating if you don’t expect it.  You can prevent this by adding a sealing top coat (Miss Mustard Seed Tough Coat Sealer, or the Dead Flat I used later) over your milk paint first, then adding the transfer, then adding another layer of top coat.

I added my transfer directly over chippy milk paint though.  Once applied, I sanded lightly all over and then added my top coat of The Real Milk Paint Co’s Dead Flat finishing cream.  I really love how easy this stuff is to use.  No worries about drip marks, no smells, flat sheen, soap and water clean up, and a little goes a long way.  The Dead Flat will help prevent any further chipping.

And now it looks like this …

I loved it so much that I decided to hang it next to my specimens cupboard and decorate the whole area with black & white Christmas decor.

My painted black & white sled is leaning on the wall under the ‘tree’.

I draped a faux evergreen garland with cotton bolls, that I picked up on sale last year, over the cupboard.

My friend Sue gave me the calendar for my birthday.  Although she bought it at a garage sale (she seriously always finds the most amazing things at garage sales), there is a sticker on the back from Decor Steals.

She had it set to my birthday when she gave it to me, and I thought that was so clever, so why not set it to Christmas Day to instantly turn it into a Christmas decoration?

Normally I have a photo of my grandmother on the little metal wheel that hangs on the knob of my cabinet, but I switched it out for the holiday too.

I have no idea who The Binke’s are, but I love their black & white holiday post card!

So what do you think?  Is a black & white Christmas for you?

Or do you prefer more color for Christmas?

four years in.

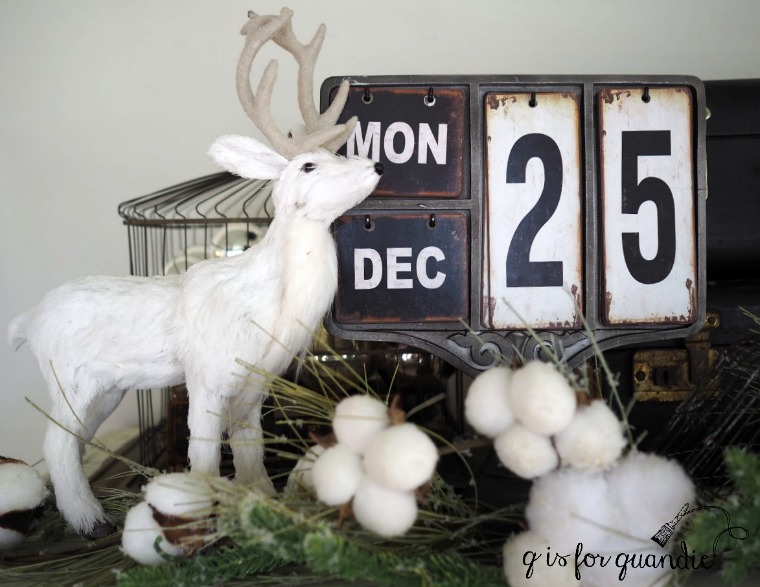
It’s my blogiversary!  As of today I have four years of blogging under my belt.  I’ve written 736 posts and had 121,042 visitors to the blog with 338,987 views of my posts, and those numbers don’t include those who are following via email (another 86,000 views for 2017 alone).

Wowza!  I definitely did not see those kinds of numbers in my future when I started this blogging thing.

I started my blog on Thanksgiving weekend, 2013.  The only reason I started then was because I happened to have some time on my hands with the four day weekend.  I wasn’t thinking ahead to the idea that my upcoming blogiversaries would coincide with Thanksgiving weekend and thus become the perfect opportunity each year to express my gratitude for my readers.

In other words, I couldn’t have planned that better if I’d tried.

So here we are at the perfect time of year for thinking about the things we are thankful for, and I want to take this opportunity to say that I am extremely thankful for all of you!  I have the most supportive, thoughtful, kind, enthusiastic, insightful, creative … well, let’s just face it, positively brilliant readers out there in all of blogland.

I cherish each one of you and I appreciate each and every comment that you leave whether it be short or long.

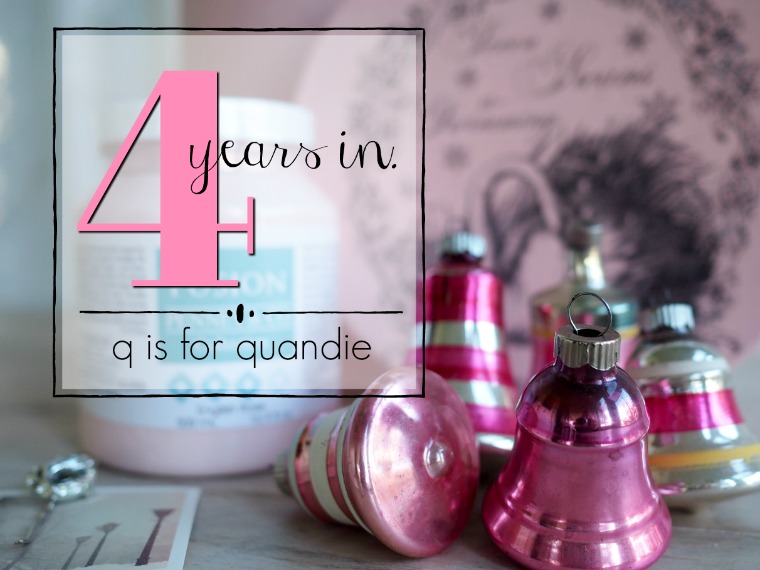
It wouldn’t be a blogiversary celebration without a giveaway, so be sure to read to the end of the post for more details!

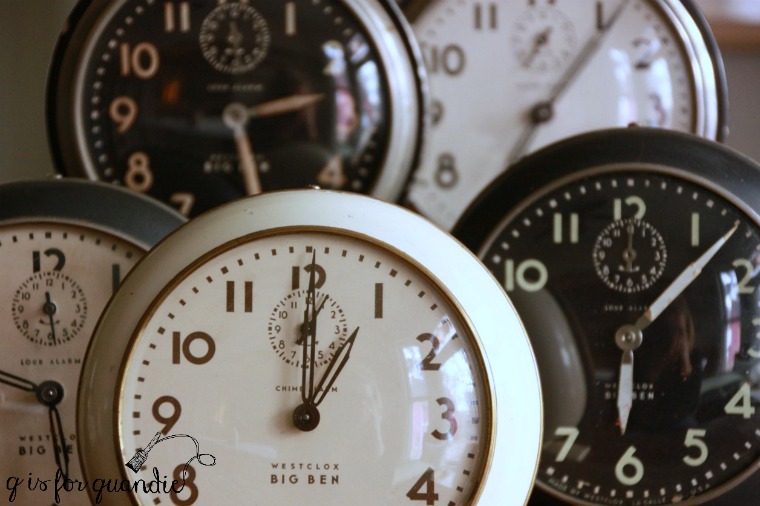
In light of the announcement earlier this fall that this will be the last season of Fixer Upper, I’ve been thinking about longevity a lot lately.  How quickly people rise to the height of fame, and then either move on to other things or disappear off the map entirely (not that I’m saying that will happen to Chip & Joanna!).  Or conversely, how many start something and then just fizzle out quietly.

I’ve been at my day job for 30 years (I know, crazy right?), we’ve lived in our house for 29 years.  We’ve been married for 28 years (yes, Mr. Q and I shacked up before we got married).

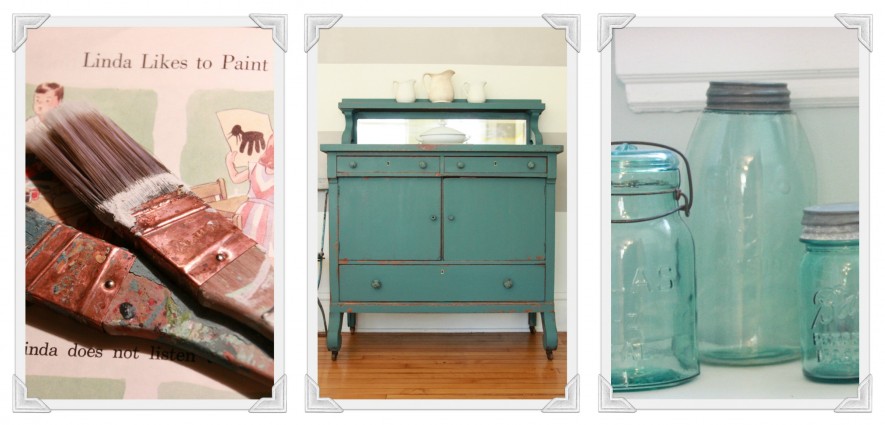
And I’ve been painting furniture for more than 20 years.  Since long before chalk paint or milk paint became all the rage, and definitely before blogging was even a thing.  Actually, the internet itself was just getting rolling back then.

I know it’s terribly ‘old school’ of me, but I place some value on longevity.

I guess it goes without saying that when I find something that works for me, I tend to stick with it through thick or thin (whether it’s a job or a marriage, or so far even a blog).

That seems to definitely be the exception rather than the rule when it comes to blogging.

I’ve watched so many blogs come and go over the past four years.  And I totally get it.  Blogging is very time consuming, and the financial payoff for most is fairly minimal if not pretty much non-existent.

I could work harder to promote my blog, and I could ‘monetize’ it (by adding those annoying pop-up ads).  I know there are a handful of bloggers out there who have been able to quit their day jobs and live on their blog revenue, but I think that is pretty rare and not always long lasting.  I have no plans to ‘monetize’, and in fact I just upgraded to the next level of WordPress which means you’ll no longer even see those ads at the bottom of each post (you’re welcome!).

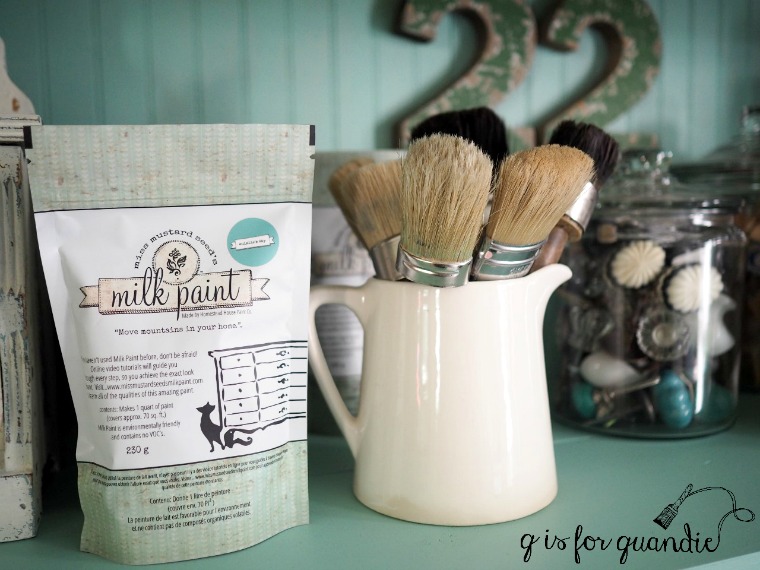
I do get one awesome financial benefit from the blog though, free product.  I’ve gotten paint and other supplies from Little Billy Goat, Rachel Ashwell, Real Milk Paint Co, Fusion, Homestead House and Miss Mustard Seed.  This benefit has been totally amazing!  It’s like getting a fun gift every time I receive a box of stuff in the mail. Although most of these have been one time deals, the Fusion/Homestead House people have been incredibly generous in continuing to send product on an ongoing basis.

Over time I’ve dabbled with increasing my exposure through HomeTalk and a Facebook page, and I’ve thought about adding Instagram.  There seem to be a million other options for social media these days.  But those things all take up valuable time that I’d rather be devoting to either refurbishing vintage furniture or to writing the blog posts themselves.  After putting in the time at my full-time day job (the one that actually pays the bills), there are only so many hours left in a day and I have to choose what I spend them on wisely based on my personal goals.

So, if I’m not doing this blog thing for financial gain and I have no immediate desire to focus on expanding my exposure, why am I doing it?

The answer is really very simple.  Because I love it.

It totally makes my day when I get comments from you guys about how much you enjoyed a post.  I also get a huge kick out of meeting people and having them say “I just love your blog!”  It’s always fun when someone tells me they were inspired by one of my projects.

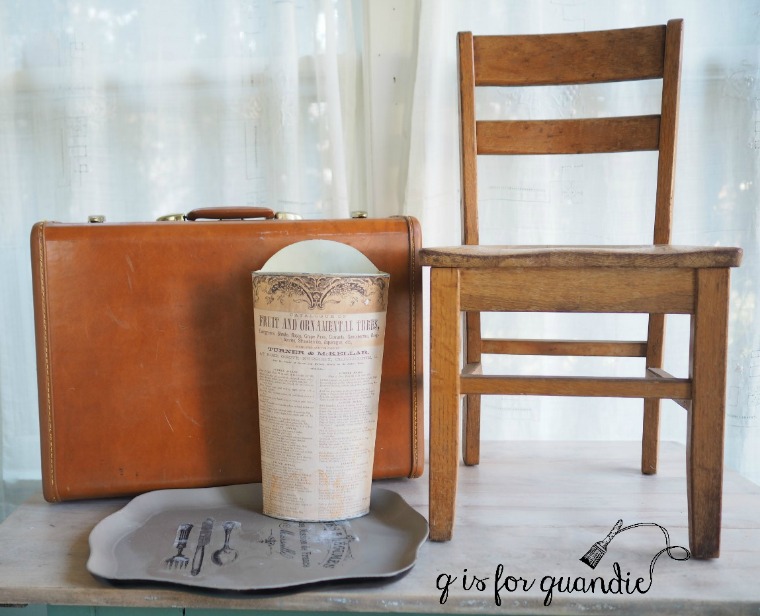
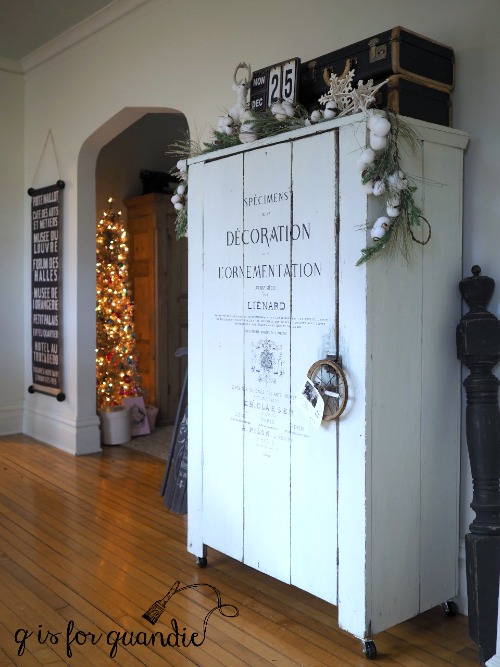
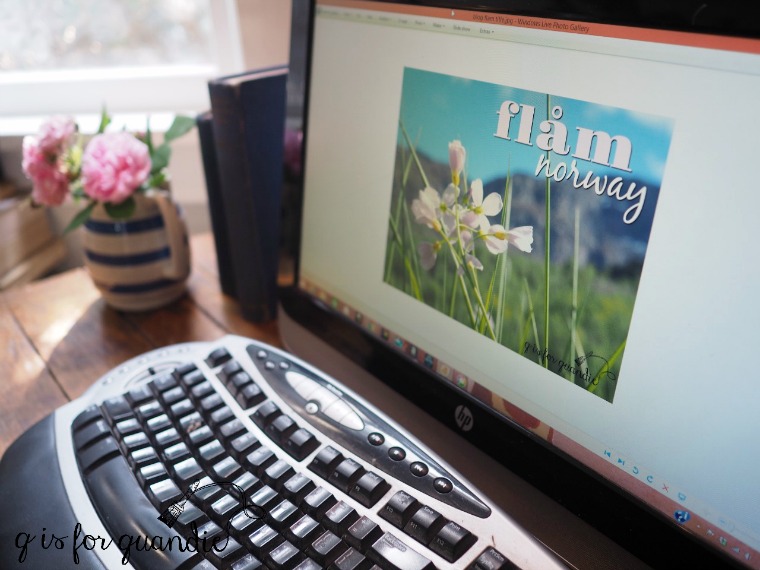
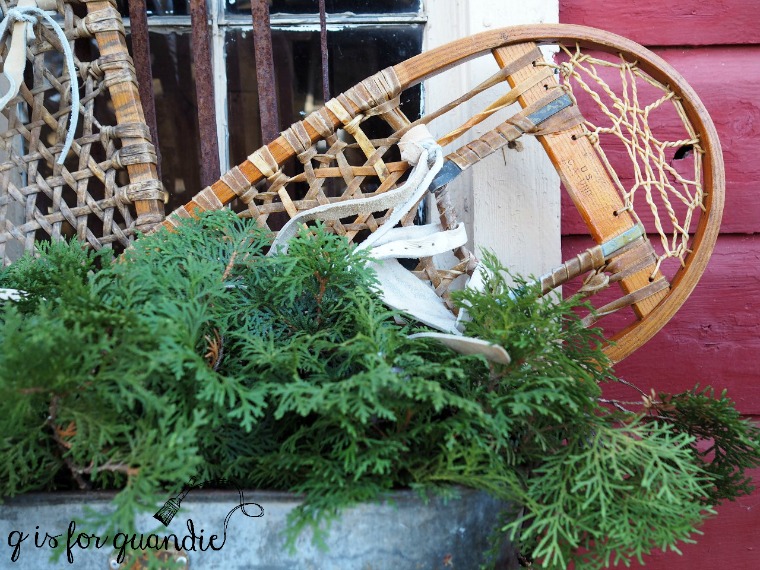
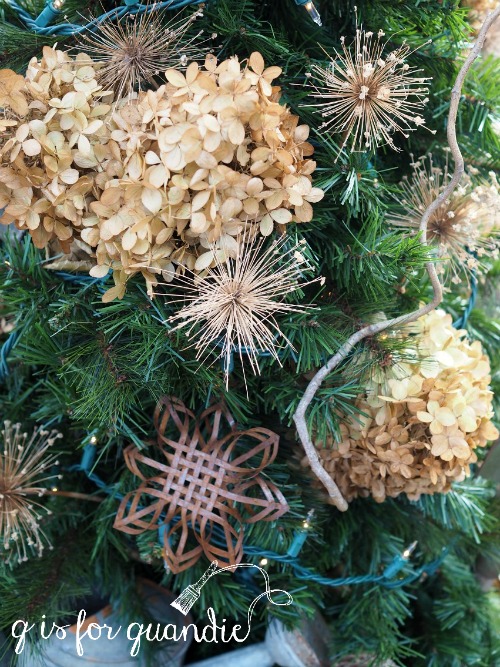
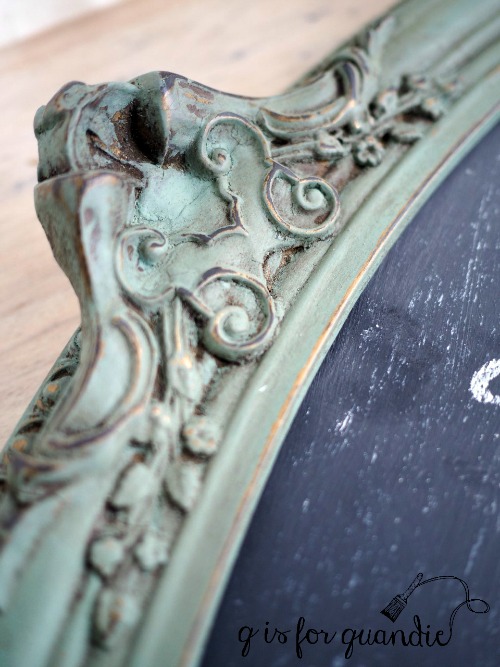
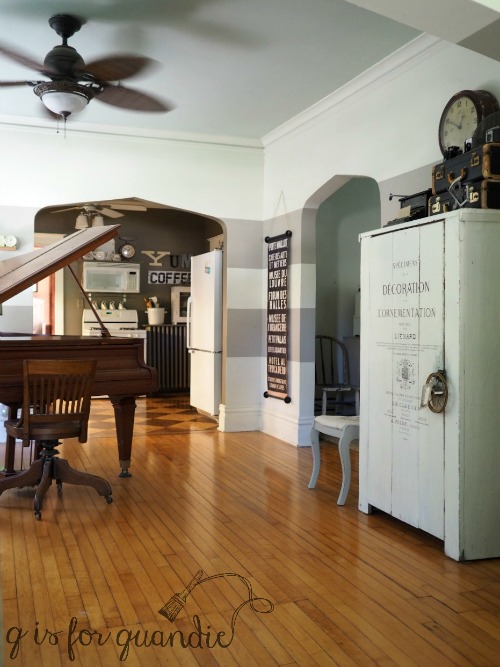
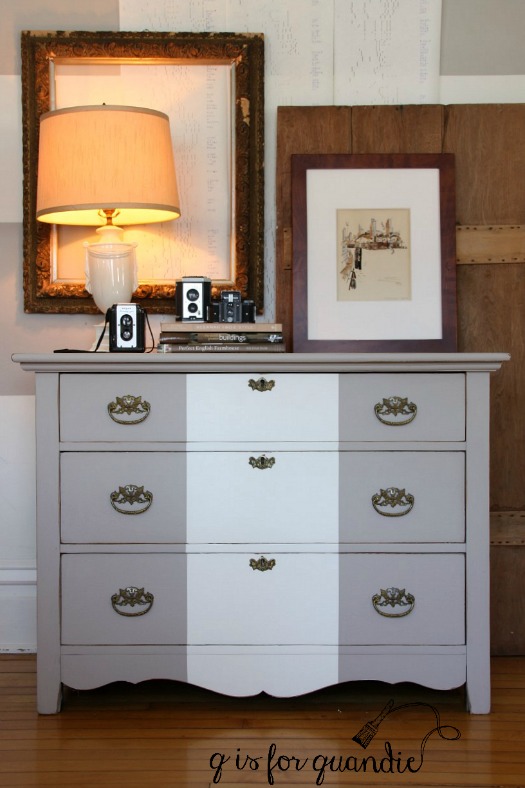
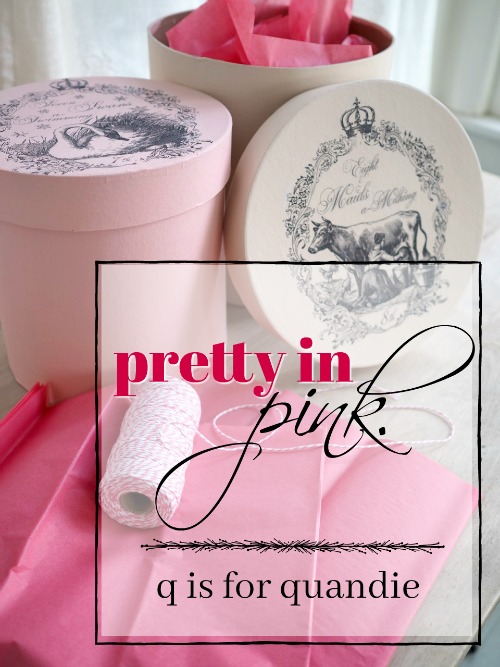
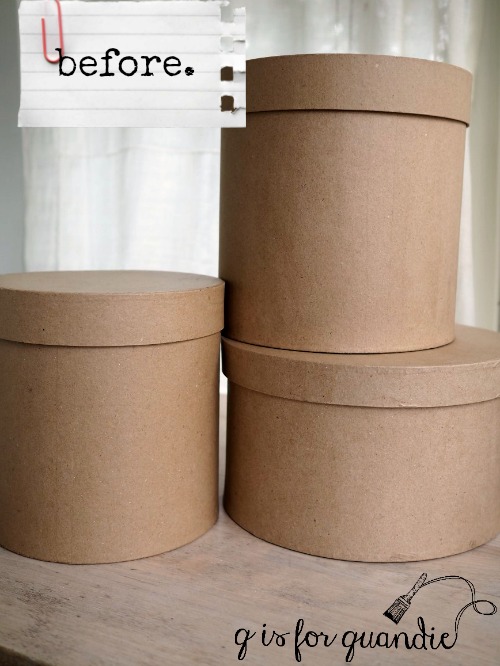
I really enjoy the photography side of blogging as well.  Staging a piece to take photos of it is one my favorite aspects of blogging.  I’ve been working on improving my photography skills which has been pretty fulfilling.

Writing blog posts is also something I enjoy.  I’d never considered myself much of a writer before, but as it turns out I take some pleasure in writing a good blog post.

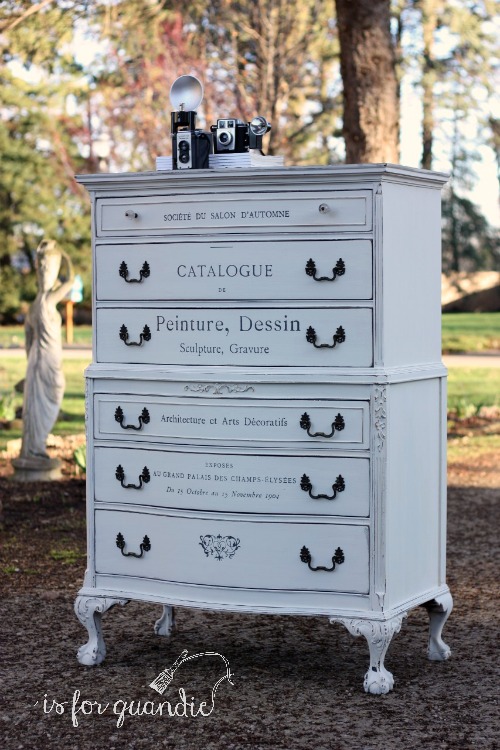
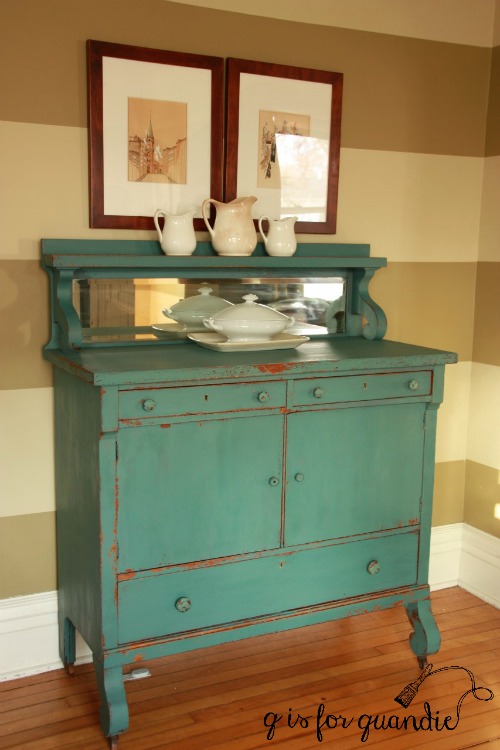
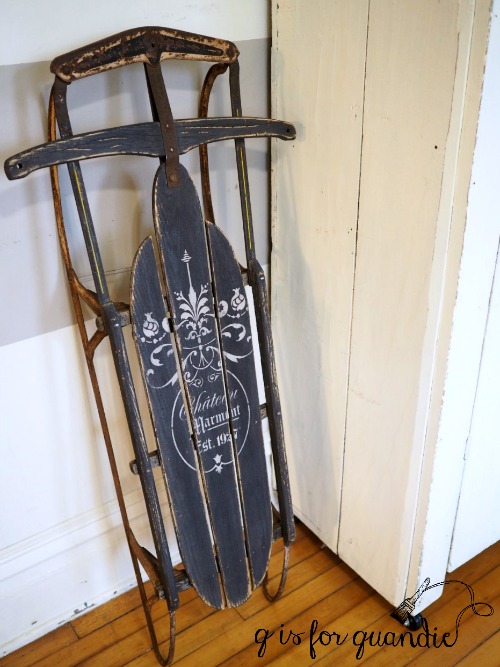
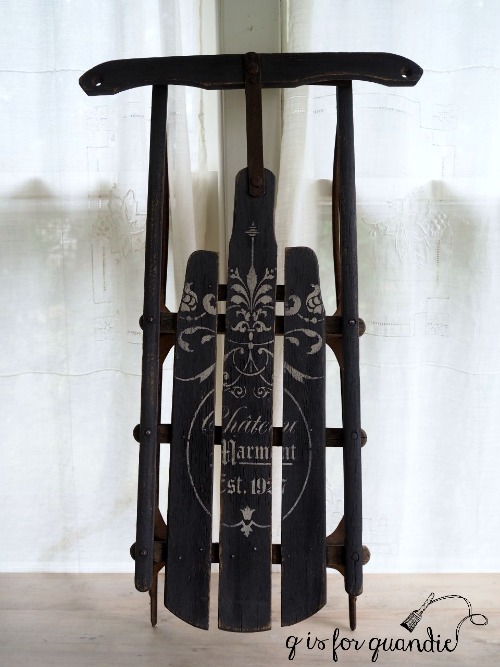
But most especially, I really relish the process of taking a beat up old piece of furniture and giving it a new lease on life.  I feel a certain zen-like sense of peace when I am alone in my workshop with some Pink Martini playing (anyone?) and a paint brush in my hand.  I could (and often do) spend hours just painting stuff.  I know I would do this with or without a blog.

You see, I am a furniture painter first and a blogger second and maybe that’s why I have managed to keep at it for four years now.

So thanks to all of you for sticking at it with me, and here’s to many more years!

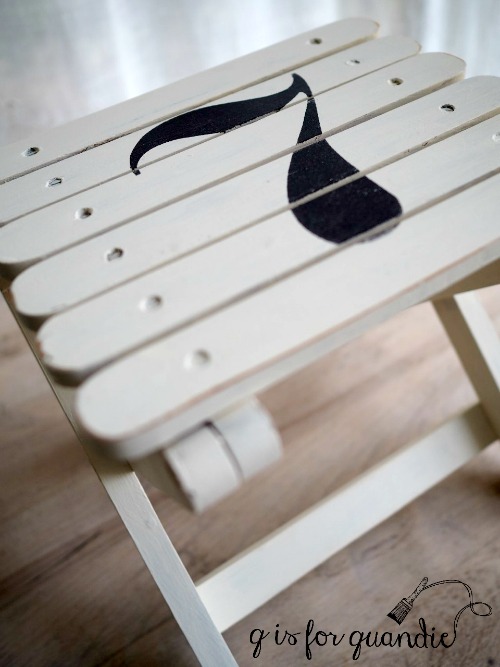
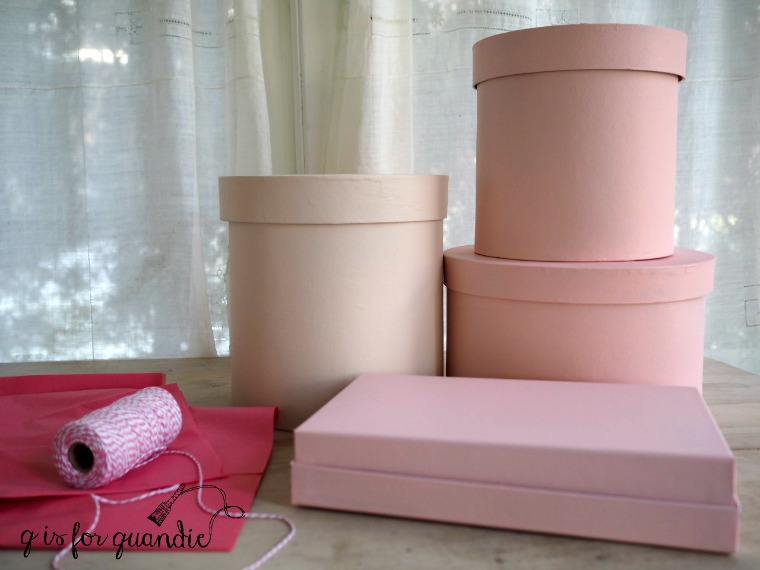
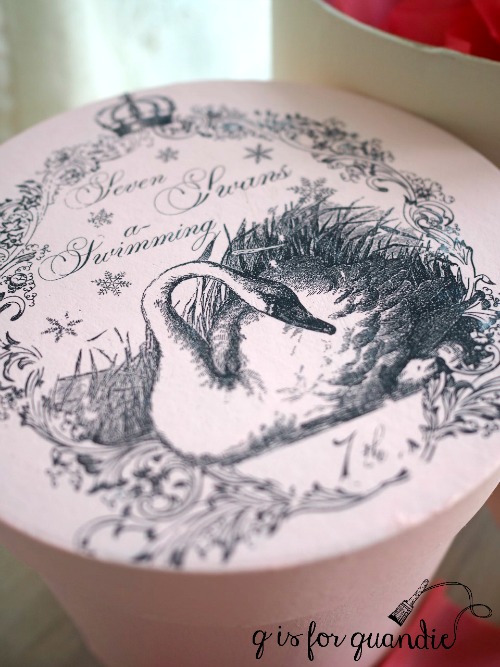
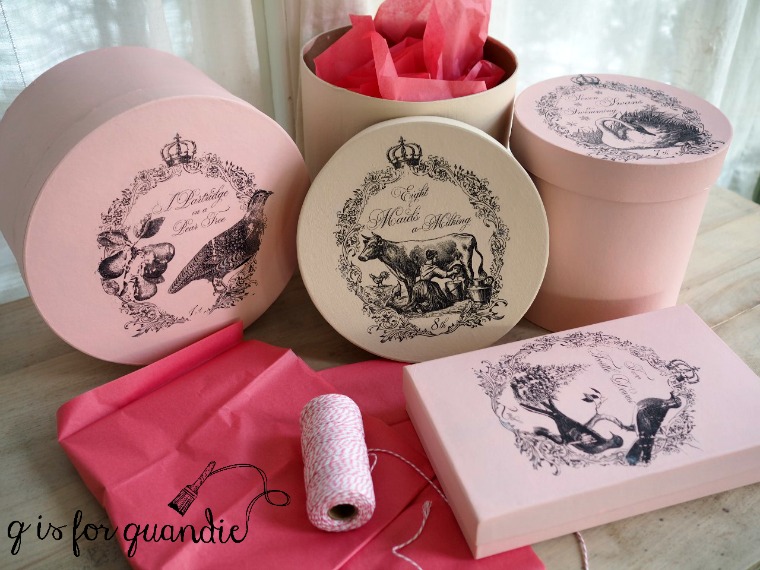
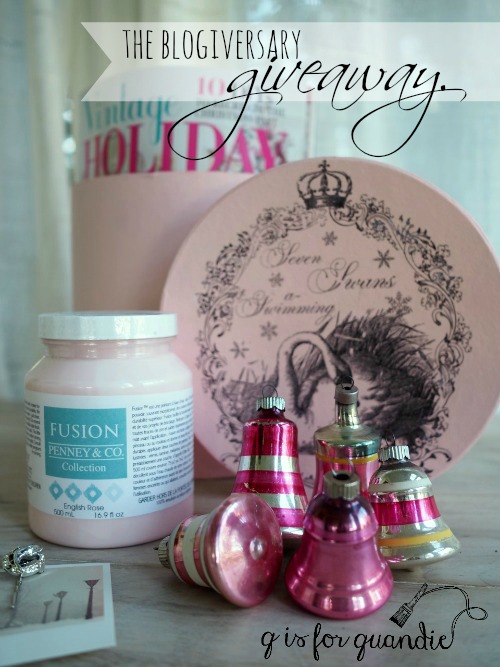
As I mentioned at the start of this post, it wouldn’t be a blogiversary without a giveaway right?!  I wish I could just send this gift to each and every one of you, but that isn’t possible so instead I will draw a name at random from the comments left on this blog post by Thursday, November 30 at midnight (U.S. Central time).  The winner will receive a Seven Swans a Swimming box, a copy of the issue of Vintage Holiday magazine with a story about my ornament non-collection, a jar of Fusion’s English Rose (provided by Fusion!), five vintage pink bell ornaments (crossing my fingers that they will arrive intact!), and a pretty hair pin I made using a pretty vintage earring.  I might find a few other things to toss in as well.

Best of luck to you!  And thanks for helping me celebrate my 4 year blogiversary!

decorating for free.

I’ve been hemming and hawing a bit about my outside Christmas decorations this year.  I really didn’t want to spend any money on them and usually I spend well over $100 on pretty evergreens to fill my planters.  So initially I was thinking I would just skip the outside stuff this time around.

I’ve got to be honest and admit that part of the problem is my tendency to compare myself to other bloggers.  I have been admiring all of the gorgeous decorating that some of the other bloggers out there are doing, and I really didn’t think I could measure up on my budget of $0.  I really wasn’t even sure if I could measure up on my $100+ budget.

So the insecure defeatist inside of me decided to give up before I even started.

But then last weekend we had a bright and sunny (albeit a bit chilly) Saturday and I decided to at least put the twig lights up in my front window box.  Once those were in place I thought, what the heck, I could certainly fill the window box with a few of the bazillion dried hydrangea flowers that were still on my bushes.  Once those were in place I could see that the arrangement desperately needed at least a bit of evergreen, so I clipped some random clumps from my arborvitae hedge and threw those in.

And guess what?  For a cost of $0 it looked pretty good.  At that point I was on a roll.  Why not go ahead and do the planter by the back door too?

I used some birch logs and some rusty metal ornaments that I already had, plus the same arborvitae and dried hydrangeas from my garden.

Next why not do the galvanized boiler planter on the side of the carriage house too?!

While working on that one I remembered the old pair of snow shoes that my neighbor, nnK, dug out of a dumpster for me.

What?  Don’t your neighbors bring you treasures from the trash?

I wasn’t quite sure what I would do with those when she first brought them over, but I realized they would fit perfectly in this planter.

I just tucked them in the back behind the evergreens.

And then I added some hydrangea.  As the crowning touch (pardon the pun), I tossed in a metal crown that usually sits in the garden.

It feels like the planter is positively bursting with stuff, all of which cost me again, $0.

But wait, there’s more!

While I was digging around in the carriage house for stuff I could use, I came across an old fake Christmas tree that was also being discarded when I grabbed it (so again, $0).  I’ve always thought it would be fun to have a Christmas tree out in the garden, but I’d never gotten around to putting it up before.

Up it went.

I added a string of white lights that I already had on hand, and then I decorated it from the garden.

In addition to the dried hydrangeas, I also used dried allium flower heads as well as some curly willow branches.

Then I tucked in things like this watering can …

and a vintage kid sized shovel.  Just fun vintage garden stuff that I already had on hand.

I placed the tree so that it’s perfectly centered outside the bay window in my piano room, just behind Cossetta, my statue.  I love the way the tree looks lit up at night just outside the window.  I think it will be even prettier when we get a bit of snow.

For spending $0, I think I did pretty good.  I’ve definitely proven that you don’t have to spend a bunch of money to decorate for the holidays.  I realize that not everyone has loads of dried flowers to harvest, or a spare faux Christmas tree lying around somewhere.  But today when everyone else is out spending a gazillion dollars, I hope I’ve inspired you to think about using whatever you already have in a new way and decorating for free this Christmas!


jingle all the way.

Back in April, Mary over at orphans with makeup (if you’ve never visited Mary’s blog, you should, she does beautiful work) posted about working with Homestead House to style and photograph all of their milk paint colors.

Her photo of the color Upper Canada Green (above) got me thinking about an oval gold frame that I’ve had hanging around for ages.

I used this frame in my dining room for a long time.  I never put anything in it.  I used it flat on the table as part of a centerpiece for a while, and I also layered it in front of a larger gold framed mirror hanging on the wall.  But as much as I loved it ‘as is’, when I decided to change up the dining room a couple of years ago it was time to sell it and move on.  As it turned out, no one else loved it as much as I did because it didn’t sell.  Maybe no one could figure out what to do with an empty frame?  Or maybe no one else loves the gold?

When I saw Mary’s photo it got me thinking about using some milk paint to give the frame a new look.  So a while back when I had some milk paint left over after painting my green alligator farmhouse table, I used it to paint this frame.

Green Alligator is a custom mix of equal parts Miss Mustard Seed’s Kitchen Scale, Homestead House’s Upper Canada Green and Loyalist.

As you can see in that photo, I didn’t try to get paint into every crack and crevice.  I almost dry brushed it on, trying to leave bits of gold showing on the high points.

I then used 220 grit sandpaper to remove even a little more paint, and finally I waxed the frame with Miss Mustard Seed antiquing wax to give it some age.

The dark wax dulls the color a bit and adds more definition to the details.

Ken cut a piece of hard board to fit the frame so that I could turn it into a chalkboard.

I added the ‘jingle all the way’ using my tracing method (shared here), and then I free-handed the holly and sprigs of evergreen.

So now that I’ve solved both of my problems; it’s no longer gold and it now has a designated purpose as a chalkboard, hopefully it will sell quickly at Reclaiming Beautiful.

What do you think?


skating away.

Who remembers the old show Ally McBeal?  Am I seriously dating myself with that one?   It was on back in the olden days when you actually had to watch a TV show when it was scheduled to be on.  Ah, the memories.

Well anyway, I was a fan of that show and at the time I purchased their Christmas CD which is mainly Vonda Shepard, but also a couple of numbers by the actors from the show including I Saw Mommy Kissing Santa Claus sung by Jane Krakowski and the song River sung by Robert Downey Jr.

Who knew that Iron Man could sing?

Well, that song is one of my favorites from the CD.  It’s a bit melancholy, but it’s so beautiful.  Normally I give myself permission to start listening to Christmas music on Thanksgiving, but I’m starting a little early this year.

I don’t actually wish I had a river that I could skate away on, but somehow that song always pops into my head when I see ice skates!

When I dug that pair of ski’s out of the back of the carriage house that I posted last week, I also grabbed this pair of skates.  These are another item that was left over from my occasional sale last year.  They weren’t quite so grungy at the time of the sale, but a year in the carriage house lean-to did them no favors.

So I decided to paint them.  Because … duh … that’s what I do!

I started by removing the laces and putting them in a bucket of water with some OxyClean to soak.  Then I washed the dirt off the skates with some Dawn dish washing soap and water and let them dry.

Then I painted them with Fusion’s English Rose.  After all, I did decide to have a pretty in pink Christmas this year, remember?

It only took one coat to get this beautiful coverage by the way. Once the paint was dry I added a couple of rub-on’s from my scrap-booking stash.  Unfortunately, I’ve had the leafy rub-on that is on the side of the skate so long that I doubt you could find it to purchase anymore.  If you want to search, it’s from the Sabrina line from Making Memories.

Didn’t those laces brighten up nicely from their soak in the OxyClean?

I also added a few random number rub-on’s from Tim Holtz.  Some on the heels …

and some on the toes …

By the way, if you know anything about ice skates you might have noticed that these are training skates.  You can’t really tell in the photos, but they are little bitty … only about 8″ long, meant for a little girl who is new to ice skating.

But I really think of them as a home decor item rather than for actual skating.  They are perfect for draping over a vintage sled, don’t you think?


a blank slate.

If you’ve been following my blog for very long, you’ll know that I have horizontal grey and white stripes on the wall in what I call my ‘piano room’ (for obvious reasons).

It took me a long time to get to these stripes.  I’ve painted this room so many times since Mr. Q and I moved in.  Well, first I stripped the existing wallpaper and then re-wallpapered with a white on white damask (very trendy in 1988).  Then I stripped that and painted the walls red.  Didn’t everyone go through a red phase in the 90’s?  Next after painting the kitchen its current dark color, I tried bringing that color out into the piano room too.  It looked awful, which I blame on a difference in lighting and a different ceiling color.  At that time the ceiling was still both white and popcorn-ed.  Next I tried a mustard yellow.  That never even made it beyond just one wall before I realized it was a terrible choice.

That led to olive green horizontal stripes.

I loved the horizontal stripes, but it didn’t take long after starting my blog to realize that this particular wall in my piano room was where I would have to stage all of my furniture photos in the winter.  And the olive green was not going to cut it.  Especially paired with the Miss Mustard Seed Kitchen Scale that’s on that buffet!

So I switched to white and pale grey stripes.  Somewhere in between there we also had the dreaded popcorn ceilings scraped off and I painted them in a pale aqua blue.

I loved the pale grey and white.  And immediately my furniture photos were improved.

But here we are almost 4 years later and I am absolutely fed up with trying to make those horizontal stripes work as a background for all of my winter furniture photo shoots.

They worked OK for some pieces …

For others they just really didn’t cut it.

I tried covering them up by layering various things over the wall, which helped somewhat.

But this year I decided the stripes had to go.  I needed a clean, blank slate to use as a background.

So last weekend I pulled out the paint I used for the white stripes and after sanding the tape lines, I painted over the stripes.

Today’s q-tip:  If you have used tape to paint horizontal or vertical lines on something, always sand over that paint line before re-painting.  Otherwise you will have a visible ridge of paint along those lines.

I was worried that the paint wouldn’t match perfectly and I’d end up having to paint the entire wall from base board to crown molding, but no, it blended perfectly.

And now I have the white background that I have been craving.

Well, except for that electrical outlet, but look how easy it is to edit that out, and while I’m at it, also edit out the thermostat …

As you can see over at the right edge of the photo, I still have the stripes in the living room.  And actually, I even kept the stripes on the opposite side of the room for now.  I may ultimately paint those out as well, but then again I may not.  I’m going to live with it for a while and see how it feels.

In the meantime, I’m very happy with my blank slate.

By the way, are you wondering about how practical it is to move that large cupboard out of the way every time I want to take photos of a finished piece?

At the end of the summer, Ken came over and helped me add wheels to the bottom of it to make it simple as can be to move it in and out of that spot.

I have to say, I always learn something new from Ken.  This time it was that you can get these extended length Phillips drill bits for your drill.  It made it so much easier to get in there and attach those wheels.

It might seem a little crazy that I’ve painted a wall and modified my furniture just to accommodate blogging, but I’m learning that it pays off to find ways to make the ‘things’ in my life more functional for me.

So if that means a blank white wall and a cupboard on wheels, so be it.  Right?


vintage sled, take two.

Last year I picked up a few vintage sleds at garage sales and then added stencils to them.

I had them at my occasional sale that fall and two out of three sold.

But there were no takers for this one.

It’s easy to see why.  There just isn’t enough contrast between the wood sled and the black stencil.  But at the time my sale was looming and I didn’t have time to re-work it.  After my sale I tucked it away in the back of the carriage house and there it sat along with those ski’s that I posted on Tuesday.

So I pulled the sled out a week or so ago knowing that a do-over was in order.

I started by painting the wood with just one coat of Homestead House’s Coal Black milk paint.  I really just slapped it on somewhat haphazardly because I planned to distress it heavily anyway so I didn’t need precise coverage.  Plus, because I was painting over bare wood (much like with the ski’s) the paint really soaked in and provided great coverage with just one coat.

Then I debated what stencil to use.  I thought about another Christmas stencil, but that would mean that the sled has to be put away after Christmas.  Why not go more generic so that the sled can be a winter decoration rather than just a Christmas decoration?  No need to put it away until spring!

I also needed a stencil that would fit the width of the sled.  I ended up pulling out this pretty stencil that I’ve only used a couple of times.

I know it’s a little hard to believe looking at the pictures, but I used an acrylic craft paint in a dark greige for the stencil.  This color from FolkArt is called Barn Wood.  I prefer using this cheap acrylic paint for stenciling because it tends to dry out a bit over time, getting nice and thick, which helps give my stenciling a crisp edge.

I got a more ‘faded ‘ sort of look by using this color rather than white, and in contrast to the black background it still reads as ‘white’.

After sanding the wood heavily to distress I put the tiniest amount of Miss Mustard Seed furniture wax on a cloth and then wiped the painted wood down.  I didn’t really apply wax like one would normally, I didn’t work it into the surface or buff it or anything like that.  I mainly just used the tackiness of it on my cloth to remove any remaining loose paint.

I love the worn, dull, muted appearance of the black without any other top coat.  It works perfectly with the metal rails of the sled.

Once I had it all done I really loved the way it looked paired with my Specimens cupboard, but size-wise it just wasn’t working with some other plans I have for that spot.

Then I remembered that I had another sled out in the carriage house, so I pulled that one in the house and painted it the same exact way.

This one is a bit smaller and will be staying with me.

I took the larger sled in to Reclaiming Beautiful this week, so hopefully it will go to a new home soon!

Meanwhile Mr. Q and I are off to a creative writing workshop this morning taught by one of his favorite college professors Alison McGhee, so obviously next week my blog posts are going to be massively improved.  At least the writing part.  So be sure to stay tuned!


a pretty in pink Christmas.

When the issue of Vintage Holiday magazine that featured my non-collection of vintage Christmas ornaments arrived in my mail box a while back I sort of fell in love with the pink Christmas scene on the front cover.

Isn’t that pink chippy mantle to die for?

Following closely on the heels of the magazine’s arrival, the people at Fusion offered to send me some of their newest shade of paint, a gorgeous pink called English Rose.

It seemed as though the universe was trying to tell me something, that I should plan a pretty in pink Christmas!

So I started with making some gift boxes using the same technique I’ve used in the past for faux french hat boxes.

I purchased several plain cardboard gift boxes at Hobby Lobby.  You can get these for just a few dollars each if you wait until they are on sale for 50% off (which seems to happen every 4 – 6 weeks or so).

Next I simply painted some of them in the new Fusion pink, English Rose and one in Fusion’s paler pink, Little Piggy, for contrast.  I painted each with two coats of paint.

I wanted to use a Christmas themed graphic on them, and when I found these 12 Days of Christmas graphics on Etsy I knew they would be perfect.  I purchased six of them from Project Printable for $1.50 each, so an investment of $9.  The seller conveniently provided a mirror image jpeg along with the regular jpeg so I didn’t have to worry about figuring out how to print a mirror image, which is what you need for a transfer.  Slick, right?

Yes, I know you can find free graphics online and I like to find those when I can as well, but sometimes it’s worth it to pay a little money for the convenience of finding exactly what I wanted.

Next I used Fusion’s transfer gel to transfer the graphics to the painted boxes.

  You can print a copy of the detailed instructions here:  making a faux hatbox with transfer gel.

And voila, I have pretty Christmas gift boxes that can be re-used over and over.

Keep in mind that you aren’t likely to achieve perfection with this method of transferring a graphic.  Some bits of your design will likely rub off.

But perfection is seriously over-rated.  I prefer to embrace a distressed, imperfect look.

These packages are going to look so pretty under my tree full of vintage ornaments … just as soon as I get that set up …

If any of you locals want to make your own pretty in pink gift boxes, Reclaiming Beautiful in Stillwater has some of the English Rose paint in stock while it lasts.  Plus their holiday open house is this afternoon from 3 p.m. to 7 p.m.  Stop by, have a glass of wine and do a little shopping.

If your aren’t local, click here to find a Fusion retailer near you!