First up, congrats to Jill O. I drew her name and will be sending her the paint blending giveaway from last week. Second thing, the toolbox from Wednesday went super fast and I had about 4 more people who wanted it. Clearly I need to be on the lookout for more toolboxes to paint!
In the meantime, remember a while back when I painted these faux bamboo picture frames?

I have to confess that in the end, the paint was just a little bit too flat. It didn’t bring out the bamboo-ish-ness of the frames at all.
So when Dixie Belle sent me some of their new gilding waxes to try I decided to dress them back up again.

The gilding waxes come in six colors; gold, copper, silver, bronze, black and zinc and they have a metallic look to them.

Although these are just little bitty pots of wax, a little bit goes a long way with them. I suspect one pot will last a long time unless you are gilding an entire piece of furniture or something.
Dixie Belle also sent some of their iridescent wax called Chameleon Wax.

The first step was to test out all of the waxes to see how they looked, so I pulled out an old painted board and used a q tip to add a swatch of each wax.

My favorites are the gold (seriously, isn’t that gold amazing?) and the copper, and I really can’t wait to find something to use the zinc on. You can really see the iridescence of the Chameleon waxes on my sample board too.
The black doesn’t look like much in my photo, but it does have a bit of a metallic look to it in person and reminds me quite a lot of the wax I used on this piece.

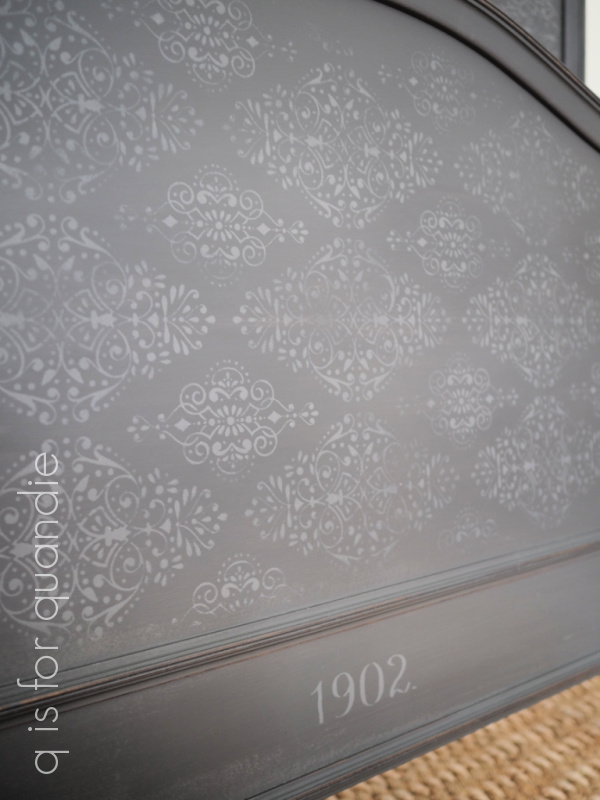
All of these Dixie Belle waxes would work brilliantly when applied with a stencil like I did on that buffet.
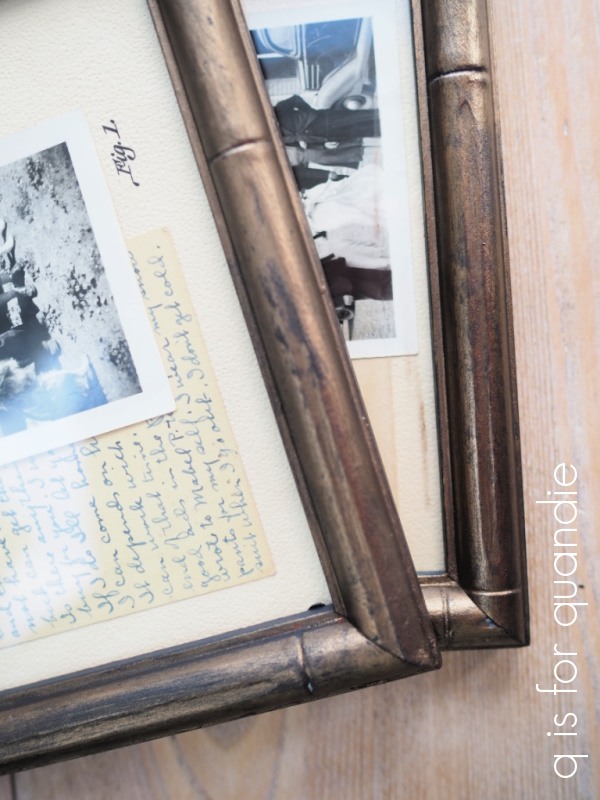
But for my frames I ended up deciding to go with the bronze.

I used a small artists brush to apply the wax, but you could use your finger, a cloth, or a q tip. In my case I wanted to wax the frame without removing the glass (pure laziness on my part), so I needed to be precise and the brush worked perfectly for that.
After applying the wax you can wipe it back immediately if you want to remove some of the product (and I did do that). You need to do that right away, the wax will dry in 30 to 60 minutes and then you won’t be able to wipe it back. Once the wax has dried for 12 hours, you can buff it to bring out more shine.
I tried to get a good photo of the difference once you buff it (above), but I’m not sure you can really see it. The frame on top is not buffed, the one underneath is. It does add quite a bit of shine if you buff it after 12 hours.

Just a couple of q tips on these waxes. Keep in mind that they are not VOC free like so many of the products I use, so be sure to use them in a well ventilated area. Also, they are an oil based product, so you’ll have to clean your brush (if you choose to use one) using mineral spirits. Although in my case I used the Fusion brush cleaner and that seemed to work perfectly fine.
I had debated whether to use the gold or the bronze, but in the end I chose the more subtle look of the bronze. The warmth of the bronze color works well with my collages of old family photos and ephemera.

Then again, if I change my mind later I could always add the gold over the bronze because these gilding waxes can be layered …
In fact, as I’m writing this I’m thinking maybe I should try that. Just add a little touch of gold here and there. Maybe I’ll just go do that real quick …

OK, I added just a dab of the gold here and there, mostly at the joints of the faux bamboo. It really brightened things up, didn’t it?
If you’ve never tried any of these metallic waxes, I highly recommend giving them a try. They are perfect for use on old metal hardware, or in this case on old picture frames.
What do you think? Would you have left the frames in the flat black paint, or left them with just the bronze wax added? Or do you like the brighter look with the gold added?
Thank you to Dixie Belle for providing me with the gilding wax used on today’s project.