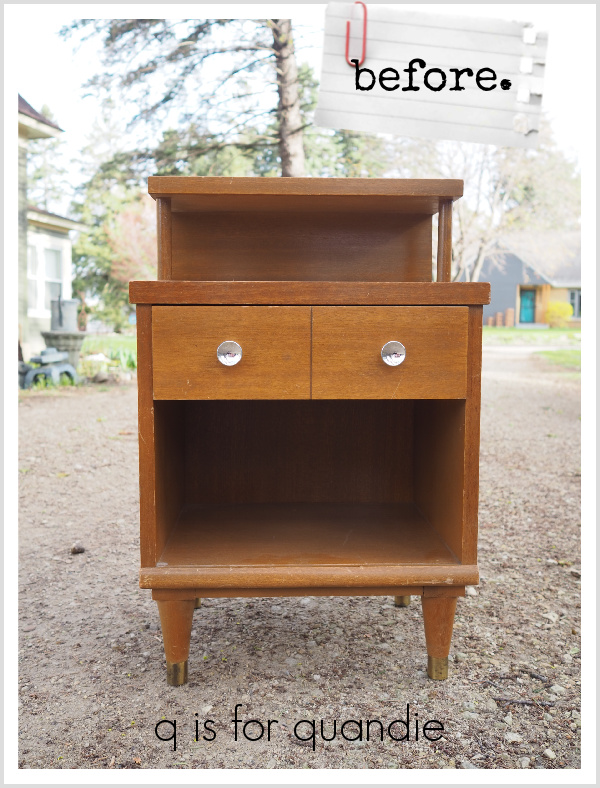
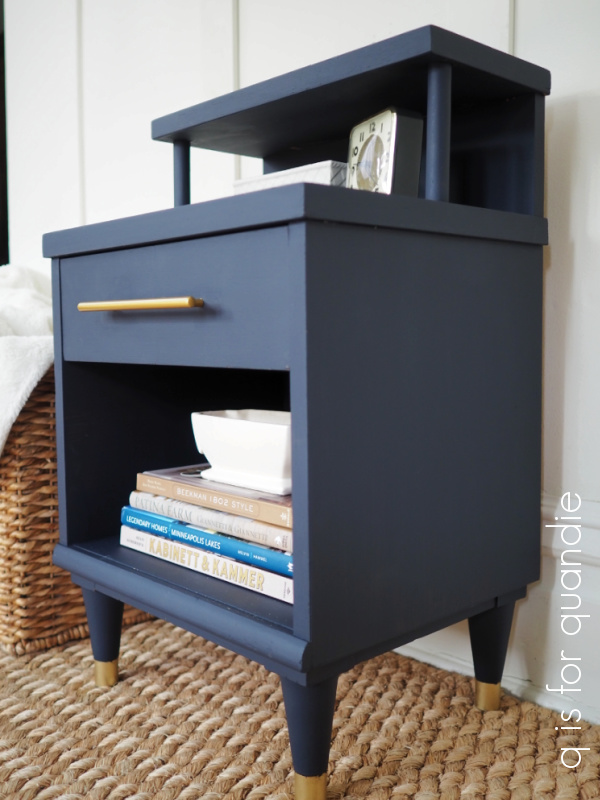
As I was scrolling through my past projects and looking for themes among my small projects, I realized I’ve painted (and/or otherwise refurbished) quite a few kid sized chairs. In fact, a search of my blog turned up over 30 of them!
I always pick up the wooden ones when I see them at garage sales.
This style is my favorite to work with.

They are adorable painted with milk paint like this one painted in Miss Mustard Seed’s Aviary.
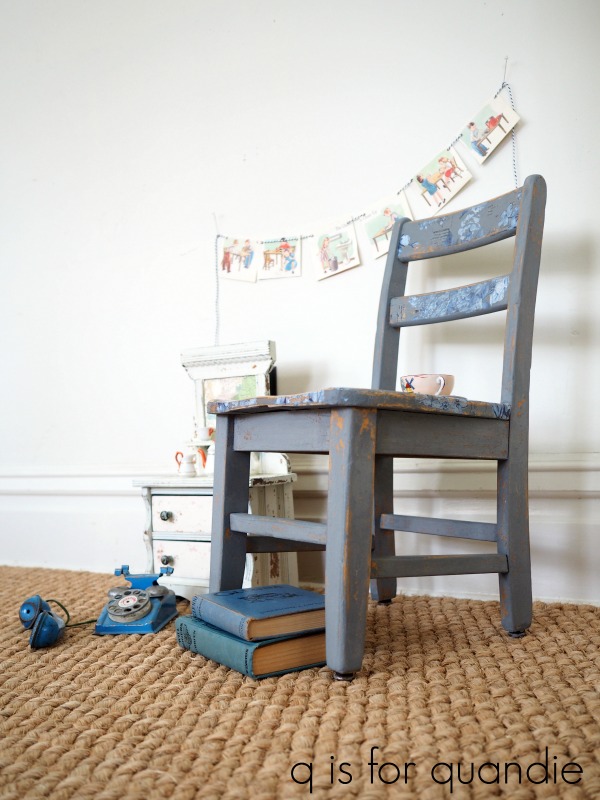
They are really well-suited to that chippy look.

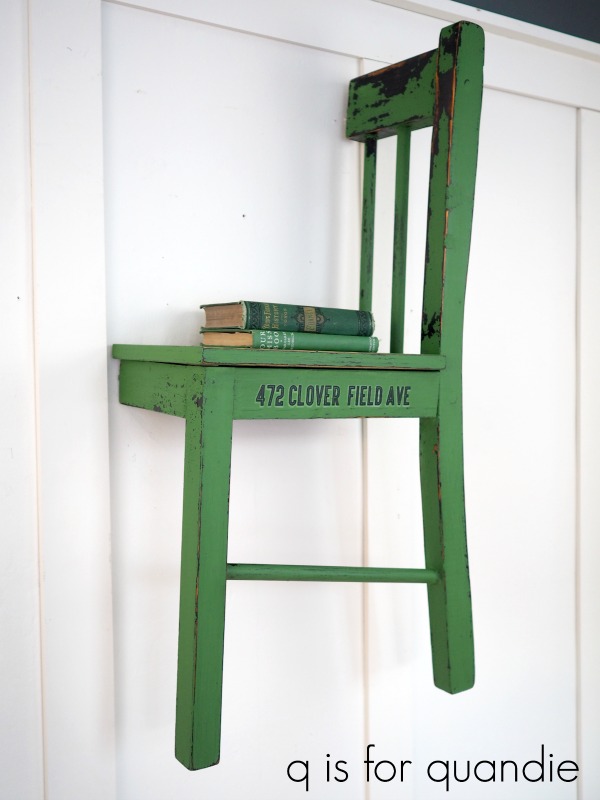
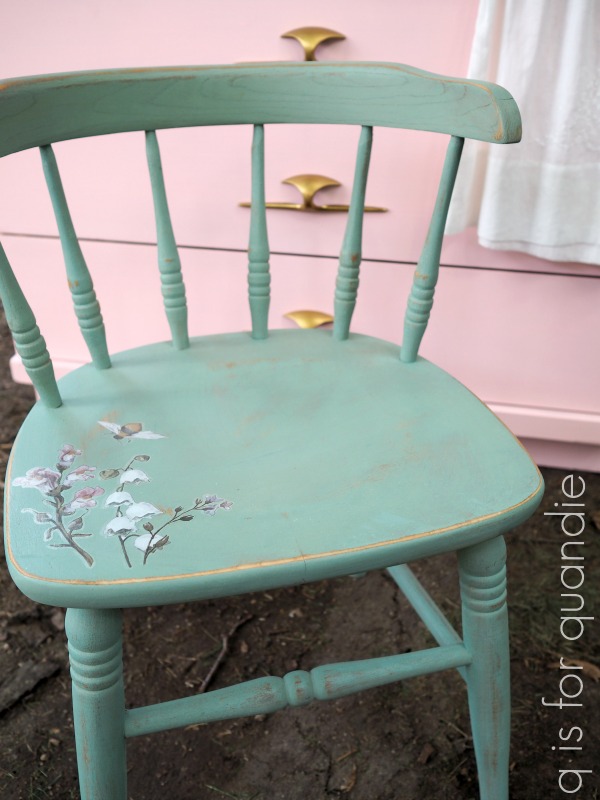
That gorgeous green is In a Pickle from Sweet Pickens Milk Paint.
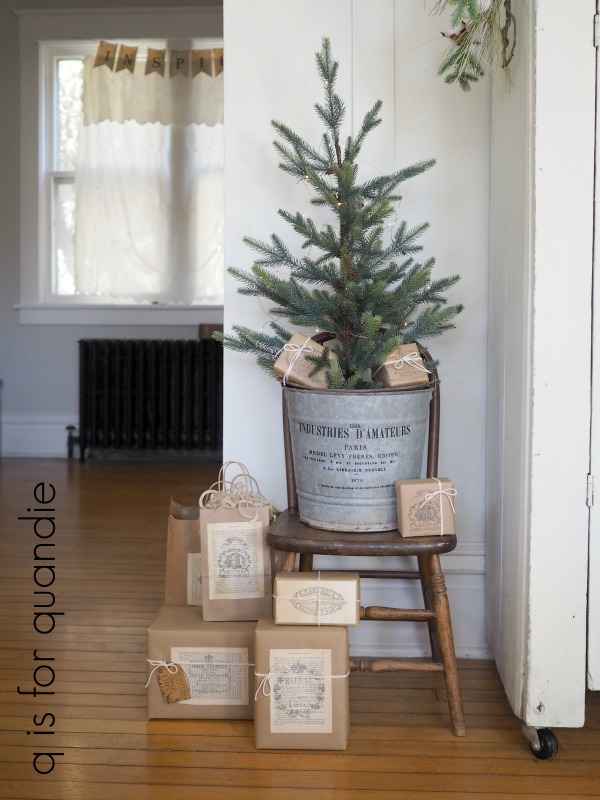
It’s also the perfect style to turn into a Christmas decoration.


They are also fun for hanging on the wall when cut in half.
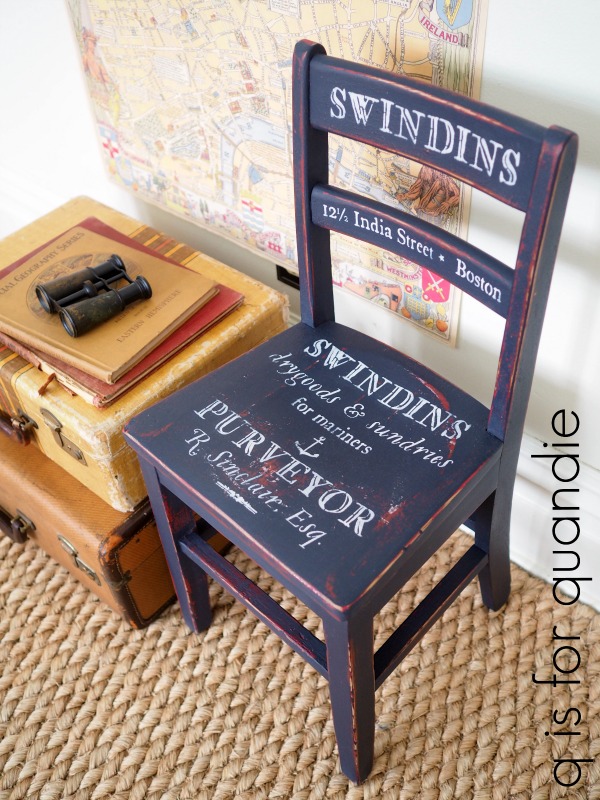
I’ve added stencils to them …
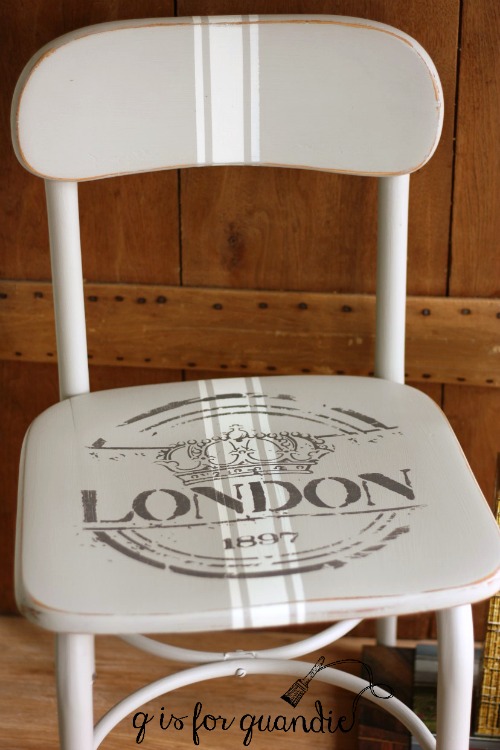
And I’ve added transfers to them …

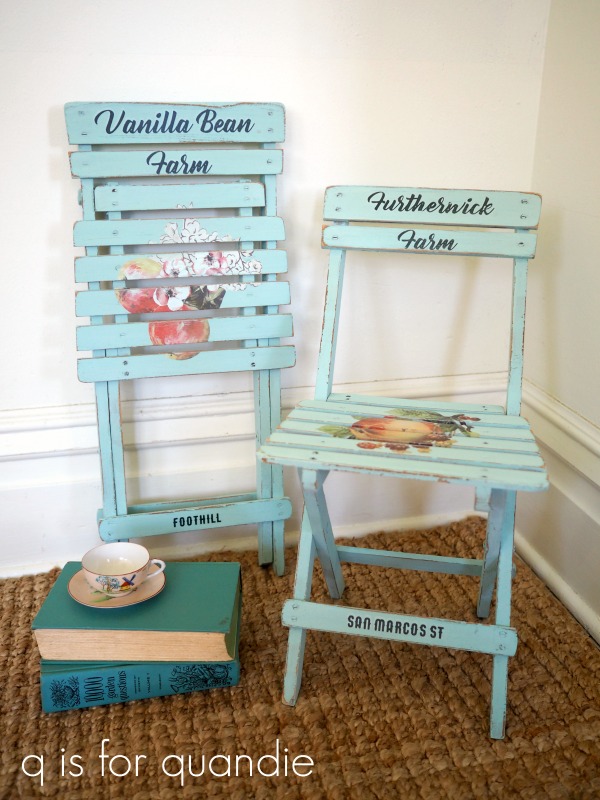
But I also find other styles of kid size chairs as well, like the folding ones.
This little pair of folding chairs were painted in Homestead House’s Laurentien milk paint, and then I added some re.design with prima transfers (Everyday Farmhouse and Sweet Apricot).
And this sweet little folding chair was also painted in Homestead House milk paint in a color called Soldier Blue.
I’ve painted up a handful of kid sized rocking chairs as well. This next one is painted in a mix of milk paint colors that I whipped up one day.

And this one is painted in Dixie Belle’s Rebel Yellow.

I don’t mind if the chairs have some metal parts either, I just paint up the metal as well.
This next chair is actually my ‘painting chair’ …
I sit on it when painting the bottoms of large pieces like armoires or big dressers that can’t be lifted up onto horses. I’ve gotten to the point in life where sitting on the floor isn’t terribly comfortable anymore.
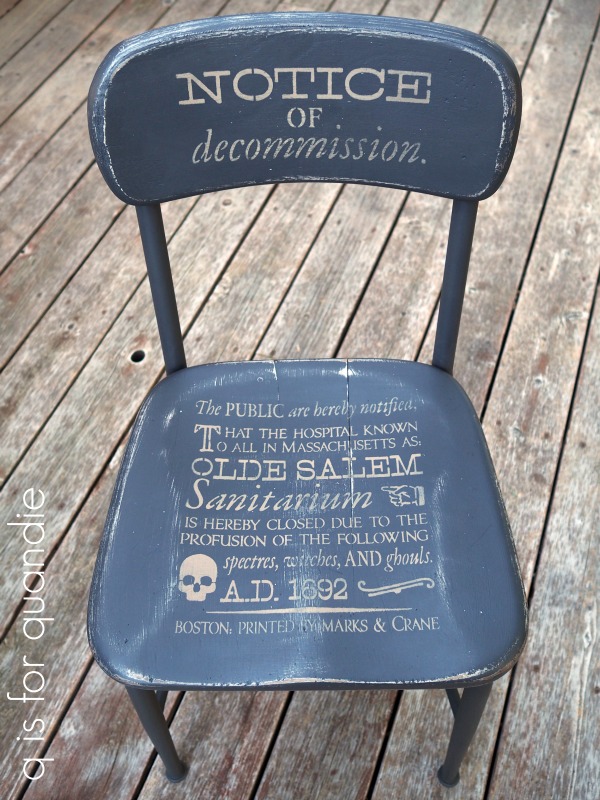
I painted a similar style chair in a spooky look last year and it ended up being one of my favorite painted chairs …
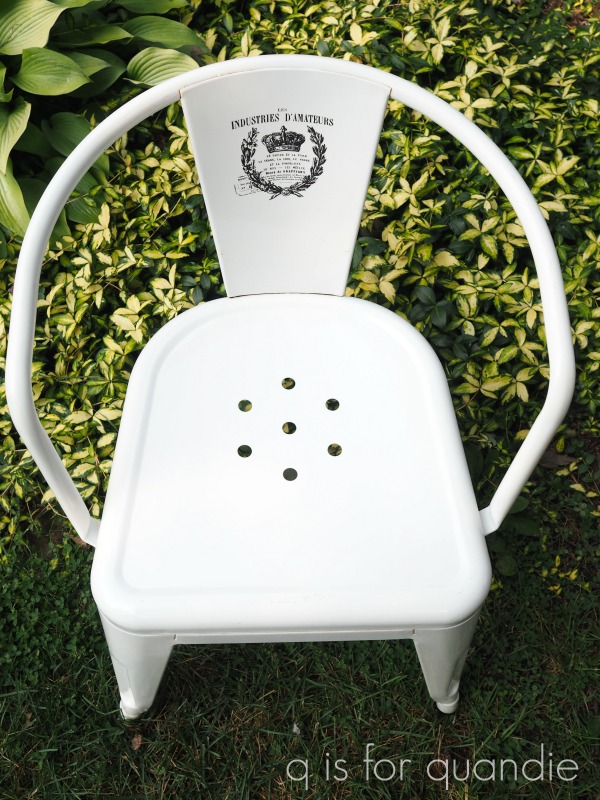
And actually, I even sometimes paint the all metal chairs like this little metal folding chair …

Or, in some cases, I just add a transfer …
That chair, by the way, has not sold. If any of you locals are interested, I’m marking it down to $10. Check out my available for local sale page for more details.
And then there are a few random styles of chair that I’ve worked with, like this one …
And this one …

Last winter I did a little experiment and added a stencil without first painting the chair just to see how it would sell. It did sell, maybe not quite as quickly as the painted versions though.

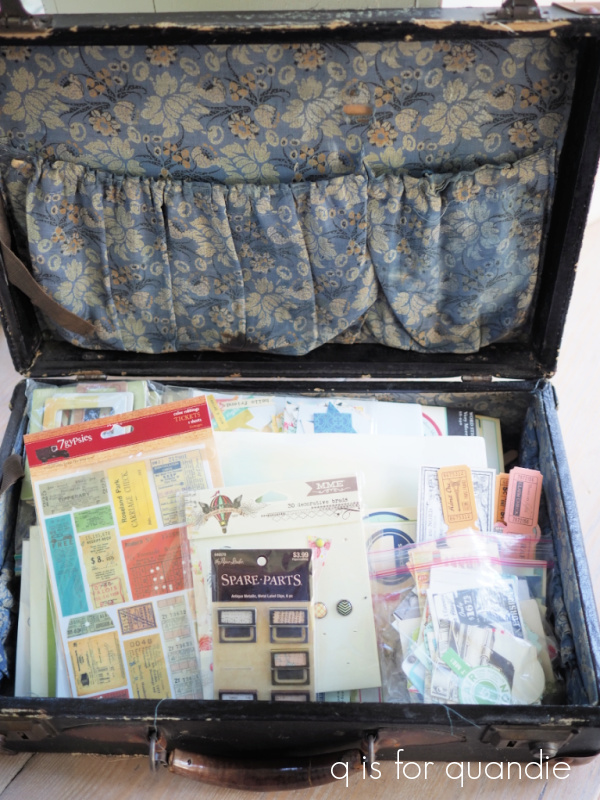
And then sometimes I just leave the chairs as I found them (or more accurately, as my picker Sue found them) …

She found this little pair of folding chairs for me a couple of years back. I hung them on the wall to stage the photos of this dresser …
And then I decided that I really liked how they looked hanging on the wall so I kept them and hung them in our bedroom.
How about you, do you ever paint kid sized chairs? Do you have a favorite style? Leave a comment and let me know!


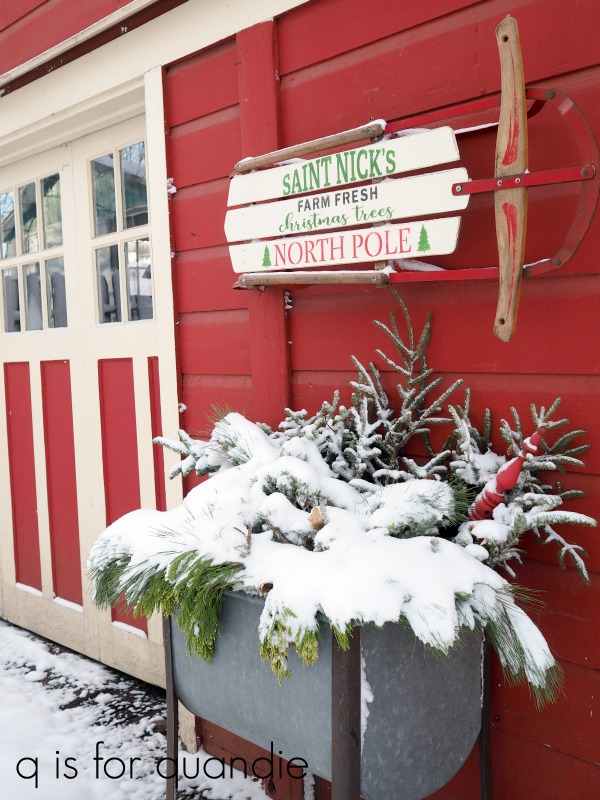
 In the meantime, I painted the door in Dixie Belle’s Drop Cloth in anticipation of the stenciling. The stencil arrived in no time (Wallcutz really does ship things fast). After playing around with the placement a bit, I decided to just use the wording from the stencil but not the border. The border didn’t quite fit properly on my door. To give the sign a more custom look I taped off a simple border and painted it black.


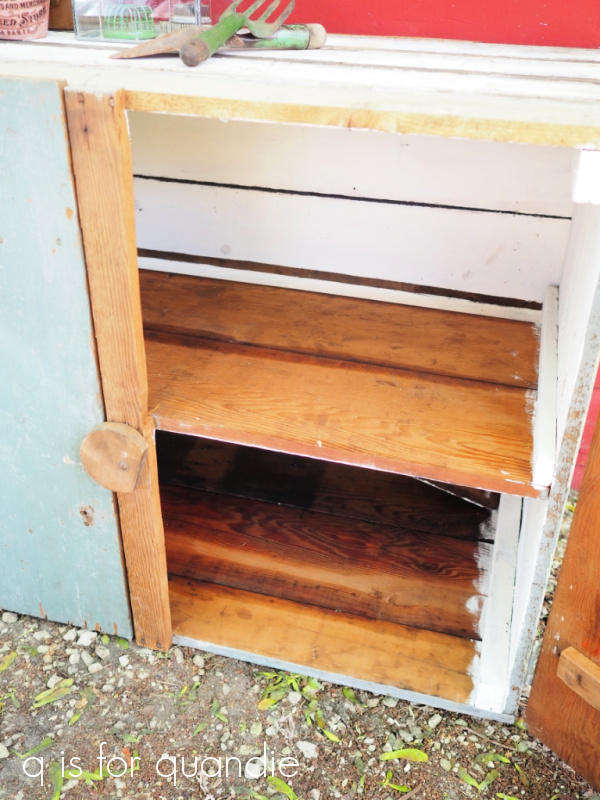


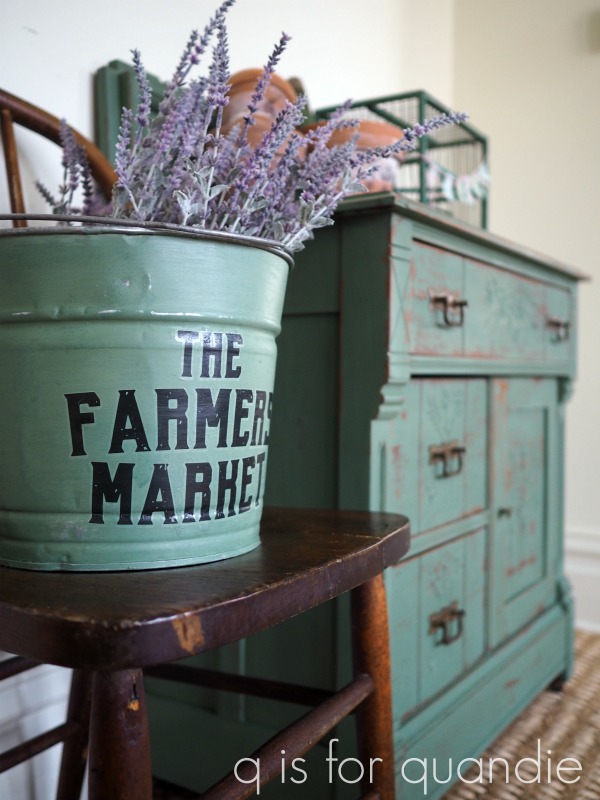
 Sometimes the patina is absolutely perfect ‘as is’ so I just clean them and add a little something to dress them up.