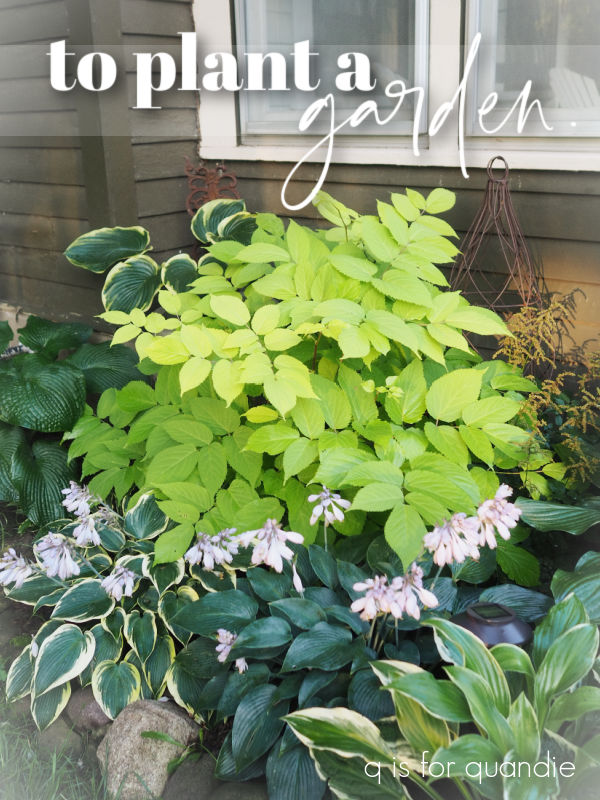
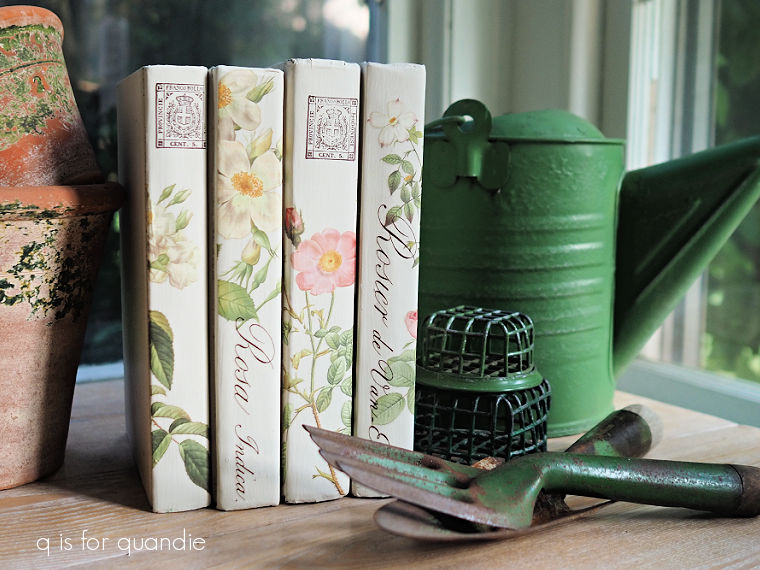
Good morning from the garden!
This morning I thought I would share a mid-summer update on my container plantings.
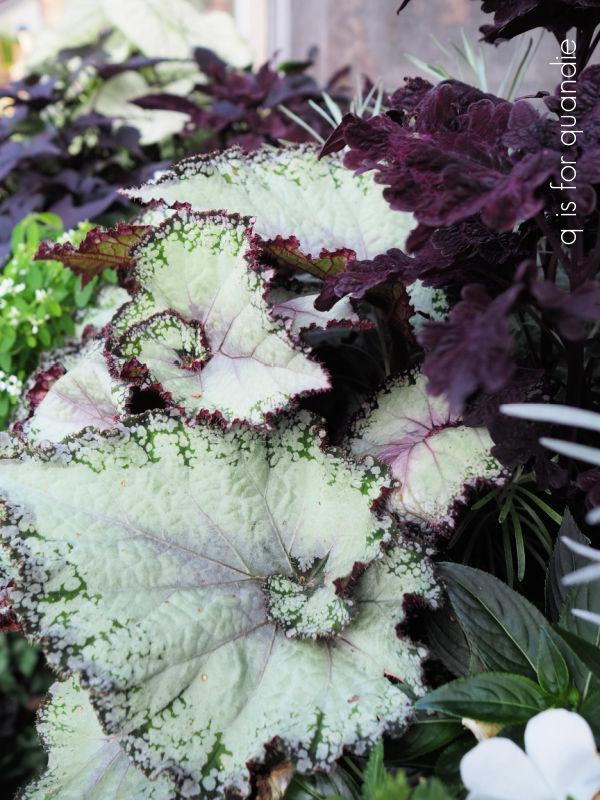
I can’t remember if I mentioned this in an earlier post or not, but this year I chose to focus on plants with interesting foliage, like these absolutely gorgeous rex begonias, rather than plants grown for showy flowers.
The main reason for this is that I just don’t have enough full-sun locations in my garden to get good results with most flowering annuals like petunias, geraniums, lantana, etc.
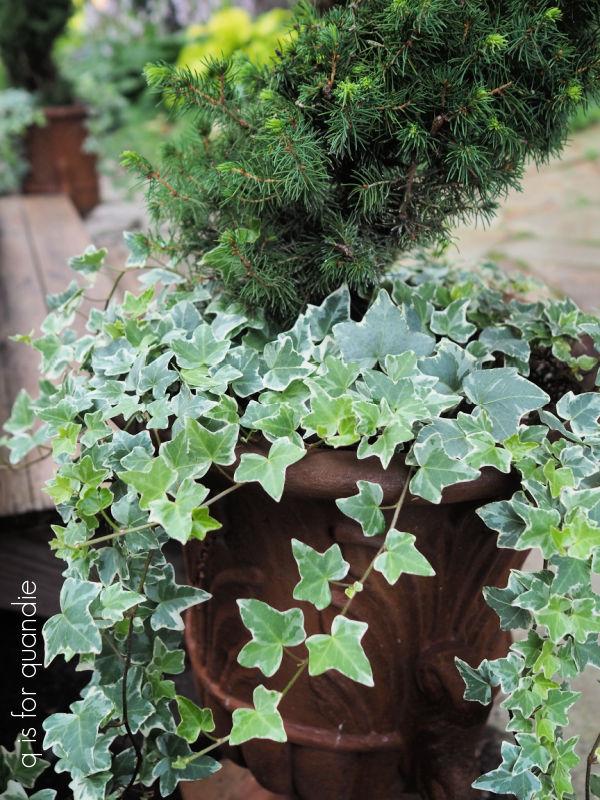
That’s why I planted up my rusty urns with some dwarf alberta spruce spirals underplanted with some simple variegated ivy.
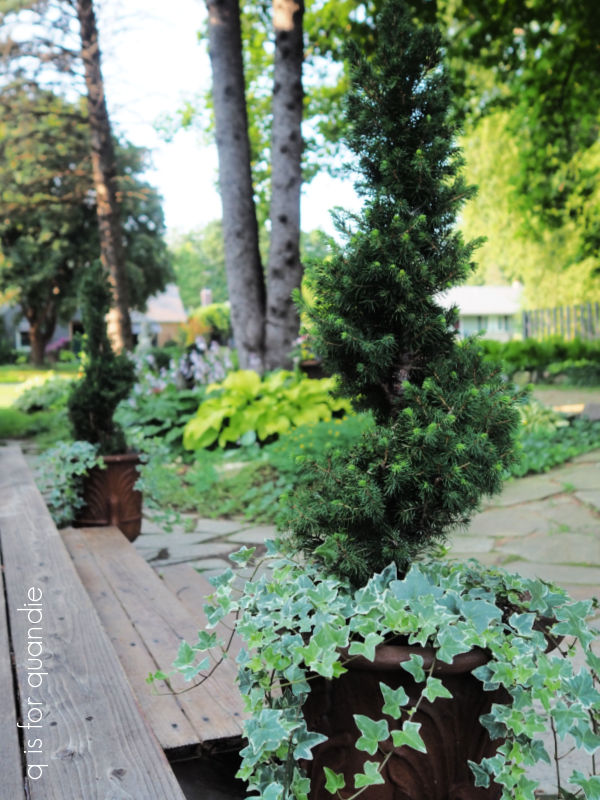
I’m quite happy with the results so far. The spirals are starting to get a little shaggy, so I’m going to have to bite the bullet and prune them soon (I’m a little nervous about getting the shape right). The ivy has filled in beautifully as well.
Other than that eventual pruning, these have required little to no maintenance all summer. We’ve gotten so much rain that I have barely even needed to water them.
I also chose to rely on colorful foliage in both of my galvanized boiler window boxes (there is one on the carriage house and one on the potting shed).

The one on the carriage house is mainly taken up by two very vigorous annuals, Lemon Coral sedum and Blackie potato vine. I did originally have a Lime Marmalade heuchera behind that potato vine, but it was totally being smothered. So I pulled it out and planted it in the ground.
The other boiler window box contains a Charmed Wine oxalis, a ColorBlaze Mini Me Chartreuse coleus, another Lemon Coral sedum and a burgundy colored rex begonia that I don’t know the name of …

and that colorful plant shooting out of the left side is Autumnale fuschia.
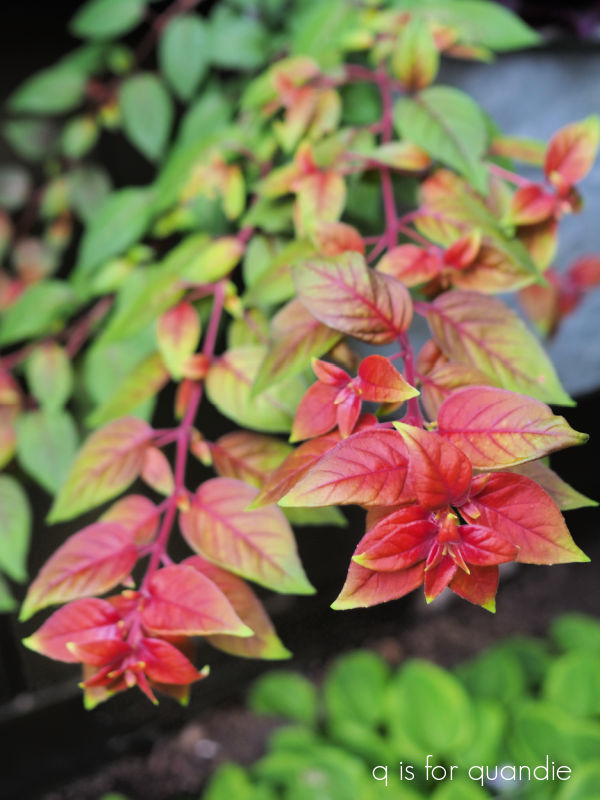
Technically this fuschia is supposed to produce blooms, but it is really grown for its foliage rather than its flowers. I’m fairly sure that mine has not bloomed even once. Possibly because I’m not really fertilizing these containers like I would for blooming plants.
My bed frame planter is situated in nearly full shade. It gets a very brief hit of sun in the early morning hours and that’s about it. I kept it simple this year with a couple of huge ferns that I purchased at Home Depot, a bunch of caladium, and another Blackie potato vine.

If you look at the potato vine, you can see that I have a lot of insect damage. I’ve had a massive infestation of earwigs this year, I suspect because it has been so wet. They’ve done a ton of damage, especially to my hostas, coleus, brunnera and potato vines.
Fortunately they don’t seem to enjoy caladium.
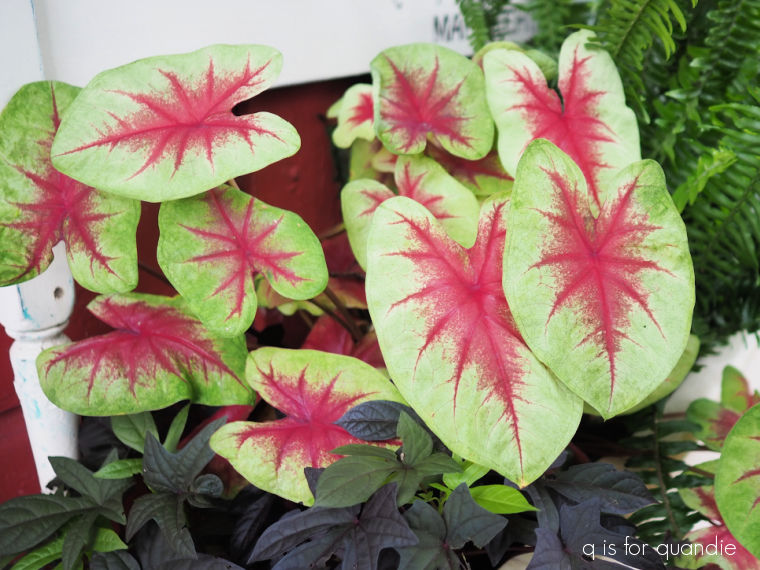
Speaking of which, it has only been recently that the caladium has really taken off. Caladium like hot, humid weather and we’ve just not had enough heat for it to thrive up until now.
I purchased this caladium at Home Depot in mid-June. As you’ll read in a moment, I have other caladium that I purchased earlier in the spring, and spent a bit more money on, that is not doing nearly as well as this one.
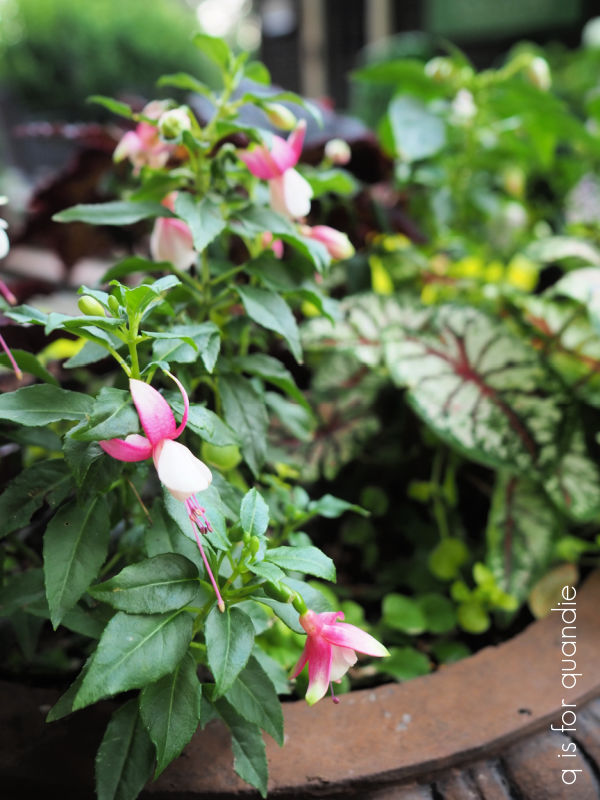
I didn’t strictly stick to non-flowering plants this year. I have a trio of rusty urns that I filled with Rockapulco Appleblossom impatiens …
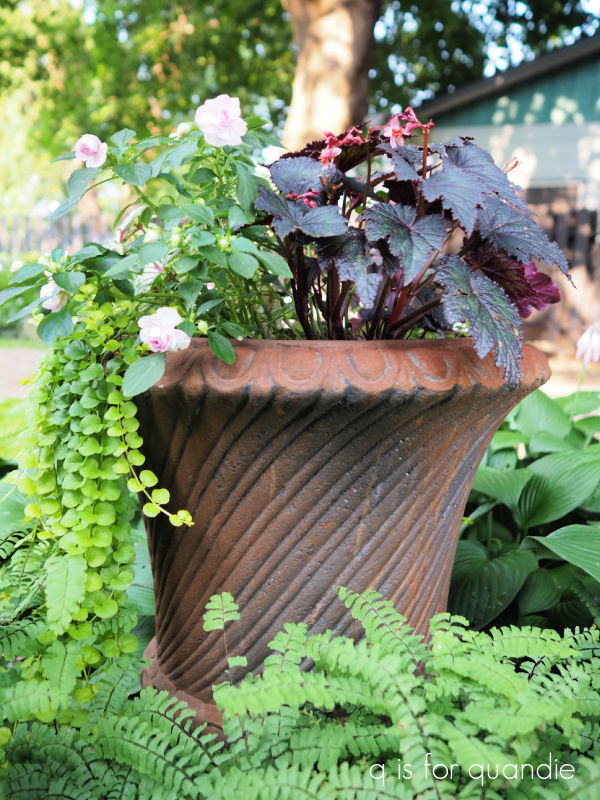
and a pretty pale pink and white upright fuschia (sorry, I didn’t make a note of the name of that one).
But they also include a fair amount of non-flowering stuff like the Creeping Jenny, a Plum Pudding heuchera and another caladium.
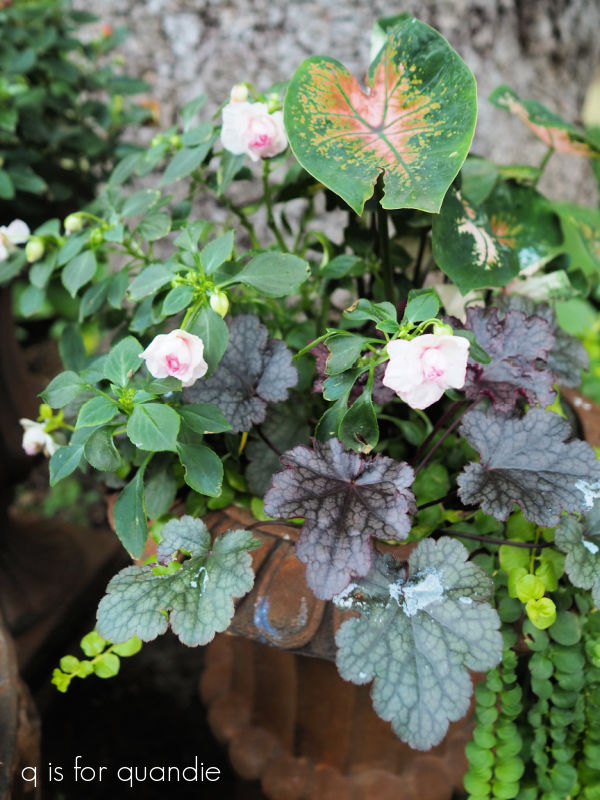
As you can see, the caladium is looking less than stellar in these pots. That’s the caladium that I planted much earlier in the season. I think our cool spring weather really knocks it back a bit. Caladium is happier spending a little more time in a greenhouse before being planted out in Minnesota.
I’ve definitely saved the best for last today. I am really happy with the results in my front window box this year. You may remember that I considered last year’s front window box a bit of a fail. So this year I went in a different direction.
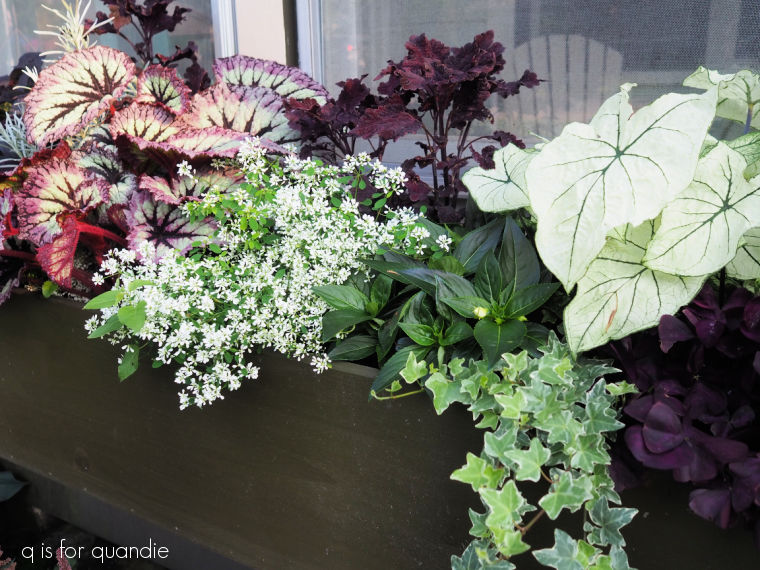 When I planted this one up I called it a ‘black and white’ combination.
 For the ‘white’ elements, I used white New Guinea impatiens and Proven Winner’s Superbena Whiteout.
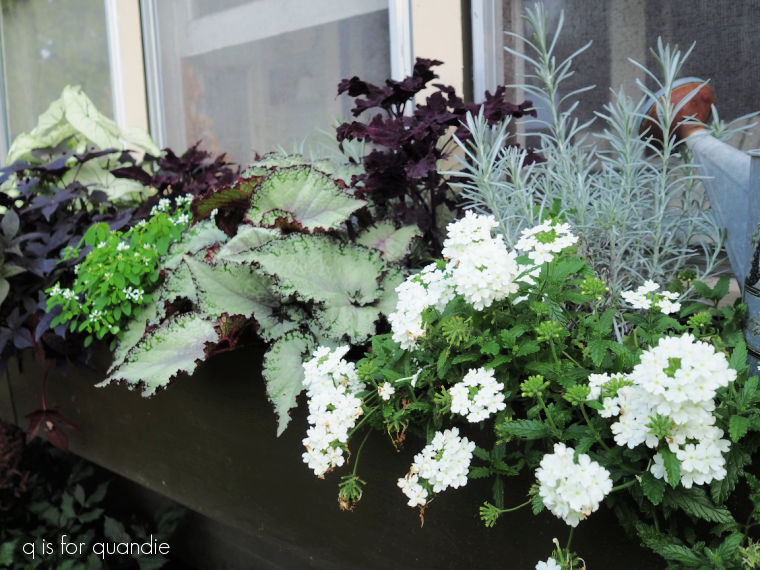
Considering that this window box faces northwest and thus gets mostly shade with a couple of hours of evening sun, that verbena is performing quite nicely I think.
I also included the Proven Winner’s Diamond Snow euphorbia.

The Diamond Snow is supposed to be more compact than the Diamond Frost variety, and I can verify that is true (as you can see for yourself above left).
You can also see my non-flowering white element (above right), a white caladium. The white New Guinea impatiens (above center) are not performing as well as I would like them to, but I just gave them a shot of fertilizer so hopefully they will put on some more blooms soon.
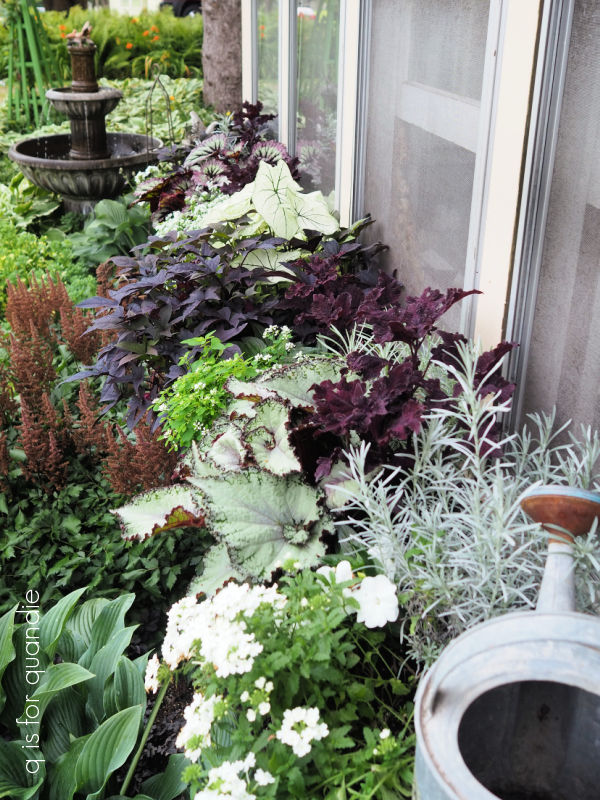
For the ‘black’ elements in my window box I used plants with a deep, dark purple color like the Blackie potato vine, and the Charmed Wine oxalis.

I also included a ‘black’ coleus, but I’m not precisely sure what variety it is. Possibly Black Coral.
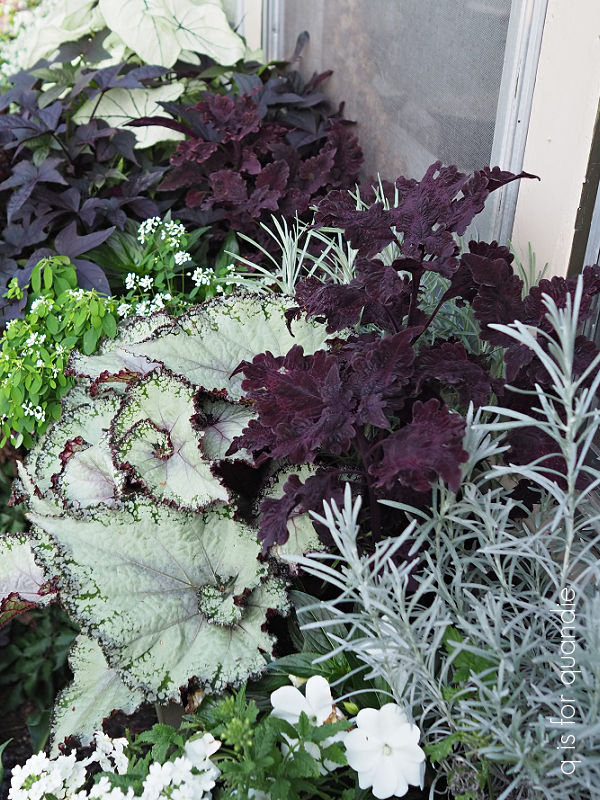
But the real stars of the show in the front window box this year are those gorgeous rex begonias.

I really wasn’t sure how well these would perform for me. To be honest, I’ve never done well with begonias in the past. I tend to overwater them causing the crown of the plant to rot. In fact, I also planted some tuberous begonias this year and they did in fact rot.
But the begonias in this front window box are stunning.
Despite our super rainy weather. I don’t think I’ve watered this box more than once or twice so far.
My plan is to try to overwinter these begonias this year, and I may try some propagation experiments with them as well. I’d love to have even more of them next year!
Overall I’m very happy with my decision to focus more on interesting foliage rather than flowers in my containers this year. But how about you? Do you prefer to have an abundance of blooming annuals instead? Leave a comment and let me know.