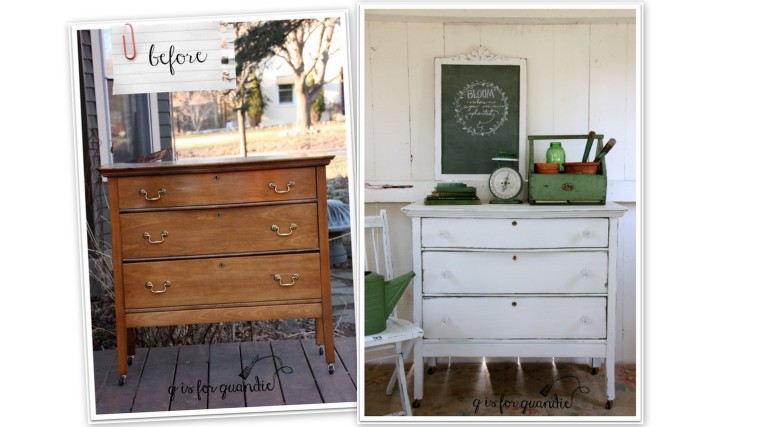
Last year I purchased these painted folding chairs at one of my favorite neighborhood garage sales, Bryn Mawr.
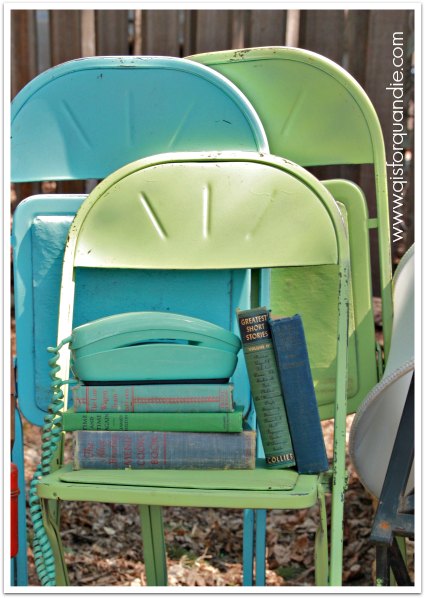
They are fairly small, not the typical size of today’s folding chairs. I liked the colors, but I didn’t especially like the way the vinyl seats were painted. I knew from experience how to re-cover these though, so I thought I’d share that process with you today.

Here’s a close up of the seat.

Since normally I’m a fan of crackly and chippy paint treatments, I can’t really explain why this seat wasn’t working for me. It was a little too far gone maybe.
If you flip one of these chairs over, you’ll see that the seat ‘cushions’ (I put that in quotes because these are hardly cushion-y, but what else should I call them?) are held in place by little metal tabs that are folded over.

It’s easy to just pry those upwards using a screwdriver and then take the seat right off.

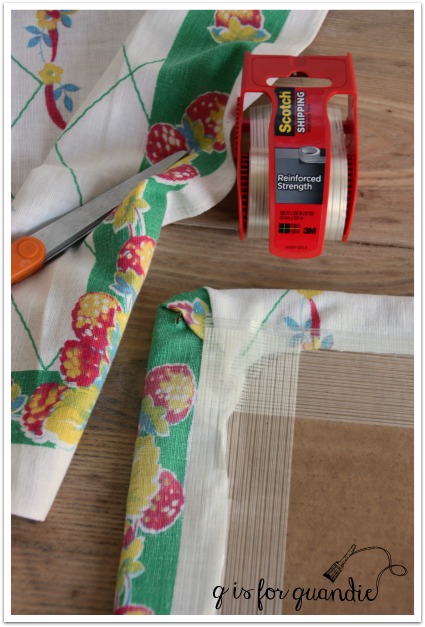
I had some pretty vintage tea towels on hand that I also purchased at a garage sale to use recovering these chairs. So I pulled one out and cut it to fit.

Normally I would pull out a staple gun for recovering a chair seat, but in this case the seat was made out of cardboard! So instead I pulled out some tape and I just used my gift wrapping skills to cover the seat.
By the way, when you have a seat cushion that is curved in the front and only goes on one way, try to pay attention if your fabric also has a ‘top’ and a ‘bottom’. I was reminded of that when I put the cushion back in place.

Ooops. That doesn’t look right!
I took it all apart and switched it around.

Ahhhh, better.

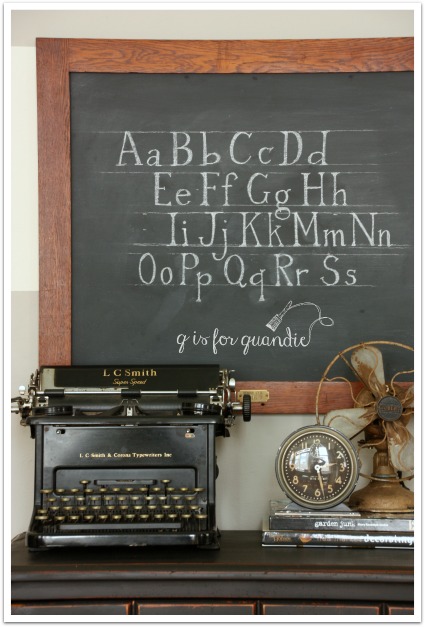
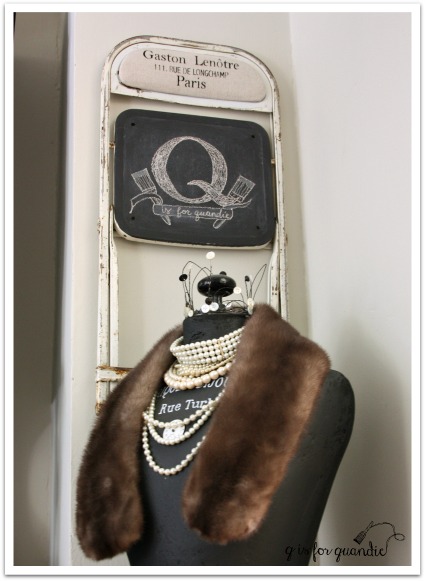
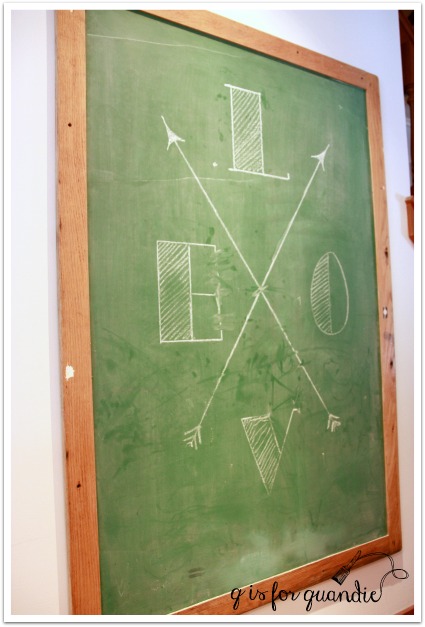
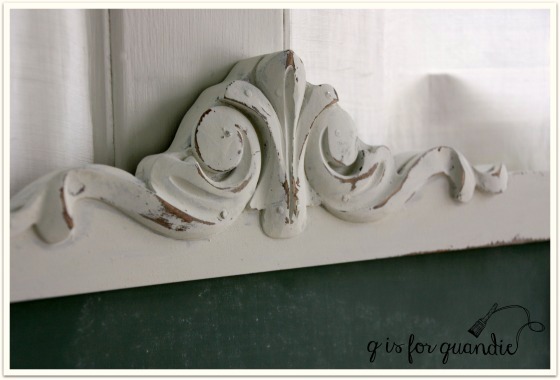
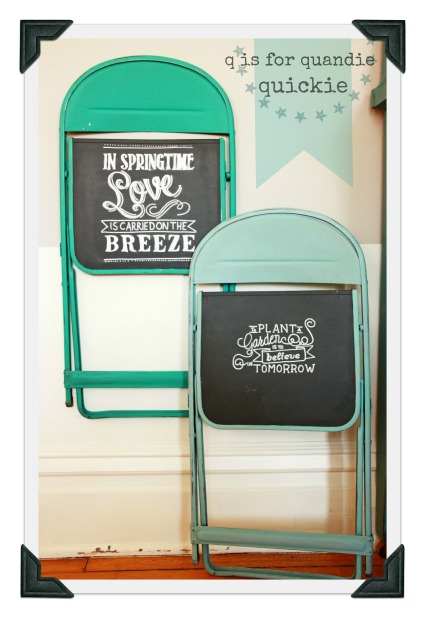
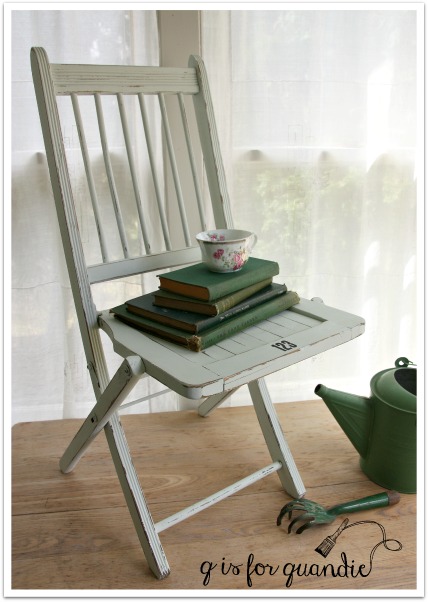
What do you think? I haven’t done the pair of green chairs yet. I’m debating, will they be more marketable with a paint job? Do I leave them green and recover the seats with vintage fabric? Or do I remove the seats entirely and turn them into chalkboards, like these …
What would you do if you were me?


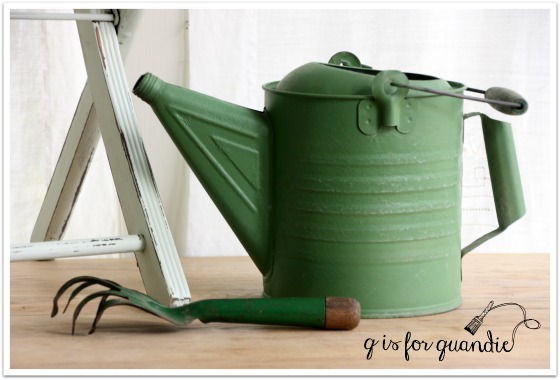


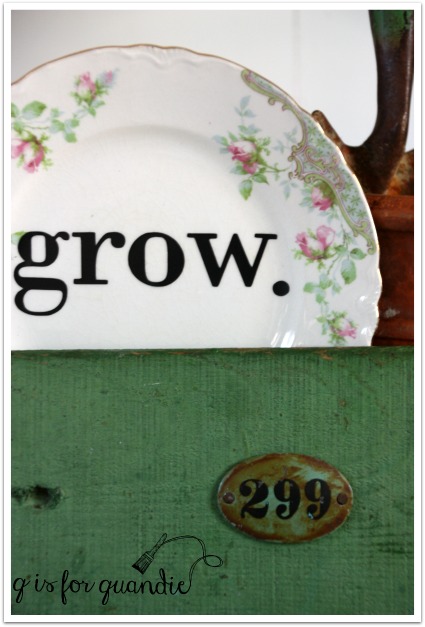


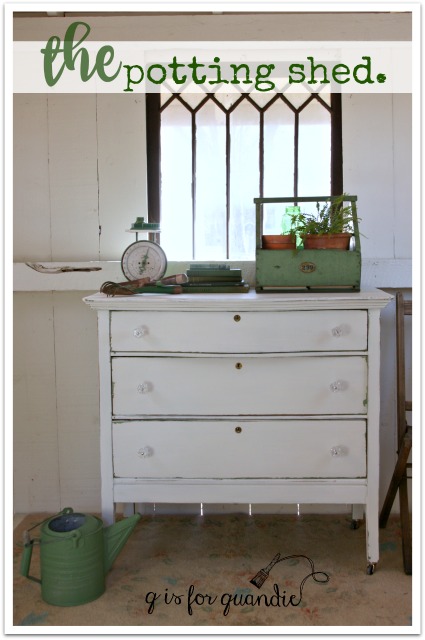
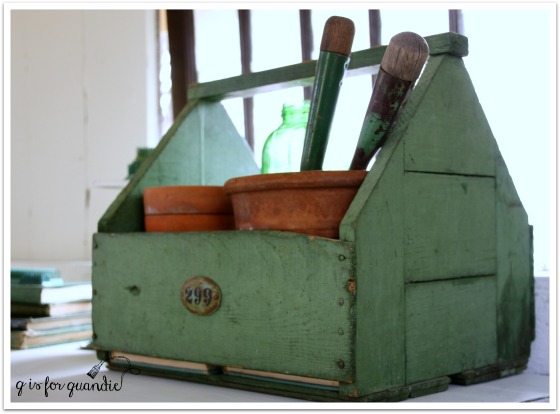
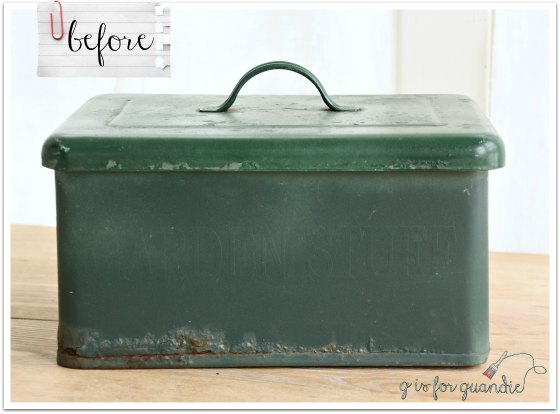
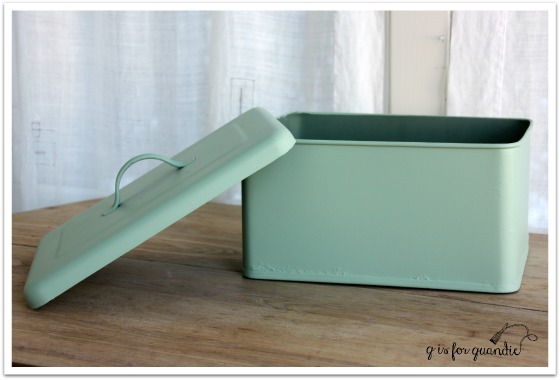
 I have lots of fab garden-y props, all in lovely shades of green.
 This green box usually resides in my pantry holding cleaning supplies.