coming attractions.

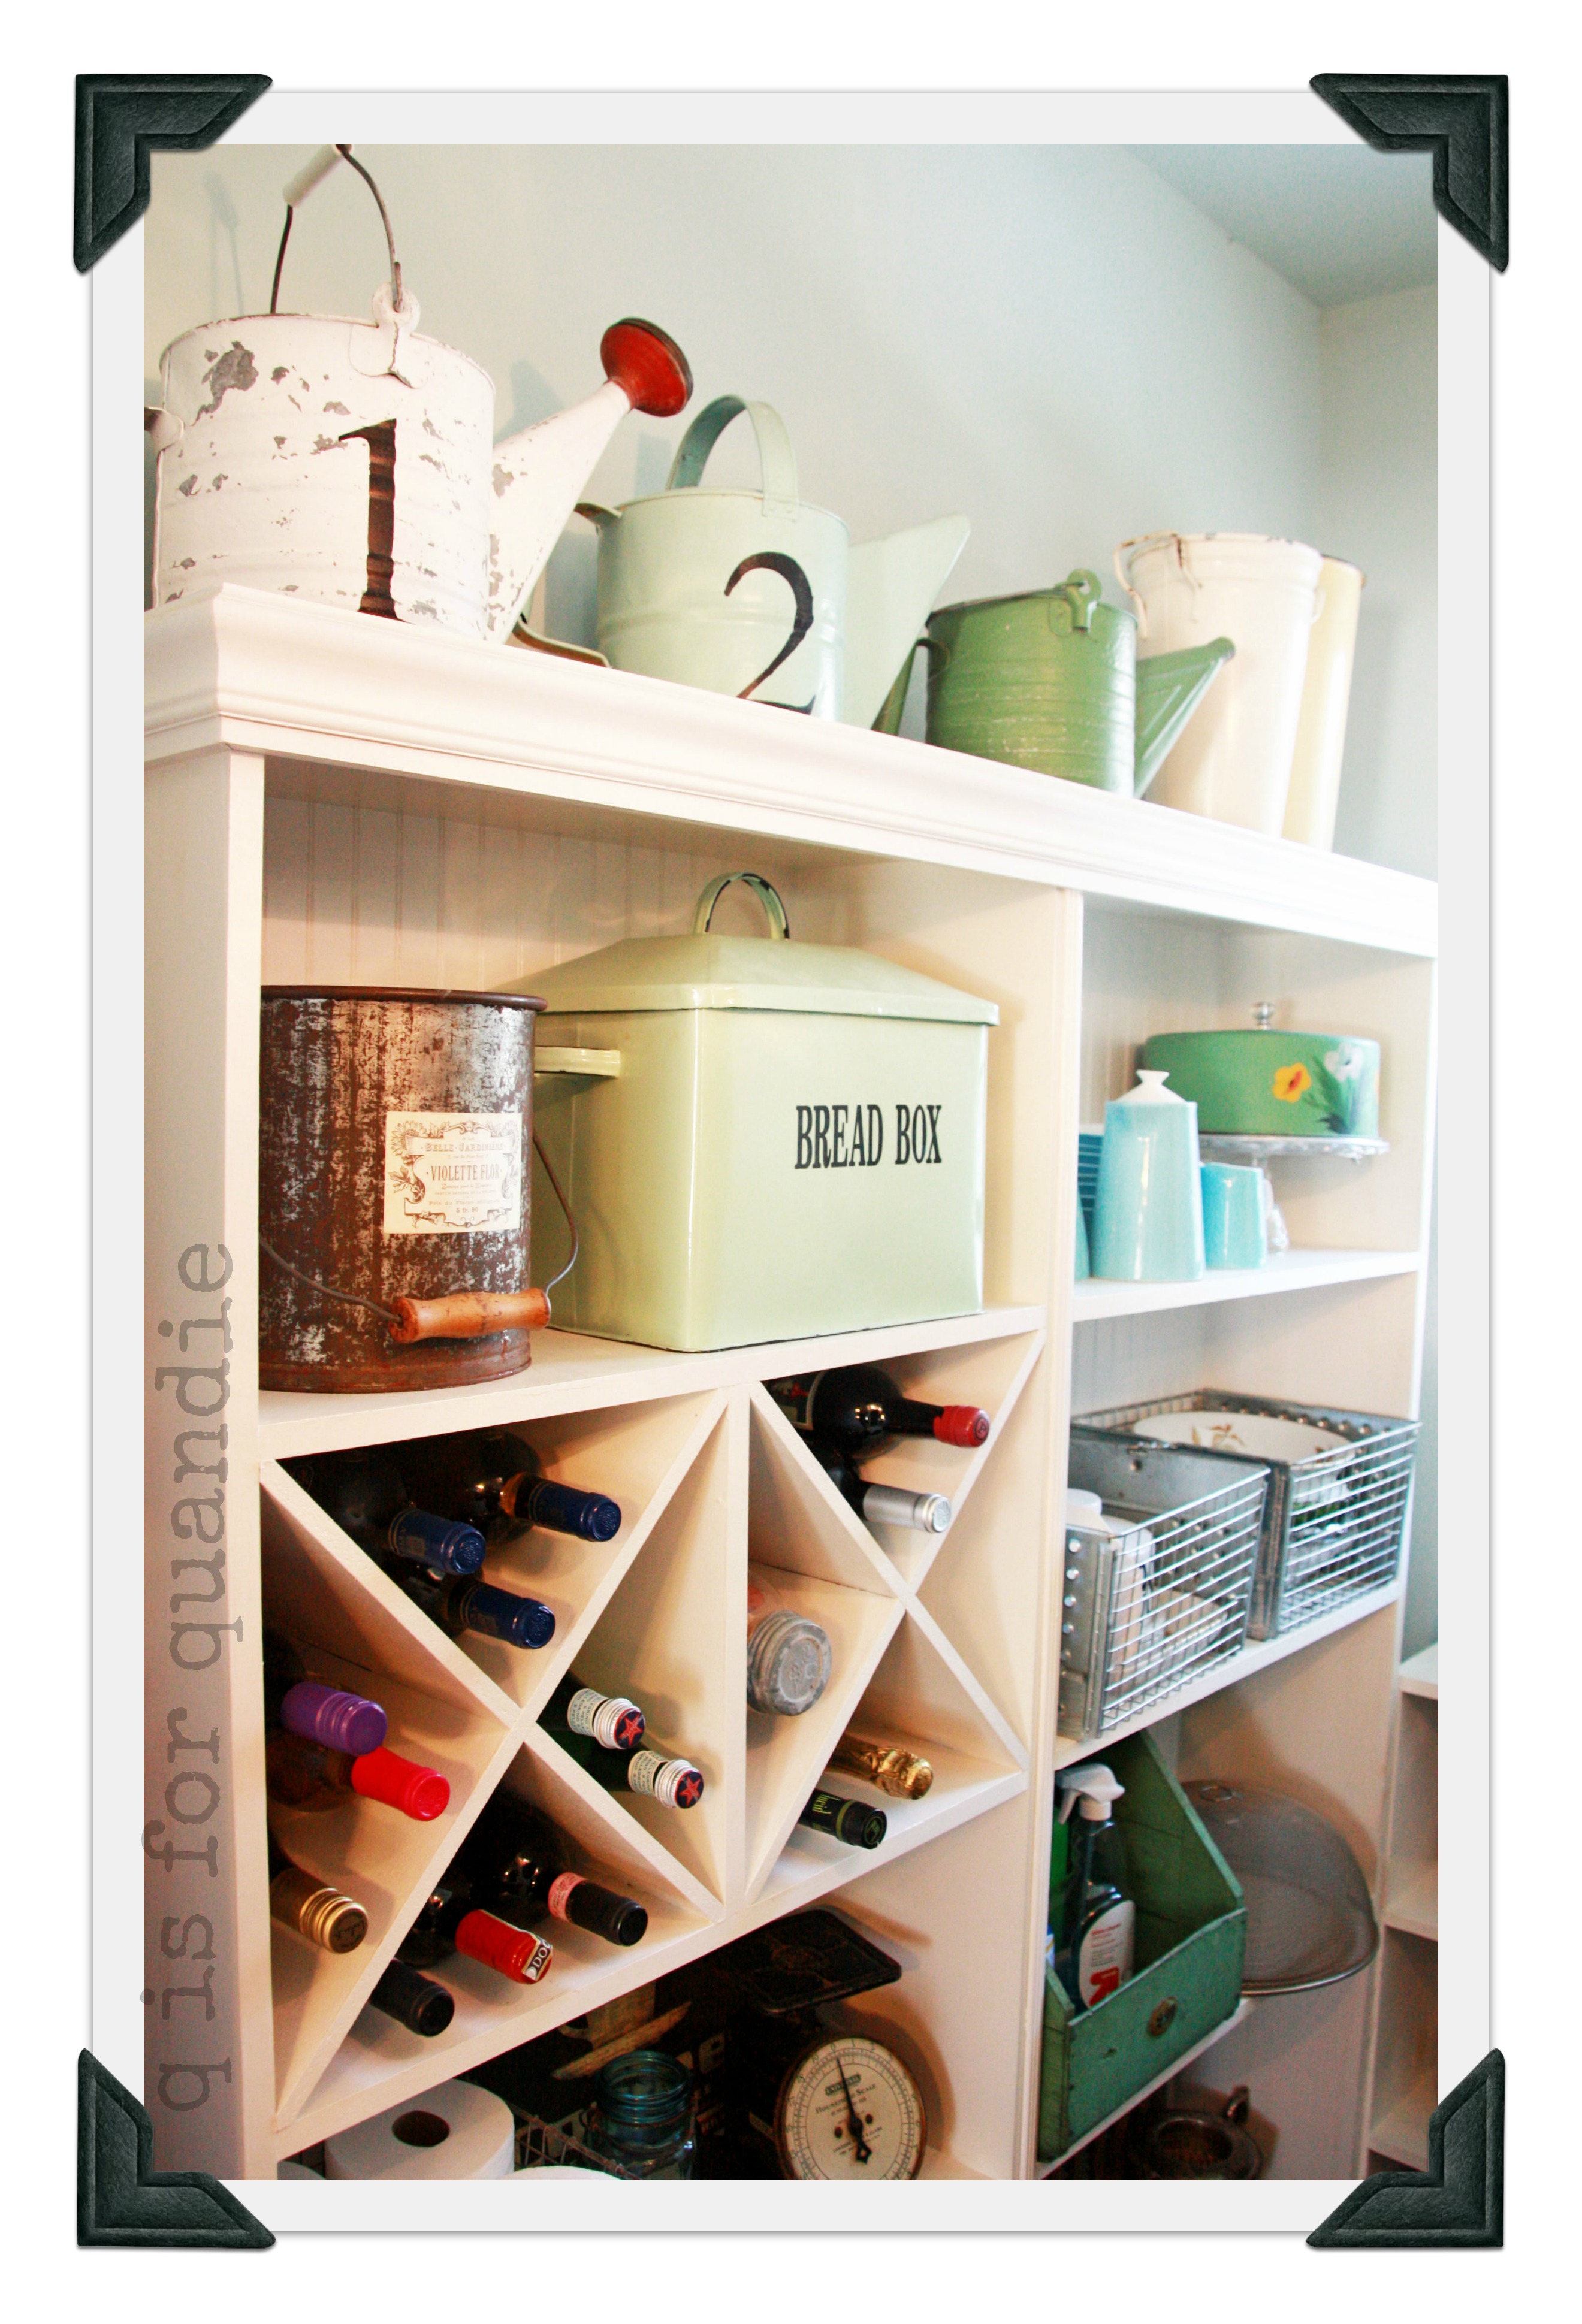
As I explained in an earlier post, I often fall victim to the domino effect when re-doing something in my own house. Change one little thing, and next thing you know you’ve redone your entire first floor.  I know that you can all relate to this concept.

So, now I’m moving on to what I’m going to call phase 3 of project ‘domino effect’.

The front hallway.

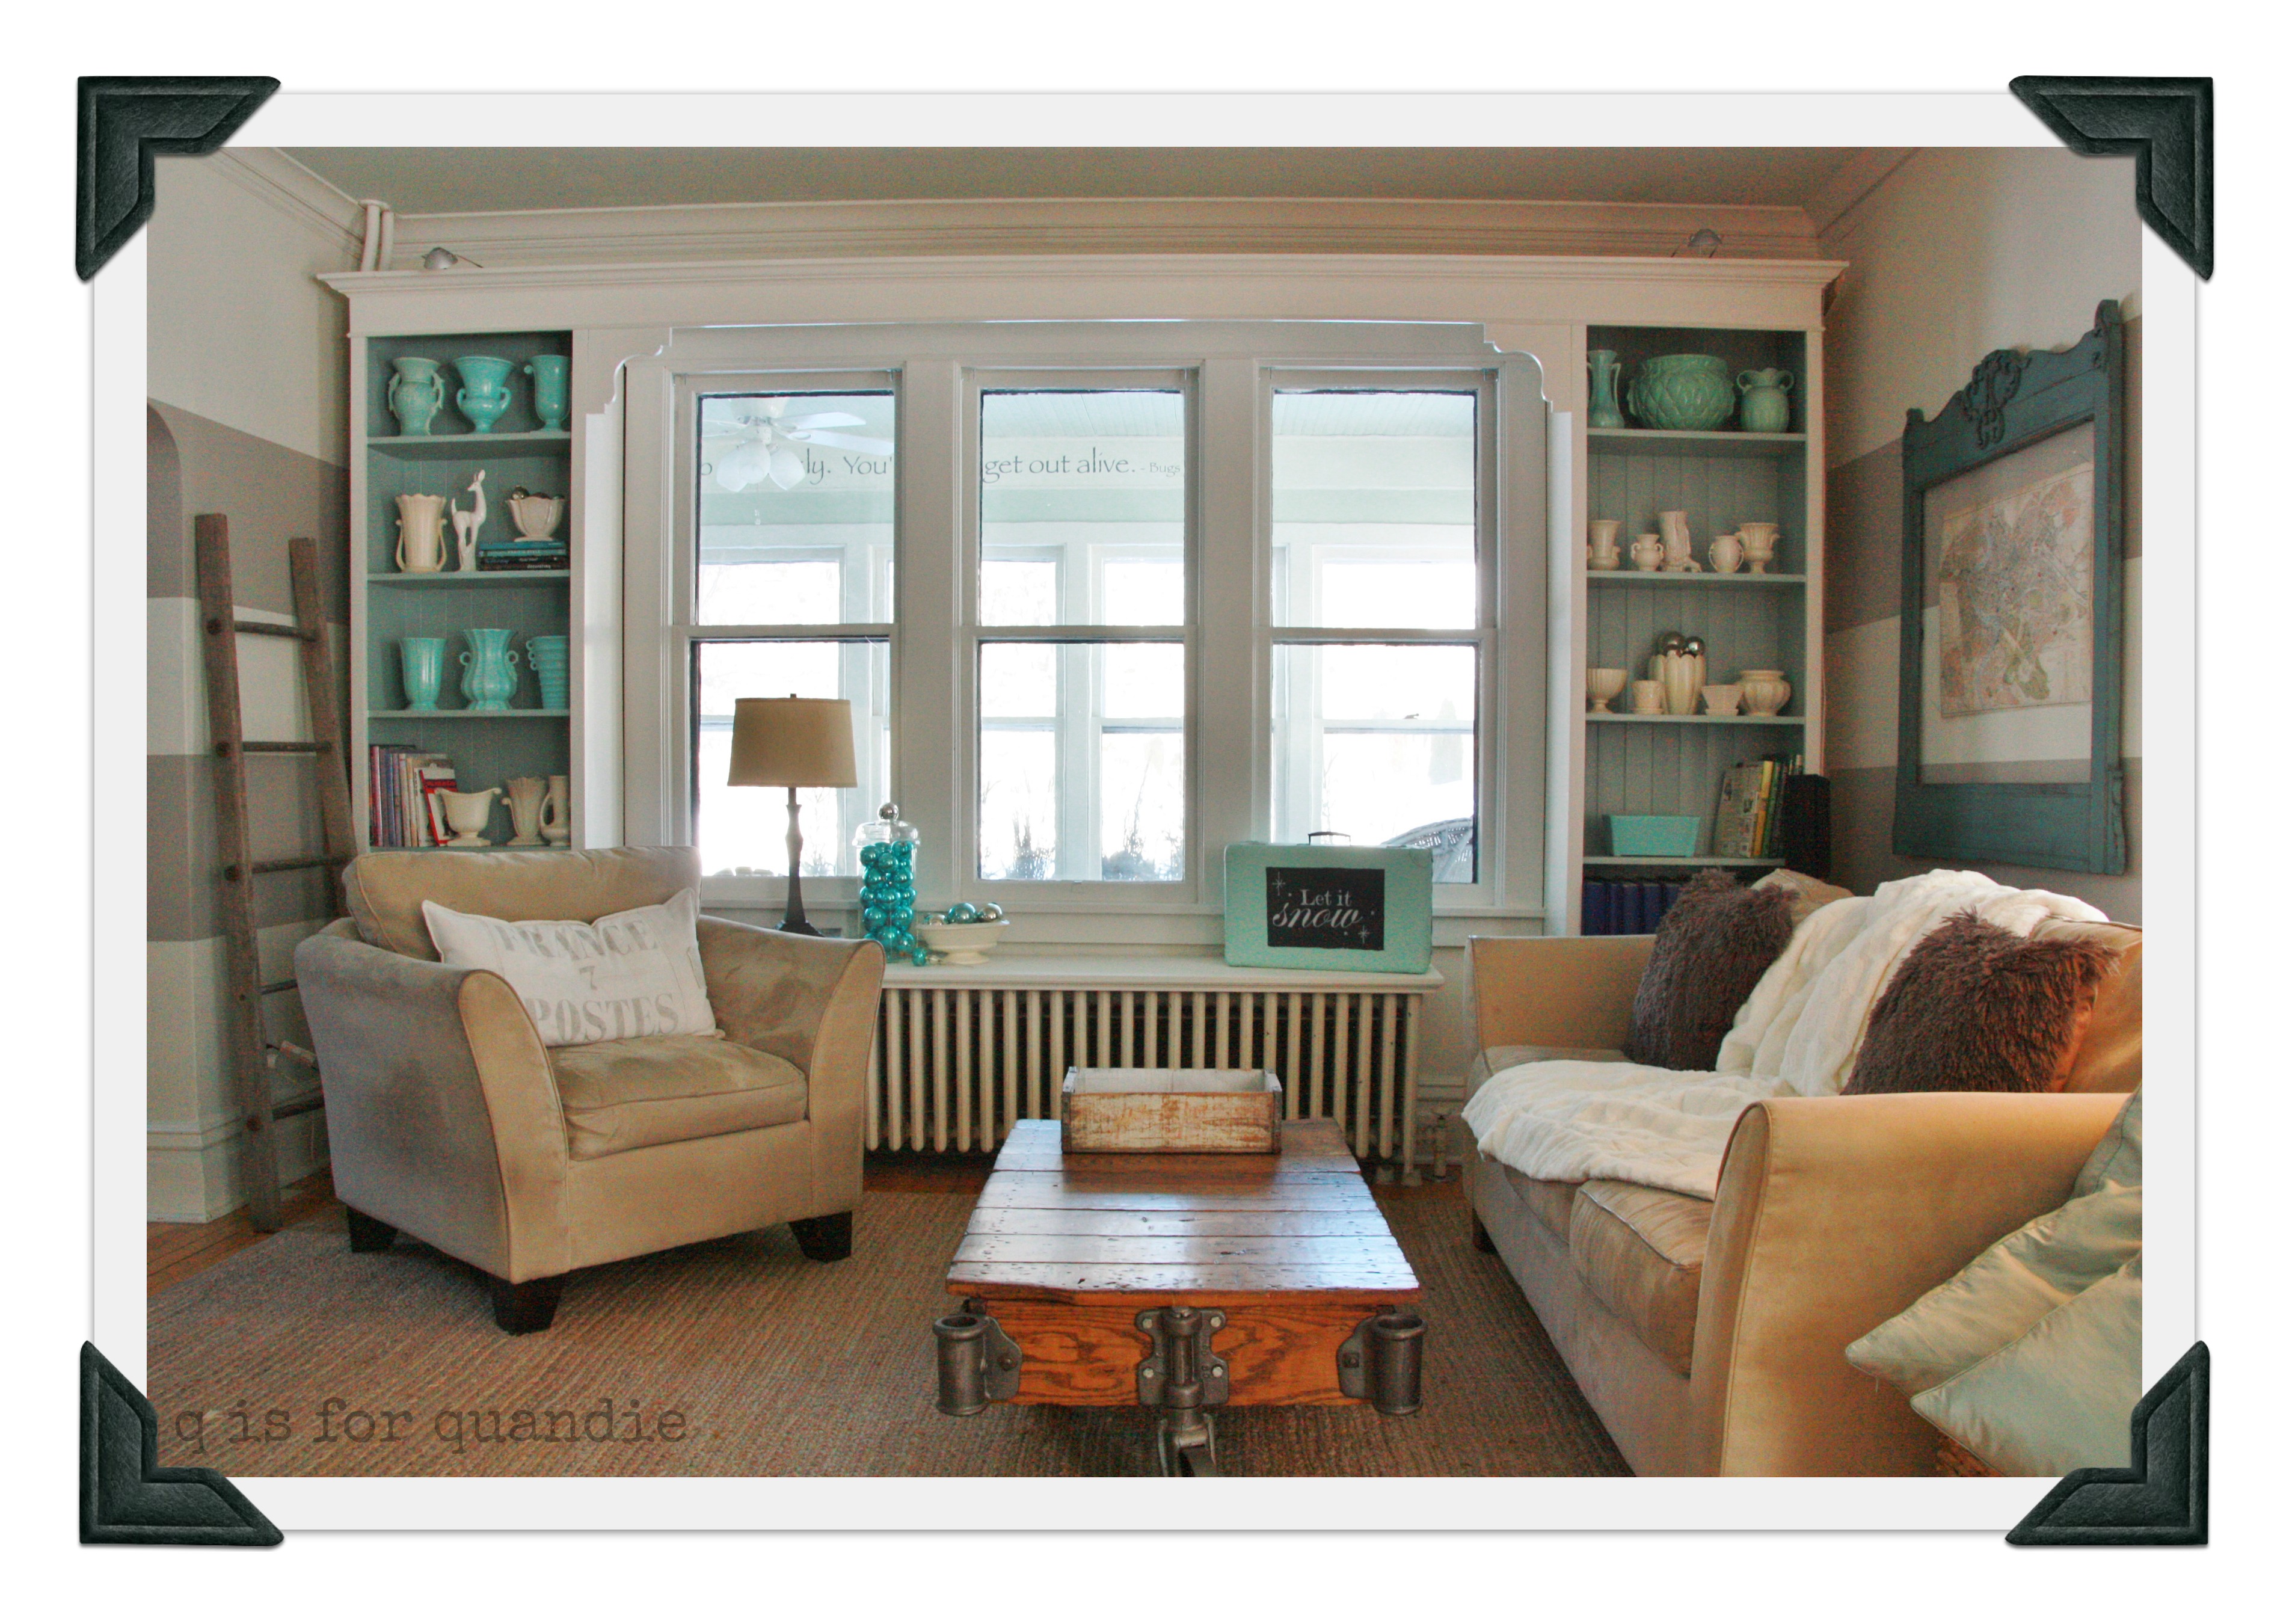
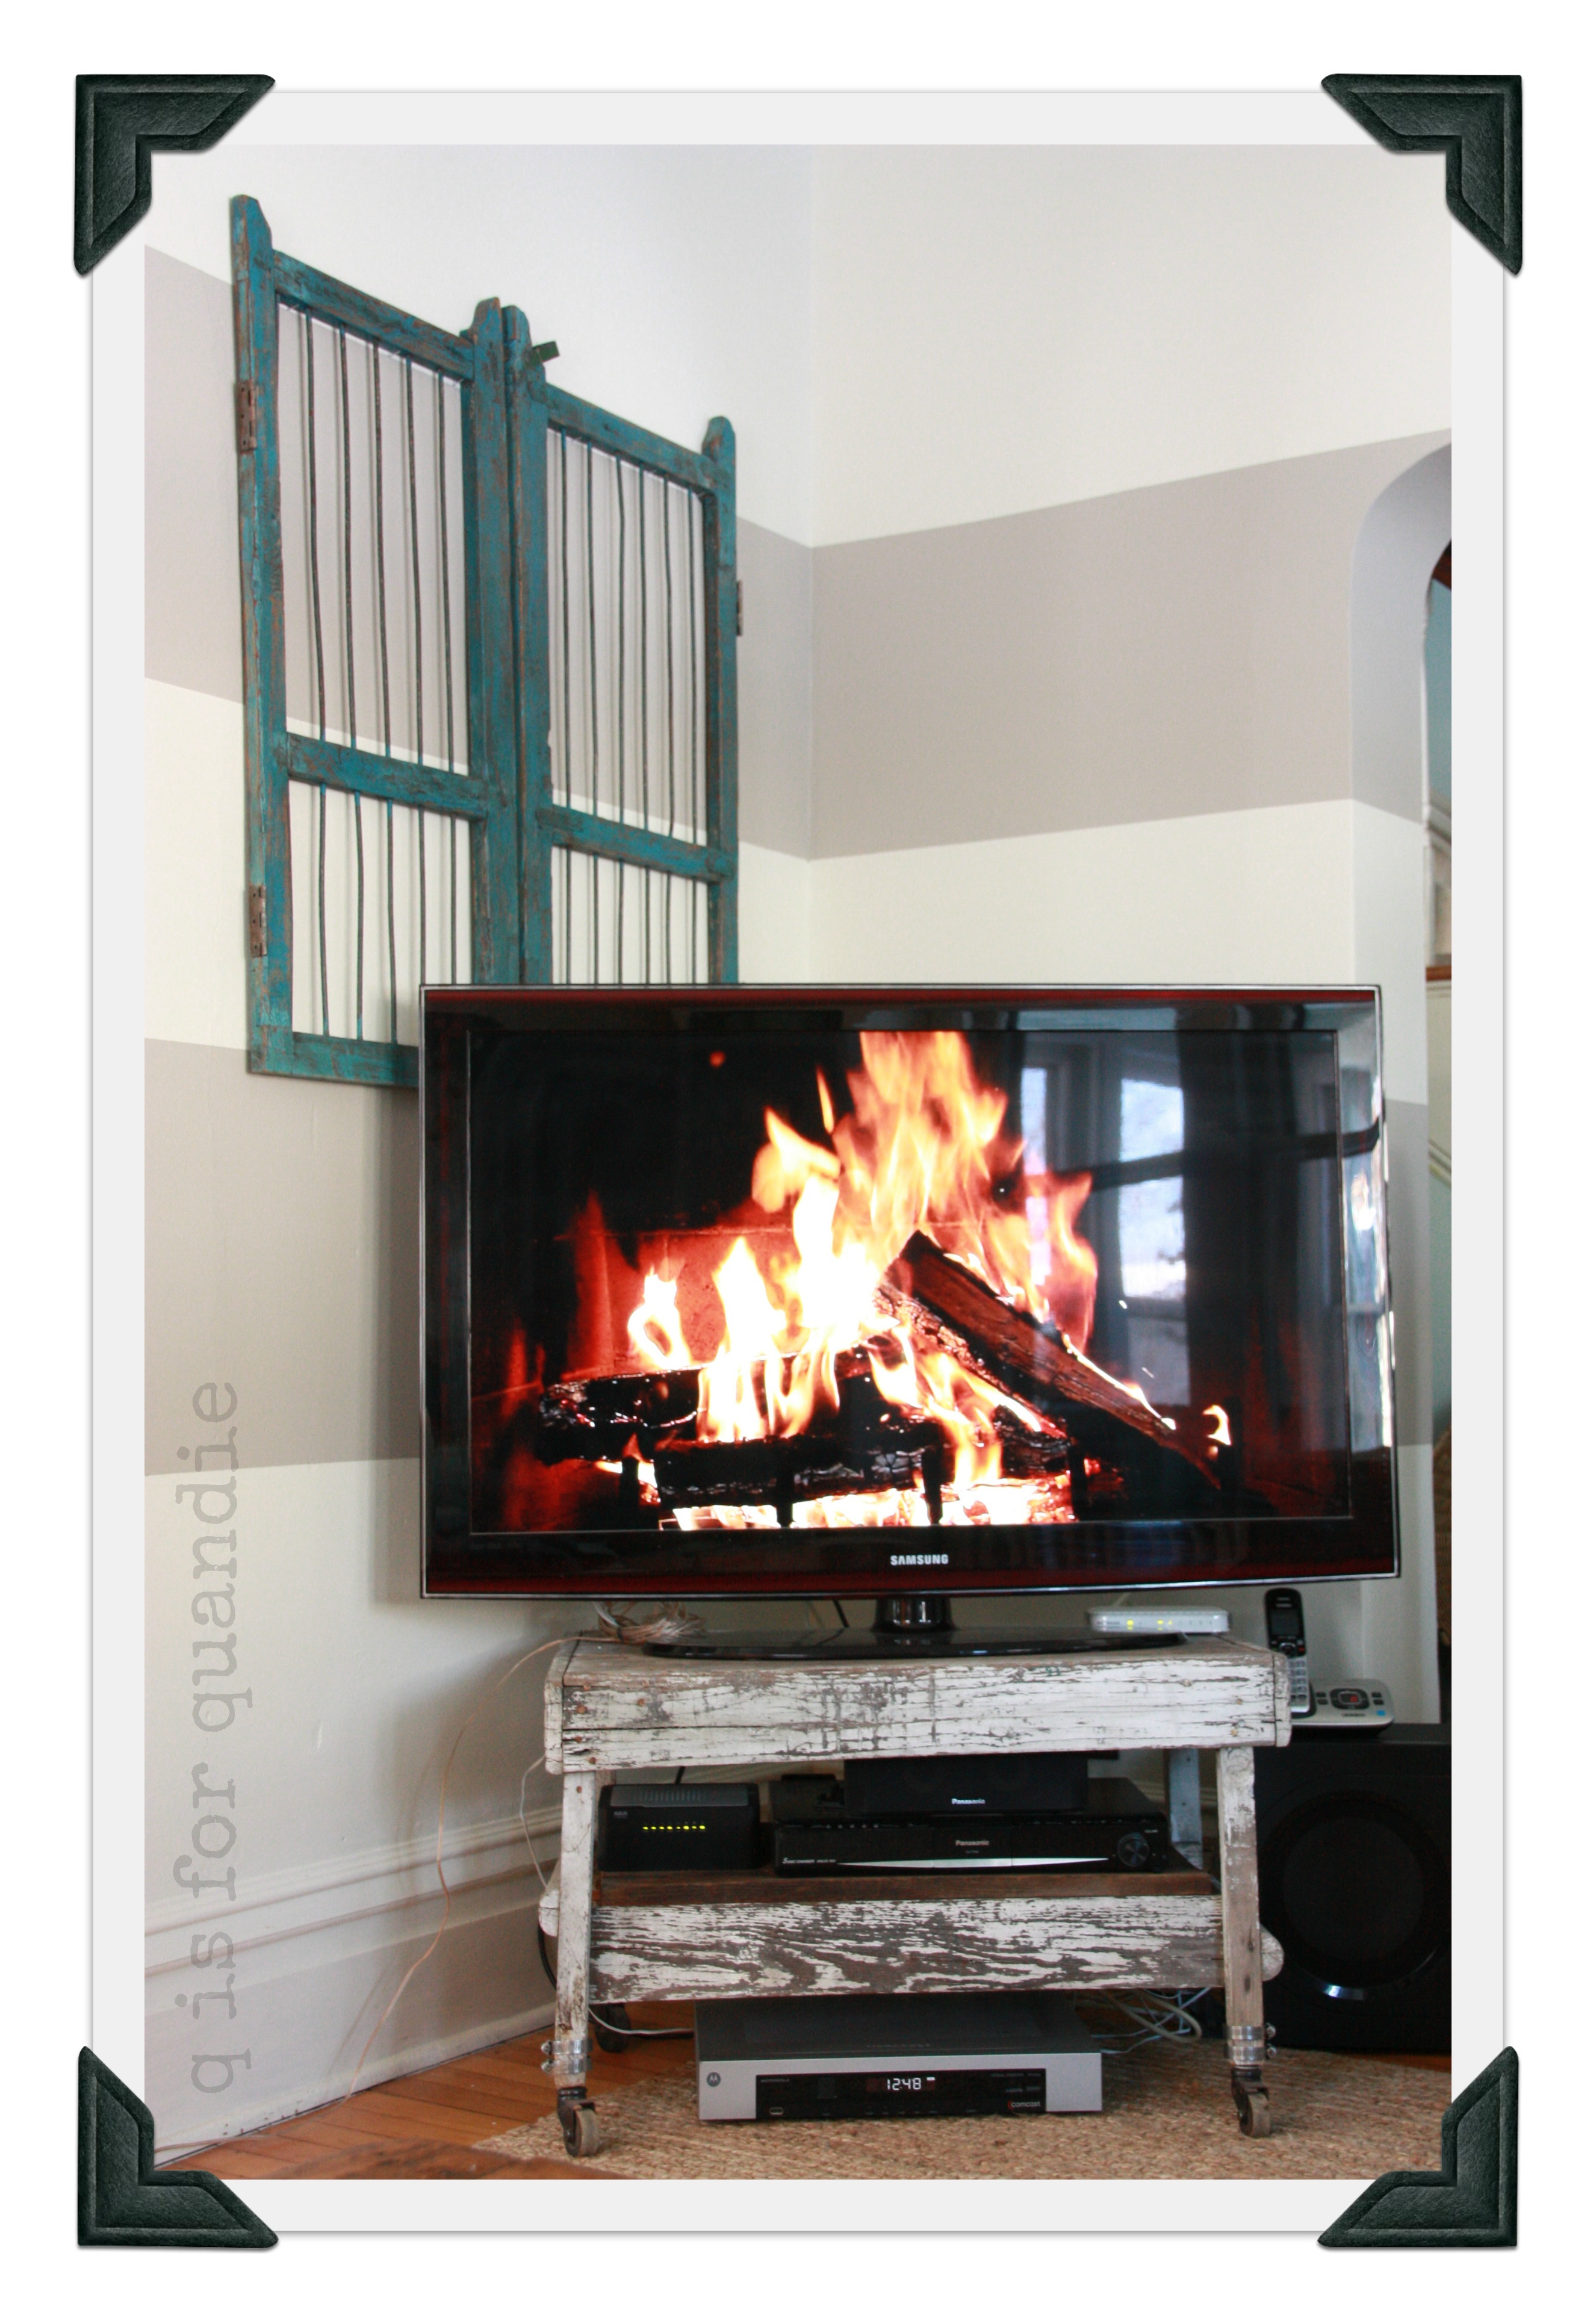
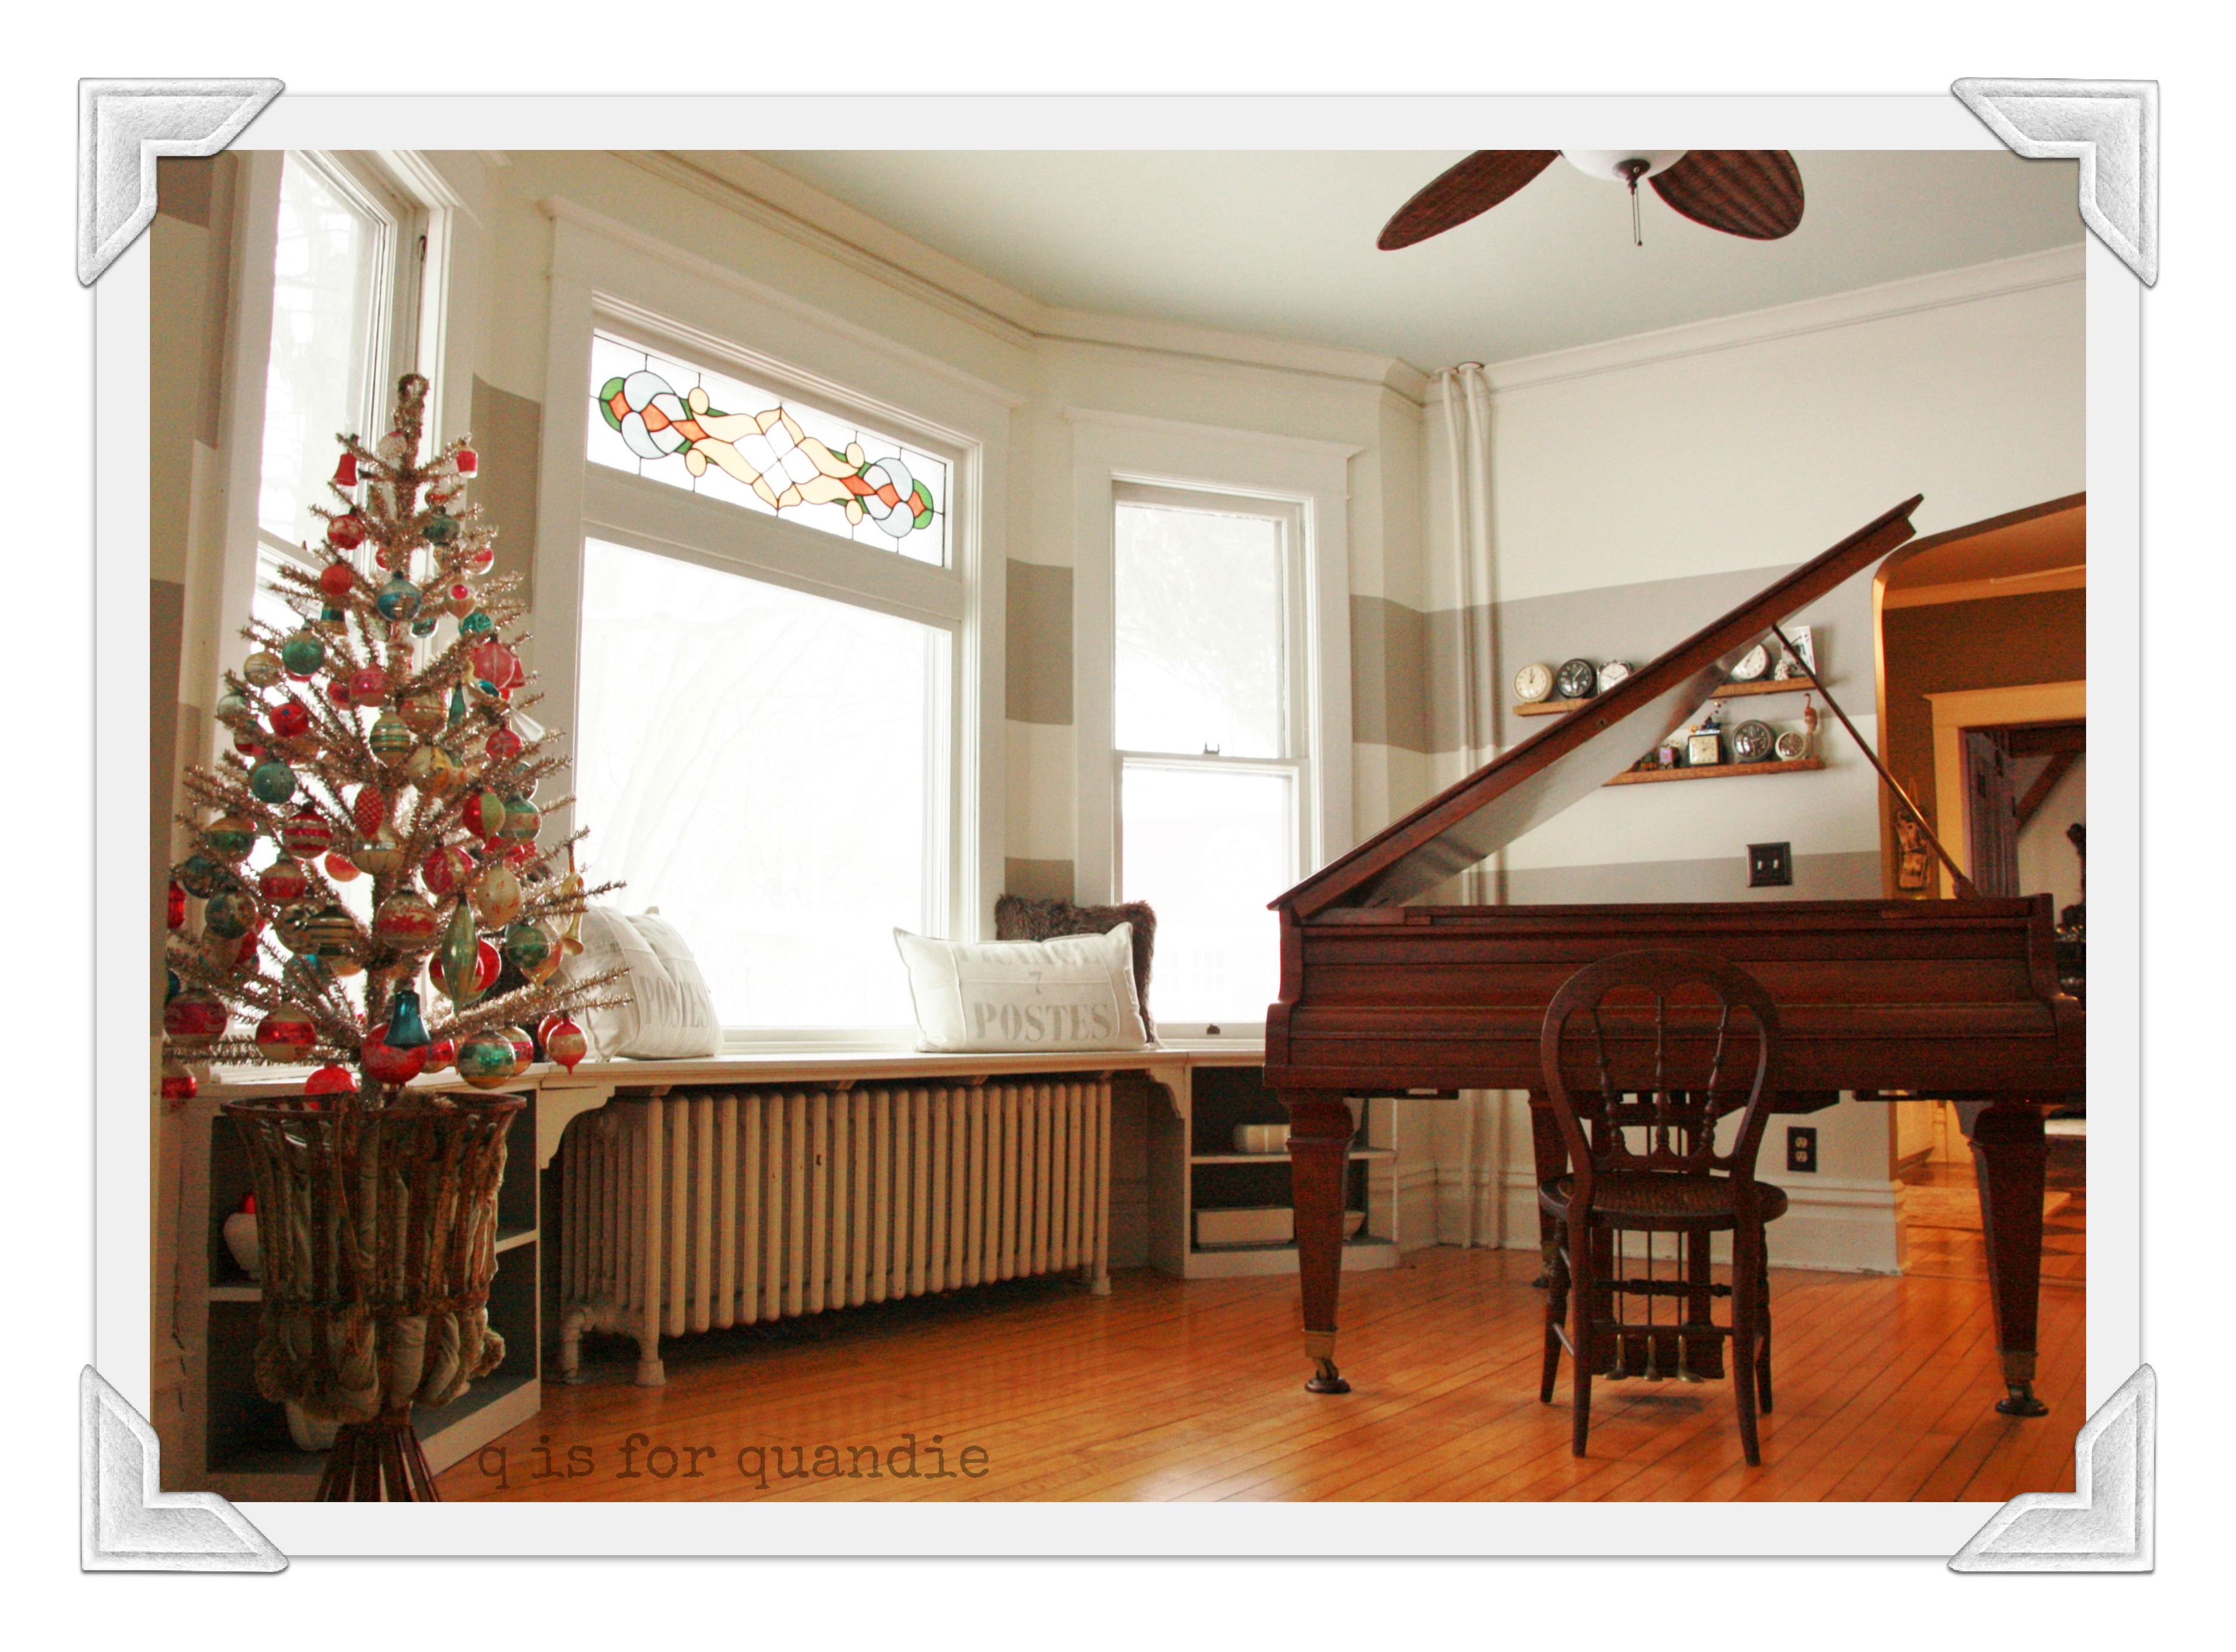
Here is what you see while sitting on the sofa in my living room.

hallway before

My front hallway.  Not awful.  But it could use some perking up.

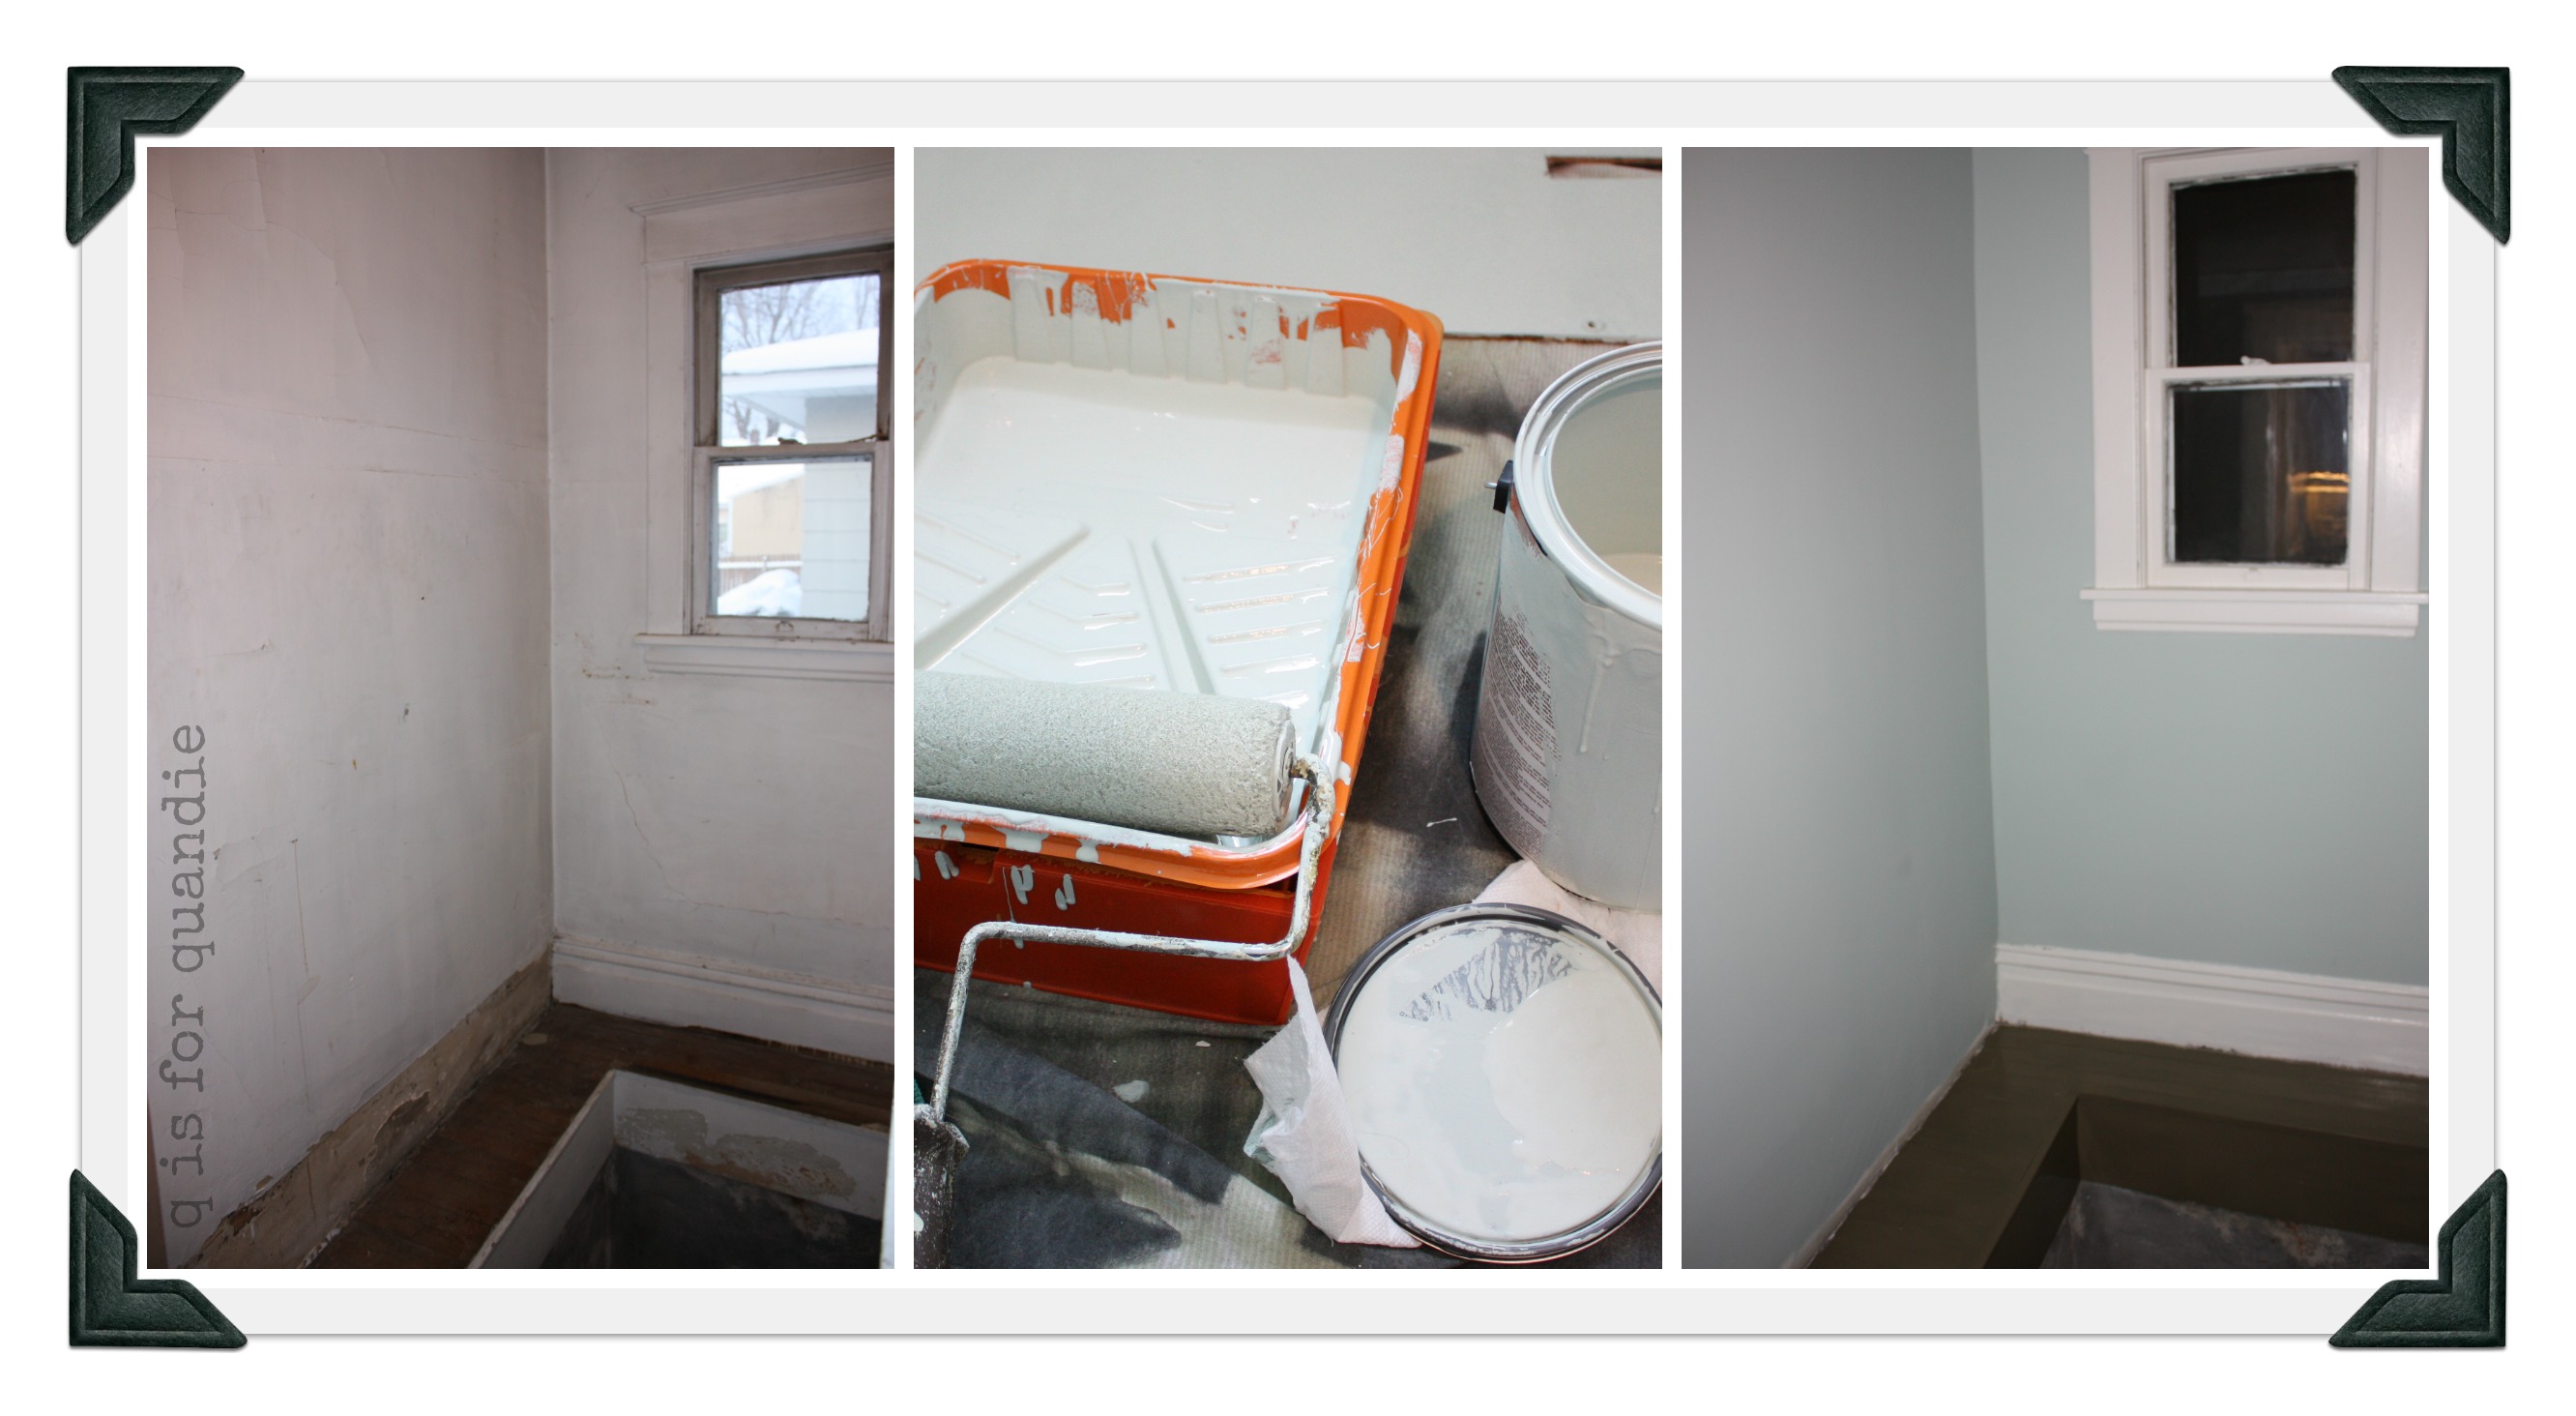
Last winter during my ceiling painting frenzy, I also painted the front hallway.  So, the ceilings in the living room and the walls in the front hallway are the same paint … Hirschfield’s Favored One.  I’ll be keeping this color as is.  As you can see, the only trim I freshened up was around the window and the front door itself.  This is even more apparent in the following photos.

hallway collage

In case you were wondering, the mirrored door on the left leads to a giant closet that goes all the way under the stairs.

So, job numero uno will be to repaint all of the trim, which is going to be a monumental undertaking.  OK, maybe that is a slight exaggeration.  Are you getting the hint that I really don’t enjoy painting trim?!  But there is a lot.  Baseboard, crown molding, railing spindles and two doors.

Next, I need to tackle the stairs themselves.  The white carpet has seen better days and needs to go.  I have a couple of ideas.  One is to do a faux painted runner on the stairs and the other is to add an actual striped runner.  Here are some examples from pinterest.pinterest stairsI (and when I say I, I really mean my husband) will rip out the carpet and see what I find under it before I make any final decisions.

While we’re on the subject of the stairs, I have considered whether or not to paint that newel post.  It is the last remaining bastion of unpainted woodwork to be found in my house.  I know I would love it painted, but I also am rather fond of it as is.  Anyone want to weigh in?

I am also considering painting the front door black.  I’ve been admiring black doors for a while, but I’m just not sure I can go there.  Will it look odd to have a black door with white trim?  I found these examples on pinterest to get an idea of how it would look with my white trim and aqua walls.

pinterest front door idea

I’ve got to say, I think I like it.  I’m pretty sure the door is going to go black.

And can I also just say, how much do you love that ceiling light fixture in the picture on the left?  Fab.  And it would look great in my hallway too.  Unfortunately the one I have out there is fairly new and I was intending for it to stay.  I wonder how expensive that one in the picture is??

The final pièce de résistance will be the window.  At least I hope so.  My mother-in-law makes stained glass windows.  Now that she has moved back from New Orleans, it will be much more feasible for her to make a window for this spot for me.  As soon as she has her workshop set up, I will be asking begging her to make a window for me.  After all, that spot just cries out for a fabulous window.  After watching an episode of Rehab Addict (does anyone else love this show?) I am leaning towards a simple leaded glass window with little to no color (pictures from pinterest).

leaded window collage

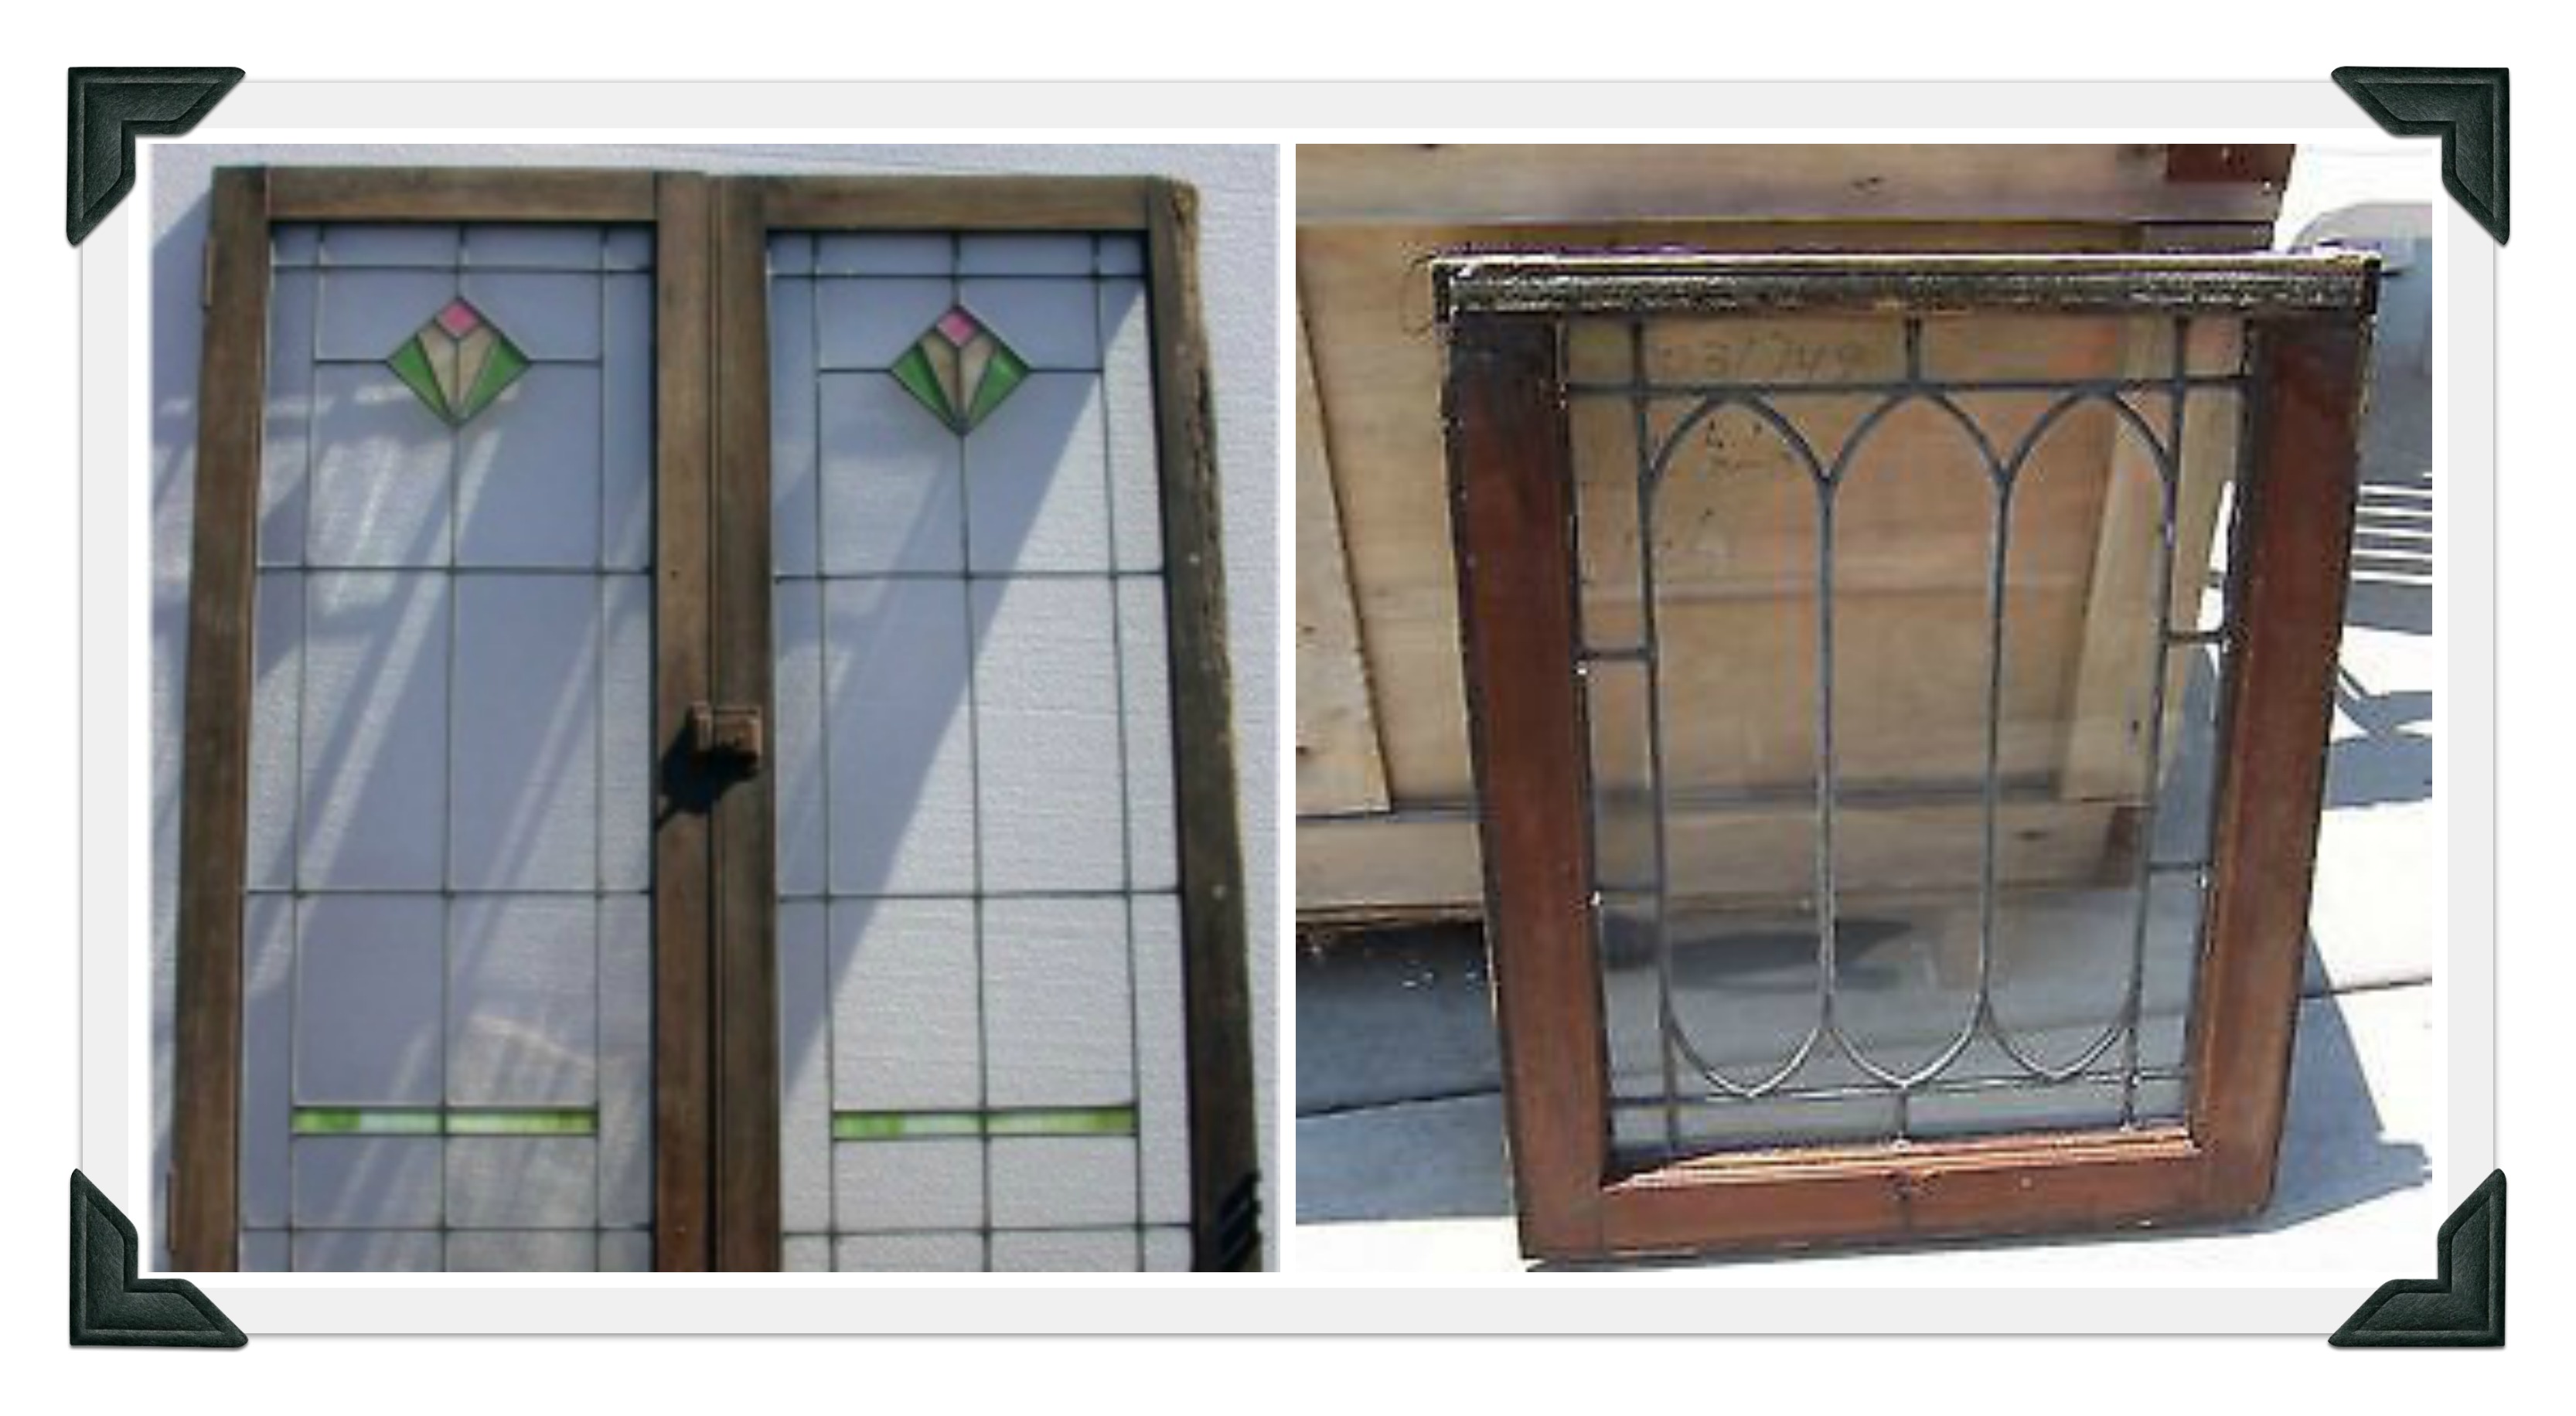
Something that still allows all the light in, but looks gorgeous while doing so.

Are you noticing a lot of black and white?  Just outside the front door is this floor on my porch.

front porch floor
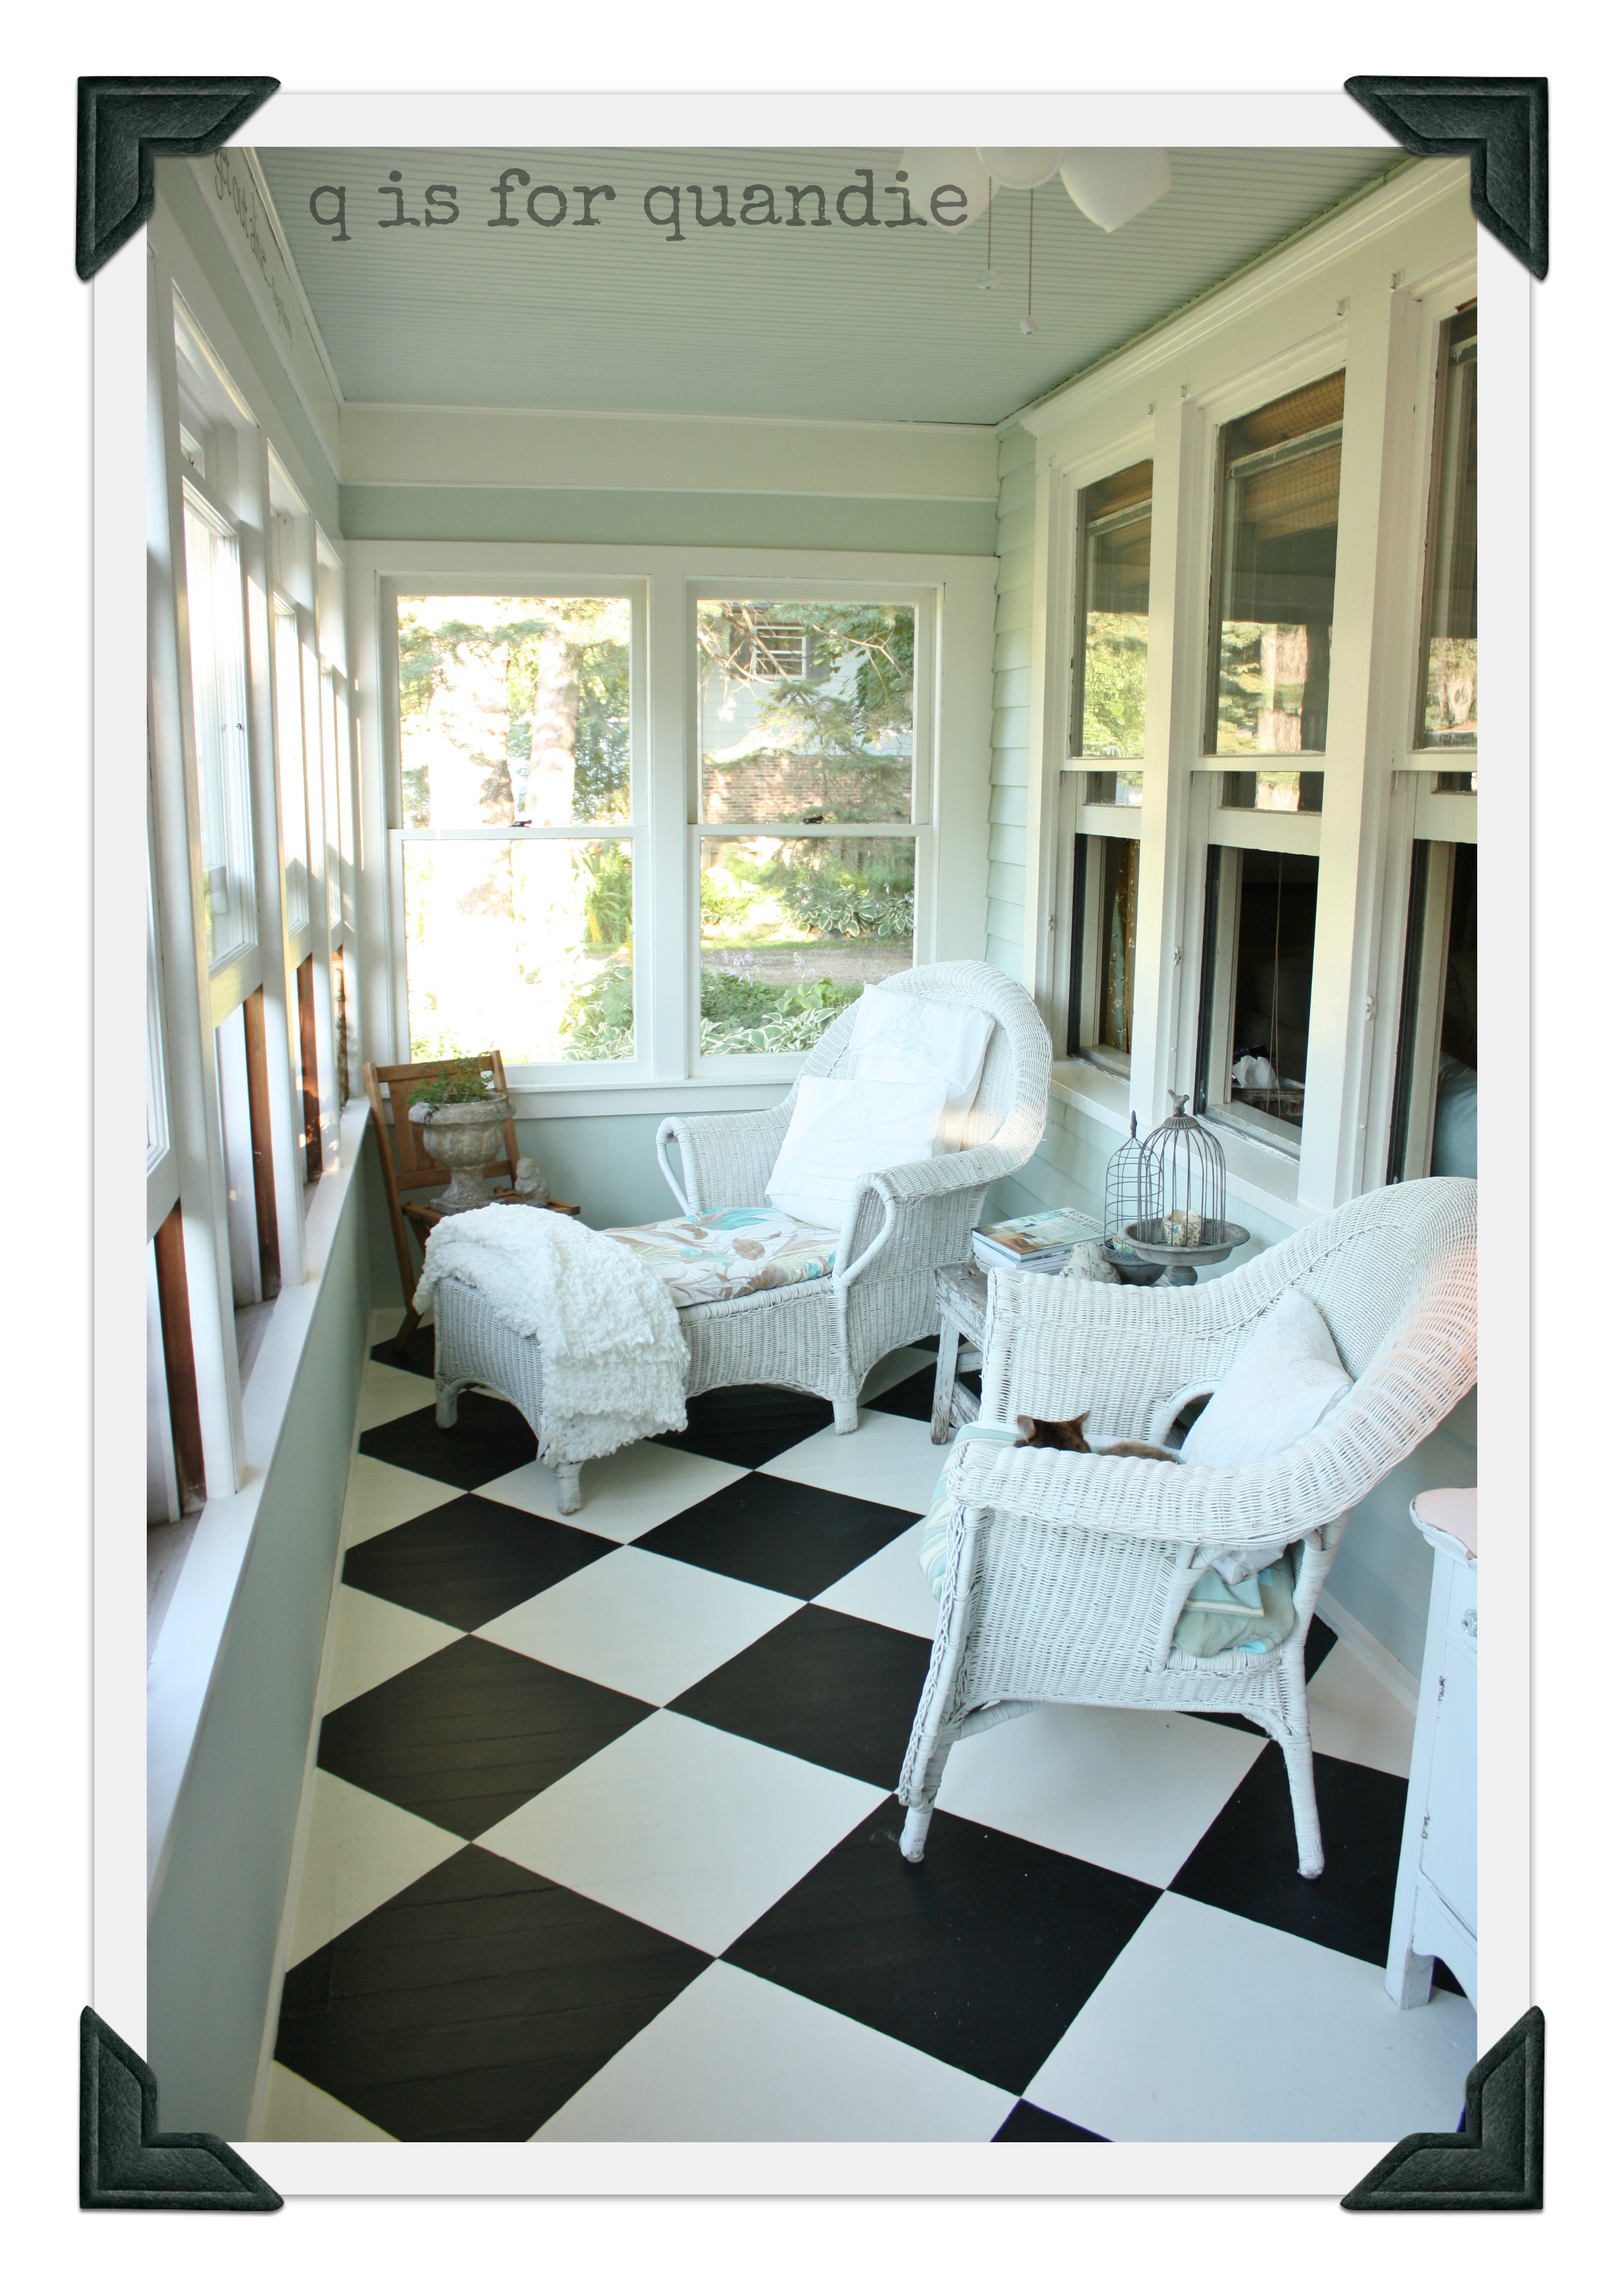
So bringing more black and white into the hallway makes sense.  I’m kind of a big fan of black and white in both my decorating and my wardrobe.  But will it be too much black and white?  I wonder.

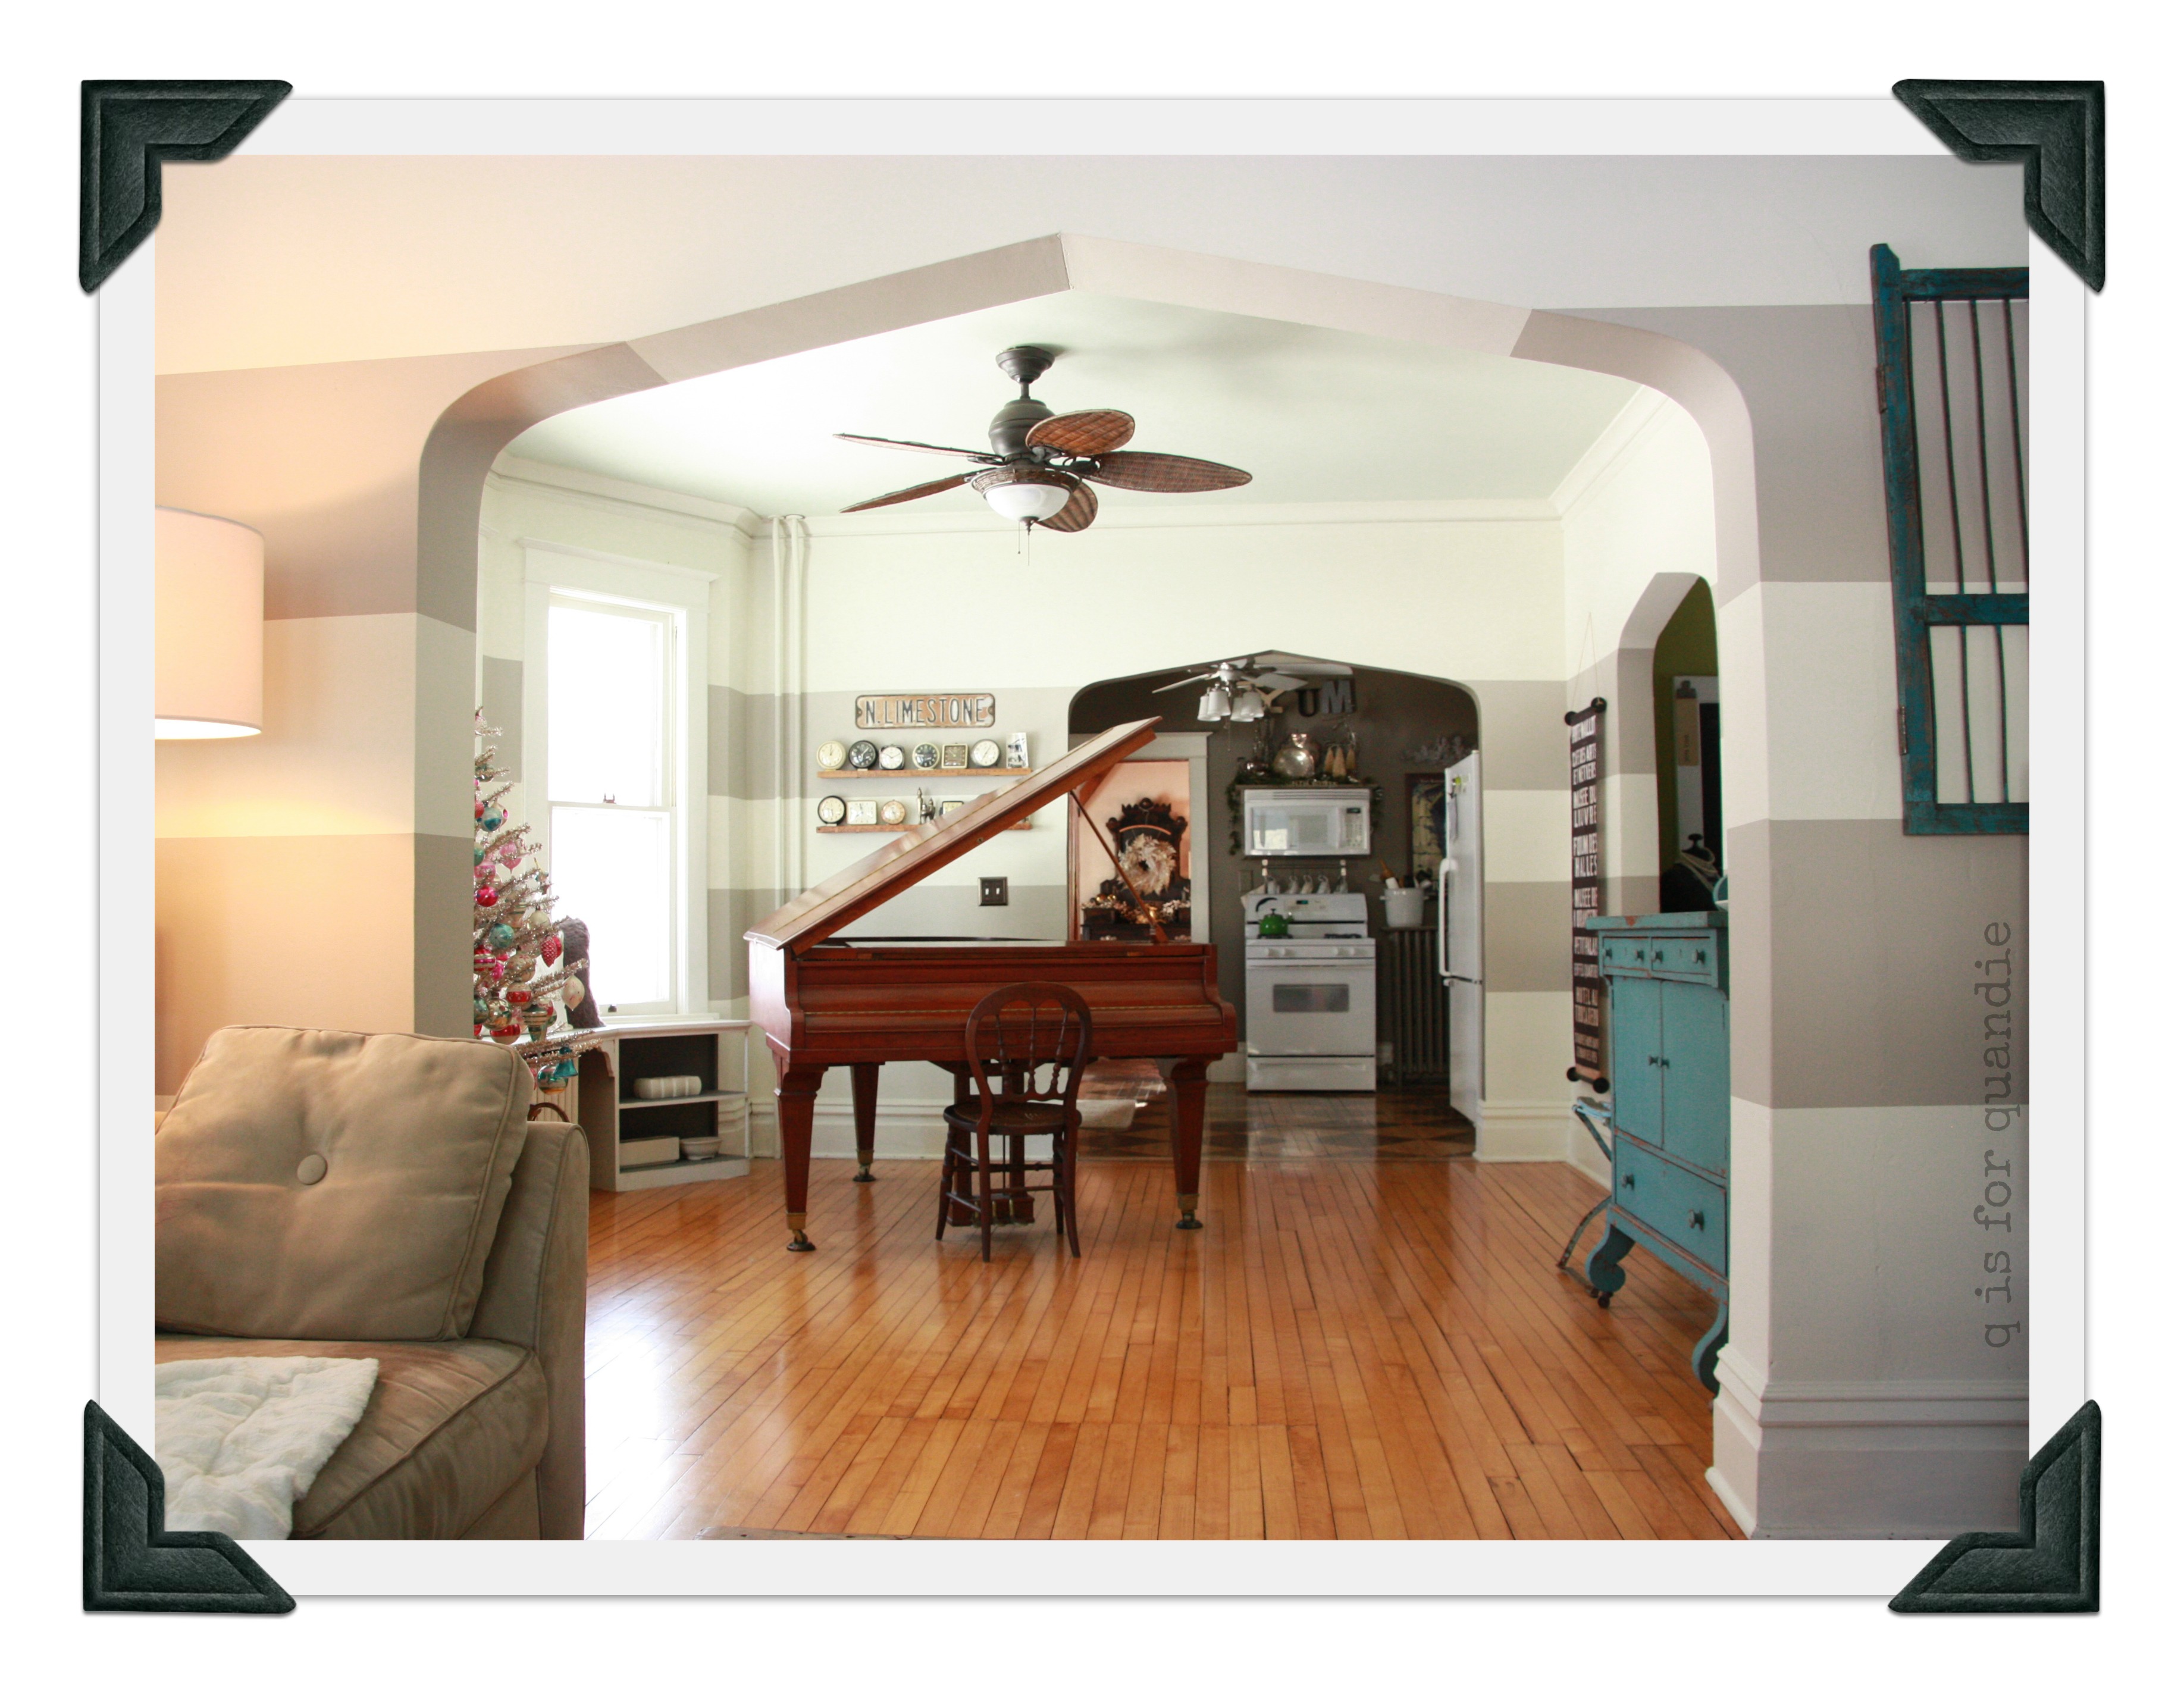
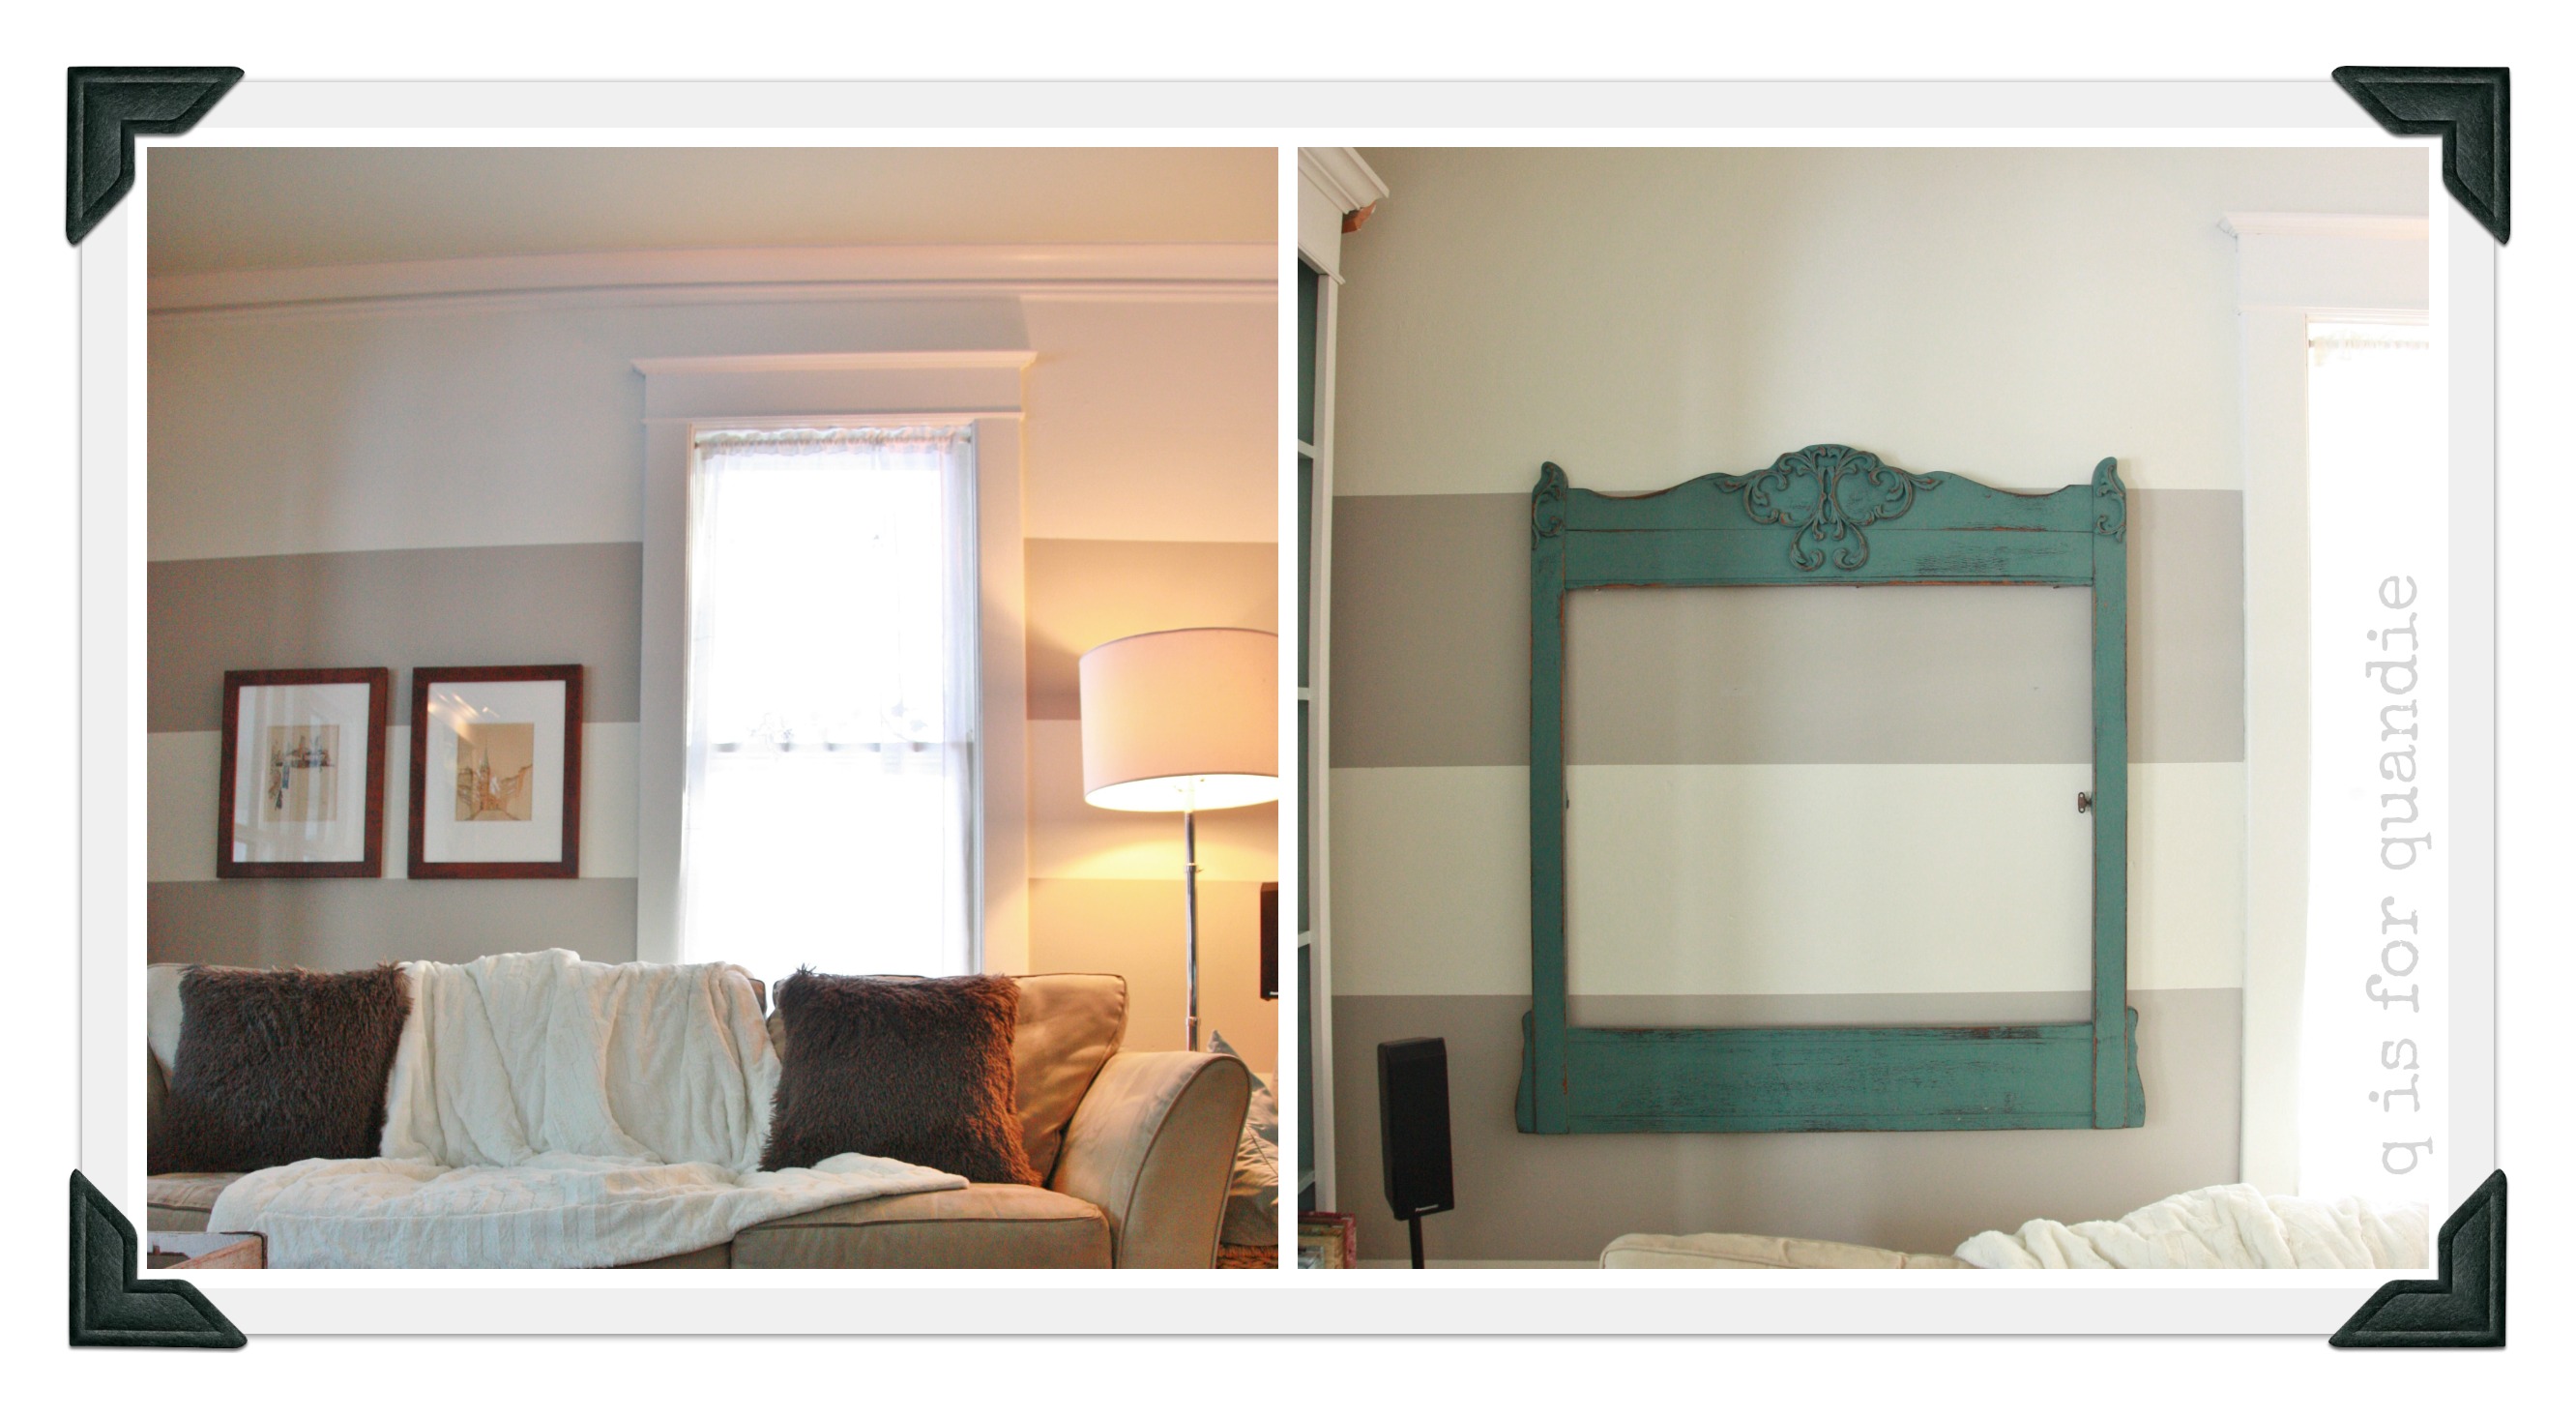
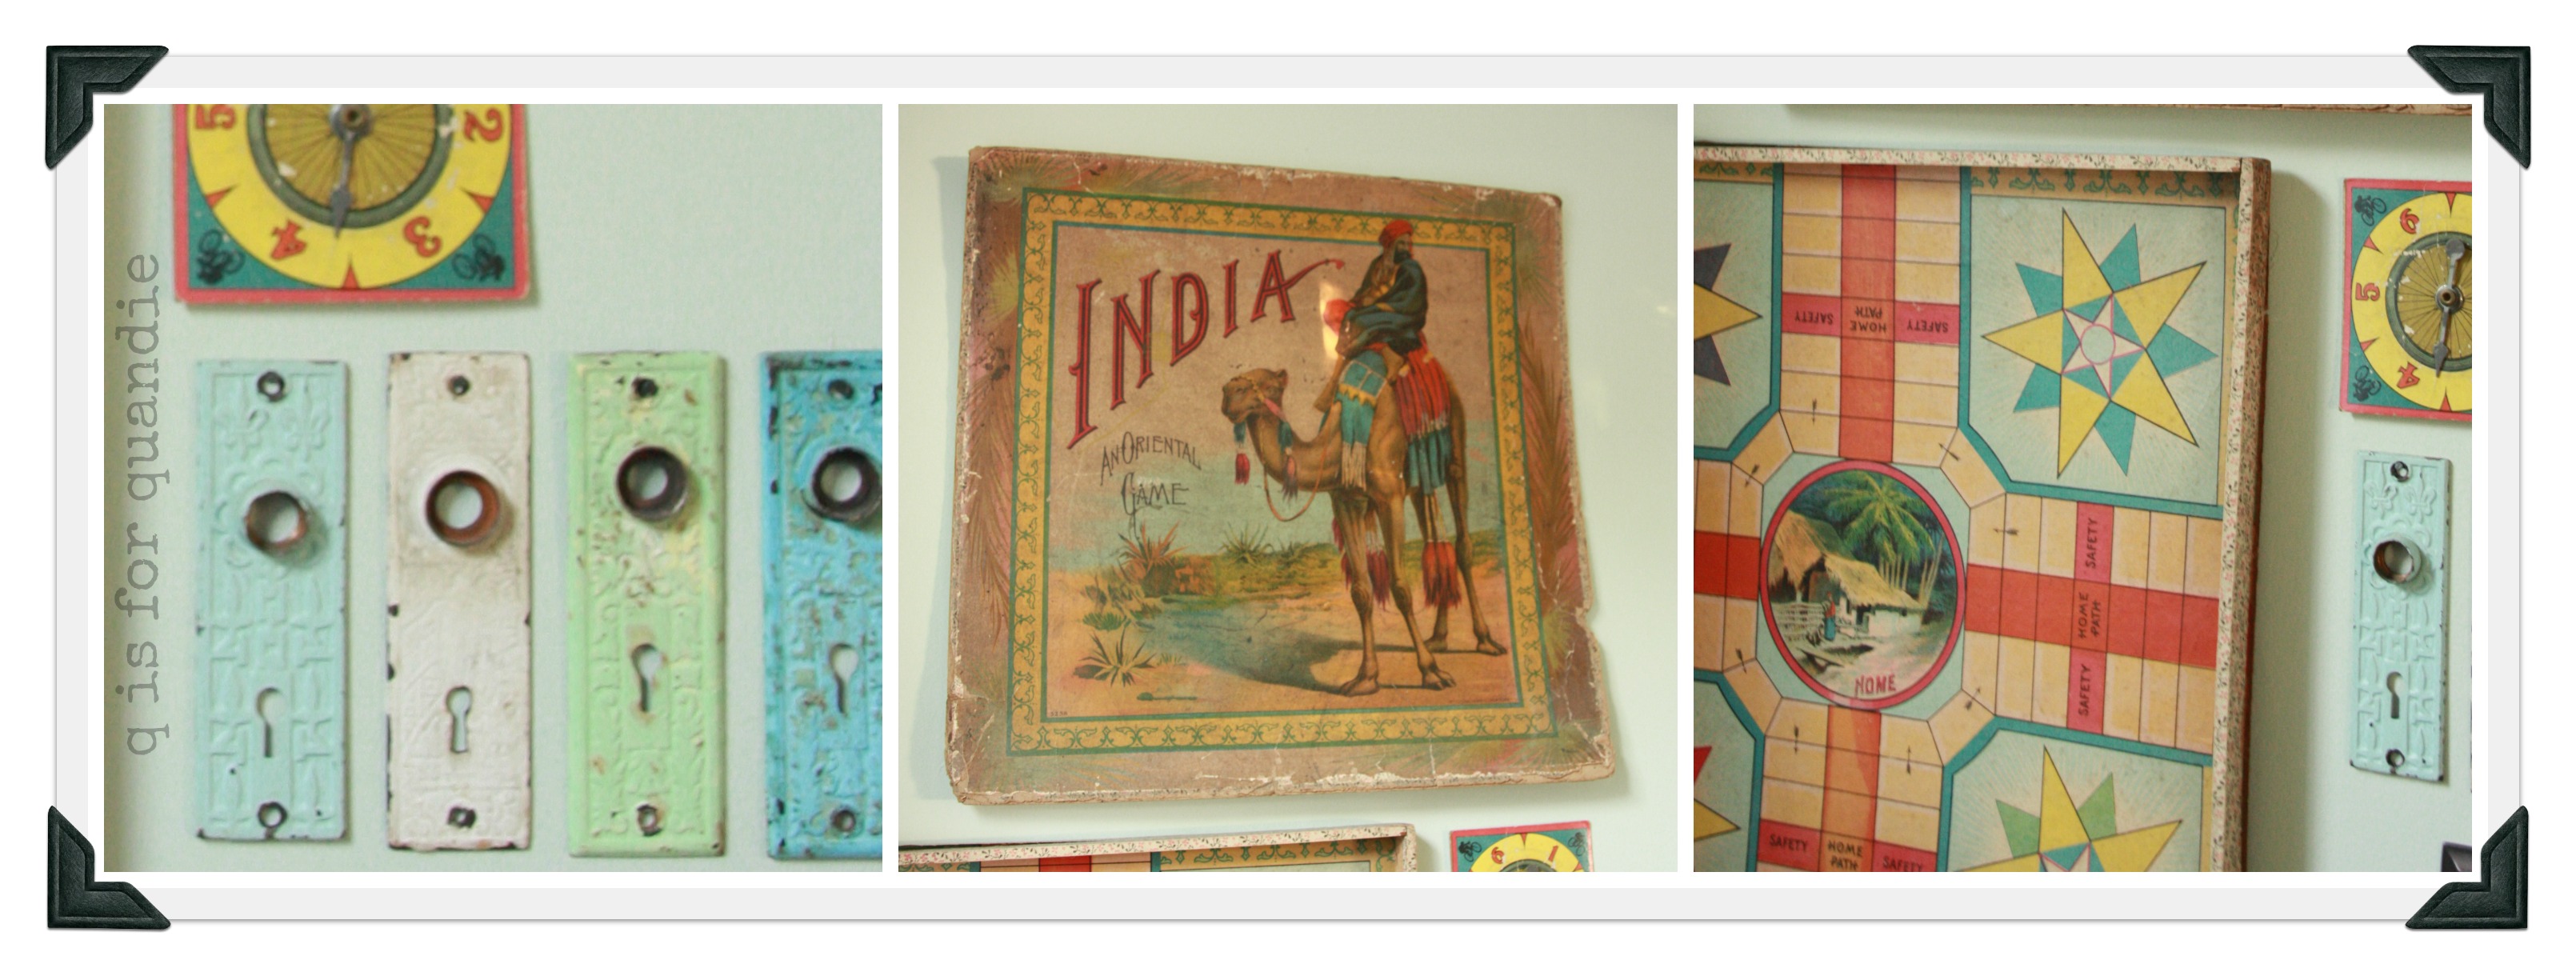
Once all of these bigger items are tackled, I’ll decide on the fun stuff.  What to hang on the wall above the radiator for example.  Currently I have this vintage board game on the wall.  I might keep it, or I might not.

hallway wall

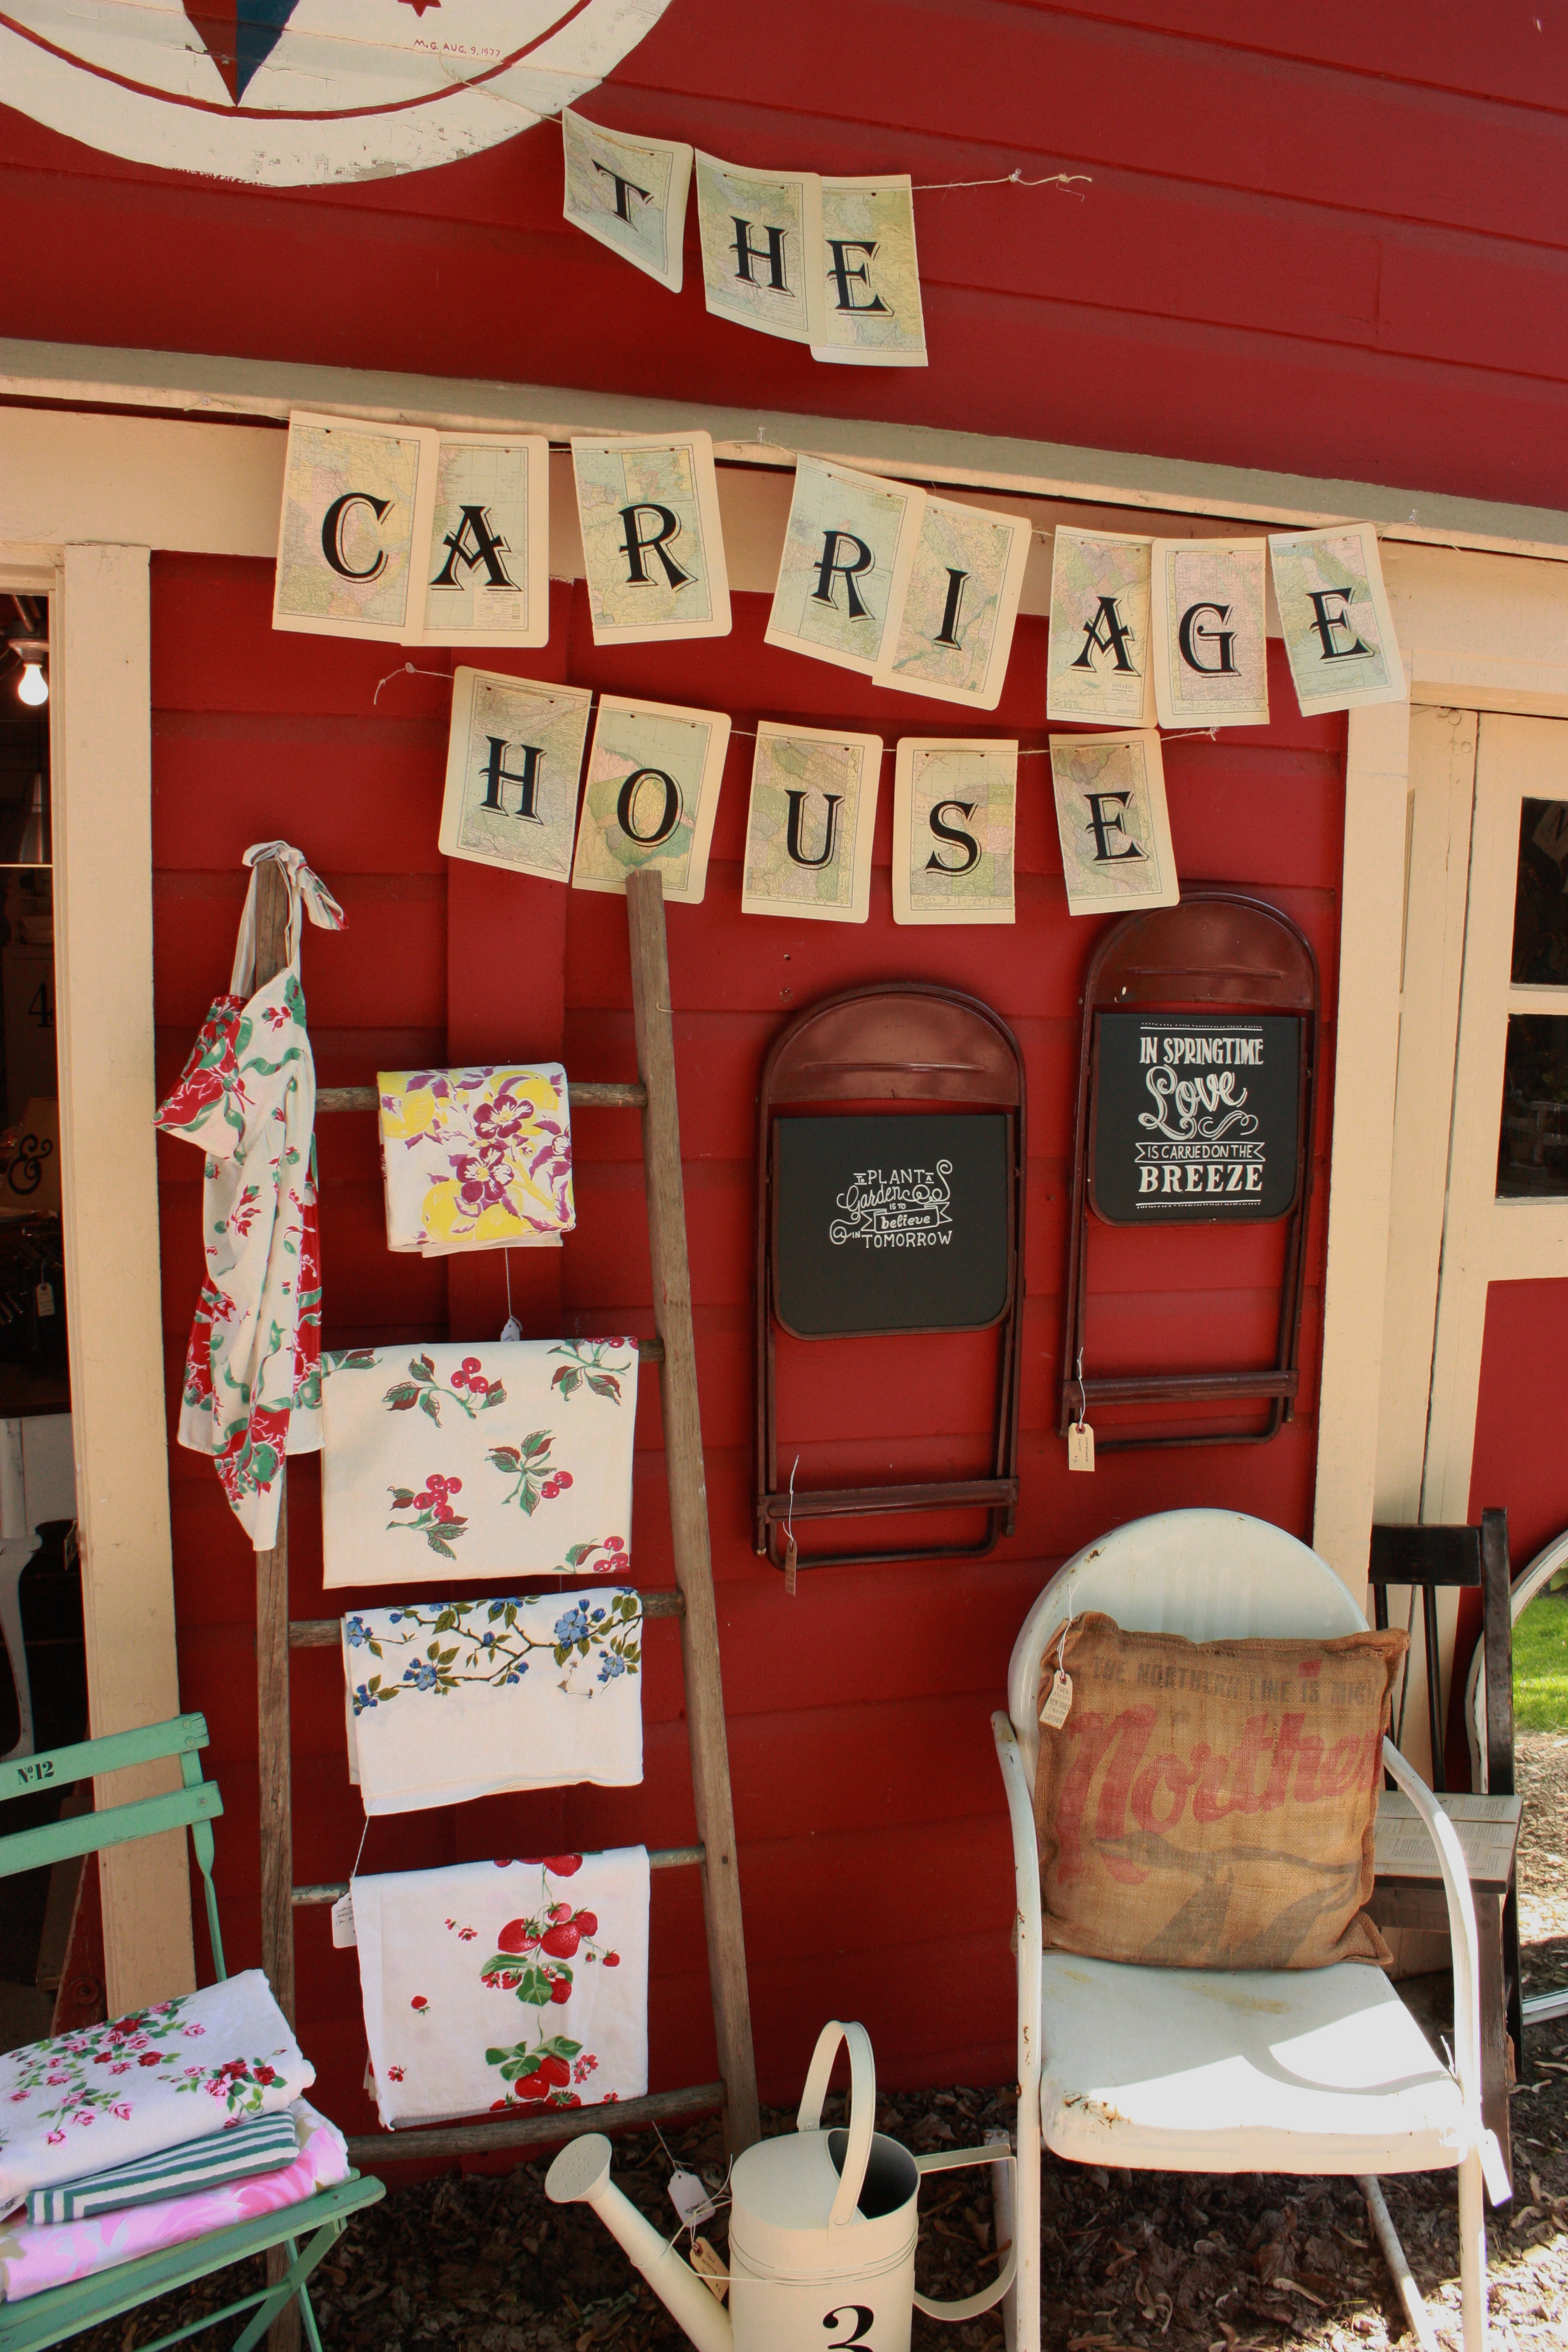
I’m going to have to get crackin’ on this project because if I don’t get it done before spring, I won’t get it done.  Once the weather turns nice, I’ll spend all of my time either in the carriage house painting furniture or in the garden … and then there is garage saling … you get the idea.

Let phase 3 commence!

never quite done.

I never consider a room DONE.  There is always some detail that still needs to be tweaked.  Rooms are continually evolving.  And in the end, I’m never quite completely happy with them.  The perfectionist in me has a problem with that.

So, that being said … I’ve ‘finished’ project ‘domino effect’ … sort of.  But not quite.

As you can see, my living room is small.  This is a 1904 farmhouse.  There is nothing extravagant about my house.  These windows face the street (and north).  I have an enclosed porch out front and that is what you are seeing through the windows.

full room

If I do a complete 180 from this spot, I see this view.

piano room

The wall and trim paint is finished in both rooms (thanks to a little help from Lacqui and nnK).  As you can see, I carried the same stripes from the piano room through the archway into the living room.

 I’ve decided that I can keep my sofa …

finished

and chair for now.  I was worried they would look dingy and too beige, but they actually just continue to look neutral.  They still match each other, and down the road I’d like to replace one or the other.  But they are really super comfy and aside from being filthy, still in pretty good shape so I will get them professionally cleaned and call it good for now.

chairMy big splurge for this re-do is the new coffee table.  I struggled with this purchase.  Part of me felt like I should get creative, and find something fabulous to re-purpose as a coffee table on my own.  But, I’ve always admired these factory carts, and when I saw this one on craigslist I knew I had to have it.  I’ve mentioned that I’m usually a complete cheapskate, but sometimes I’m not afraid to spend a little more on something that I absolutely must have.

factory cart  I sent my husband to Minneapolis to pick this up from Josh and Heather of Ferrous Furnishings.  You can see some more of their very cool stuff here:  https://www.facebook.com/FerrousFurnishingsMinneapolis (check out the amazing bar cart!).  I was a little nervous because I couldn’t go with him, and I was entrusting him with the final purchase decision.  But I had exchanged several emails with Josh, and he answered all of my questions and was super nice to boot.

The hubby thought the cart was fab on sight and brought it home and it’s perfect for our living room.

Now, you may have noticed a couple of things.

First, I haven’t added much to the top of the factory cart aside from a wooden box full of my fav magazines, Jeanne d’Arc Living.  I’m struggling with what to place on it that won’t block my view of the TV (hey, a girl has to be practical!).  Do I need something more, or should I just leave it?  You’ll also notice that I haven’t shown you the TV, here it is in it’s own little corner.

tv

As you can see, I don’t bother to try and hide it.  Candace Olson, when asked what decorating items to get rid of, said “a big monstrosity of a TV cabinet with the television concealed behind doors. Get over it, honey, TV is here to stay.”

Next, once again I am in a quandary about the window treatments.  I’ll leave the three front windows bare, but I must have something on the window behind the sofa.  Unfortunately the neighbor’s living room window has a bird’s eye view straight in through that window.  For now I have used a vintage linen tablecloth hung from a simple tension rod.  It’s lovely when the sunlight is shining in through it, but is it too delicate for this room?

Finally, I started out with my grandfather’s watercolors on the wall above the sofa.  They may look OK in the pictures, but I felt they were too small.  There was a lot of empty space above them.  So, I pulled out this old mirror frame, quickly painted it in my new favorite color, Kitchen Scale, and threw it up on the wall.  It’s the perfect size, but now I need to come up with something to put inside it.

wall collage

A reproduction vintage map of Rome?  A collage of ironstone plates?  Some vintage family photos?  So many possibilities … what do you think?  See what I mean?  I’m never really done.

details collage

one down.

One room down, one to go in project ‘domino effect’.

piano room collage

The piano room is done.  And by done, I mean painted and decorated.  There was a lot of trim to paint in this room with the bay window.  I’m relieved to have it finished, and totally procrastinating on starting the next.

piano roomThis picture shows that my ceiling is a pale aqua.  If you’ve been debating painting your ceilings a color, I want to encourage you to go for it.  I love my painted ceilings and it’s not too hard to accomplish with an extender pole for your roller.

As you can see, I have opted for no window treatments.  For now.  I never closed the blinds in this room except on very hot days to keep it cool.  Since that isn’t a problem at the moment, I’m going to live with the windows bare and see how I like it.

The picture above is the view from standing in the living room.  That is my kitchen just beyond.

To the right, you’ll find the oak buffet and another archway leading to my office/crafting room.

piano room hutch

I’m very happy with the end results.  I really like how much lighter the room is.  Seeing this room completed is motivation to start the living room.  But first, I think I need a nap.

piano room corner

the pantry.

I’m still painting trim in the piano room, but meanwhile, I thought I would share a past project with you.

My husband and I have lived in our house for nearly 26 years.  Yep.  That’s a long time.  Definitely enough time to have made plenty of changes throughout.  After that much time, you can even get to the projects that weren’t very high on the priority list.

The pantry is one such project.

I have to admit, I often hide things behind closed doors.  My mom says this goes way back to my childhood when I would shove my coat in the toy box or under the bed rather than putting it away properly.  If I can shut a door when guests come over and hide the mess, then I don’t worry too much about it.  That explains why my pantry looked like this for over 20 years.

pantry beforeOh, the shame!  Wine, cat food and toilet paper, oh my.

I should also clarify here that my ‘pantry’ is really just the stairway to my very creepy cellar.  So, yes, that is a big opening where the floor should be.  There are stairs going down there.  Nonetheless, this is valuable storage space that is right off my kitchen.  Not only that, the window you see faces west and gets incredible light as the sun is going down, all of which is wasted behind a closed door.  My ultimate goal was to put in a door with a window, so even when the door is closed, that light would shine into the kitchen.   Therefore, I needed to clean this up.  No more hiding the mess.

First we had some repairs made to the plaster walls and ceiling.  Next came a fresh coat of paint in a lovely shade of aqua.

pantry collage

Ahhhhh, better already.

I knew I needed proper shelves in here instead of the tacky metal garage shelves.  However, I was limited by the depth of the ‘floor’.  I searched high and low for pre-made shelves that would fit my space.  No dice.  I had to bring in the big guns.  My neighbor/handy man Ken who loves to work on projects like this.  He took a million measurements, I showed him pictures in magazines, and voila, he just whipped up some custom shelves for me complete with wine storage.

shelvesFantastic, right?

Next came the little details inside.  Vintage storage containers to disguise the less than pretty stuff, like Kleenex or cleaning supplies.  Blue canning jars, vintage cake taker, old kitchen scales and locker baskets to hold the paper goods.

pantry details collage

A wall of chalkboard paint on one side for fun and a new glass shade for the light fixture (from a garage sale, naturally) were added.

pantry chalkboard collage

And finally, the new door.  Purchased through craigslist, outfitted with vintage hardware from Etsy, and trimmed down and hung by Ken.  Isn’t it fab?

door 2

And now that you can see inside, I keep it nice and tidy … most of the time.

step one.

Step one of project ‘domino effect’ was to repaint the walls in my living room and piano room.

Stop, let me back up a moment.  I have a traditional “L” shaped living room/dining room combo.  Two rooms separated by an wide archway.  However, I chose to put a baby grand piano in my ‘dining room’ and turn another room into the dining room.  So, now it’s the ‘piano room’.  I’d love to say that I play.  I bought the piano with every intention of learning to play, but that one is still on the to-do list.  Meanwhile, I have found that a baby grand piano is the most versatile piece of furniture.  Perfect for gift wrapping, crafting space, bar or buffet for parties, laundry folding table … endless uses.

So … as I was saying … step one was to repaint the walls in these two rooms.  I began by sanding the edges of the old stripes.  Jeanne suggested this, and she was right.  There were still a few spots where I could see the ridges of the old stripes; it would have been much worse without the sanding.  If you ever paint over striped walls, remember this tip.  Next, I covered the old stripes with a fresh coat of white.  I used Dutch Boy Platinum ‘no prep no prime’ paint in Cotton Blossom.  As you can see, it covered beautifully.  I was worried that it would be difficult to cover those stripes, and it wasn’t at all.  Of course, as per the rules of the ‘domino effect,’ a fresh white on the walls meant I also needed a fresh white on the molding (again Cotton Blossom).  Luckily I had just painted the ceilings a pale aqua last spring, so they were good to go.  Now I had a fresh blank canvas of white walls and trim with a pretty aqua ceiling.

blank canvas collage

I then whipped out my Frog tape, a yardstick and a pencil.  Using measurements that Jeanne and I worked out for the best placement of the stripes, I just measured down from the ceiling using the yard stick, made pencil marks, and ran my tape.  I don’t bother with a level, because nothing in my house is level anyway.  I don’t use a chalk line, because I find them very messy to clean up later.

taped walls

I began with just one small section of wall, and one of my favorite shades of grey that I use on furniture.  Dutch Boy’s Silver Case.  However, as I often find happens with paint, a color that looks good on furniture, or looks good in one room, suddenly looks awful in another.  The Silver Case was all wrong!  Too much of a lavender undertone.  Luckily I had an extra gallon of the grey that we used in our basement.  I splashed a little on the wall.  Too dark.  So, I added some white to it and tried again.  Perfect!

color swatches

This time I chose to use just two horizontal stripes.  It was so much less work than the floor to ceiling striped wall I did last time, and I think it has just as much impact.  Plus, having the large expanse of white at the top makes the ceilings seem much higher.

Ah.  Look!  I was right.  The buffet is so much prettier with white and grey stripes.

hutch after

In one weekend, with Jeanne’s help, I was able to get the piano room walls painted.  I still need to finish painting the trim in this room.  Such a putzy job, but must be done.

Next weekend I’m recruiting new neighbor Karen for part two of step one.  Painting the living room walls.  I’ll keep you posted on my progress!

hutch after 2

the domino effect.

I am often victim to something I like to call the ‘domino effect.’  It’s that thing that happens when you decide to change just one thing in a room and somehow it leads to a complete makeover of the entire room, and often the neighboring rooms as well.  Do you know what I’m talking about?

In this case, it all started with painting the oak buffet.  You know, this one…

oak buffet 2

I totally love the new color on the buffet, and it sort of works with my olive green striped walls … but gosh, wouldn’t it be so much better if the walls were white and pale grey?

I did the stripes in my living area several years ago.  Here is a picture from when they were brand new.

living room before

I love them.  Even though my husband initially said he felt like he was living in a prison cell, he came around when the rooms were finished.  I’m planning to do another horizontal stripe in here, but something just a tad more subtle.

Obviously, if I change the wall color to white and pale grey, the window treatments are going to have to go.  That’s OK, they aren’t really me anymore at all.  The sofa and ottomans are relics from the time before I realized that buying matched sets of furniture shows a distinct lack of imagination.  Unfortunately, I can’t afford to replace the sofa right now, but maybe I can disguise it with a cover of some kind.  And surely I can come up with an alternative coffee table to replace the ottomans.

You see what I mean?  The domino effect.  Stay tuned to see where it takes me.  I’ll keep you posted.

vintage ornaments.

I have collected vintage glass ornaments for many years now.  I find them at garage sales and antique shops.  At first I kept any that I found.  Any color, solid or with a painted design.  But, as my collection grew, I knew I needed to cut down and only keep the ones I really love.

ornament collage

Now I stick with mostly pink and aqua, but I love a little pale green thrown in too.

ornaments in bowls

And recently I culled out most of the solid round ones too.  I love the ones with pretty hand painted designs, or those with a unique shape.

bird ornament

I display my ornaments on a small silver tree.  This is my only tree.  A larger tree would overwhelm my house.  I don’t use any lights or anything else on this tree, it doesn’t need any extras.  It is sparkly and gorgeous as is.  It looks perfect next to my newly painted buffet.

full tree

the long weekend.

One thing you should know about me, I have a day job.  As an accountant.  For the government.  There.  I said it.  All this means to you is that I have to let my creativity out in other arenas.

Every once in a while, I get a break from the day job in the form of a long holiday weekend.  Four whole days in a row for Thanksgiving!  I give thanks for them.

I gave myself a challenging to-do list for this long weekend.  Here it is:  put up Christmas decorations, paint hutch to be sold at Round Barn, start a blog and paint the oak buffet.  Here is it Sunday morning, and is it all done?  Almost.  I may not quite get the hutch finished, but it’s nearly there.  Everything else is checked off the list.

More on the other items soon, but let’s start with the oak buffet.  My aunt gave me this piece many years ago along with a Swedish spoon carved cupboard and a firm “DON’T paint them!”  So, for quite some time I didn’t.  Then one day I realized that I was living with pieces in my house that weren’t ‘me’ just because someone else didn’t think ‘real’ furniture should be painted.  How long is the statute of limitations on such things anyway?  I had even relegated the poor spoon carved cupboard to storage because it just wasn’t right for my house.  I was considering selling the oak buffet and replacing it with some other painted piece, when I realized how silly that was.  Whoever bought it from me could just as easily turn around and paint it!  Isn’t it better to paint it myself and keep it as a reminder of my aunt?  I say YES!

the oak buffet.
the oak buffet.

Thanks to the wonders of Miss Mustard Seed’s milk paint, I was able to finish this project in a day.  With milk paint there is little prep required.  I removed the knobs and gave just a light sanding to all of the flat surfaces (because I didn’t want excessive chipping there).  I mixed up some Kitchen Scale, and slapped it on.  It dries so quickly that I could put a second coat on within an hour or so.  Once it was dry, I lightly sanded the whole thing.  It chipped in all the right places (mostly where I didn’t pre-sand) all by itself.  I finished by applying a coat of hemp oil (while watching Hitchcock’s The Birds in the background.)

Et voila.  The oak buffet is transformed!  And I love it.

the oak buffet.
the oak buffet.

P.S.  The fab ink and watercolor drawings hanging on the wall above the buffet were done by my grandfather on the same side of the family.  Consider this area an homage to my paternal side.

the carriage house.

My house was built in 1904.  Or possibly 1898.  Depends which documents you look at.  The official record says 1904 though.  It was originally the farmhouse for a dairy farm.  But now it is smack in the burbs.  The surrounding land was sold off and developed and now my house sits on a normal sized suburban lot.  The beauty of it is that my house is like a little pocket of country conveniently located near the city.

IMG_0574

One of my favorite features is the carriage house.

Yep, it’s a genuine carriage house.  It was never a barn or anything like that.  I assume they kept the carriages in it.  I still keep the carriages in it … well, the cars.  But only in the winter.

In the summer it becomes my workshop extraordinaire.  It is filled with furniture and other goodies waiting to be transformed.  Then twice a year, once in June and once in early October, it hosts the Carriage House Sale.   The occasional sale that my like minded friends and I put on.

IMG_5165