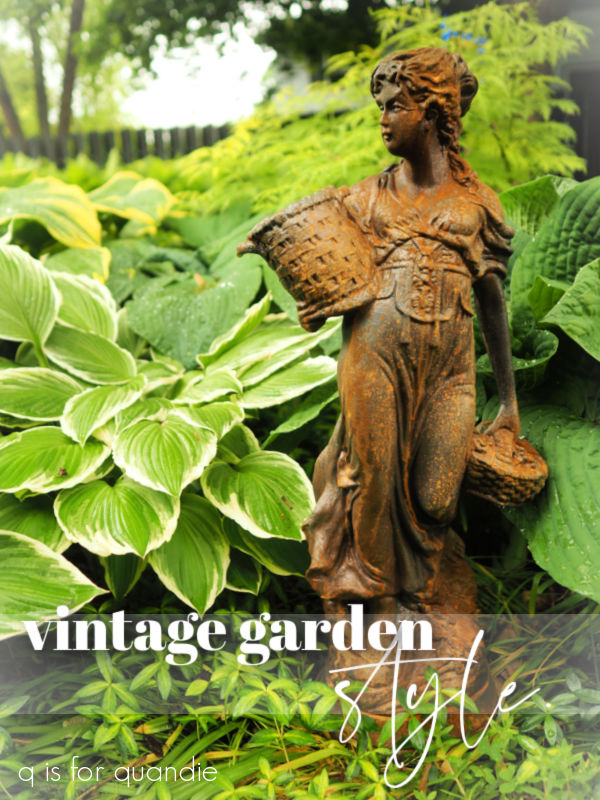
I recently picked up a copy of Better Homes & Garden’s Vintage Garden Style magazine at the supermarket.

This is one of those special publication re-print sort of magazines, ‘back by popular demand’. Which tells me that people still love vintage garden stuff as much as I do.
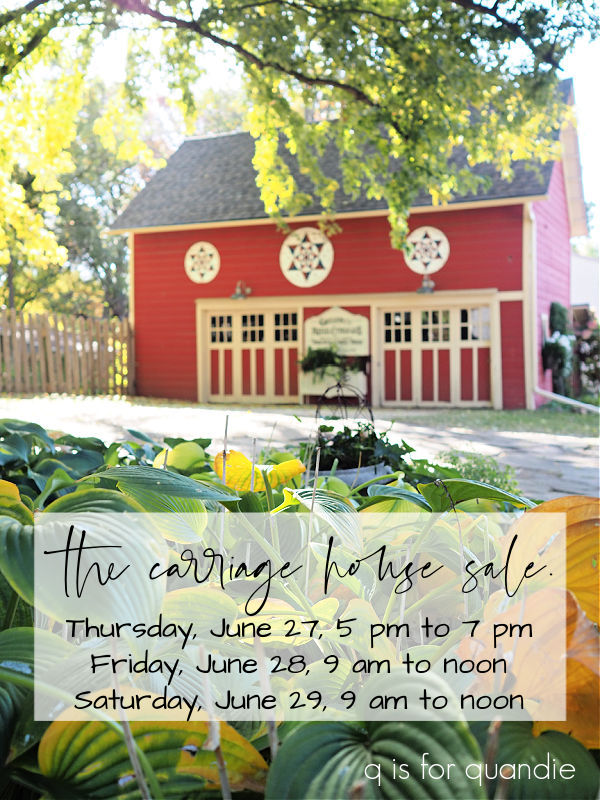
As I’ve been getting ready for the Carriage House Sale (which starts tonight!), I realized that ‘Vintage Garden Market’ is definitely the theme of our sale.
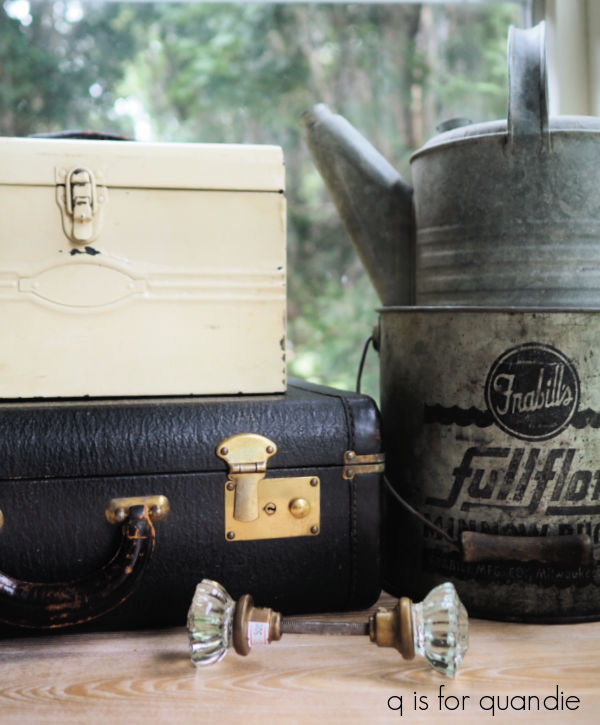
We have quite a few items from the various categories featured in the magazine starting with watering cans.

This first one is a no-brainer. Of course we have vintage watering cans …

and some that are maybe not so vintage.

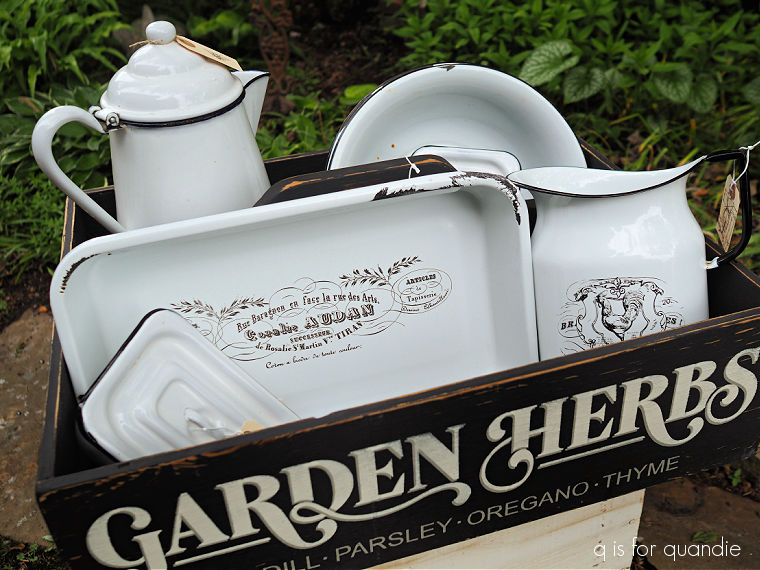
Next up, vintage enamelware.

Yep, we’ve got this too.
The article in the magazine on collecting (or non-collecting in my case) vintage garden books really struck a chord with me.
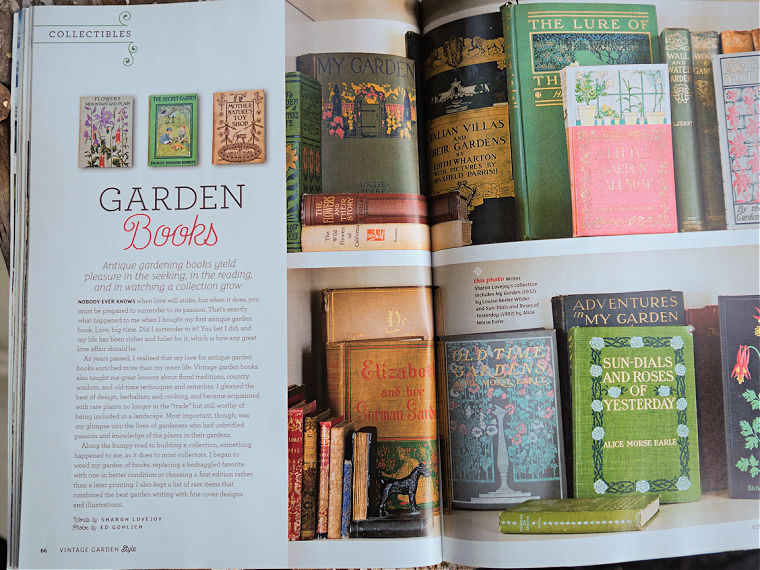
There were so many lovely books featured. Now I’m tempted to be on the lookout for vintage garden books myself.
And Sue brought a few for the sale.

We’ve got a few newer garden books too!

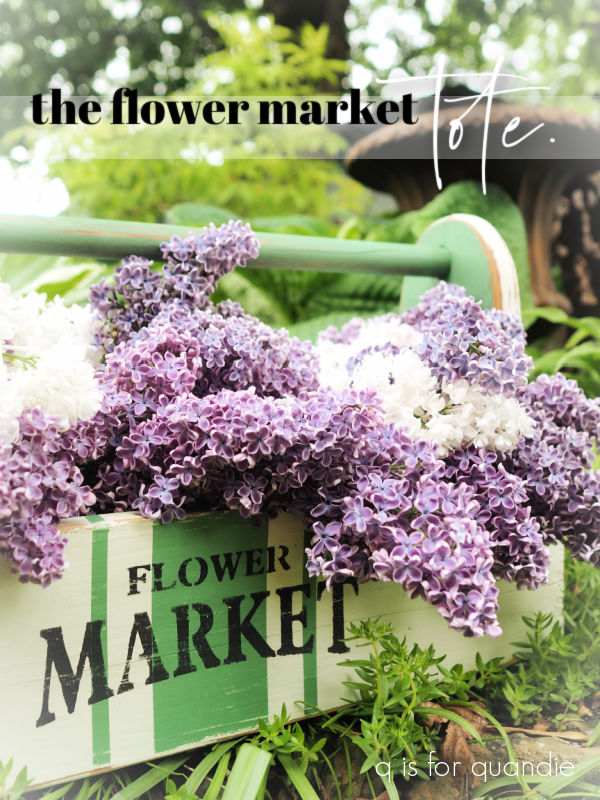
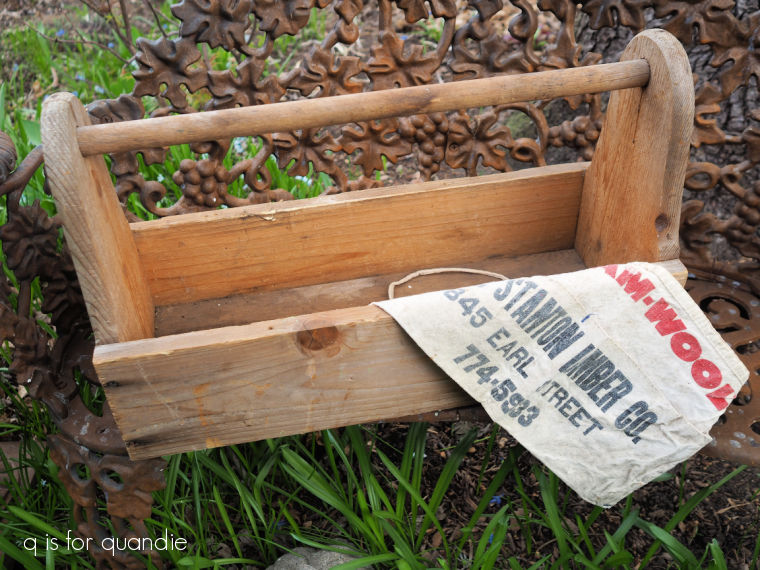
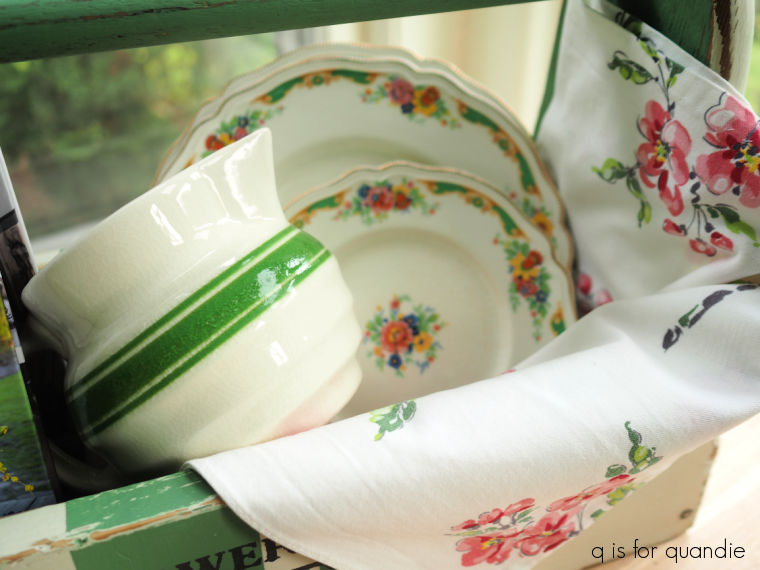
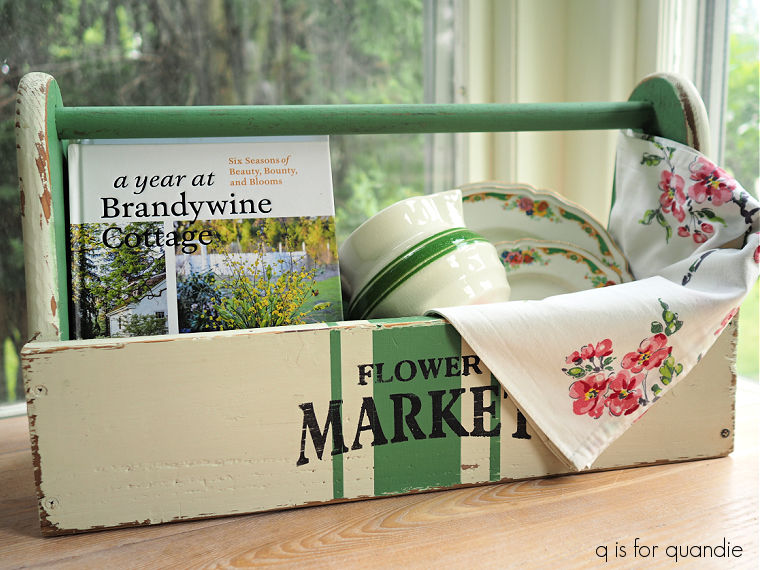
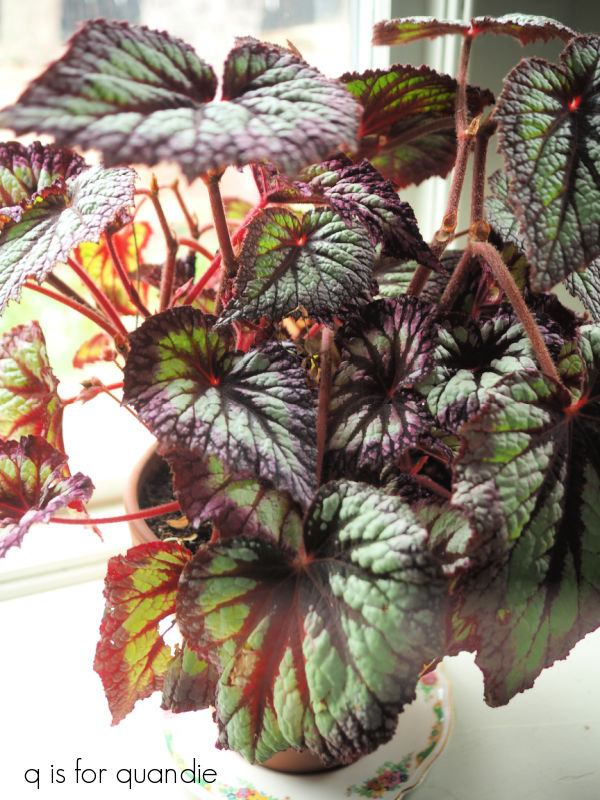
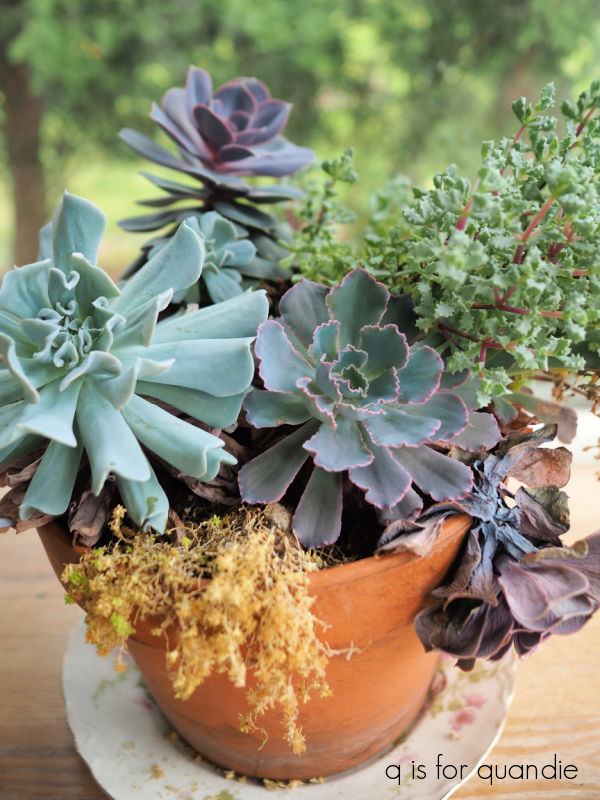
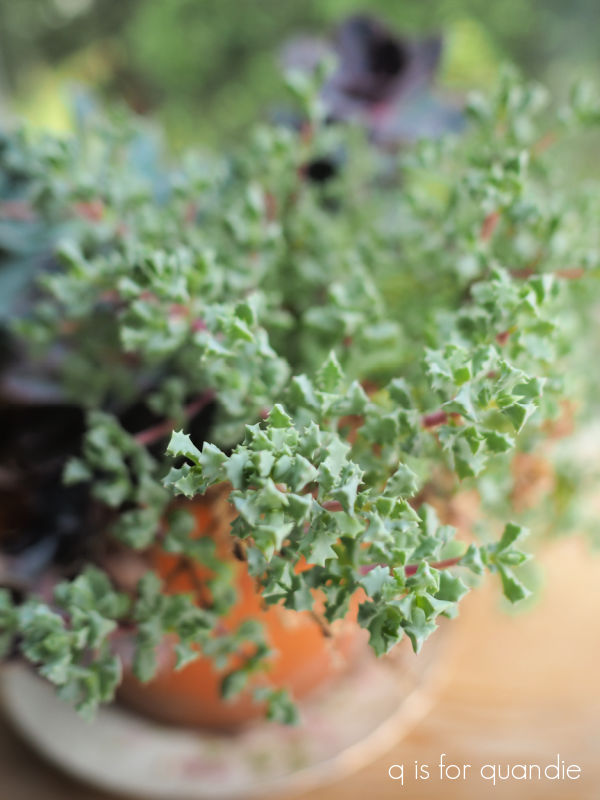
There was also a feature in the magazine on filling unique vintage items with succulents.

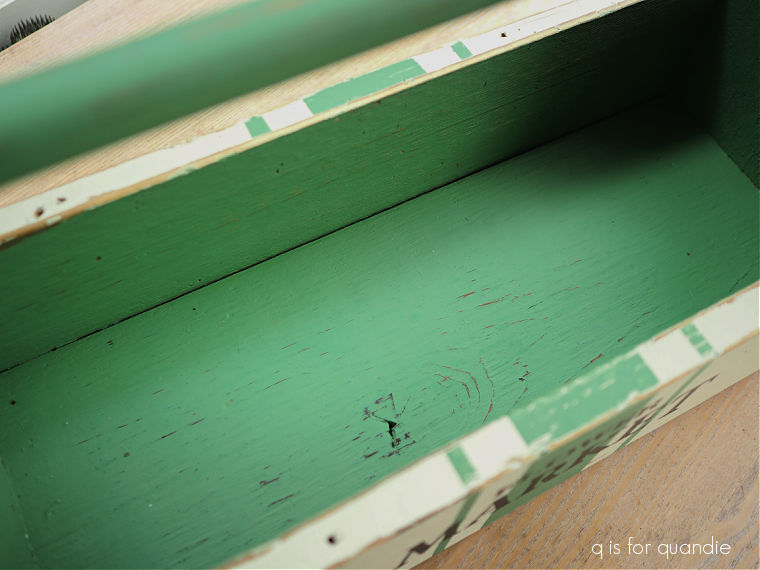
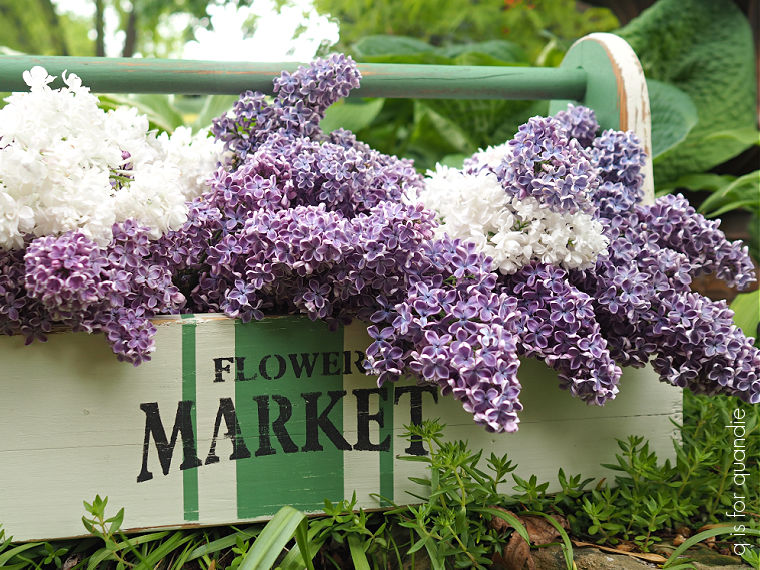
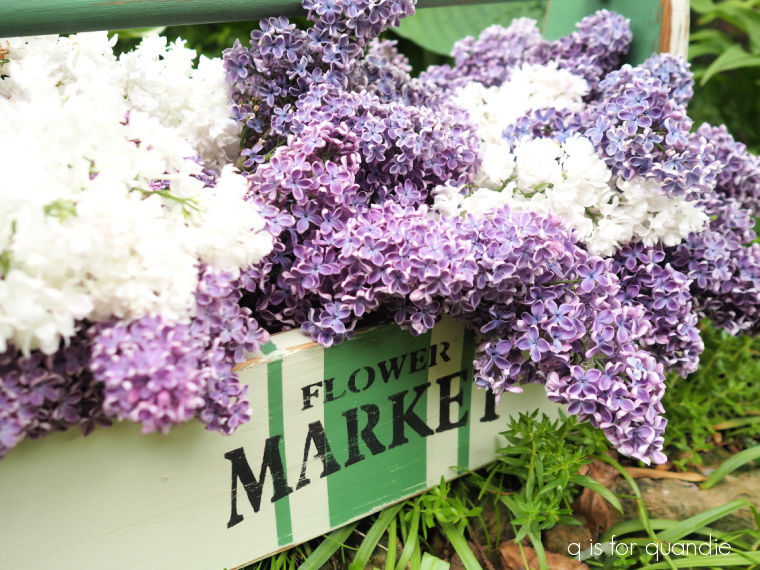
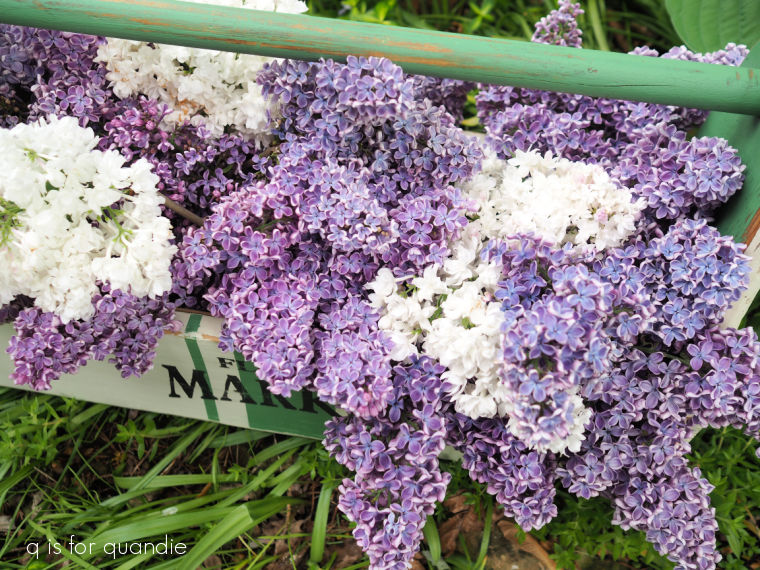
We have quite a few wooden totes like the one shown above that you could fill, plus any number of other vintage pieces that would be perfect as succulent planters.
For example, I’ve decided to sell on my antique newspaper roller that I used to plant with succulents myself.

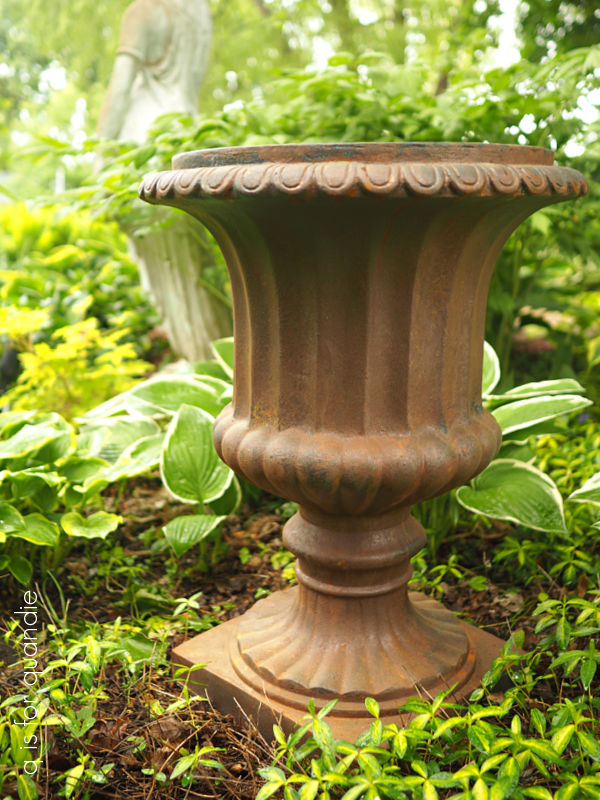
I loved the look of the succulents in rusty iron urns shown in the magazine …

And I just happen to have a very similar faux rusty urn for sale …
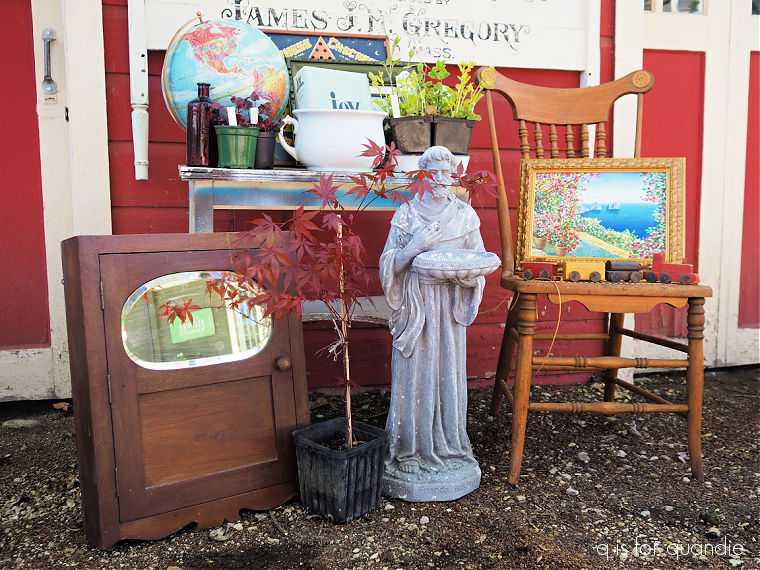
along with a bunch of other rusty pieces of salvage for the garden like these old iron headboards.

I also am selling this rusty lady …
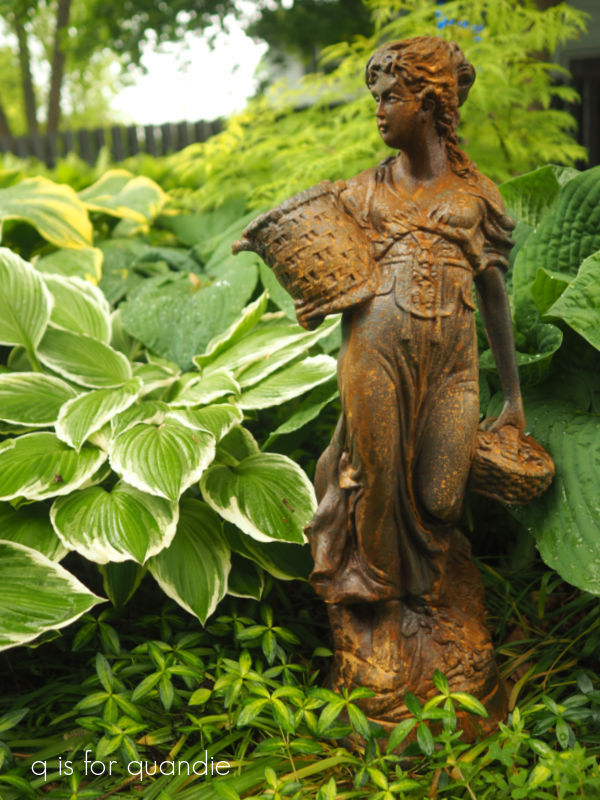
Remember when I purchased her in bright white?
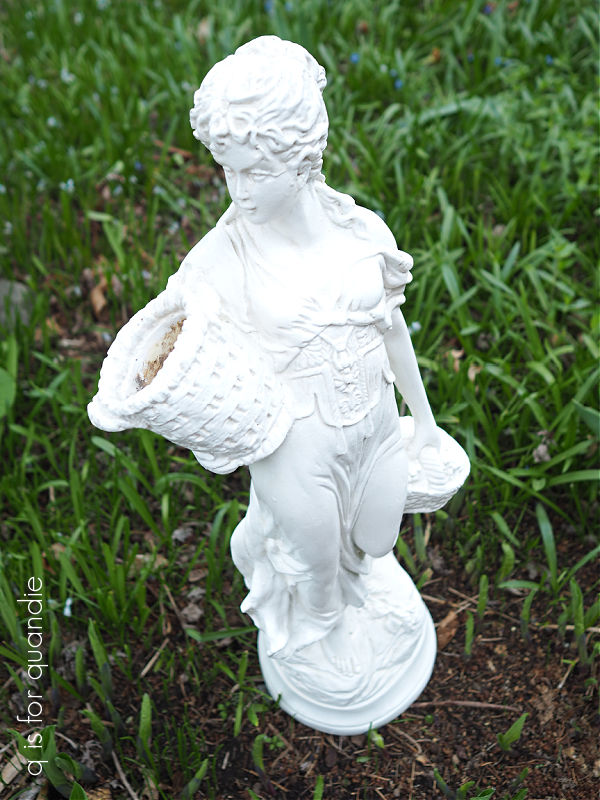
Doesn’t she look so much better rusty?
FYI, I use the Dixie Belle Iron Patina Paint with the Green Spray to achieve that rusty look.
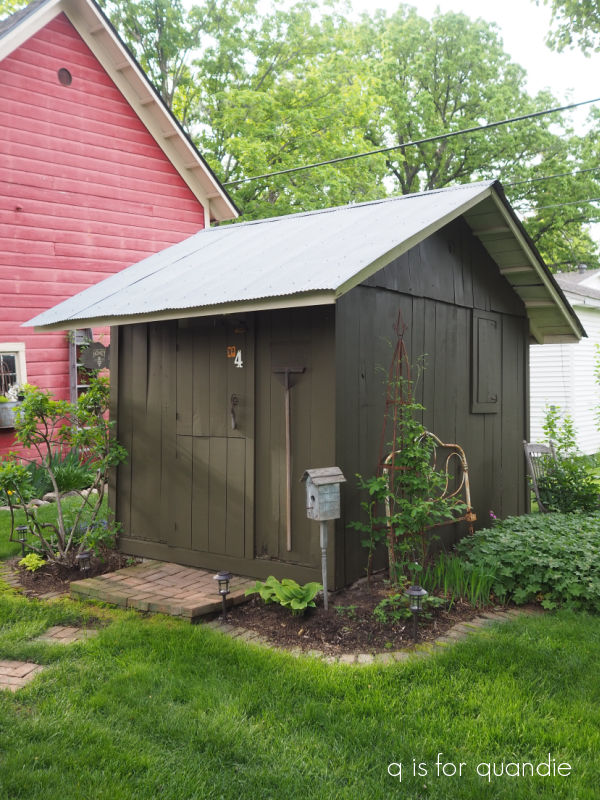
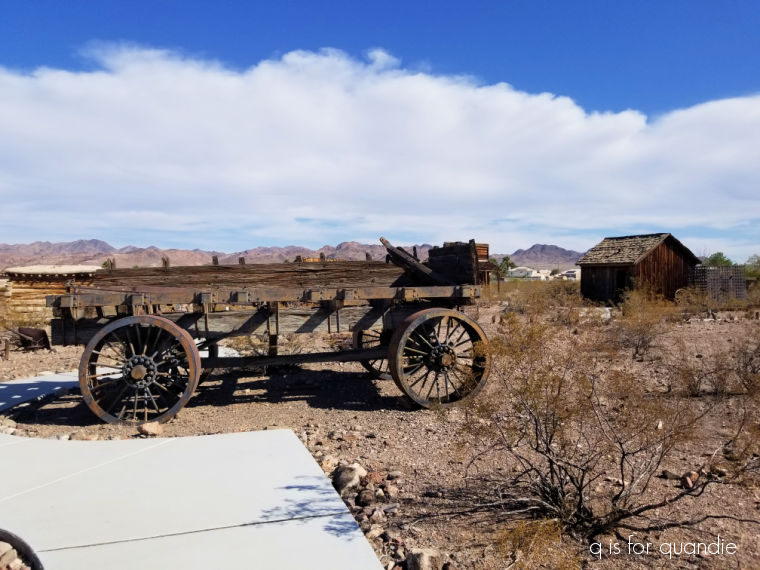
There’s another fun article in the magazine about giving an old structure a new life as a potting shed.

While I don’t actually have an old shed for sale, I do have one in my back garden and if you come to the sale you are welcome to pop your head in and check it out.
I recently recovered the seat of my wicker chair with some gorgeous vintage bark cloth that I purchased at my friend Lisa’s sale (one of these days I really have to share her sale with you).
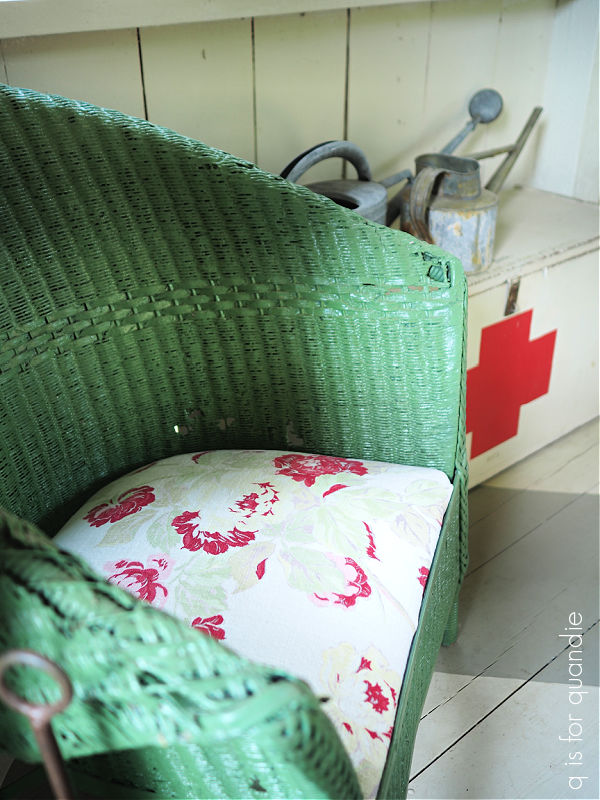
Not that I didn’t love the bark cloth that was previously on the chair, but I needed to scavenge that for a chair that I am including in my sale.

The florals on it were perfect with the Miss Mustard Seed Apron Strings milk paint color on the chair.
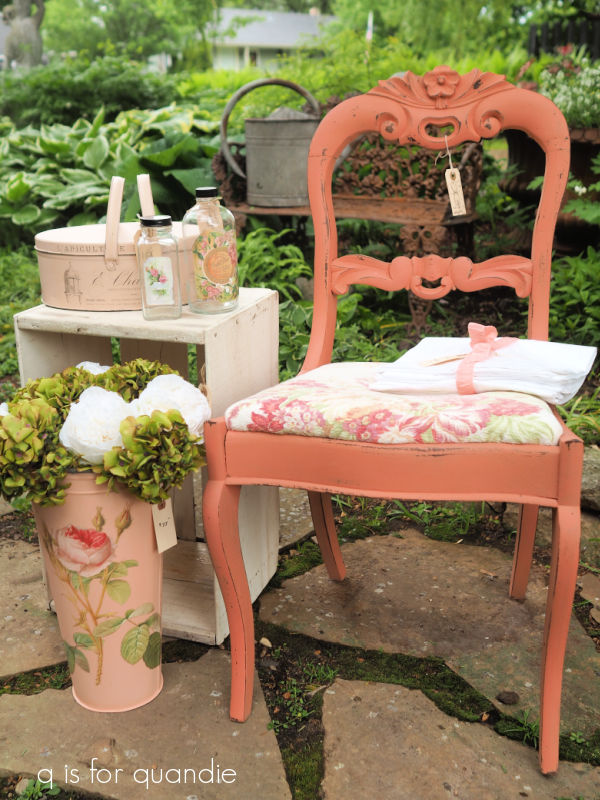
By the way, there are three different shades of pink in that photo from three different brands. The chair is in the Apron Strings (read about that original makeover here), the French flower bucket is in Dixie Belle’s Apricot (read about that project here), and the oval lidded tin on top of the box is painted in Fusion’s Little Piggy (read about that paint job here).
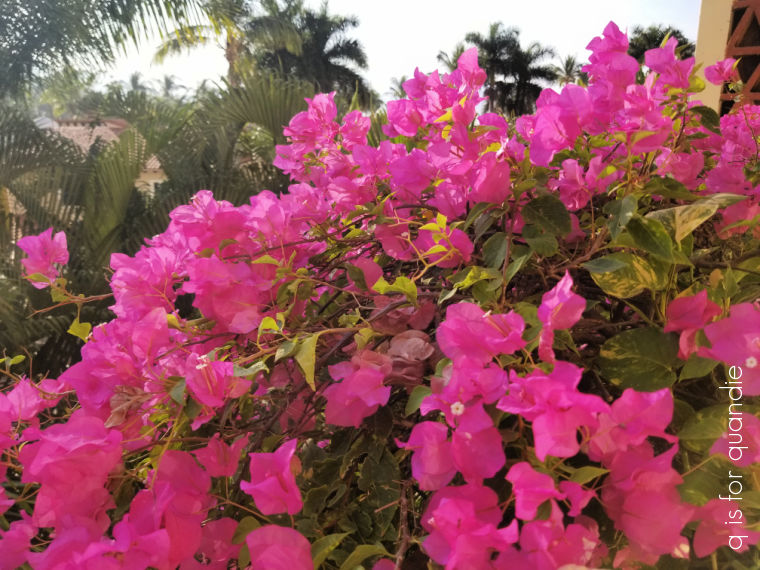
We’ve got a slightly bigger selection of pink/floral items this year. I feel like the floral trend is coming back around, what do you think?

Although this next article doesn’t specifically pertain to items at our sale, I still thought it was worth a mention.

It features 7 tips about shopping at a vintage market and the photos are all from the Oronoco Gold Rush held at the end of August about an hour south of the Twin Cities. I’m sure that most of my local readers have been, right?
I suppose some of the tips might apply to my sale, especially tip no. 6. Love it? Buy It Now! Because if you don’t grab it quick, someone else will.
As I mentioned, the sale starts tonight from 5 pm to 8 pm. We’ll also be open tomorrow morning from 9 am until the noon whistle sounds in North St. Paul.
We are accepting Venmo and Cash only.
Hope to see you local readers there!


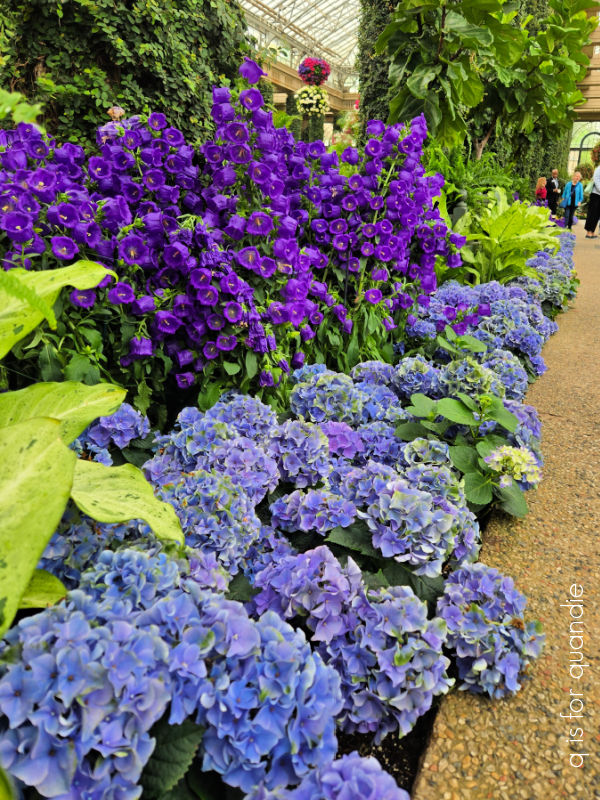
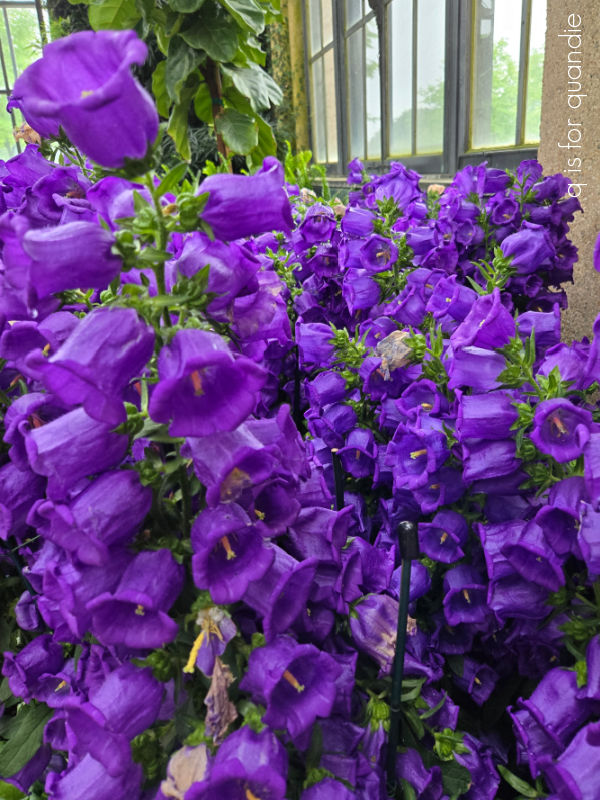
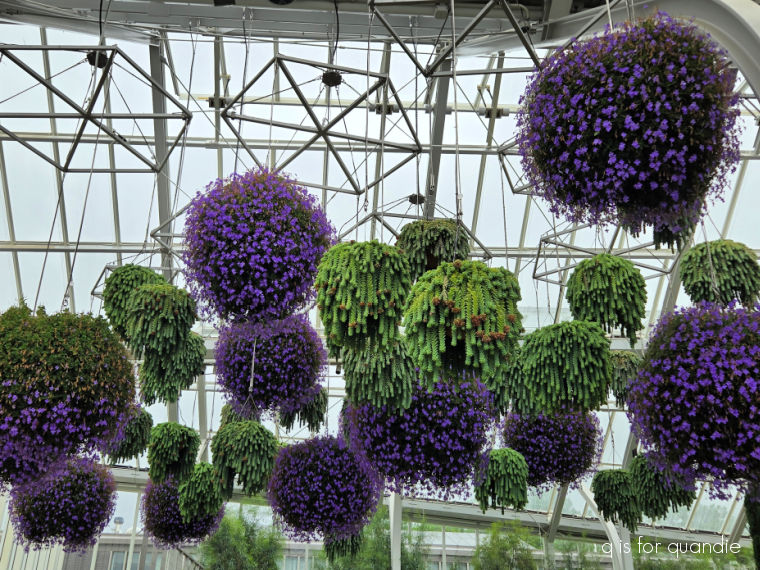


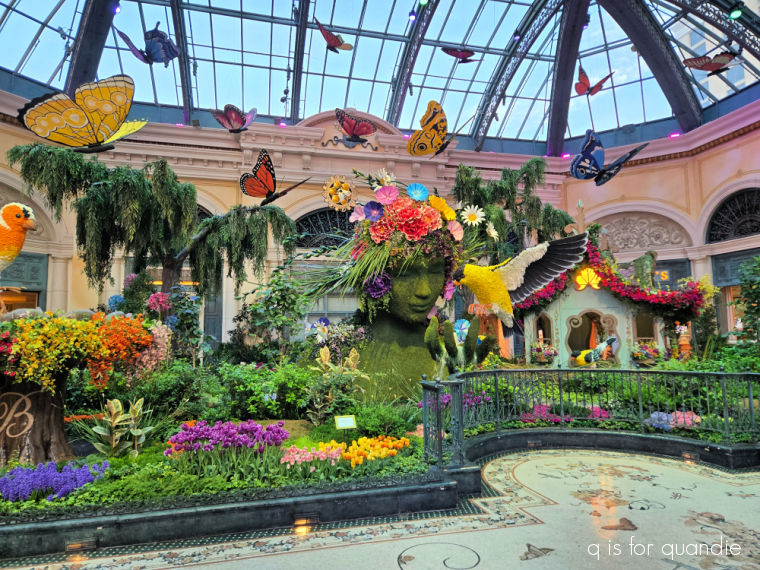
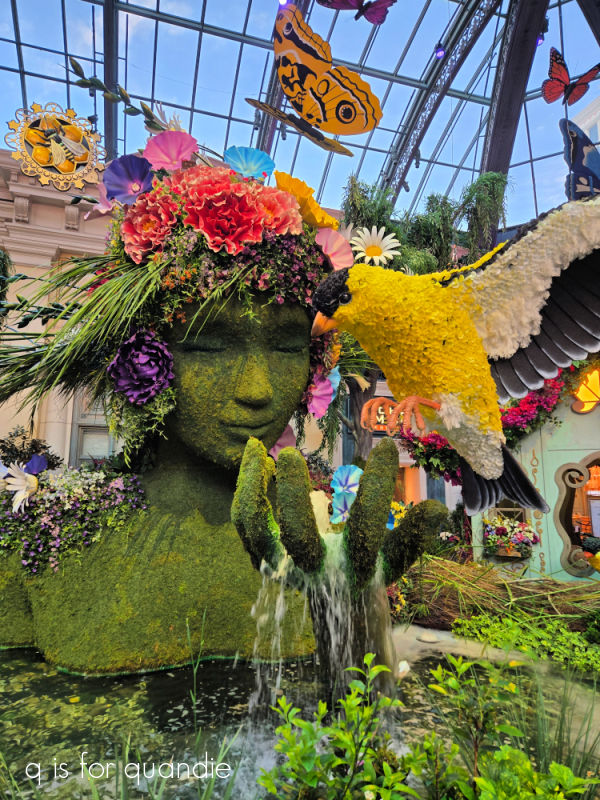
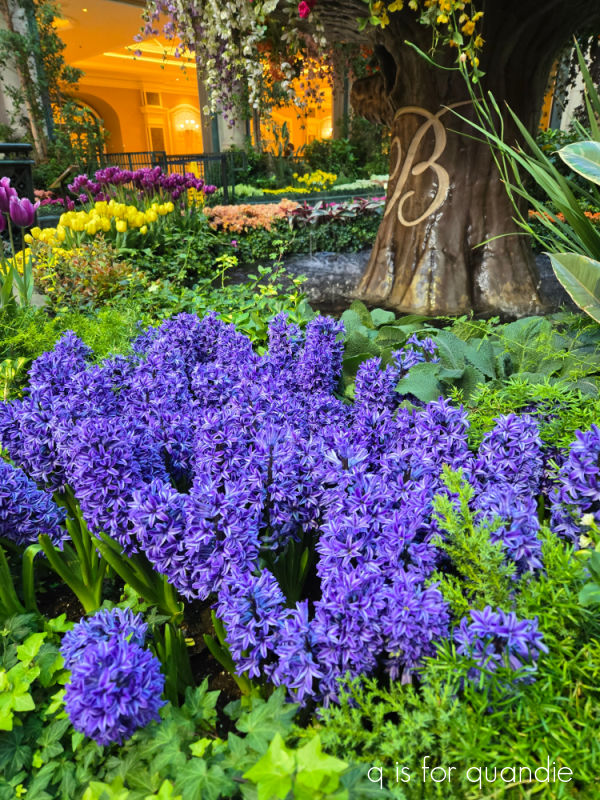
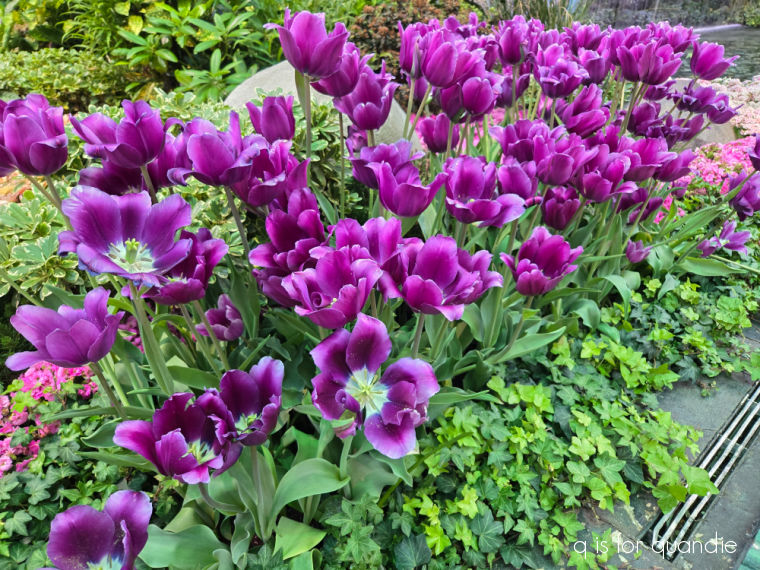
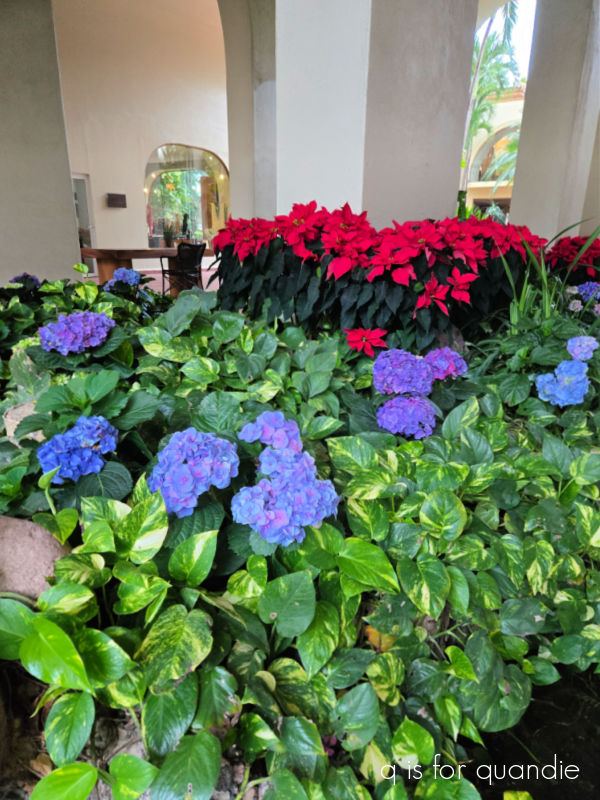
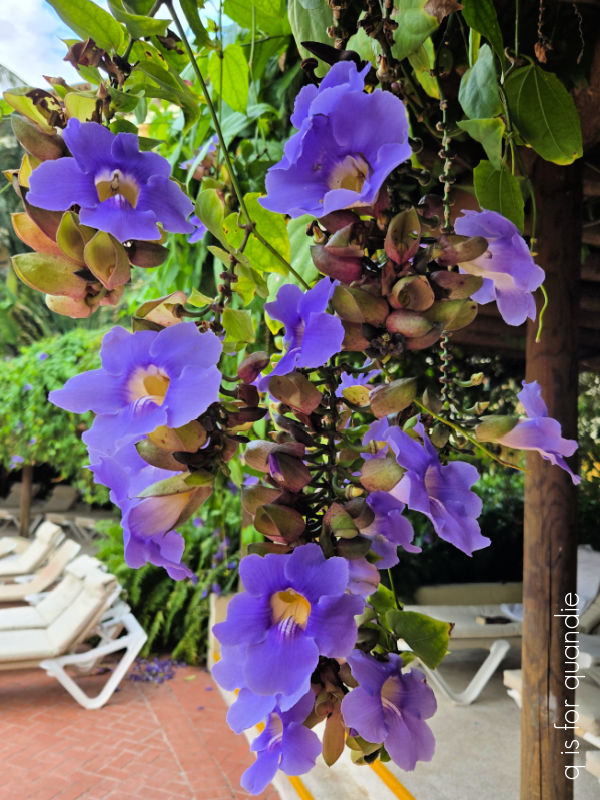
 It certainly is a beautiful display, but it was fairly obvious that not all of the ‘flowers’ are real. Certainly that purple vine was artificial.
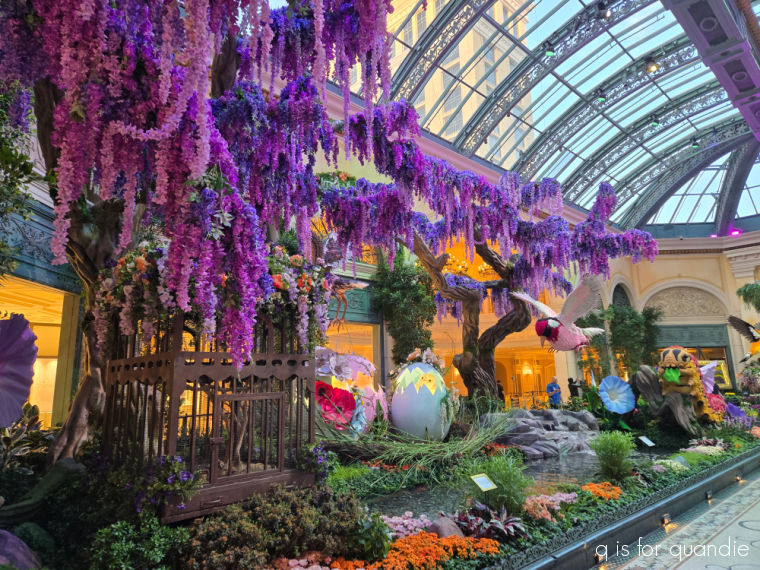