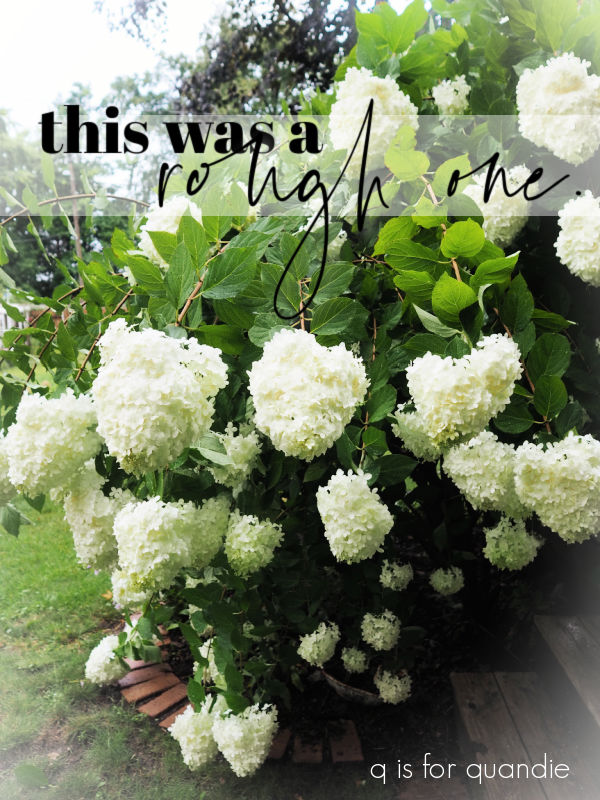
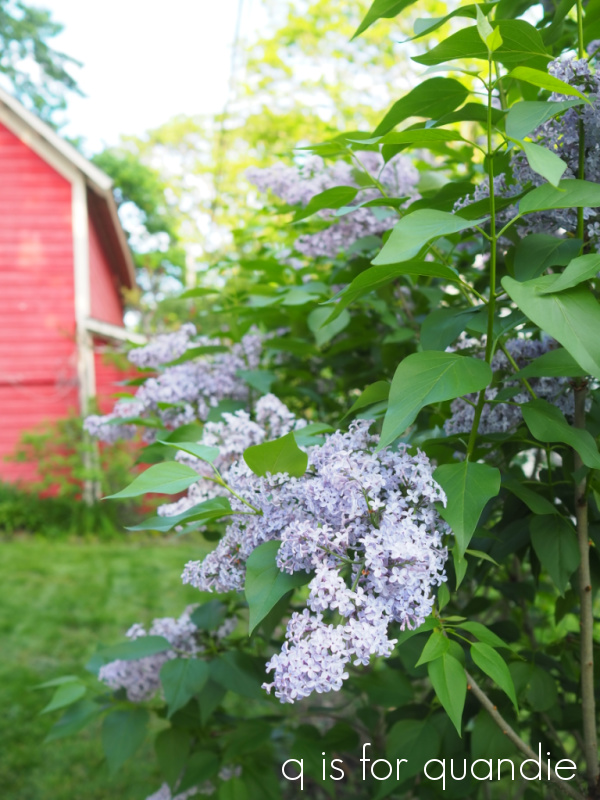
Good morning from the garden.
This year the Farmer’s Almanac is predicting a first frost date of October 10 for us in the Twin Cities. It seems a bit hard to believe since it has been in the mid-80’s and humid for the last two weeks. But I’m heading out to California, and then Vegas, next week and I won’t be back until after the 10th. So, I decided I’d better pot up my rex begonias and bring them in the house just to be on the safe side.
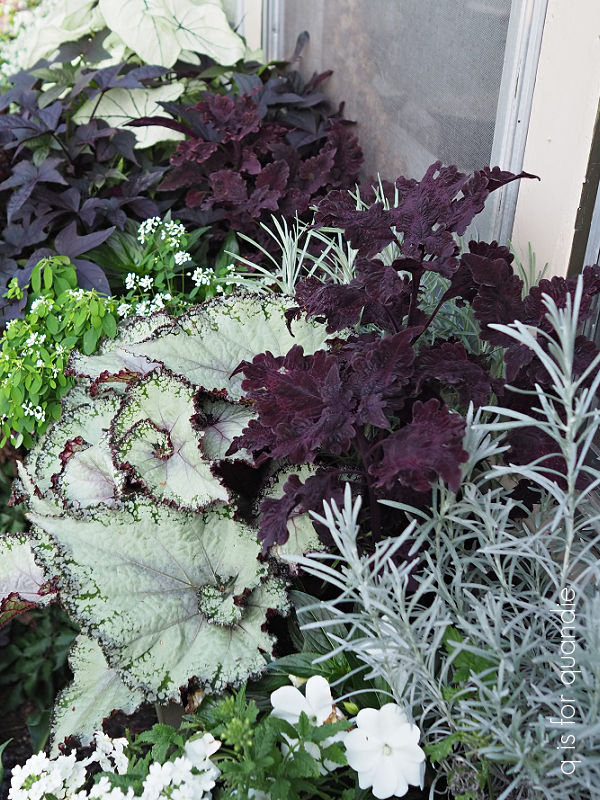
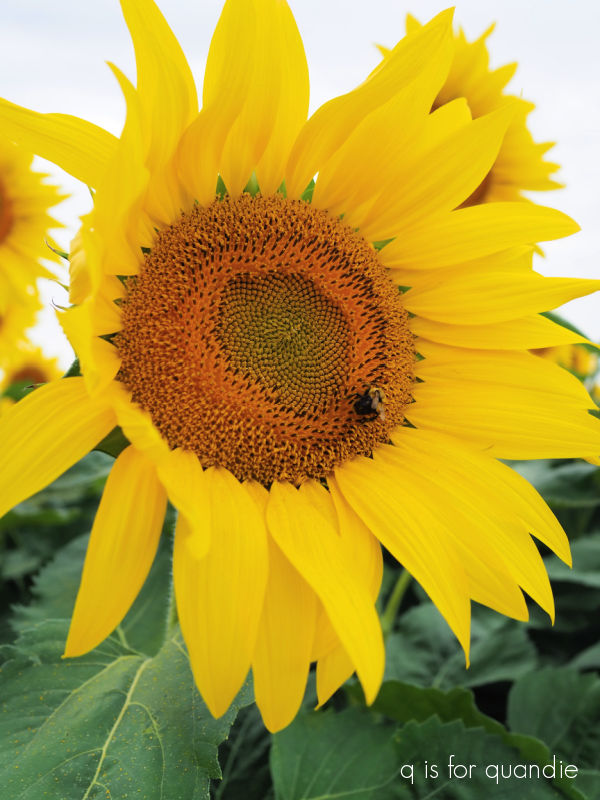
In case you don’t remember, I planted two really gorgeous rex begonias in my front window box this year.

They did amazingly well in there.
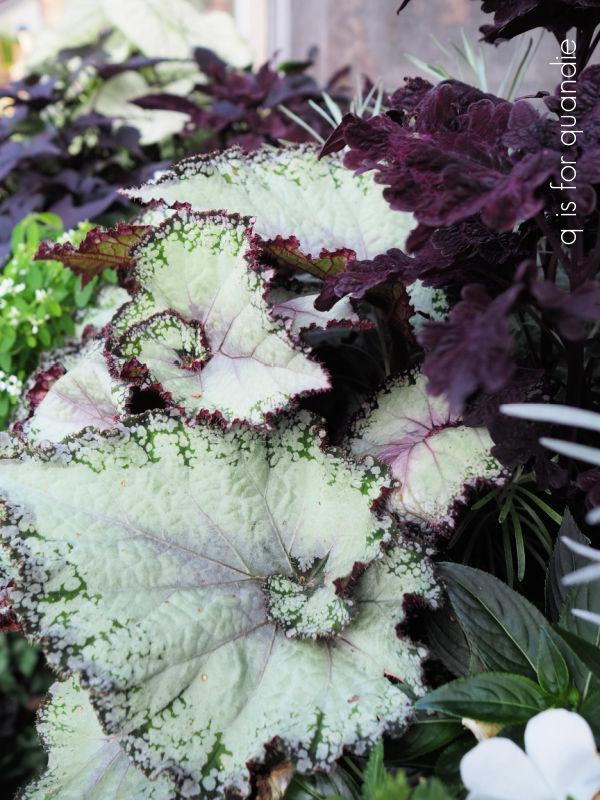
In fact, this has been one of my favorite combination of plants (here’s my post about what all I planted out there this year).
Here’s how everything looked when first planted it in May.

Not terribly exciting, I know.
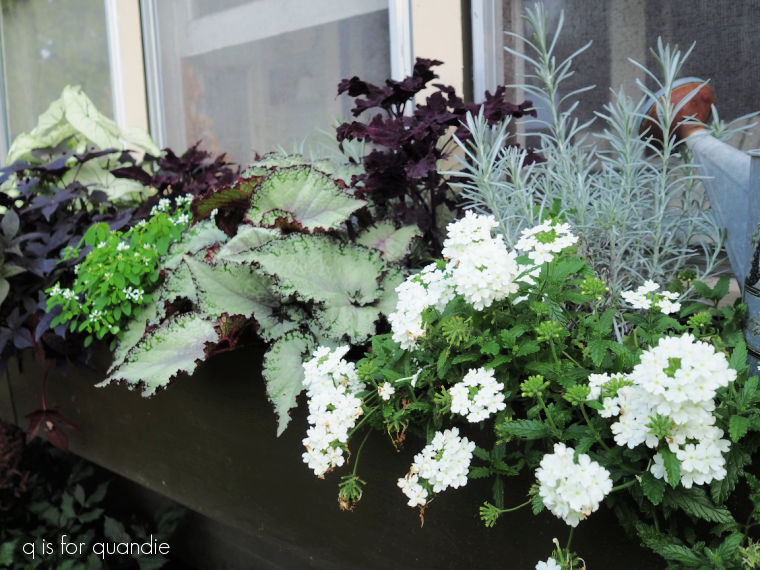
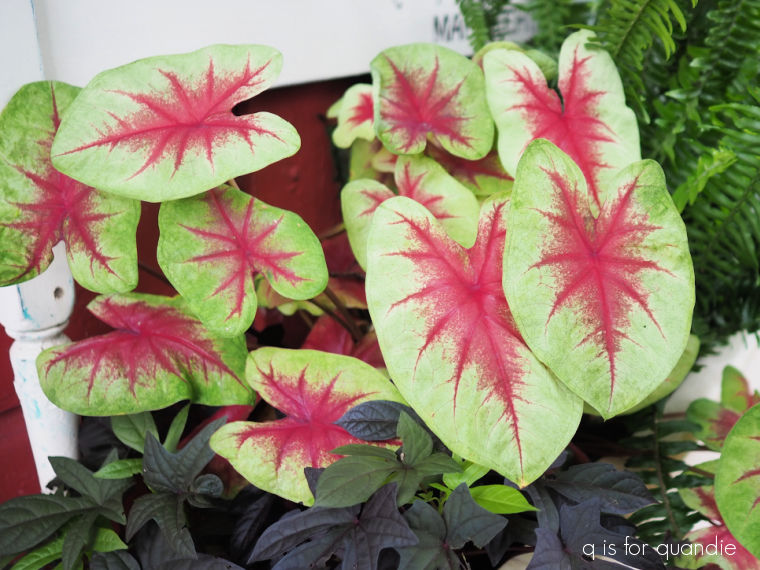
But here’s the look when it filled out.
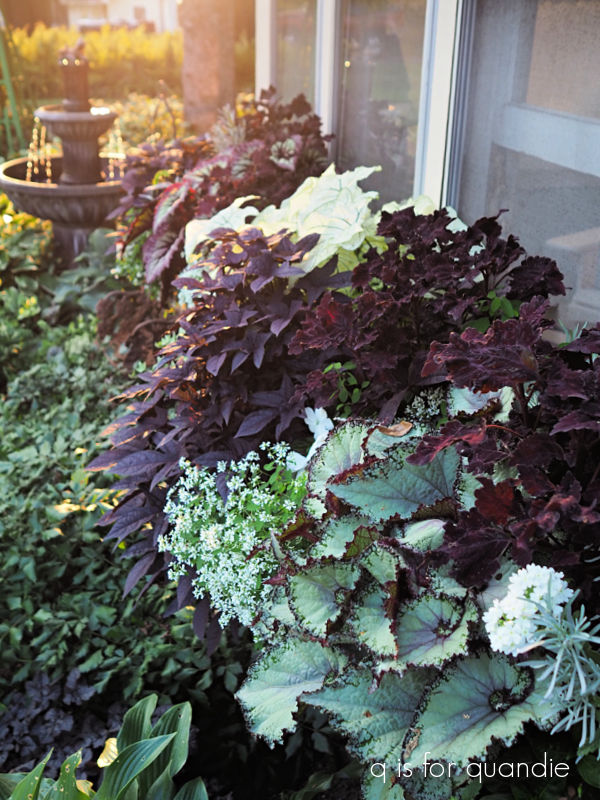
As expected, the Blackie sweet potato vine grew like mad.

The white caladium took a while to take off, but once we got some hot and humid weather it filled out nicely.
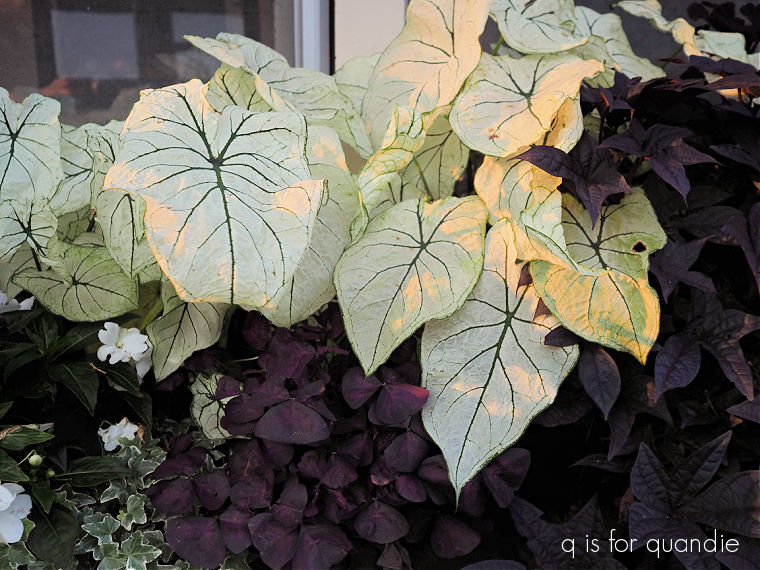
The Charmed Wine oxalis ended up being overtaken a bit, and the white New Guinea impatiens were almost totally crowded out in the end.
But overall I was very happy with the 2024 window box.

That brings me back to saving those begonias.
There are several different options for overwintering a rex begonia. First, you can let them die back after the first frost, clean the soil off the tuber, and then store it in a warm dry location over the winter. I have tried this method twice with caladium and failed miserably both times.
Another option would be to propagate new plants from leaf cuttings, and then nurture those over the winter in pots. They would be a more manageable size if space is limited in your windowsill.
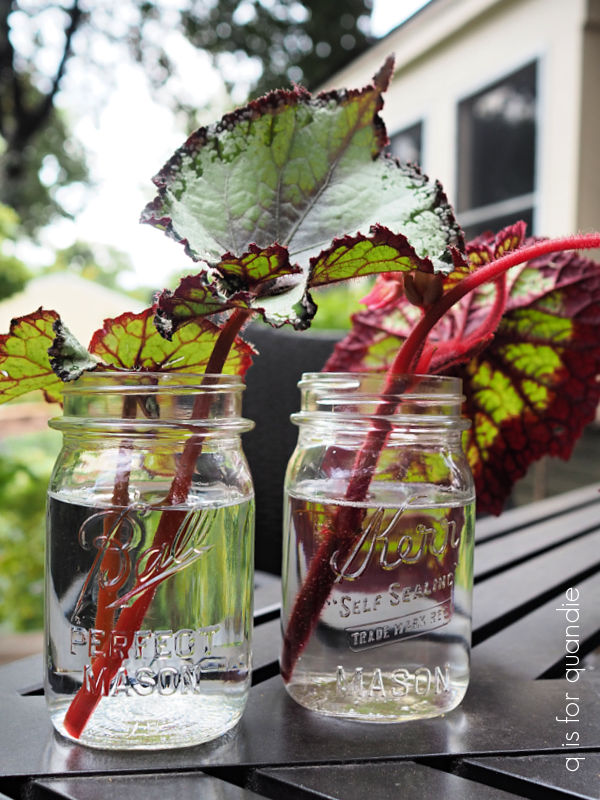
An even simpler method is to cut a stem off the plant, pop it into a jar of water, keep the water topped up and wait for it to grow some healthy roots. Then pot that up for the windowsill.
My original plan was to just pot them up and try to keep them alive as houseplants over the winter, but as I was re-potting them I did a little pruning and then decided to put some of those stems in water too.
I admit I’m a little nervous about the houseplant thing after reading this advice from Proven Winners:
“Rex Begonias are a bit more of a challenge for indoor growing, but with a high humidity level can be gorgeous with bright filtered light. These plants like constant moderate moisture, high humidity, and regular fertilization. They do not go dormant, so never allow them to dry out. They are very sensitive to dry roots and quickly decline if not cared for.”
My house is definitely not humid in winter, so I’m going to have to work on that. My plan is to place them in low tray filled with pebbles and water, sometimes called a humidity tray.
But first I had to pull them out of the window box and pot them up.
And let me tell you, I really had a tough time convincing myself to pull them out. They looked so good, I hated to mess that up.
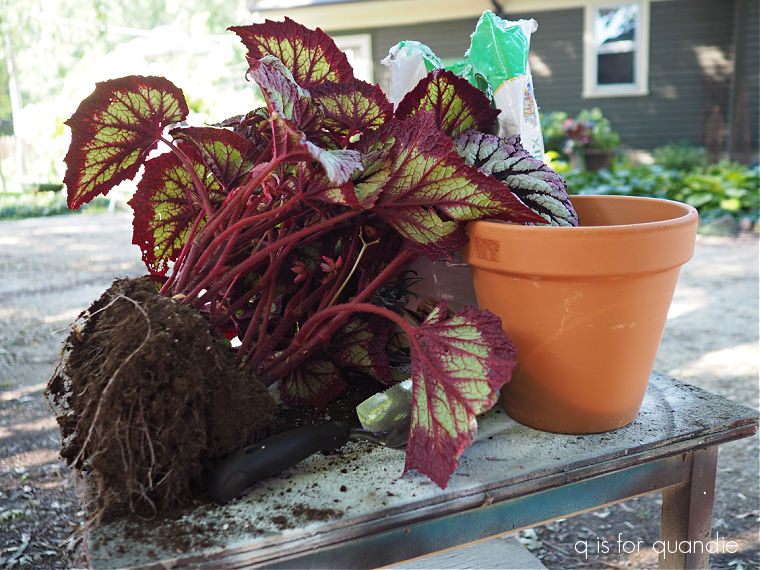
I was surprised to find that neither of them had established very deep roots, so I googled it and sure enough rex begonias have shallow roots that prefer to spread outward rather than down. Which means I have provided the wrong kind of pot for them. I should have put them in large shallow pots, rather than deep pots.
Well, strike one.
But I got them potted up and for now they look pretty good.
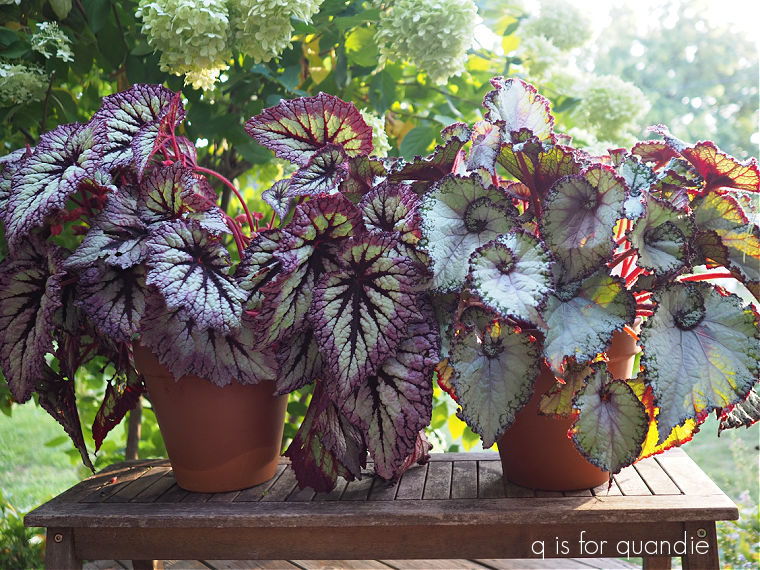
The one on the left is a tad droopy so far, but the one on the right is standing up perfectly.
We’ll see how long that lasts.
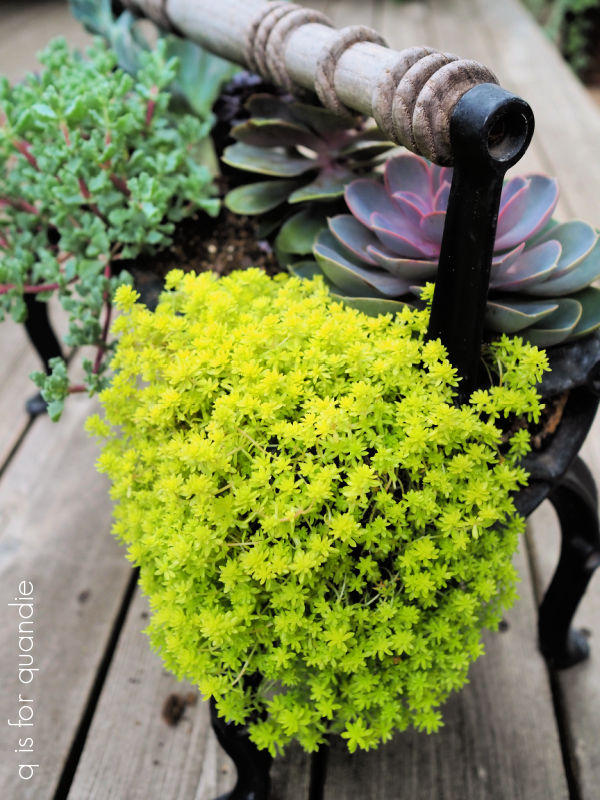
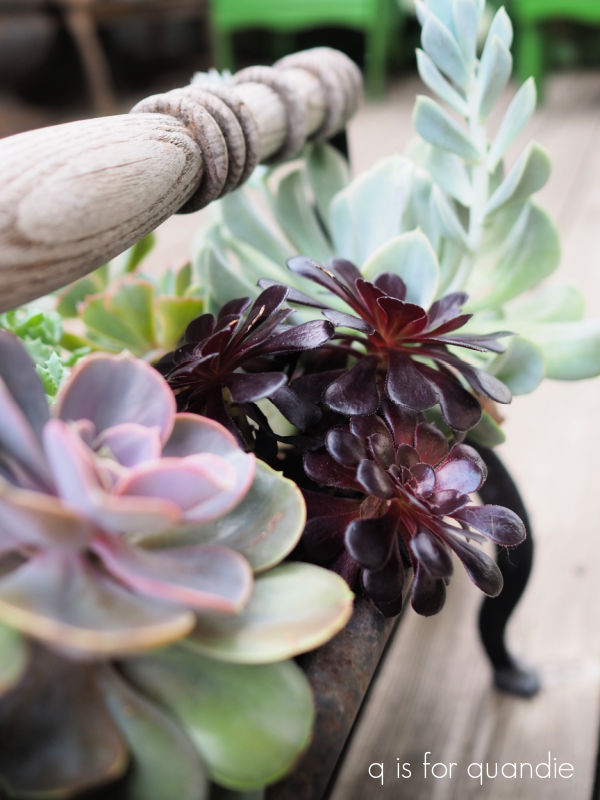
While I was at it, I also decided to re-pot the succulents that were in my newspaper roller for winter.

I overwintered succulents in this container last year and it was a bit of a hassle because I couldn’t water it without making a mess. Plus it took up a lot of valuable real estate on my window sill. I have to fit those rex begonias in that spot this year too.

I have to admit that I don’t usually get great results overwintering plants. I usually do really well until around January, and then I get tired of taking care of them. I’ve tried overwintering pelargonium (a.k.a. annual geraniums), scented geraniums, oxalis and those succulents last year, all with very limited (or no) success.
I did do well with the streptocarpus last year …
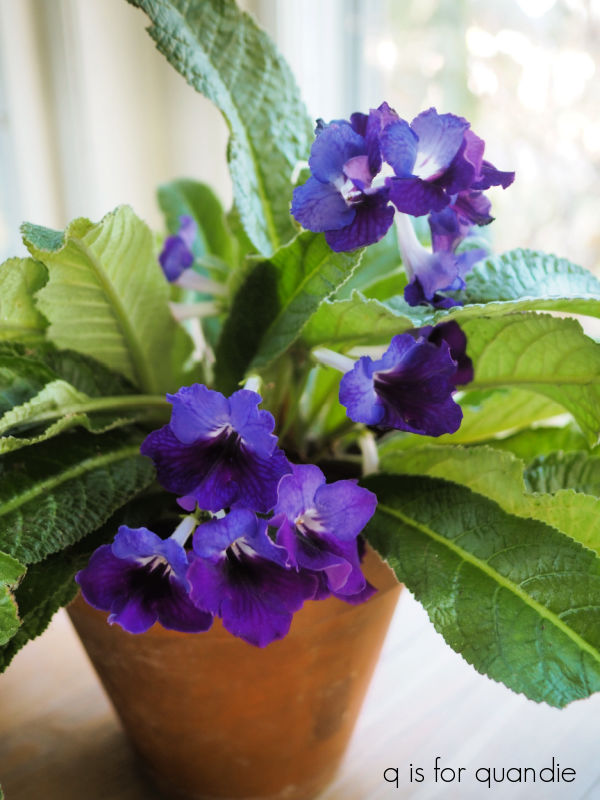
only to kill off all but two of them this summer when we had so much rain.
To be honest, I’m not really sure it’s worth the effort. It’s far easier to just buy new plants in the spring. But I’ll give it a shot with these rex begonias and see what happens.
Now, how about you? Are you planning to try and overwinter any plants this year? Or do you have experience with overwintering things in years past? Leave a comment and let me know.


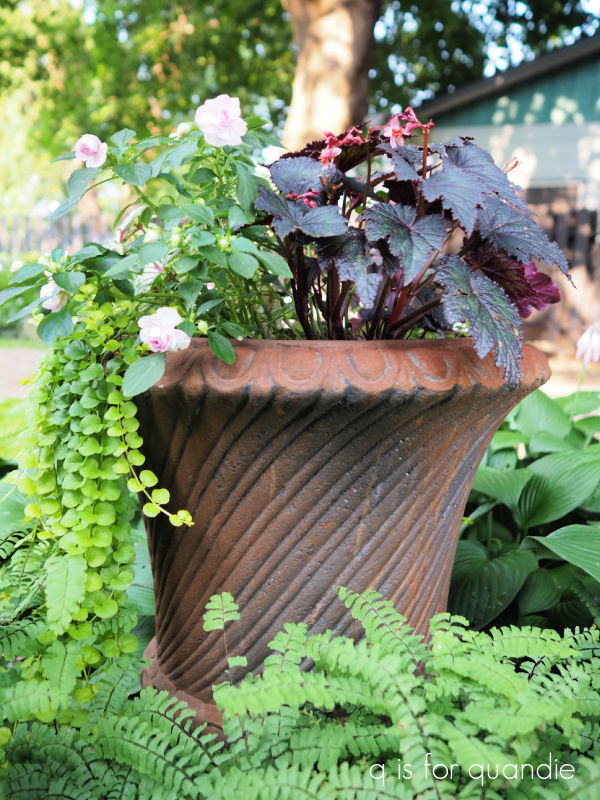
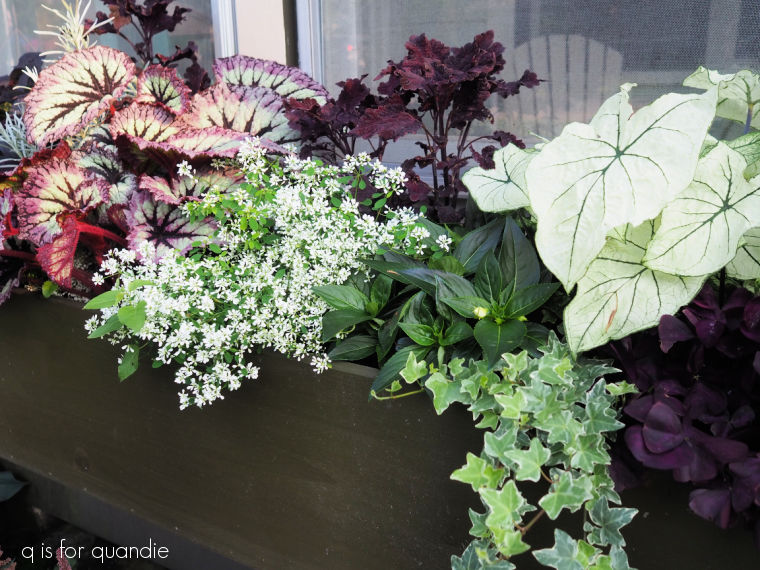 When I planted this one up I called it a ‘black and white’ combination.
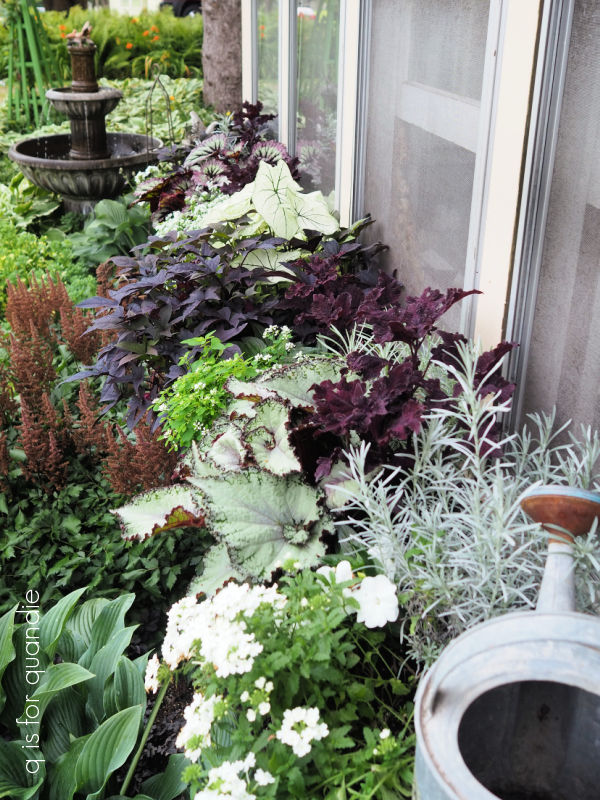 For the ‘white’ elements, I used white New Guinea impatiens and Proven Winner’s Superbena Whiteout.