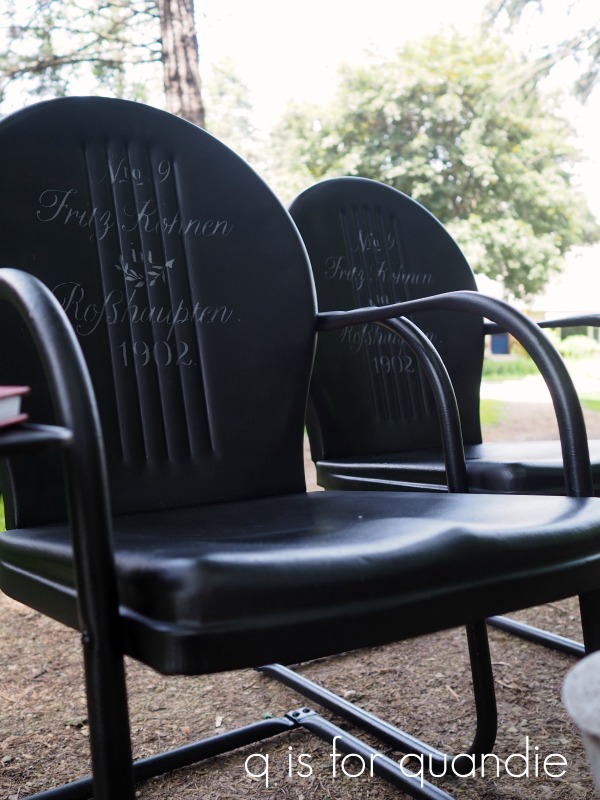
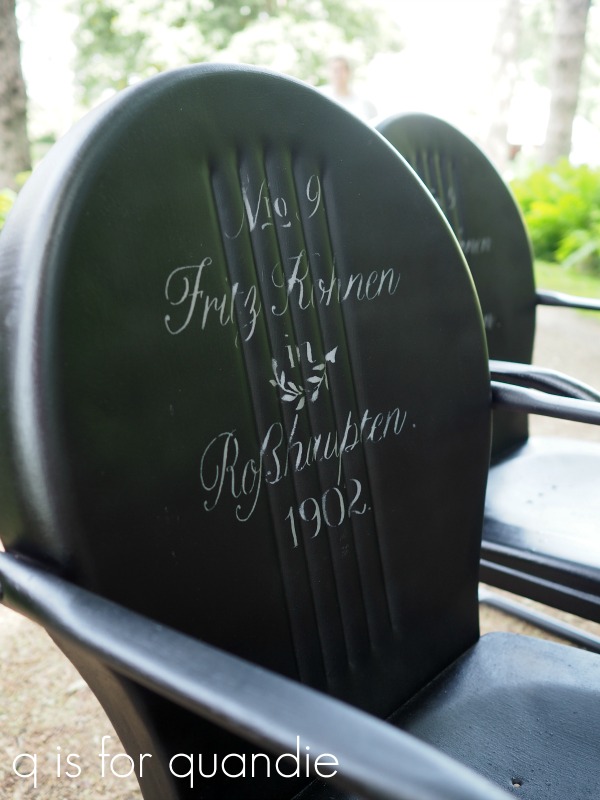
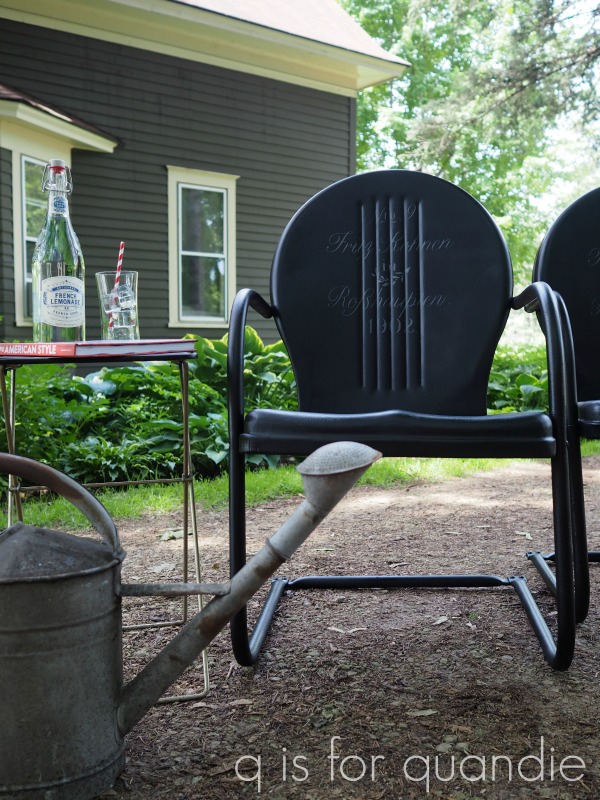
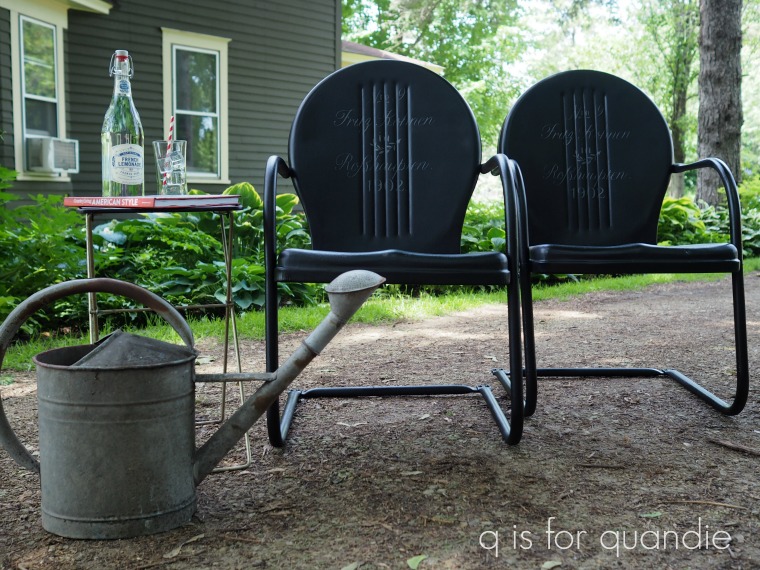
a pair of motel chairs.

I showed you guys a terribly blurry photo of my haul from the Prospect Park sales last week.

I’m afraid this will have to do for a ‘before’ photo of the pair of motel chairs that I found there because I never took a better one.  It’s a bit hard to tell, but they were painted brown.  What’s with the brown anyway?  The planters I shared on Monday were originally brown too, but from an entirely different garage sale.

Anyway, I mainly snatched these up because they were super cheap and thus too good to pass up.  Once I got them home I realized I didn’t have a spot for them and would most likely sell them.

I knew I wanted to paint them, and I thought spray paint would be the easiest option.  Since I happened to have a bunch of black spray paint on hand, I decided to go black.  I also felt black would be a neutral choice that would sell well.

This is RustOleum Canyon Black in a satin finish.  And even with the satin finish I feel like they are just a bit too shiny for my taste.  Plus the sheen isn’t perfectly even, which bothers me.

But I went ahead and moved on anyway, adding one of my favorite stencils to the backs of the chairs.

I used my normal trick of stenciling in a color called Deep Taupe, which is actually a dark greige color but reads much lighter when used over black.  This worked beautifully on my baby grand …

But I think the sheen of the spray paint is messing with that combination.  At certain angles it’s hard to even tell that these chairs have a stencil on them.

I don’t know, maybe that subtlety works for them?

Or should I spray over them and try again with a lighter color?  or maybe a different stencil entirely?

It would be simple enough to do.

Or am I just being too critical of my own work (which has been known to happen)?

Go ahead and share your thoughts on that with me in a comment.

Fair warning though, I’m on the road today with my mom and sister.  My cell connection might be a bit spotty so I may not be responding to comments right away.  We are heading to South Dakota to visit my mom’s cousins for the 4th of July holiday.

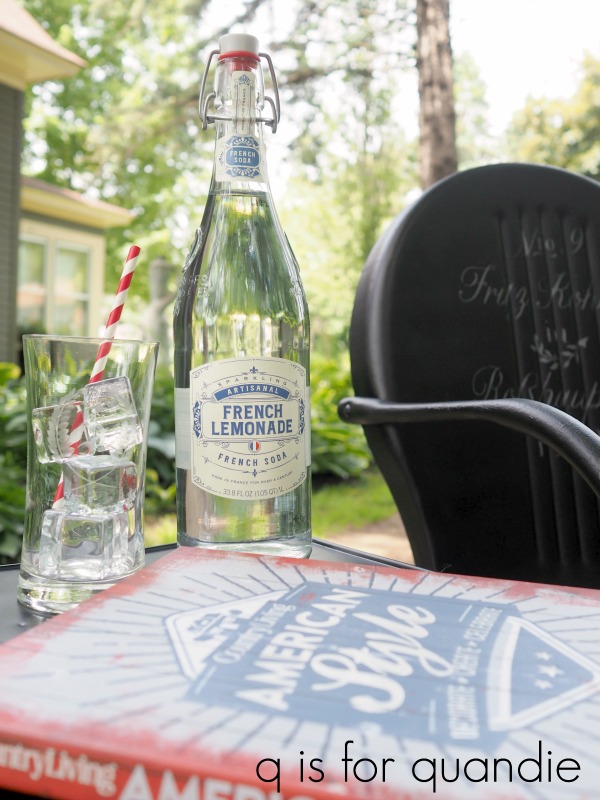
Speaking of which, my simple staging of these photos was supposed to represent the holiday in question.

I’ve got the red, white and blue colors right, plus the Country Living American Style book.  But I have to laugh because I’ve paired it with French lemonade and a German stencil on the chairs.  What can I say?  I fully embrace all nationalities.

That being said, Happy 4th of July to my U.S. readers!

a pair of rusty planters.

Have you ever priced those fabulous rusty old cast iron planters?  Like this pair …
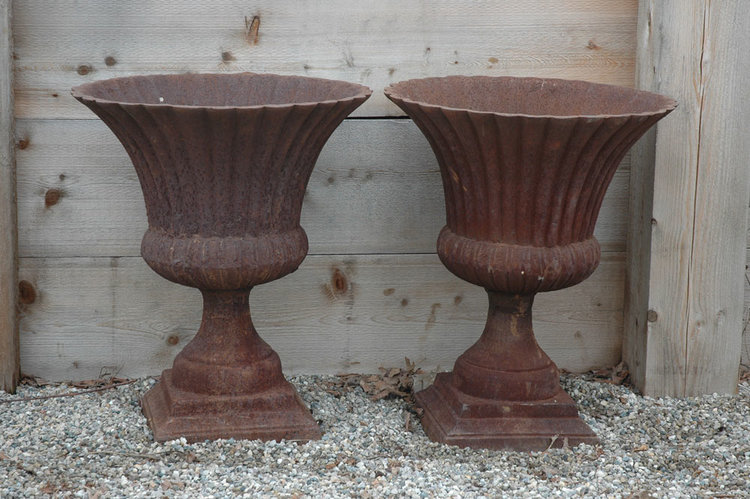
These are available online at The Garden Vault for $850.

So gorgeous, and so totally out of my price range.  That’s why I’m really excited about the Patina Paint products from Dixie Belle.  I got nearly that same look for a fraction of the price.

Of course, in my case it helped that I first found a pair of planters at a garage sale for $30.  But you can find similar planters at Wayfair for about $35 each.
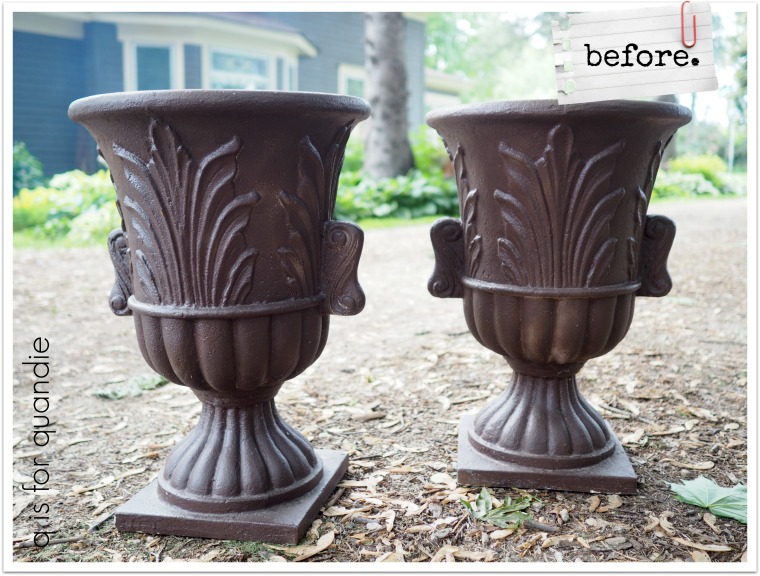
These are made out of that molded composite stuff.  Here’s a close up so you can get a better look.
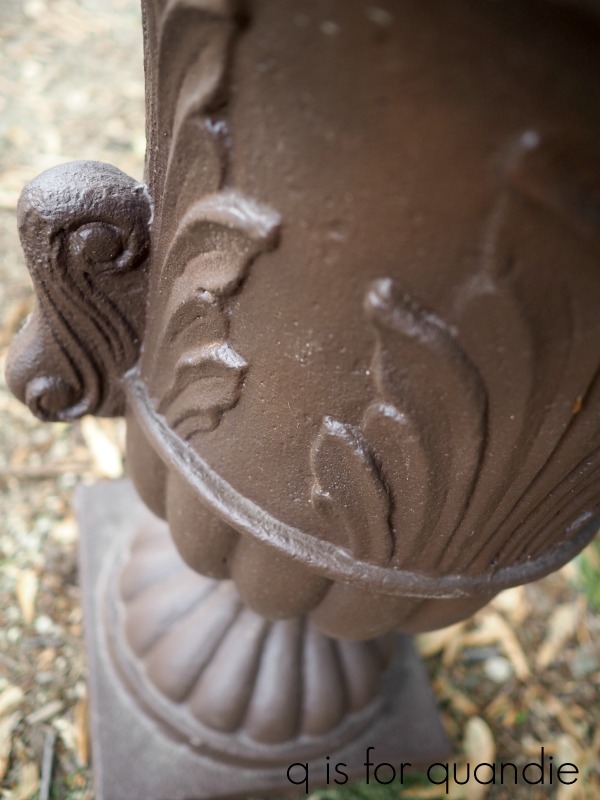
It looks like concrete, but it’s not.

Their existing blah brown paint job was definitely not doing them any favors, but the moment I saw them I knew they were the perfect candidates for a rusty finish using the Patina Paint.

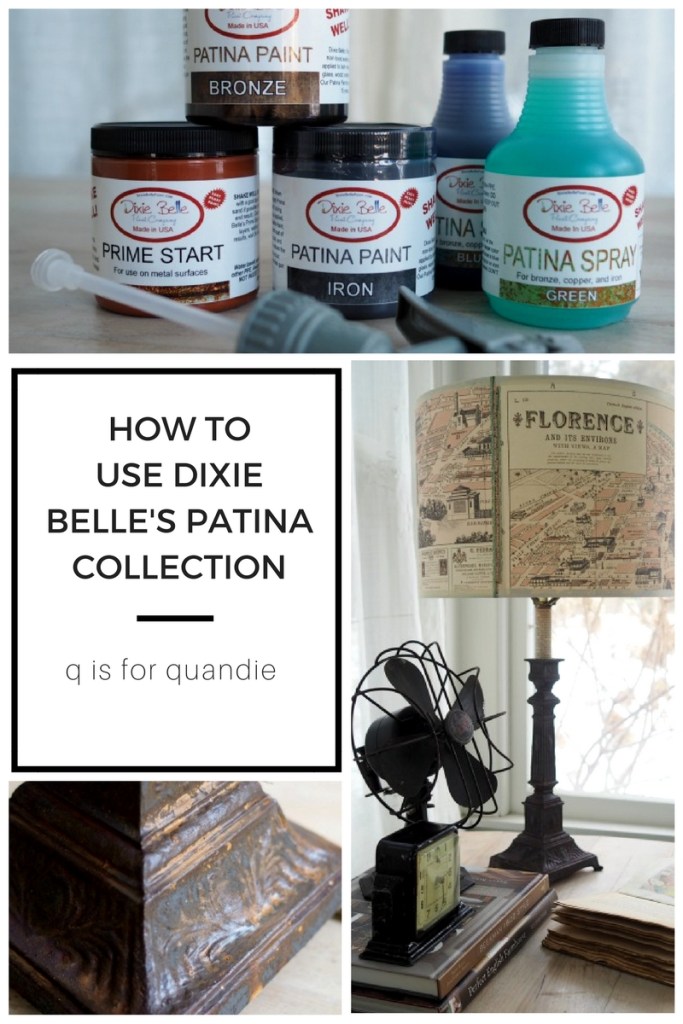
For this project I used the Iron paint and the Green spray.

Since my planters were already painted, I didn’t need to give them a base coat.  However, if you are starting from bare plastic, wood, plaster or glass you’ll want to start with a base coat of any color of Dixie Belle paint.  If you’re using the Patina Paint over metal you’ll want to be sure to use the Prime Start instead of paint.  The Prime Start prevents the rusty finish from actually deteriorating your metal.

But I was able to skip those steps with my composite planters.  All I had to do was clean them and then paint the Iron paint right over the existing brown paint.Be sure to mix the paint well before applying it.  This paint contains actual flakes of metal that create the rusty finish.  They will settle to the bottom of the jar over time, so be sure to get them mixed up before you begin.

I painted one coat, let it dry and then added a 2nd coat.  While the 2nd coat was still wet, I sprayed the planter with the Green spray.  This can be messy and a little smelly, so I prefer working with these products outside.  If that’s not an option, keep in mind that this spray will drip so protect the surface you are working on and also protect yourself with any recommended safety equipment.

The next part is easy, (unless you’re the impatient, instant gratification sort, not pointing any fingers here, except possibly at myself) just wait.  It took about two days for my planters to look like this …

Kinda hard to tell these aren’t genuinely rusty iron planters, don’t you think?

I was able to snag a pair of matching flower baskets for my planters from my local nursery (Country Sun in Stillwater in case any of you locals are wondering) at their close out sale.
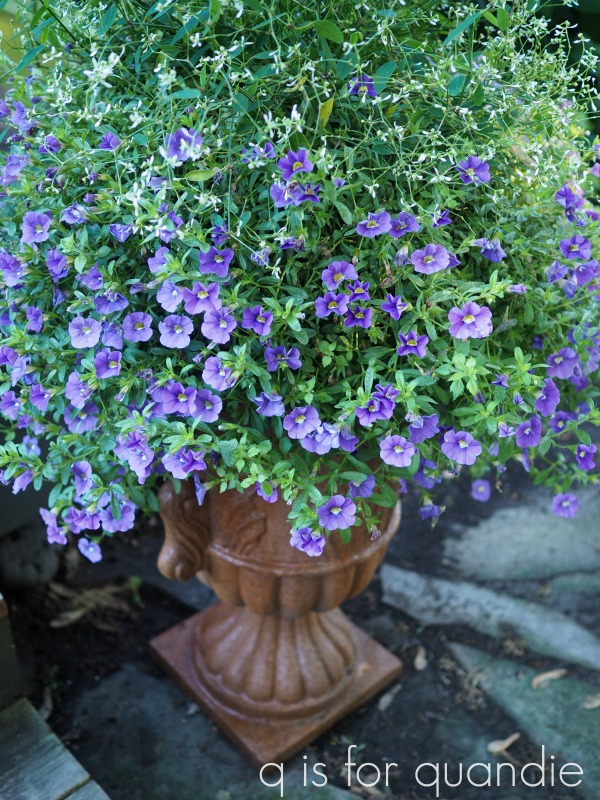
This late in the season it was a bonus to find a matching pair.

The planters are perfect for either side of the steps up to our deck.
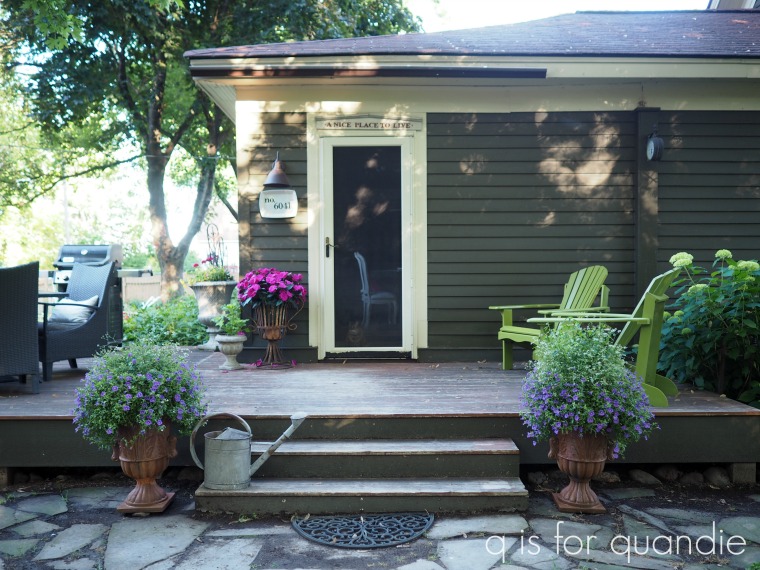
If you look closely, you can see my favorite photo bomber (my cat, Lucy) peeking out the screen door.

You can also see the Adirondack chairs that my handyman/neighbor Ken makes.  Quite a few years ago nnK had the most comfortable Adirondack chair and she wanted another one like it but a little wider and with wider arms that could easily hold a beverage, so Ken simply took her chair apart and made a pattern from it with a few adjustments.  Now he cranks these chairs out all the time.  He hates to paint though, so he sells them unfinished.  I originally painted mine with a brush, but that ended up being far too putzy with all of those slats so now I spray paint them.
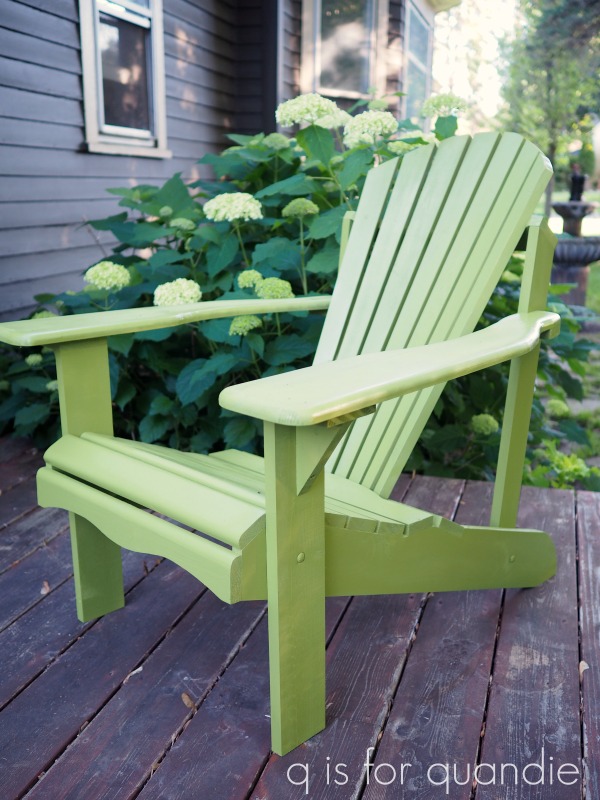
This is Rust-Oleum spray paint in a color called Eden.

This color works just beautifully with my house color, and also with my nearby plantings.
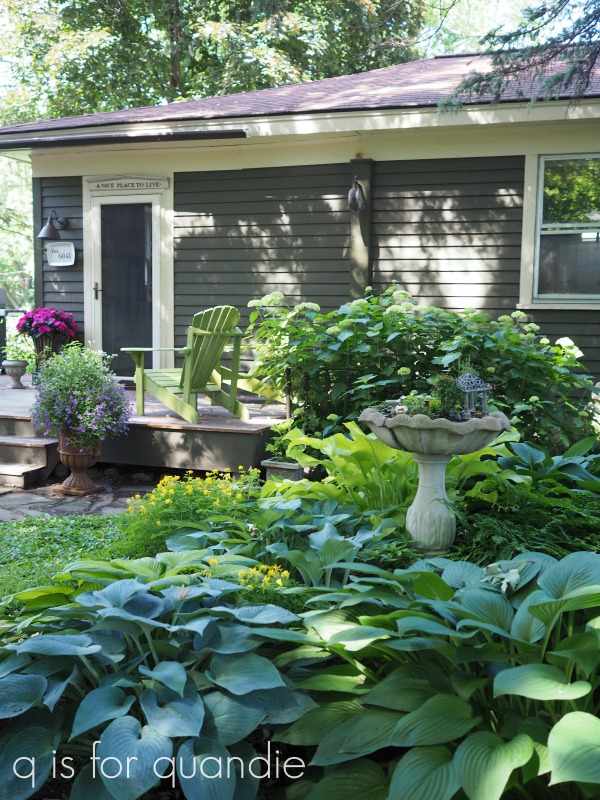
Especially the bright chartreuse of the Sun Power hosta (to the left of the fairy garden bird bath in this next photo) and the Guacamole hosta (lower right corner).
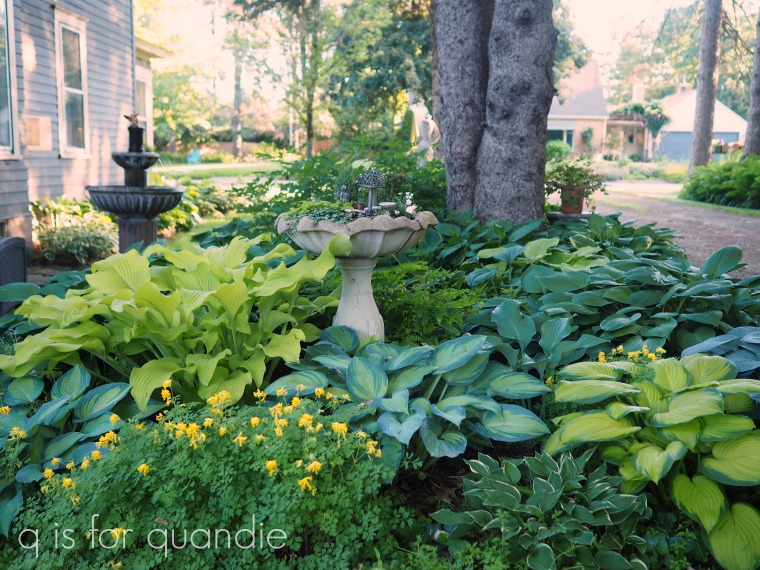
Since we’re out in the garden now, let’s take a look around.

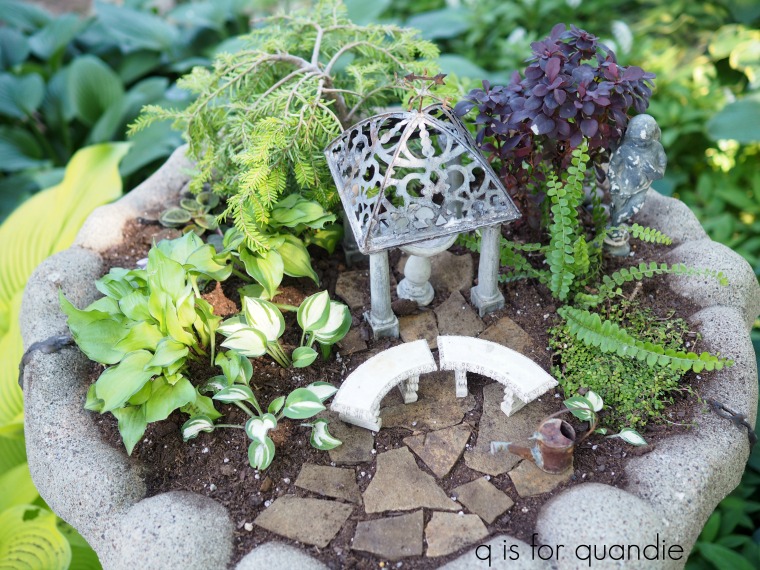
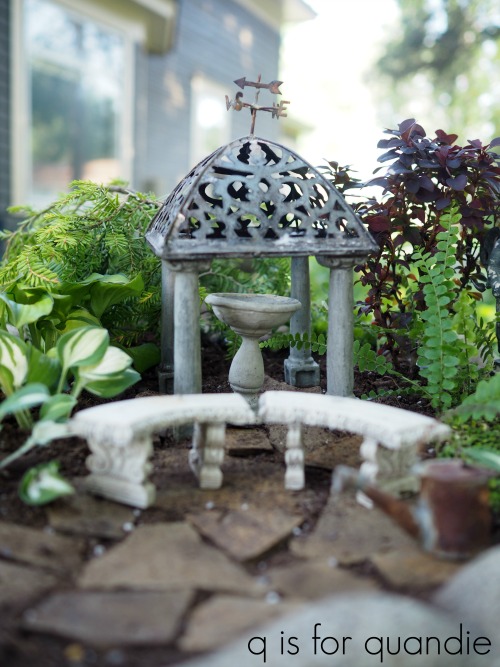
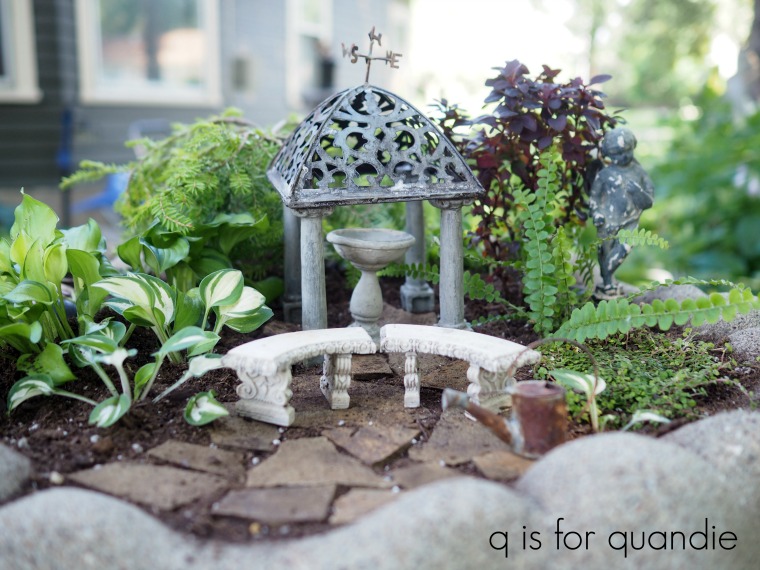
Here’s how my fairy garden is looking this year …
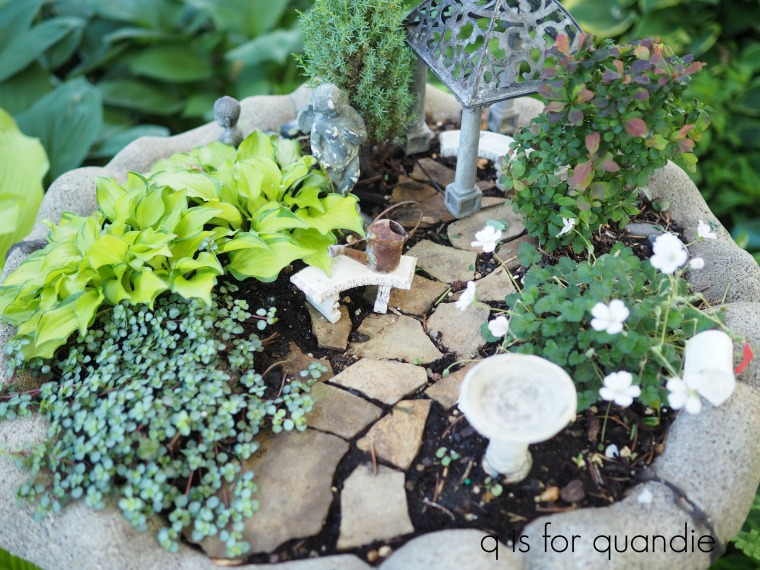
For protection over the winter, I bury the entire top of the birdbath in the garden near the house.  Last winter was a rough one though.  So a few things in the fairy garden didn’t make it, including a couple of miniature hostas and miniature evergreen.
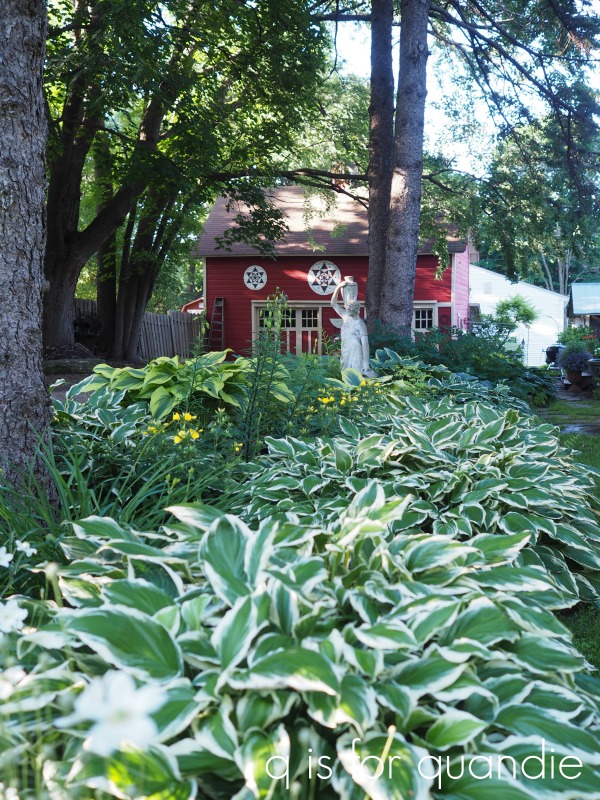
My gardening style can best be described as ‘jam packed’.  I figure if I don’t leave any space for them, the weeds won’t grow.  It really does work fairly well.  Not all plants are happy this way, so when one starts looking a bit peaky I’ll dig it up and move it somewhere else.  Or just dig it up and give it away.

Over the years I’ve gotten rid of plants that are just too persnickety for me too.  If they don’t grow well with little human intervention, then they have to hit the road.
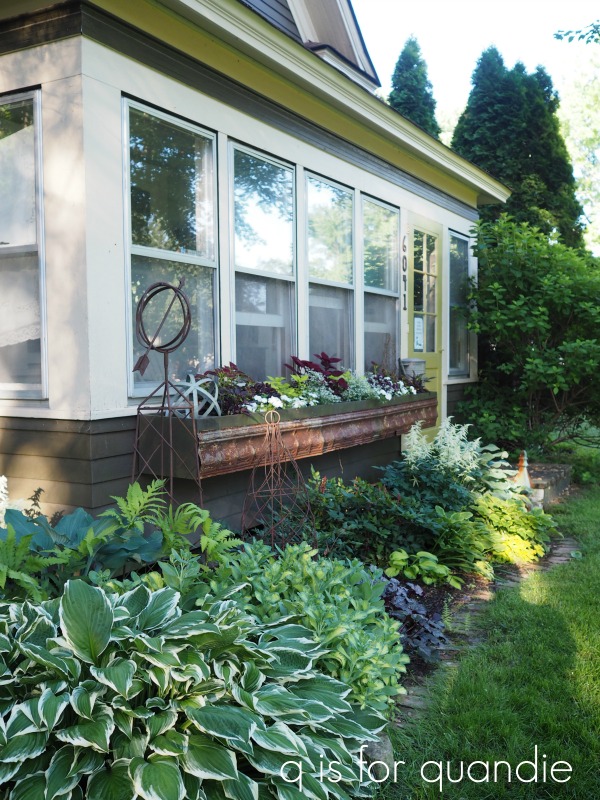
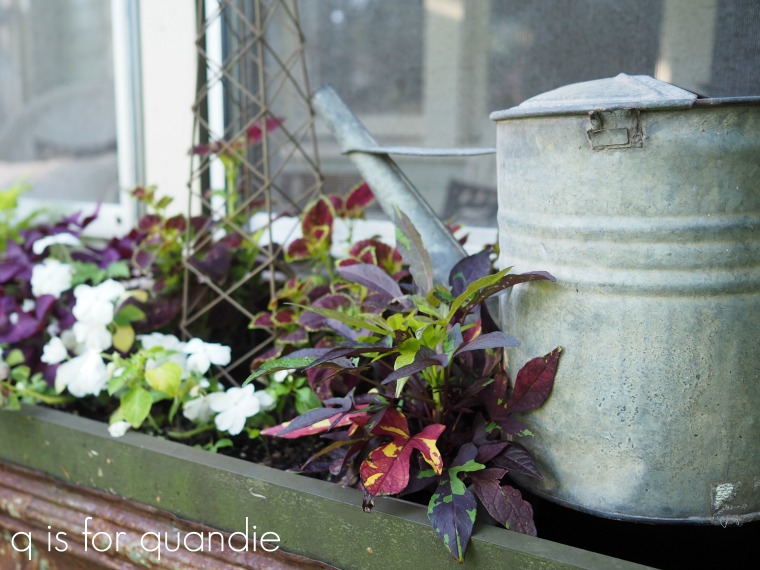
I’ve written about the window box along the front of my house before.  Every year I try different combinations in it (here and here are a couple from past years).  This year I have a medley of coleus, some white impatiens, purple oxalis, and a fun new variegated sweet potato vine.
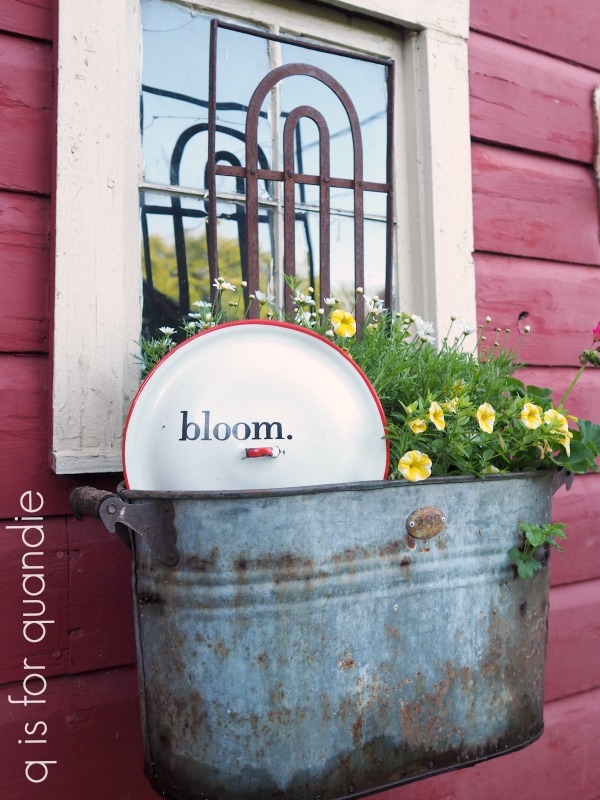
I stuck with some old favorites in my copper boiler planter though, lemon slice petunias and daisies.
Here’s a quick update for you on my picnic basket planter.
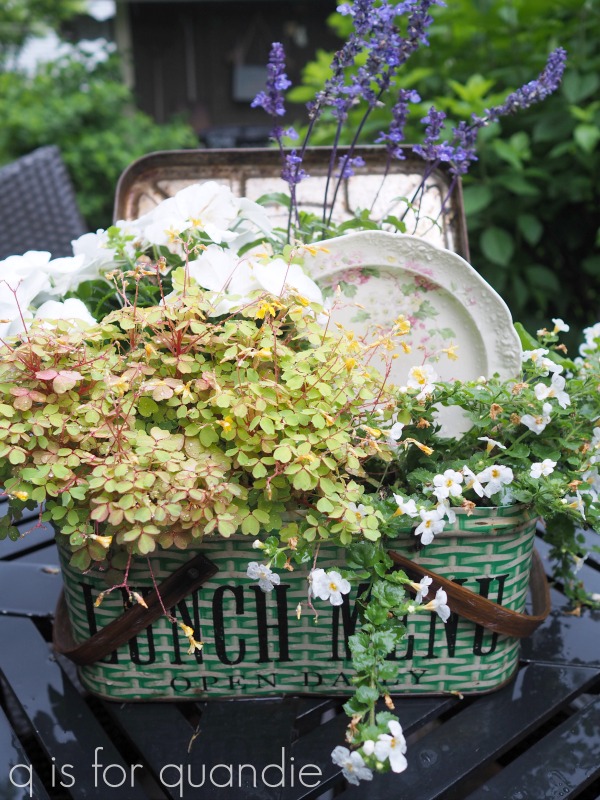
If you’ll remember, I added a Prima Marketing transfer to it and I’m testing out how well it holds up outdoors for the season.  So far, so good.  It was getting rained on as I took that photo, and it has also spent some time baking in the sun and the transfer still looks as good as new.  The basket itself is rusting quite a bit though.

And, P.S., as you can see I found a spot for one of the plates I purchased at the Prospect Park sales 😉

So, back to my pair of rusty planters.
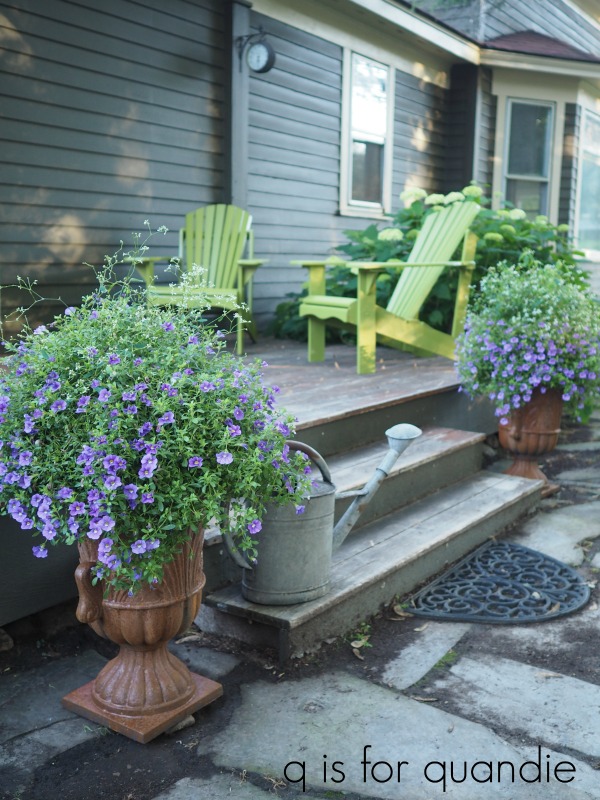
How about some math?  Sorry, some of you probably hate math but the accountant in me can’t resist.  I could have spent $850 for the pair of antique planters from The Garden Vault, but instead I spent $30 on my pair of garage sale planters.  Dixie Belle provided me with the Iron Patina Paint and the Green spray for free, but had I purchased them they would have cost me $16.95 each.  So for around $64 I have a pair of rusty planters that look pretty spectacular.  Plus I used less than half of the Iron paint and probably not even 1/3 of the Green spray, so I have plenty left to create more rusty garden treasures!

If you’re looking to purchase some Patina Paint, you can shop online with them here.

Normally this is the time when I say ‘if you are a local and need a pair of rusty planters …’, but I’m definitely keeping these.  So I would encourage you to try the Patina Paint on some planters yourself!

protecting my rusty pedestal.

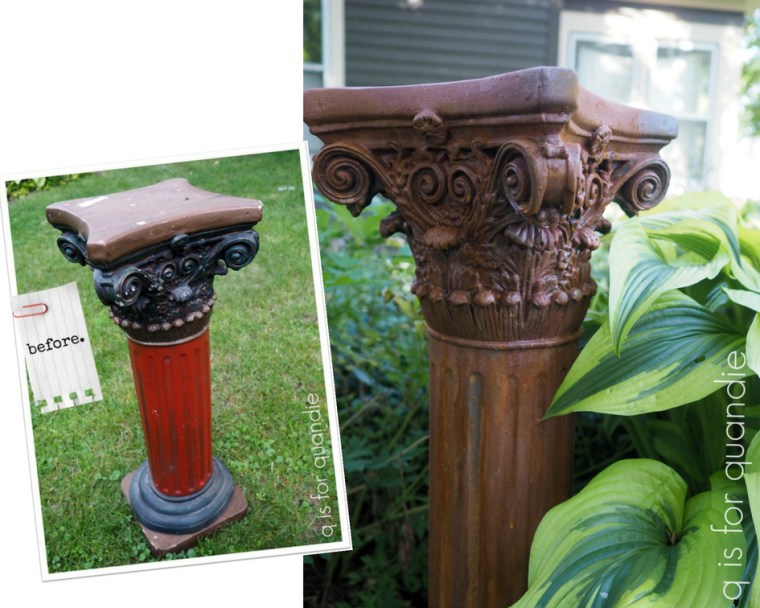
If you’ll remember back, last year I painted an ugly old plaster pedestal using Dixie Belle’s Patina Paint.

You can find all of the details on that original makeover here.

I used the Iron paint and the Green spray to get a rusty looking finish on my pedestal.

I promised to keep you guys posted regarding how well this product stood up to outdoor exposure.  The pedestal was out in my garden all summer last year and come fall I was pleasantly surprised to note that it held up quite well even without any sort of protective top coat.

If anything, it had gotten even rustier looking (which is a good thing in my book).

Normally I would have been content to just leave it alone and put it back out in the garden this year (I stored it in my photo cottage for the winter), but I wanted to test out a relatively new Dixie Belle product called Patina Guard.

This is a top coat that was specially formulated to do several things.  First of all, it halts the patina-ing (OK, not a real word, but whatever) process.  As I mentioned, my pedestal continued to ‘rust’ over time.  If you don’t want that to happen with your piece, Patina Guard will prevent that.  Secondly, it prevents the patina from rubbing off onto things it comes into contact with.  For example, if you’ve used it on a bench and you want to be able to sit on it while wearing white pants.  Finally, it provides a more durable finish.

You simply apply 2 to 3 coats with a brush.  It couldn’t be easier to do, but FYI, this is not an ‘indoor friendly’ product.  It was quite stinky, so if you’re going to use it I recommend only doing so outside.

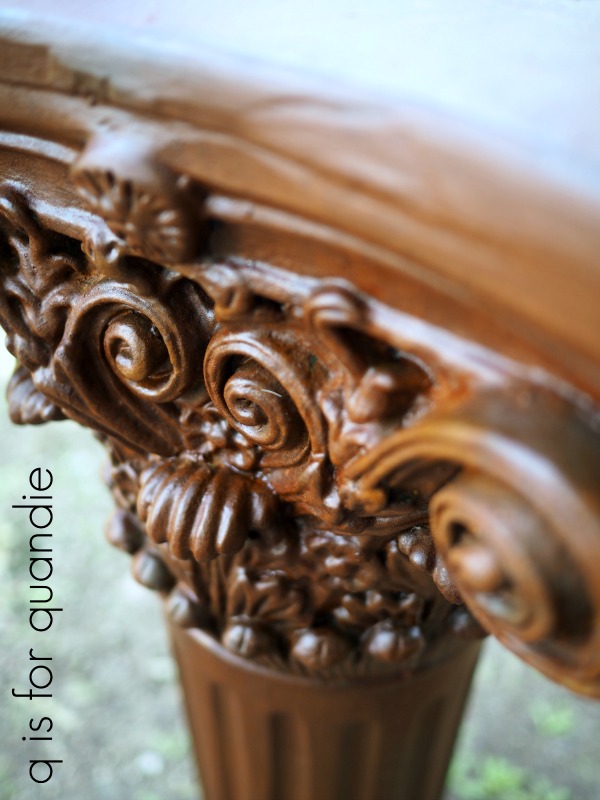
To be quite honest, I really rather wish I hadn’t used the Patina Guard on my pedestal.  Here is how it looks with the finish applied.

I preferred the more textured looking flat finish that the patina paint had before it was top coated with the Patina Guard.  The ‘after’ is just a little too shiny for my taste.  In my opinion, it looks a little less authentically rusty and more ‘painted’.

I think this is a personal preference thing.  Plus, for a garden ornament I’m not too worried about the rust rubbing off onto other things, so that part wasn’t necessary for me.  And, as I mentioned, this pedestal held up quite well outdoors last summer without a top coat, so I’m not sure I needed the extra durability.

Next time I think I’ll just skip the Patina Guard.  And there definitely will be a next time.  I absolutely love the Patina Paint products and hope to be making a few more rusty garden ornaments this summer!

In the meantime, I found a gorgeous potted fuchsia to put on the pedestal and I’ve tucked it behind my Sum & Substance hosta.

It still looks great, don’t you think?

Thank you to Dixie Belle for providing the products used in today’s blog post!

porous on purpose.

Gardening season isn’t quite here yet in Minnesota, but it’s just around the corner.  It’s definitely time to start prepping your supplies and getting ready to plant.

Today I have a sort of mixed bag of successes and failures to share with you.  It all started when I saw a YouTube video on how to whitewash terracotta pots using Miss Mustard Seed’s milk paint by Karla from Vintage Hip Decor.

I immediately thought it would be fun to take it one step further and add graphics to my pots using Fusion’s transfer gel.

So, let’s start at the beginning.  I pulled out a bunch of clay pots from my workshop.  Some were newer looking than others, and some still had dirt in them.  So my first step was to clean out the pots.

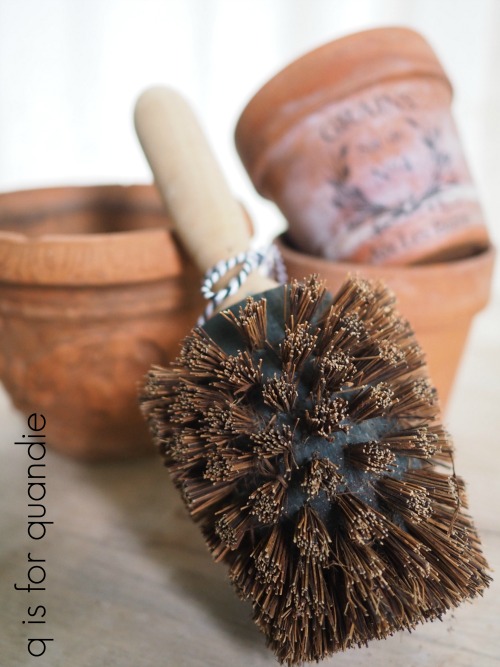
I purchased this awesome pot brush at a garage sale last summer.

It works great for removing crusty dirt from inside your pot.  Once that was done, I also scrubbed any dirt off the outside of my pots using plain hot water.  Keep in mind that clay pots can absorb soap or other cleaning products that you might use on them and that isn’t good if you’re going to actually put plants in them.

Next I followed Karla’s technique and I whitewashed all of the pots with Miss Mustard Seed’s milk paint in Farmhouse White.

I’m not going to give step by step instructions for this, but instead I’ll encourage you to take a look at Karla’s video (here).  It was super simple and I love the results.

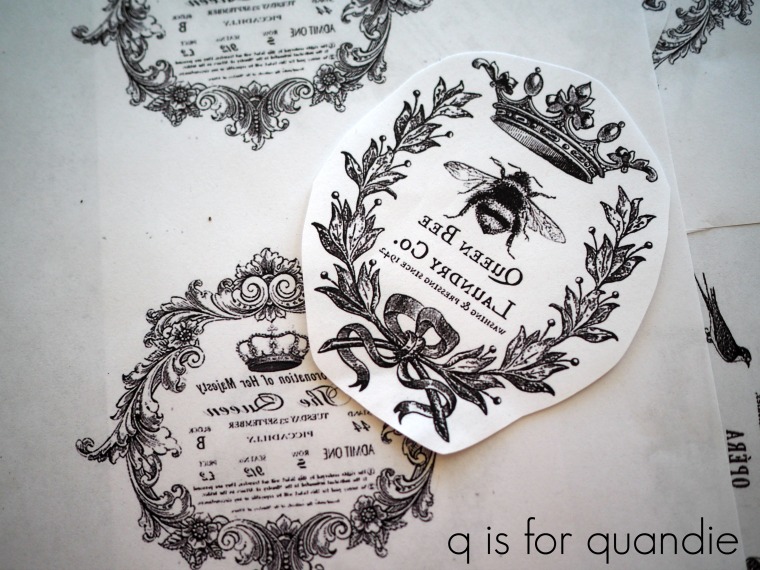
Next I printed out some reverse image graphics to use on my pots.

I’ve done transfers using Fusion’s Transfer Gel before.  You can find more info on that plus a printable version of instructions in this post.

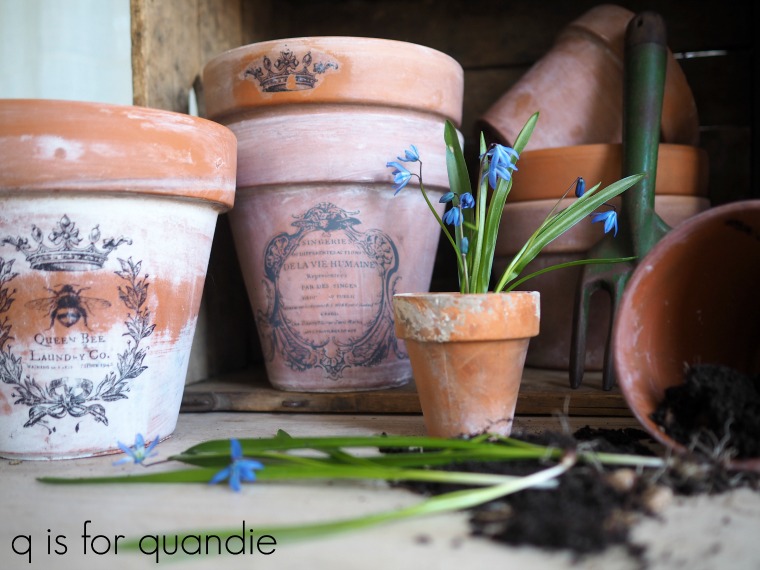
I’ve even had success putting them on clay pots before.  That “Grains” pot shown above is one I did a couple of years ago.  But for some reason, most of mine did not turn out this time.  If I scrubbed hard enough to remove the paper, it also removed the design itself.  Out of about 10 pots, only three worked out well enough for me to keep them.  FYI – on the rejects I was easily able to scrub off the entire mess using a plastic scrubby.

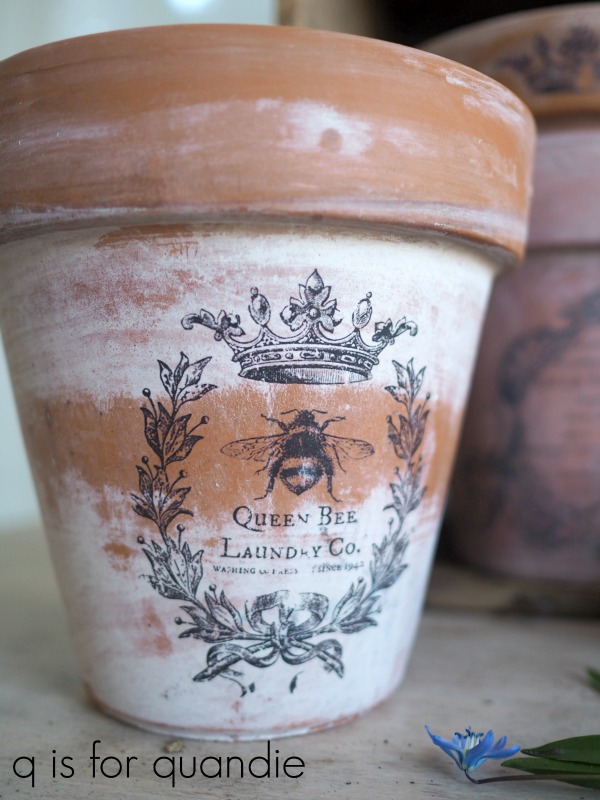
I was on the fence about calling the one shown above a ‘keeper’.  It’s on the border line, but I do love a distressed look.

This next one is my favorite …

I went a little heavier with the paint on that pot, and the transfer worked fairly well.  I don’t necessarily think it was the extra paint that caused the transfer to work better, but maybe?

Since I had such a fail with the gel transfers, I thought I’d give you another option for decorating clay pots and that’s to use the Prima Marketing French Pots transfers instead.

That lower pot on the left has a French Pot transfer on it.

They are gorgeous, and they go on much easier and more quickly than a gel transfer.  However, they are not as cost effective since you have to buy each one.  They come in sets of three and I’ve seen them for around $12 on amazon with free shipping, so around $4 per pot (just google ‘Prima Marketing French Pots transfers’ to find them online).  It’s not going to break the bank to purchase them, and it might save you a lot of frustration.

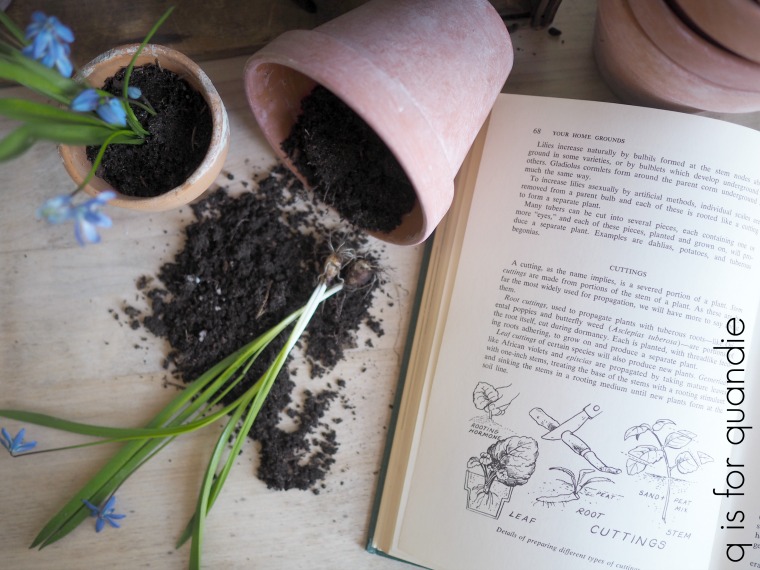
One last caution for you.  I consider all of these pots to be ‘decorative’.  In other words, I doubt they would hold up well outdoors or with a live plant inside.  Clay pots are porous on purpose.  Using a porous pot for your plants helps prevent over watering because excess water will leach through the pot.  However, that moisture coming from behind will compromise the paint and both styles of transfer.

If you do want to use the pots for real plants, I suggest keeping your plant in a plastic liner pot.

Take the liner pot and plant out of your clay pot to water it.  Let it drain, and then put it back in the clay pot.

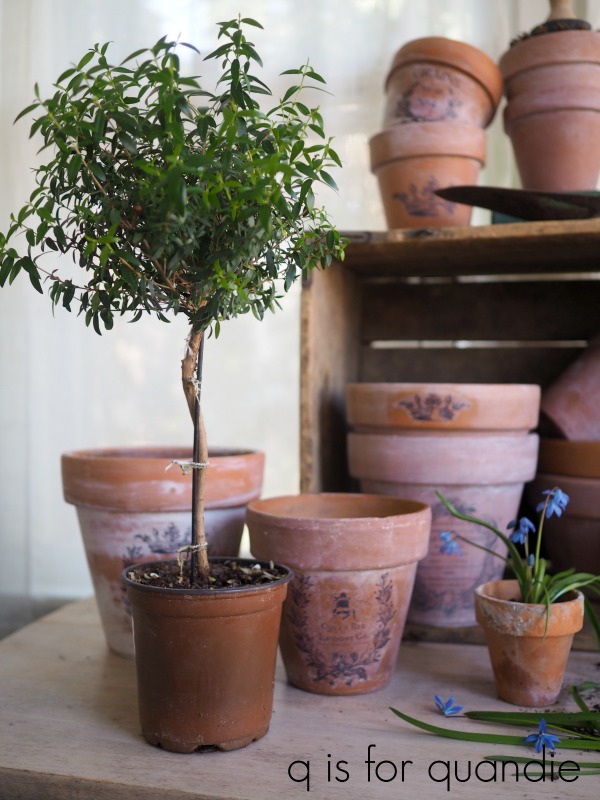
The pots would look amazing just stacked on a bench or in a cupboard too.  You could also mingle them with some plain pots that have plants in them.
Do you have any tips about using painted clay pots to share?  If so, be sure to leave a comment.

a winter garden.

Like much of the northern part of the continent, here in the Twin Cities we got slammed with snow in the month of February.  In fact, we got a record breaking 39” of snow during the month.  It was the snowiest February on record, and the 4th snowiest month EVER (well, since they’ve been keeping track anyway).
The record for the snowiest month ever is still held by November 1991, the year of the Great Halloween blizzard.  We got 46.9” that month.  I clearly remember that blizzard (how about the rest of you locals?).  The snow started falling on October 31 and didn’t stop until November 3.  Nothing like having your carved pumpkins buried under more than 2’ of snow.

The snow didn’t end in February this year, we’ve now gotten another 10+” of snow so far in March including 6″ last weekend.  Spring just might be in sight though, we’ve had temps in the 40’s and lots of melting this week.

Most people I know like to take a tropical vacation to escape the winter weather if they can swing it.  But Mr. Q and I took our Adriatic cruise in November, which now feels like a very long time ago.  So I decided to treat myself to an indoor winter garden.  It helped that my local plant nursery, Gerten’s, had a house plant sale.  Buy one, get one half off.  It seemed like it was meant to be.

So the other day my sister, niece and I popped in to see what they had.

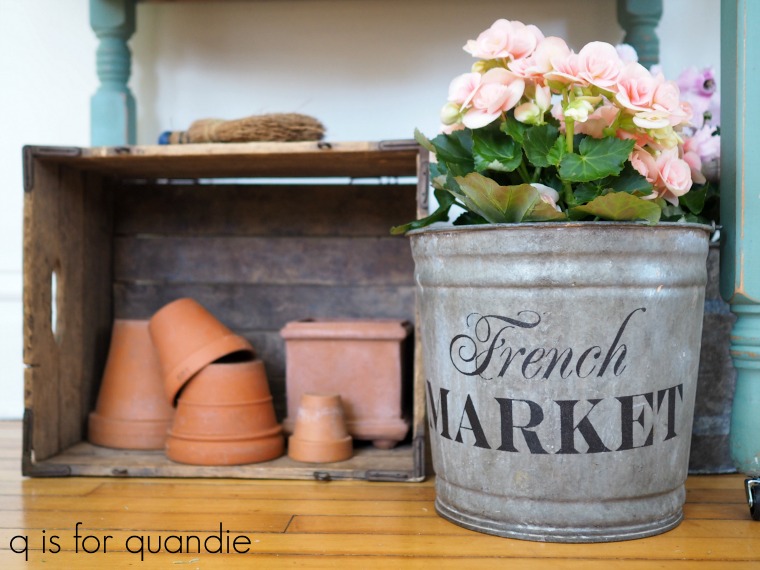
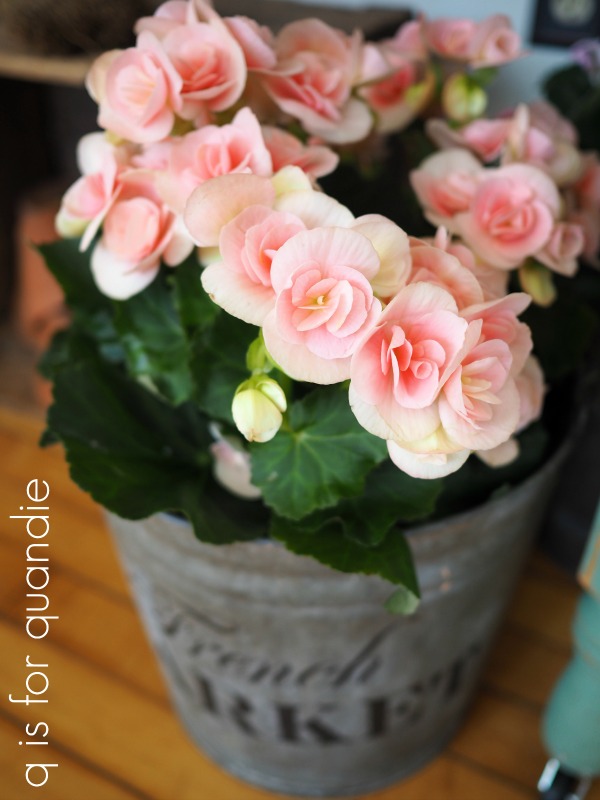
I was surprised to find that they had a whole bunch of blooming potted plants available.  I wasn’t expecting that.  I guess I never would have thought of a begonia as a ‘house plant’.  Technically speaking though, I guess pretty much anything that is alive and growing has to be a house plant this time of year.

They also had a huge selection of gorgeous cyclamens.

So I had to get two of them.  This smaller size was only $5.99.

Some of the plants will head to my office at the day job, but others will stay at the house.

I can brighten up both places!

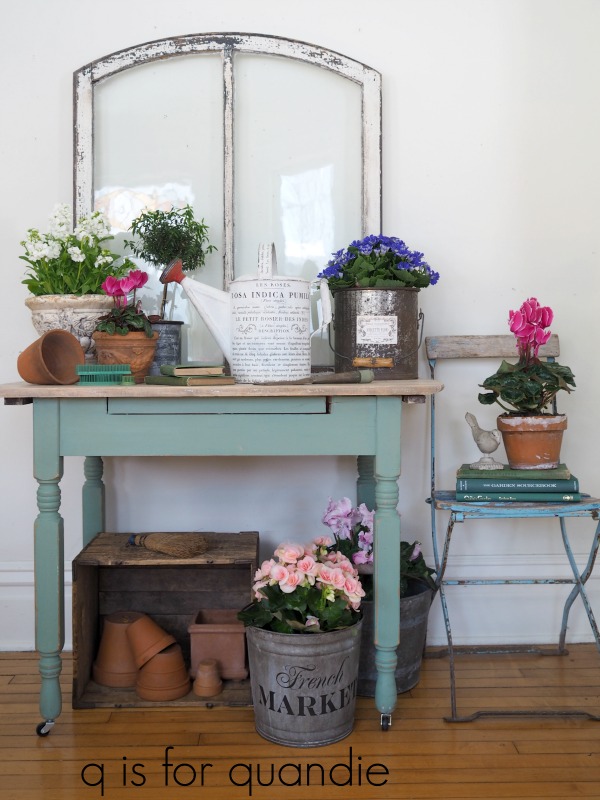
Having all of these flowers made for a great opportunity to share the 3rd project I did using the Iron Orchid Designs Le Petite Rosier transfer.  I purchased two of the smaller sized versions of the transfer.  I used one on the tiny cupboard and then used the bottom section of that and of the 2nd one on my ceiling fan.

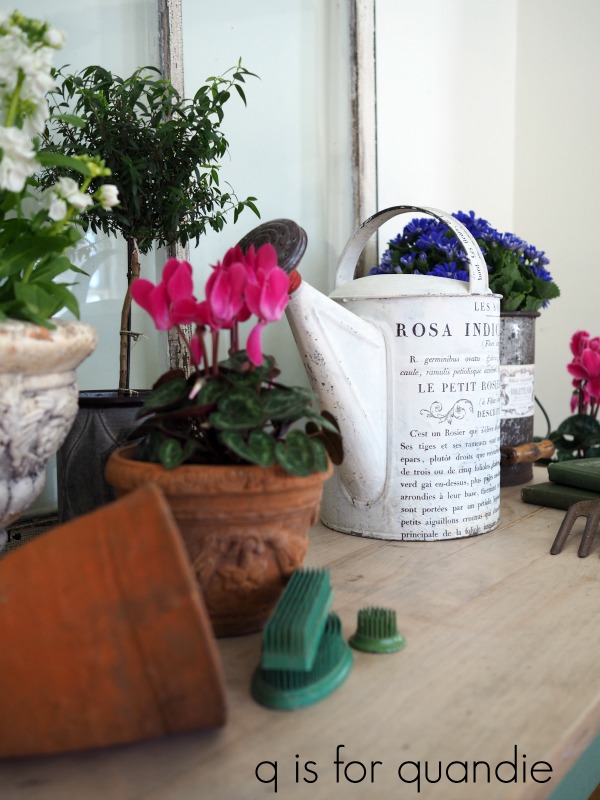
And now I’ve added the top portion of the 2nd one to an old watering can.

I gotta say, I pretty much love it.  I didn’t seal it with anything, so it wouldn’t hold up to outdoor display.  But that’s OK, I’ll keep it inside in my ‘winter garden’ for now.  If I decide to put it outside in the summer I’ll add a couple of coats sealer.

How about you?  Are you coping with a winter that seems to be dragging on and on?  Didn’t get the chance for a winter getaway?  Maybe you should consider a winter garden to tide you over until spring actually gets here.

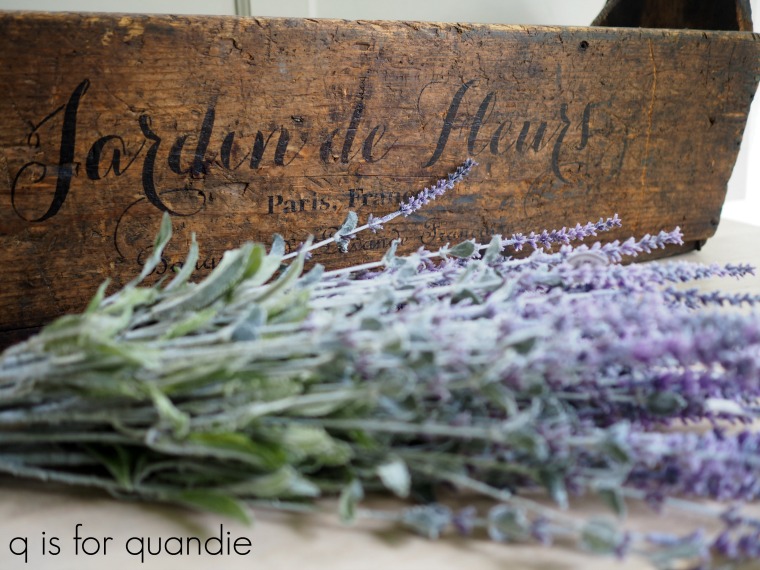
P.S.  Remember my experiment with the lavender from last fall?

Well, in case you are wondering, no, those plants did not survive the entire winter.  I finally tossed them a couple of weeks ago.  I suspect that my window ledge was just too cold for them.  But they were pretty while they lasted, which was a lot longer than cut flowers.

a spooky fairy garden.

And just like that, in the blink of an eye, it went from summer to fall here in Minnesota.  Last Monday it was sunny and warm and by Friday night we had our first frost warning of the season.

With highs in the low 50’s, it was too cold to paint in my carriage house workshop all weekend.  So instead I worked on pulling out all of the annuals that were past their prime in my planters and replacing them with mums, ornamental kale and pumpkins.

I decided to go traditional this year with oranges, reds and yellows.

While I was at it, I decided to add a little fall decor to the fairy garden too.

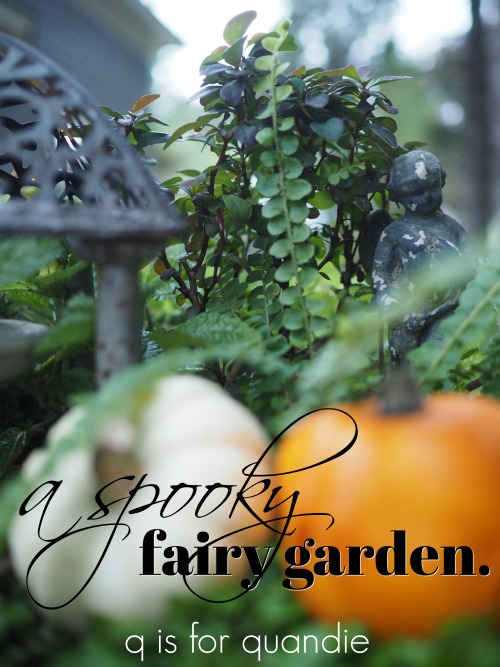
I started with a tiny white pumpkin and a tiny orange gourd (yep that’s technically a gourd and not a pumpkin).

They were only 99 cents each at my local Bachman’s.  Although they are tiny, in the fairy garden they become huge, blue ribbon worthy pumpkins!

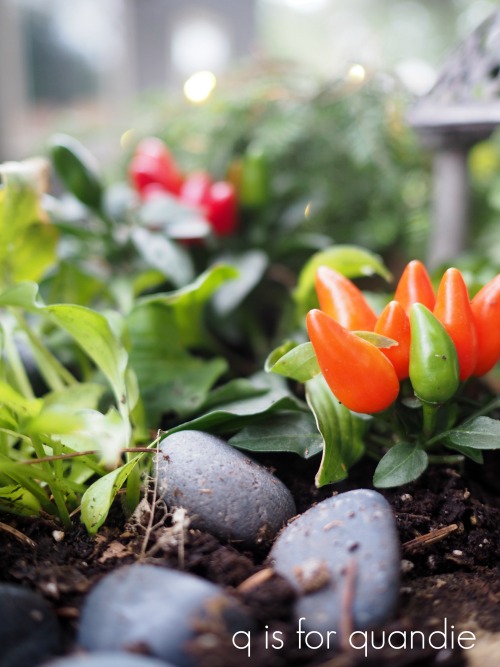
I also came across some tiny pepper plants in the miniature section at Bachman’s.  Even though peppers don’t normally scream fall, I thought the red and orange coloring would lend an autumnal vibe.

Next I added some fun miniature decorations that I picked up last year at another local flower shop, Rose Floral in Stillwater.

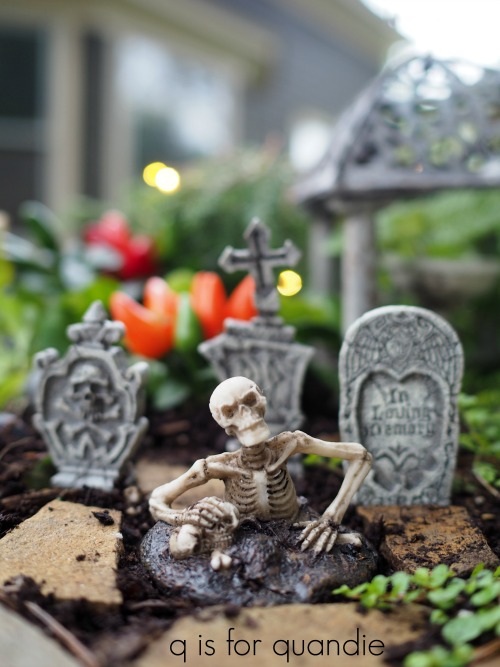
With the additional of a few spooky tombstones and the fairy garden is definitely feeling more in season.

And who doesn’t love to see a tiny skeleton clawing his way out of the ground in their fairy garden?

I also put some fresh batteries in the tiny string of fairy lights on the evergreen shrub to make sure the fairies don’t get too frightened by the new decor.

And just like that we’ve got a spooky fairy garden!

the scented garden, part 2.

Welcome to part two of our tour of Jackie’s beautiful scented garden (if you missed part one, you can find it here).

Today I thought we’d start at the front of the house and then work our way back to the potting shed and greenhouse.

Right out at the street Jackie has a ‘free library’.  Do they have these where you live?

The basic concept is simple.  People put books in, people take books out.  Anyone can just help themselves.  My neighbor nnK has one and it’s amazing how many people stop off to exchange books.

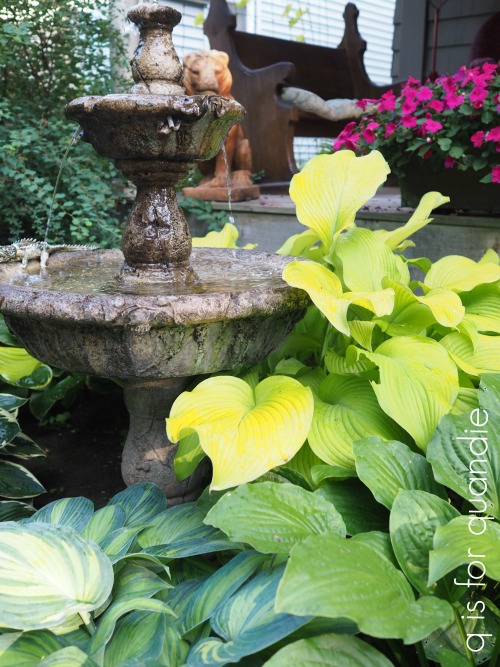
I love the way Jackie’s fountain is surrounded by different varieties of hosta.

And check out this guy hanging out on the edge …

We don’t generally have a lot of gators here in Minnesota, but that one looks pretty content.

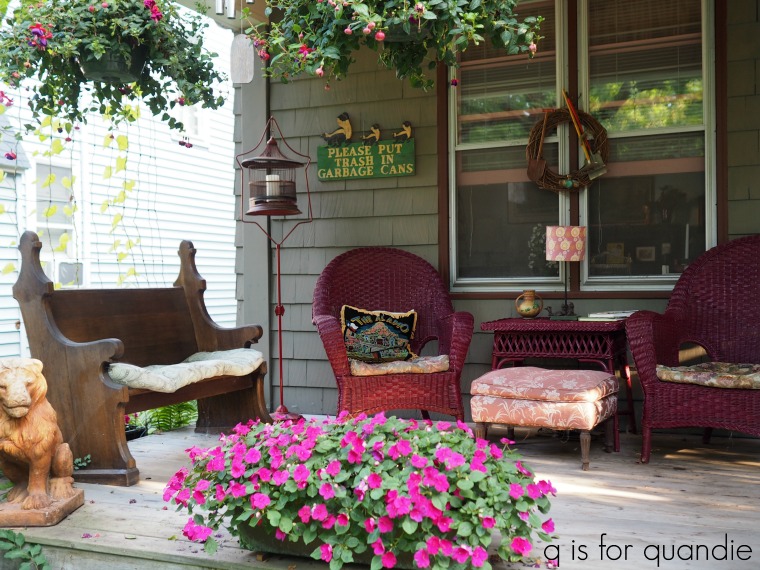
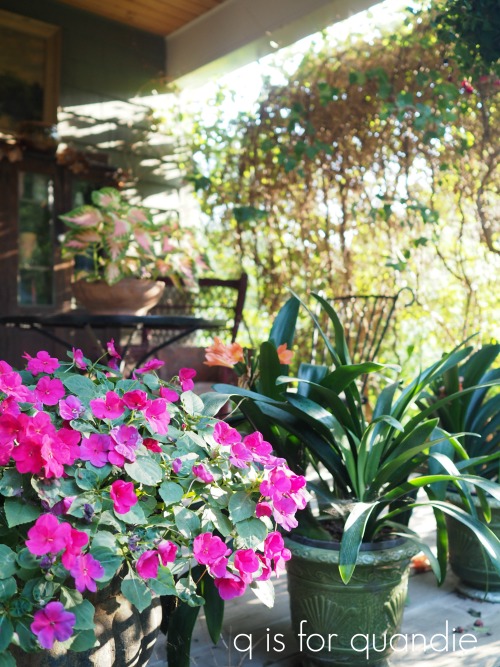
I have to admit that I felt quite a bit of envy when I saw Jackie’s amazing front porch.

Jackie mentioned that when they added this porch on they wanted it to be spacious enough, but when it was finished it seemed a bit too expansive while still empty.  But once she had some furniture in place, it was just right.

Doesn’t that look like the ideal spot to sit and have your morning coffee?

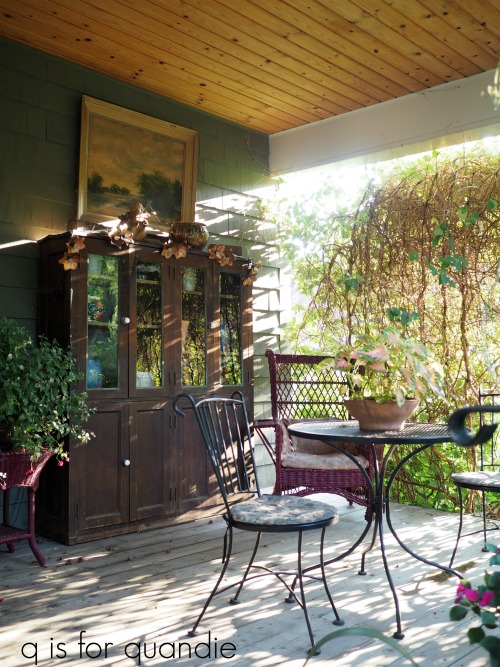
I love that she has that giant glass front cupboard out there.  She says it stays out there year round.  It’s somewhat protected from the elements because the porch is covered.

The porch makes a great spot in summer for plants that can’t handle full sun.

You’ll pass lots of beautiful flowers on your way from the front of Jackie’s house towards the back.

You can just see the edge of the potting shed from the sidewalk.

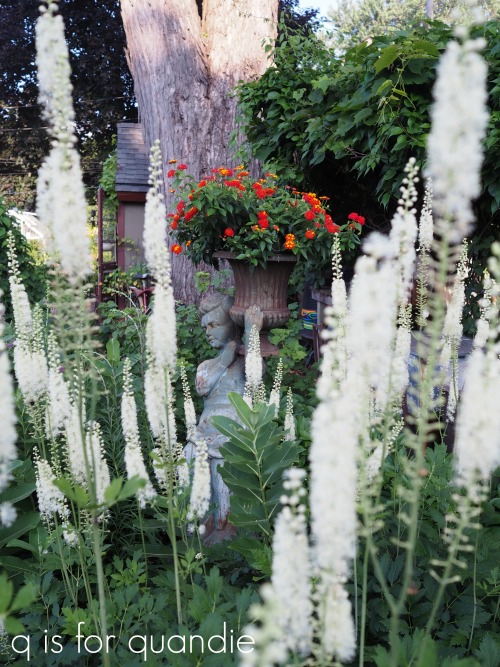
I absolutely love those white spiky flowers.  They are called Actaea racemosa, or Fairy Candles or Black Cohosh or Bugbane (boy, this one has a lot of names!)  I think I need to add some to my own garden.

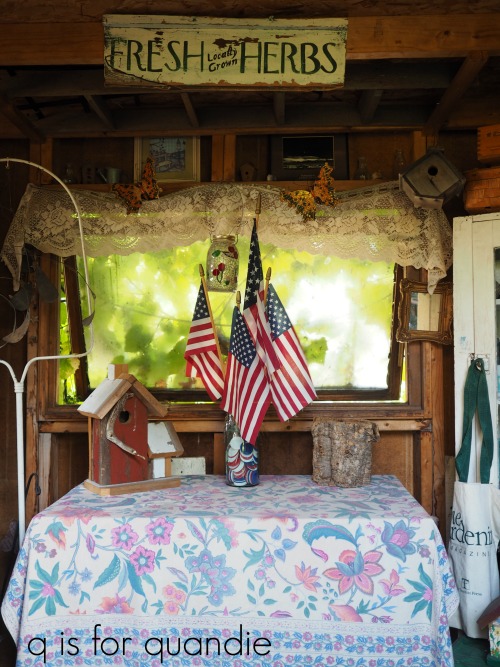
As you’re about to find out, Jackie doesn’t really use her potting shed for potting.

Instead it is filled with many of Jackie’s vintage goodies.

Besides, in addition to the potting shed, Jackie also has a greenhouse where she can do her actual potting.  I didn’t do a great job of getting photos of it though because I was distracted by the Black & Blue Salvia that she had growing all around it.

There was a hummingbird flitting around these plants too, so it was hard for me to focus on the job at hand.

You can catch a glimpse of it off to the right in this next photo though.

If you follow that brick pathway around the corner you’ll end up at this lovely spot.

And this is where our tour concludes.  I hope you enjoyed seeing Jackie’s garden as much as Debbie and I did.  A big thank you goes out to Jackie for letting me share it here on the blog!

the scented garden.

A while back one of my readers, Jackie, contacted me to ask if I wanted a free dresser.  After a few messages exchanged and life intervening a bit, Mr. Q and I finally drove to St. Paul to pick it up a little over a week ago.  You guys saw the dresser itself in its ‘before’ state last Friday …

When we pulled up to Jackie’s house to pick it up I immediately knew I was in for a treat.  Her gardens were spectacular.

Unfortunately I didn’t have a camera with me at the time.  But it didn’t take me long to convince Jackie to let me come back the next day with my camera so that I could share her garden with all of you.

Not only did I bring my camera when I went back, but I also brought my sister so that she could take notes and ask questions while I took photos.  Plus I just knew that Debbie would really enjoy meeting Jackie and seeing her lovely gardens.

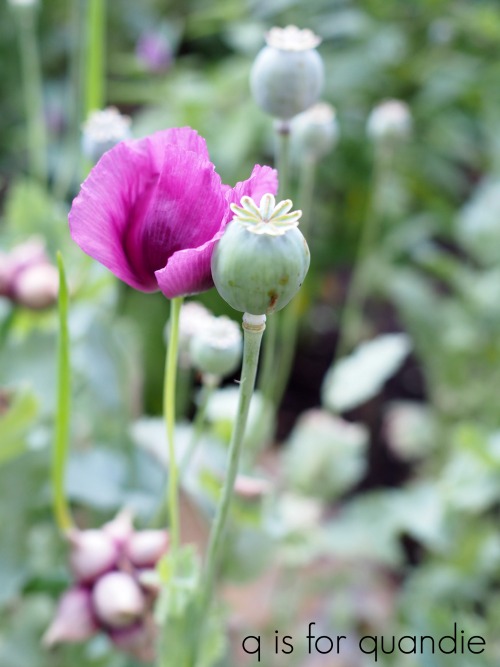
That is a breadseed or opium poppy above.

We’d actually been wandering around Jackie’s garden for quite a while before we realized that there was an underlying theme to most of the plants … scent.  Jackie is partial to plants that are known for their scent.

For example, the plant in that no. 8 crock is Popcorn Cassia, and guess what it smells like … yep, hot buttered popcorn.  It really does!

Some of Jackie’s other scented plants included Lemon Verbena, Soapwort (or Bouncing Bet), a variety of herbs and a fantastic collection of scented geraniums.

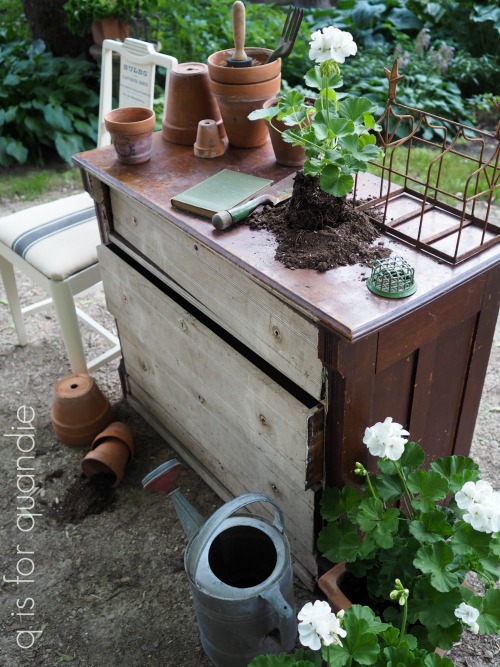
Much like the common white garden geraniums in my photo of the dresser above, scented geraniums are also not true geraniums.  Both are actually Pelargoniums, but while the common garden geraniums are grown for their flowers, the scented versions are grown for their amazing fragrance.  Some of the scents include rose, lemon, mint, apple and cinnamon.

Pelargoniums are not hardy enough to face a Minnesota winter outdoors, but you can easily overwinter them in the house.

But lest you think that Jackie’s garden is all about smell, there is also plenty to delight the eye as well.

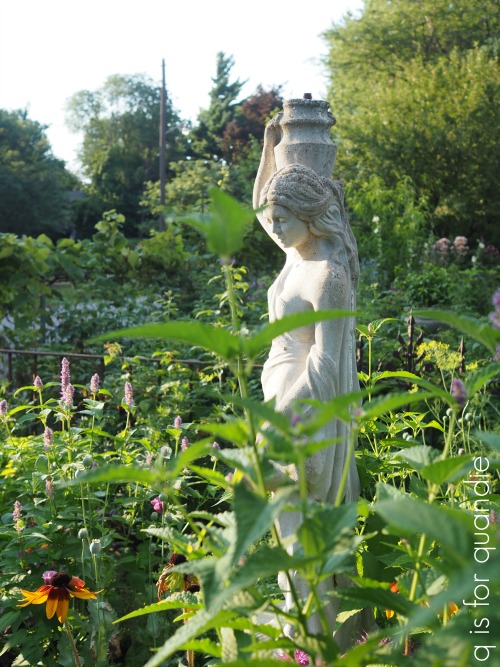
I fell in love with quite a few of her beautiful statues, planters and other garden ornaments.

And I quickly realized we were kindred spirits because her most frequent answer when asked where she got something was ‘an estate sale’.

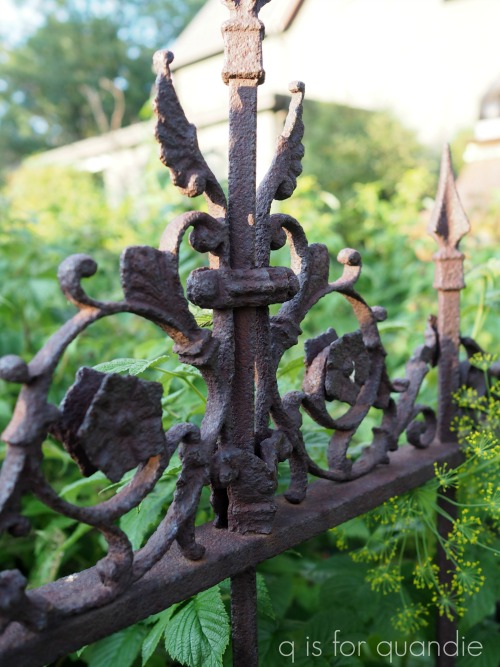
Jackie also clearly shares my love of all things rusty …

as well as all things vintage …

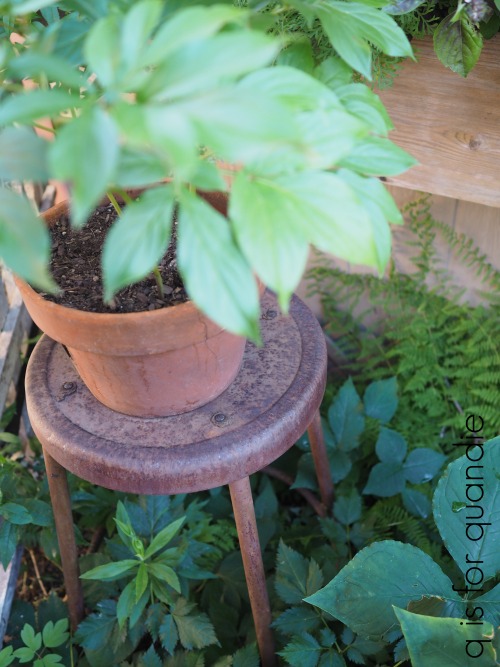
I love the way she has used indoor pieces outside like this stool that holds a potted plant.

She has several mirrors placed strategically throughout the garden that make the view seem expansive.

She has a couple of old bikes in her garden which reminded me that I’ve always wanted one myself.  I need to be on the lookout for one of my own.

Jackie has some unique plants in her garden that I’m definitely going to look into adding to my own too.

I have no idea what that plant is called, but Jackie is fairly sure that she purchased it at Tangletown Gardens so next year when Debbie and I hit the Tangletown neighborhood garage sales we’re definitely going to stop in at the nursery and see if they have this plant.

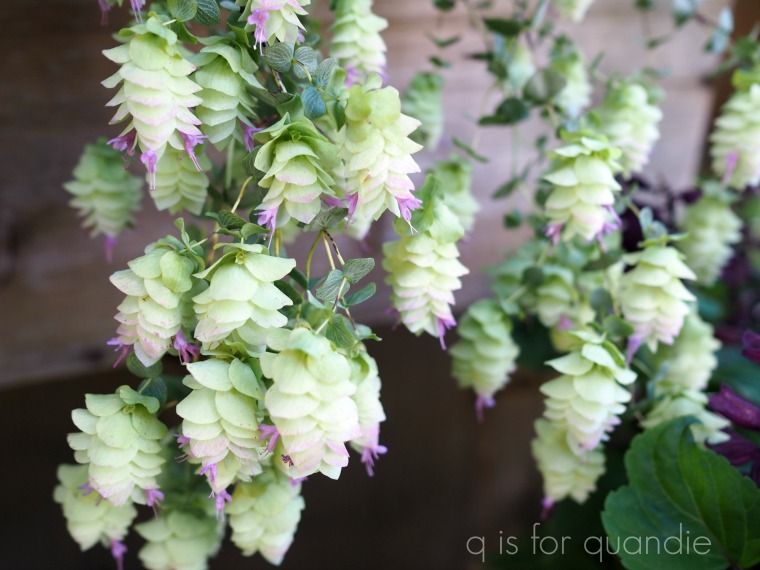
I’m not sure what this next flower is either, but the bees sure loved it.

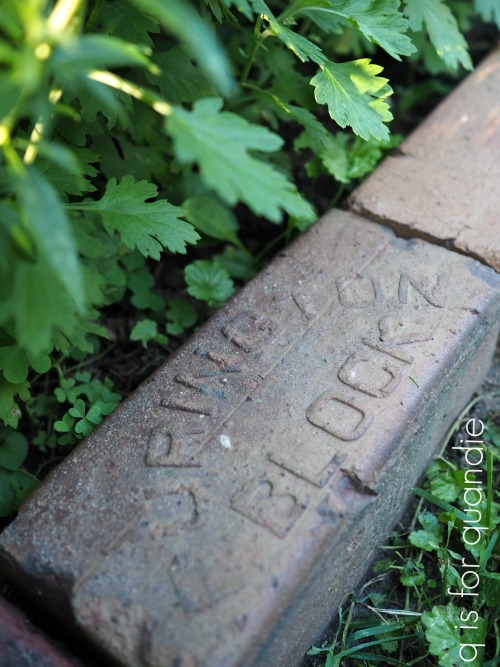
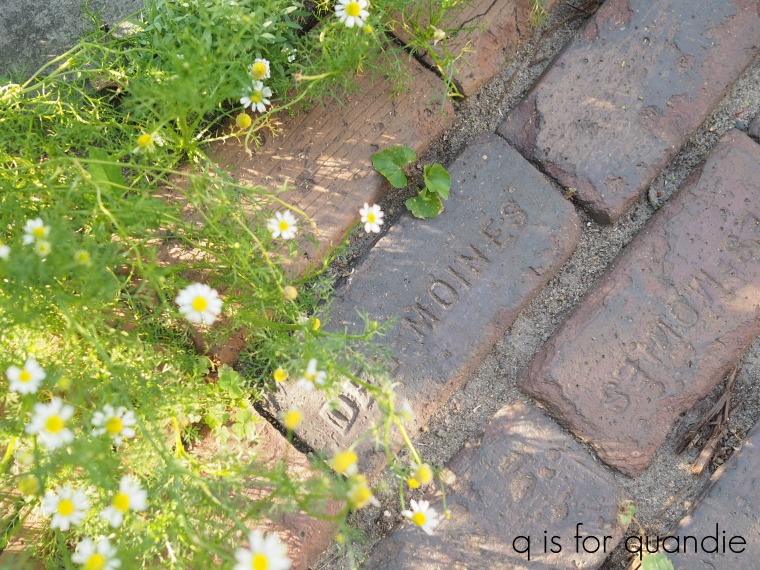
I’m totally envious of the bricks that Jackie has used throughout the garden, both as pathways and as edging.

Once upon a time all of the streets in Minneapolis and St. Paul were made of brick.  Over the years those brick surfaces were either simply covered over with asphalt or ripped up and redone.  When they were ripped up, the bricks were just up for grabs.

There has been some effort made lately to salvage and restore some of the few remaining brick streets in the cities though, which is a fabulous thing.

If you pay attention, you may see a few other interesting items interspersed throughout Jackie’s paths and patios too.

There is so much more to see, but I’m going to have to break this out into two separate posts because I’m running out of time to get this post finished.

But I’ll be back next week to share Jackie’s potting shed, front porch and green house so be sure to stay tuned!

And in the meantime, have a fabulous weekend.  I hope to get some furniture painted and maybe I’ll get in a little gardening too, how about you?

fairy garden refresh.

‘Refresh’ seems to be the catch-phrase of the moment on social media.  We don’t redecorate, renovate, restore or remodel anymore, now we ‘refresh’.

Well, OK, I can get on board with that.  It seems like the refresh is a refreshing concept.   Less involved than completely renovating or restoring something.  Like sprucing up a room with a couple of new things, re-arranging the furniture or maybe adding fresh coat of paint.

A refresh sounds like something you should be able to accomplish in a day or less.

I decided this past weekend was the perfect time to refresh my fairy garden.

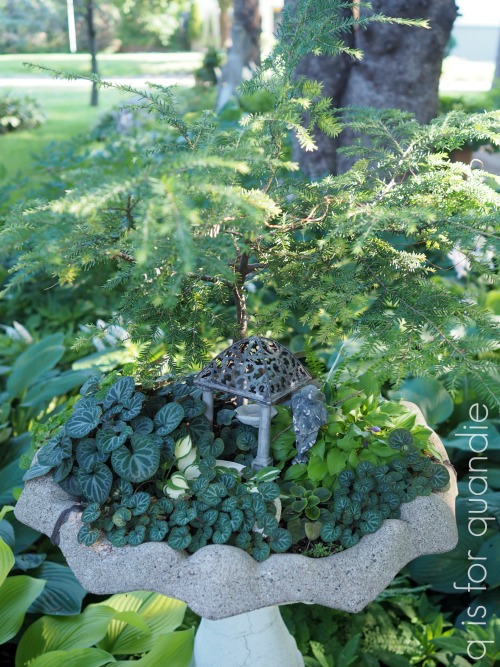
It had an evergreen tree in it that had completely outgrown the space.  The canopy of the tree had gotten larger than the container, which is an old cracked birdbath.

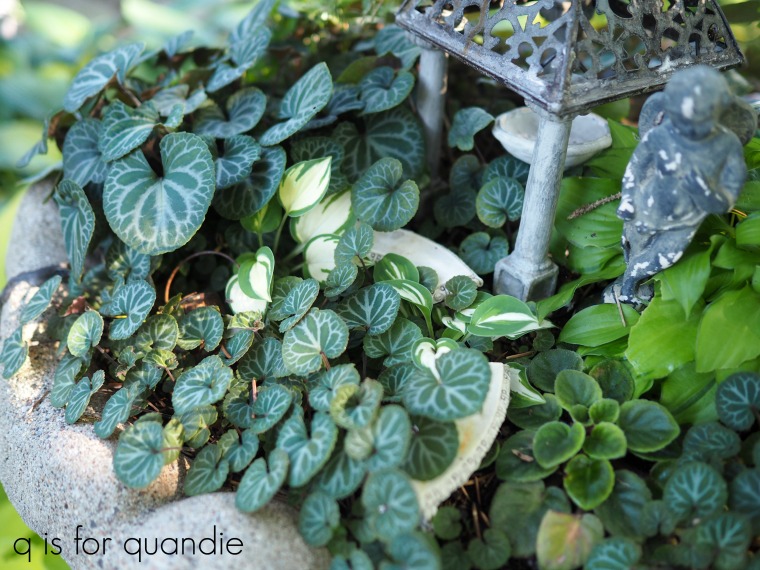
Plus it was getting overrun with miniature violets.

I don’t actually know where these violets came from.  I didn’t plant them.  They just started appearing one year in the cracks of my flagstone patio.  From there they migrated into the fairy garden.  They are perfect when they stay small, but they are greedy little monsters and once they start to takeover, they crowd out everything else.

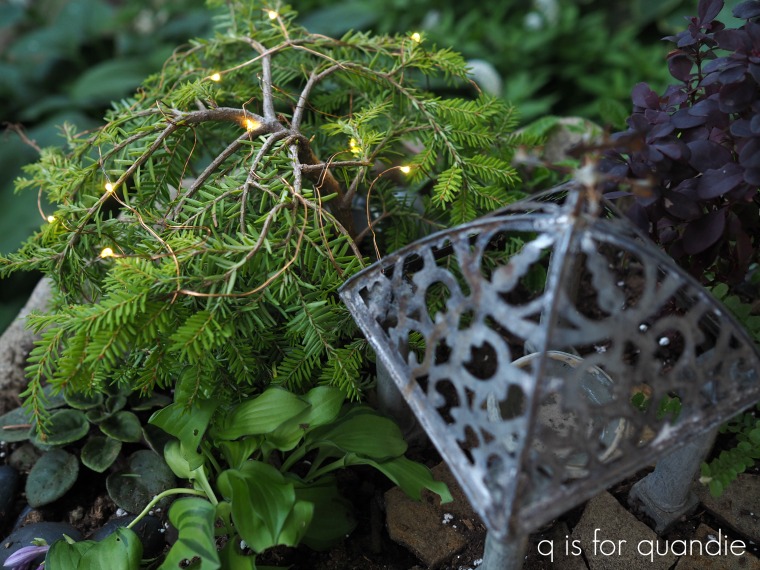
I began by heading over to my local Bachman’s where I was hoping to find some miniature Cypress style trees.  They had some earlier in the season, but as luck would have it they were all gone.  They still had quite a few other options though, so I came home with Cole’s Prostrate Canadian Hemlock (what an awesome name) …

which I’m pretty sure is the same tree that I am taking out.  That one started out this small too.

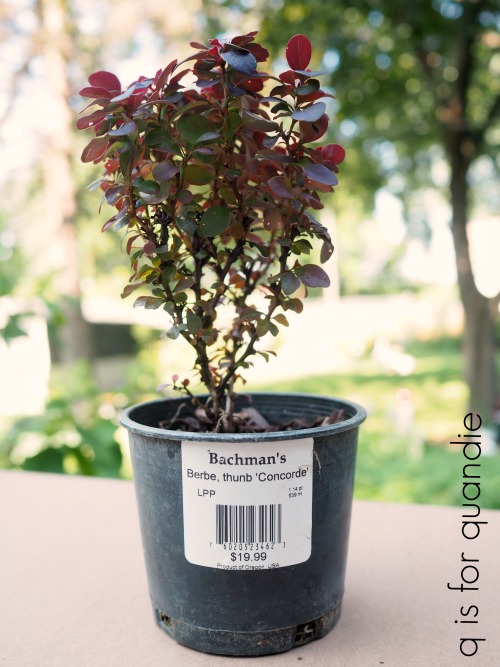
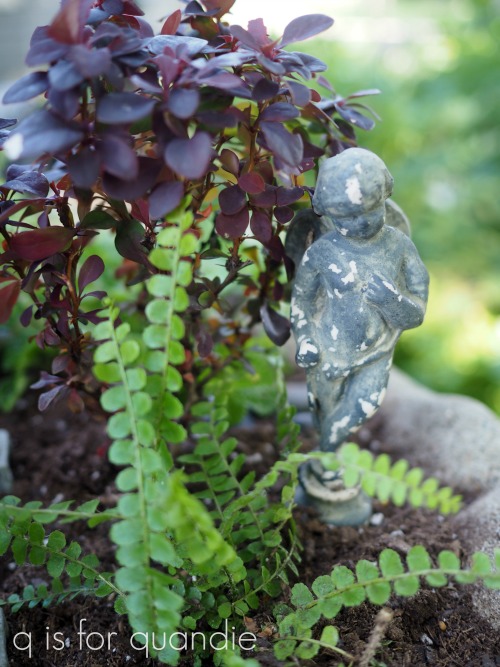
And I also purchased this Berberis thunbergii ‘Concorde’

As you can see from the tags, both of these plants were a little pricey even for perennials.  I think they are getting away with charging top dollar because mini’s are so hot right now.

However, both of these plants will come back from year to year so let’s just call them an ‘investment’ shall we?

By the way, we take the birdbath top off its pedestal before the first hard freeze in the fall and bury it right up next to the house under piles of leaves to protect it for the winter.  That seems to do the trick for both the current tree and the mini hostas.  I just learned this past weekend that this process is called ‘heeling in’.

I also purchased this adorable Katydid’s Baby Tears to use as a mini ground cover.

This was much more affordable at $3.99, but it will only survive the rest of this season and can’t be over-wintered (well, technically it could if I dug it up and put it in a pot inside the house, but that’s not going to happen).

After pulling out all of my fairy garden decor, I also removed all of the existing plants.

Check out this hosta, you can easily see that it will divide out into multiple plants now that it’s out of the dirt.

I was able to get six plants out of it.

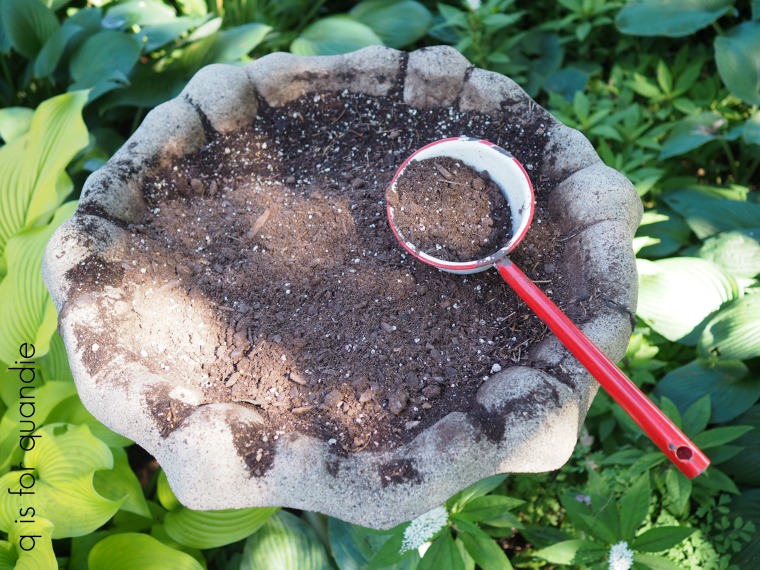
Once I had all of the plants out I added a little fresh dirt.  Now I have a blank canvas.

Finally I just started layering everything back in starting with the larger items and then filling in with the smaller ones.

Although you can buy faux mini flagstones, my flagstone path is made from layers that flaked off of my life size flagstones.

Gosh!  If only all gardening was this easy.  This wasn’t back-breaking at all.  If I didn’t like the arrangement of something I just pulled it out and moved it which took about two seconds.  If you have back issues that keep you from gardening, then a fairy garden is perfect for you!

Even the ‘big, heavy statue’ is easy to move around.

If you don’t happen to have a cracked birdbath on hand you could use an old wagon or any sort of galvanized container.  I even saw one done in an old Weber grill once.

I had to wait until dusk to be able to see the string of fairy lights that I added.  You can’t have a fairy garden without some fairy lights, right?

I found the lights in the dollar section at Target a couple of months ago.  They aren’t intended for outdoor use and probably won’t hold up forever, but for a couple of bucks I don’t mind.  I’ve had them out since May and so far they are doing fine.  I have had to change the batteries once already, mainly because I just leave the lights on 24/7.

I finished up by giving my refreshed fairy garden a good soaking from the hose, and now I can just sit back and wait for it to fill in a little … but not too much.

a rusty garden pedestal.

Way, way back about two years ago I picked up this garden pedestal at the White Bear Lake Trash to Treasure Day.  You can click that link to read more about Trash to Treasure Day, but suffice to say, stuff is free at the curb.

After I brought it home I shoved it somewhere in the carriage house and there it sat for two years.

I looked at it a couple of times and thought ‘hmmmm, what should I do with that thing?’  But I never followed through.

That is until it occurred to me a few weeks ago that this piece was the perfect candidate for some Dixie Belle Patina Paint.

Last winter Dixie Belle sent me some of these products free of charge to give them a try.

I used the Prime Start, the Iron paint and the Green spray on a metal lamp to see how well the products worked.  To read those full instructions, check out this how-to post:

This time I decided to go with a slightly bigger project and turn this pedestal into a rusty masterpiece for the garden.

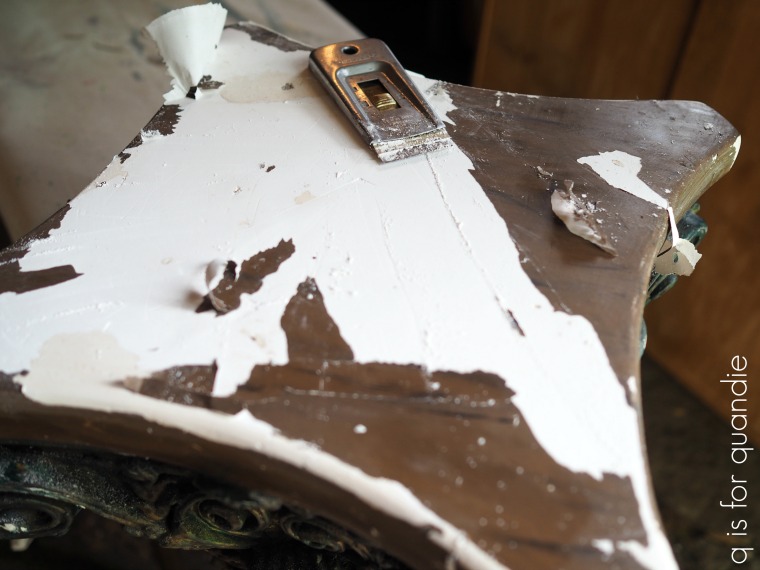
First I started with a little prep.  The paint was starting to peel off of the pedestal and under the paint is just a plaster of paris sort of material.  As I started to sand away the chippy spots of paint I realized that most of it was going to have to come off.

So I got out my razor blade and started scraping off the paint.  I didn’t completely remove all of it, but I did take it all off the top and the bottom portion of the pedestal where most of the peeling was occurring.

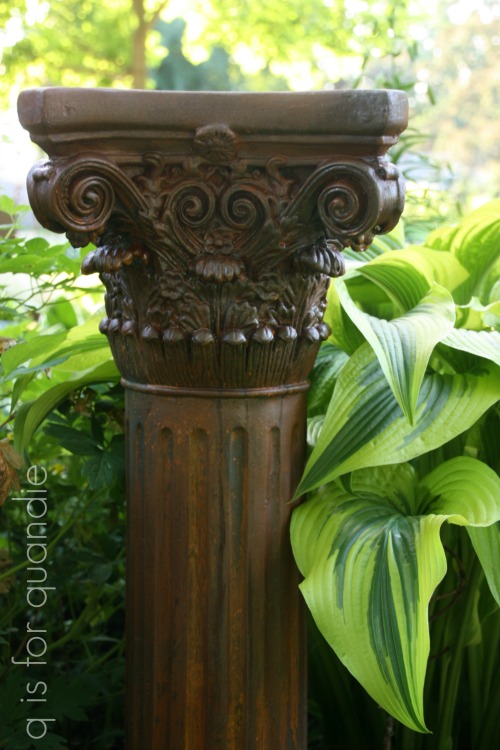
Here’s an important q-tip to keep in mind when it comes to working with pieces that are already painted.  Your paint job is only going to adhere as well as the paint underneath it.  So it doesn’t matter how durable your paint is, it’s only going to adhere to that original layer of paint.  And if that paint is peeling off, well, you get the picture, right?  Honestly, that’s probably the number one reason why I normally avoid pieces that have already been painted.  Because you just can’t be sure what you are working with, and I hate stripping paint.

But remember, this pedestal was free at the curb so I figured I could put a little extra work into it and if it’s a massive failure, well, no worries.  It was free.

After removing all of the peeling paint, I painted the entire piece with a coat of Dixie Belle’s Caviar.  If this piece was metal I would have used the Prime Start instead of the regular paint.  In this case my piece is plaster, so I could just use any Dixie Belle paint as a primer.

Once that I was dry I painted on a coat of the Iron paint.  I ended up having to let that dry overnight because it was quite humid outside and this piece has a lot of nooks and crannies that took a while to dry.

The next day I added a second coat of the Iron paint and while that was still wet, I sprayed it with the Green Patina Spray.

Then I just sat back and waited for the magic to happen.

The next day I put my reading glasses on and after taking a closer look I realized that I missed a few spots with the paint entirely, and a few spots weren’t as ‘rusty’ as I wanted them to be.  So I simply dabbed on some more of the Dixie Belle Iron paint and then sprayed those spots with the Green Patina Spray again.  That worked like a charm.

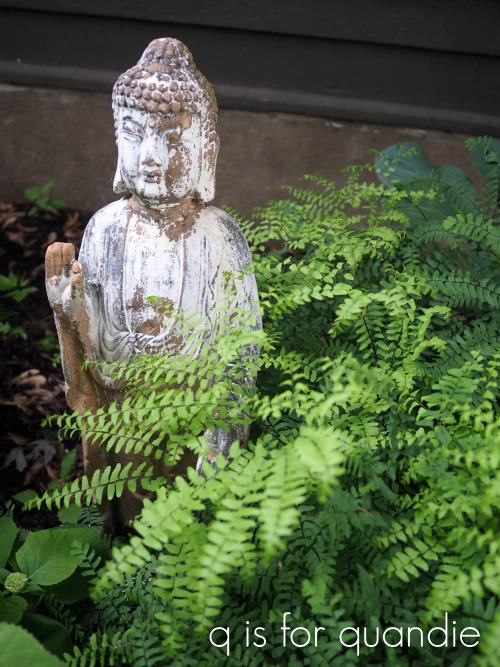
If you’re wondering whether or not this piece will hold up outside in the garden, I have to admit so am I.  I have a plaster Buddha out there and he’s deteriorating quite a bit after several years of year-round outdoor living.

Hmmmm … maybe I should rusty him up too?  But my point is that items made out of clay or plaster that is faux painted to look like concrete don’t last forever outside.  So I suspect this pillar won’t either.

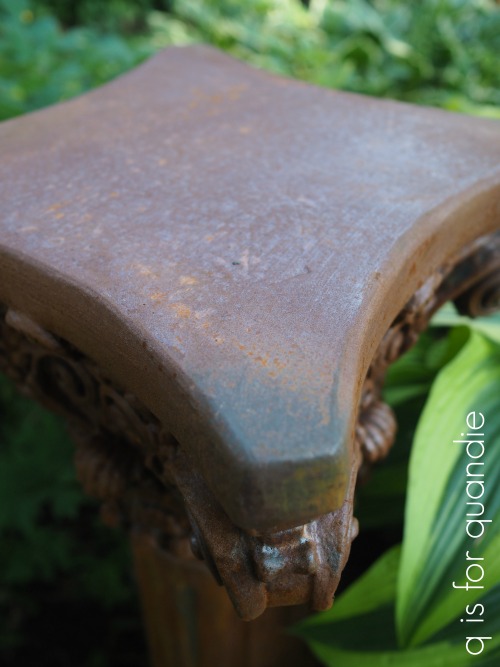
However,  I have been surprised to find that after being in the garden for several weeks and being rained on a few times, if anything, so far the pedestal has developed an even more fabulously rusty patina.

Even the top which has had standing water on it (we’ve had quite a bit of rain) continues to look amazing.

But let’s call this an experiment, shall we?  I’ll keep the pedestal in my garden all summer and then share a review of how well it held up in the fall before I put it away for winter.

So far though, this is a massive improvement over the ‘before’ version wouldn’t you say?