chairs, tulips and daffodils.

Phew!  My trip to Disney World really took it out of me.  My sister and I were there for 8 days, and we walked more than 20,000 steps almost every day.  It was really fun, but also really exhausting.  I’m still recovering.
I made a bit of a tactical error in that I didn’t have a completed project lined up to blog about upon my return.  So I’ve spent the last few days wondering just how in the heck I was going to come up with something, and where I was going to find the energy to quickly get it done.

Then I remembered this pair of little wooden chairs that I’ve been meaning to sell.

My friend/picker, Sue, found these for me back in the fall of 2018.  I’ve had them hanging on the wall in our bedroom since then.  But I’m ready for a change so I thought I’d move them on.

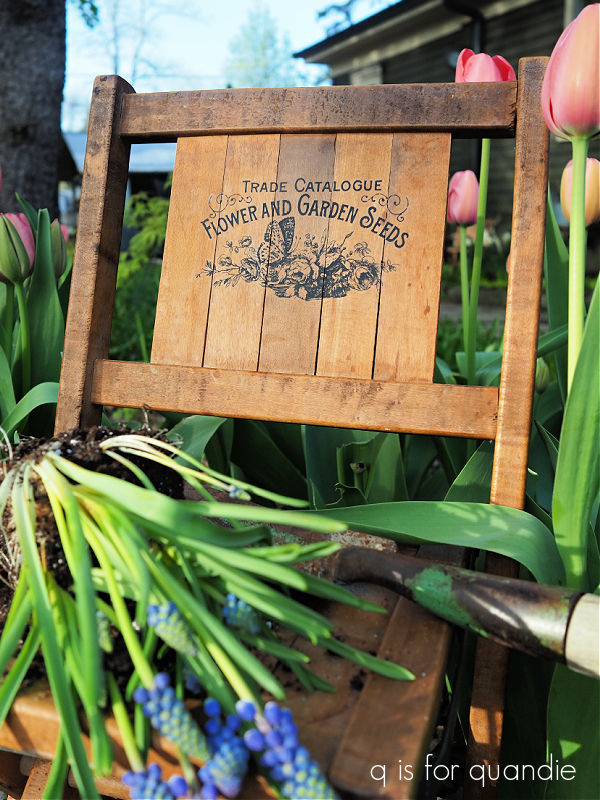
I was initially thinking about painting them in chippy milk paint, but the wood had a rather nice patina.  So rather than paint them, I decided to simply add some Classic Vintage Labels transfers to the backs.

I gave both of them a garden theme.

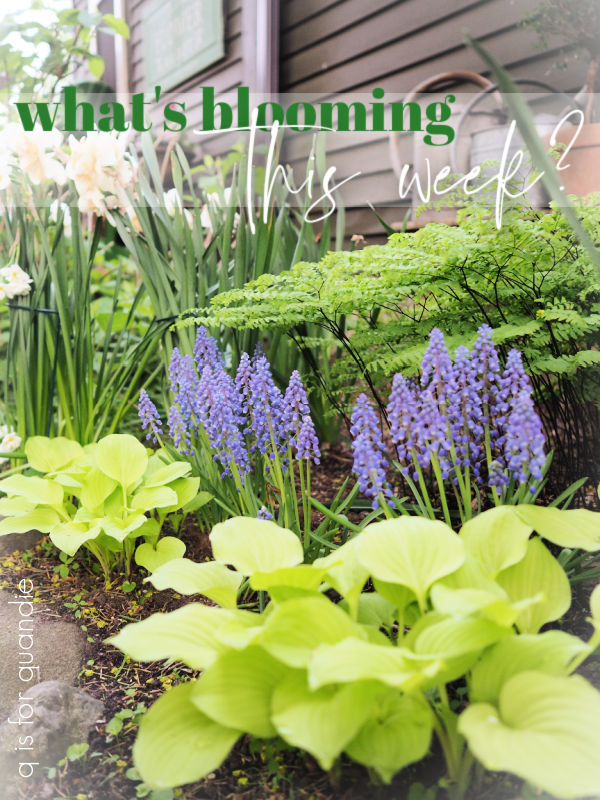
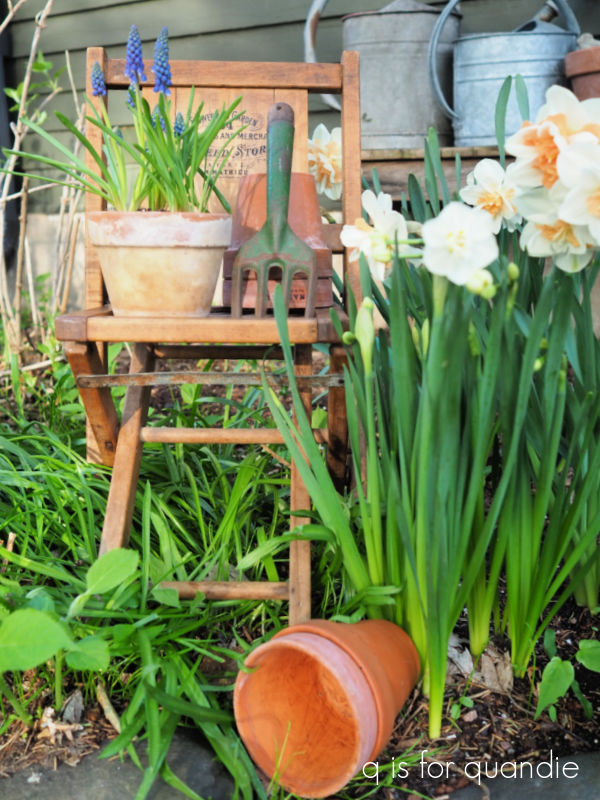
They are a bit wobbly, so I wouldn’t necessarily want a small child to sit in them.  But they’d be perfect for holding a potted plant, like this little pot of muscari.

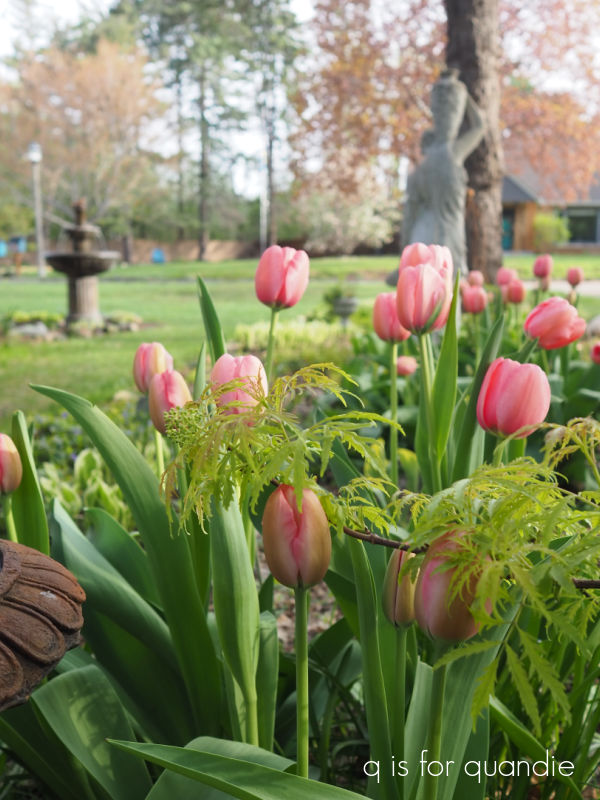
I staged them out in the garden, mainly because I wanted to show off my daffodils.

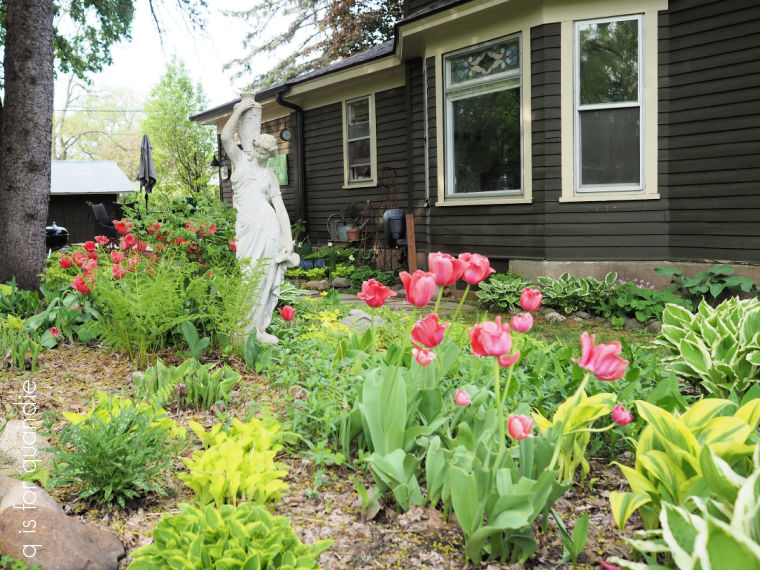
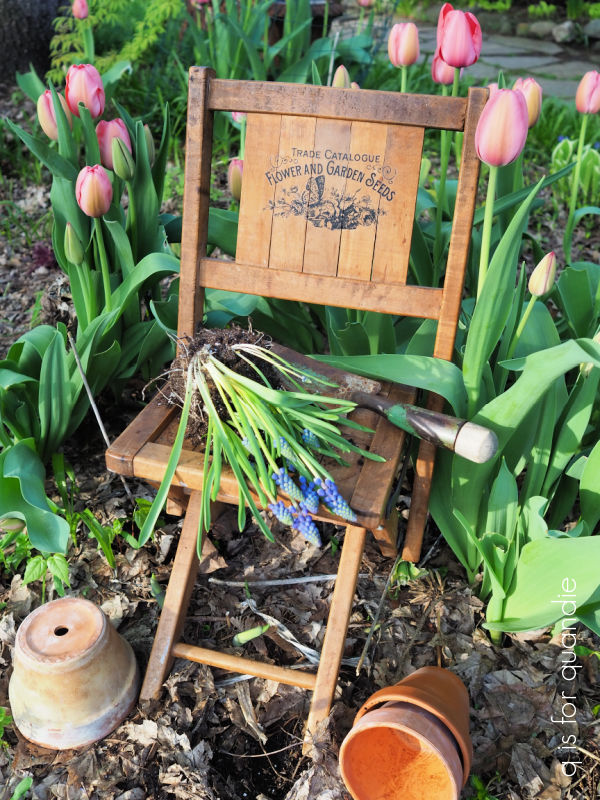
And my tulips.

But that being said, these little chairs wouldn’t hold up for more than one or two seasons if you left them outside unprotected.

They would be awesome on a protected porch though, or maybe in a sun room.  Or really anywhere inside.

In that last photo, you may have noticed that my scilla (all of that stuff that looks like grass in the garden behind the chairs) are pretty much done blooming.  They have been followed up by the daffodils and tulips.  I planted a few new ones last year (for more details on that, go back to this post), so I thought I’d share how they did and exactly what they are in case any of you want to get some this year.

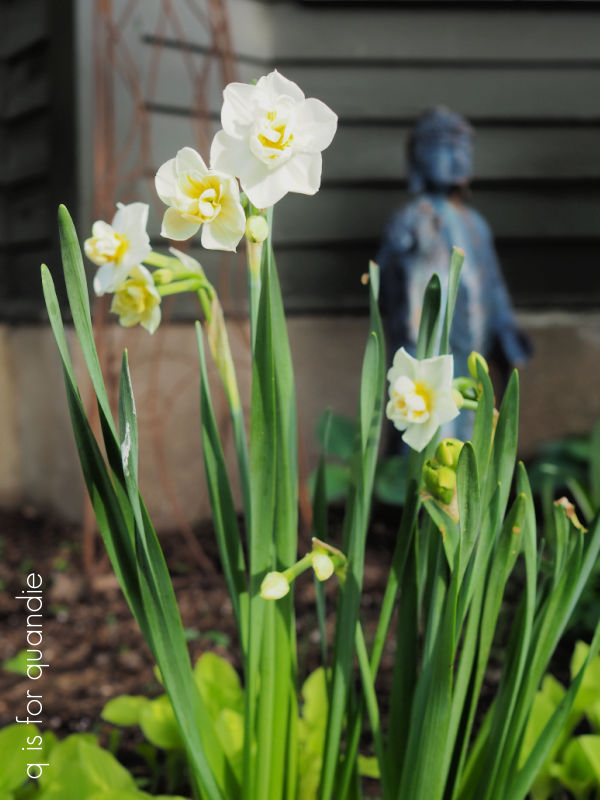
This first daffodil is Narcissus Double Delnashaugh.  It’s a late blooming double, and the white and apricot flowers are fairly long lasting.

If you’re not a fan of the typical yellow of most daffodils, this is a great alternative.

I also planted Narcissus Double Cheerfulness.

The flowers on this one are about half the size of the first one and not nearly as showy, but they really are rather sweet I think.

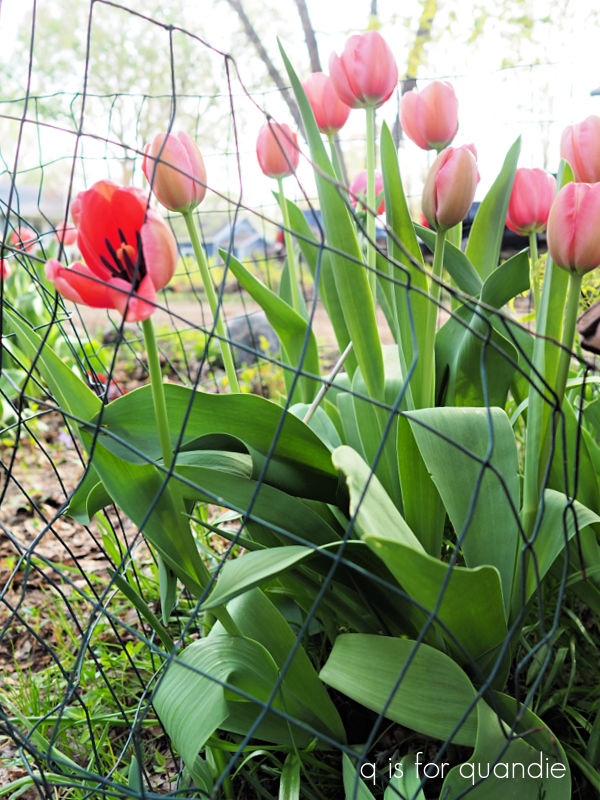
I managed to save a couple of patches of tulips from the deer by surrounding them with chicken wire.

If you use the green chicken wire, it’s not nearly as noticeable when it’s in place as the silver stuff so it’s not a horrible eye sore.

Also, I just loosely circled each patch and that seems to do the trick even though a deer could easily pop his head over it to eat the tulips.  My neighbor nnK gave me that tip.

I’ve been removing the chicken wire during the day so I can enjoy the tulips without it though.

These are Darwin Hybrid Pink Impression tulips.  And just to put quantity in perspective for you, I planted 100 of them and that gave me a patch this size …

I purchased these tulips, and both of the daffodil varieties from Longfield Gardens.  I also purchased three different varieties of allium from them last year, so I’ll keep you posted when those start blooming.

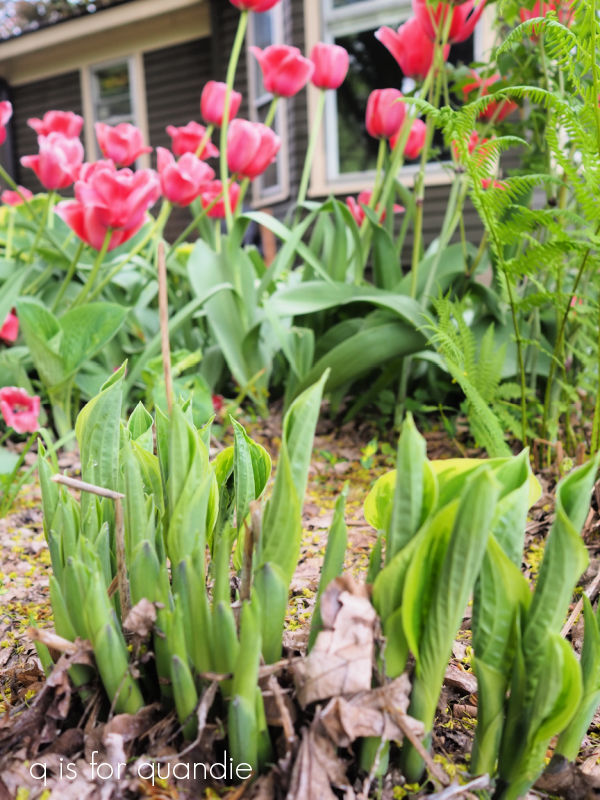
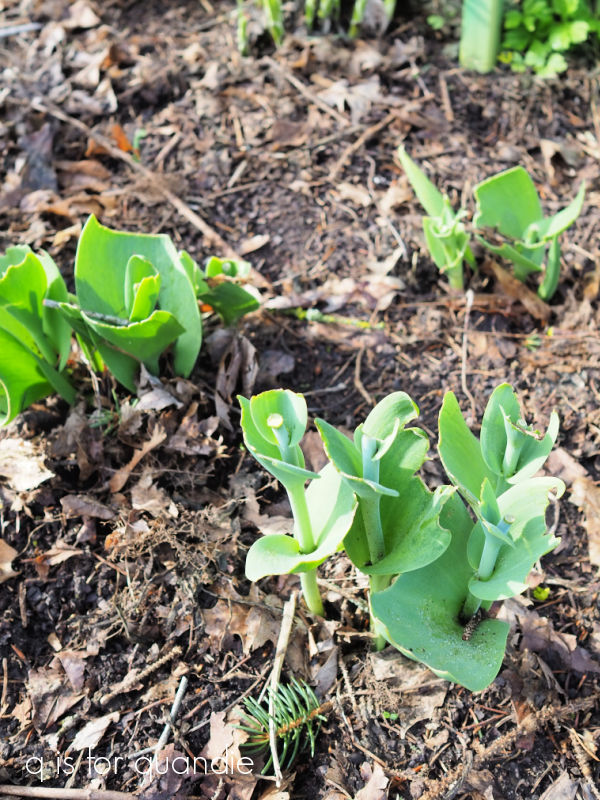
In addition, I planted some cheap tulip bulbs from my local Menards, but those were the ones that the deer got to before I could cover them.  So they look like this …

So it’s pretty much impossible for me to compare the quality of the cheap tulips with the more expensive tulips from Longfield.

But back to those chairs, what do you think?

Do you like them this way, or would you have painted them?  Leave a comment and let me know.

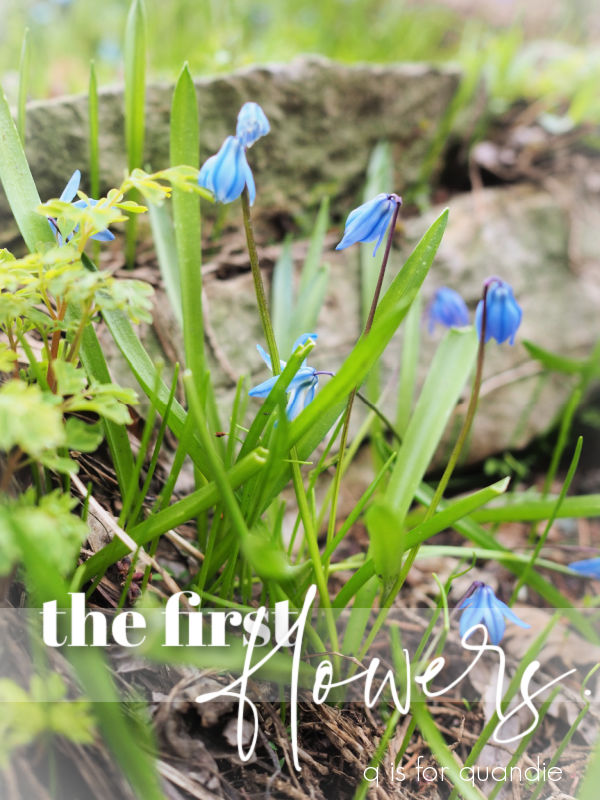
the first flowers.

Before I headed off to visit my mom a couple of weeks ago, I mentioned that I hoped my scilla wouldn’t bloom while I was gone.

I needn’t have worried, because it held out and I enjoyed it for the full week and half between that trip and leaving for Florida yesterday.
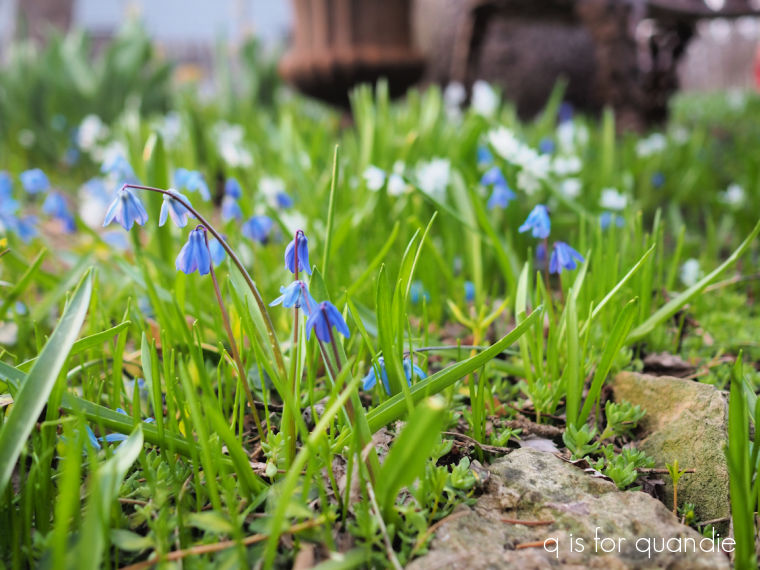
These are always the first flowers of the season in my garden.  Scilla siberica, or squill, is a bulb that blooms in late winter to early spring.  In my zone 4b garden they usually bloom anywhere from the middle to the end of April and I’m always so excited to see them after a long, cold winter.
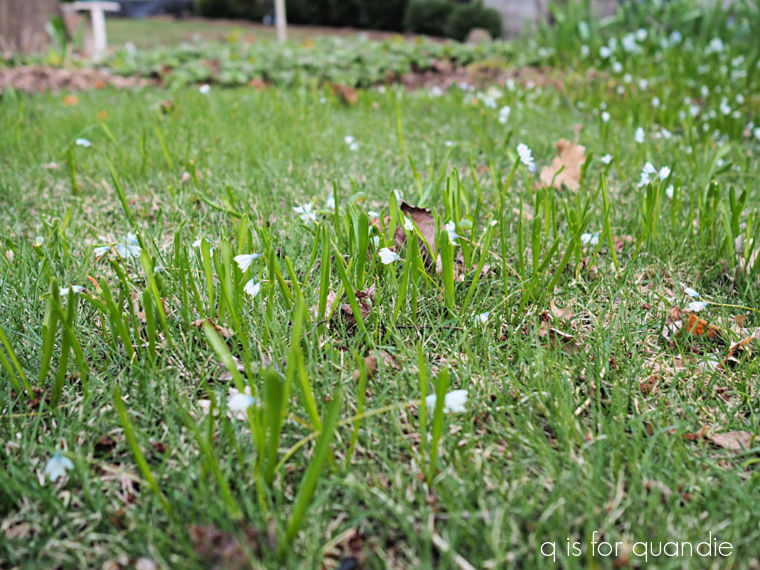
I have two colors of scilla in my garden, white and blue.  The white ones were already in the garden when we purchased our house 30 years ago.

As you can see, up close they have a little bit of a blue streak to them.  From a distance they mainly look white though.

I prefer the blue ones, so I planted some of those myself a few years back.

They are such a gorgeous, vibrant shade of blue.

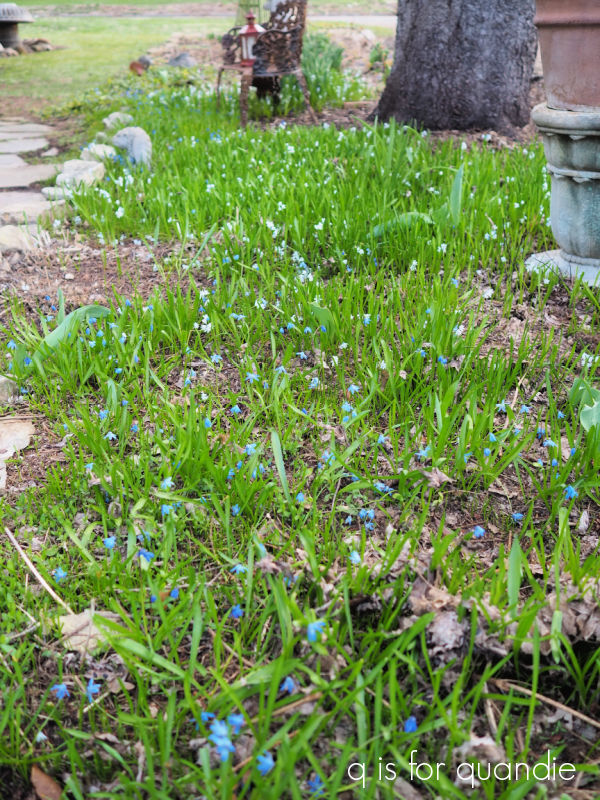
Scilla is perfect for naturalizing, ie. it will spread over time filling in the space where it’s planted.

  Some consider it to be invasive, so keep that in mind.  If you decide to plant it, be sure to put it somewhere that you won’t mind having lots of it.

Over time, mine has crept out into the lawn in some spots.

It also pops up randomly, rather far away from where it was originally planted.  I’m not at all sure how it does that.

The brilliant thing about scilla is that after it blooms it dies completely back to the ground.  In the garden, it starts dying back as the perennials around it start to fill in, so it’s perfect.  And in the lawn, by the end of May you won’t even know it was there.

Another huge plus to scilla is that it’s deer and squirrel resistant.

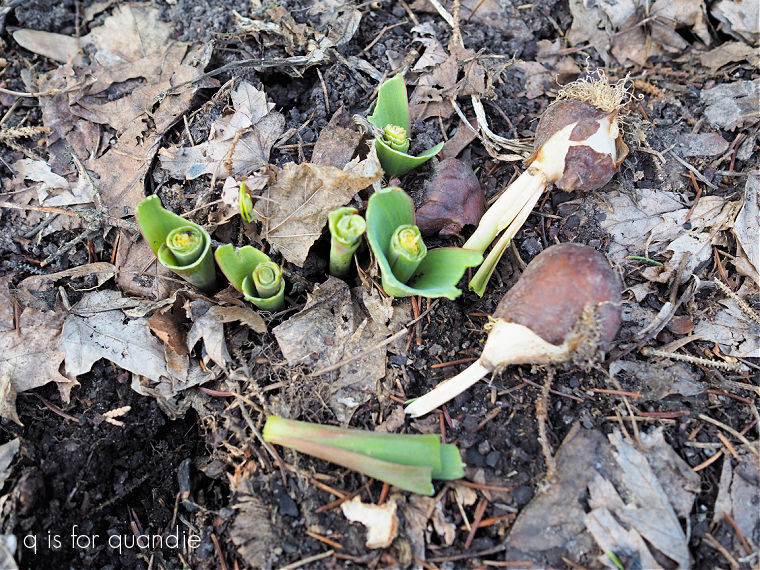
Speaking of which, I have decided to give up on tulips.  You’ll remember that I planted a bunch of new ones last fall, and here’s what I found out in the garden the other morning.

Not only have the deer munched them right down to the ground, they’ve literally pulled two of the bulbs right out of the dirt.  Argh!

I know I could do things to thwart the deer, like spray smelly deer repellant on the garden after every rain or enclose the tulips in chicken wire, but neither of those solutions are appealing to me.  I’d just as soon forgo the tulips and plant other bulbs that the deer won’t eat, like daffodils, alliums or more scilla.

How about you?  Do you have scilla in your garden?  Or are you able to grow tulips without deer eating them all for breakfast?  Leave a comment and let me know.


planting outside of my comfort zone.

I had planned to get out to the botanical garden at Ethel M’s while I was out at my mom’s house last week.  I thought it would make a great ‘Sunday mornings in the garden’ post.

If you aren’t familiar with Ethel M chocolates, first of all they are named after Ethel Mars.  She was Forrest Mars Sr.’s mother, and he is the founder of Mars, Inc.  So many brands are under the Mars umbrella, including Snickers and M & M’s, but Ethel M is their fresh-crafted gourmet chocolate line and they make them in Henderson, NV.

You can tour the factory to see where they are made, and to try a free sample.  But I go for the botanical garden outside.

I have to admit, I’m not really a big fan of desert scenery.  I tend to prefer a much more lush look.  But the Ethel M garden shows how beautiful cacti and other desert plants can be.

All of that being said, I didn’t actually get out there this time.  All of those pics are from my visit last year.  My mom came down with bronchitis just before I arrived last week, and she wasn’t feeling up for much.  So I basically spent the week laying low with her.  Honestly, I was quite lazy and didn’t accomplish much.

However, I did do some planting for her.

She has a few pots on her patio, and I tend to plant those up with annuals each time I visit.  When I was out in February I put in some pansies.

They were still looking OK, but with hot weather just around the corner for her, I knew they weren’t going to last much longer.  I wanted to replace them with some moss roses, which did extremely well for her last summer, but they weren’t available at her local Lowe’s yet.

So I left most of the pansies in place and decided to plant a few things right in the ground for her this time around.

Here’s the thing, my mom lives in a townhome.  They have a rock landscape with irrigation spots here and there for specimen plants.  As plants have died over time, it seems that her HOA is not replacing them.  So there are lots of spots that have a functioning irrigation drip, but no plant.

I’m not usually a rule breaker, technically my mom is supposed to get approval to do any planting in the ground.  But … well … I didn’t have time to wait around for approval.  I planted anyway.

The first challenge for me was figuring out what to plant in her zone 9a, which is a long ways from my own zone 4b garden.  I started out with the yellow lantana.  There are already several of these in the ground in her complex, so I figured they were a safe bet.  I also thought maybe the HOA wouldn’t notice them since they would just blend in with existing plantings.

I grabbed that plant in the back of the photo above with the bright pink flowers because I thought it might attract hummingbirds.  My mom has a hummingbird feeder just outside her sliding glass doors and she loves to watch the birds.

It’s a Chiapas Sage which grows best in full sun and is drought tolerant so I’m hoping it will do well, and draw in lots more hummingbirds.

I also grabbed a gardenia while shopping.  When my family lived in Florida we had a gardenia and my mom loved it, so I thought I’d give it a go.

I wasn’t sure it would do well in the ground with their once a week drip irrigation, so I decided to put it in one of her pots where it would be easy for her to water.

The tag said it would do best with 3 to 4 hours of morning sun, but with protection from the intense afternoon sun.  I was able to place the pot in the perfect location on her patio for that.

I had to laugh when digging through the boxes of stuff in my mom’s garage looking for plant food because I found some vintage garden tools.

She was never much of a gardener, so I was surprised to find this.  If I came across it at a garage sale I’d probably pick it up to use as a photo prop!  Who knows when the last time was that this tool was actually used.  I may have to sneak it into my suitcase the next time I visit.

For now, I’m keeping my fingers crossed that everything I planted survives.

How about you, do you ever garden outside of your zone?  Leave a comment and let me know.


the first gardening task of the year.

I can now positively say that spring has finally sprung, and so have my alliums.

Just before I left to visit my mom in Vegas we had several days with temps in the 70’s and it really started to feel like summer is on the way.

Between you and me, I’m taking full credit for the weather warm up.  Every time I plan a trip somewhere warm in the winter, Minnesota gets unseasonably warm temps while I’m away.  As soon as I booked my ticket to Vegas, the forecast went from 1′ of snow to sunny and 75.  You’re welcome Minnesota!
Now that gardening season is upon us, I’m going to resume my ‘Sunday mornings in the garden’ series.  So for those of you who are gardeners, be sure to keep an eye out for Sunday morning blog posts.

The very first gardening task I take on each year is pruning my hydrangeas.  This is a job that can be tackled pretty early on in the season (even late winter if you’re so inclined), but I usually save it for our first warm sunny day when it’s still too soon (and too muddy) to do much else in the garden.

After a long, snowy winter the blooms that I left on for winter interest are looking pretty tired (and yes, that is still a big patch of snow and ice in front of the potting shed, will it ever melt?).

There are a few general rules I keep in mind while pruning my panicle hydrangeas (Limelight, Little Quick Fire, Strawberry Vanilla, etc, etc).

  • reduce the overall height of the shrub by about 1/3.
  • remove any dead, broken or weak branches.
  • remove any branches that are rubbing on other branches.
  • prune just above a leaf node.

All of that being said, in my experience you don’t really have to worry too much about rules when pruning panicle hydrangeas.  A couple of years ago I totally hacked at the Limelight hydrangea in my front garden.  I took it down to about 2′ (from probably about 7′ or so).  I left only the thickest stems, and I didn’t even look for leaf nodes.  Yet it still came back gangbusters, and was right back to 7′ tall two years later.

Since panicle hydrangeas bloom on new wood, pruning them will maximize the number of blooms you get.

  I like leaving a little more height on the hydrangea next to our deck because once it leafs out it creates a nice little privacy screen.  It doesn’t look like much now, but here’s how it will look from this spot in August.

I also prune my arborescens variety hydrangeas (I have Annabelles) in the spring.  They also bloom on new growth, so pruning will encourage blooms.  However, one major downside to this variety of hydrangea is that the stems are often not strong enough to support the flower heads.  The first big rain after they bloom will turn your bush into a floppy mess.

A few years back I read an article that recommended pruning your Annabelles by no more than a couple of inches below the flower heads, leaving the strong old wood stems in place to help support the flowers.  You can also remove weak, broken or dead stems all the way down.

I’ve also given the Annabelle under my kitchen window a little extra support with an old brass headboard.

It was looking quite straggly after the long winter, but I cleaned it up a bit.

Personally, I wouldn’t recommend adding an arborescens hydrangea these days.  Even though some of the newer versions claim to have solved the flopping problem, they haven’t eliminated it entirely.

I actually inherited this Annabelle with the house, and since we moved in I’ve divided and moved it.  There is a big chunk of it out behind the carriage house in my cutting garden, which can be another good idea for this variety.  Place it in a spot where you will just be cutting the blooms off, but it doesn’t have to look good in situ.

So now I’ve checked the first gardening task of the year off of my to-do list.

I’m hoping that I don’t miss the blooming of my scilla while I’m out at my mom’s.  The flower buds were just appearing before I left, but they weren’t open yet.  They do usually bloom in mid to late April, and have even been known to be blooming in the snow as they were in 2020.

I think they’ll hold off this year until I get back.  Fingers crossed.

I also have lots of daffodils, tulips and allium coming up.  Luckily they are willing to pop right up through the snow.

You may remember that I put in a lot of bulbs last fall, so I can’t wait to see how they do.

It feels so good to be back out in the garden!  I’m really looking forward to spending lots more time out there again this year, and sharing lots of tips with you guys along the way.

So tell me, are you back out in the garden yet this year?


on the flip side.

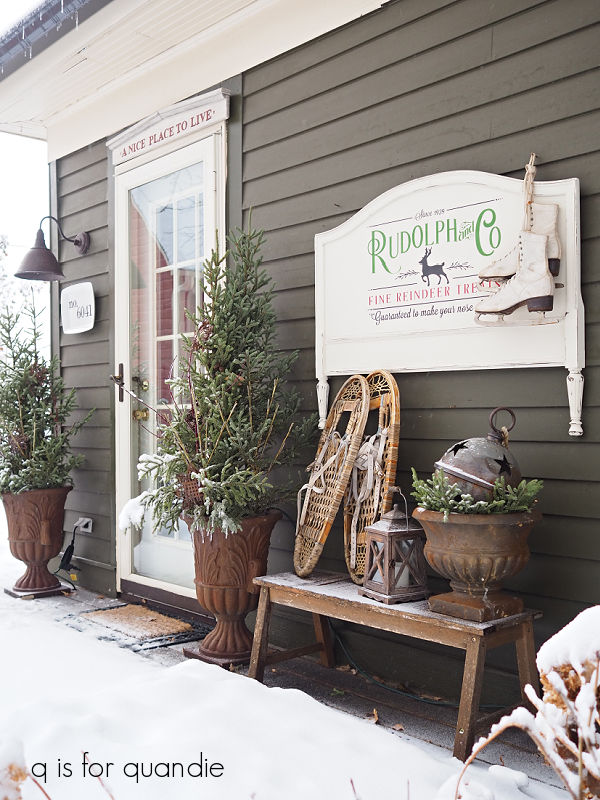
I’m embarrassed to admit that my Rudolph and Co. sign, and all of our other outdoor Christmas decorations, were still up until last week when we’d finally had enough snow melt to be able to reach some of it.

You have to cut us some slack here in Minnesota, especially when we’ve had a winter with a lot of snow.  We can’t always get through the snowbanks to take things down.  In addition, decorations often get frozen into place and we have to wait for them to thaw.  The spruce tips in my rusty urns only just thawed out enough to remove them, and I still can’t get to the potting shed or my front window box at all.

But now I’ve gotten at least some of my Christmas things tucked back away for next year, and I wanted to put something else in that spot on our deck for spring.

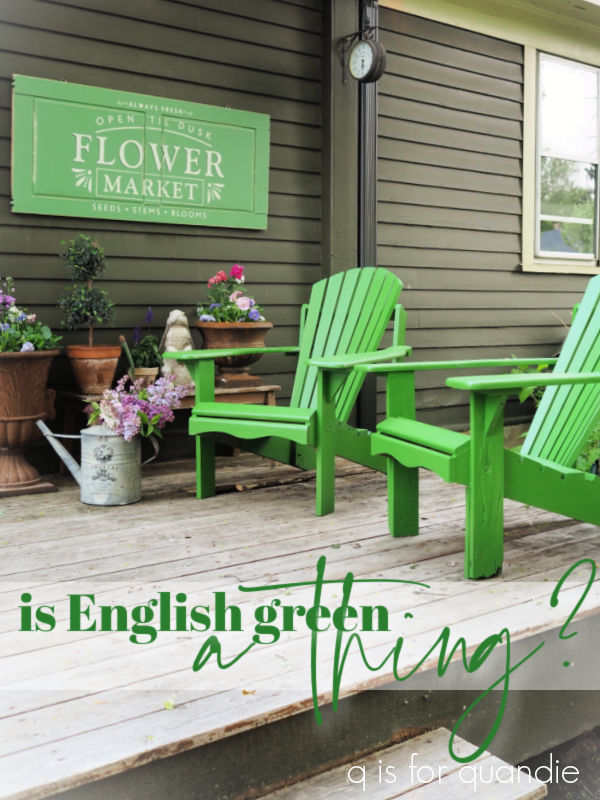
Last fall I painted a Farmers Market sign to hang there.

Somehow ‘Farmers Market’ says autumn to me though, so I didn’t want to just put that back up again.

You may also remember that I had a fresh flower market stencil on the flip side of that sign though.

But I was rather tired of that black and white look.  It definitely pales in comparison to the Farmers Market side, doesn’t it?

So I decided to give the flip side some new life with the Flower Market – Open Til Dusk stencil from Wallcutz.  I started by sanding over the previous stenciling.  You always want to do this to prevent seeing a shadow of that old stencil under your new paint.

Next I painted the sign in Dixie Belle’s Kudzu, a spring-ier green than the Dixie Belle Juniper I used on the other side.

I followed that up with the stencil, painting a shadow of the word “FLOWER” in DB’s Midnight Sky, followed by the full stencil in their Drop Cloth.

That tiny black shadow adds so much!

You may remember that the first time I used this stencil on a dresser, I separated the first two lines of wording.

But no worries, I was still able to use the entire thing on this piece.  In fact, it made it even easier for me to once again re-arrange the layout somewhat to fit my sign.  I moved the “always fresh” to the top where it fit nicely on that raised trim, and then put the curved “open ’til dusk” wording below that instead of above it.

Once all of the paint was dry, I sanded to distress.

It’s always fun to distress down to a pre-existing color that works well with your new look.

To finish the sign, I added a topcoat of clear wax.  I’m often asked if clear wax is suitable protection for an item that will be outside, and if I wanted to be on the safe side I would say no.  Certainly not if the item will have standing water on it, and maybe not if you want the piece to look good for years and years.  This sign hangs vertically and although it will get wet, it won’t sit in water at all.  The Rudolph sign that I took down is also finished in clear wax and it has held up just fine in our snowy climate.

So, for me, wax is good enough for things like this sign.  Plus, I don’t mind a little accelerated aging … at least when it comes to painted décor items.

Once the sign was finished, I hung it back up outside.  Just in time for April Fool’s Day!

Yep, Mother Nature played a cruel joke on us and we got a foot of fresh snow on April 1.  I had been planning to get some pansies to replace those spruce tops and fill the urn on the bench before taking some pictures of the sign for this post, but luckily I hadn’t done that quite yet.

But I think it’s going to warm up enough for pansies next week, fingers crossed!

In the meantime, I’m still enjoying my Flower Market sign and telling myself that garden season is going to be here before I know it.  Right?

the fresh flower market case.

Sometime last summer I came across this wooden case at a garage sale.

I have to admit, I walked away from it at first thinking it was too big and cumbersome, and it felt a bit too utilitarian for my tastes.  But then I realized that of course I could change that last part with some paint, and maybe a stencil or some transfers.  So I went back and grabbed it.

Here’s what the inside looked like initially.

The whole thing looks very much homemade.  I do wonder what it was made for, a ventriloquist’s dummy?  an accordion?  a secret stash of gold bouillon?  Hopefully it wasn’t anything creepy, like that time I accidentally bought an embalming table at an auction.  It’s made out of solid wood, so it is rather heavy for toting things around.  Any of you have any ideas about its original purpose?

After scuff sanding and cleaning the case inside and out, I painted the inside in Dixie Belle’s Collard Greens, and the outside in their Drop Cloth.  Next I added some sections from the I.O.D. Wall Flower transfer to the inside lid.

I think the florals in this transfer have that look of old 1940’s wallpaper.

I also added some pieces of the Wall Flower transfer to the front of the case, and then I pulled out a new stencil from Wallcutz called Fresh Flower Market.

I couldn’t quite fit the entire thing on my case, so I masked off those trim lines around the outside as well as the bottom line of wording using painters tape.  I then stenciled the word “MARKET” in Dixie Belle’s Collard Greens, and the rest of the wording in their Holy Guacamole.

I used a small artist’s brush to fill in the bridges on my stencil, and I think that really made the cursive font of ‘fresh flower’ work better.

For a final little touch, I added one of the bees from the I.O.D. Brocante transfer near the handle of the case.

You can’t have a flower market without bees, right?

With it’s fresh new interior, this wooden case could be used to store all kinds of things.  Maybe your spare linens, or your heavy winter sweaters?  Or even your ventriloquist’s dummy.

Or, you could just simply use it as décor.

It would be sweet just hanging out in your foyer, or on a protected porch.  It would also be perfect in your potting shed …

assuming you can get to it.

Earlier this year when I was planning for this project, I thought I’d be able to photograph the finished case out in the potting shed.  But then we got a lot of snow, and then we got a lot more snow, and then earlier this week we got another 7″ more.  I basically can’t get to the potting shed at this point.

Well … I could if I was willing to trudge through a couple feet of snow, and then shovel away the giant pile that fell off the roof and is now blocking the door.  But I’m not.

This was a bit of a tactical error on my part since most of my garden themed photo props are out there too.  I sure do hope spring is just around the corner.

In the meantime … an indoor photo shoot it is.

What do you think?  What would you use this case for?

The fresh flower market case is for sale, check out my ‘available for local sale‘ page for more details.

Thank you to Dixie Belle Paint Co for providing the paint, and to Wallcutz for providing the stencil used for this project and sponsoring this blog post.

a rose window.

I picked up an old window at a garage sale last year.  I tend to grab chippy old windows, especially when they have a unique shape like this one.

This particular one was in pretty rough shape with the glass practically falling out before I got it home.

So, I started out by giving the window a good clean, and then I re-glazed the glass.  Now, you should be forewarned that I have very little talent for glazing and I really don’t know what I’m doing.  But, I need to get it figured out because we have quite a few windows at our house that need re-glazing and I want to do it myself.  So this seemed like a good way to get some practice in.

However, I’m pretty sure I picked the wrong product.

I saw the words ‘window’, ‘clear’ and ‘paintable’ on the label and thought it was what I needed.  I also thought a ‘sealant’ was what I needed.  In the end, this worked OK for my purpose here, which was basically to hold the glass firmly in place.  But it’s not really the right product for glazing windows, so I’ll be going back to the drawing board before I attempt to work on my house windows next summer.

In the meantime, here’s how my totally imperfect sealant looks on the back side of the window.

Fortunately it’s on the back, and it’s clear, so it really isn’t noticeable from the front at all.

Next up I debated re-painting the frame.  But the thing is, I like the authentically chippy look.  So rather than paint it, I sanded off any loose paint and then added a couple of coats of Dixie Belle’s flat clear coat to seal it.

Next up I pulled out two sections from the I.O.D. Ladies in Waiting transfer to add to the glass.

I cleaned the glass well before starting and then applied the transfers to the front of the window.

I have to confess that I nearly applied the first one to the back of the window before coming to my senses.  The transfers do not work that way.  Here’s how that would have looked …

Yep, I dodged a bullet on that one.  Don’t know what I was thinking.

Ultimately the Ladies in Waiting transfers were the perfect fit for this window.  One on each side (the full set includes four of them).

I added a number to the side of the window frame too.

That came from my pile of transfer scraps, so I’m sorry, but I don’t know which particular transfer it was from originally.

One question I get frequently is whether or not I use a sealer over transfers that are applied on glass, and I do not.  The transfers stick to glass extremely well.  However, they can be removed using a razor blade, if one should ever want to remove it down the road.

As for cleaning, I would simply dust it using a soft cloth.  I would not recommend using a spray glass cleaner of any kind on a transfer.

This window looks great hung on the wall over a desk.

But you could hang it anywhere.

What do you think?  Are you a fan of transfers on glass?

If so, here are links to some other projects I’ve done with transfers on glass; this one is on a mirror, this one is on a barrister bookcase, and this one features glass cannisters with transfers on them.  Check them out!

In the meantime, this window is for sale.  Check out my ‘available for local sale‘ page for more details.

a beautiful white Christmas.

Merry Christmas dear readers!

Since Christmas just happens to fall on a Sunday this year, I thought I would take advantage and bring you a holiday greeting from the garden.  Once again, not technically my garden, but a garden.

The Sunken Garden in the Marjorie McNeely Conservatory at Como Park does a different holiday display every year.  This year they went all white.

Well, white and green anyway.

Of course there were lots of white poinsettias, plus other flowers that I think of as typical Christmas plants like paperwhites …

and amaryllis.

They also used plants that I think of as typical summer annuals in our area like euphorbia and dusty miller.

Plus, there were plants that I think of as potted plants like the little lemon cypress trees, and white kalanchoe.

I find an all white color scheme very serene and peaceful.

I’ve often thought about adding a white garden to my yard.  White flowers really pop in a shady area, or in the moonlight at night.  Some options for white flowers in a shade garden include impatiens (of course), white bleeding heart, lily of the valley, astilbe, snow drops, bloodroot, sweet woodruff, foam flower and anemones.  There are so many to choose from!

But if you’re not a lover of the all white look, you might enjoy last year’s red, orange and yellow theme at the conservatory a bit more …

What do you think?  Are you a fan of the serene all-white look, or do you prefer a lot more color?

Leave a comment and let me know.  But in the meantime, happy holidays to you and yours.  I hope you are enjoying a serene and peaceful holiday season, or possibly a vibrant, colorful one … whichever one works best for you!

winter interest in the garden.

I’m sure many of you are familiar with the movie A Christmas Story.  You know that scene where Ralphie wakes up on Christmas Day and looks out the window to find it has snowed over night to create a magical winter wonderland?  I always feel that same sense of magic when I wake up to find that it snowed overnight, as I did last Wednesday night (and Thursday night, and Friday night).

This was the view from our bedroom window when I got up on Thursday.

I’m not sure my photo does it justice, it really was magical.  It got even better on Friday.

So I thought this might be a great time to bring you a Sunday morning in the garden post, winter version.

Most of the garden vloggers that I watch on YouTube have been talking about adding winter interest to the garden lately.  I have to admit that I’ve never really given ‘winter interest’ much thought in the summer when I’m planting.

So most of my winter interest plants are totally coincidental.  The many hydrangeas that I’ve planted for their fabulous flowers, also look quite pretty after a snowfall.

Even my dismal failure of a lilac hedge adds some decent winter interest.

Otherwise, most of the ‘interest’ in my winter garden comes from the trees.

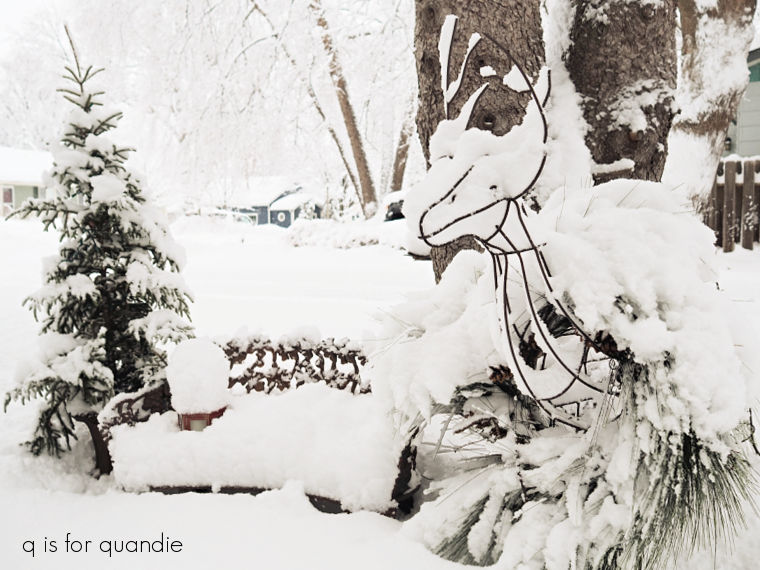
Or the garden ornaments.

Things like statues, trellises, and obelisks are a quick and easy way to add interest to the winter garden, although not necessarily the cheapest way.

Another recommendation for adding winter interest is to leave attractive seed heads on plants like echinacea (coneflower), astilbe and bee balm.  I have those perennials, but in our climate they pretty much first get battered by a heavy snow, and then buried in it.  They work better for autumn interest rather than winter interest here.

We need to rely on sturdier options in Minnesota like evergreens, or shrubs with winter color like winterberries or red twig dogwood.  They can stand up to a couple feet of snow.  And the red of the winterberries and dogwood look especially amazing in the snow.

But until I get some red things planted, I will have to just admire how the red paint job on the carriage house really pops in a snowy landscape.

How about you?  Do you have any recommendations for adding winter interest to a garden?  Or perhaps you enjoy living in a perpetually green climate.  Leave a comment and let us know!

a tropical garden for Christmas.

Welcome back to Sunday mornings in the garden.  Once again, this post is not coming from my own garden which is currently buried under a couple of inches of snow.  Instead, this one is coming to you from Puerto Vallarta!

As I’ve mentioned, my neighbor’s family invited me along on their family vacation to Mexico.  Yep, I’m very lucky when it comes to neighbors.  I think I won the good neighbor lottery.

So I spent a week at Velas Vallarta with my neighbor Karen and her parents.  The resort was gorgeous, and so was the weather.

  We had 7 days in a row of mid-80’s and sunshine, not a drop of rain or a cloud in the sky.  Perfection.

We basically spent the bulk of our time looking at this view while a very nice waiter named Edwin delivered pina coladas and nachos.

Most of the time it felt like we practically had the place to ourselves because the resort was only about 50% occupied.  The week immediately following Thanksgiving week is not very popular apparently.

We did venture out to the beach a couple of times.

And we also ventured out to the marina to do some shopping.

But I said this was going to be a garden post, and that’s because the grounds at Velas Vallarta were just beautiful.

Not only that, but many of the plants had markers so it was a lot like being in a botanical garden.

I enjoyed finding out what the various plants were called, like the Washingtonia Robusta or Mexico Fan Palm.

And the Musa X Paradisiaca or the Banana!

There were two flowering plants that stood out as my favorites.  First up, the bougainvillea.  This is one of my mom’s favorite flowers, and she would have loved how they were spilling out of a multitude of planters on the balconies at this place.

But I think I liked the Blue Sky Vine even more.

They had long pergolas around the several swimming pools that were covered in this vine and provided perfect spots for shady lounging.  There was one small problem in that they really attracted the bees, and Karen got stung twice in the pool.  Ouch!

I have to admit, I find it difficult to feel properly Christmas-y in the tropics.  But the resort was doing their best to add some holiday vibes.  One morning I woke up to find that they had planted poinsettias in the garden the previous day.

They’d also put up a huge tree in the lobby.

It was decorated with these beautiful silver lanterns.

Still, it took coming home for me to get back into a holiday mood.

As much as I enjoyed that gorgeous warm, sunny weather in Mexico, I need a little snow on the ground to feel like Christmas.  How about you?  Do you enjoy a tropical Christmas?  Leave a comment and let me know!