First up, I realized that I hadn’t mentioned that I drew Marguerite’s name as the winner of my Peachy Keen giveaway, so congrats to her!
Next, I also realized that it’s been a while since I posted about any of my garage sale or thrift store finds.
In fact, I checked back and I think the last post about a garage sale item makeover was back in August. Seriously, how in the world does time go by so quickly?
Well, despite the fact that almost two months have gone by since I last posted some finds, I have been getting out to garage sales nearly every week (not counting two weeks of traveling, and then a week of covid) with my friend opK. I don’t seem to be bringing home any major hauls, but I have found a couple of things here and there. It just never seems like quite enough stuff for a complete blog post.
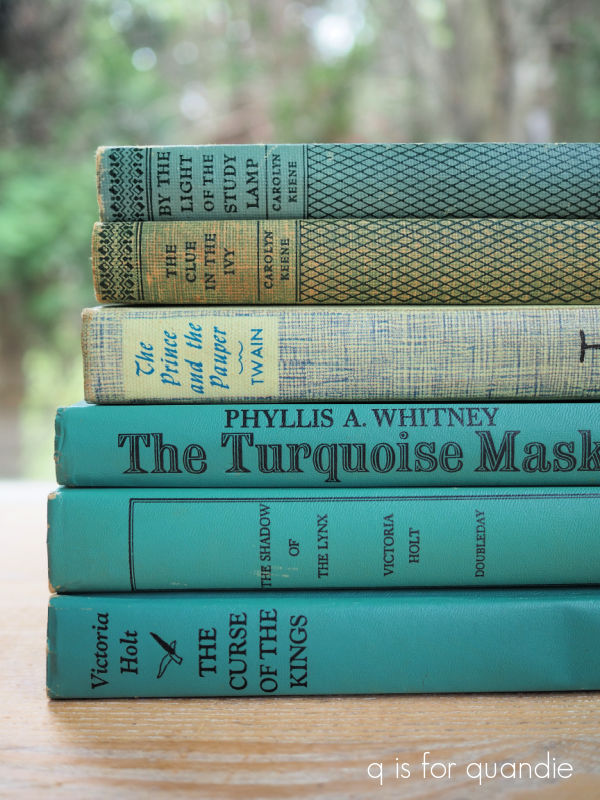
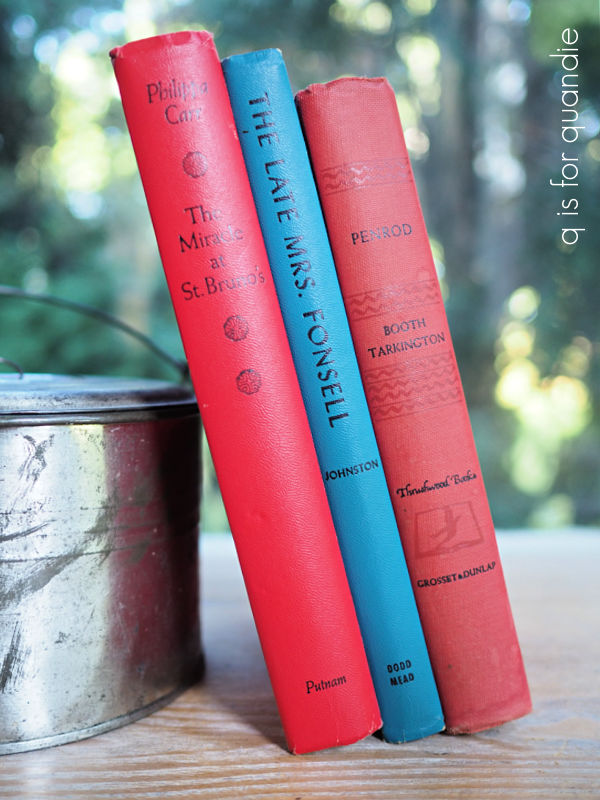
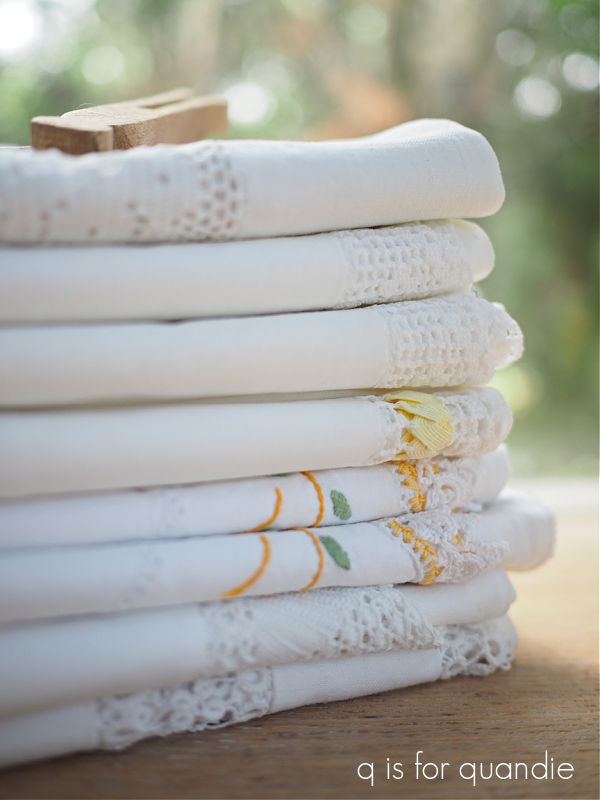
For example, here’s my ‘haul’ from last week.

See? Not too exciting.
But let me share a bit of what I’ve done with some of these pieces.
Let’s just start with the stack of shaker boxes.

You know me, I have a problem resisting boxes of any kind.
The colors on these were a bit dated though, and I’m not sure anyone needs a complete stack of 7! So I decided to break them up into two sets, and give them an ombre paint job in shades from white to gray.
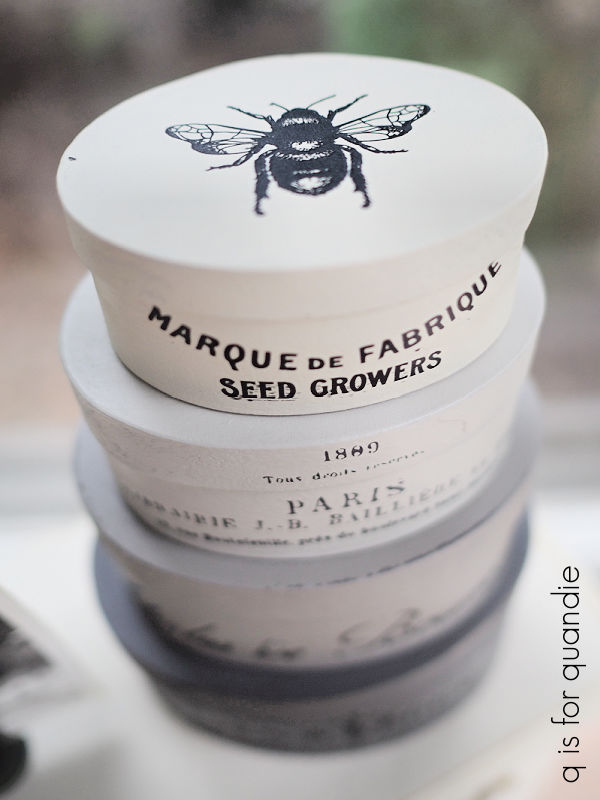
I started with the 4 smallest boxes.
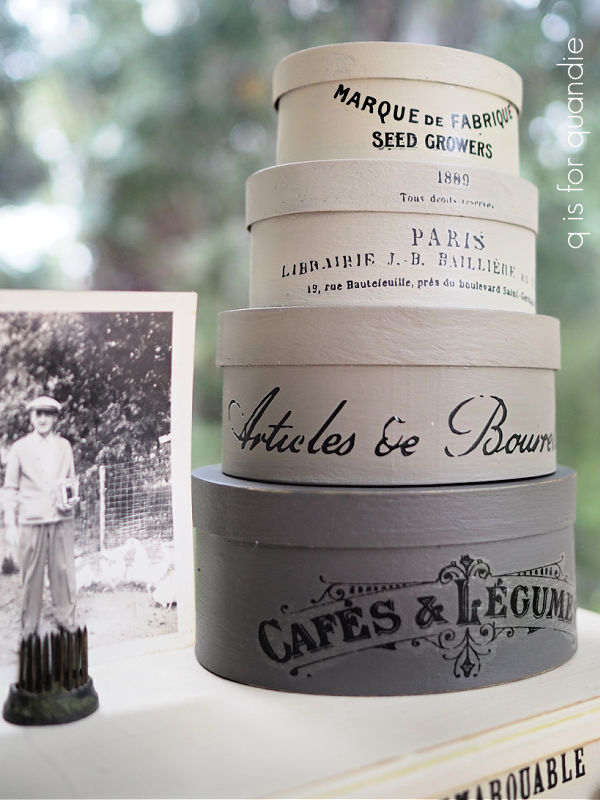
They are all painted in Dixie Belle paints, starting from the top of the stack and working down I used Drop Cloth, Sawmill Gravy, French Linen and Hurricane Gray.
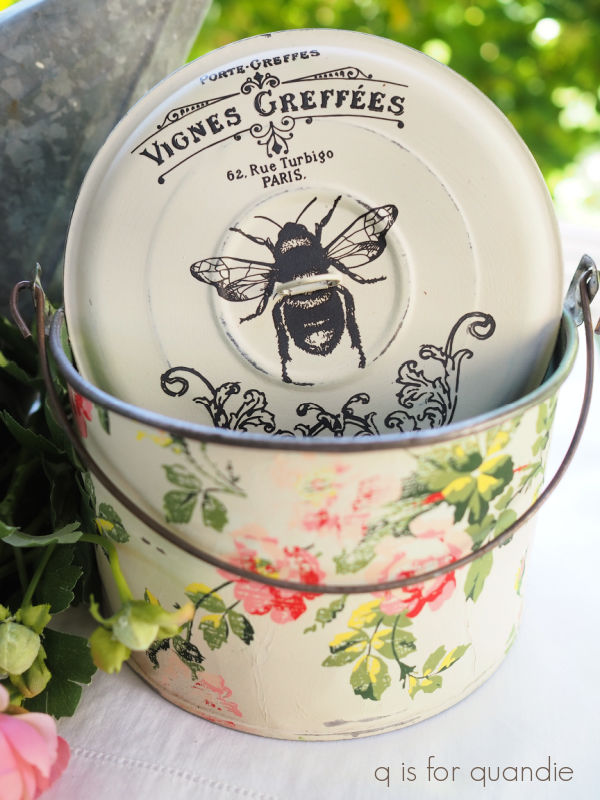
I added random bits of various transfers to the front of each. I had to search a bit to find sections that were small enough for these little boxes, but I used some of re.design with prima’s Classic Vintage Labels, and some of I.O.D.’s Traditional French Pots.
I also added a sweet little bee from re.design with prima’s French Labels to the top box lid.
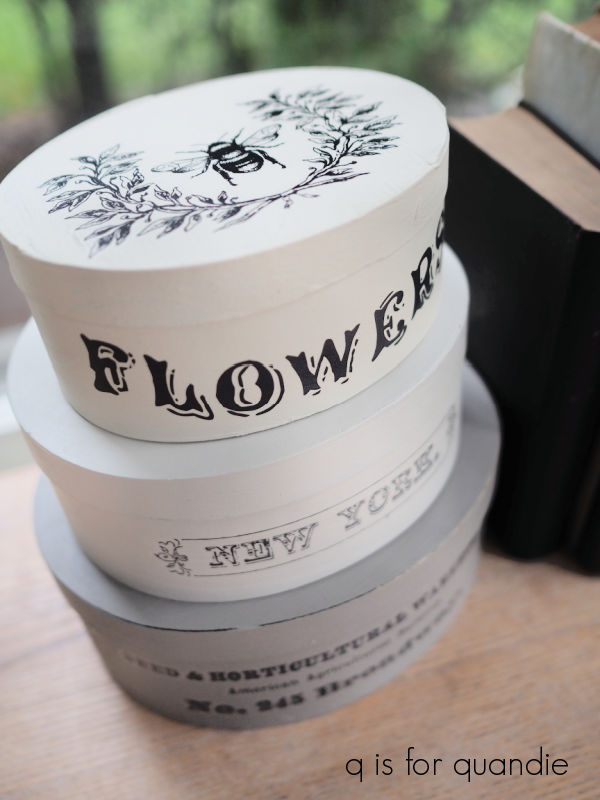
I painted the larger 3 boxes in a similar fashion using the three lighter colors, and then found transfers to fit on them as well.

These scraps came from the same sets, along with the bits on the bottom two boxes that are from the small version of the Seeds transfer from prima.
I know it’s often difficult to really tell the size of items in photos, especially when there isn’t anything shown to provide scale. The biggest box is 7″ across, and the smallest is a mere 3″ across.
As I was looking around for items to stage them with, I realized that the smaller boxes would be pretty adorable on top of one of my mini dressers.
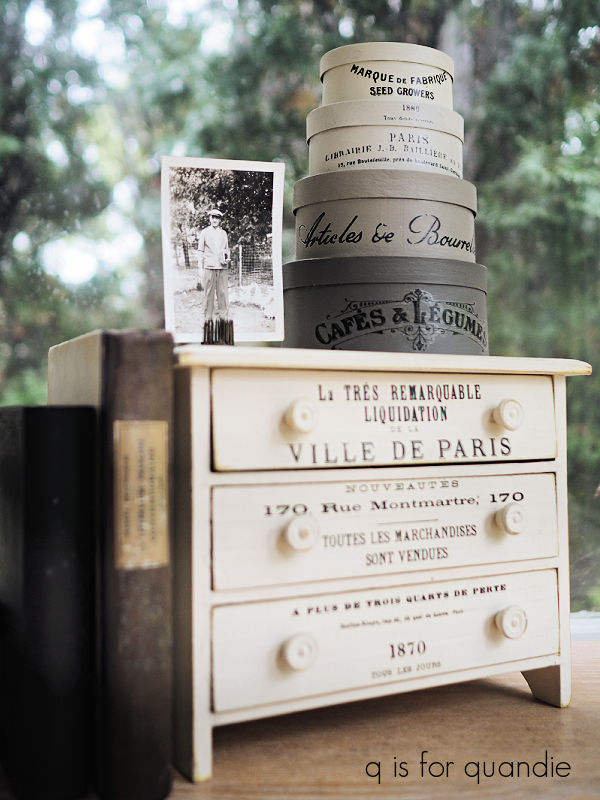
How cute is that? I may just have to keep those now.
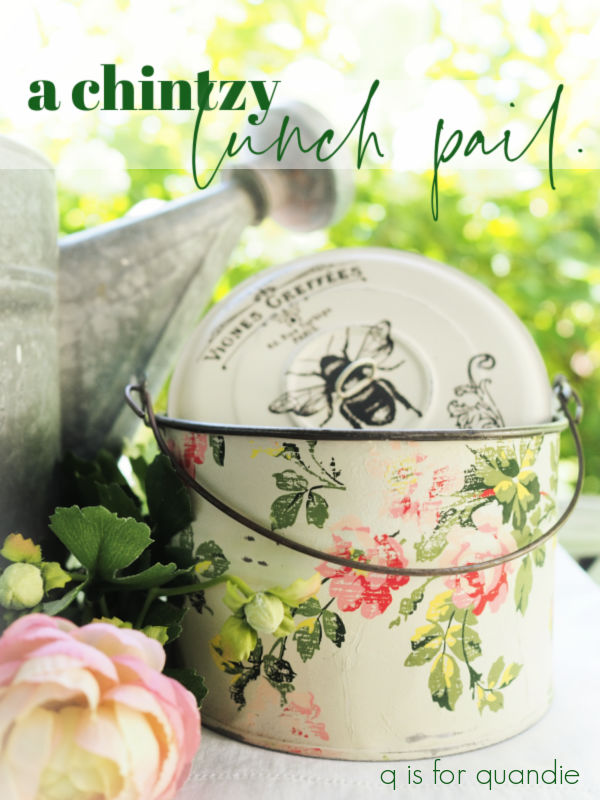
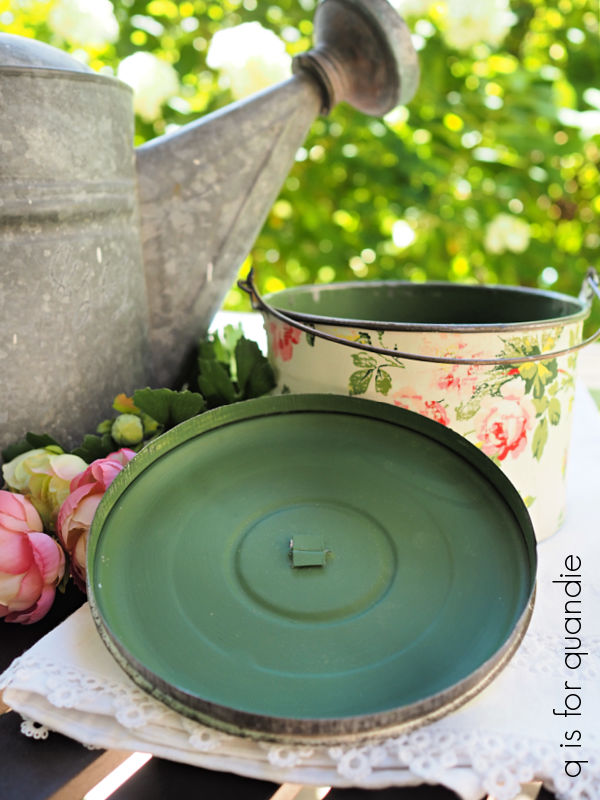
Next up, you may have noticed the trio of amber bottles I found.

I knew I could give these a quick update with some faux apothecary labels.

Um, but wait a moment, didn’t I have three of them? Yeah, I broke one of them while washing them up. Drat.
After washing them, I used Mod Podge to add some faux labels. I shared this quick process and a source for a .pdf of the labels in a post back in February (here).
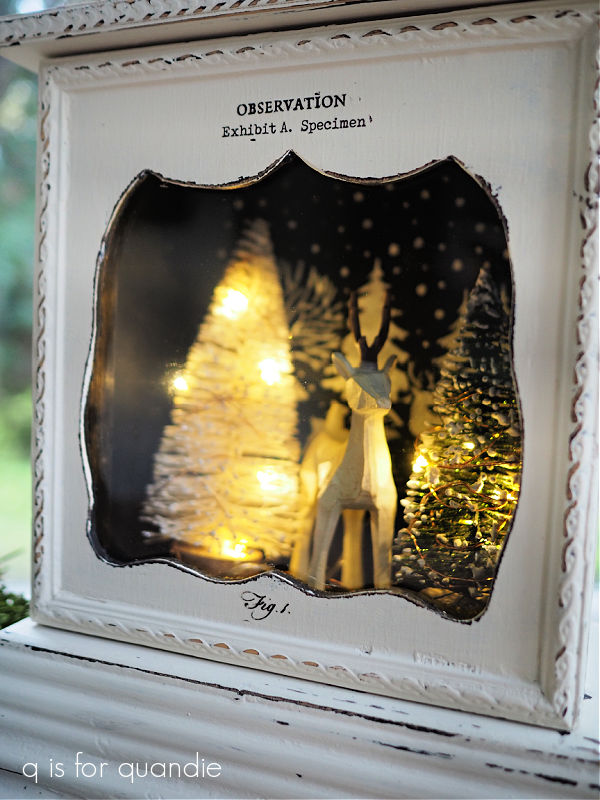
Next up, how about that clock?

It doesn’t have a lot going for it as a clock, but when I opened it up I realized that the clock face and mechanism would come right out leaving a cool little shadow box.
So I pulled that out, then painted the outside in Dixie Belle’s Drop Cloth. Then I freshened up the inside with a coat of their Caviar. Once dry, I added a small stencil to the inside back.

This stencil is from a pack of 6 x 6″ stencils that I ordered on Amazon last year for a few projects. Unfortunately, when I went to share the link for them I found that they are currently unavailable. I’m sure you could search out other small Christmas themed stencils though.
Anyway, after adding the stencil, I placed some bottle brush trees and a cute little carved reindeer inside the shadow box, and lit them all up with some fairy lights.

So cute! Having that stencil in the background really adds some dimension to the piece.
I did feel like the front needed just a little bit of quandification though, so I added some Tim Holtz transfers.
Last up is the lantern.
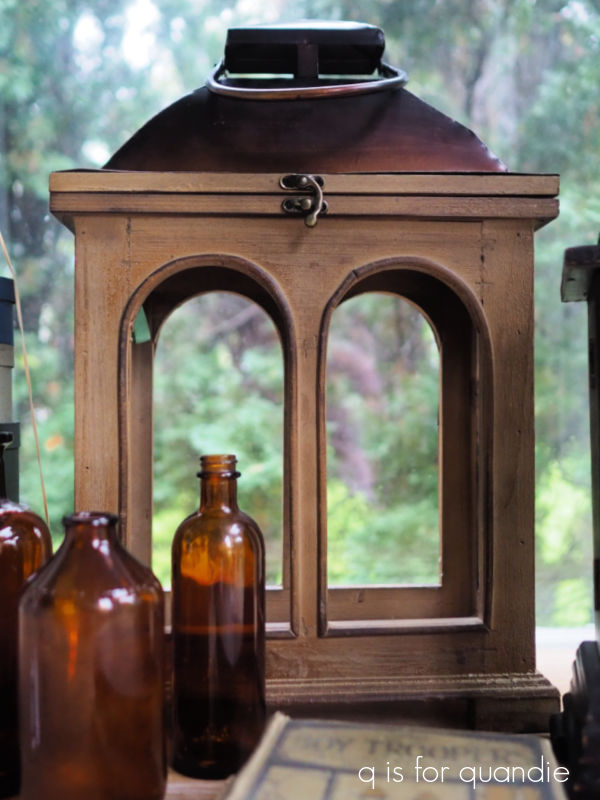
I liked the raw wood look on the sides, but the metal ‘roof’ looked a bit cheap up close.

So I decided to use some of Dixie Belle’s Patina Paint to give it more depth.
I started by painting the top with a base coat of DB’s Caviar (black chalk paint), then I painted on two coats of their Iron paint followed by the Green Spray to create a rusty finish (for a full tutorial on this product, check out this post).

Ahhh, so much better! To get that texture I stippled the paint on rather than brushing it. I advise doing that if you don’t want to see brush strokes in your finished look.
Next up I added some bottle brush trees with fairy lights inside the lantern.

Along with a little carved Santa.
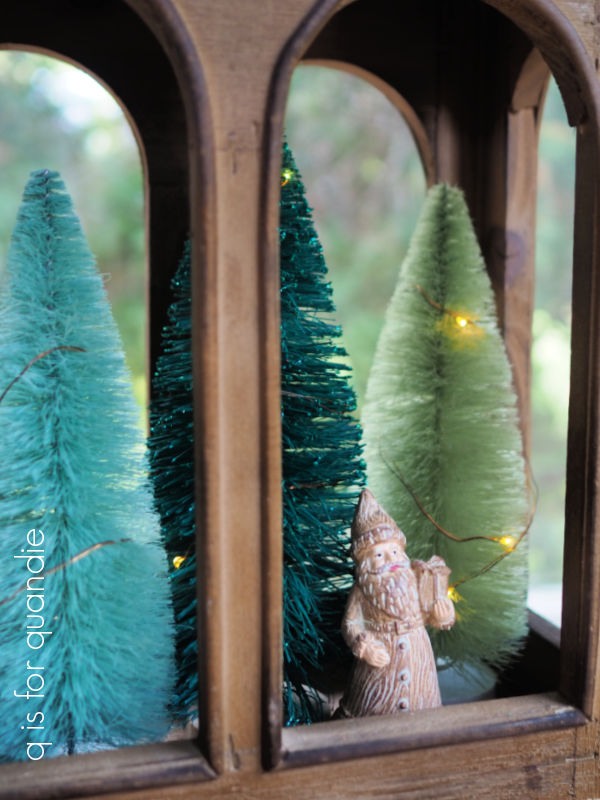
The lights I had on hand ended up being a bit wonky, so I’m going to have to get some more fairy lights for this one. But you get the idea.
I’m in the midst of getting a lot of my Christmas merch ready for the shop, and most of what I’ve shared in this post will be heading over there soon! I’m trying not to rush the holiday season, but I have several really cool holiday projects completed already that I’m dying to share with you guys. So be sure to stay tuned!


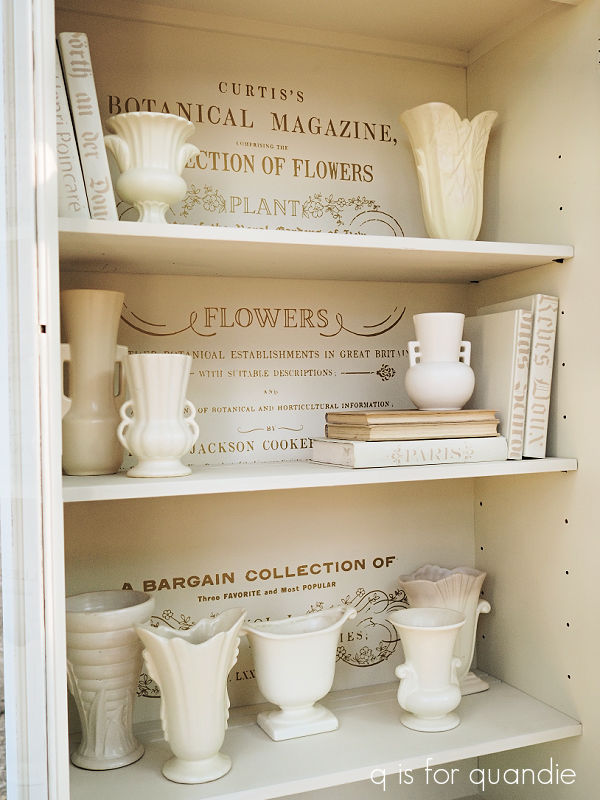
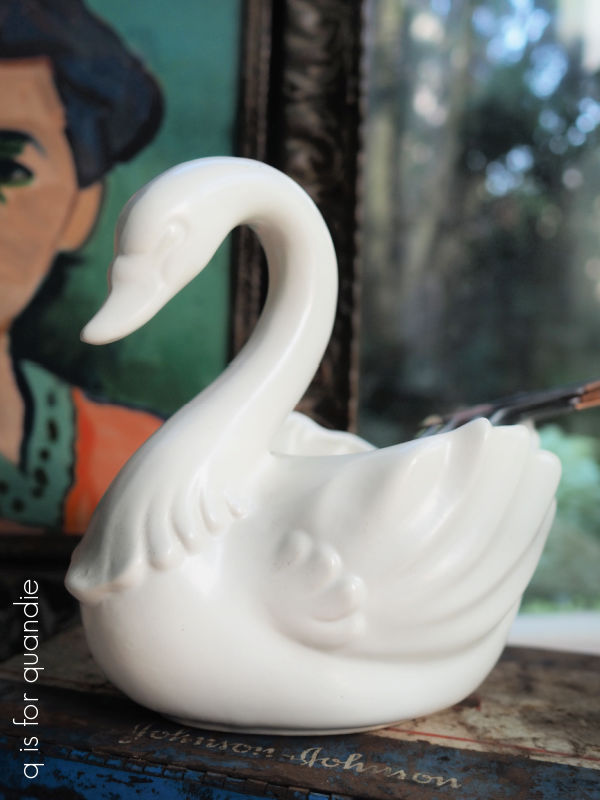 As you may have noticed, I have a little bit of a non-collection of matte white pottery.