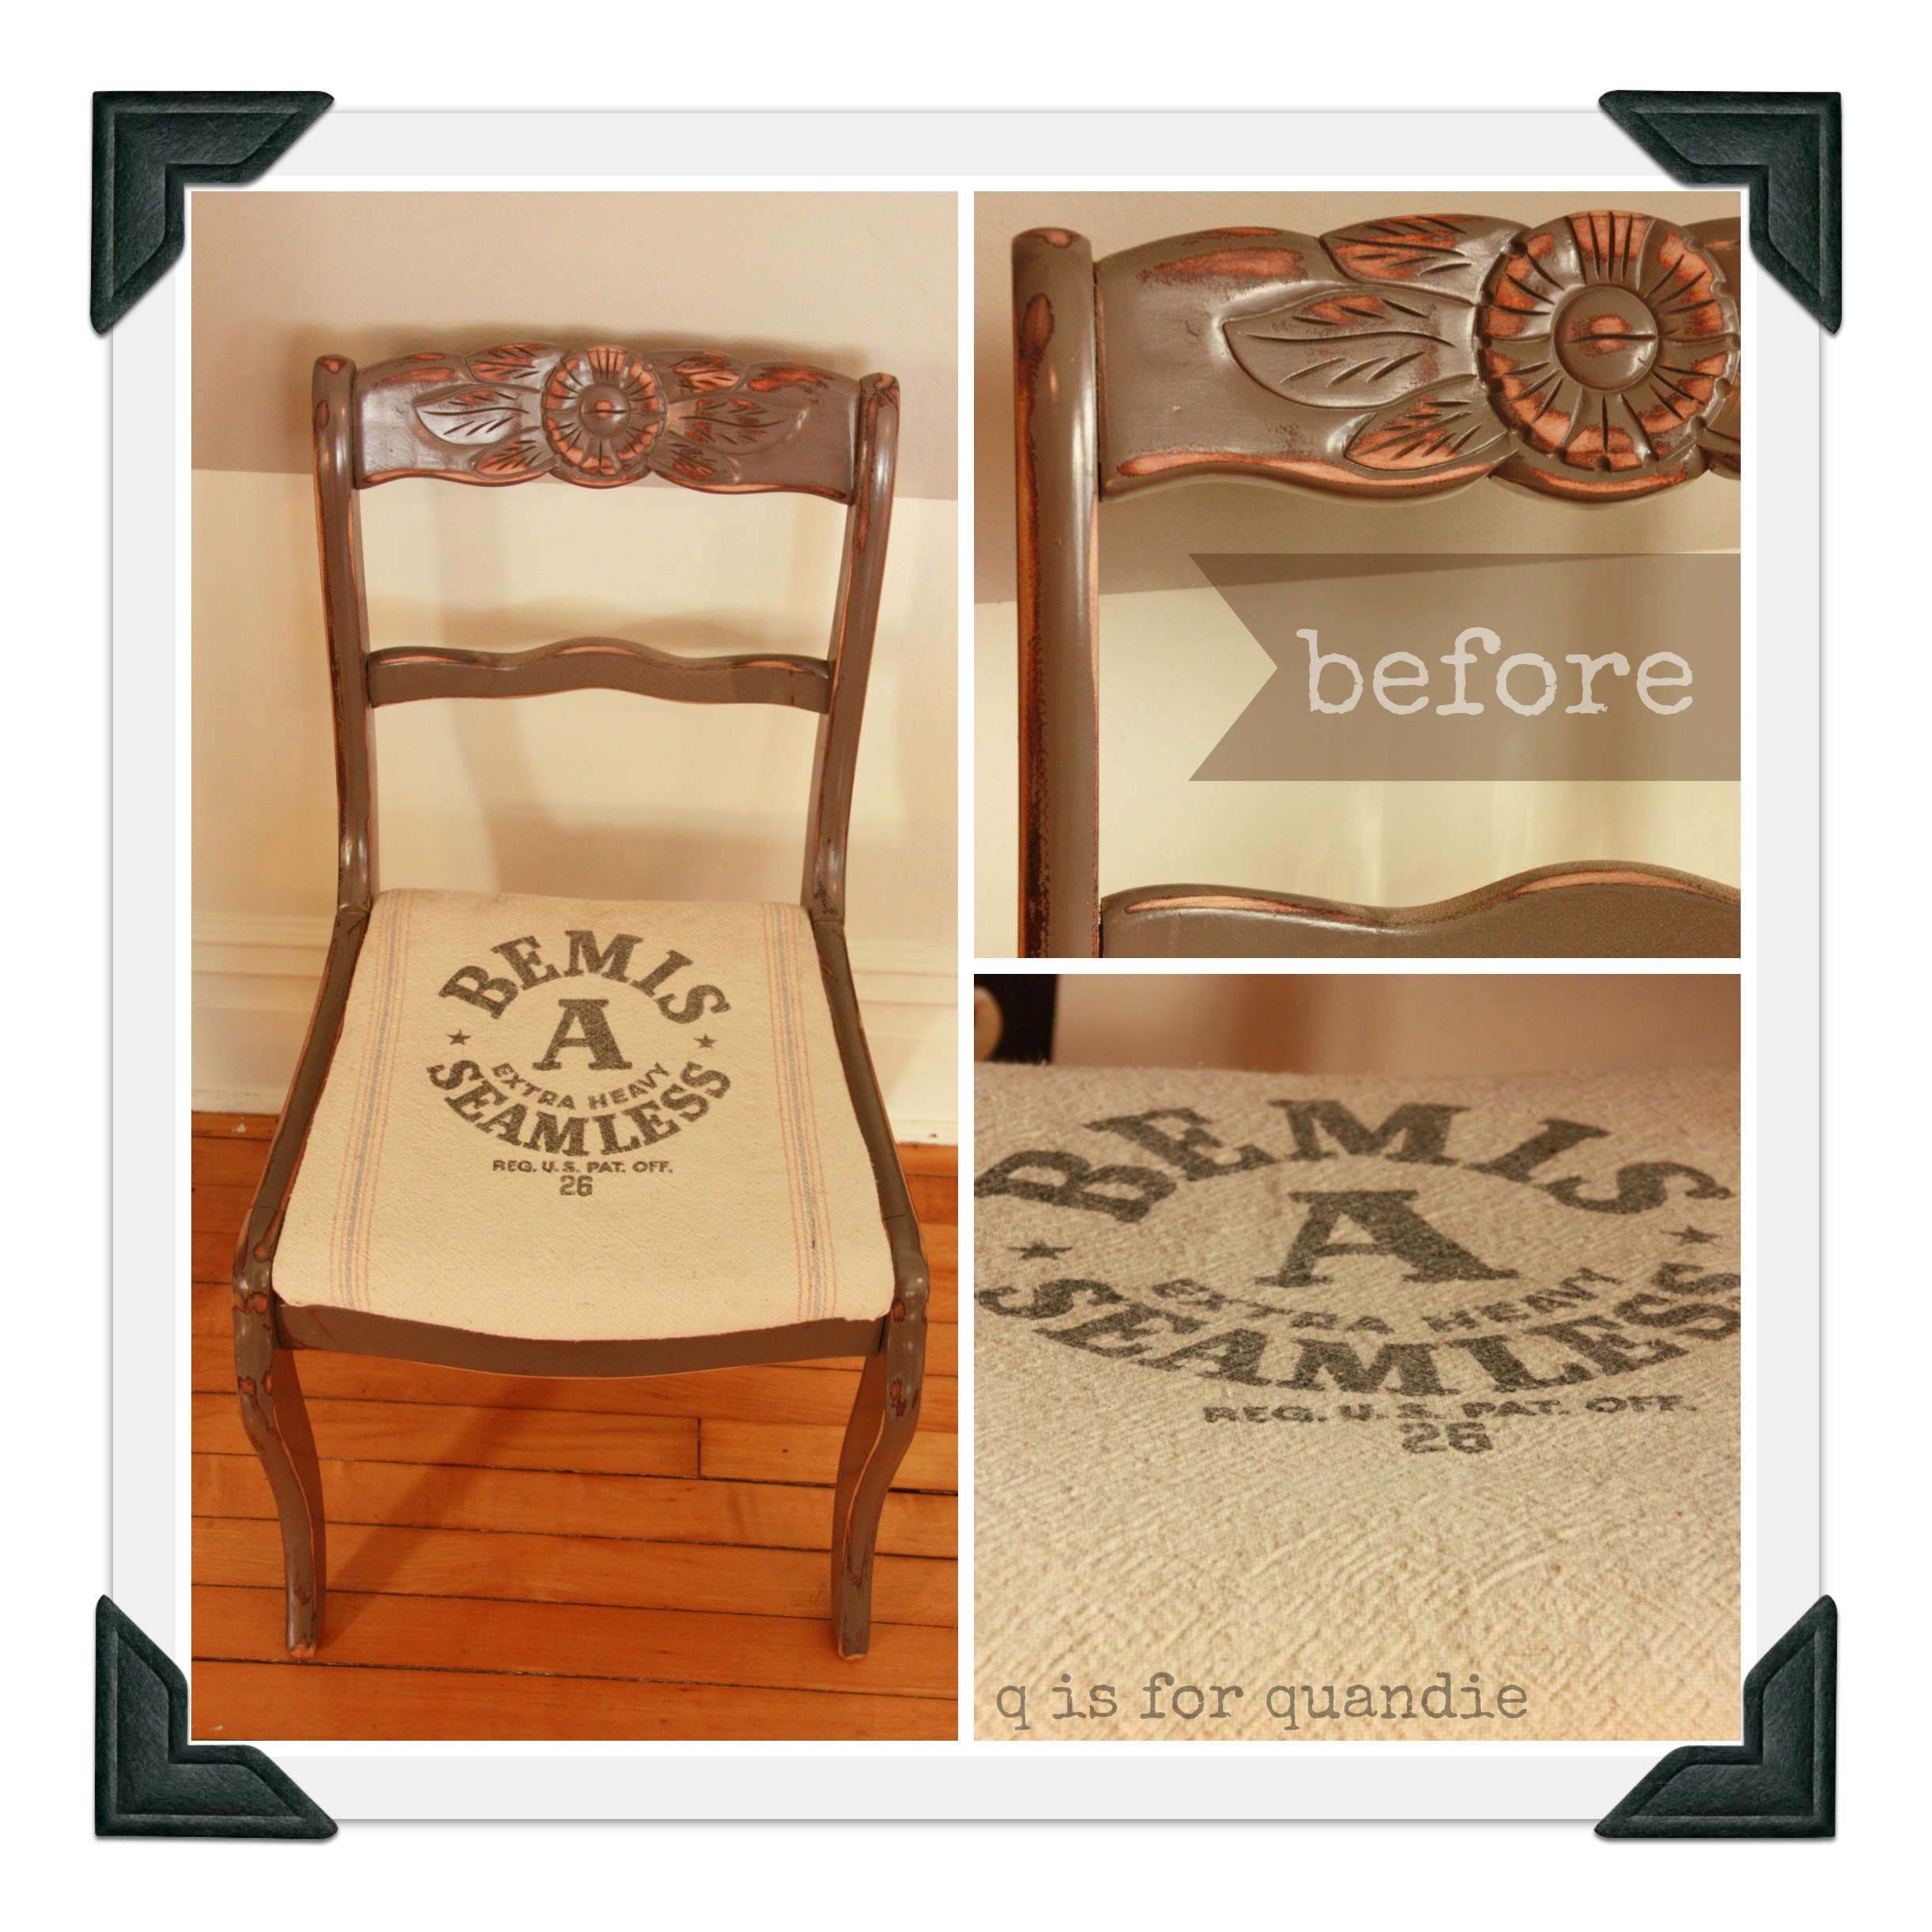
You may have noticed this chair in the pics of my front hallway. It currently resides at the foot of the stairs.

It belonged to my grandparents, and in fact there is a seat cover under that Bemis grain sack that my grandmother needle-pointed by hand.
Originally there were six of these chairs. They were split up when my grandparents moved out of their house in Minneapolis. My mother took 2 and my aunt took 4. When I moved away from home nearly 30 years ago, I ended up with one from my mom. My brother had the other, but that’s a long story, let’s just say it fell off the back of a truck when he was moving … I think that was what he claimed.
Anyway … problem is, this chair has never really been my style, even though I love the fact that it came from grandma’s house. In fact, I have photographic evidence.
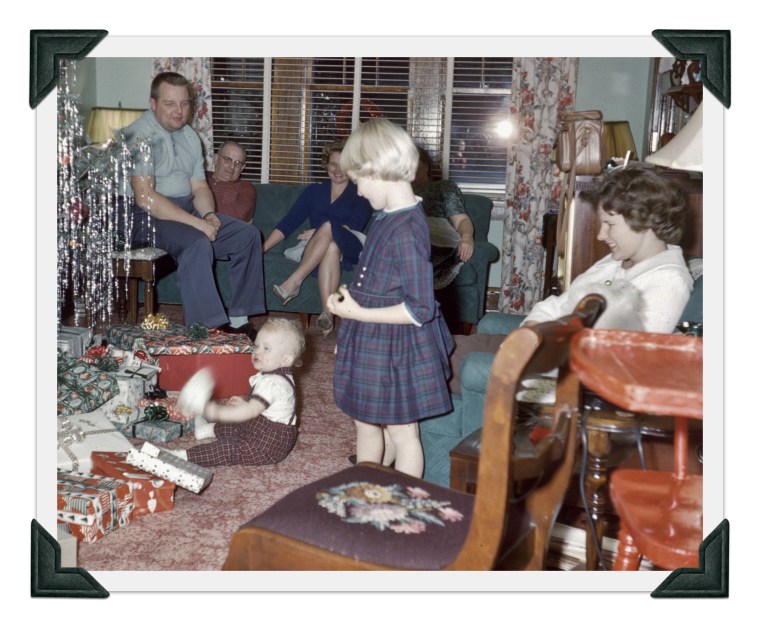 This photo was actually taken before I was born. That is my mom on the far right. The blonde girl is my cousin Nancy who is somewhere around 8 years older than me. And in the foreground, the chair in question. So you see, it is older than I am!
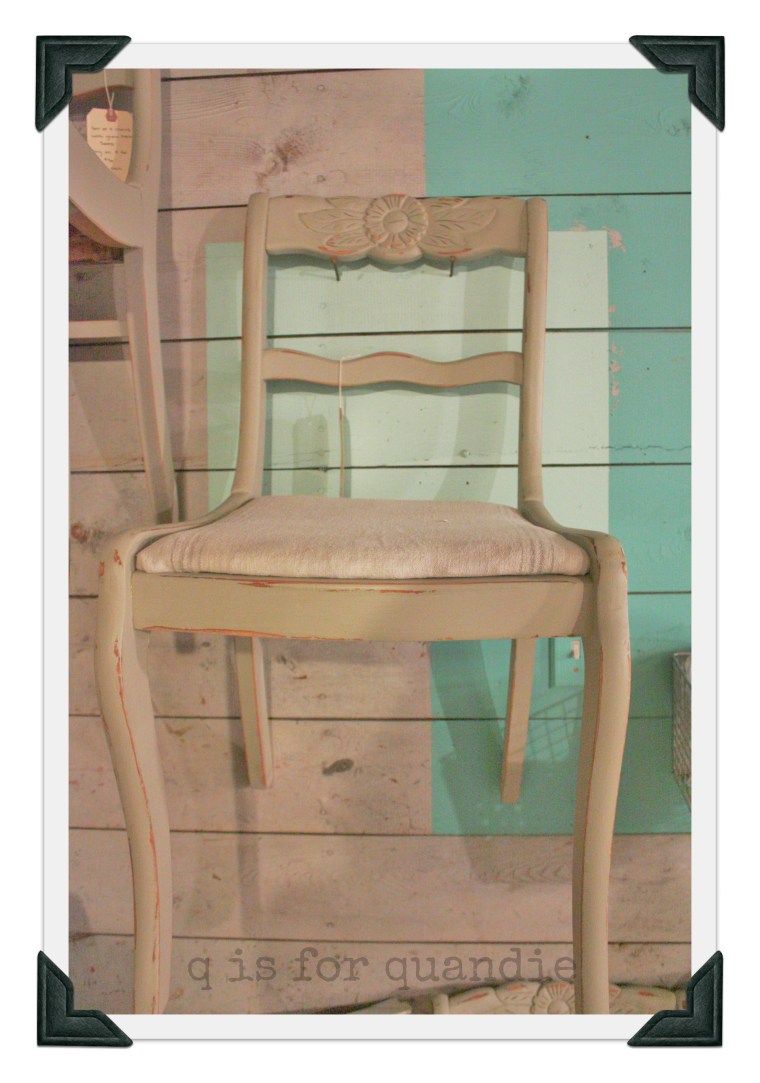
I had been living with this chair in its original state for about 25 years when I finally decided to paint it. I’m fairly certain that my family still thinks that it was sacrilegious, but I did it anyway. However, this was before I discovered MMS milk paint, and since I find it rather putzy to paint chairs with a brush, I spray painted it. Then I covered the seat in the Bemis sack, but I did retain the needle point cover underneath.
I thought I would like it in the grey, but I have to say, the spray paint grey was never quite right.
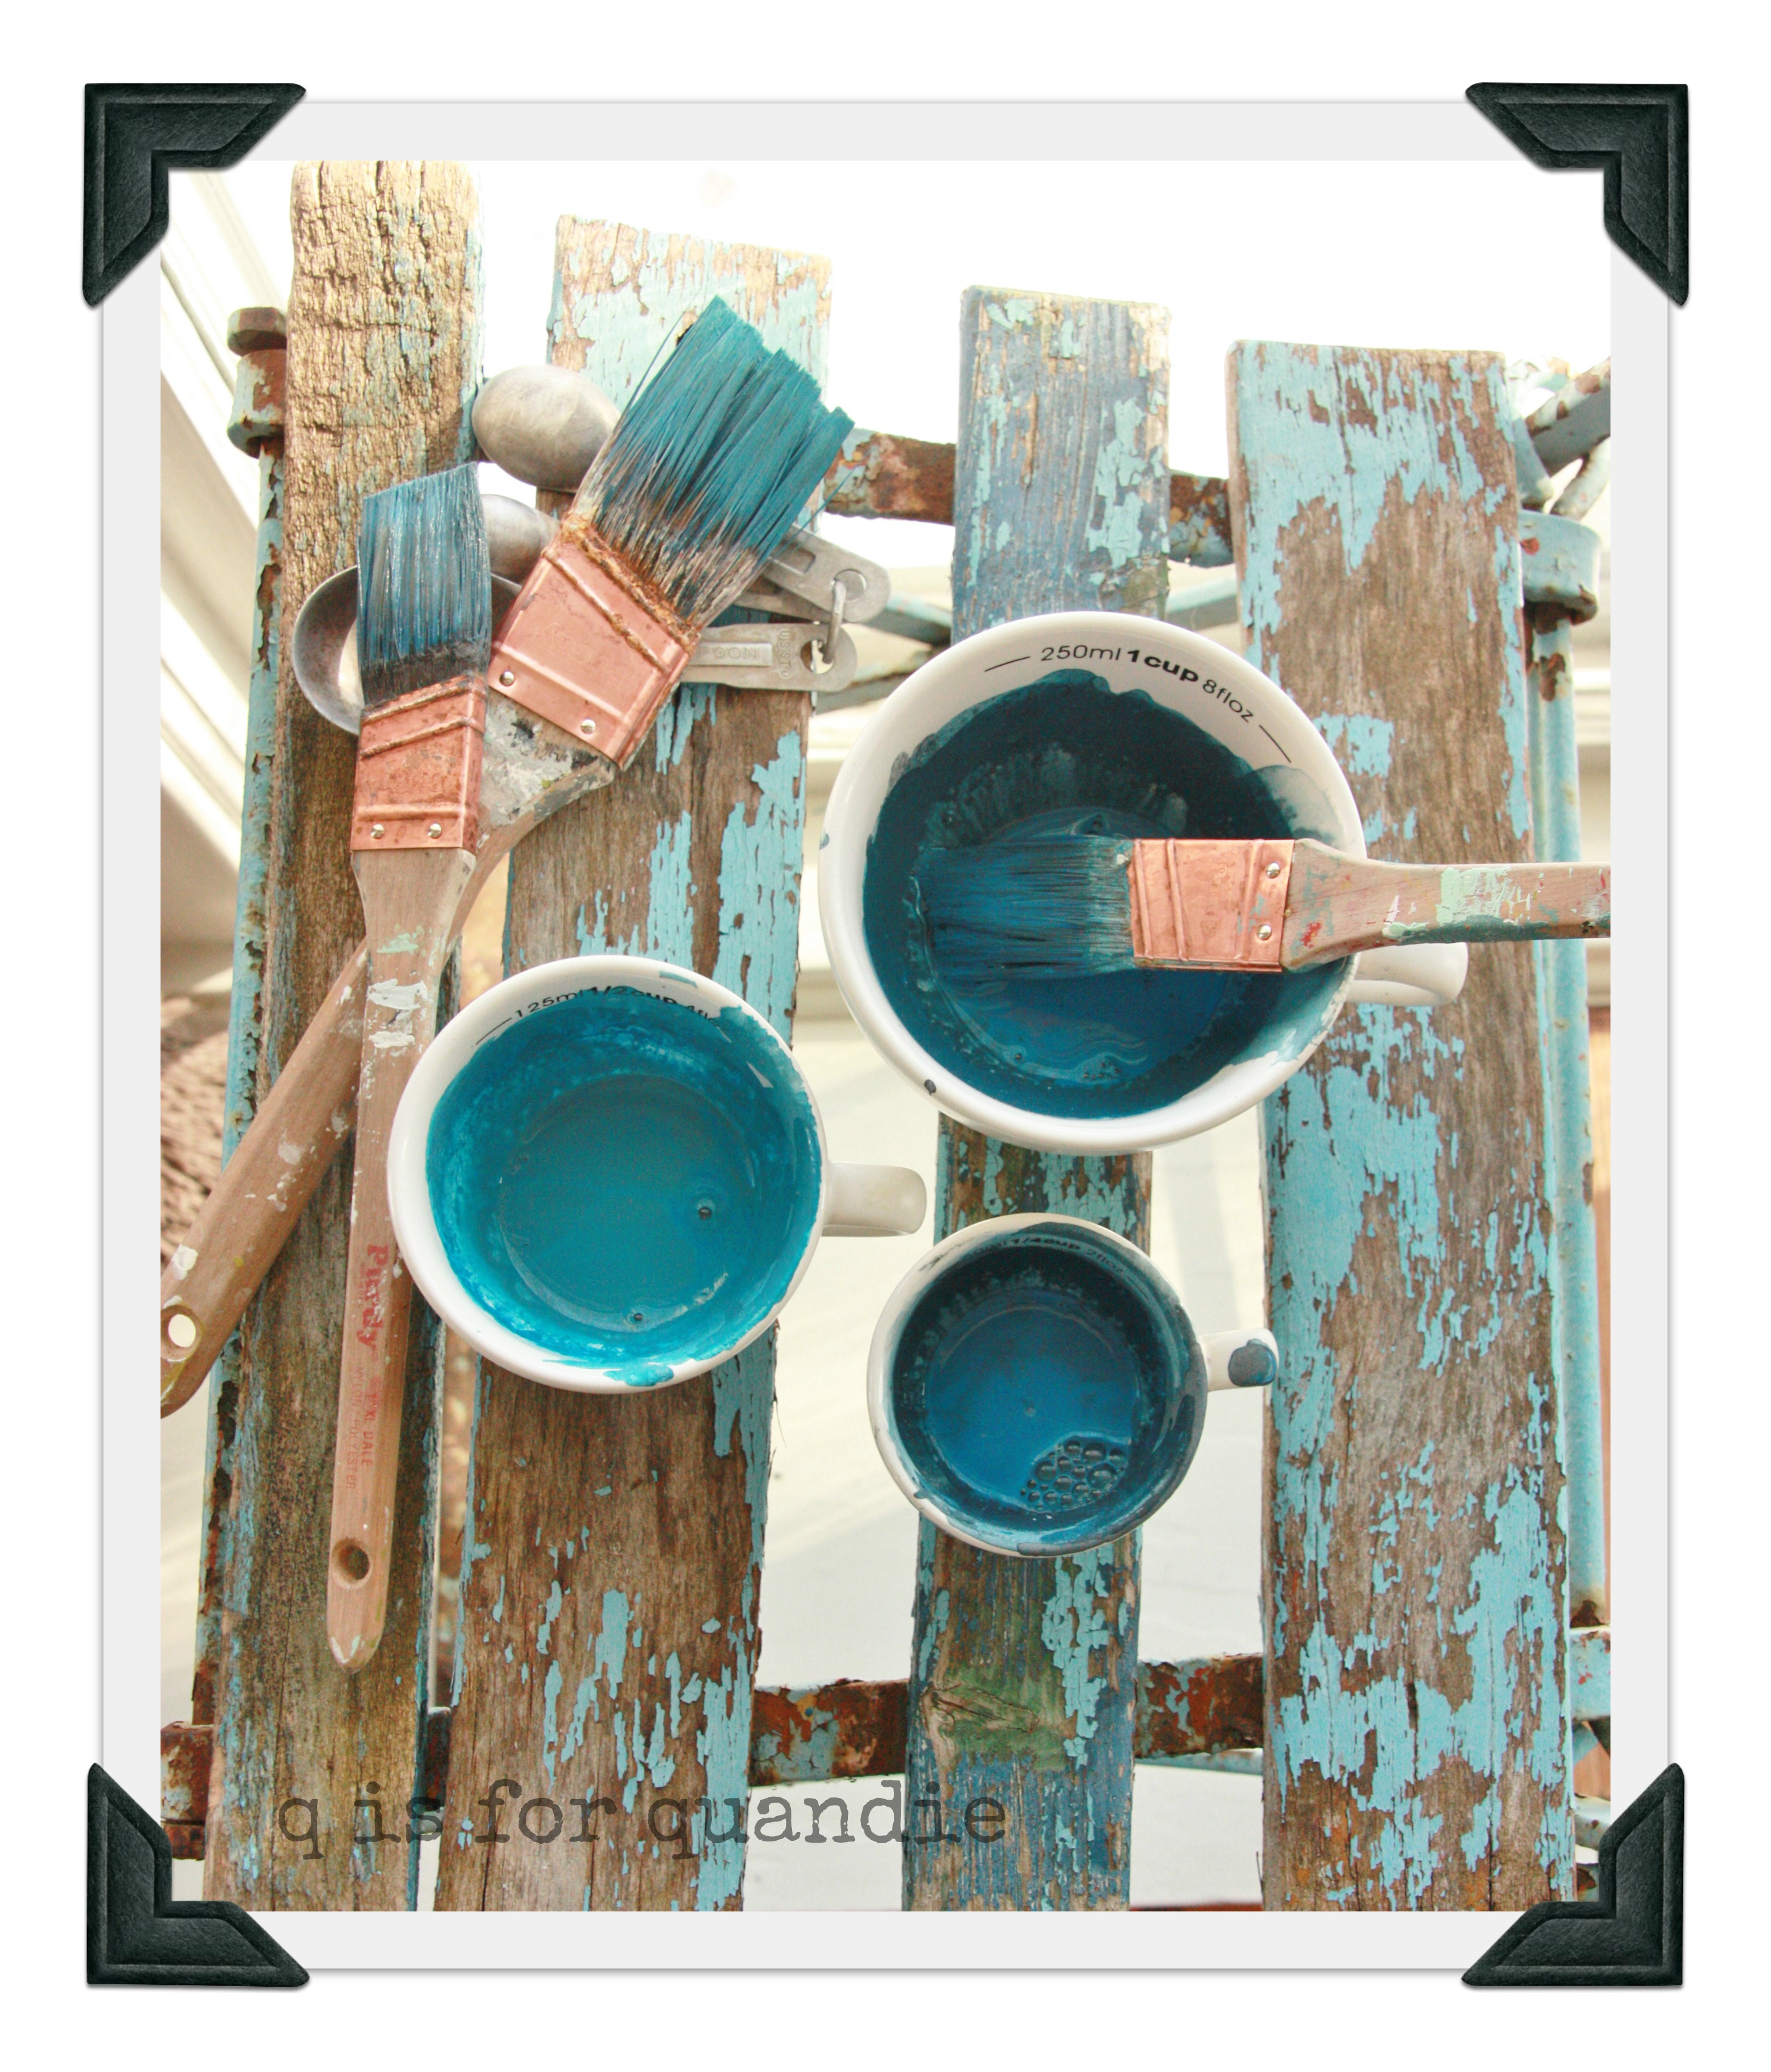
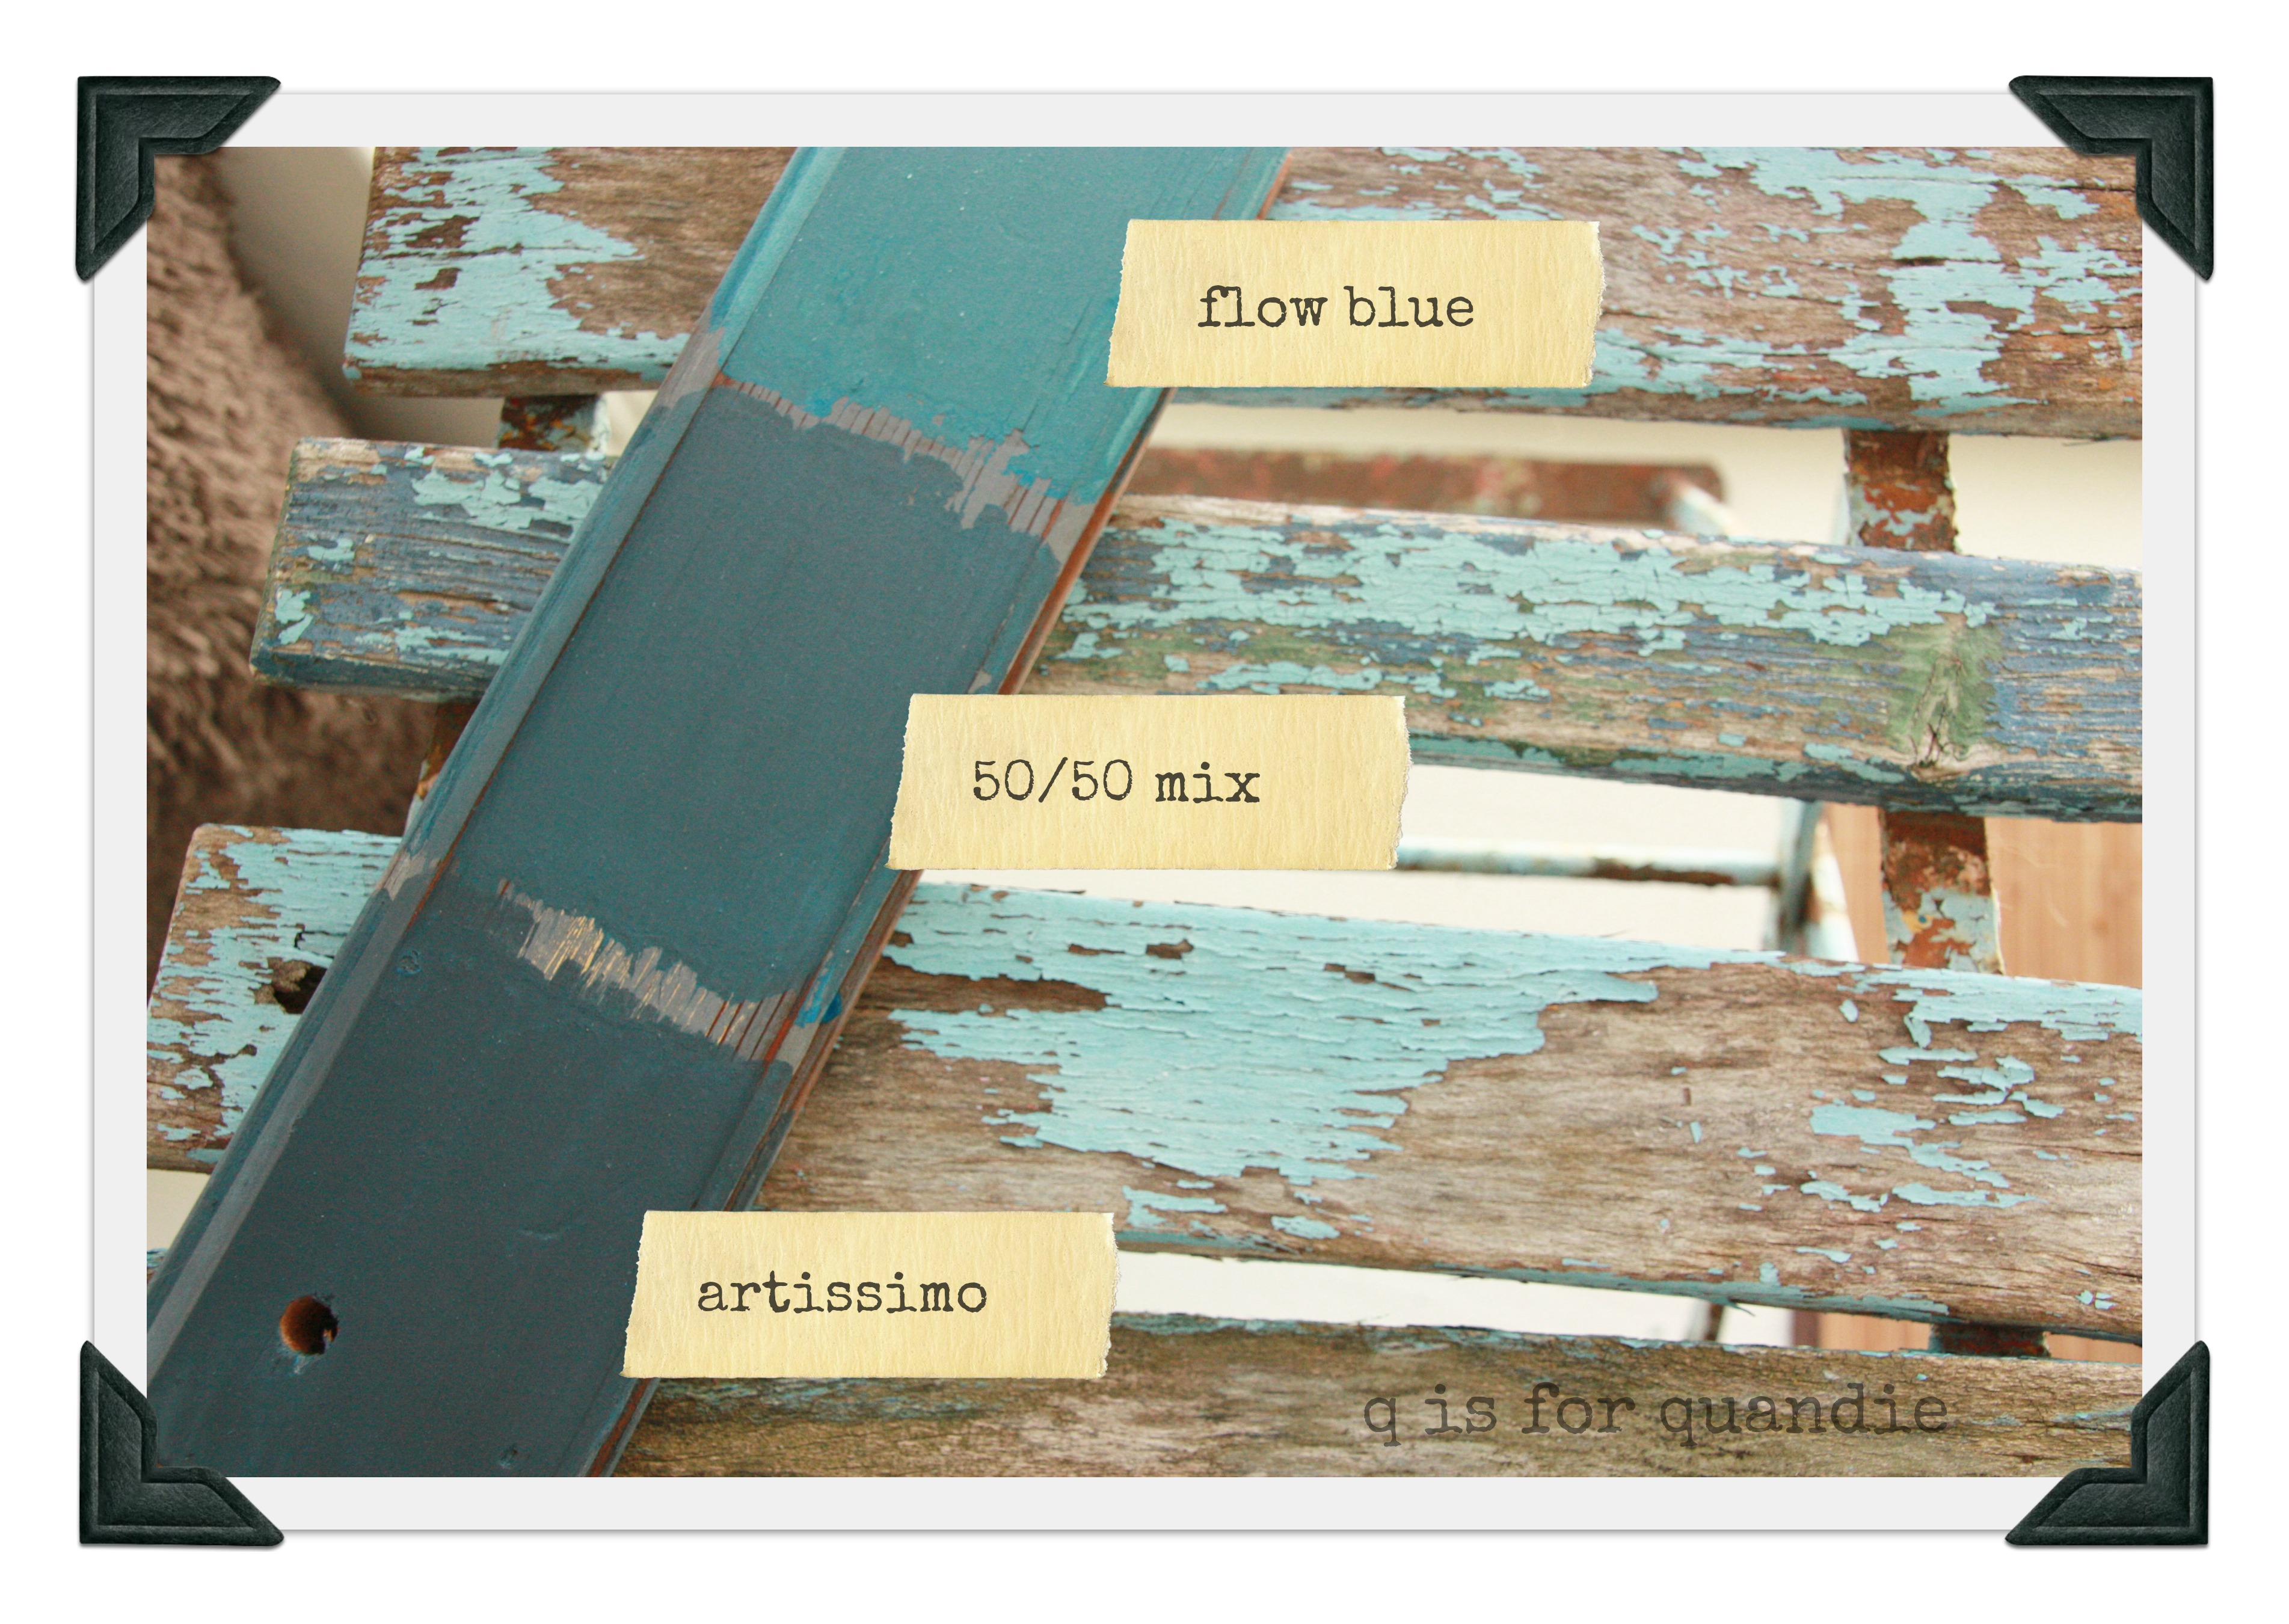
Recently, I purchased some MMS milk paint in Flow Blue. I wasn’t at all sure what the color would look like in person, having never used it before. I find that looking at the Miss Mustard Seed paint online doesn’t always give you an accurate picture of her colors. I’m considering Flow Blue for a dresser I want to paint, but first I wanted to paint something smaller to see what it really looked like up close and personal.
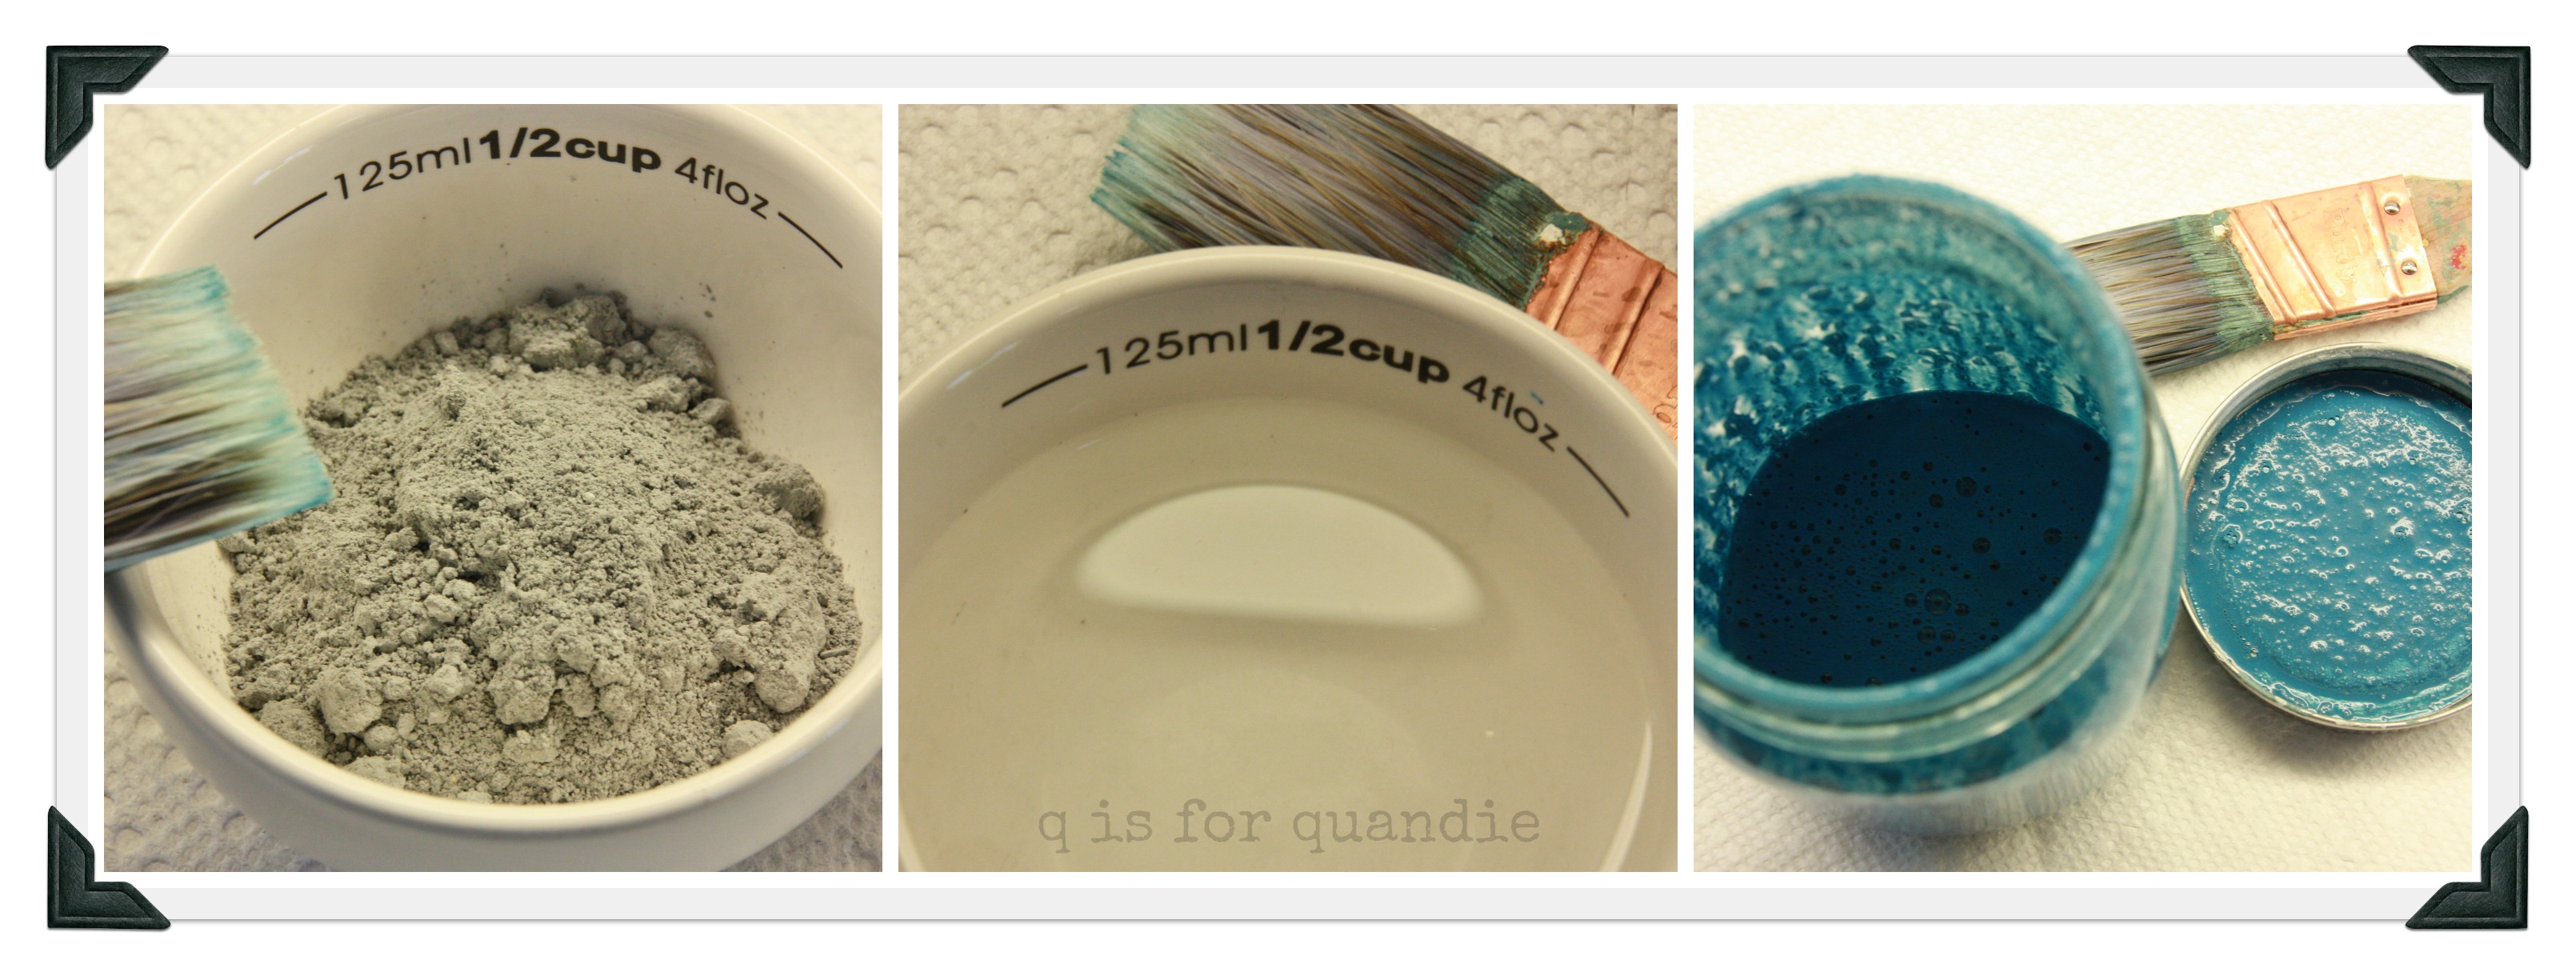
First things first, I mixed the paint. I think this is one of the reasons why I like MMS paint, I like mixing it. It sort of reminds me of making mud pies as a kid.

I purchased these measuring cups at a garage sale for a dollar. Why not use something pretty to measure my paint? So, I used about 1/4 cup of the powder and about 3/4 cup of warm water. This made plenty for the chair. As you can see, the color of the powder is no indication of the color of the paint. I mix my paint in canning jars. I prefer my paint shaken, not stirred.
I admit, I was a little scared when I saw the paint. Quite a bit brighter than what I had pictured.
Here it is going on, and then as it dried.

Oh my gosh! I just realized, reading this post may be no more interesting than watching paint dry for some people. If you are one of them, I apologize, please feel free to skip to the end of the post if you haven’t already.
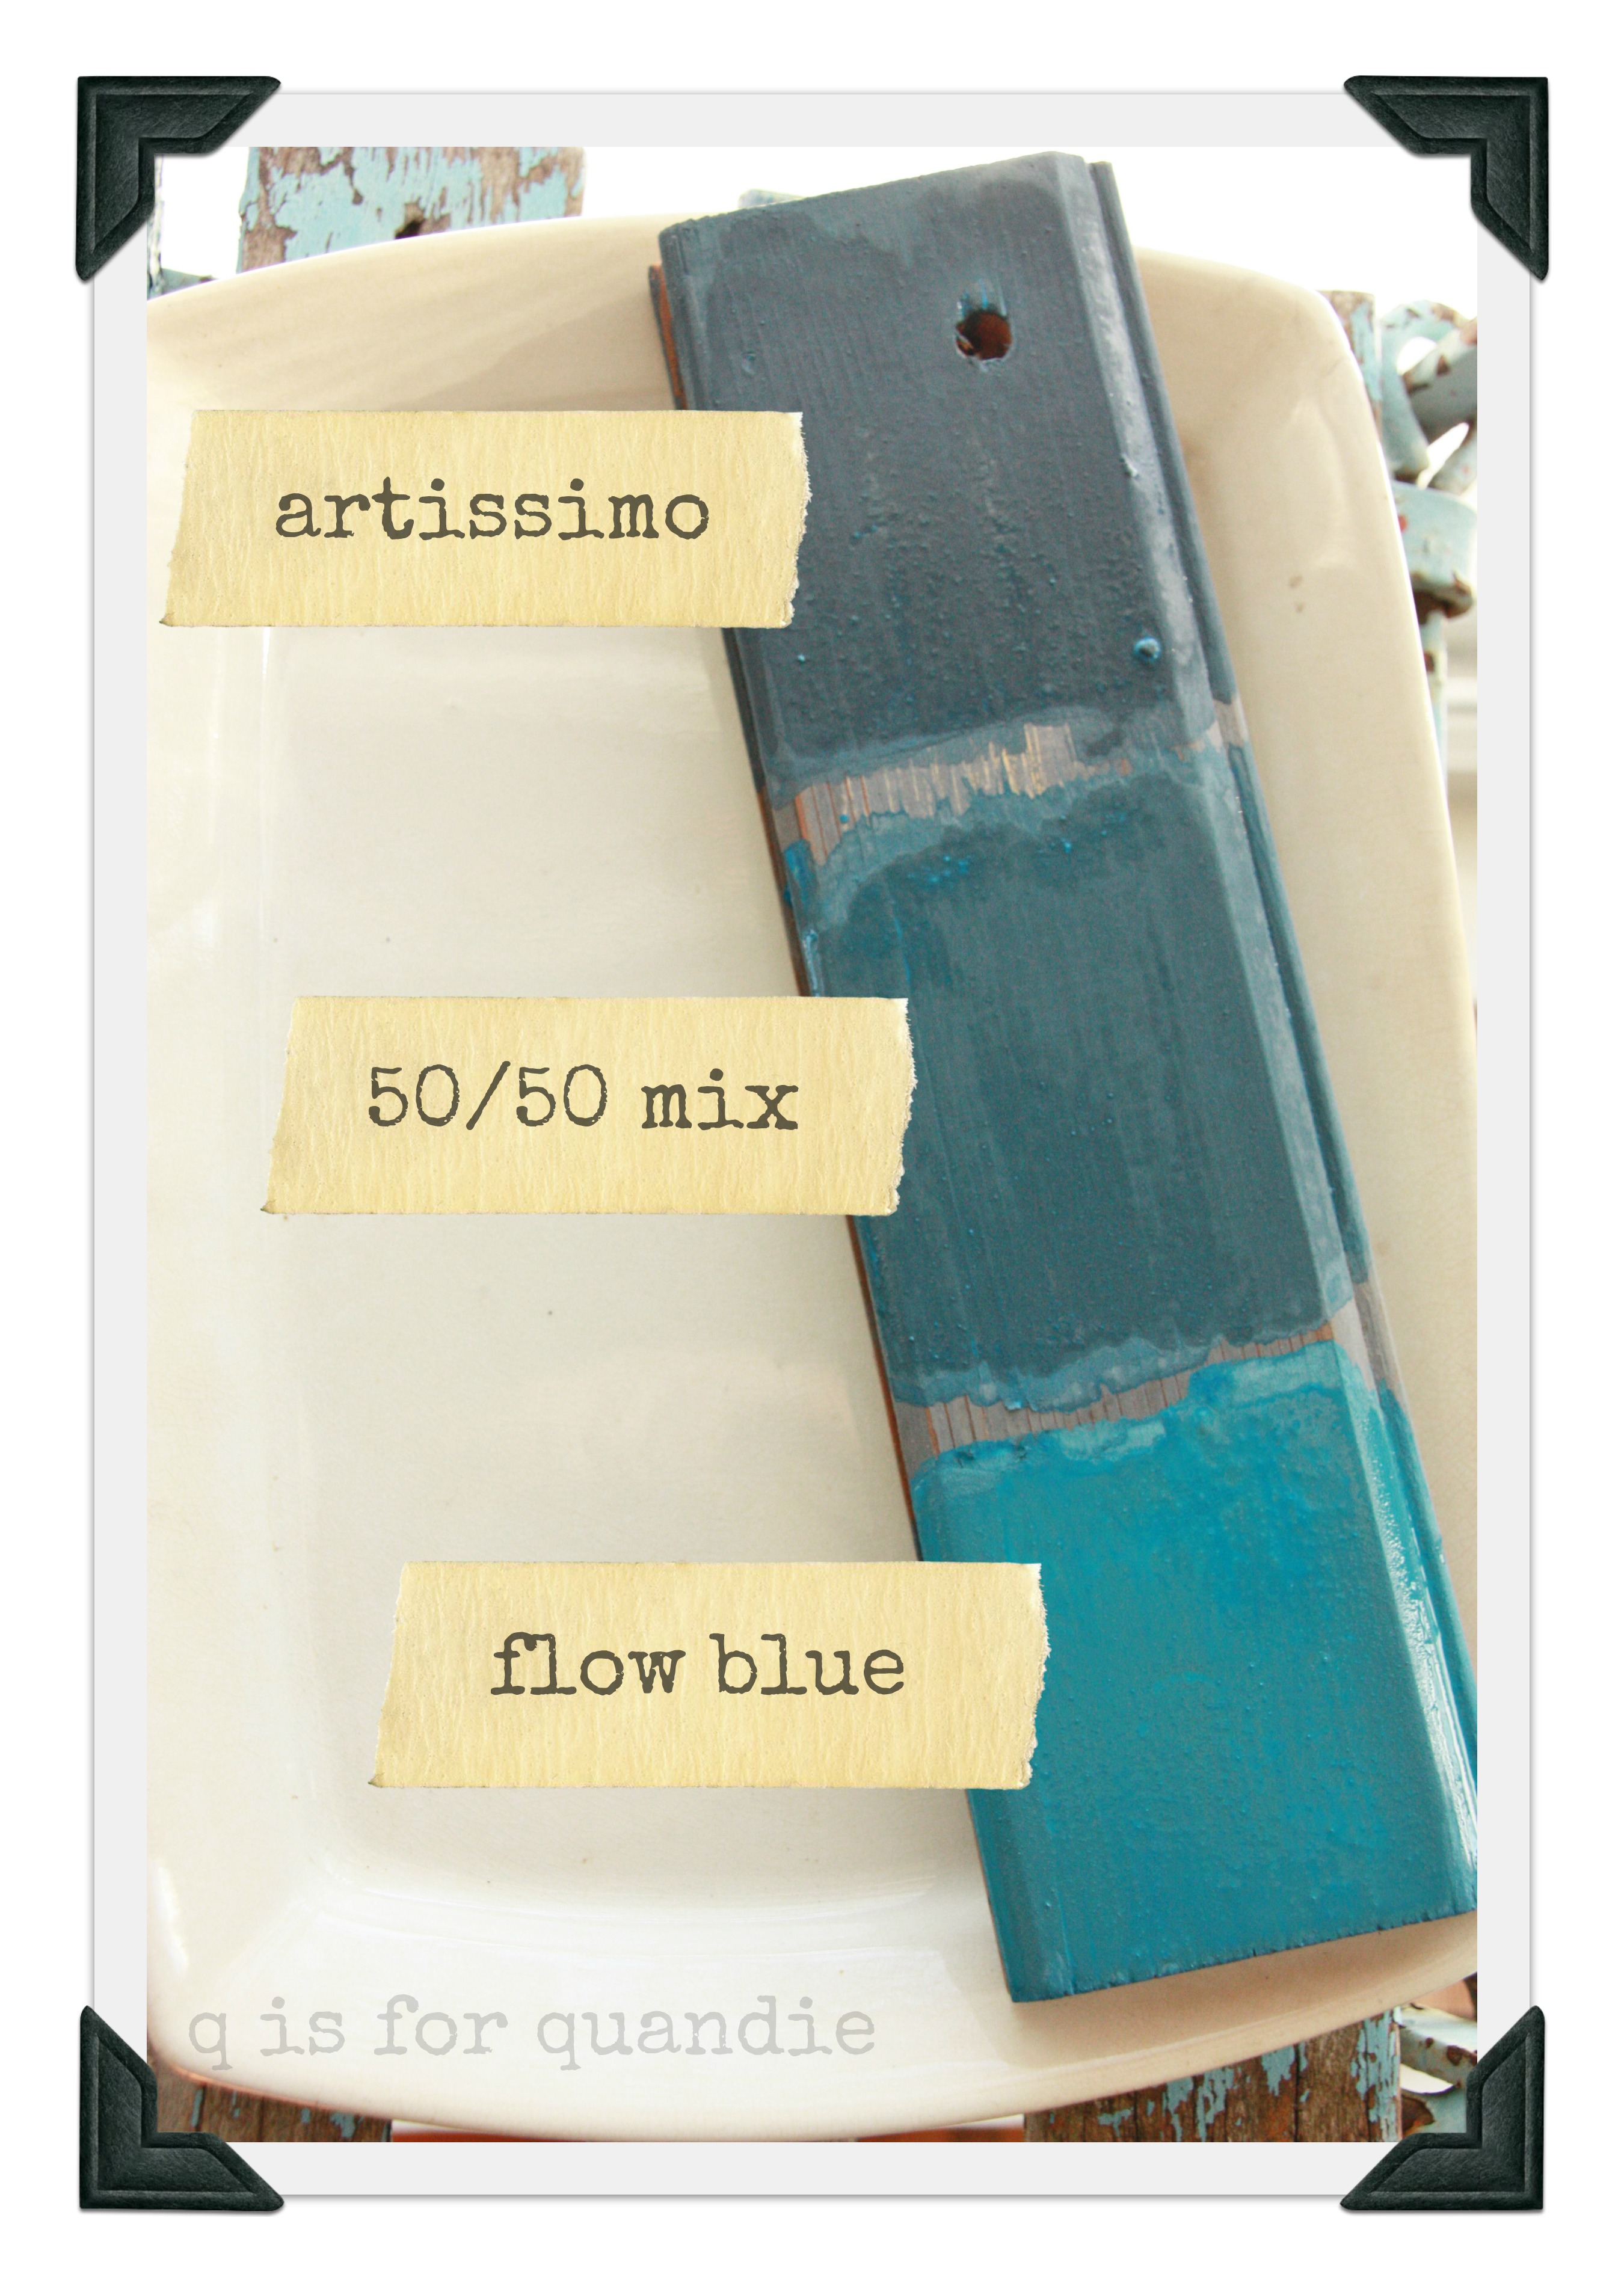
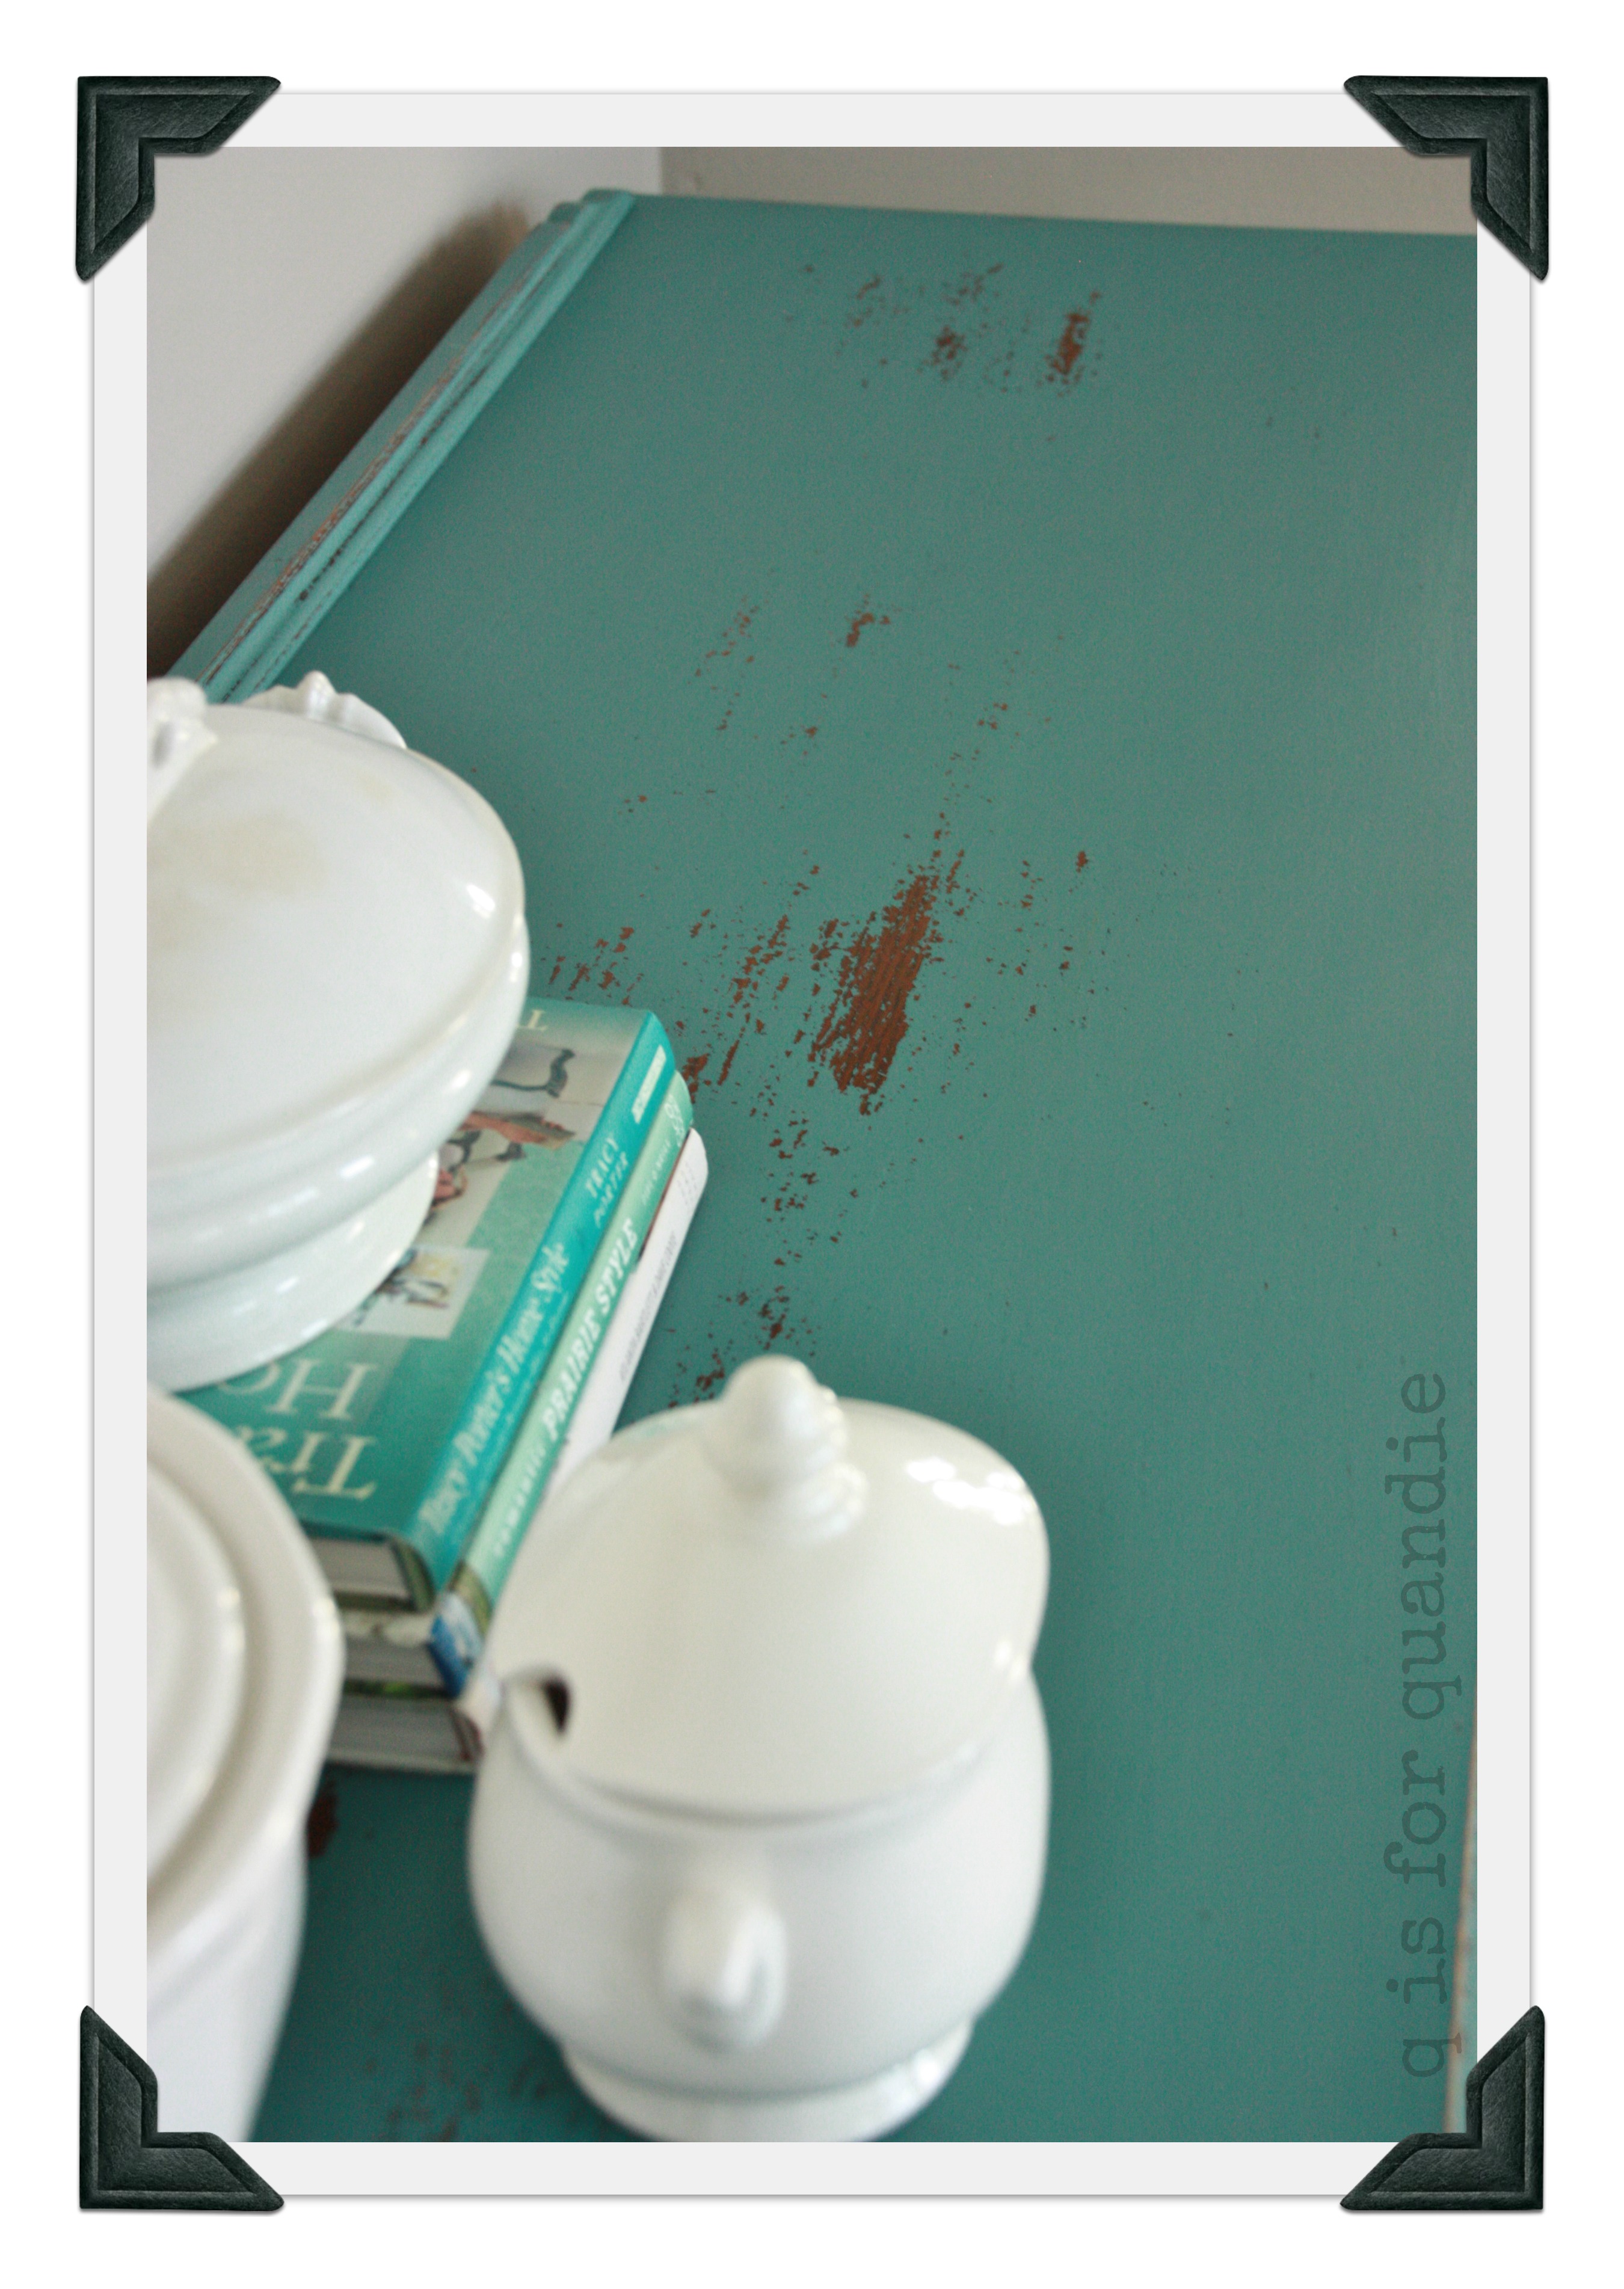
But for those of you interested in milk paint, I’ll tell you that as this dried, I could see I would get a lot of chipping. I’m sure this is because I painted over a spray painted finish. I did sand the surface, and the well sanded areas didn’t chip, but the rest did. Also, I can tell you that yes, it was still a sort of bright, scary blue as shown above. However, after I sanded it down and added a topcoat of hemp oil, the color toned down a bit.
And here it is.
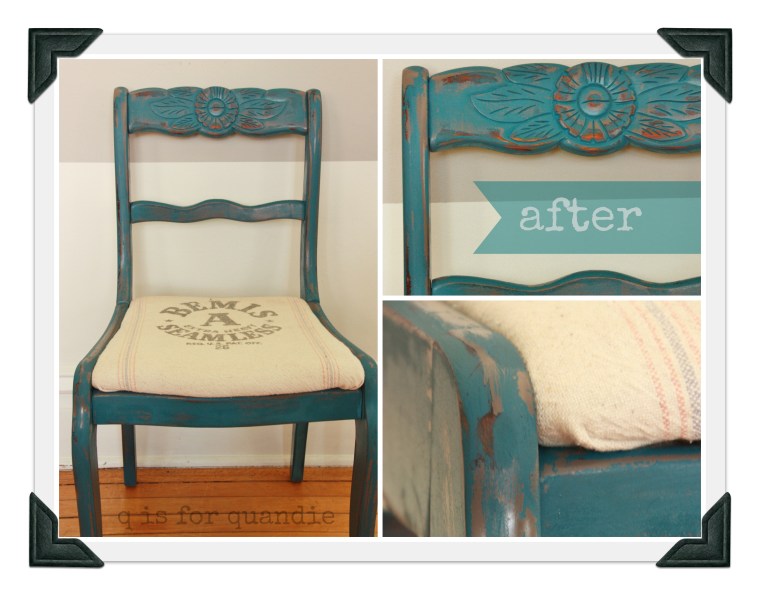
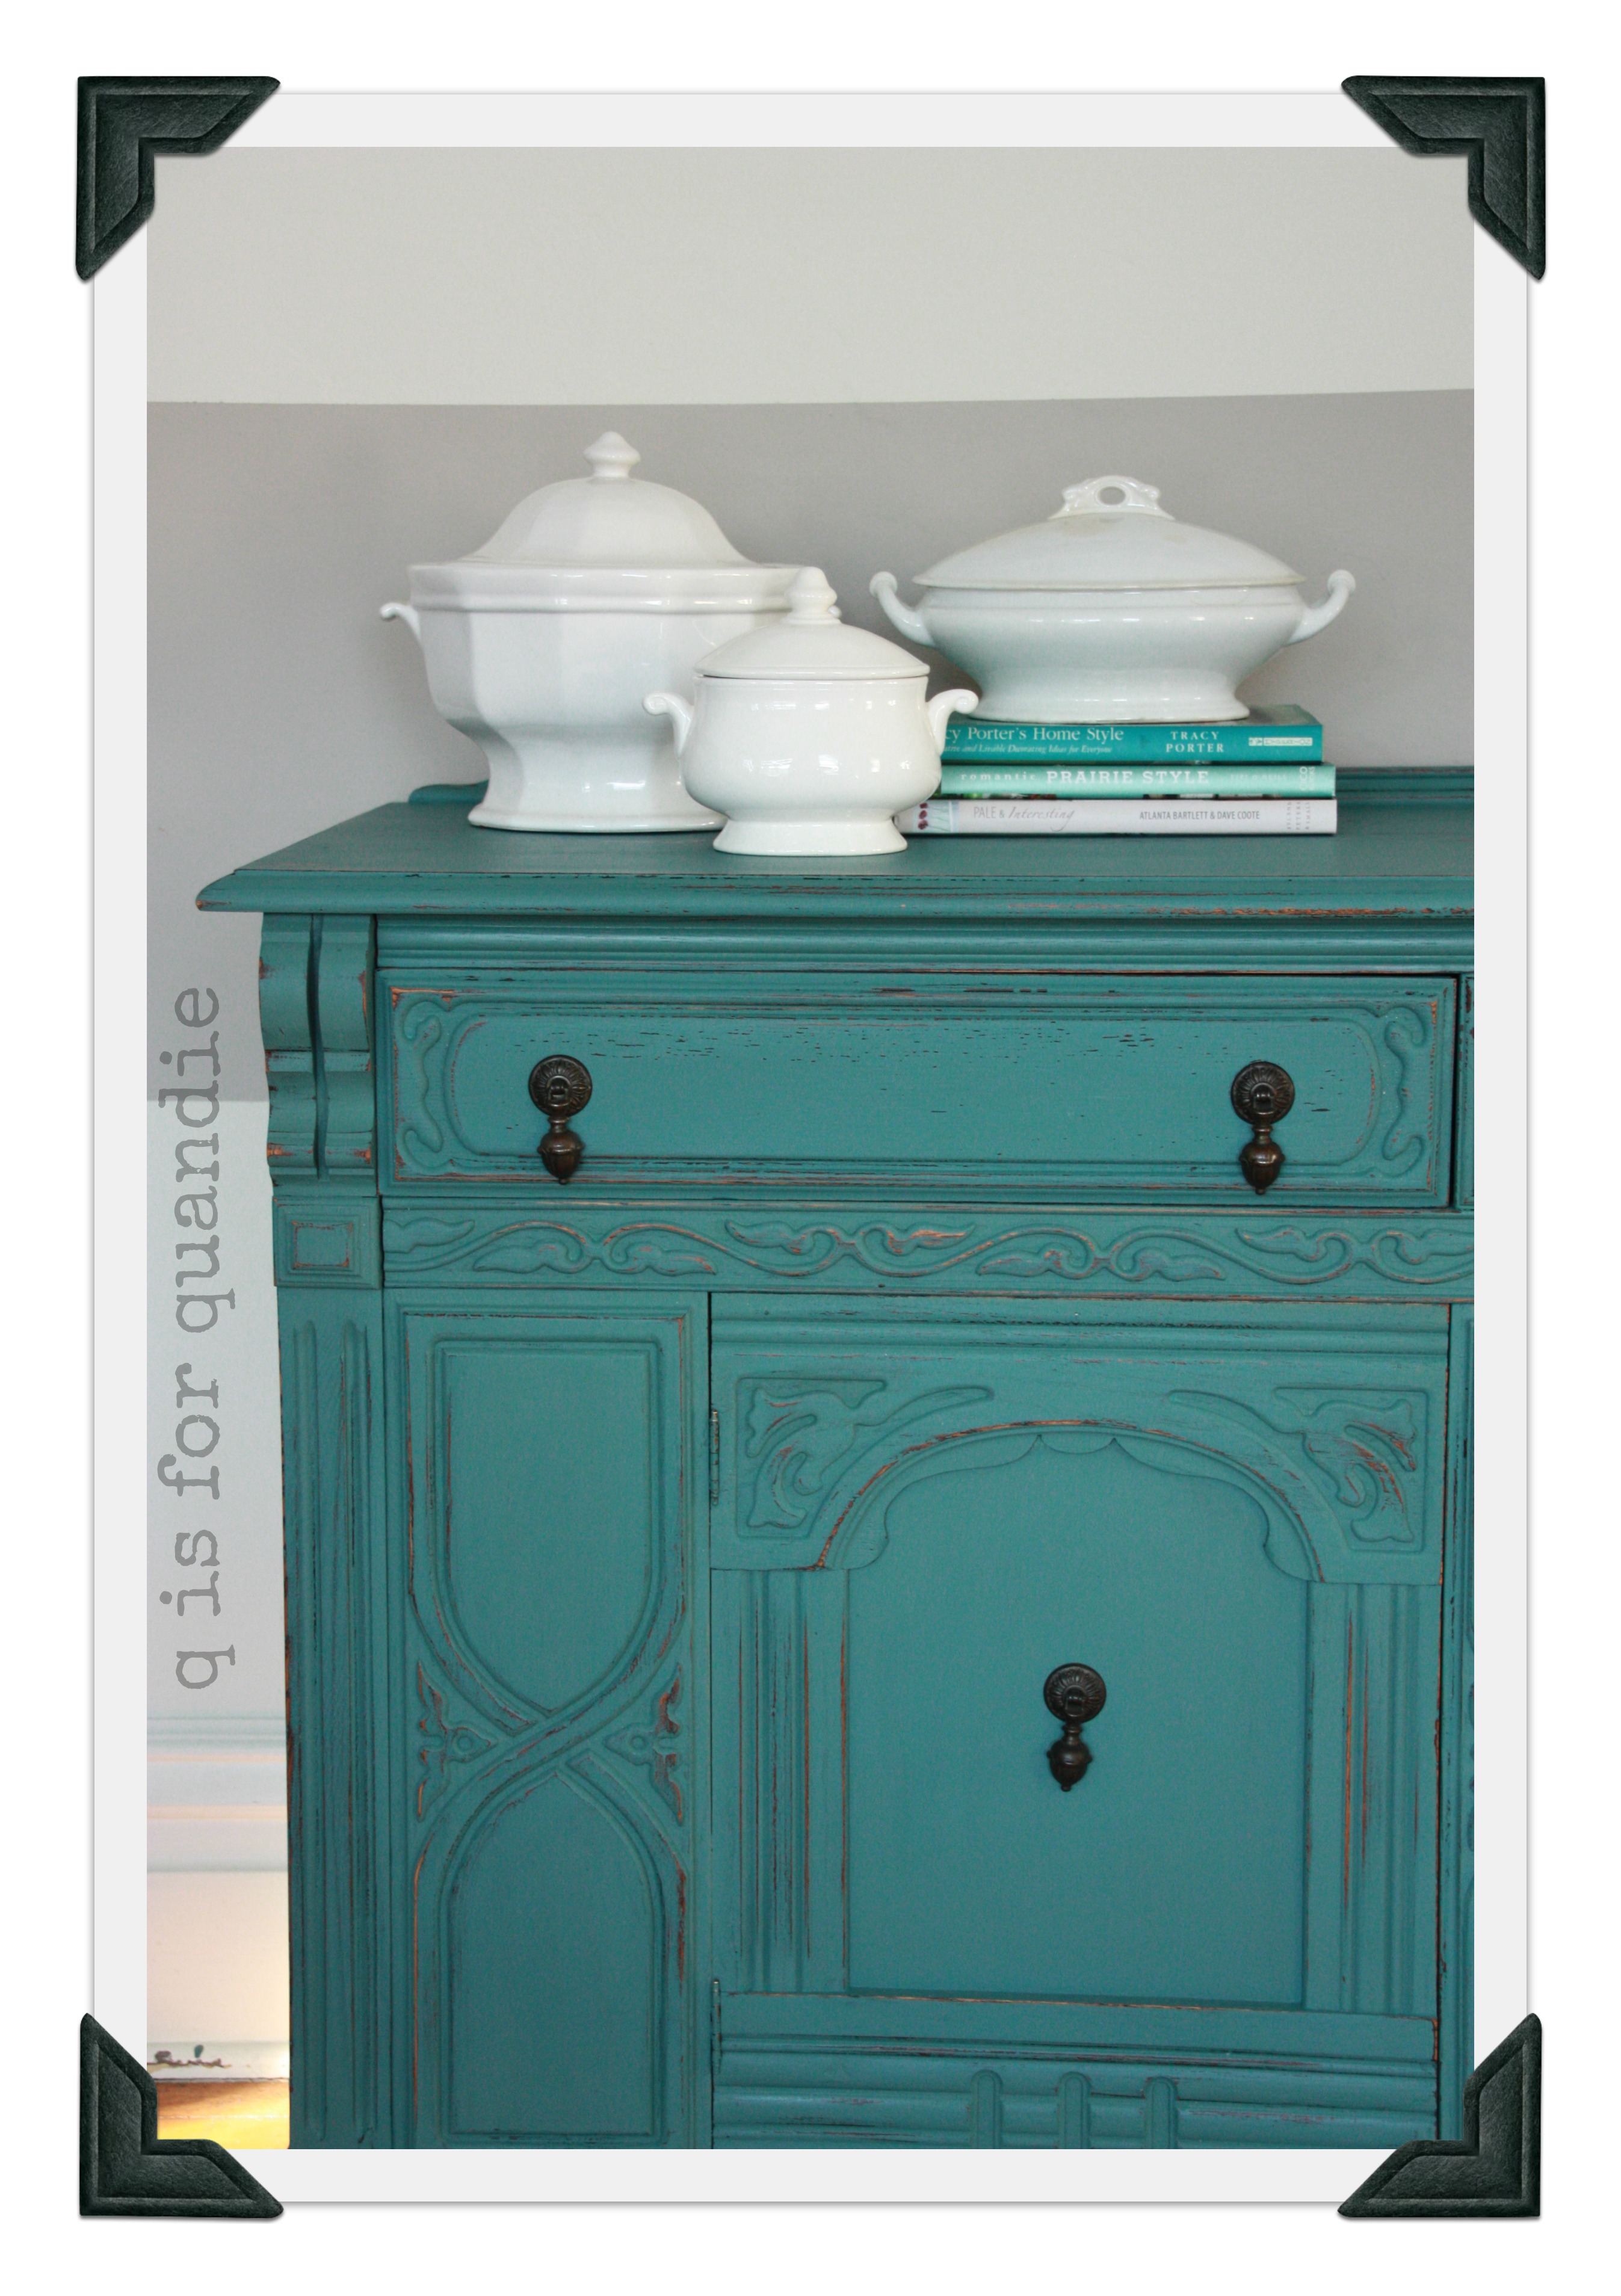
I have to say, it is not quite the color I expected. I was thinking it would be a bit more of an indigo blue. Not quite so teal. You can see that the grey shows through where the new paint flaked off. It is pretty, but I am not sure now if I will use it on the dresser I intended it for.
For now, grandma’s chair has returned to the bottom of the stairs.
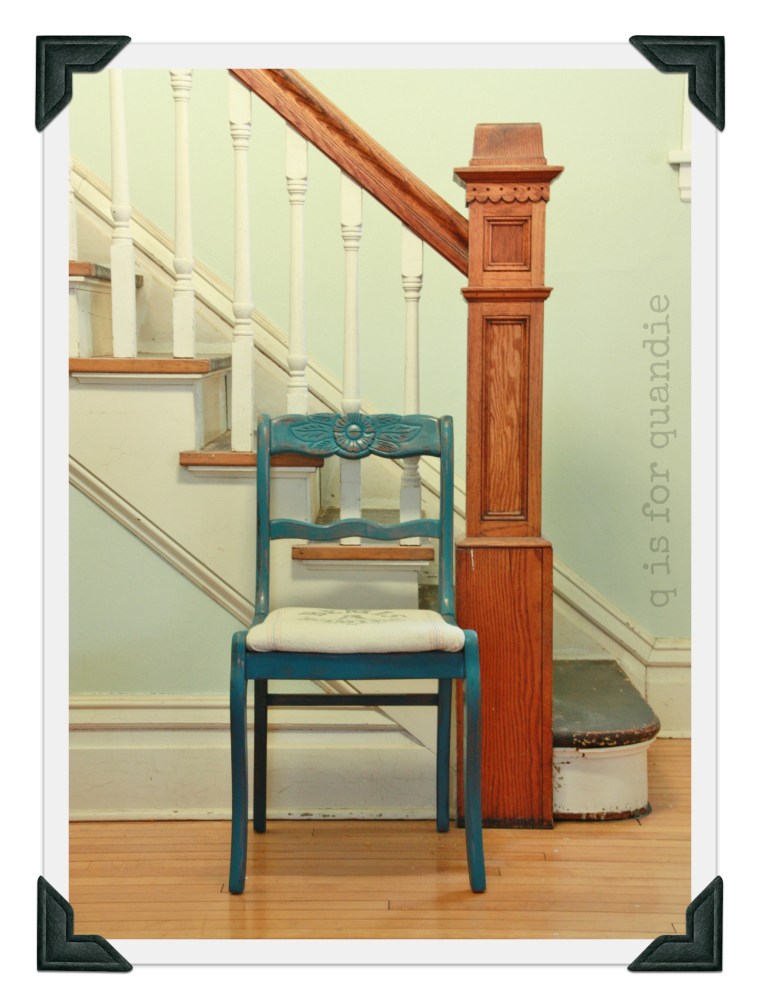
Those of you with a keen eye for detail will notice that the carpet has been removed from the stairs. Shhhh … don’t tell the others, they may not notice. I’ll post more on project domino effect soon.
One more little note to this story. I mentioned above that my aunt ended up with 4 of the chairs. A couple of years ago, she was downsizing to a much smaller home and she mentioned that she didn’t have room for the chairs. She had offered them to her daughter (cousin Nancy in the picture above) and all of her grandchildren, and sadly no one wanted grandma’s chairs. At that point, she said to me “I would give them to you, but I know you would paint them.” Ouch! I guess she knew me well. Ultimately though, Nancy took them. She removed and saved the needlepoint seats and tried to sell the chairs on craigslist with no luck. Finally, she gave up and offered the chairs to me. And yes, I painted them and covered the seats in grain sack. Then I sold them at my occasional sale to a lovely woman who is using them in her dining room. Isn’t it better for them to be refurbished and go to someone who will use them?
 I’m sorry Aunt Marilyn, but I still think I did the right thing.

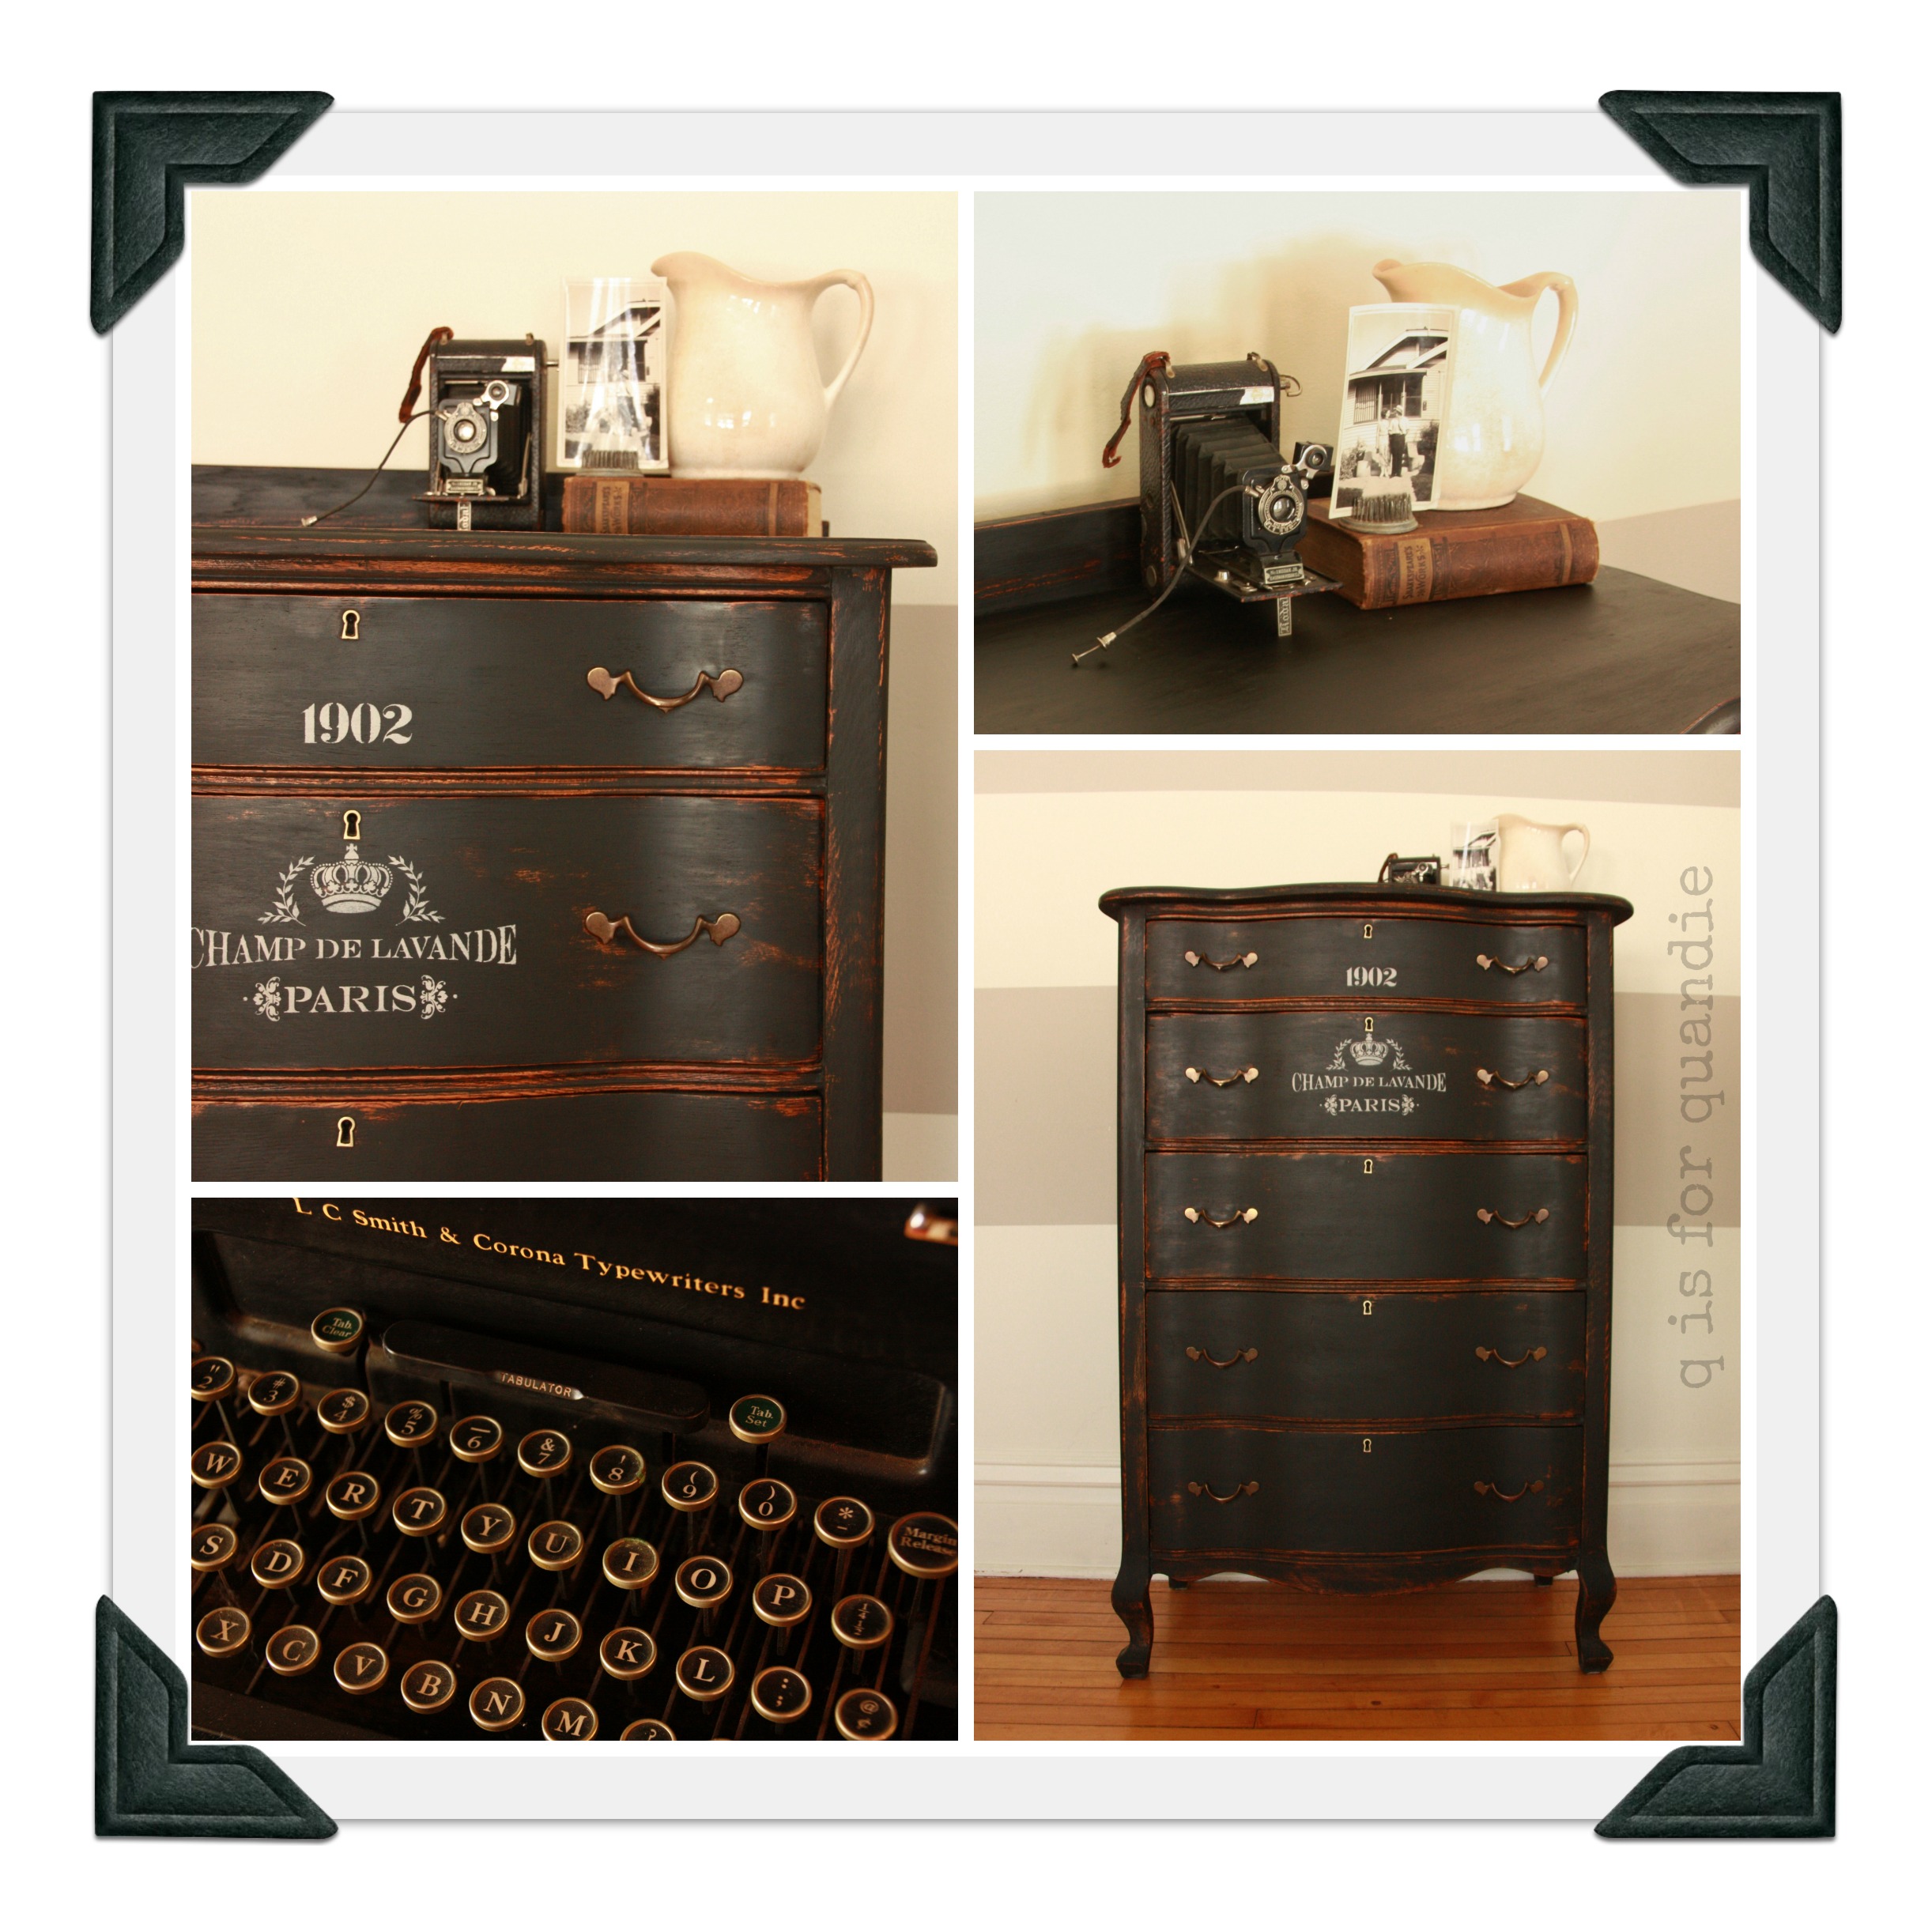
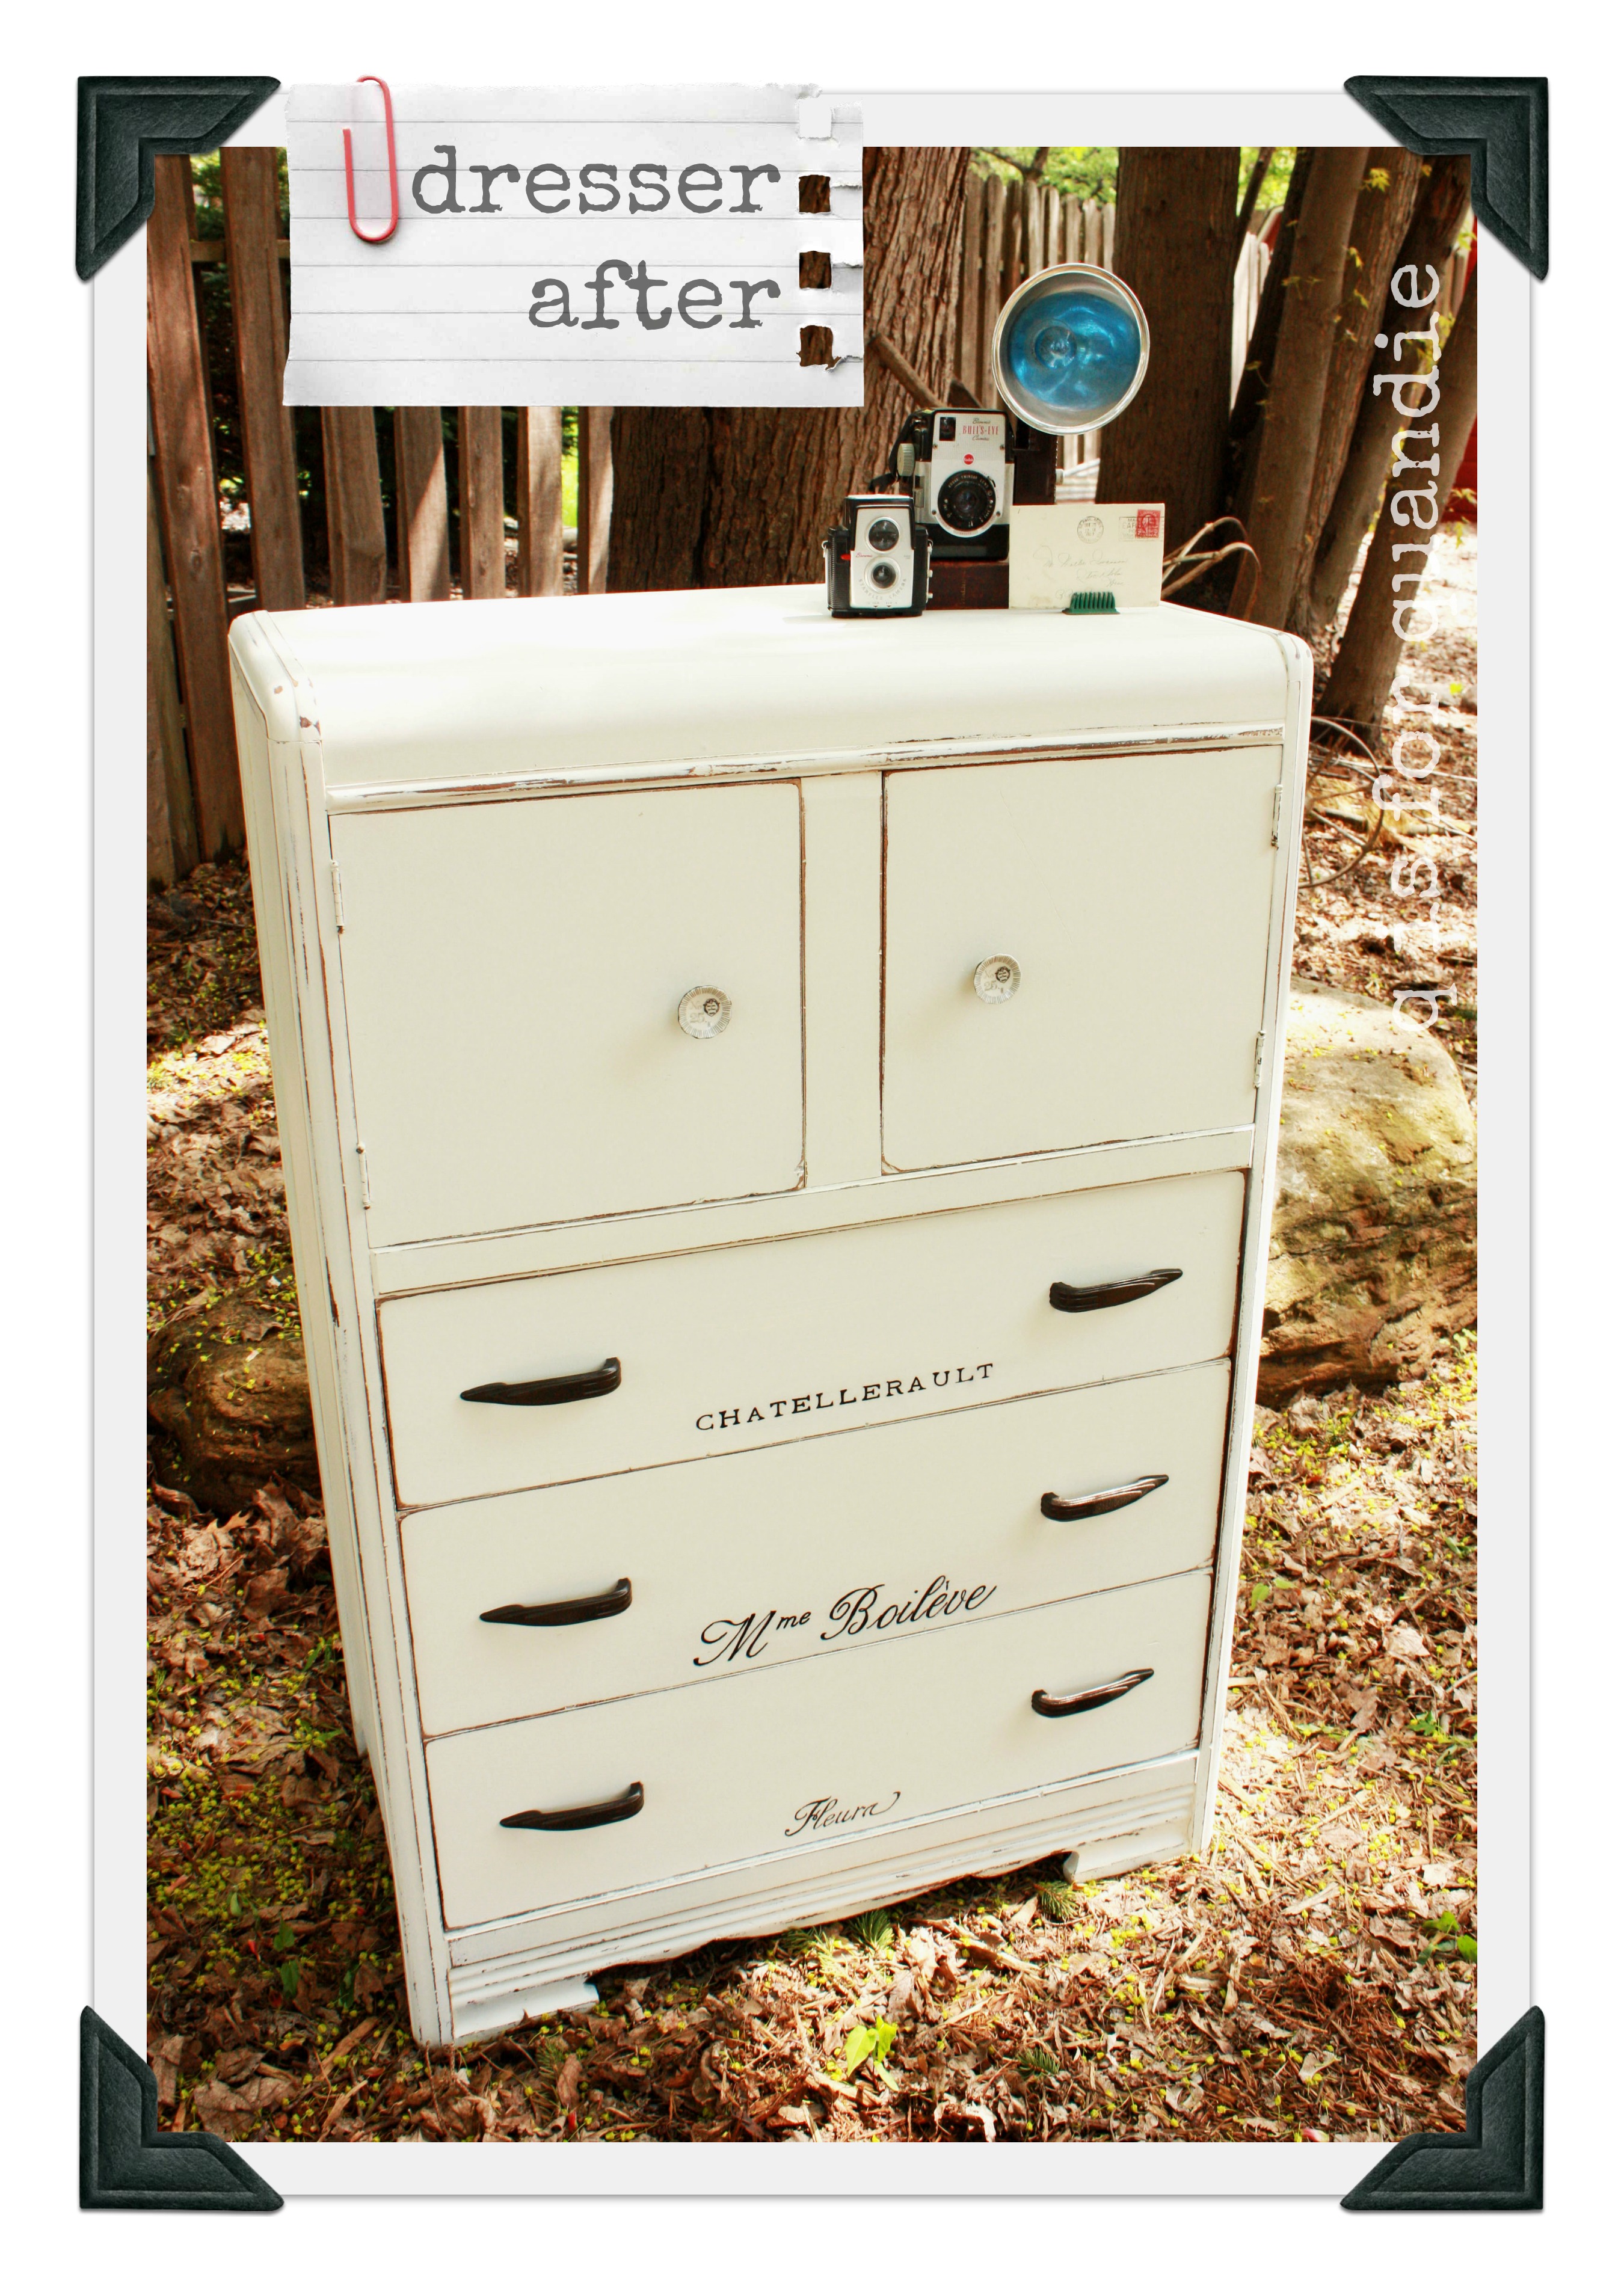
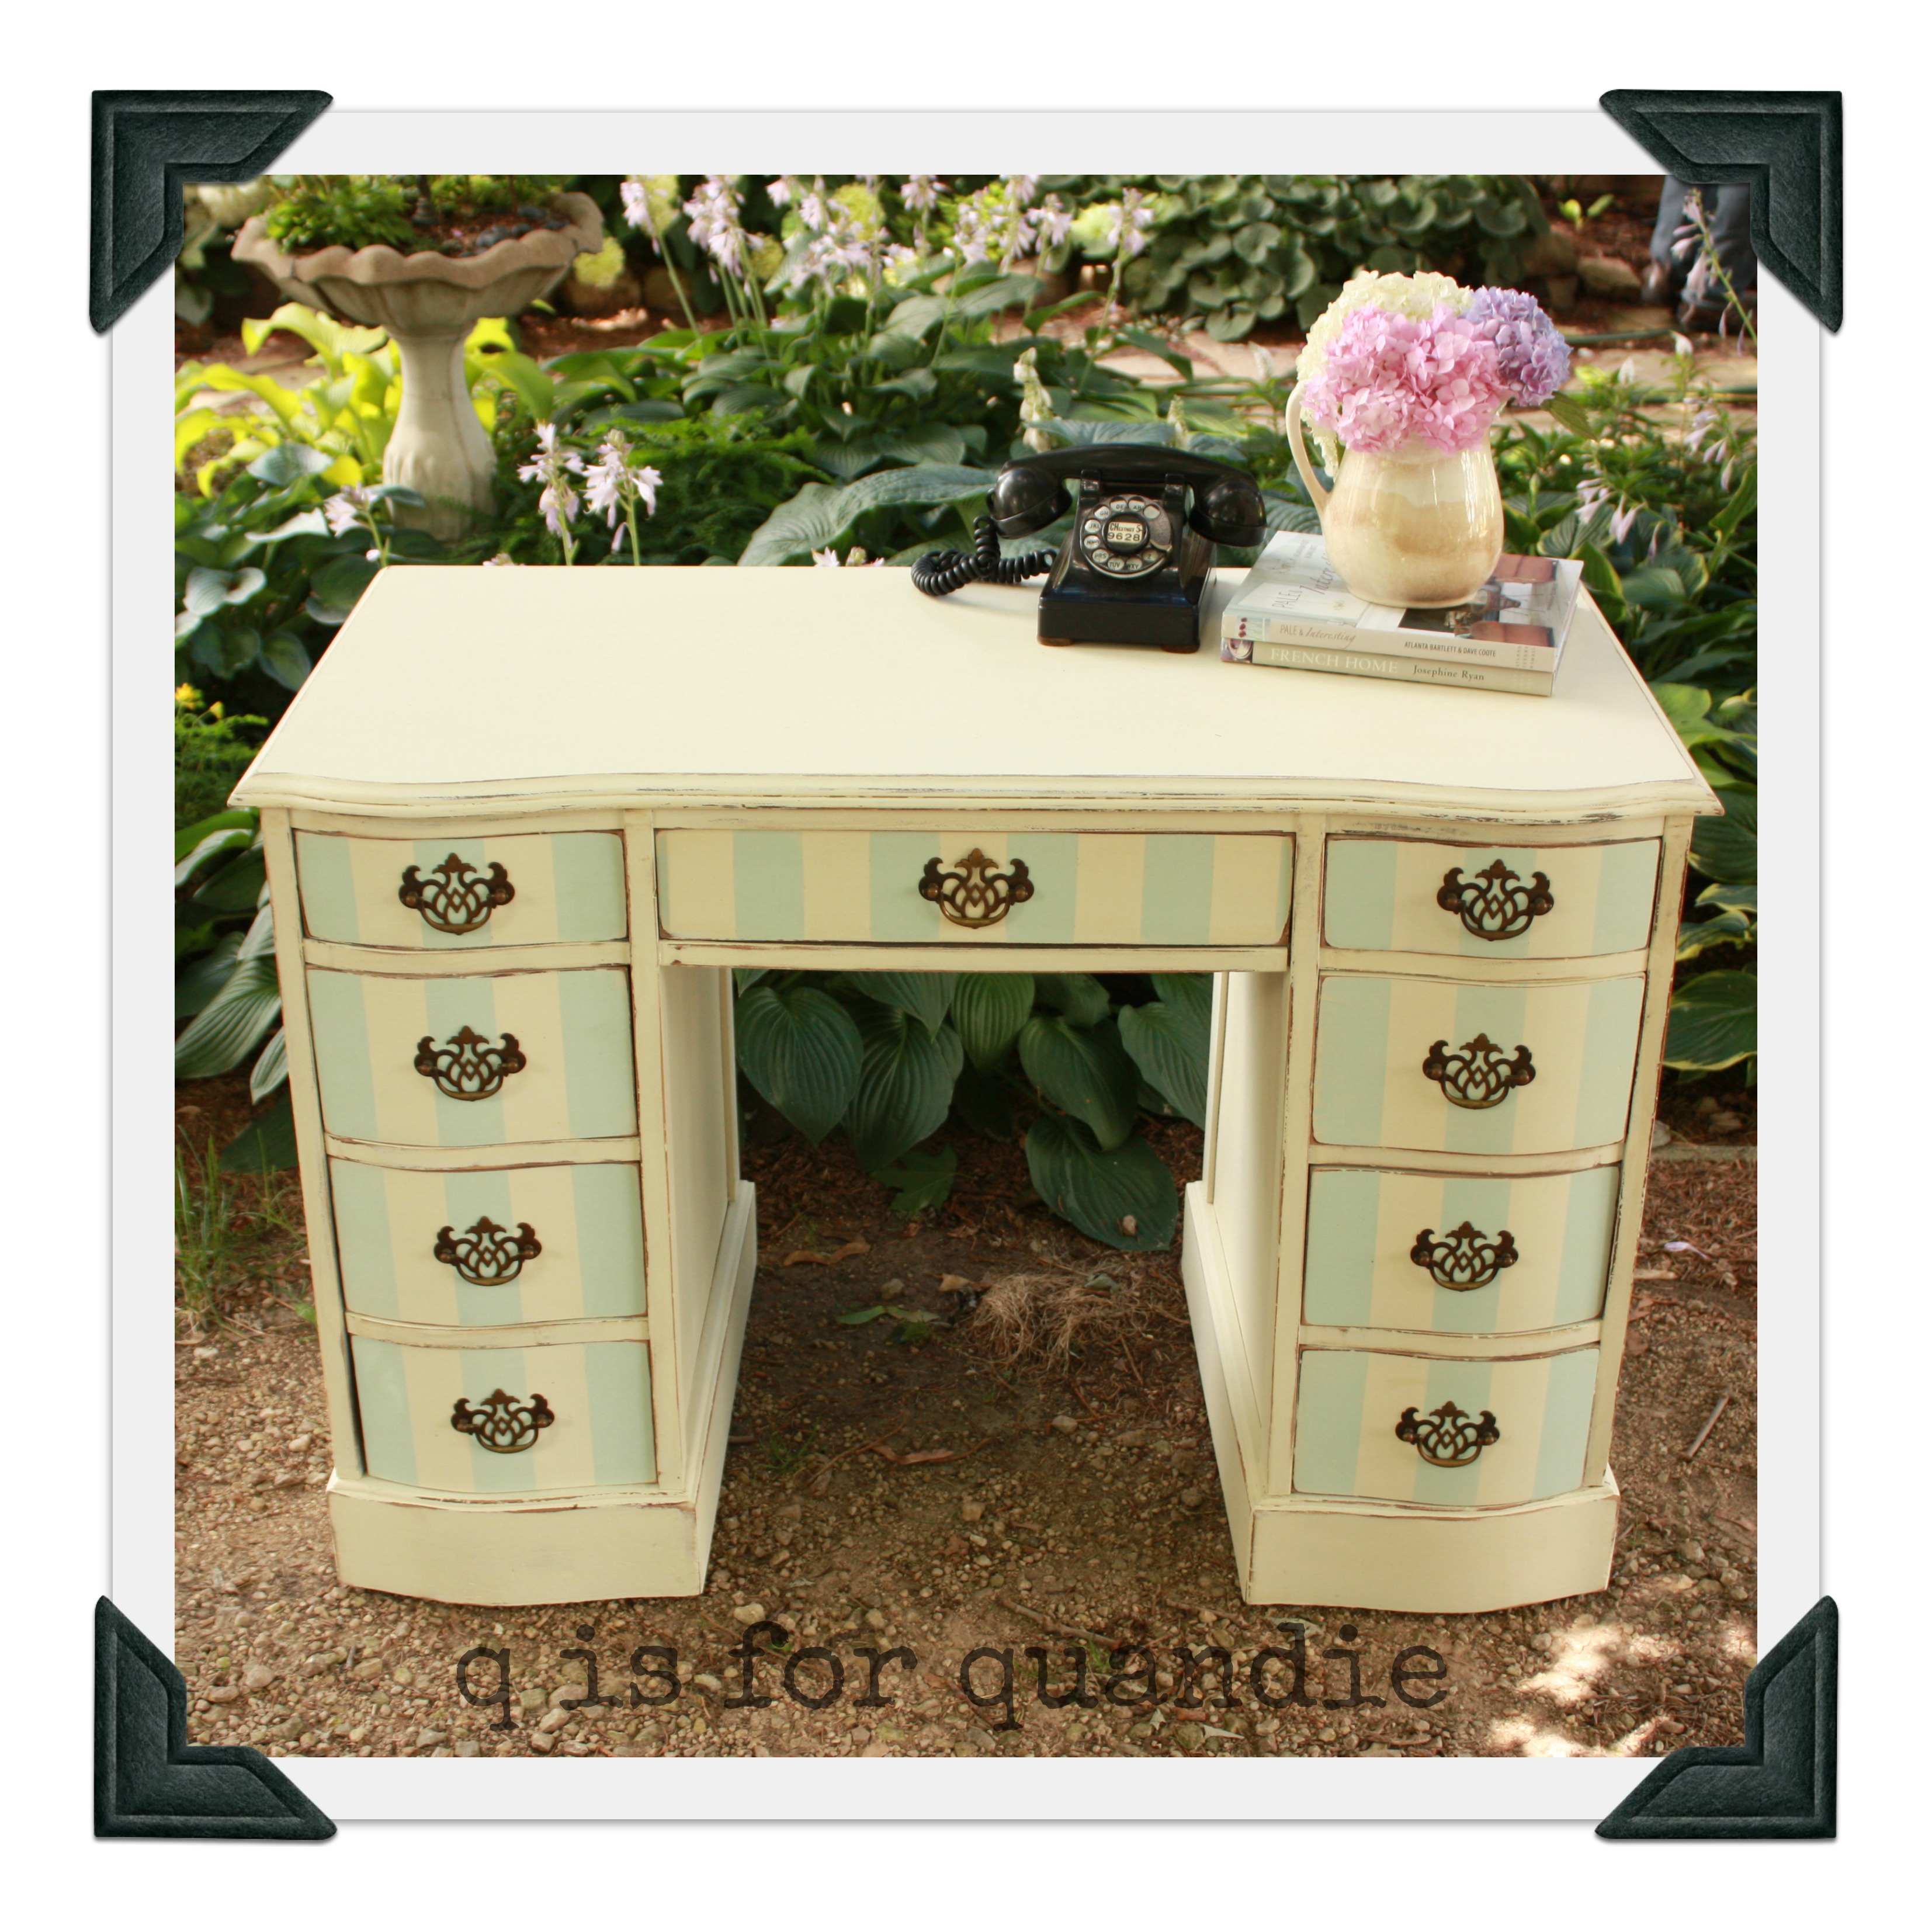
 I went through a ‘black period’ a few years ago. I painted a lot of black pieces then, including the desk that I am posting from right now. And then, I was over it. I did one black desk early last summer only because it was already black and I just touched it up. Then I did the owl pull dresser using my bizarre spray paint method, and that was it for black last year.
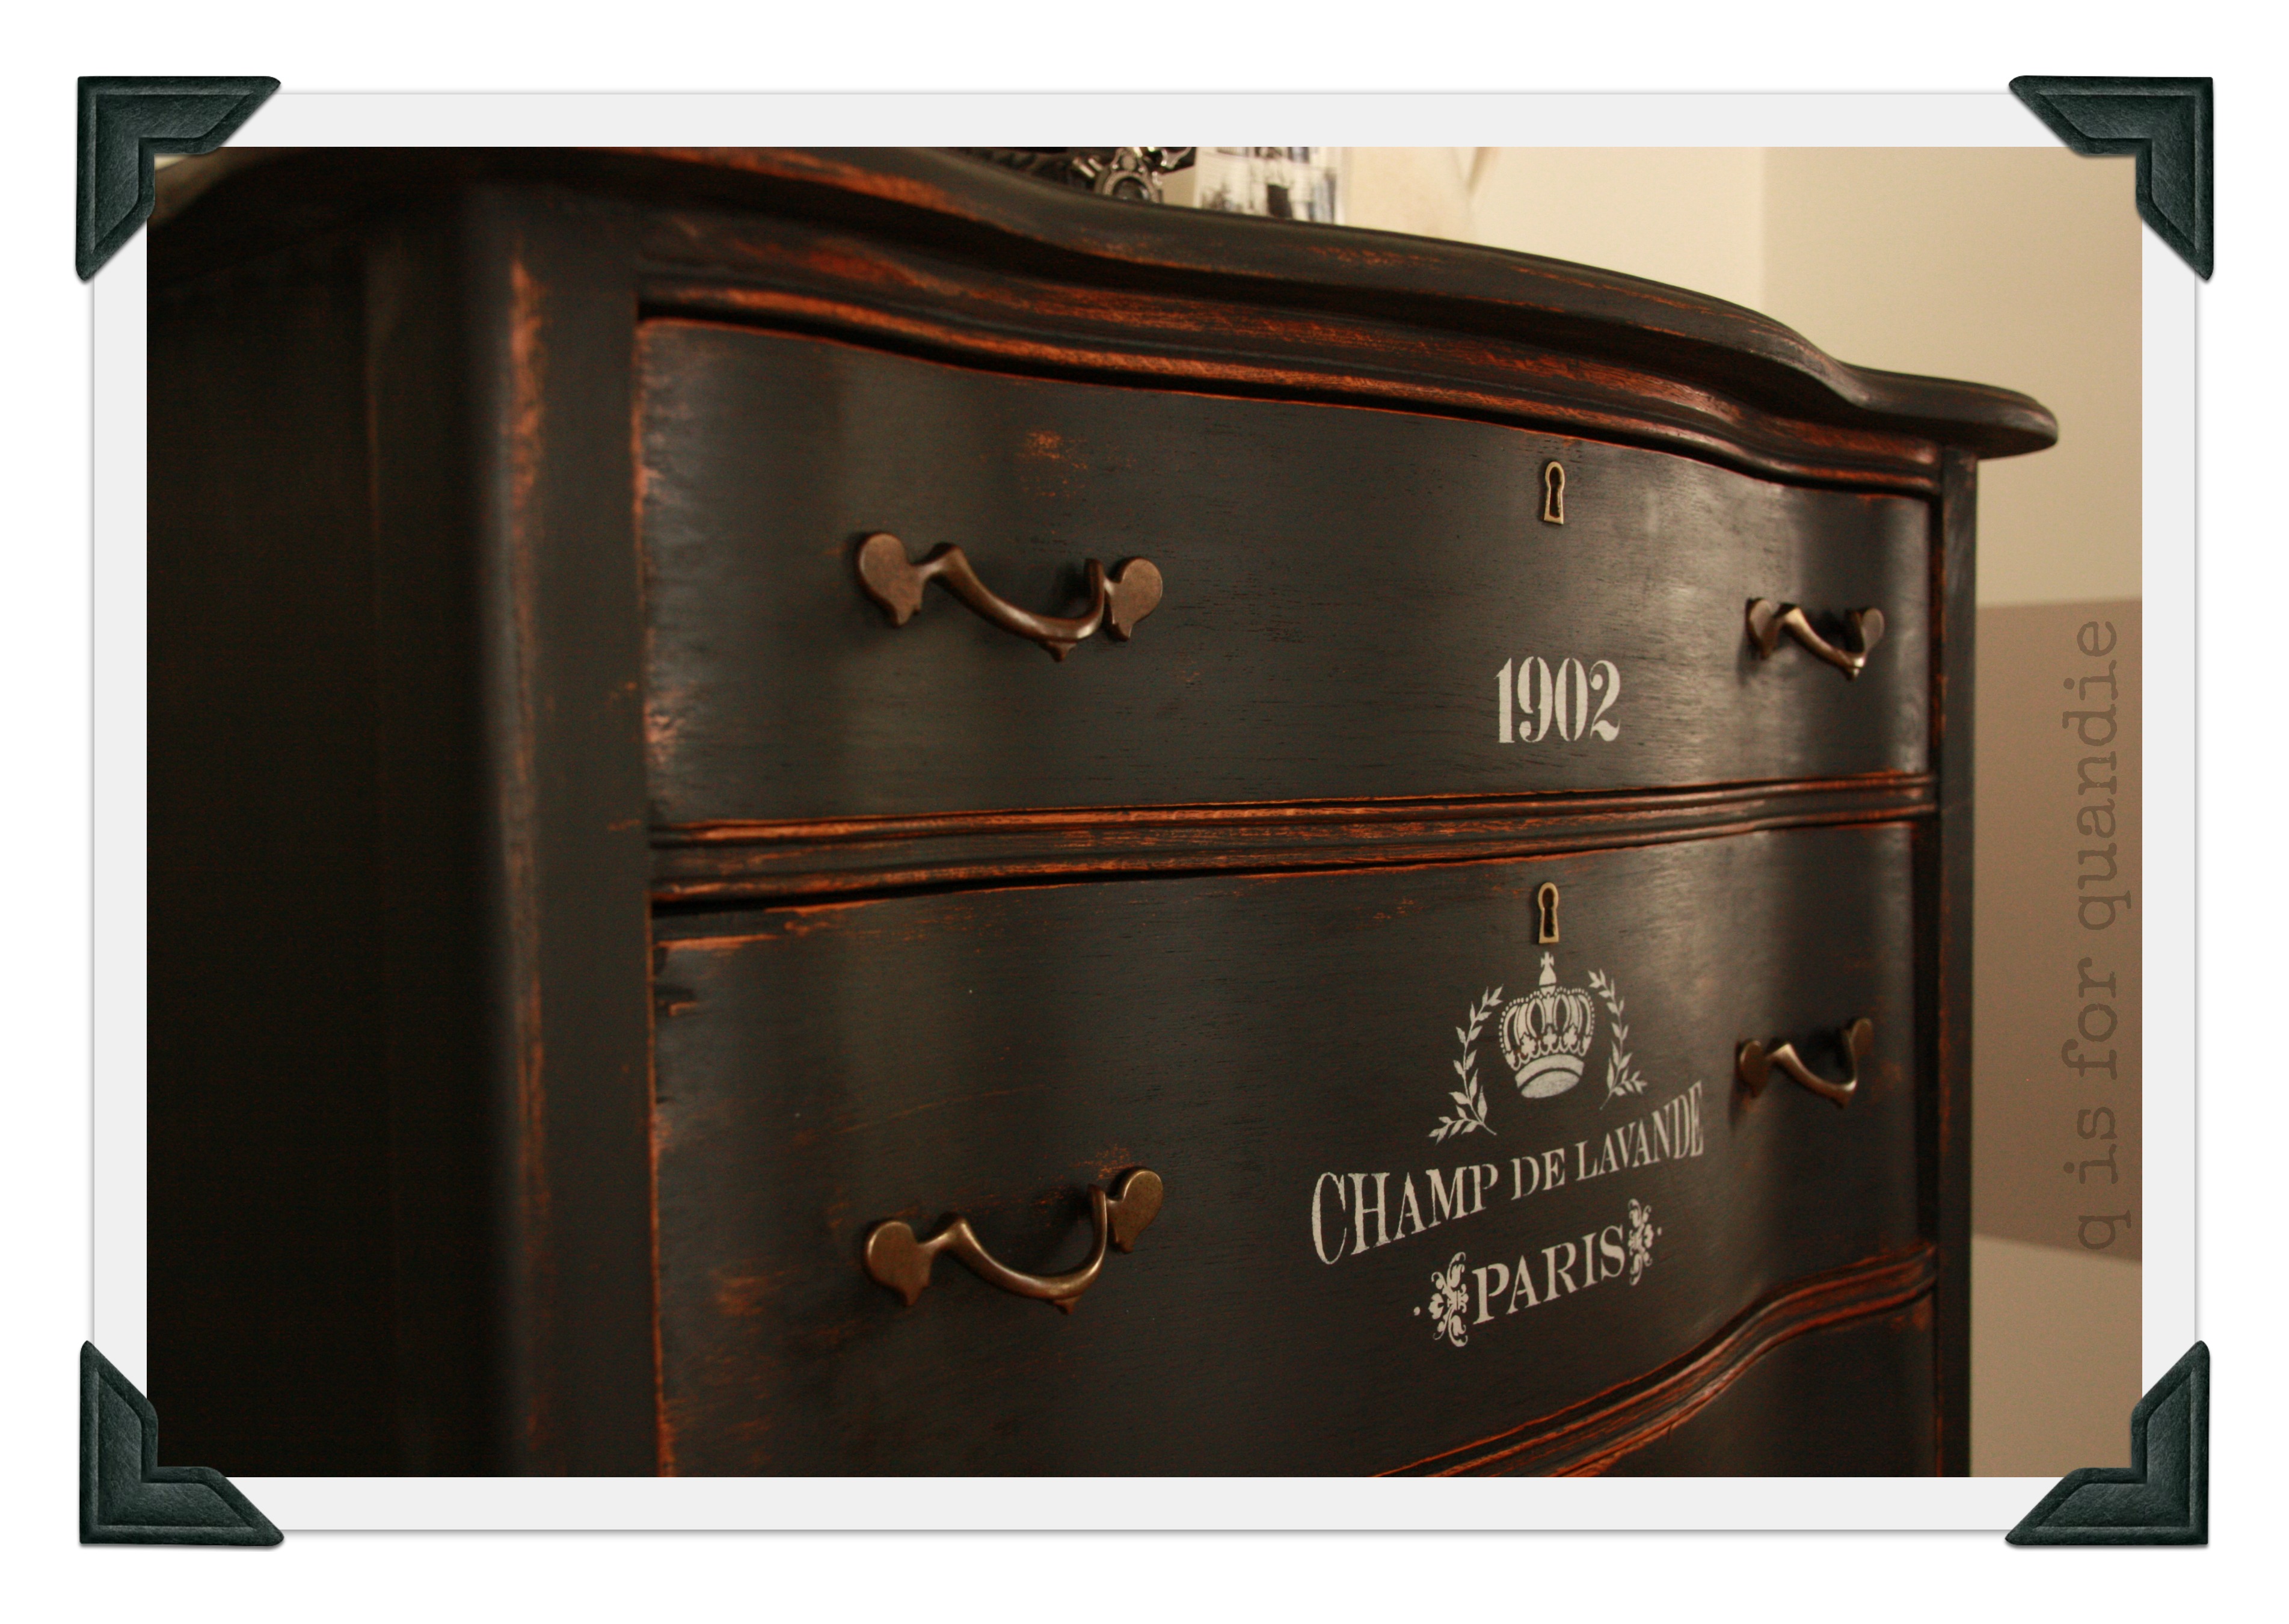 I painted this with the Miss Mustard Seed milk paint in Typewriter.
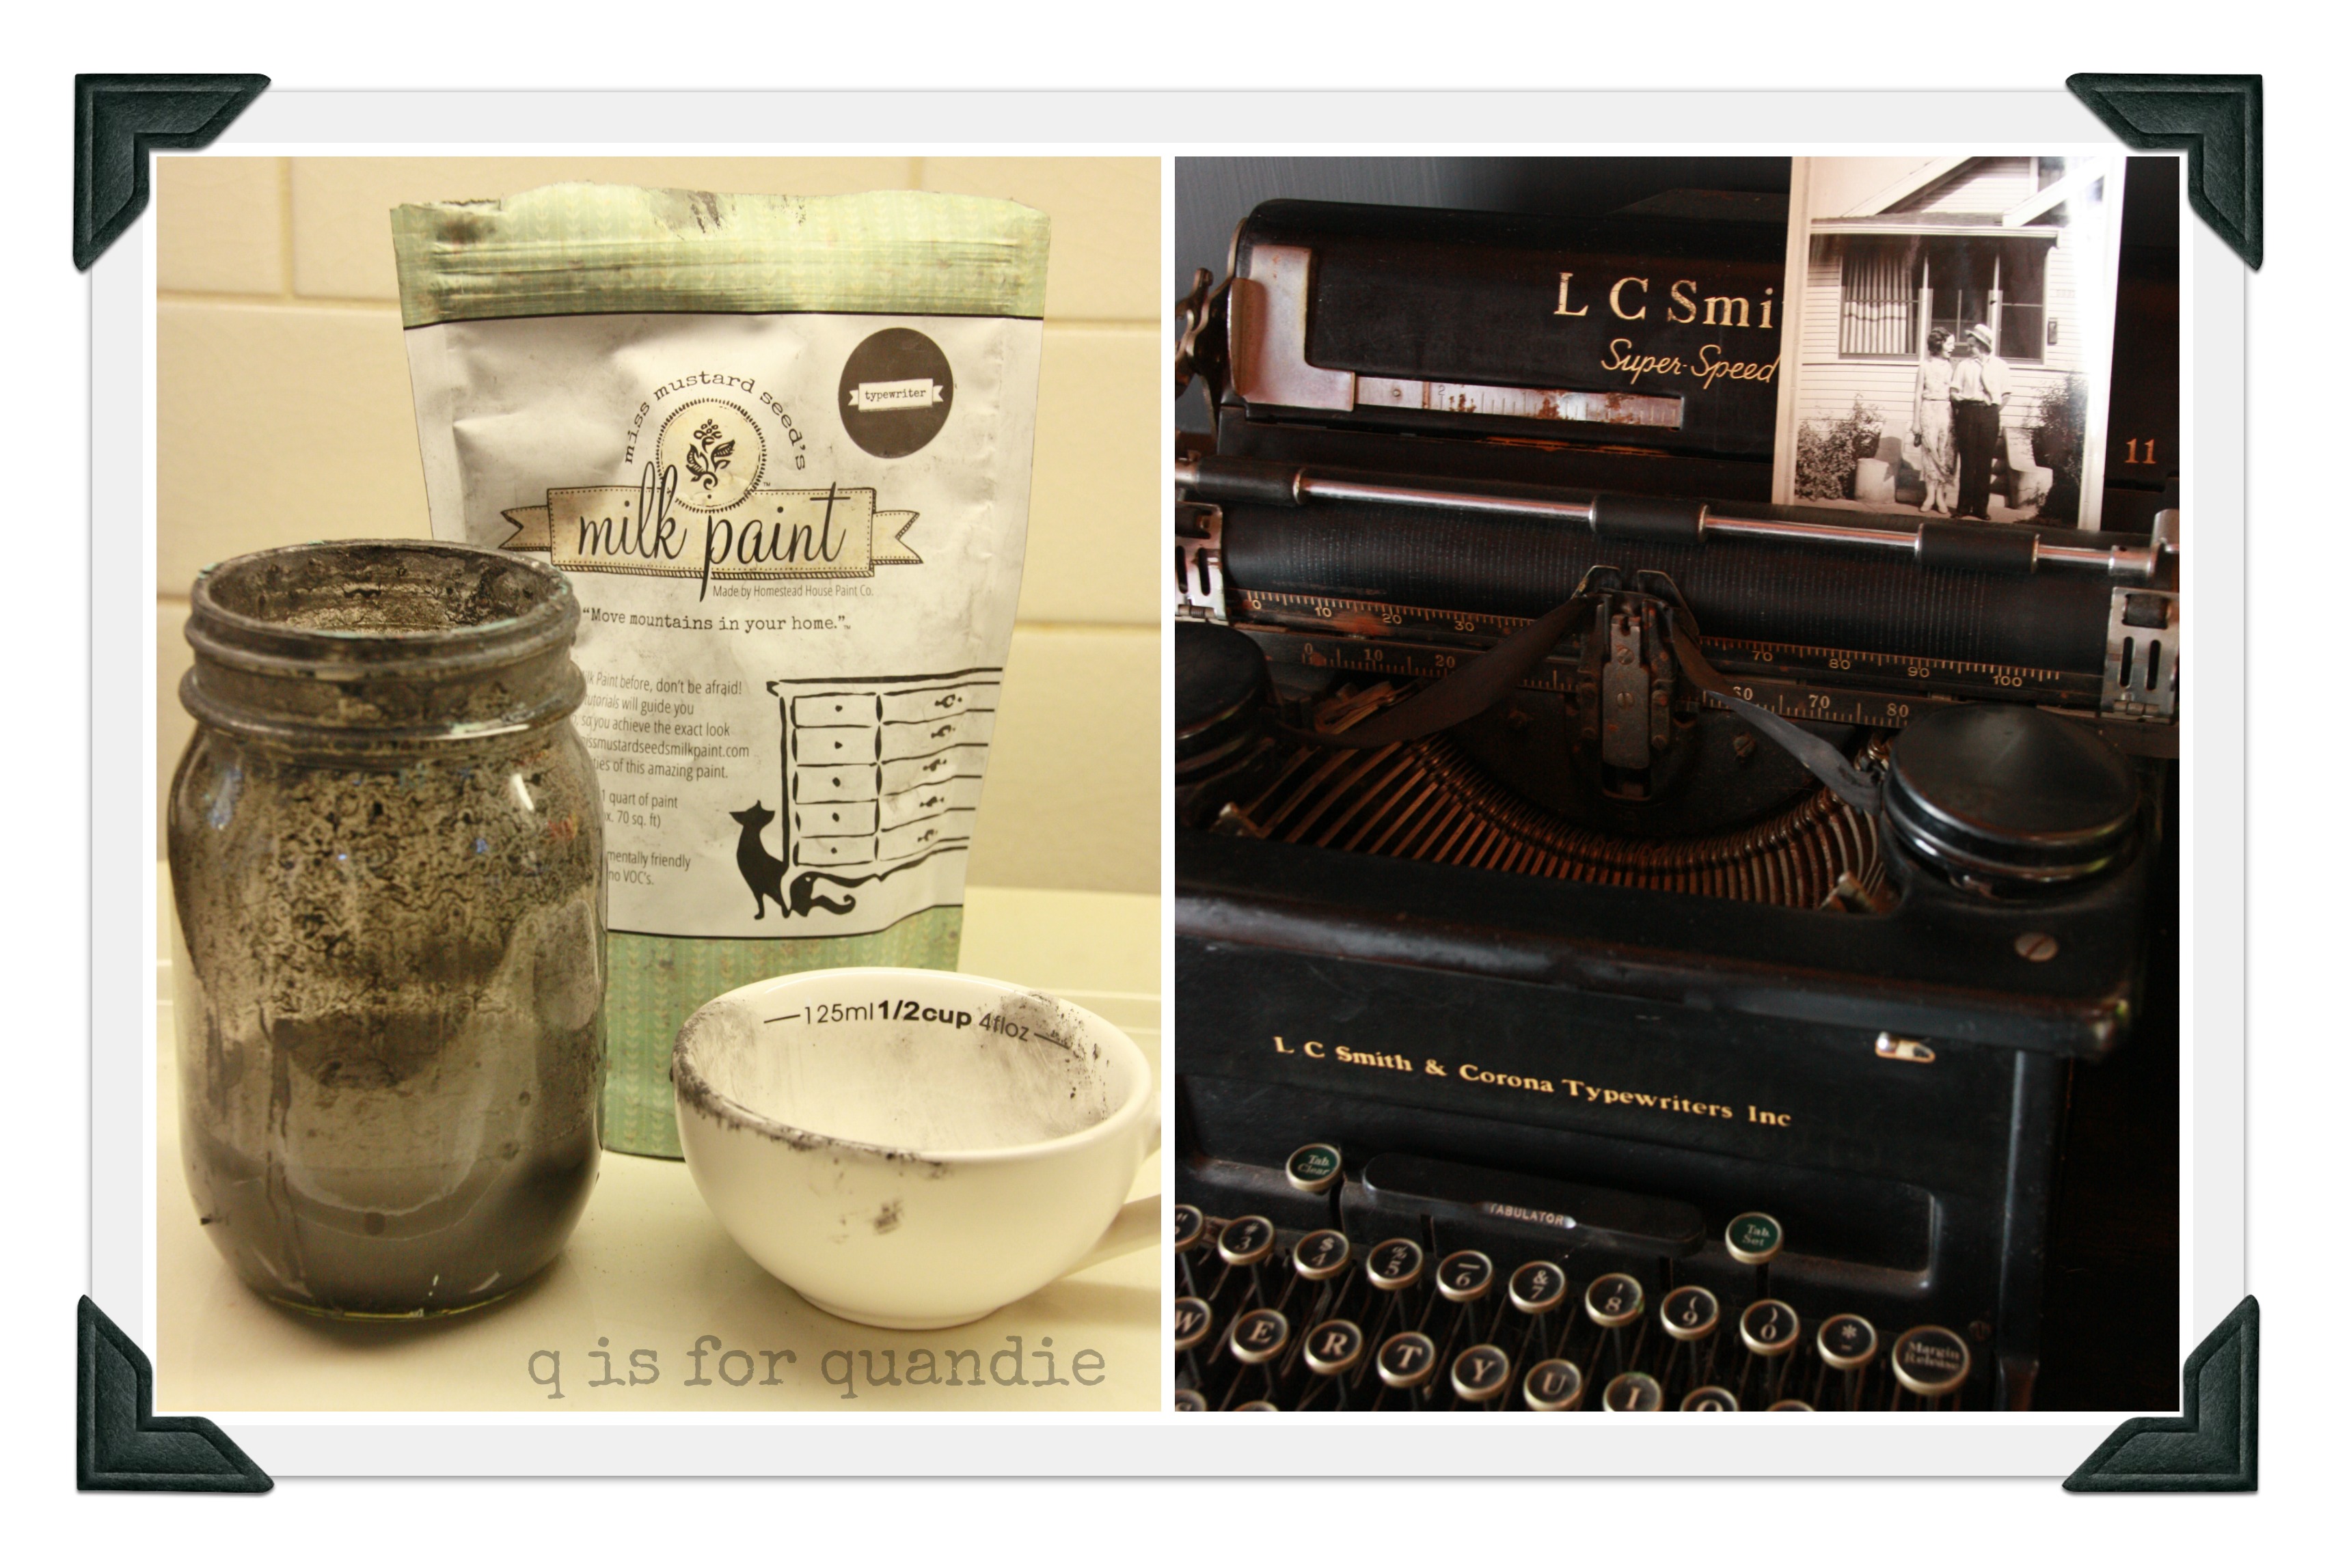
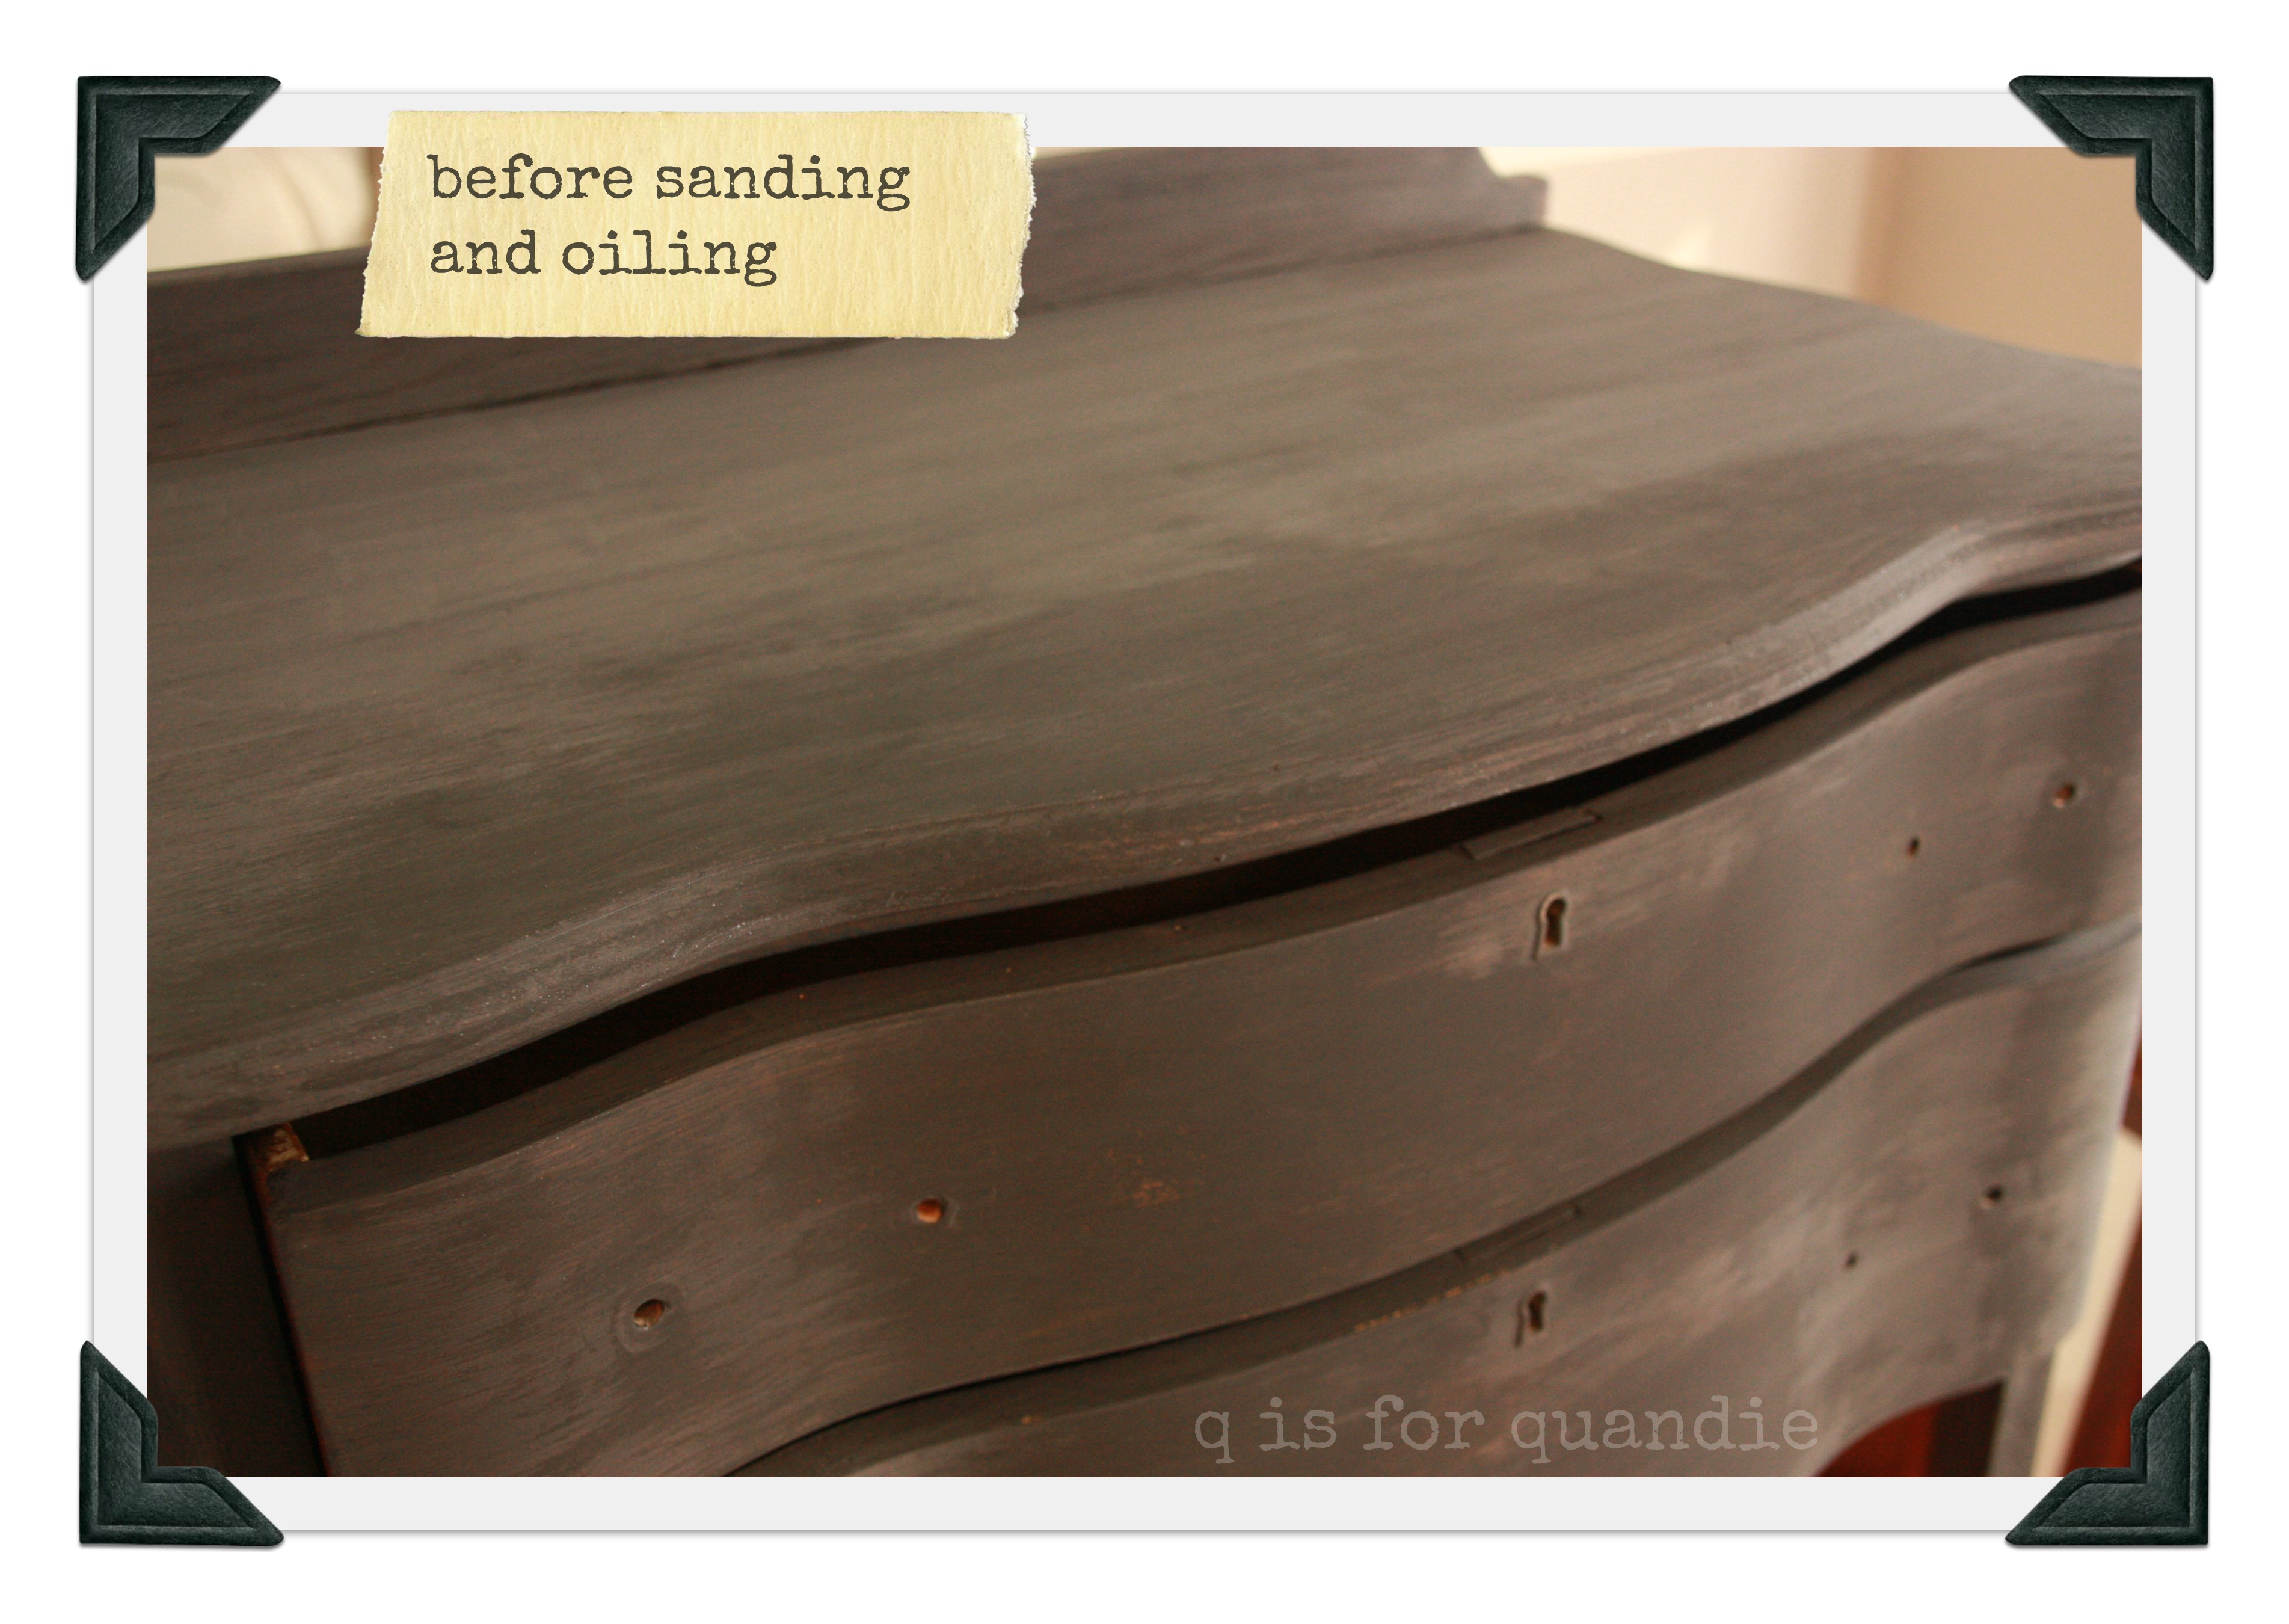 Not great, right? But after sanding and adding a coat of hemp oil, the black is gorgeous.