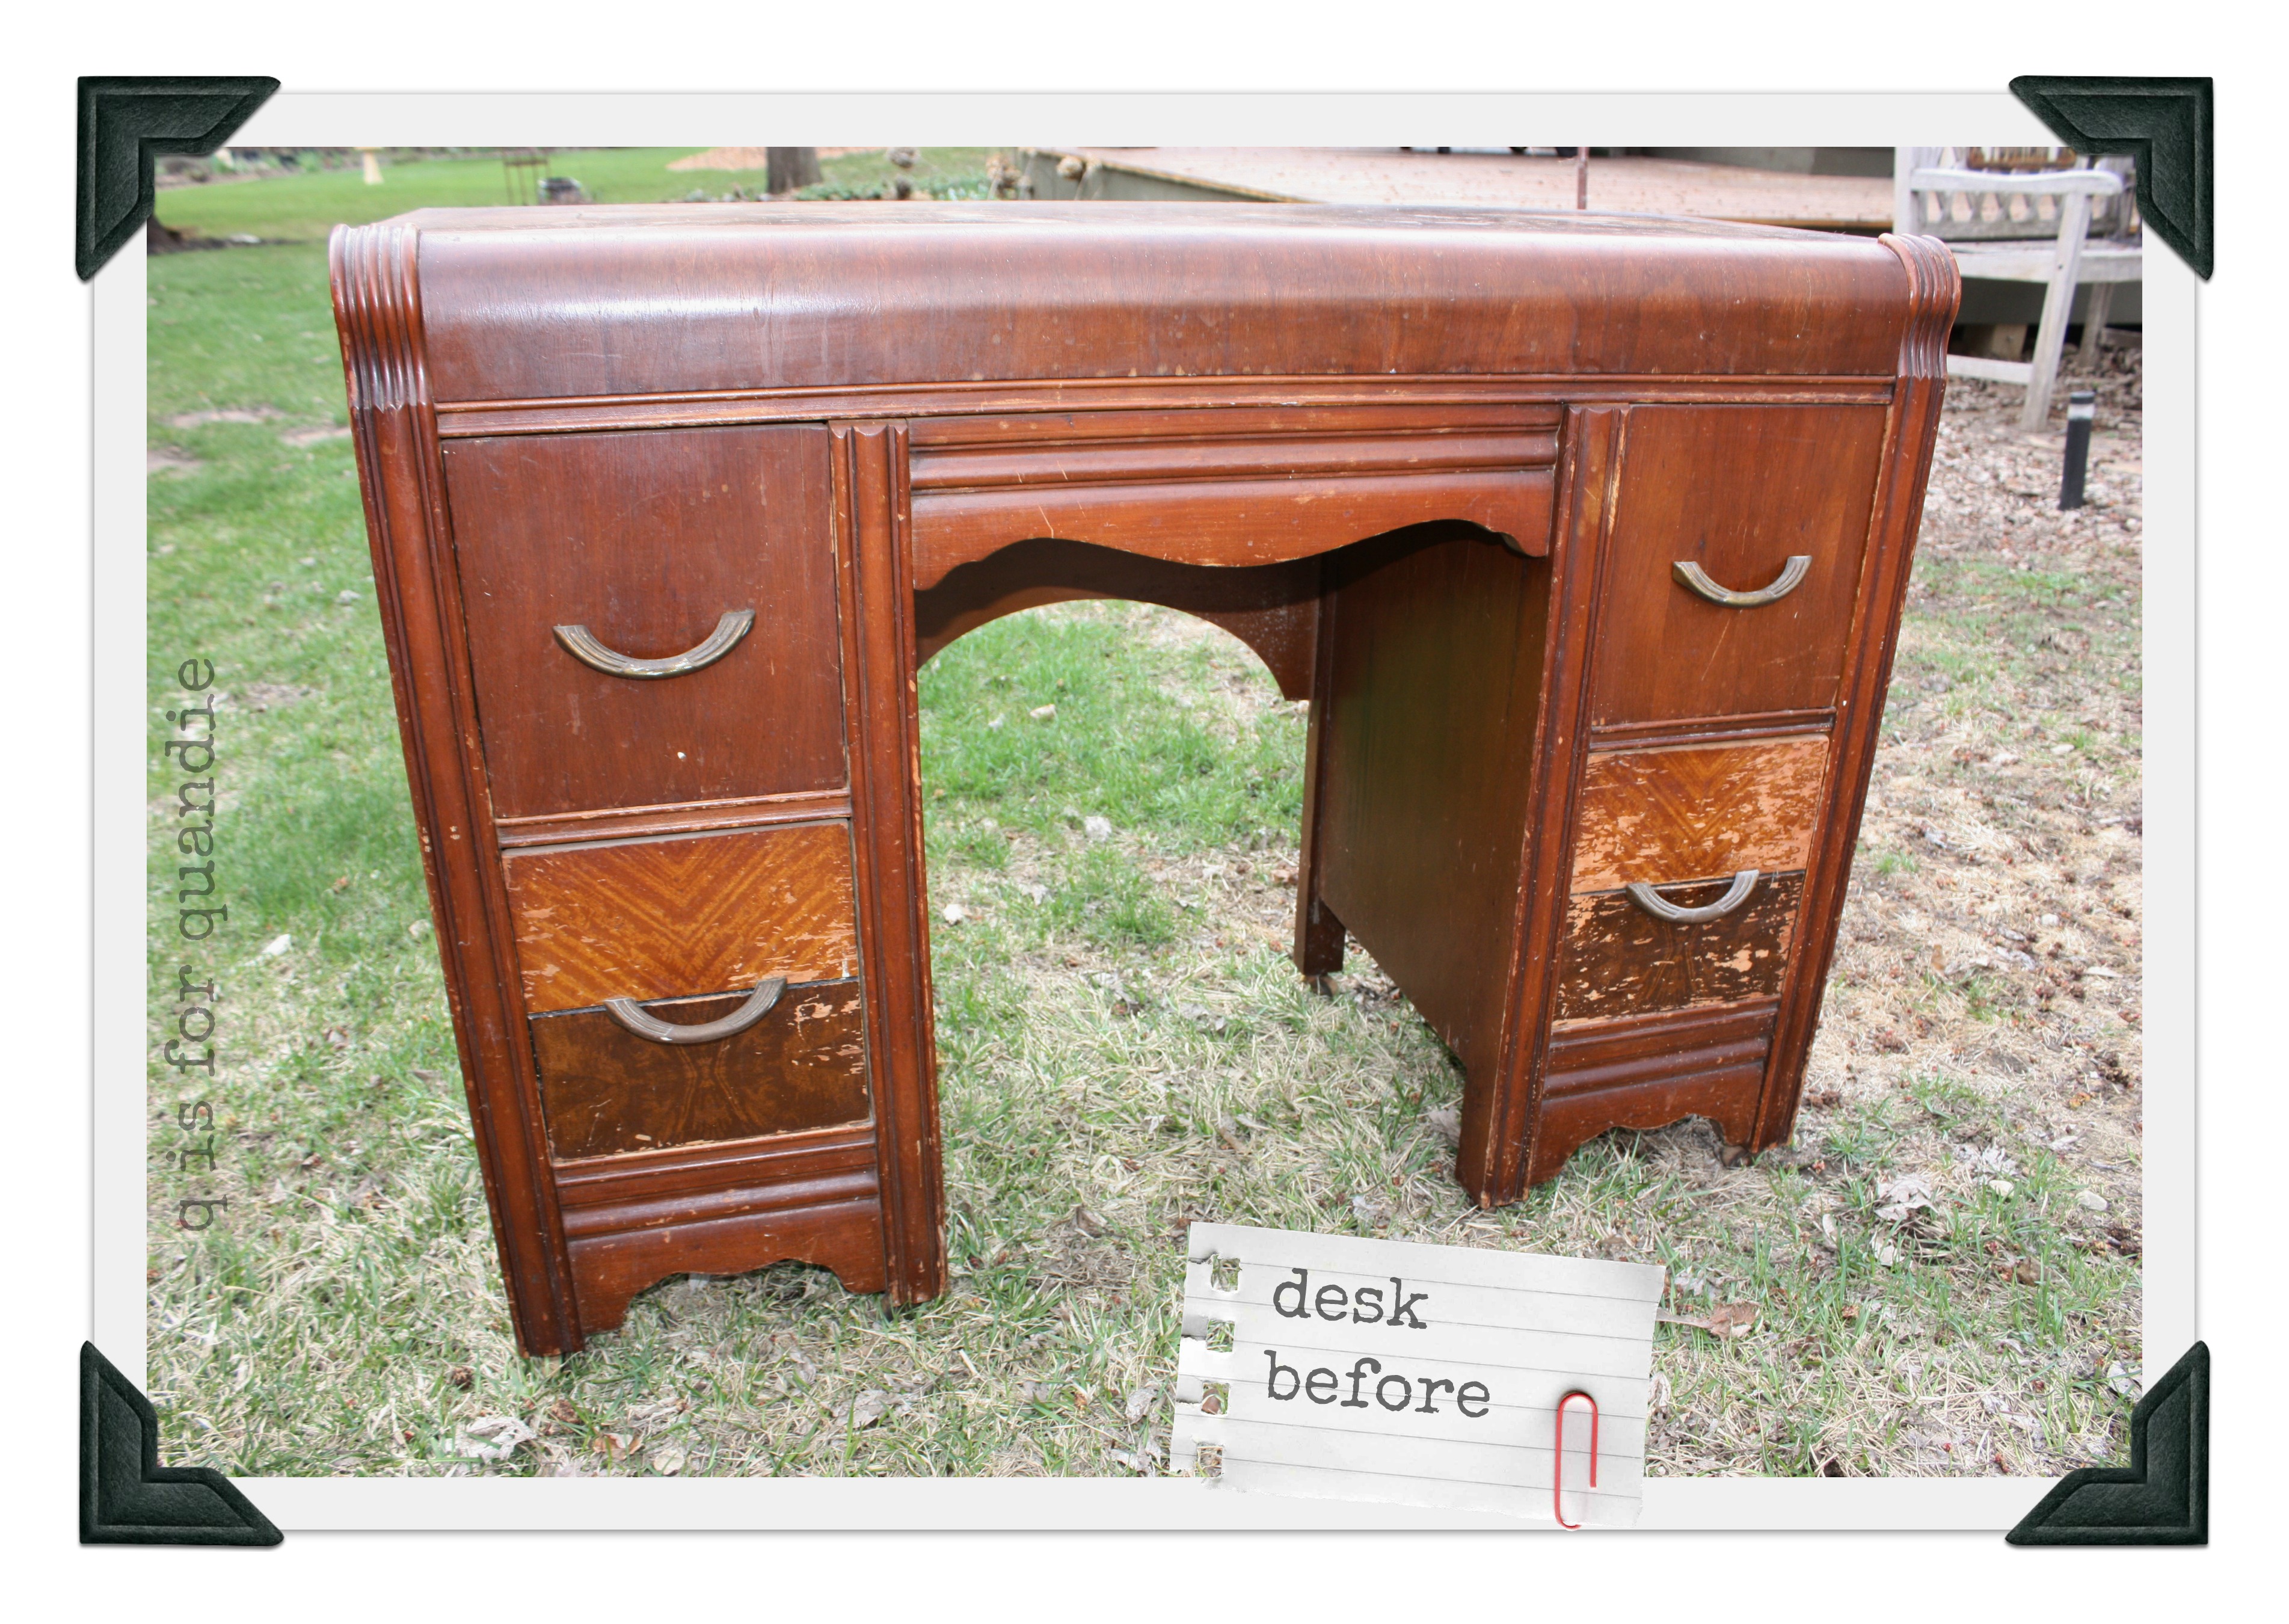
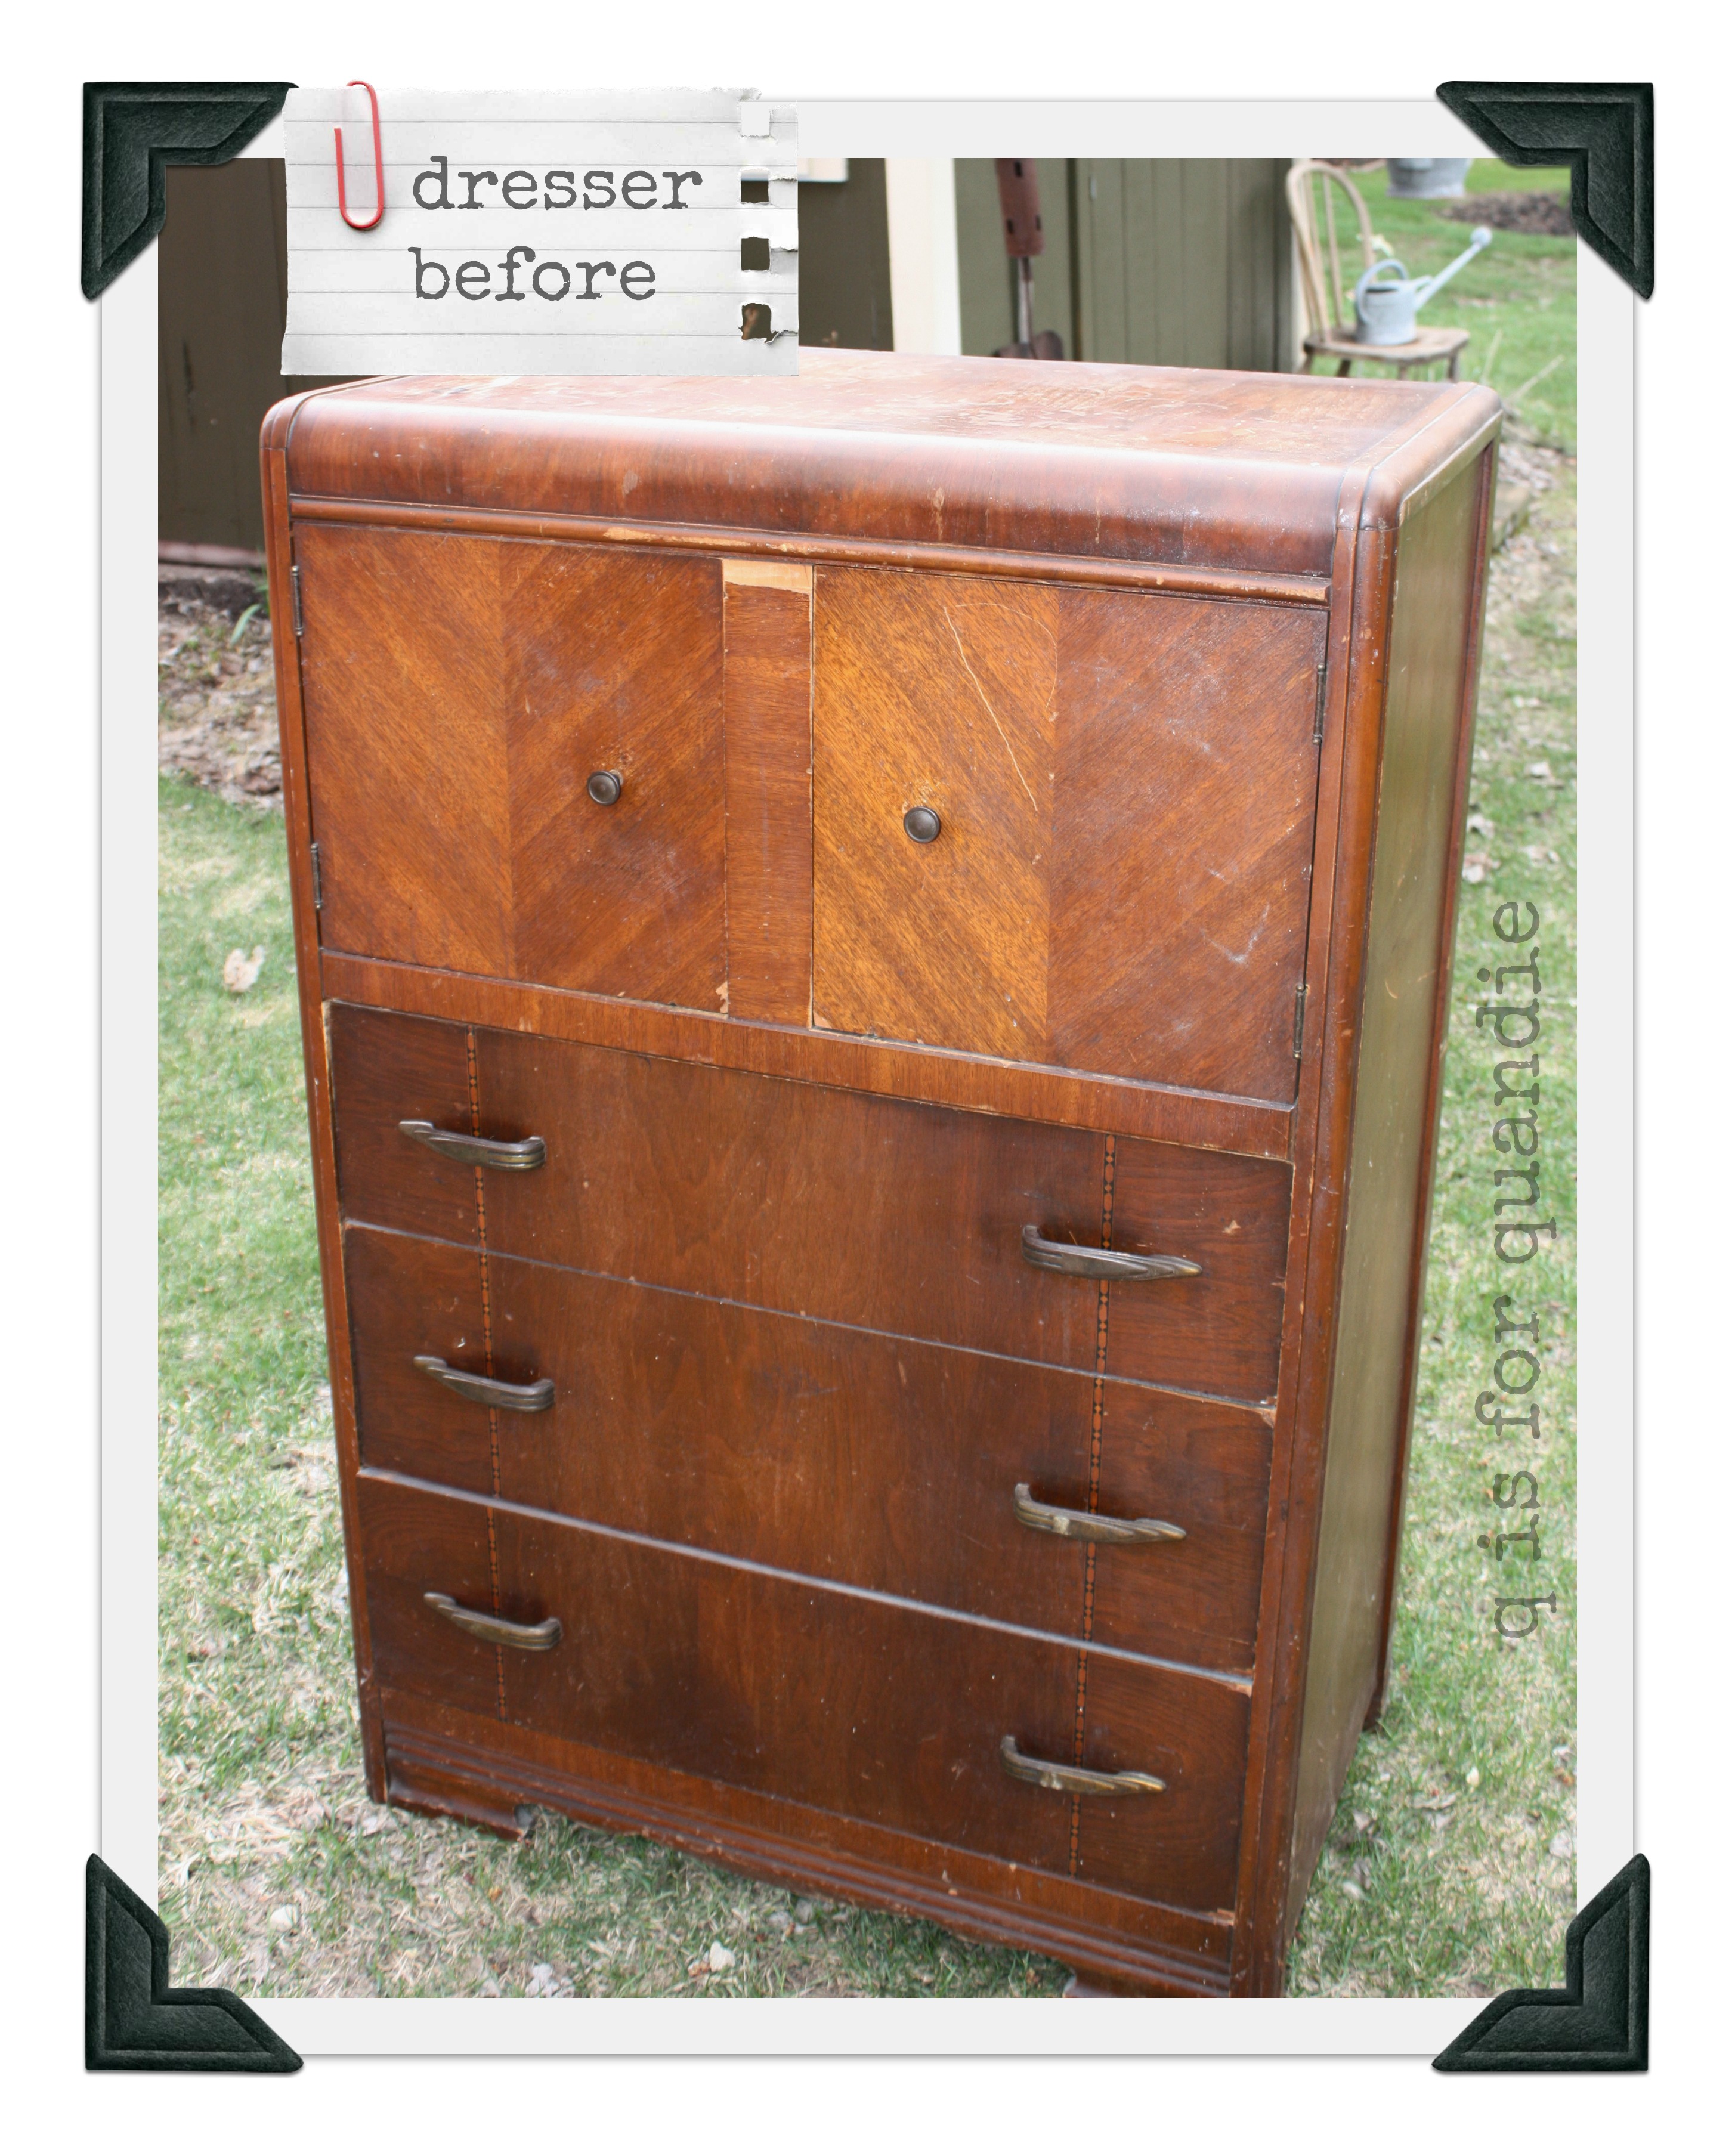
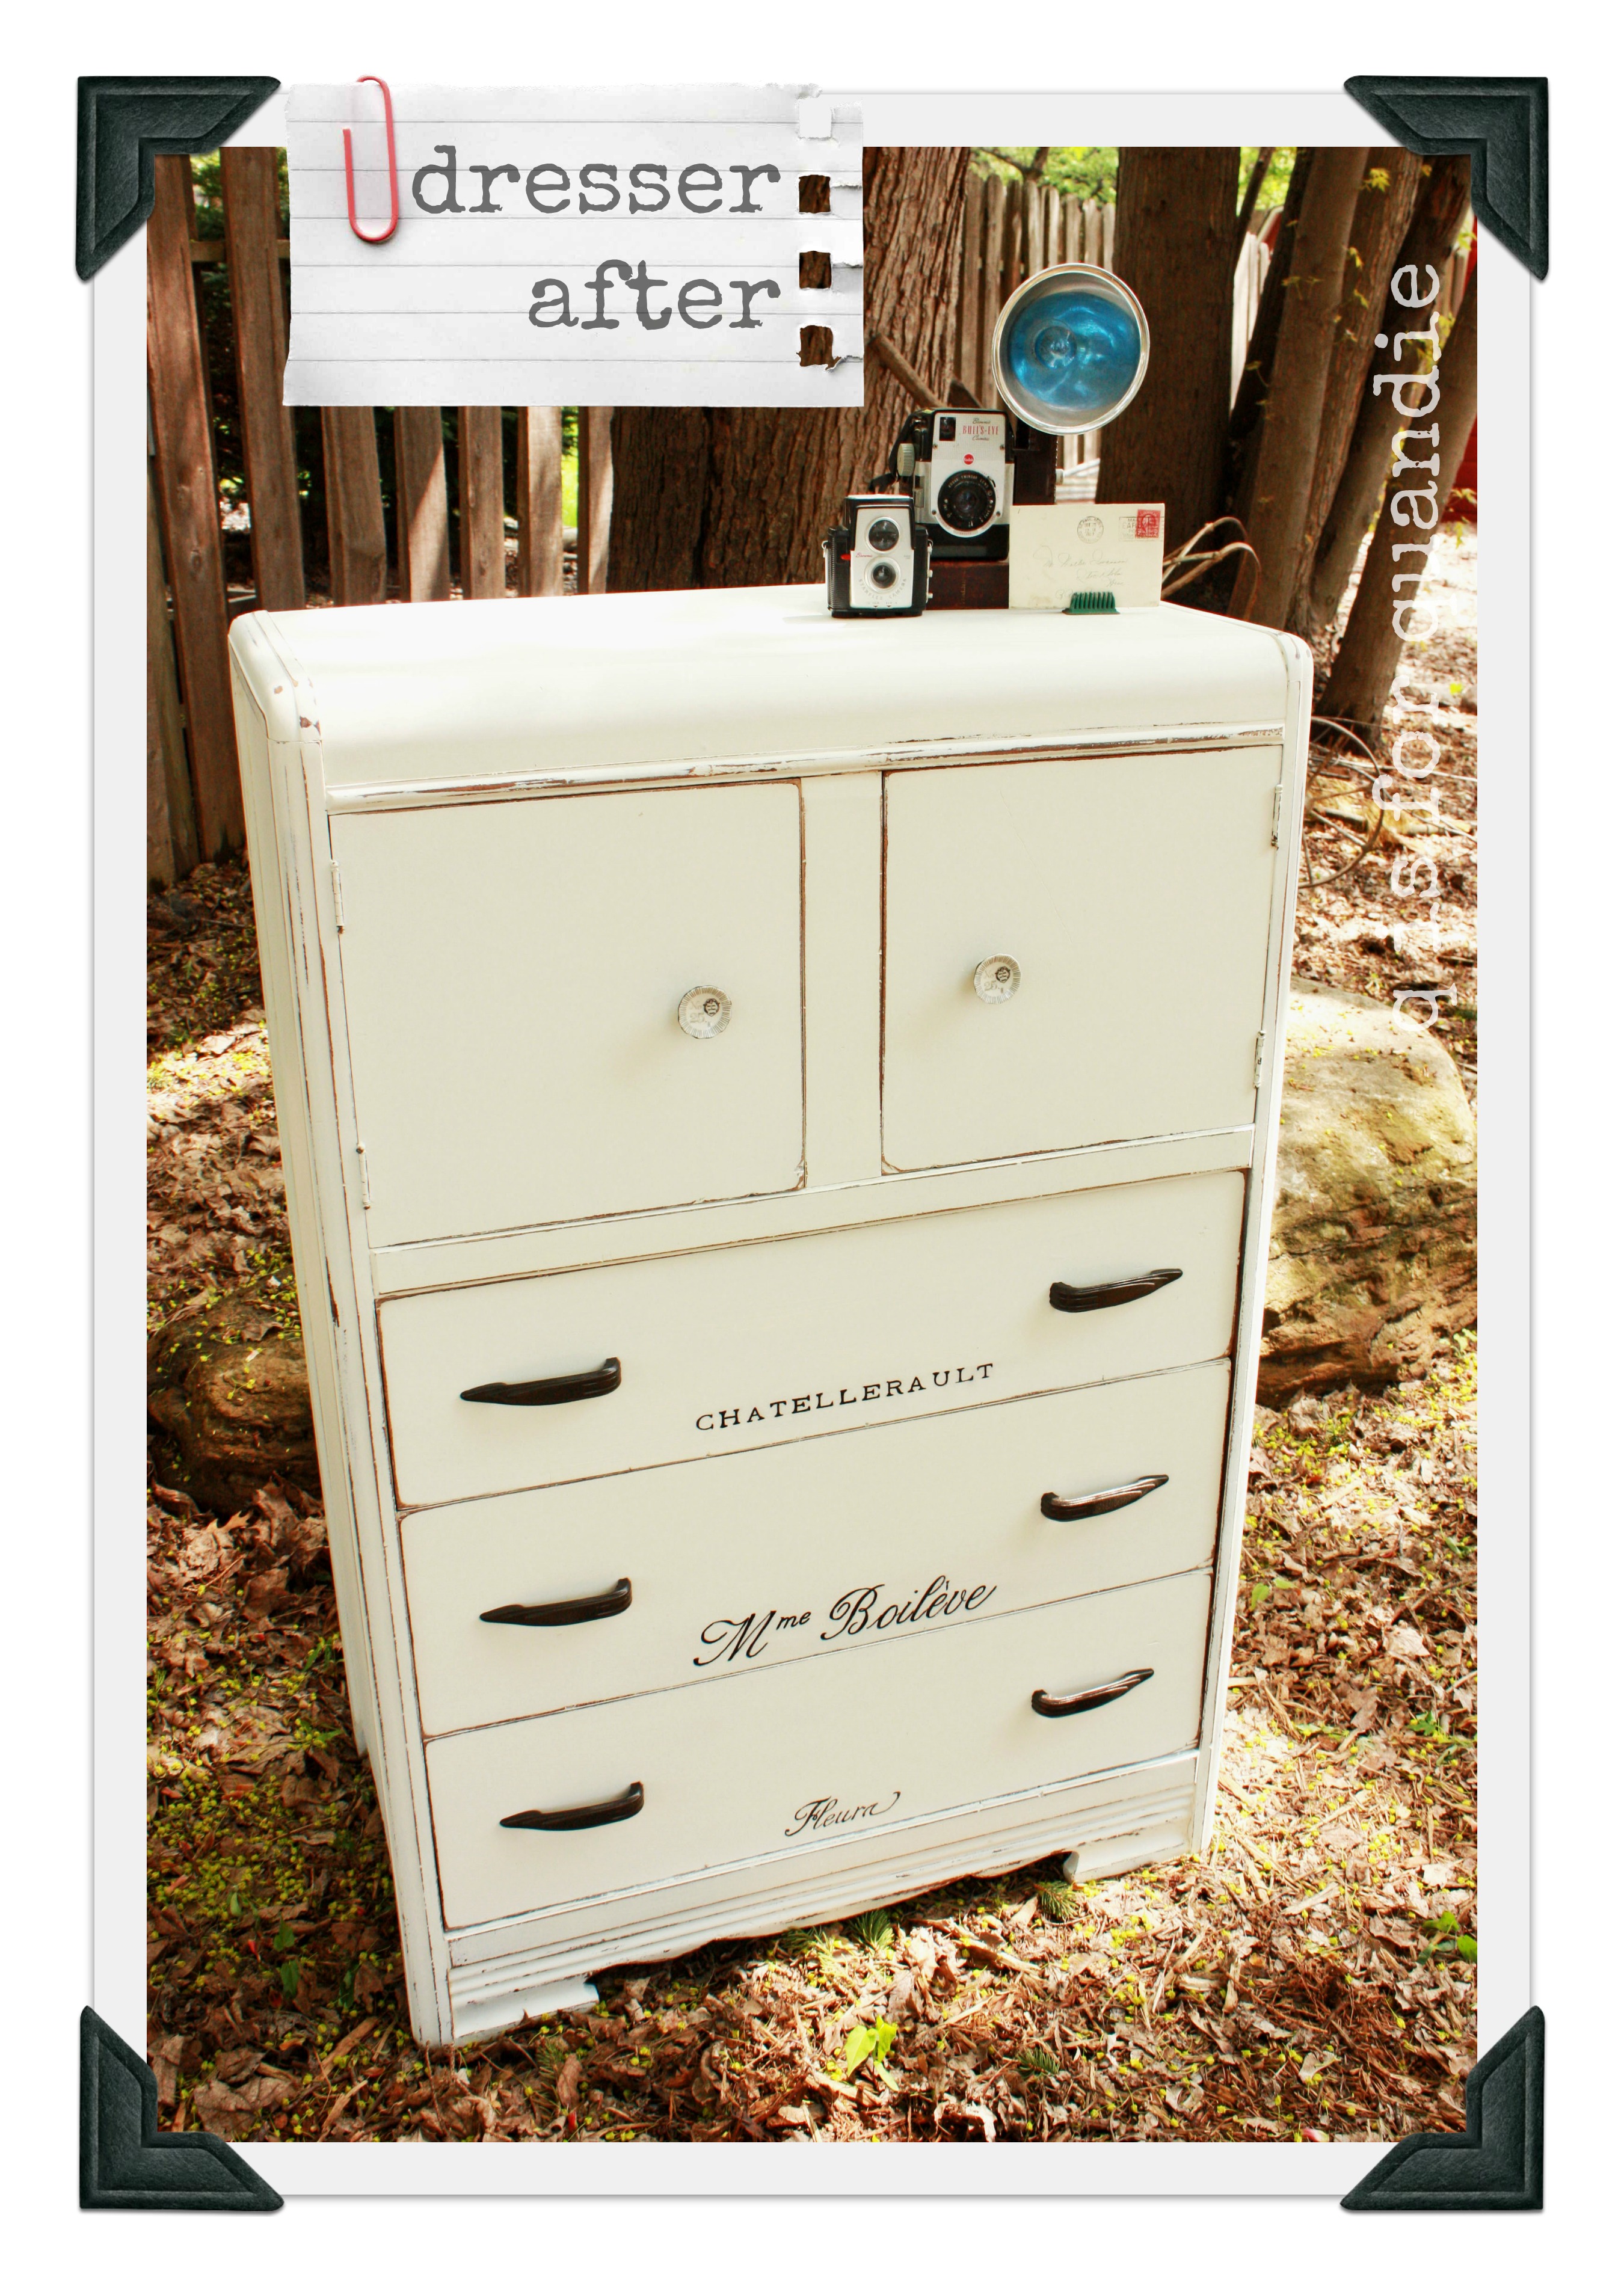
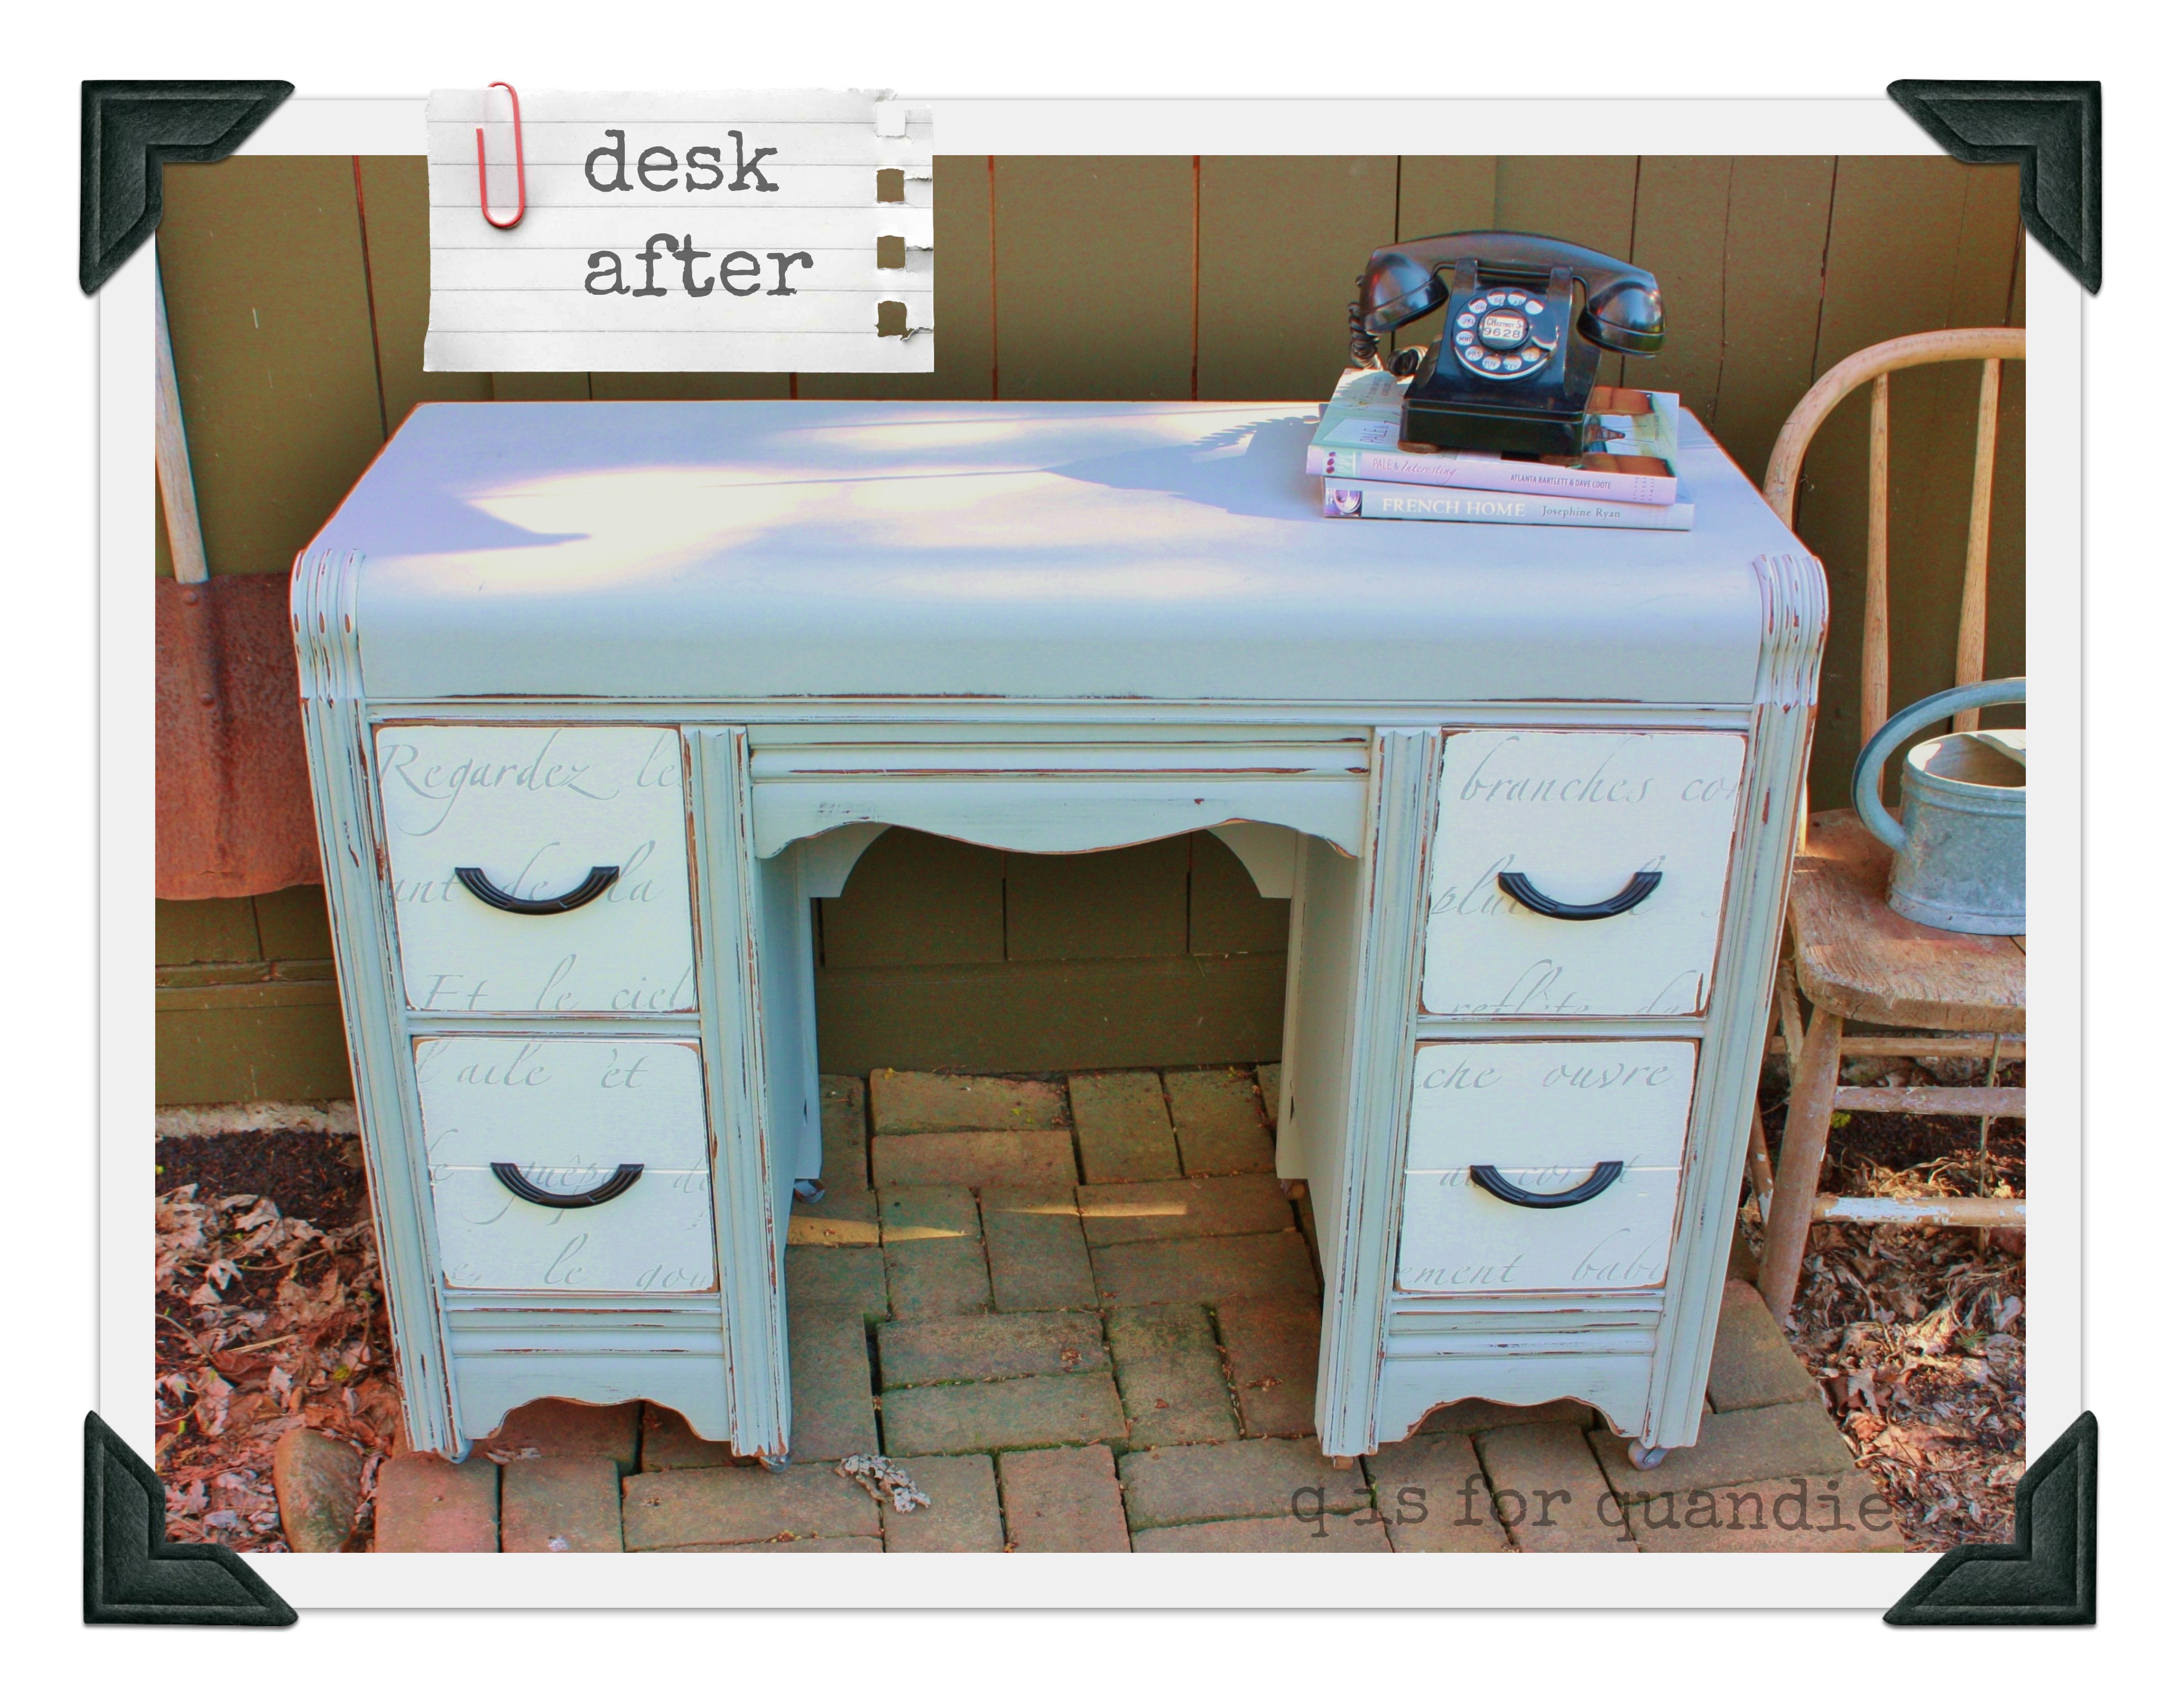
the jonas brothers.

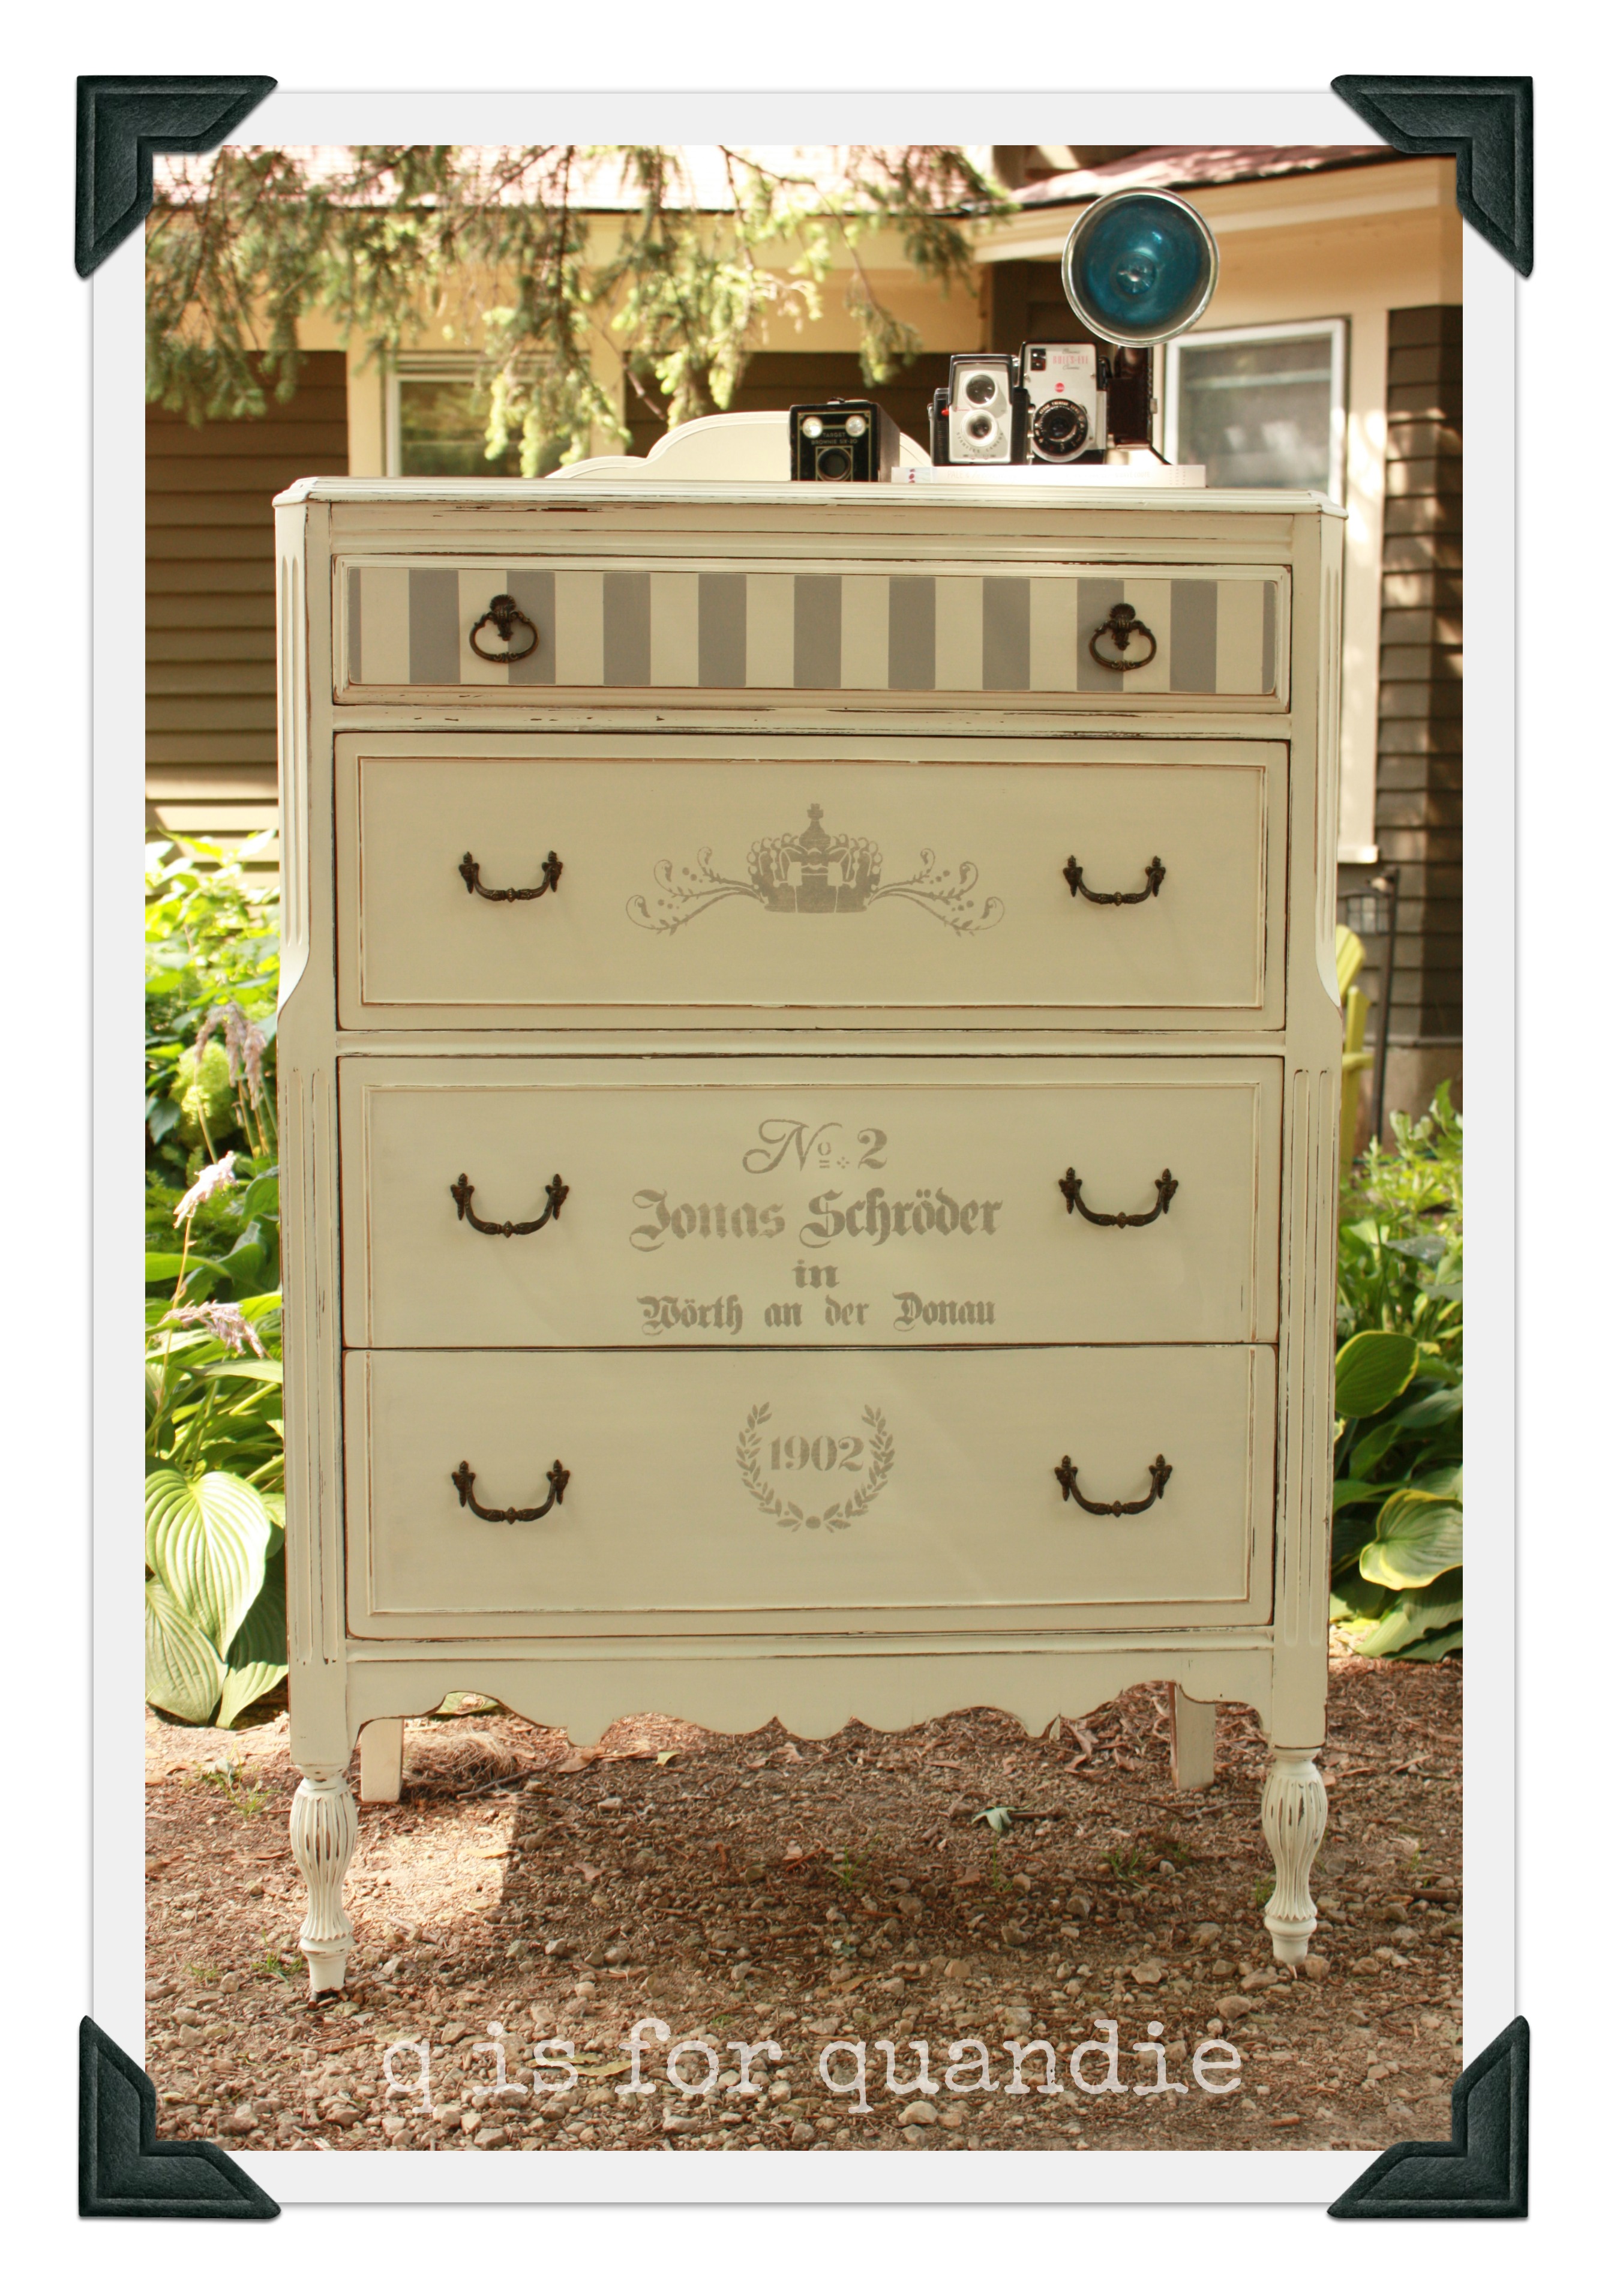
No, not those Jonas brothers.  If you expected to find some handsome pop singers here, sorry for the disappointment, but I’m talking about these handsome Jonas brothers.

jonas bros. collage

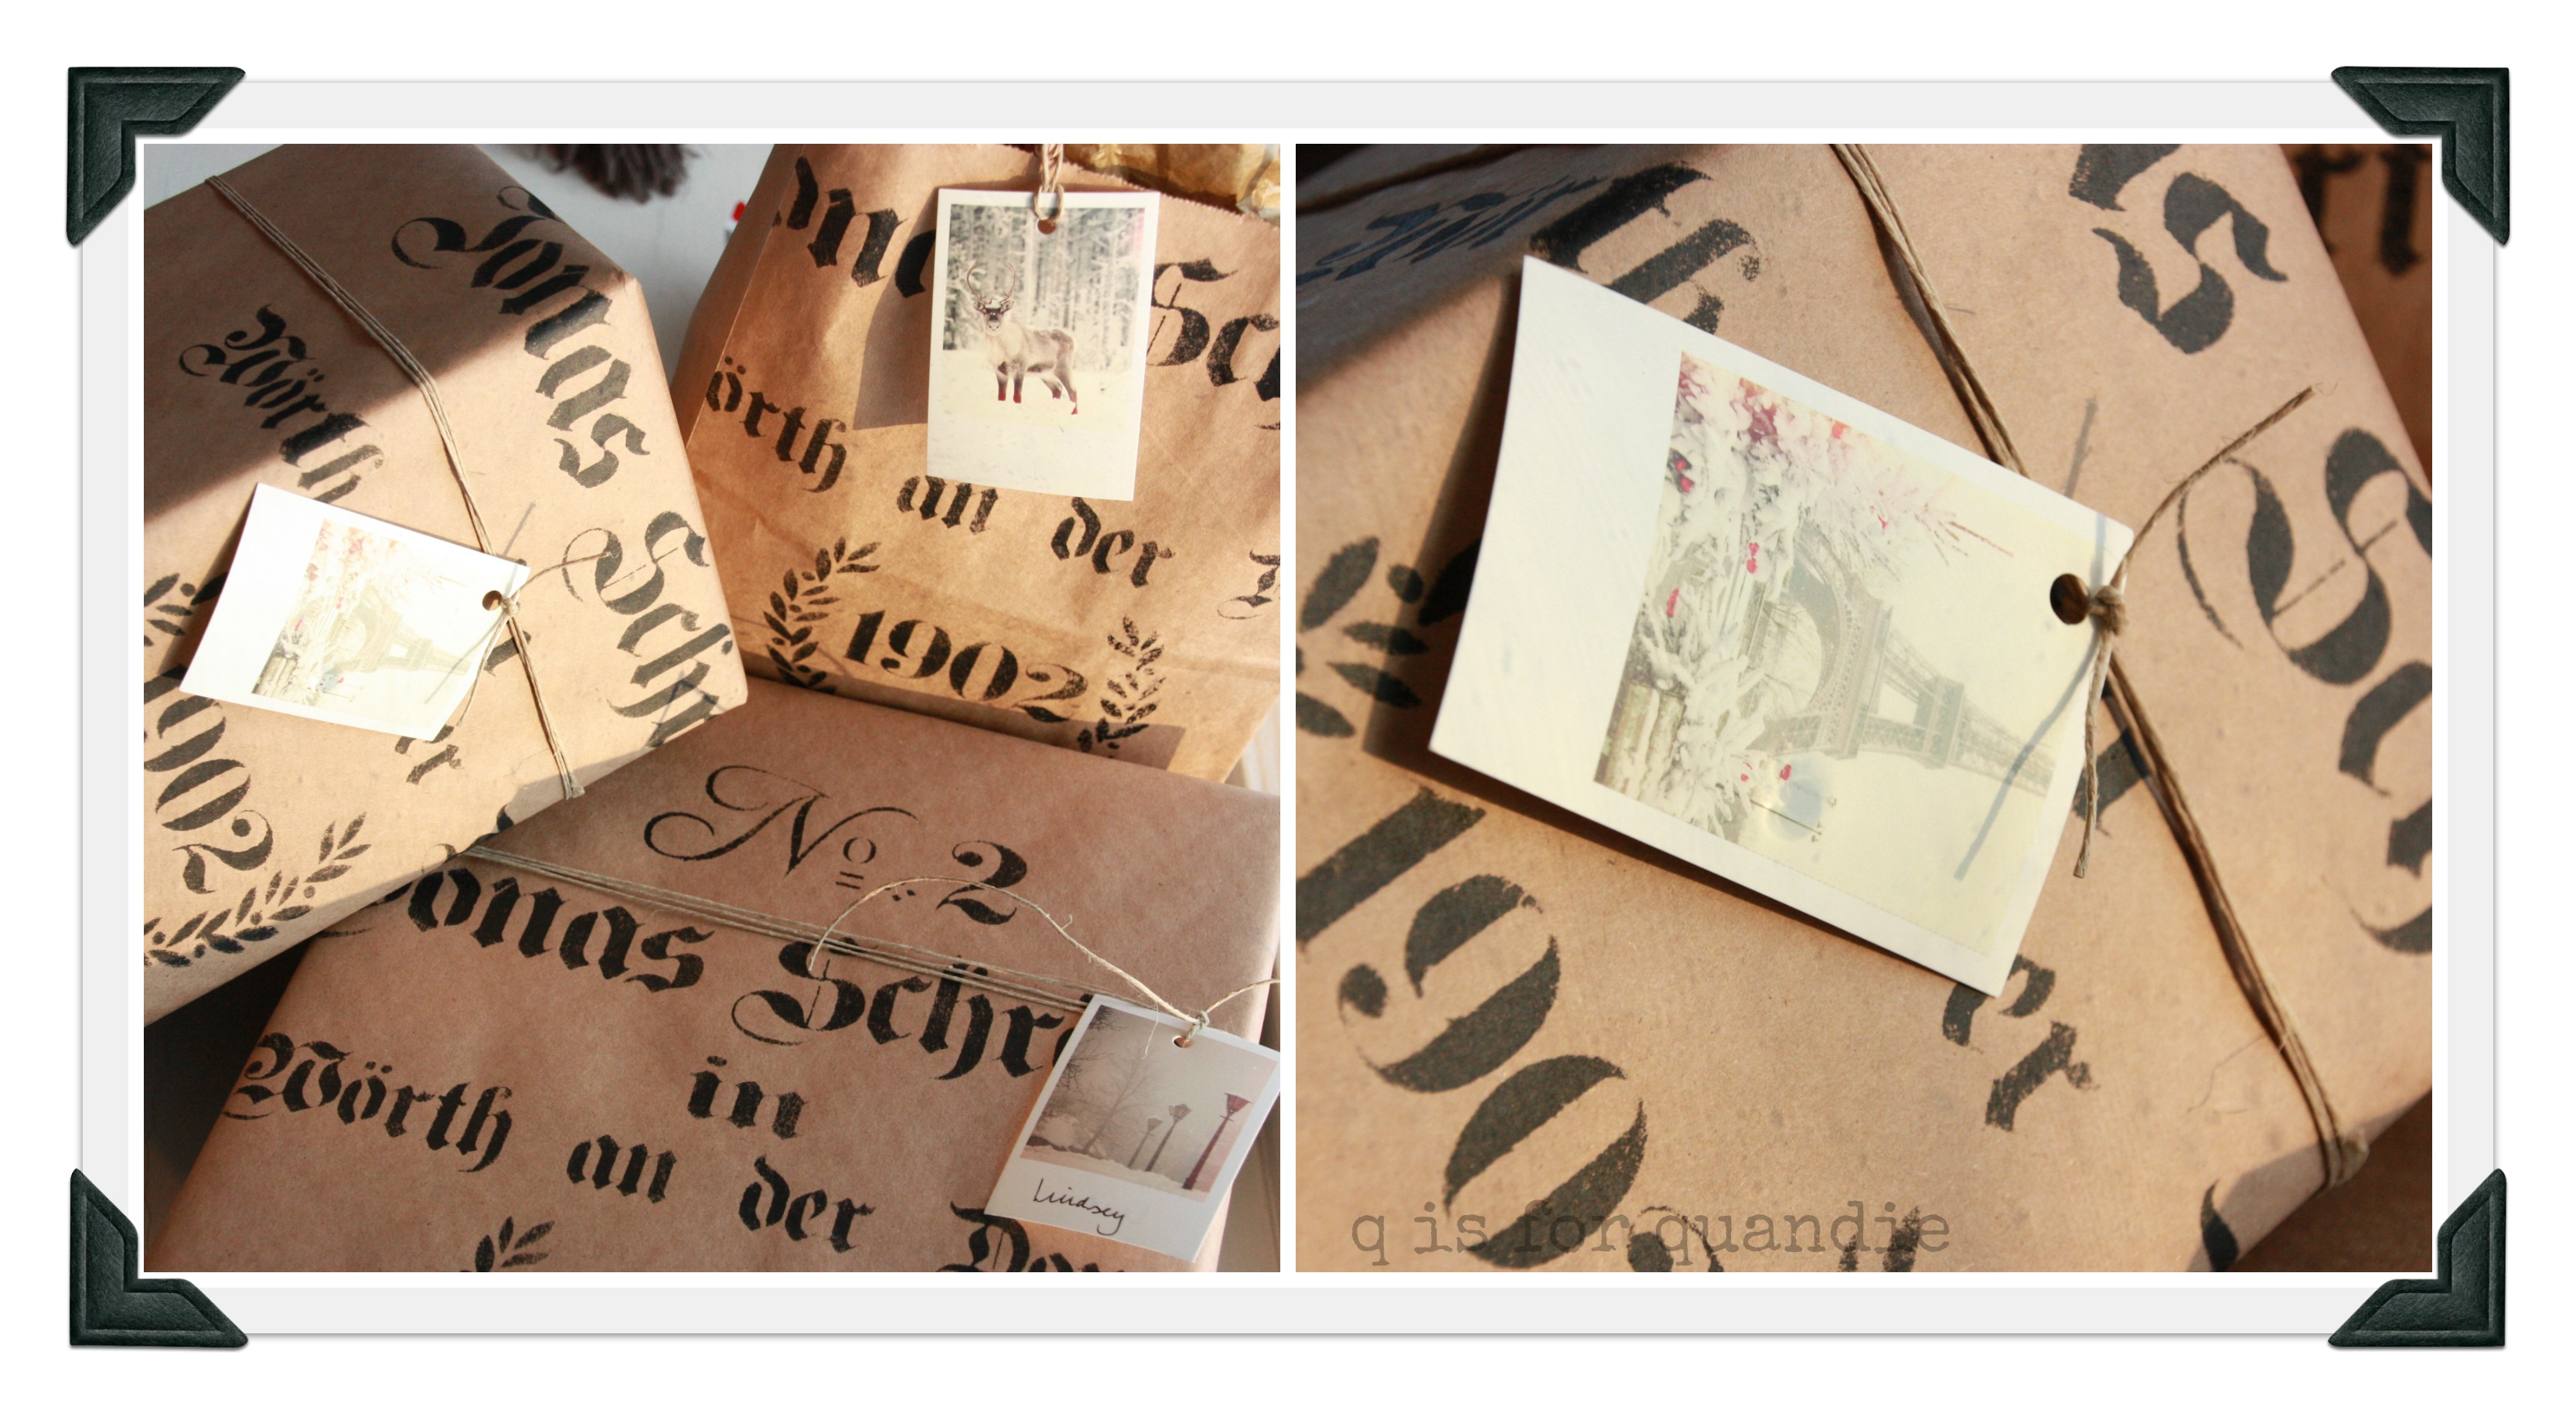
I purchased the Jonas stencil via Etsy from Euro Stencil Designs.  It was $38 plus shipping, and has been worth every penny.  I’ve used it on a bazillion things.  I even used it on this year’s Christmas wrapping.

jonas package

I did three dressers with this stencil last summer, and they were super popular.  Probably nearly as popular as the band!

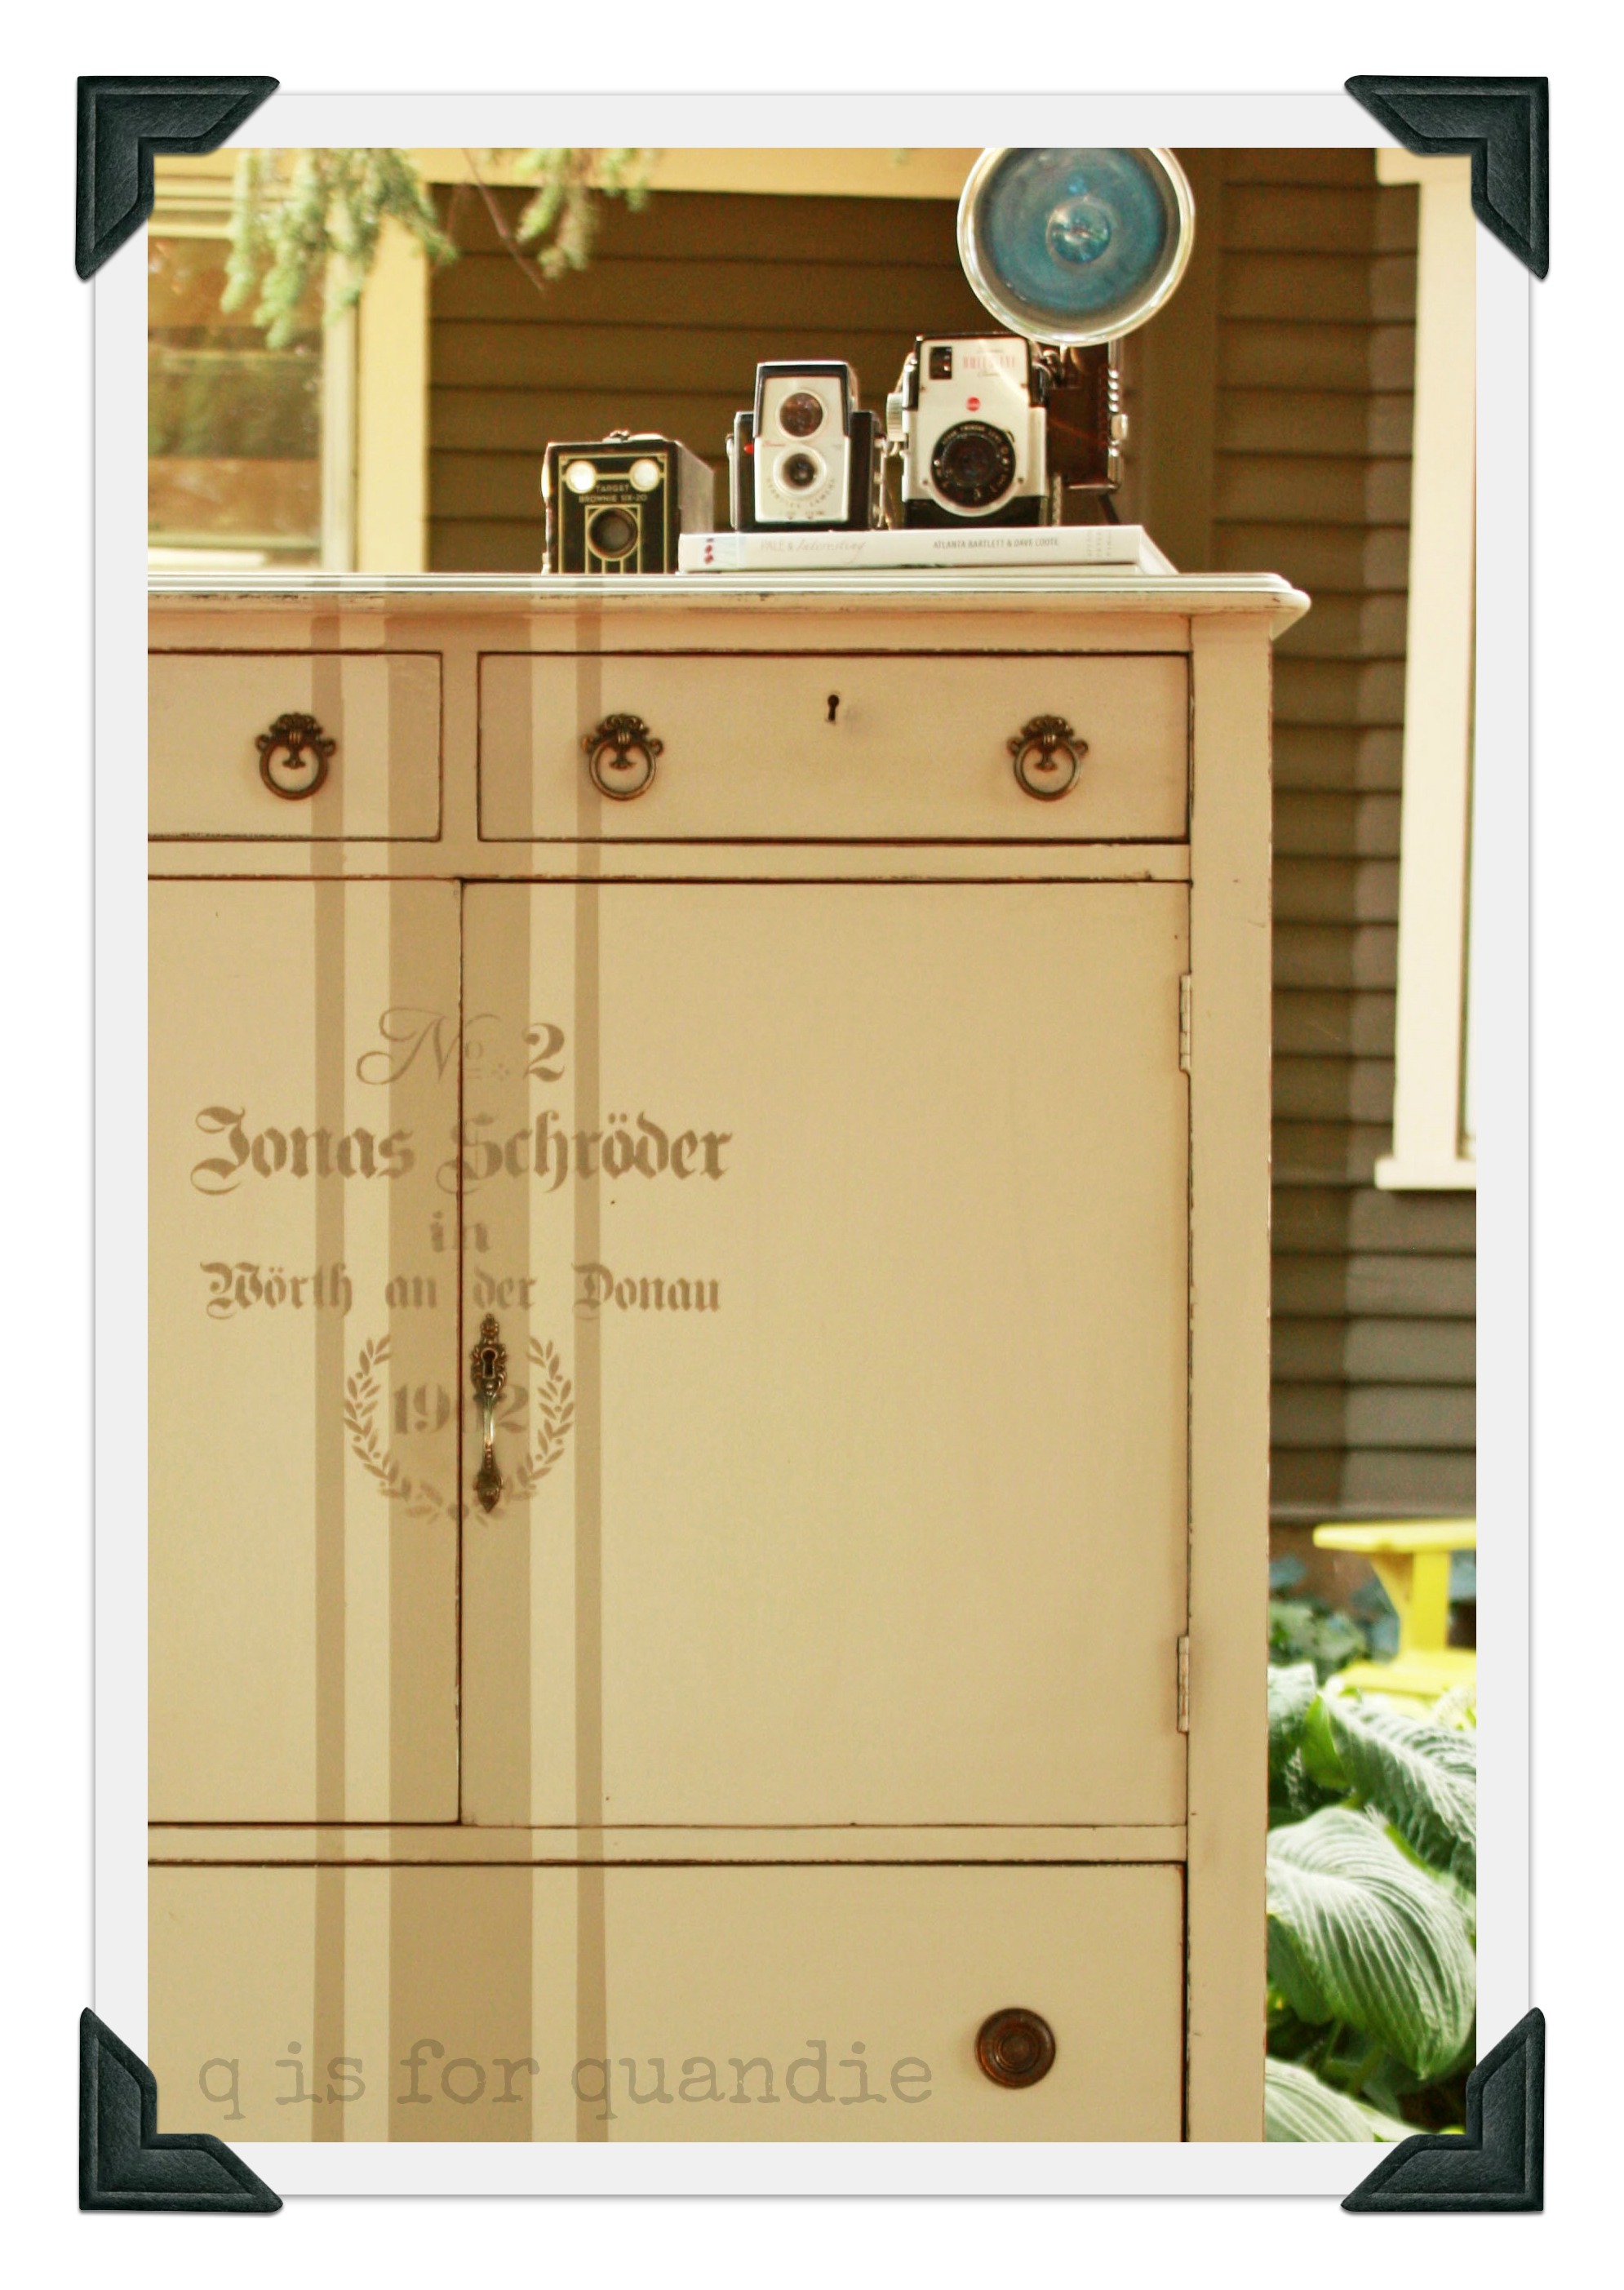
I started with this one.  I painted him using homemade chalk paint.  Have you read about this?  It’s easy to make.  Just mix equal parts warm water and plaster of paris until smooth, then add about two to three times as much satin paint.  I don’t measure, but I have a good feel for the consistency I’m looking for.  I don’t know what it is about adding the plaster of paris to the paint, but somehow it just goes on smoothly, dries more quickly, sticks to the furniture better, and distresses more easily.  I usually finish the piece off with paste wax when I use this paint, as I did in this case.  The original hardware was all intact on this guy and I prefer to keep it when that is the case.

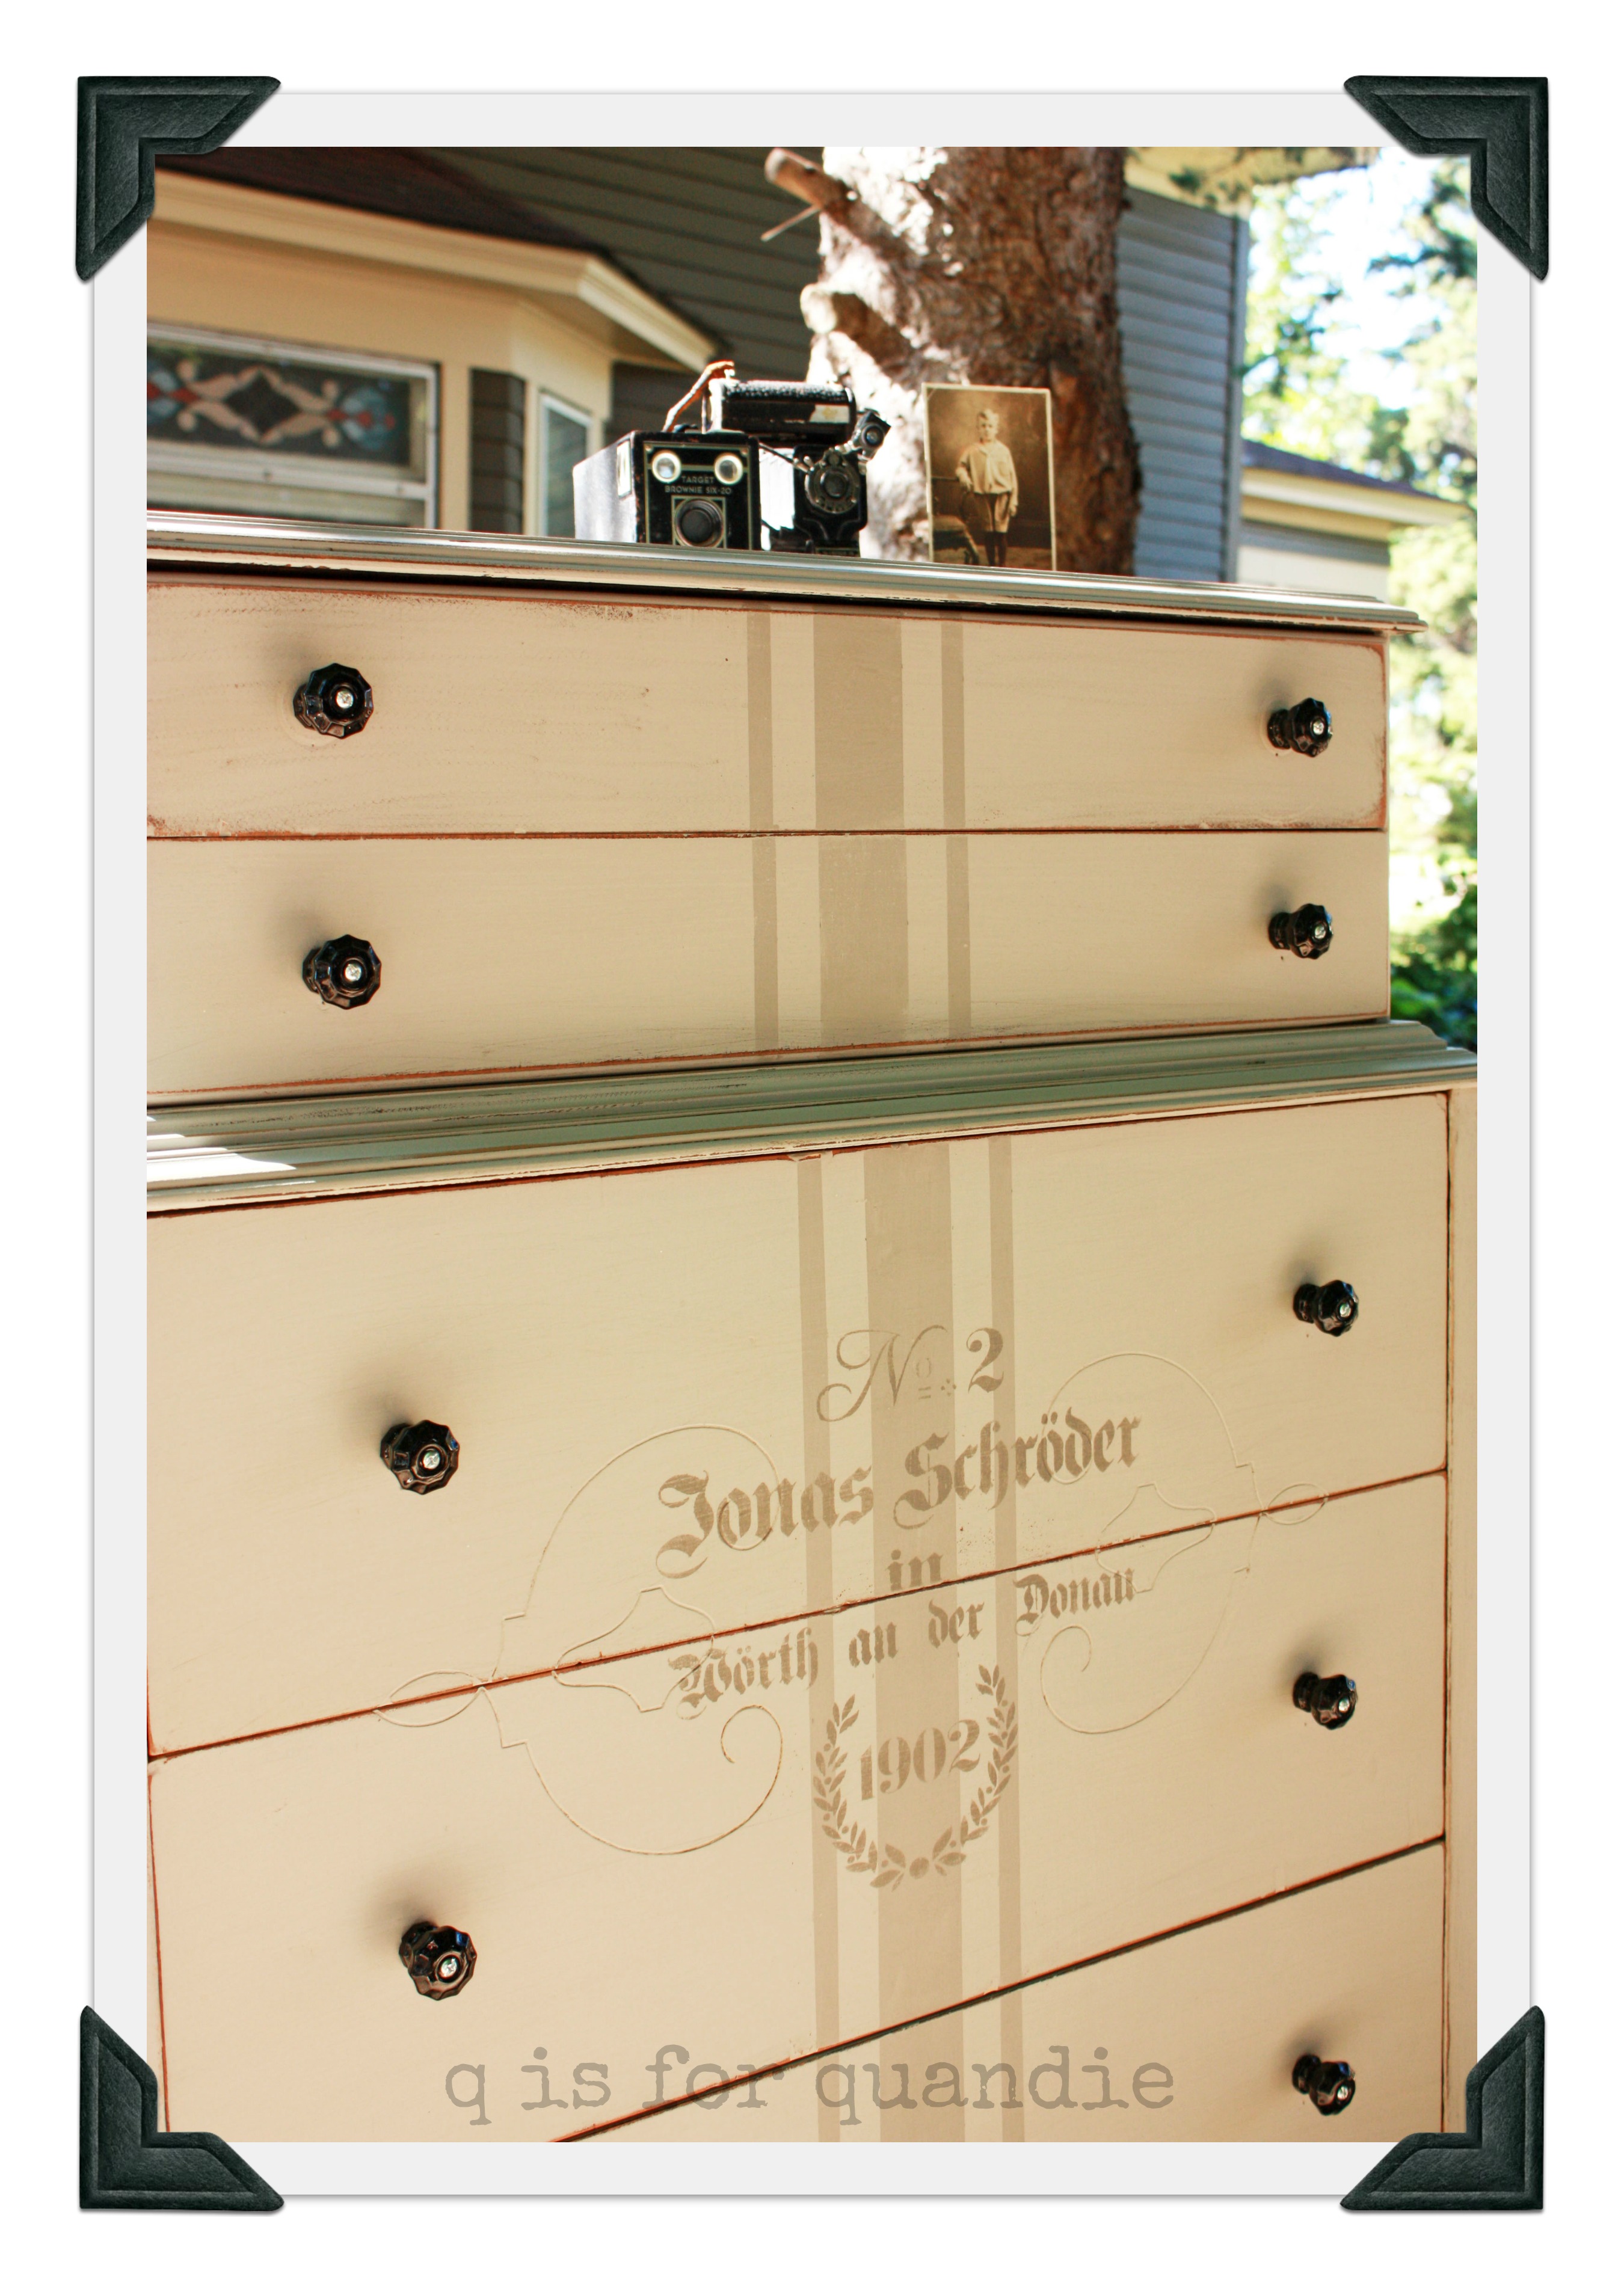
Jonas 2 brightNext I painted this one using the same technique.  This one was missing some hardware though, so I switched it all out for some vintage black glass knobs.  I love the way the stencil fit perfectly inside the scrolls carved into the drawer fronts.

jonas bros 2 closeup

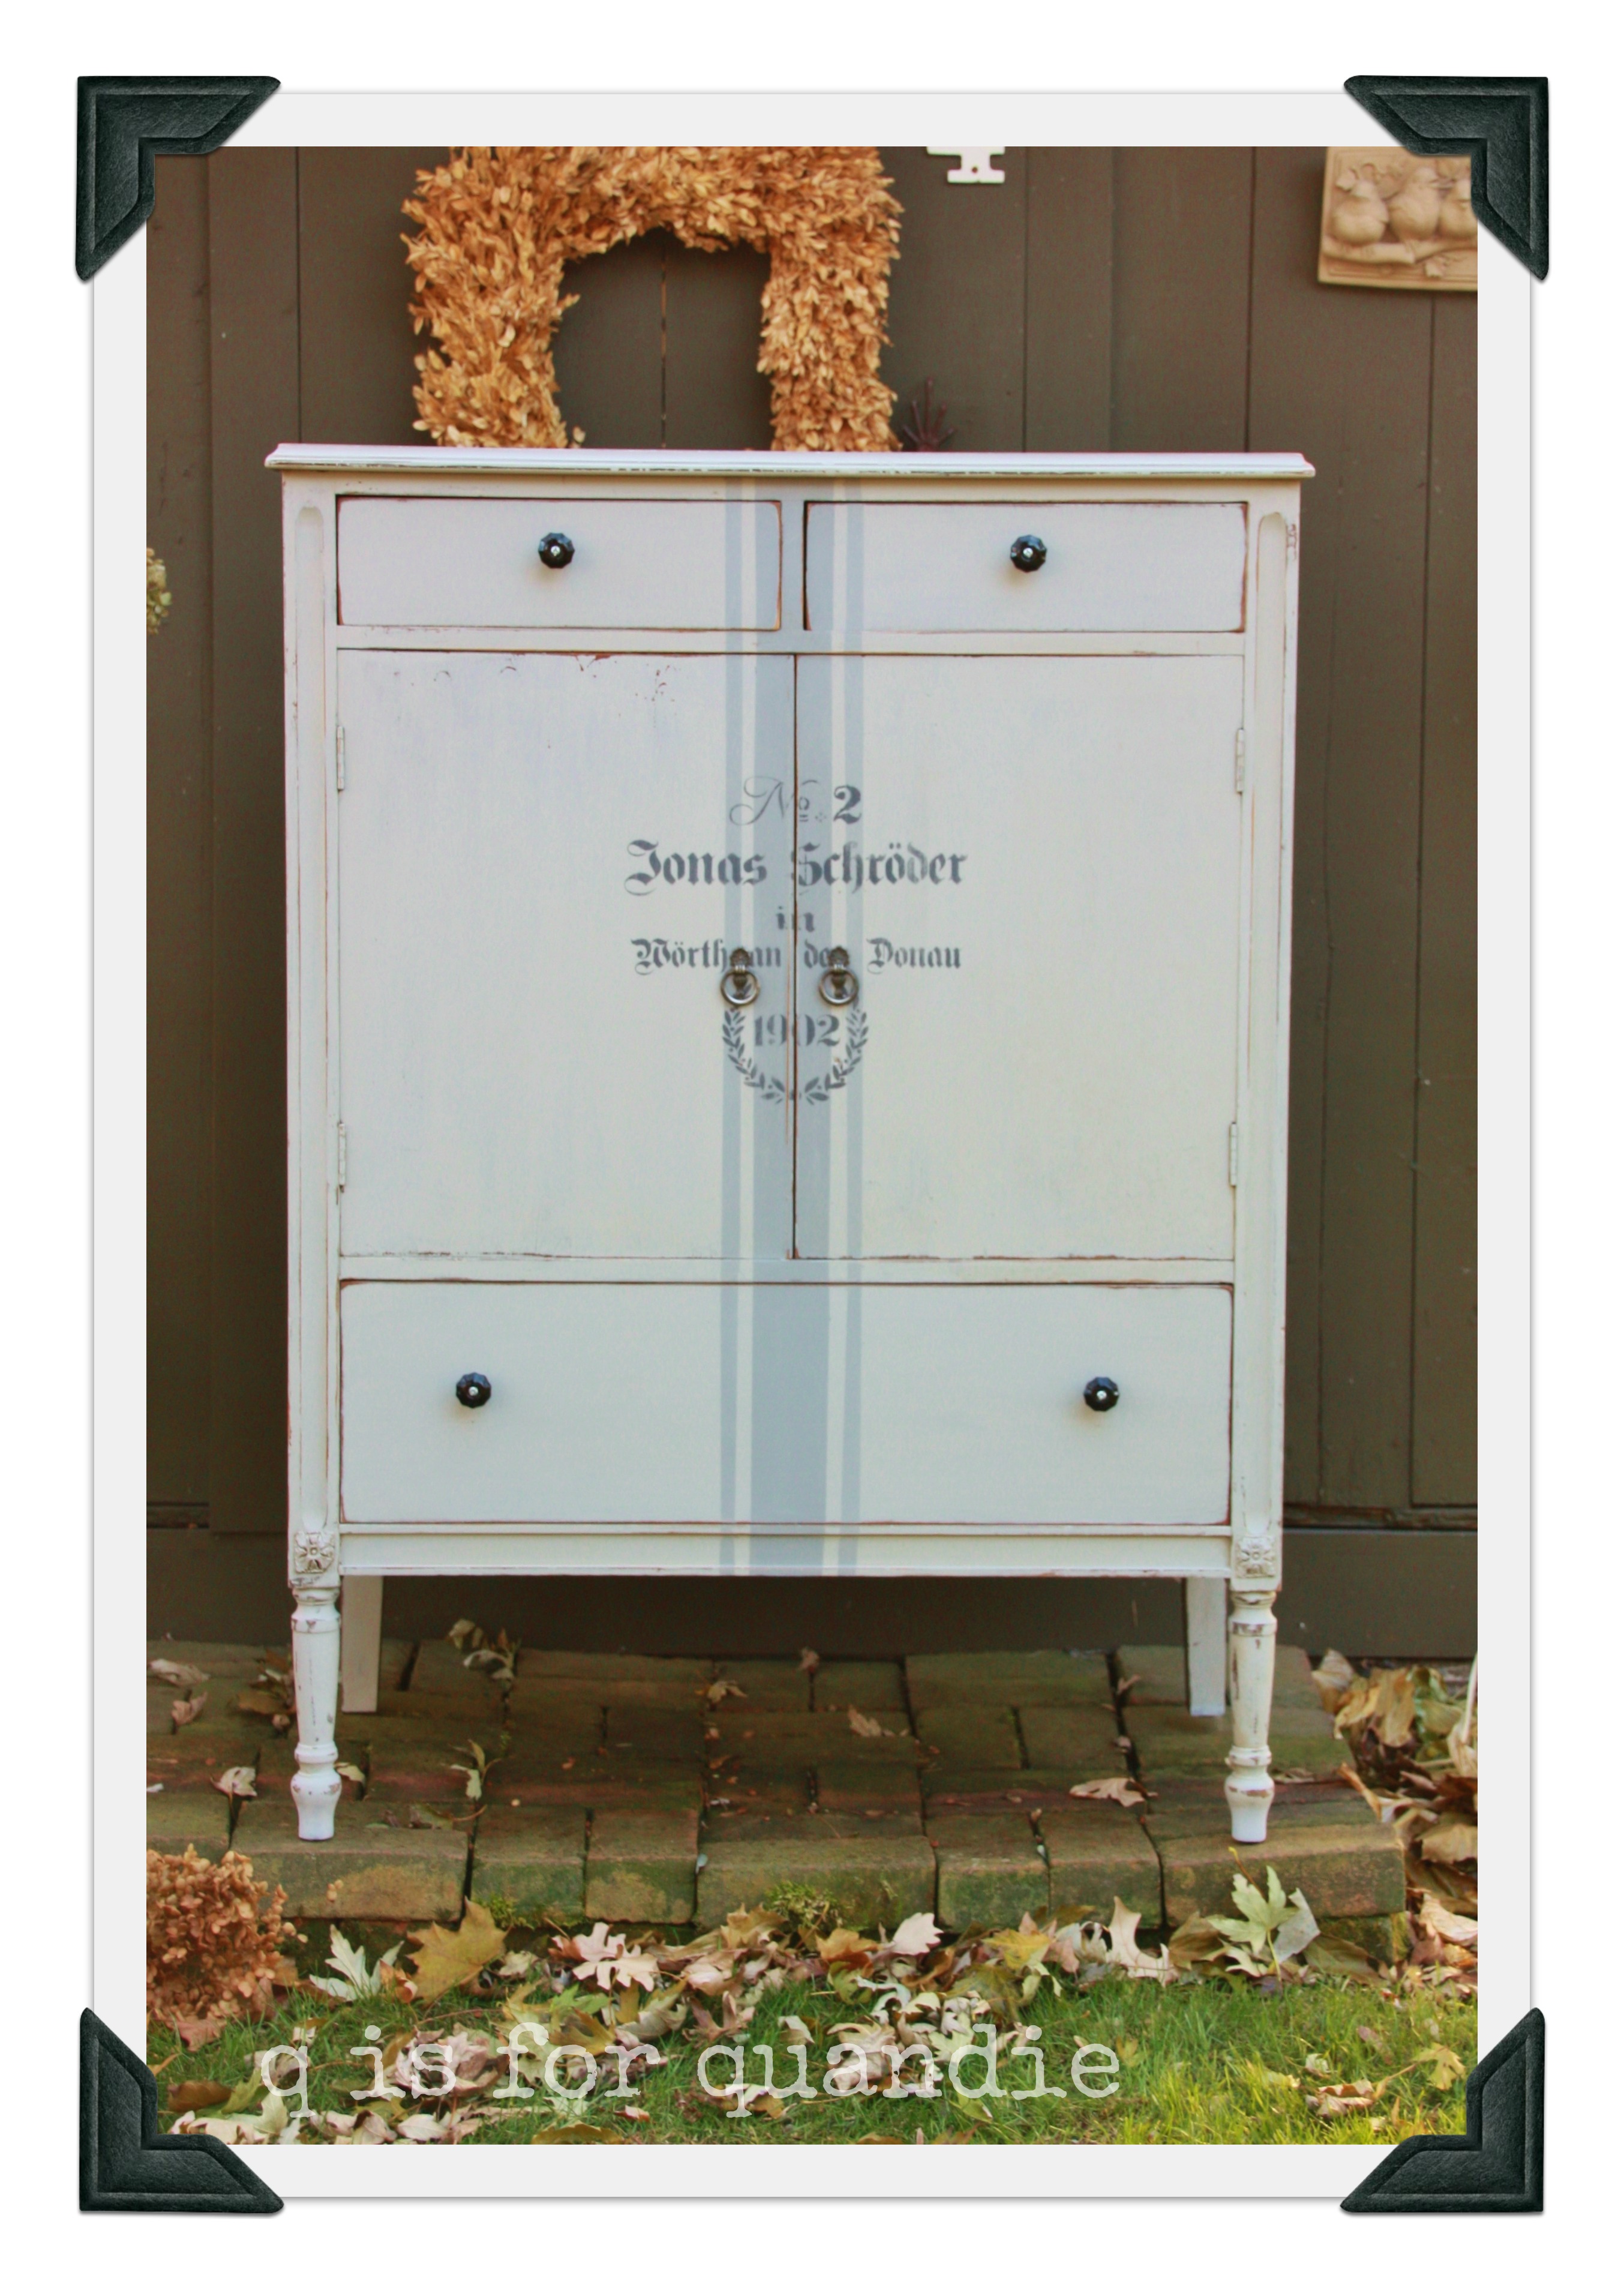
And finally, this one.  Same painting technique, and this time I saved some original hardware but had to add some black glass knobs as well.  I wish I’d had all the original drawers pulls as they are the prettiest silver, but no such luck.

jonas bros. 3

The latest Jonas project is book painting.  I saw this on pinterest and thought I’d give it a try.  I think these are turning out fab.  I’ll be selling them at the Round Barn and possibly at my own occasional sale in June as well.

books

the cokato furniture.

I regularly scope out CL (that would be craigslist) for deals on furniture.  I try to stick with stuff that is 1940’s or earlier, but occasionally I throw in a mid-century piece.  I also try to stick with stuff that is less than $100.  So, when I surf CL, I usually put in a max dollar amount, just to avoid seeing all of those ‘antiques’.  You know, the ones that you just know would be gorgeous painted, but are way out of your price range.

But somehow, last fall, I ended up spotting an ad for a bedroom set, $200 for all 3 pieces.  The pictures in the ad were terrible, and did not do this set justice at all.  I think this is the only reason that no one had snatched it up right away.  That, and the fact that they were in Cokato.  About an hour’s drive from civilization (my opinion only … if you are from Cokato, I’m sure it is a lovely town and much closer than I think).

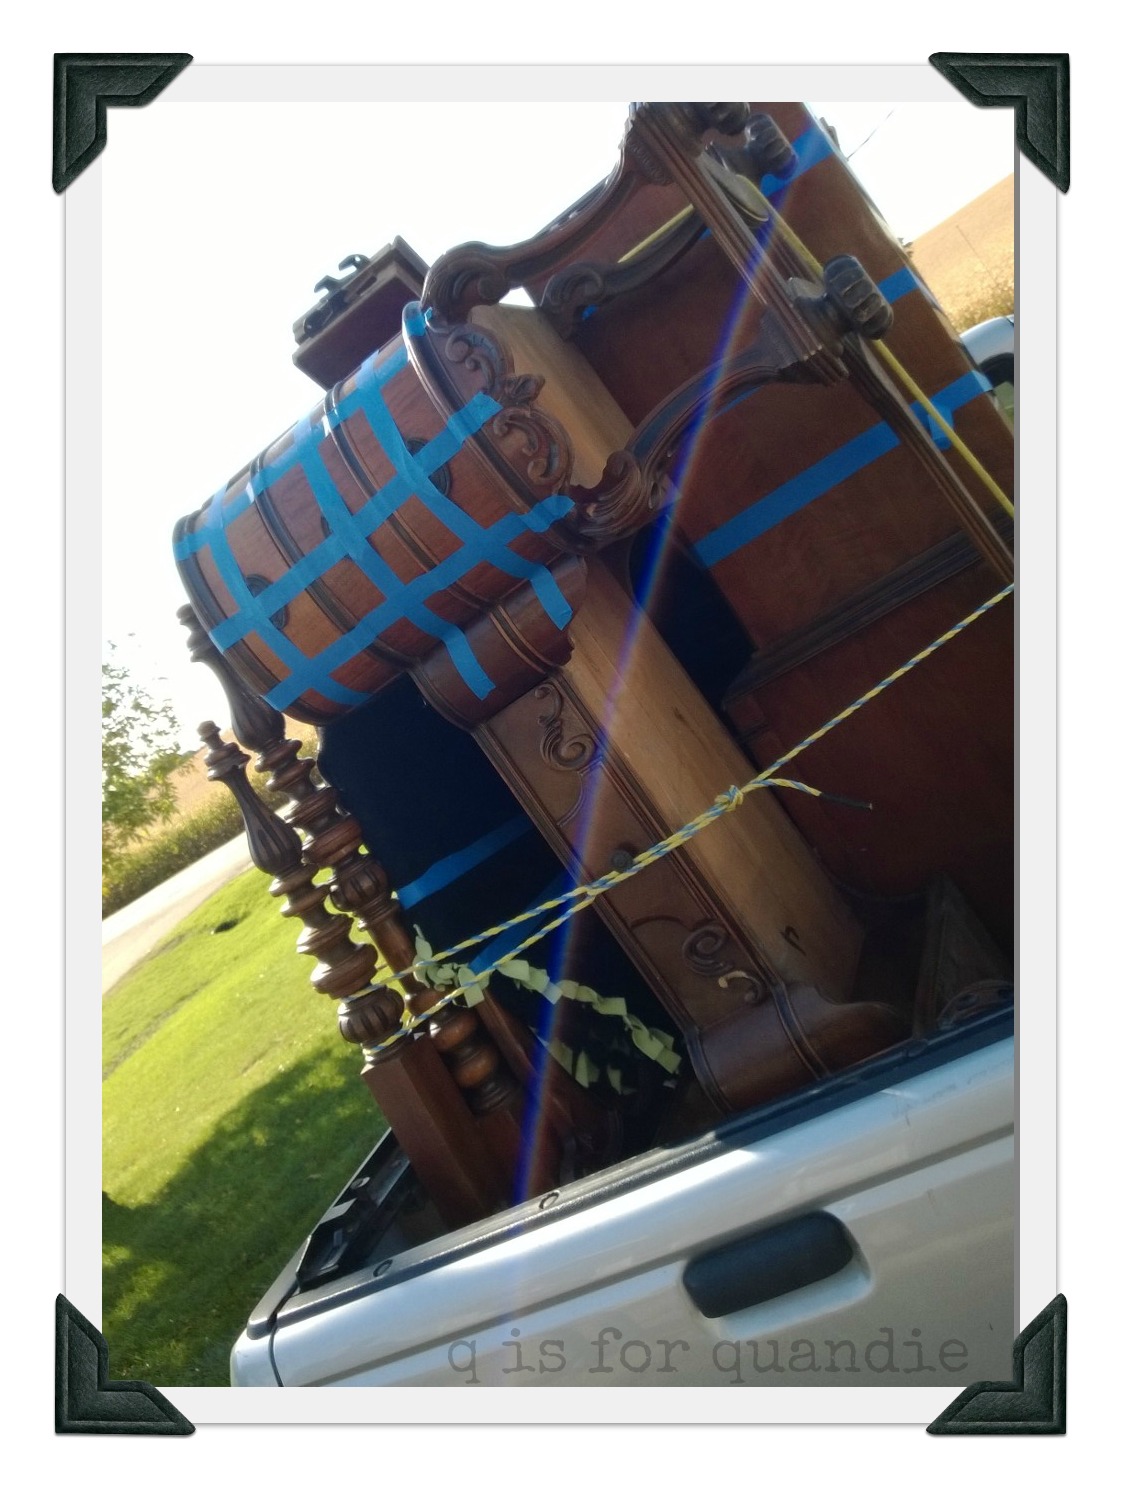
So on a beautiful fall day, the hubby and I took a road trip to Cokato, and came home with this (pardon the terrible phone pic).

furniture load (2)The sellers did not believe we could fit everything into our Ford Ranger, but they underestimated both our packing skills and our determination to not make a second trip to Cokato.

If you’ve been reading my blog, you know that I am opposed to ‘sets’ of furniture.  I fell victim to them in the past myself, but I’ve been slowly trying to eliminate them from my own house.  So, I decided right from the start that these pieces would not be painted as a ‘set’, but each piece done individually.

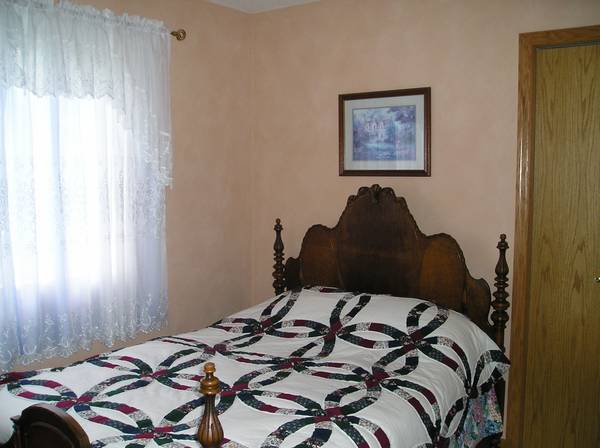
I started with the bed.  First, let me show you the CL ad pic that the seller posted.  It gives you only an inkling that it may be fabulous.

cokato bed before

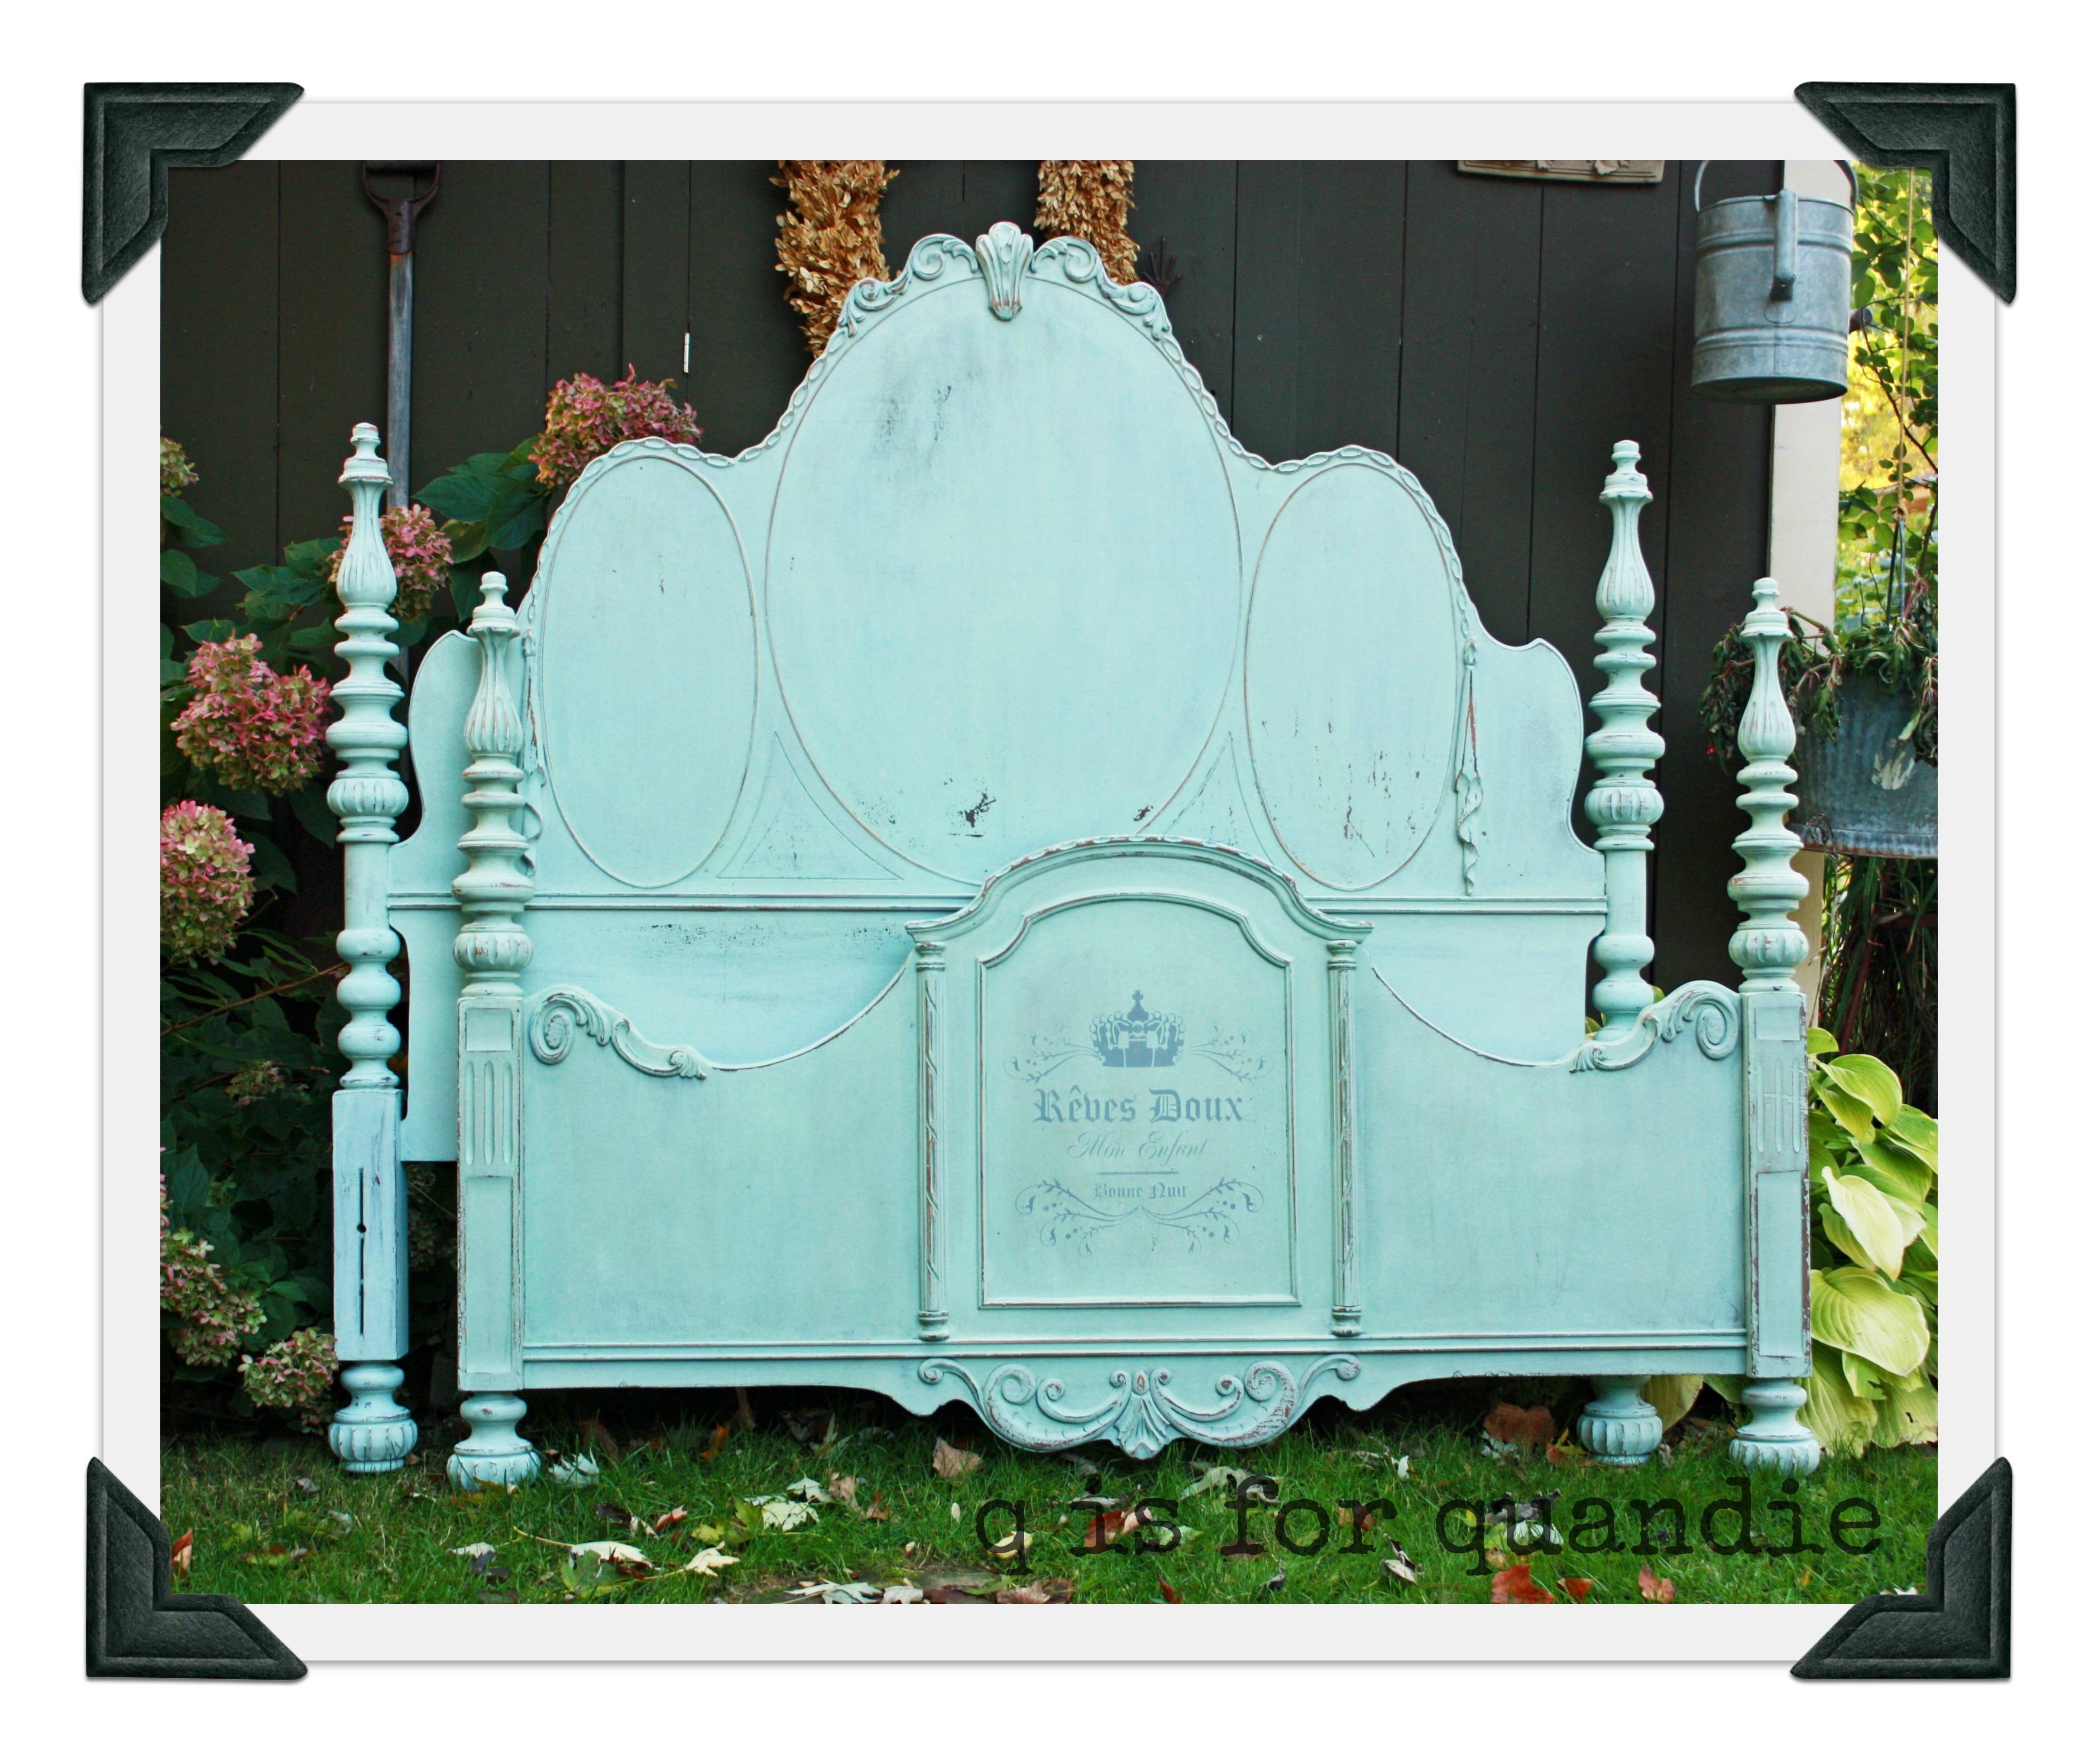
I painted it using a combination of 1 part Kitchen Scale to 3 parts Ironstone MMS milk paint.  Then I added a stencil to the foot board.

cokato bed 2Turns out it is more than fabulous!  Just look at that gorgeous foot board (and you couldn’t even see it in the CL ad).  This bed ended up selling to someone who drove all the way down from Bemidji for it.  She runs a small theatre group that was putting on a production of Evita.  She needed a bed with a regal presence for the stage.  This one does the trick I think.

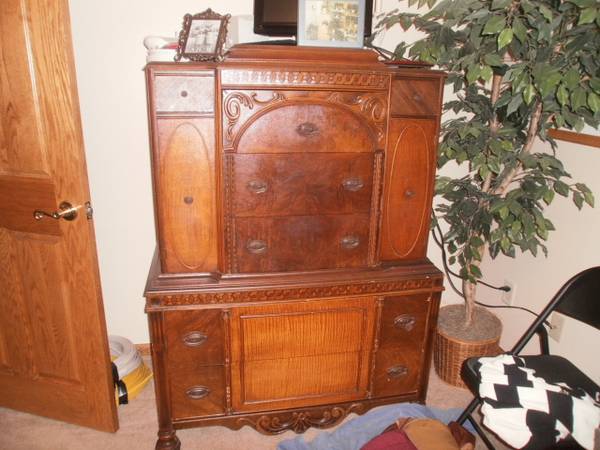
Next, I painted the dresser.  Here is the pic from the CL ad.

cokato dresser before

This piece is what sold me on the idea of driving to Cokato and buying this set.  I knew this would be fantastic painted.  Again, I mixed my own MMS milk paint using 1 part Typewriter and 3 parts Ironstone.

cokato dresserI’m not entirely happy with my photography skills on this one.  I need to quit attempting to take photos in front of the barn.  That red just reflects everywhere.  It gives this piece a pinkish glow that really is not part of the paint job.  This dresser went to the Round Barn and sold in less than a week.  I’m sure in part because it is so unique.

The final piece was the vanity.  Again, here is the CL ad photo.

Cokato vanity before

If you are put off by the garland of silk roses, the pink roses lamp, and the snowman … well, you just have to look beyond that stuff!

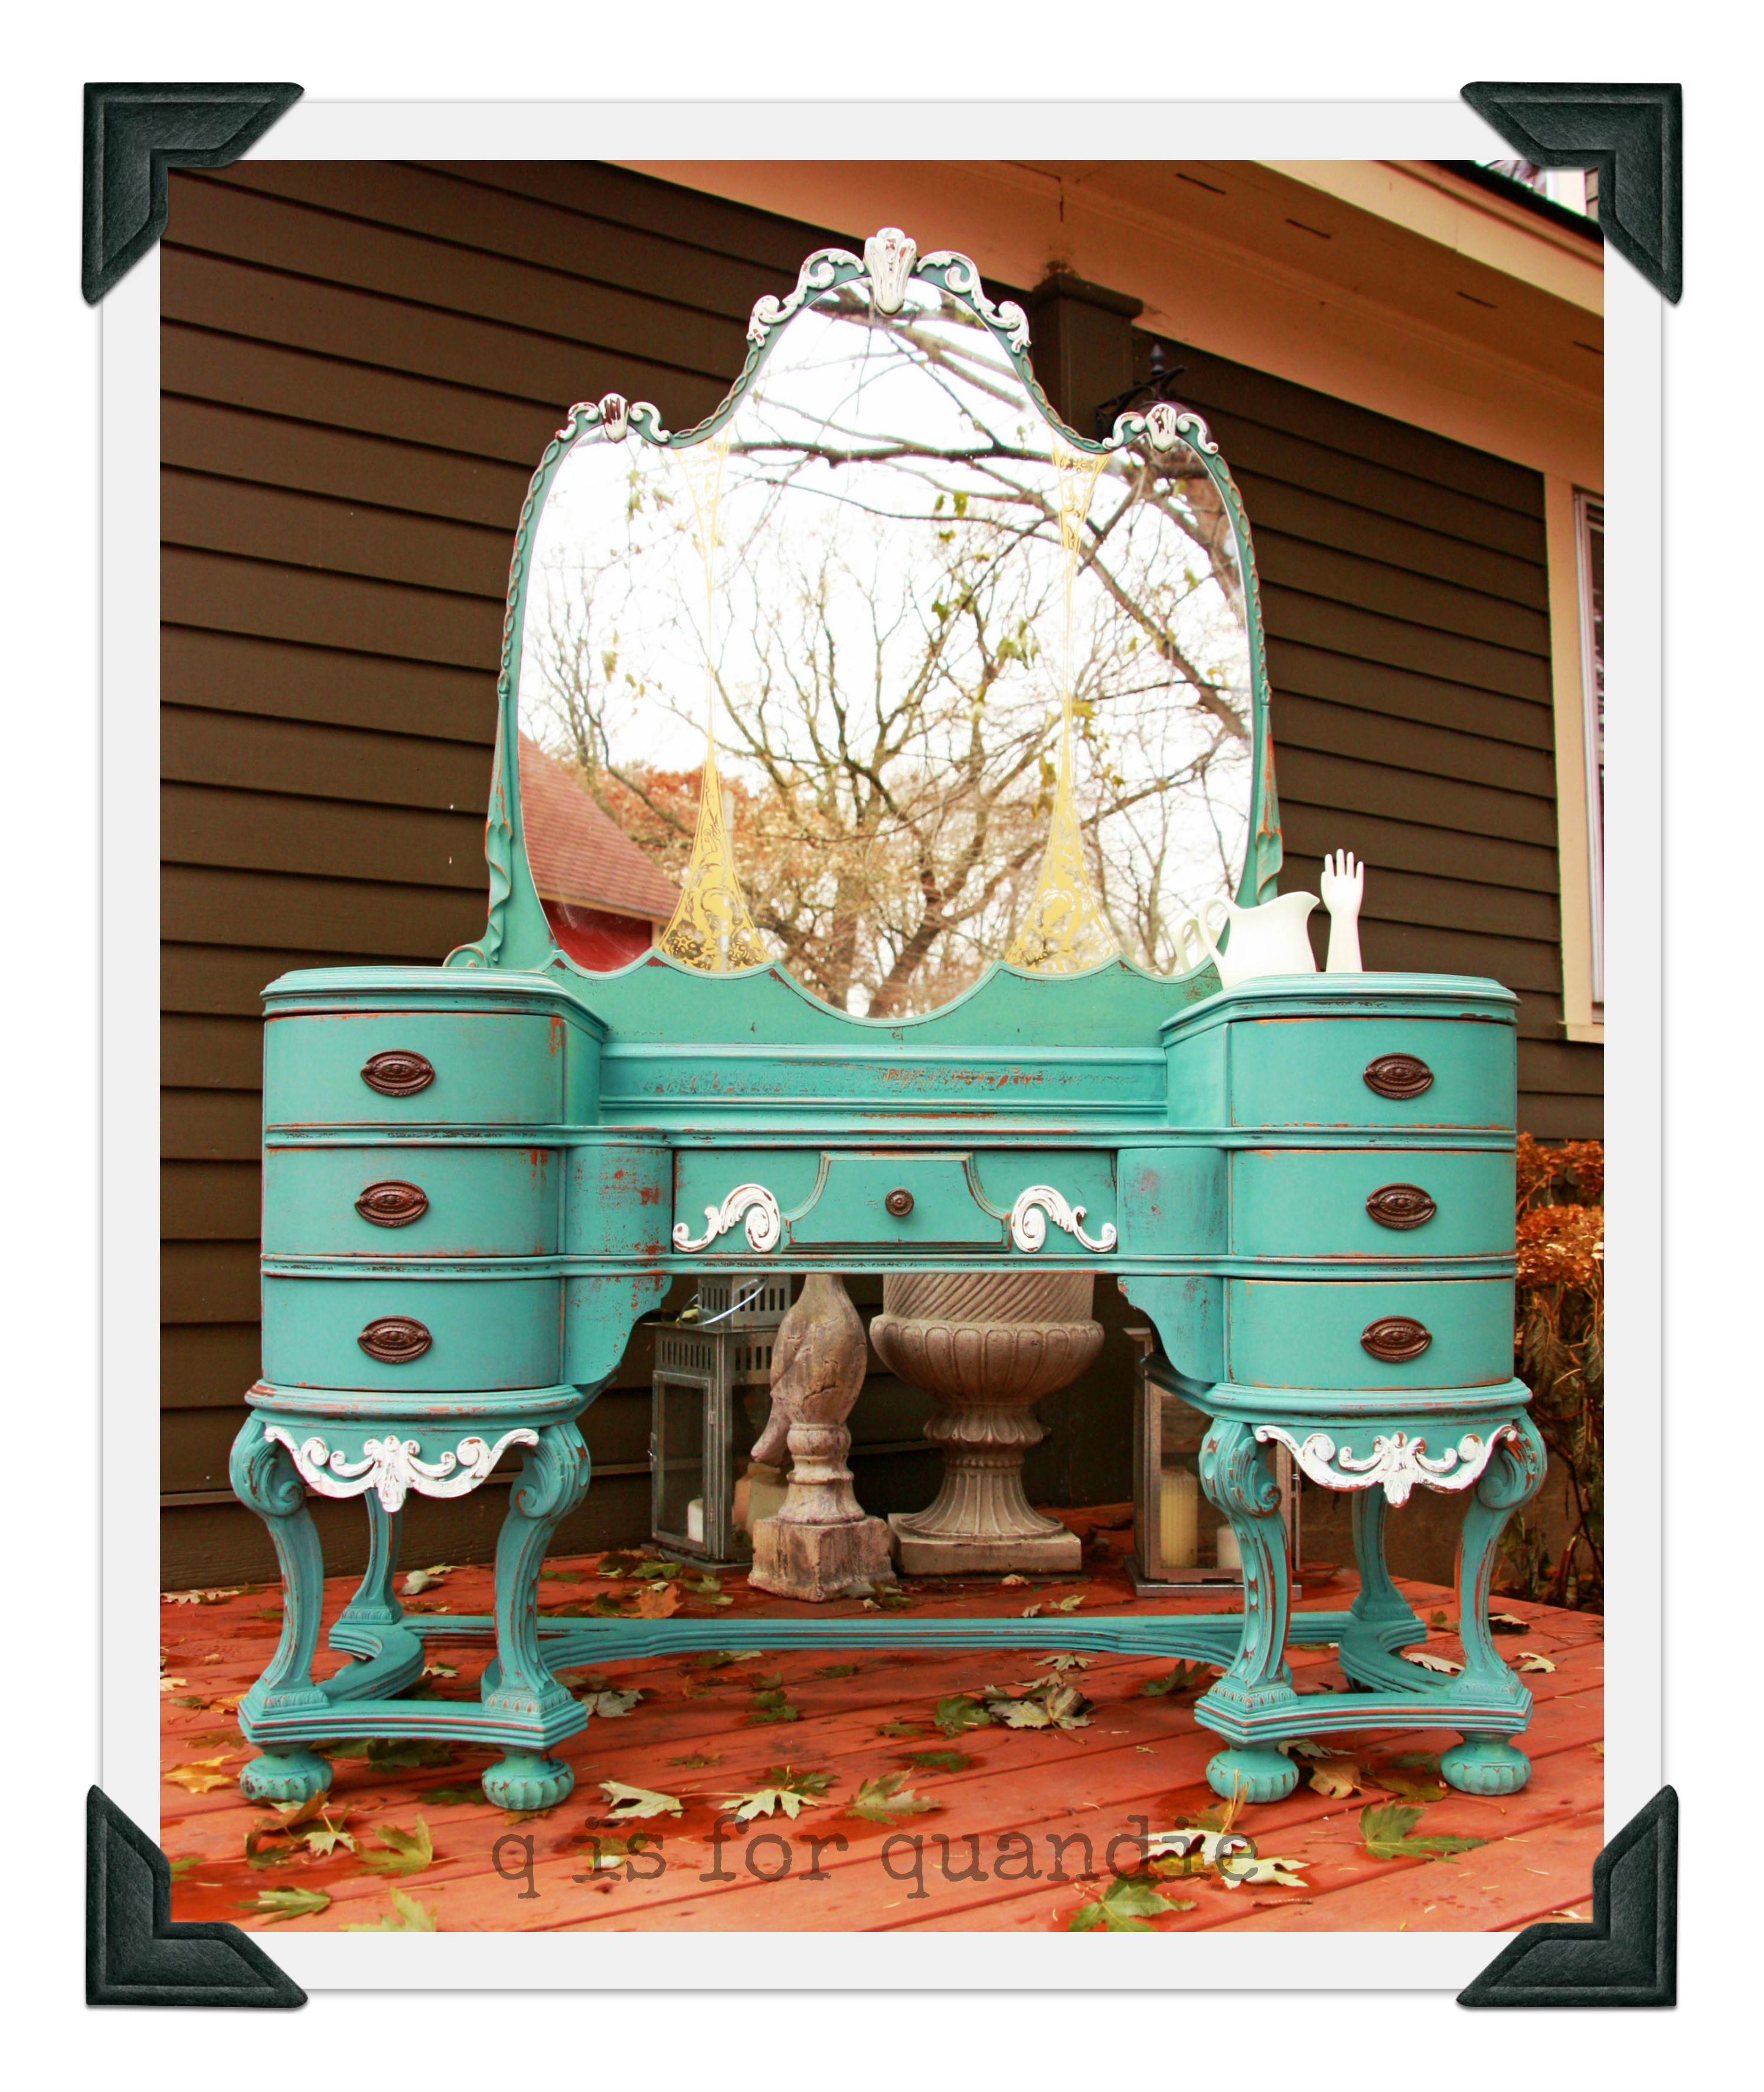
It needed quite a bit of work.  The entire bottom framework had cracked in two.  Ken repaired it for me using dowels and glue.  That Ken is a furniture magician.  I then painted it with MMS Kitchen Scale.  The scrolly details are painted in MMS Ironstone.  This was the first piece I painted in Kitchen Scale, and I loved it so much that I later chose that color for my own oak buffet.

Cokato vanityThis guy was so much fun to paint.  The MMS milk paint went on so easily.  It chipped and distressed perfectly.  The one is still for sale (last time I checked).  You can find him at the Round Barn if you are so inclined.

candy cane stripes.

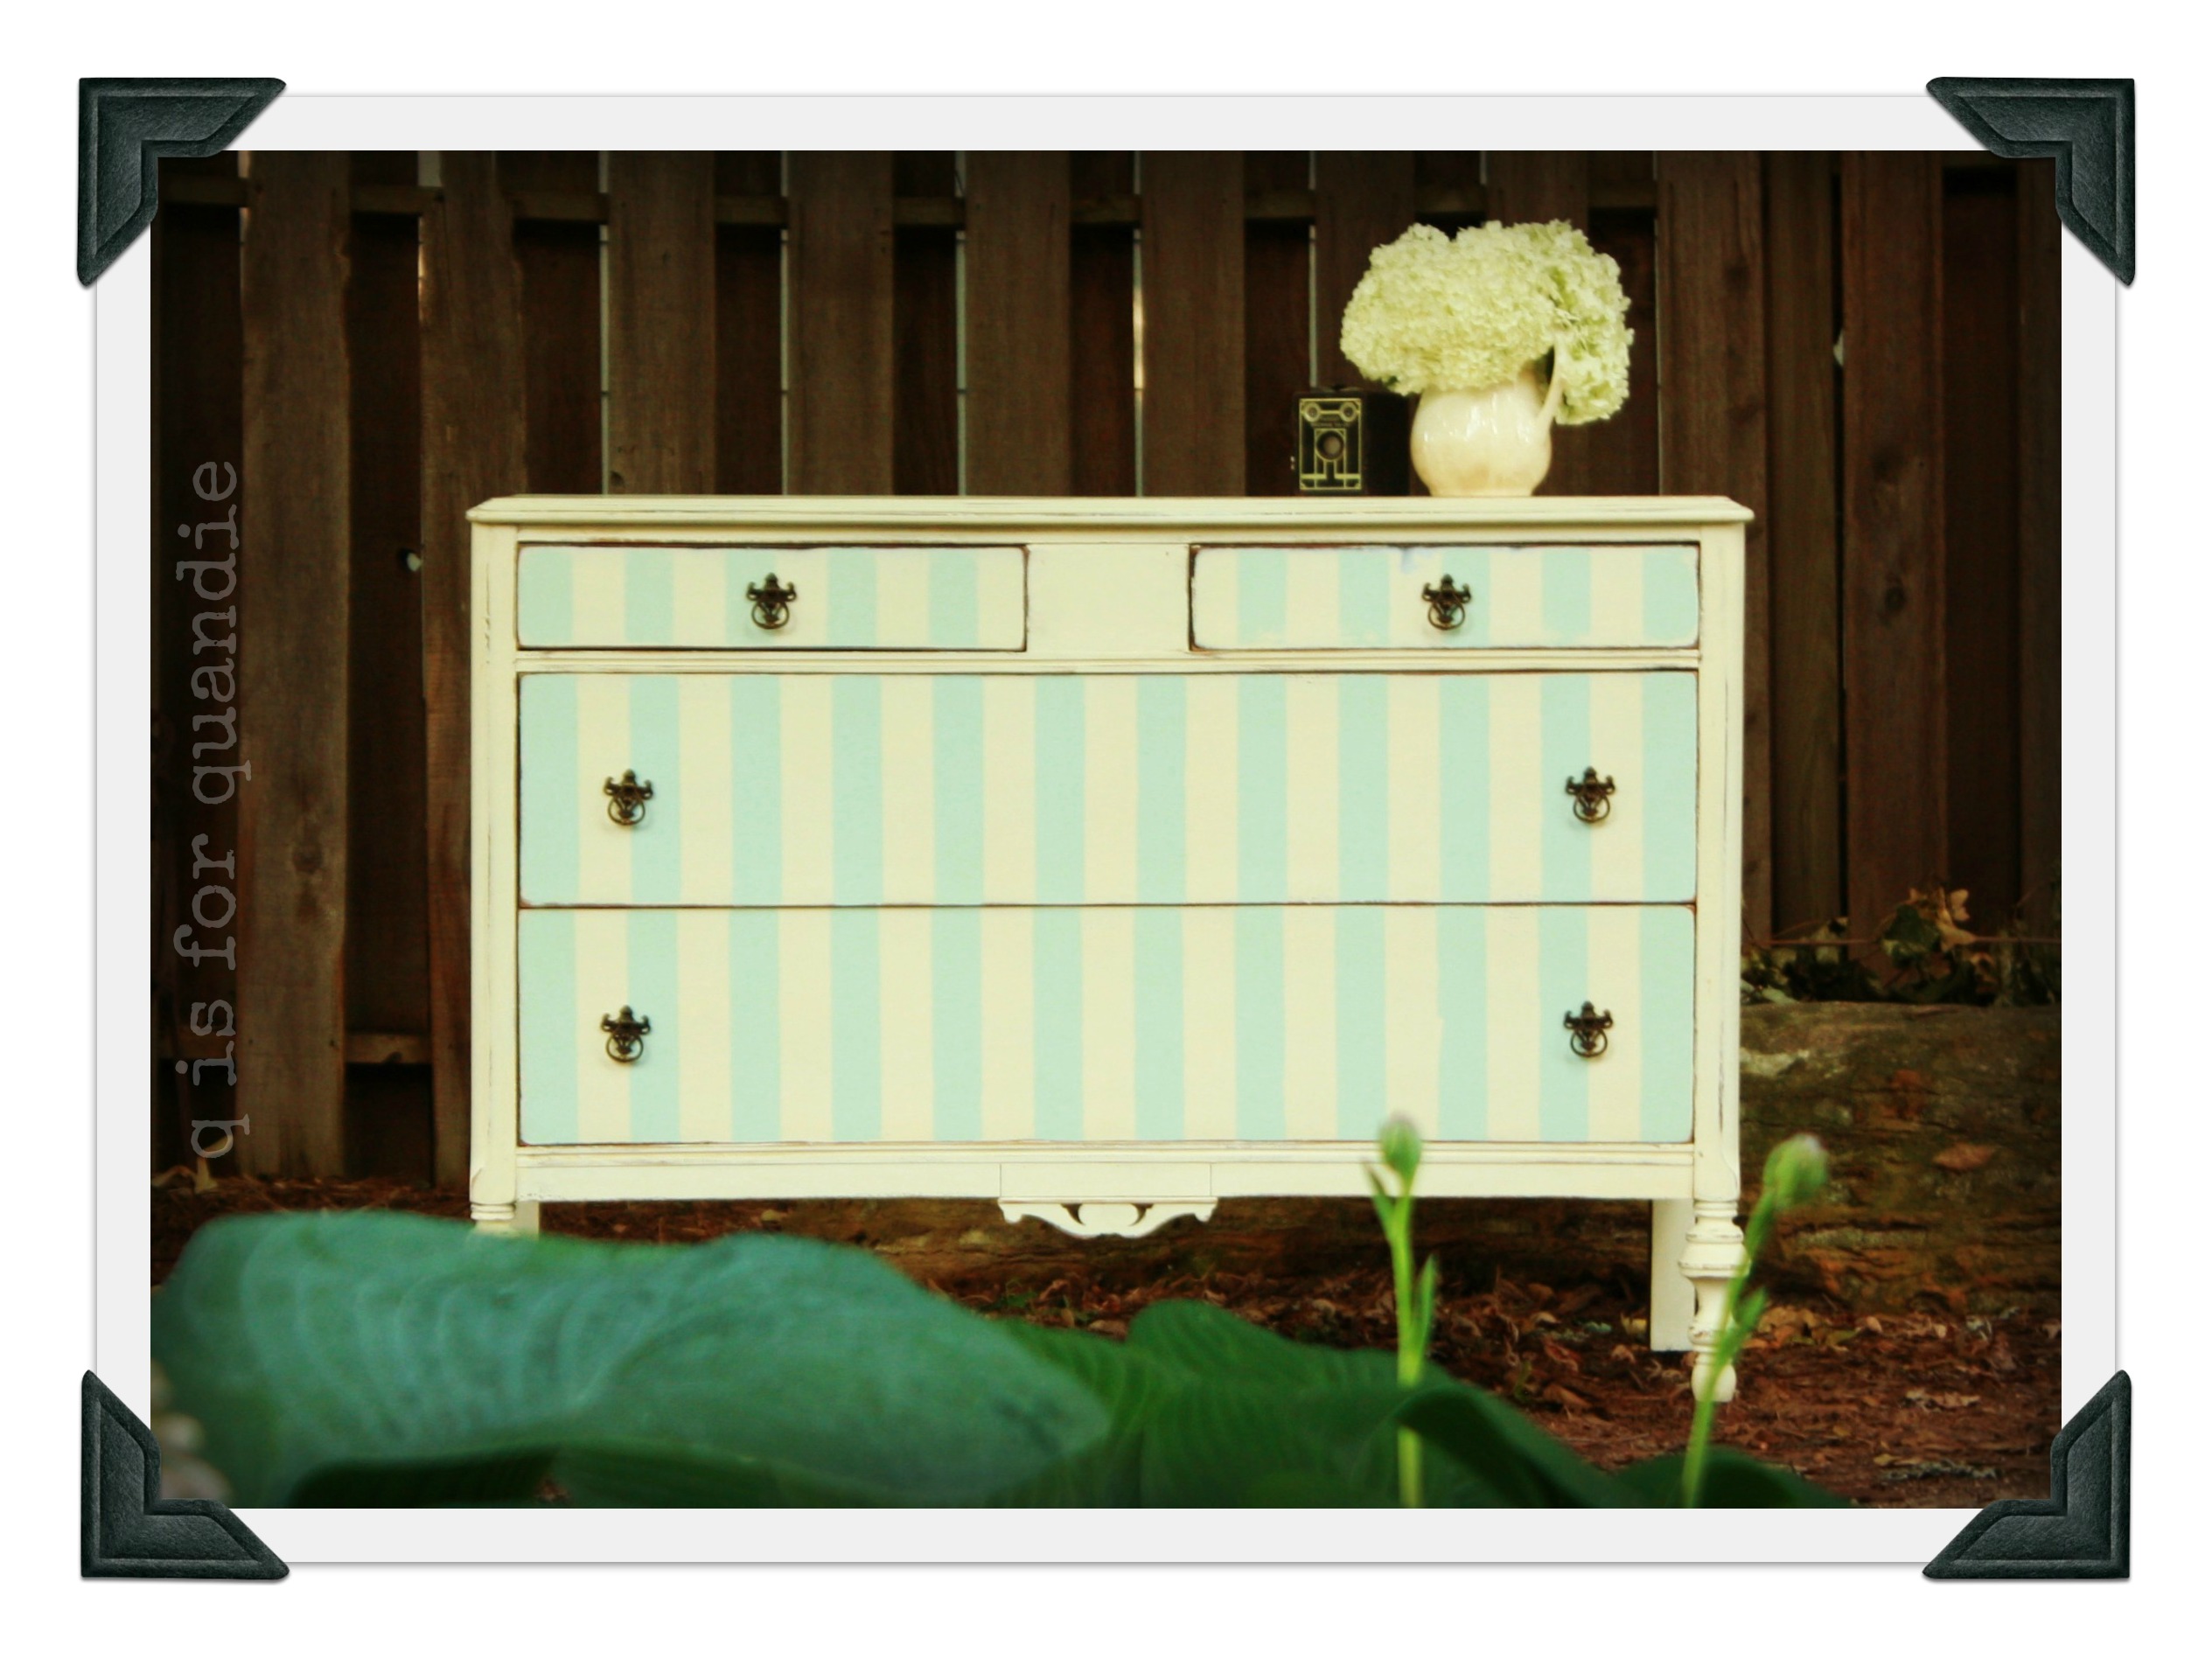
It’s possible that I alone have kept the makers of Frog tape in business.  What can I say?  I like stripes.  And it is so easy to make them with some Frog tape, a tape measure, a pencil and some patience.

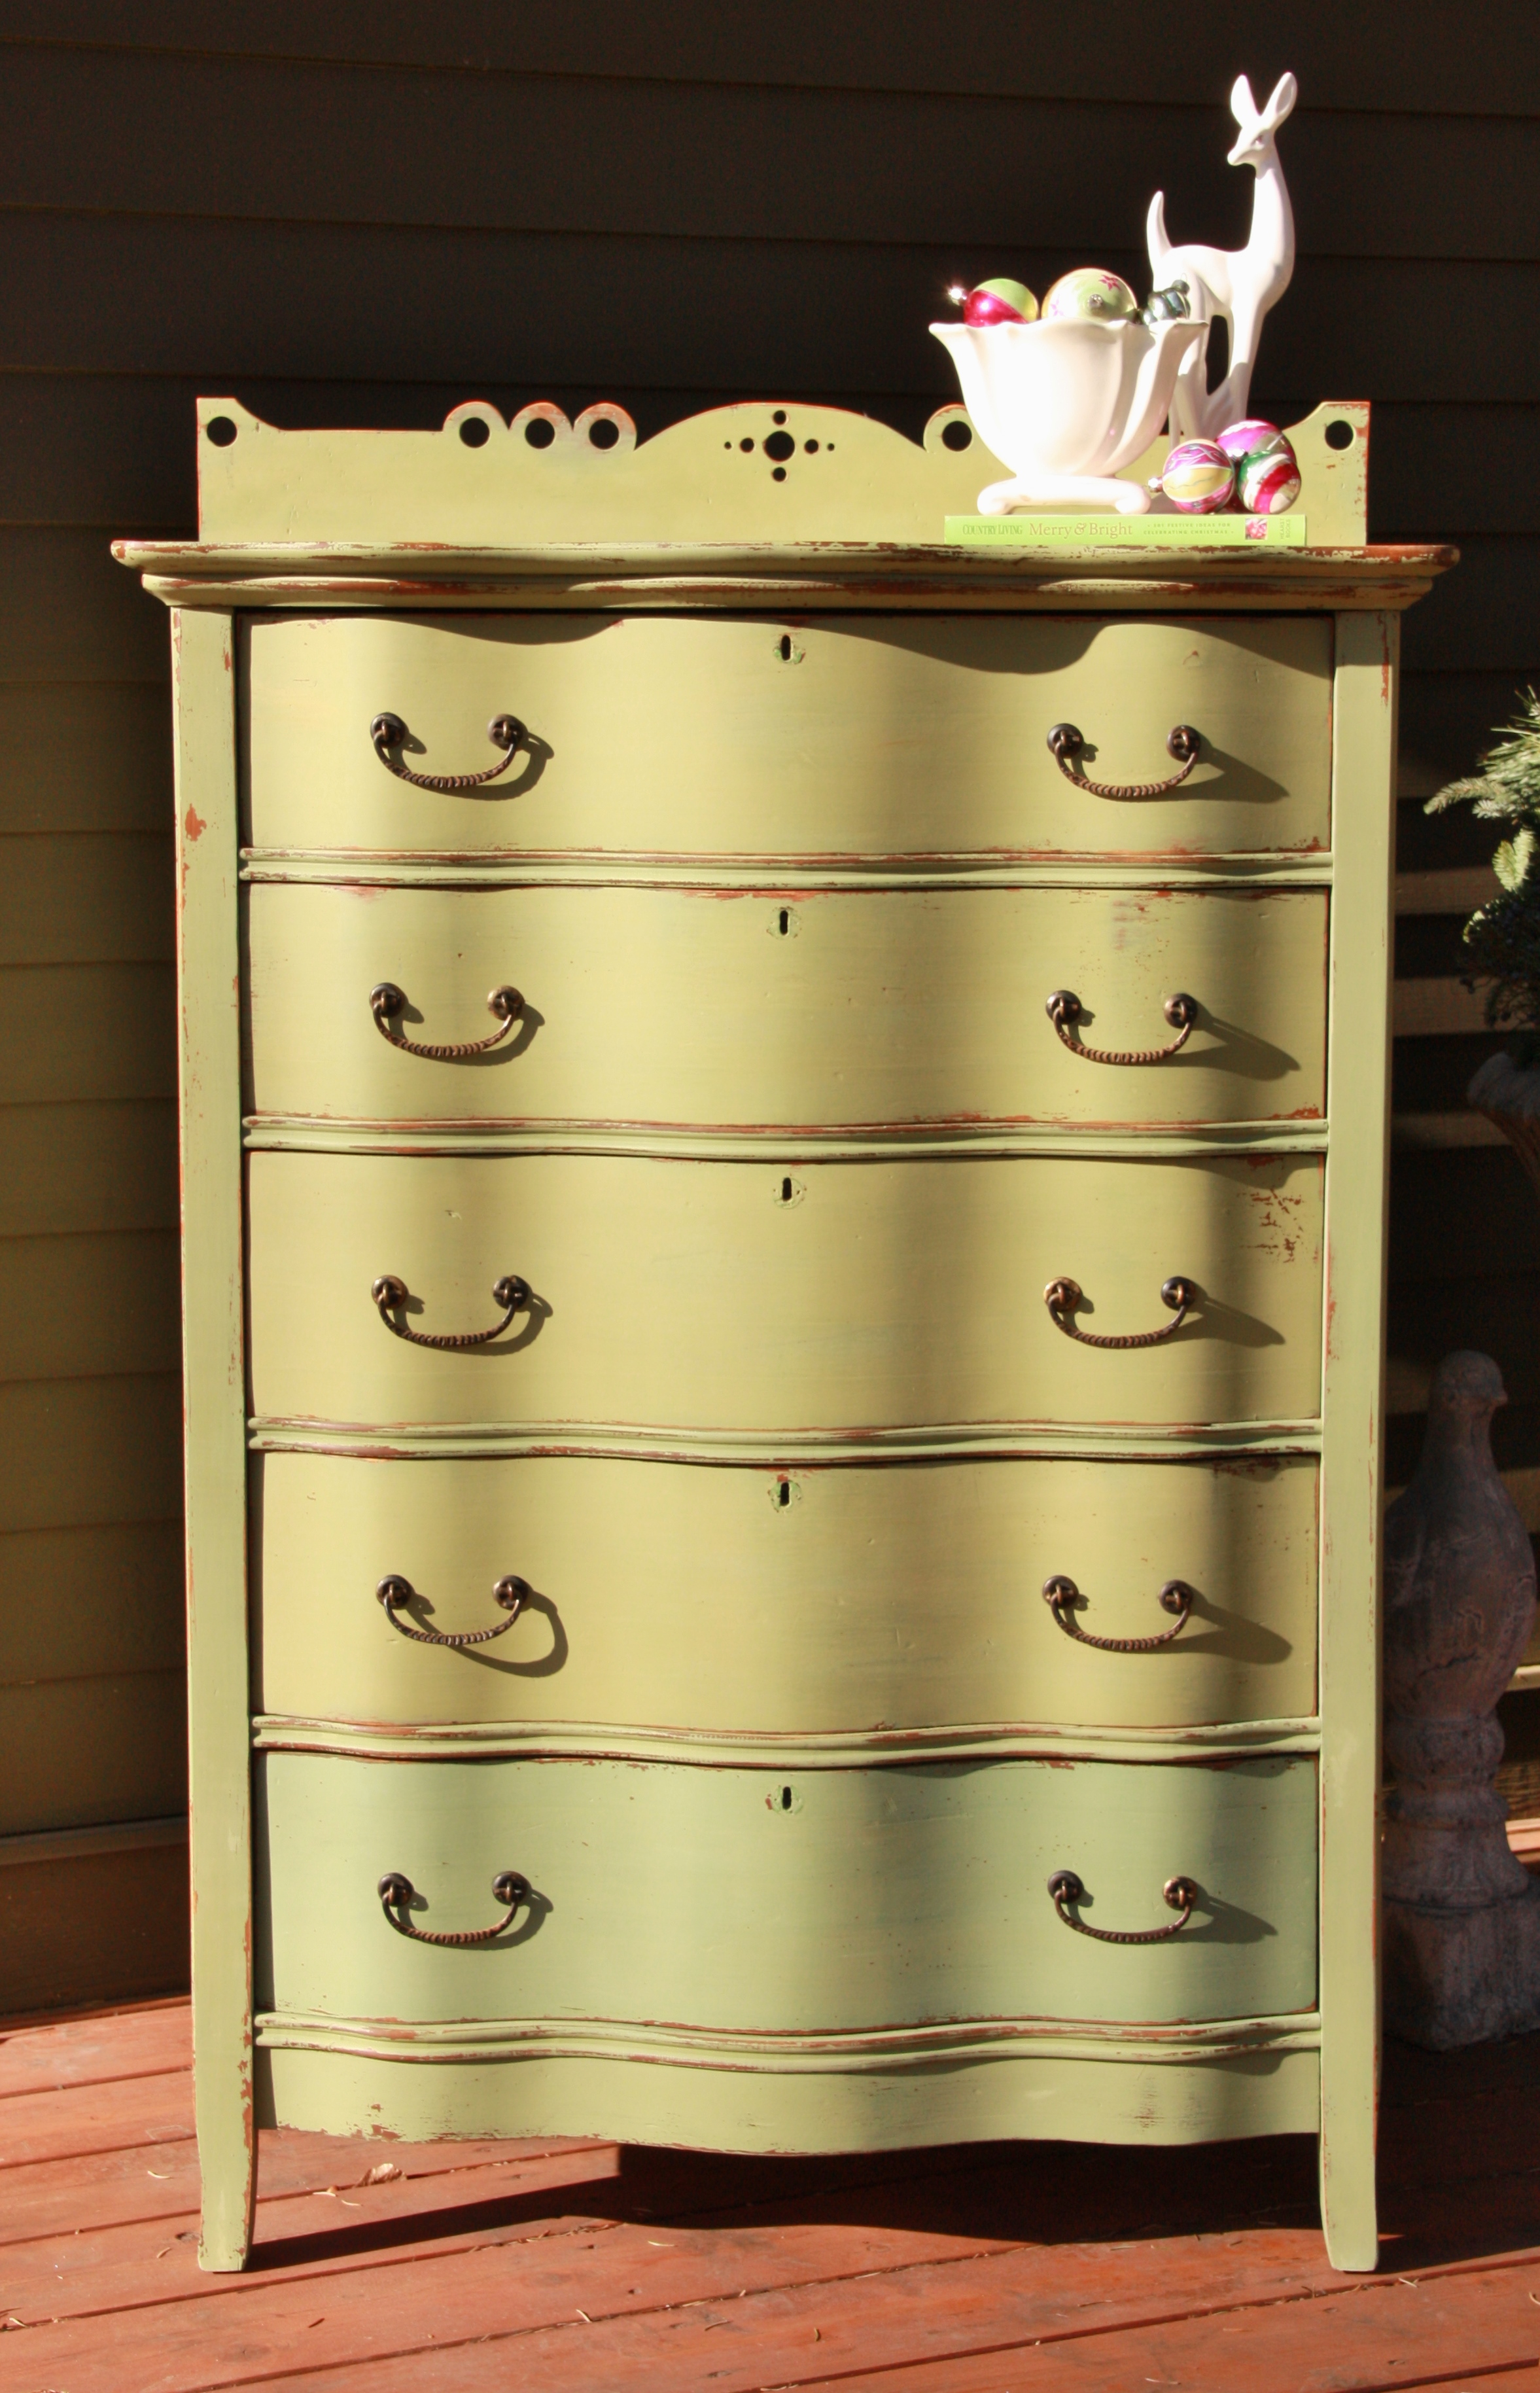
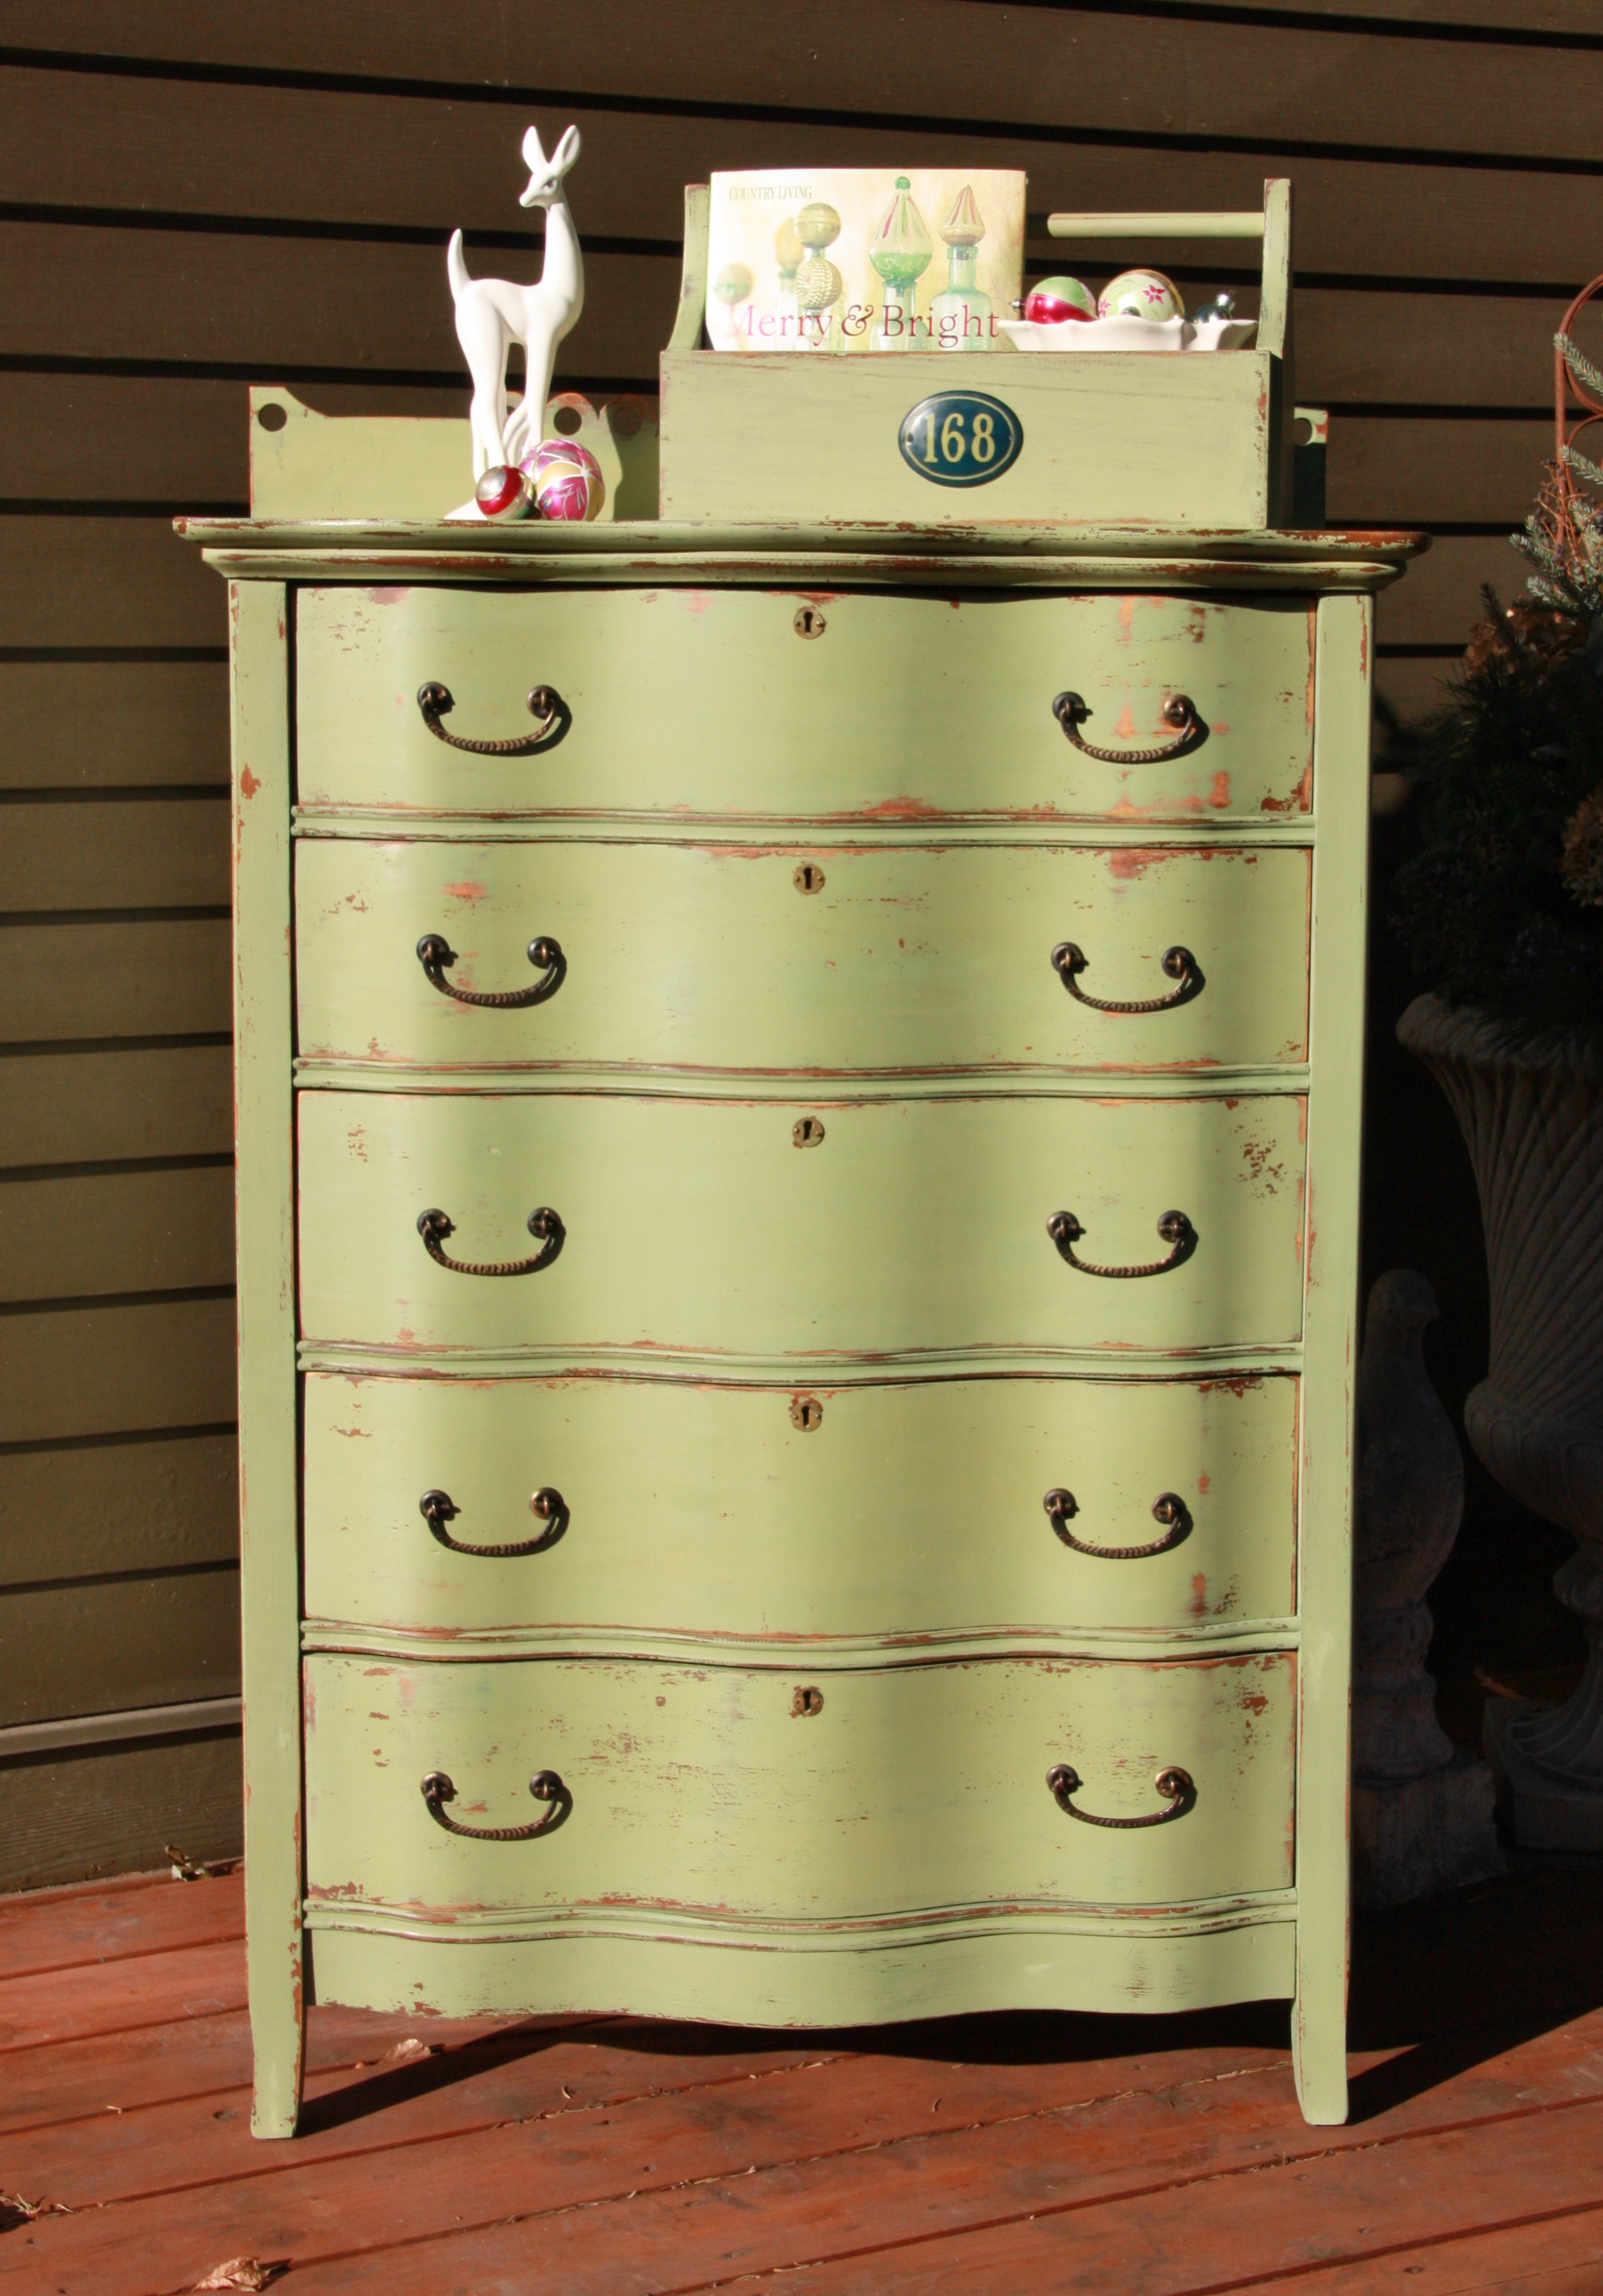
It all started with this dresser.

striped dresser 1 I’d seen something similar on pinterest and thought I would give it a try.  The key to making this look work is to be sure that your stripes are all lined up.  Also, be sure to start in the center of the piece and work your way out to keep the edges even.

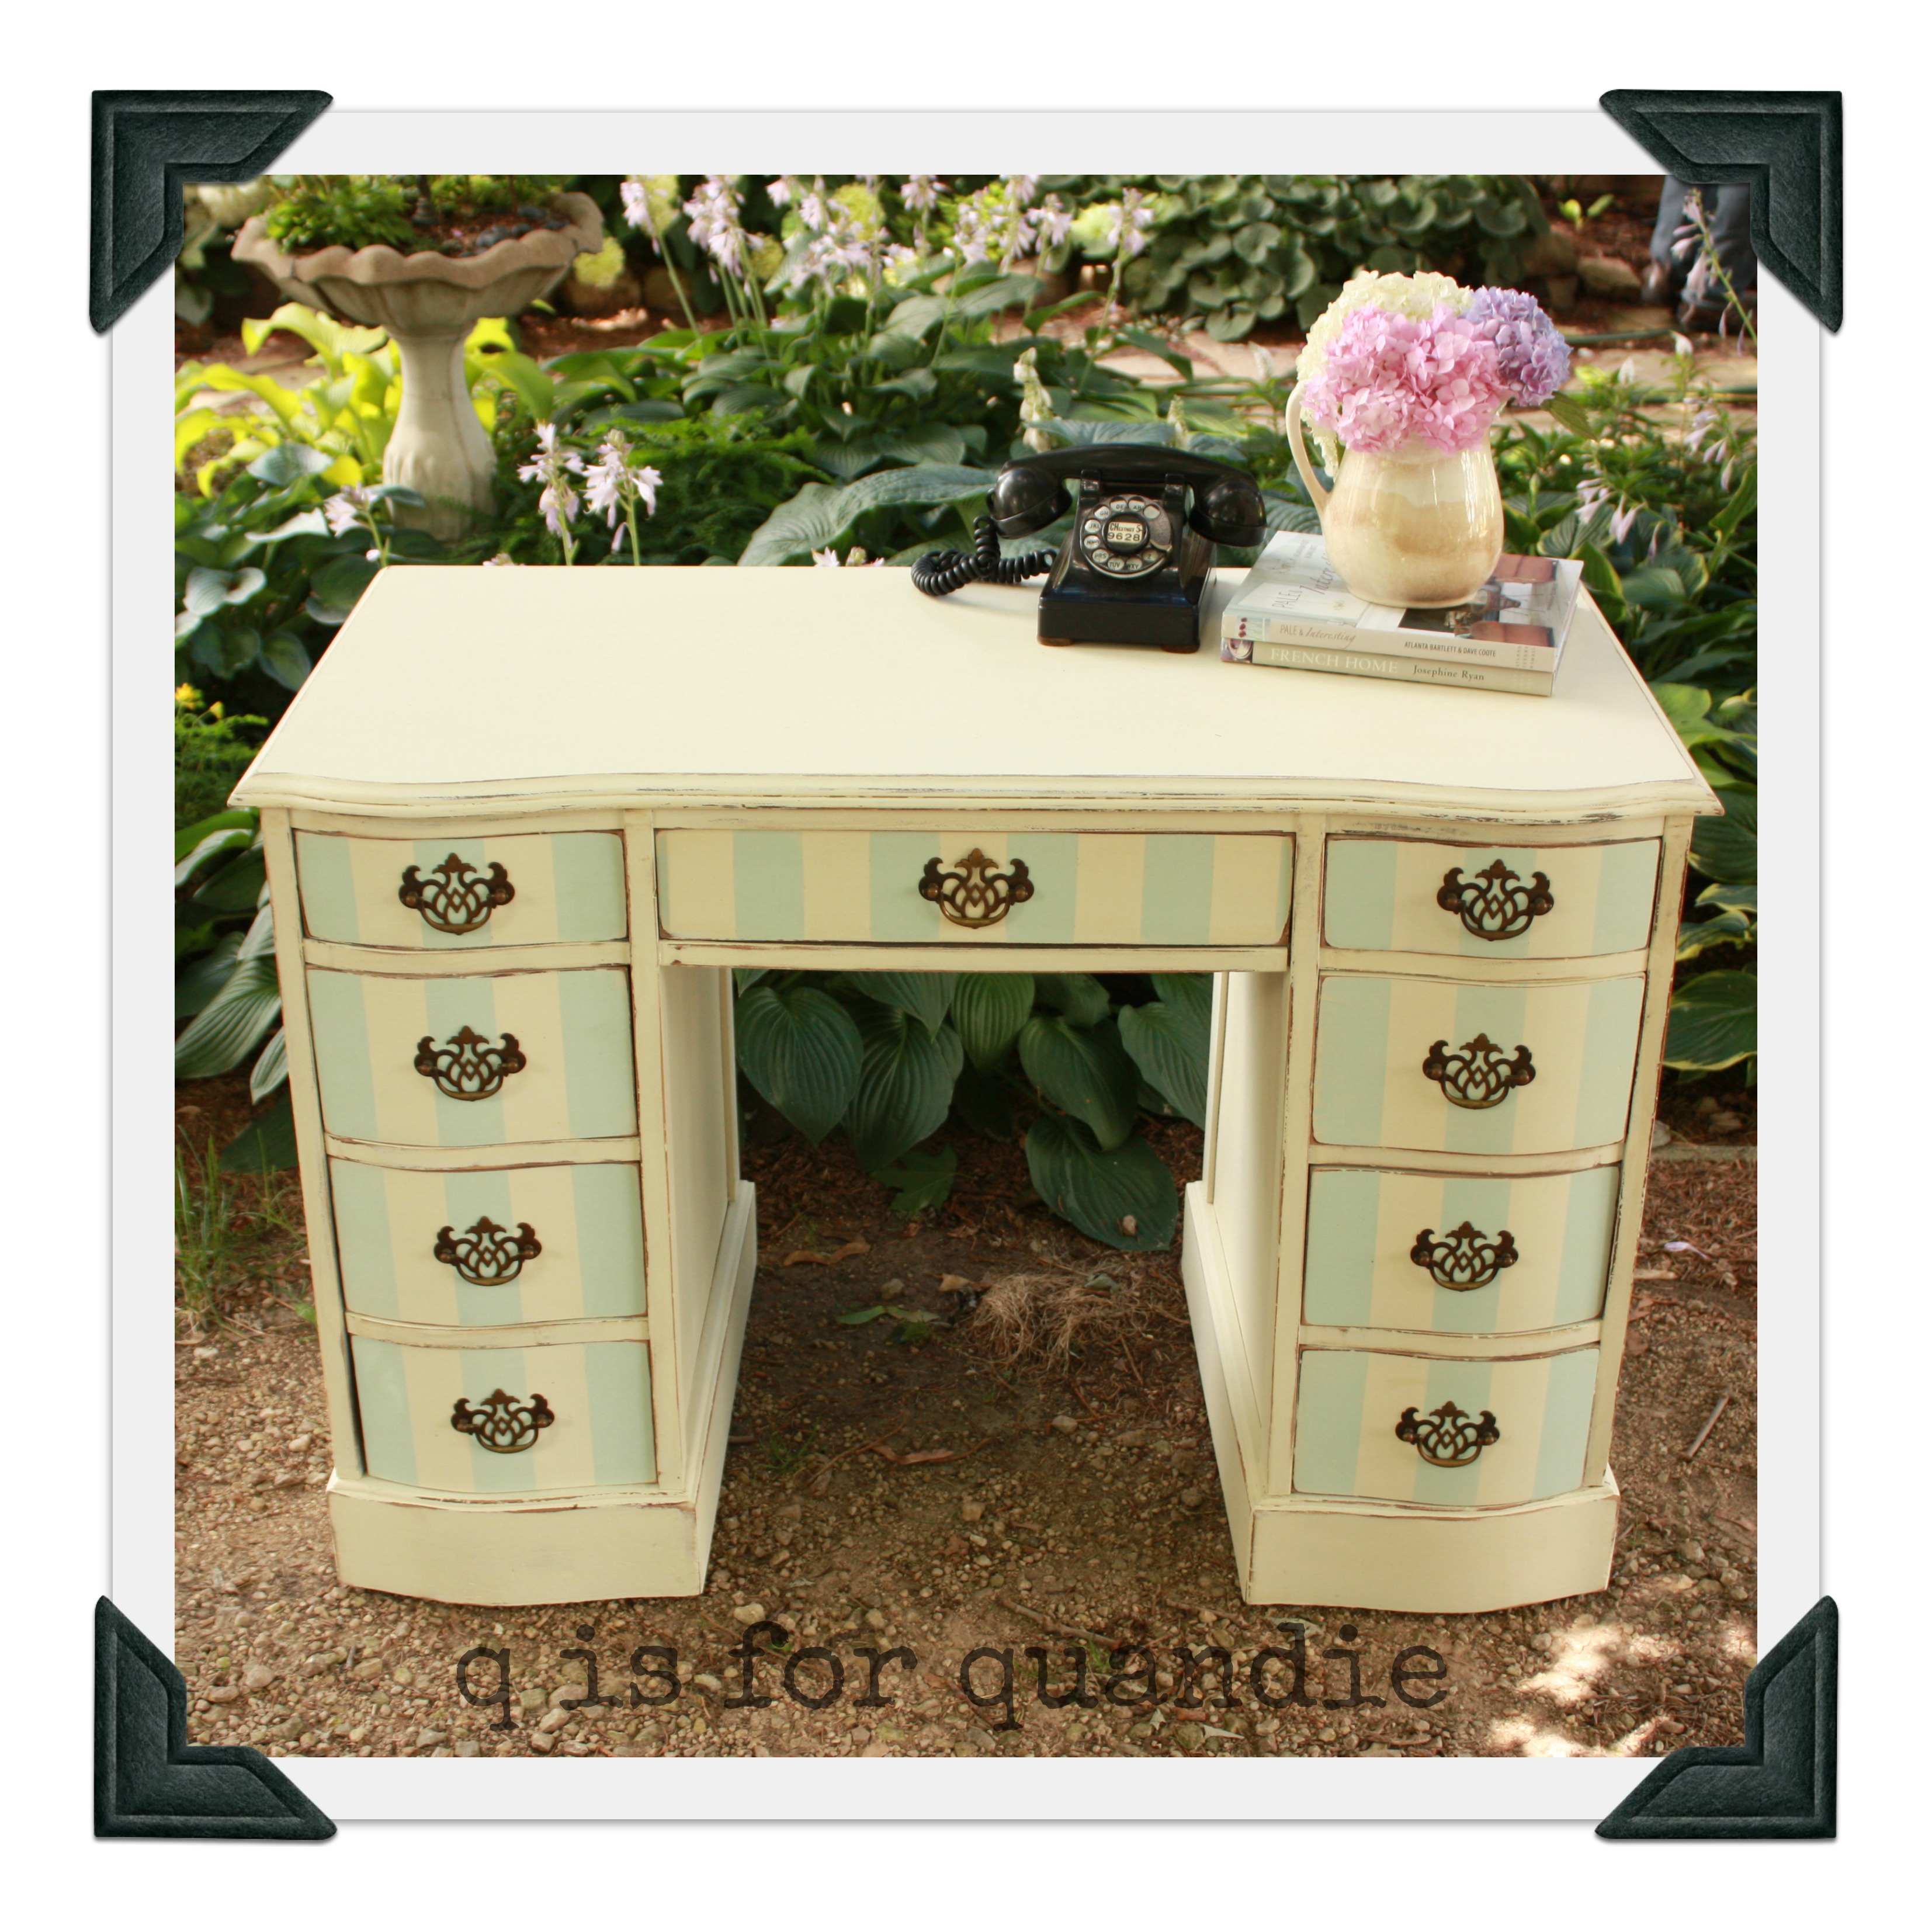
I tried it on a desk next.

striped deskEasy peasy.

I was going to paint the next one just like the first, but at the last minute switched the stripes to grey.

striped greyThen this one got stripes on just the top drawer.

striped tall

And finally, how about some celery green stripes?

striped greenI love them all.  Most of these are sold.  The desk and this last green striped dresser are still for sale at the Round Barn in Andover, MN.  Just in case you feel the need to get yourself some stripes!

the boxwood dresser.

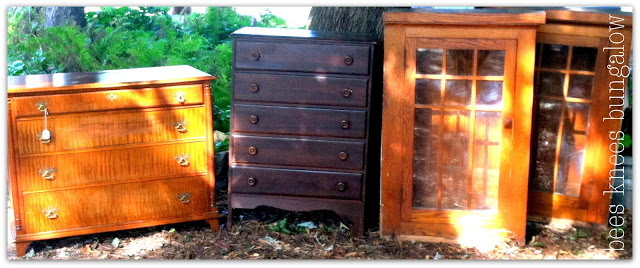
Last summer,  Jeanne and I hit the mother lode at a neighborhood garage sale in Minneapolis.  We came home with full truck.

It was one of those sales where the furniture was cheap and plentiful.  You gotta love those neighborhood sales!

I ended up with a dresser and two 1920’s built in bookcases (the tall dresser in the center was Jeanne’s find).

photo from beeskneesbungalow.com

Yes, we fit all of this, plus more, into a Ford Ranger pickup.  We are masters at fitting everything in and avoiding a second trip back to the city to pick up our finds.

I originally thought I would paint the dresser on the far left with a Union Jack design, but as it turned out, I had purchased some of Miss Mustard Seed’s “Boxwood” milk paint, and I decided this dresser was perfect for it.

boxwood 1

This dresser had such a shiny finish, I added a bonding agent to the paint.  After painting, I finished it off with a coat of SC Johnson’s paste wax.

Isn’t it gorgeous?!  The details just pop on this guy now.

boxwood 2

the hutch.

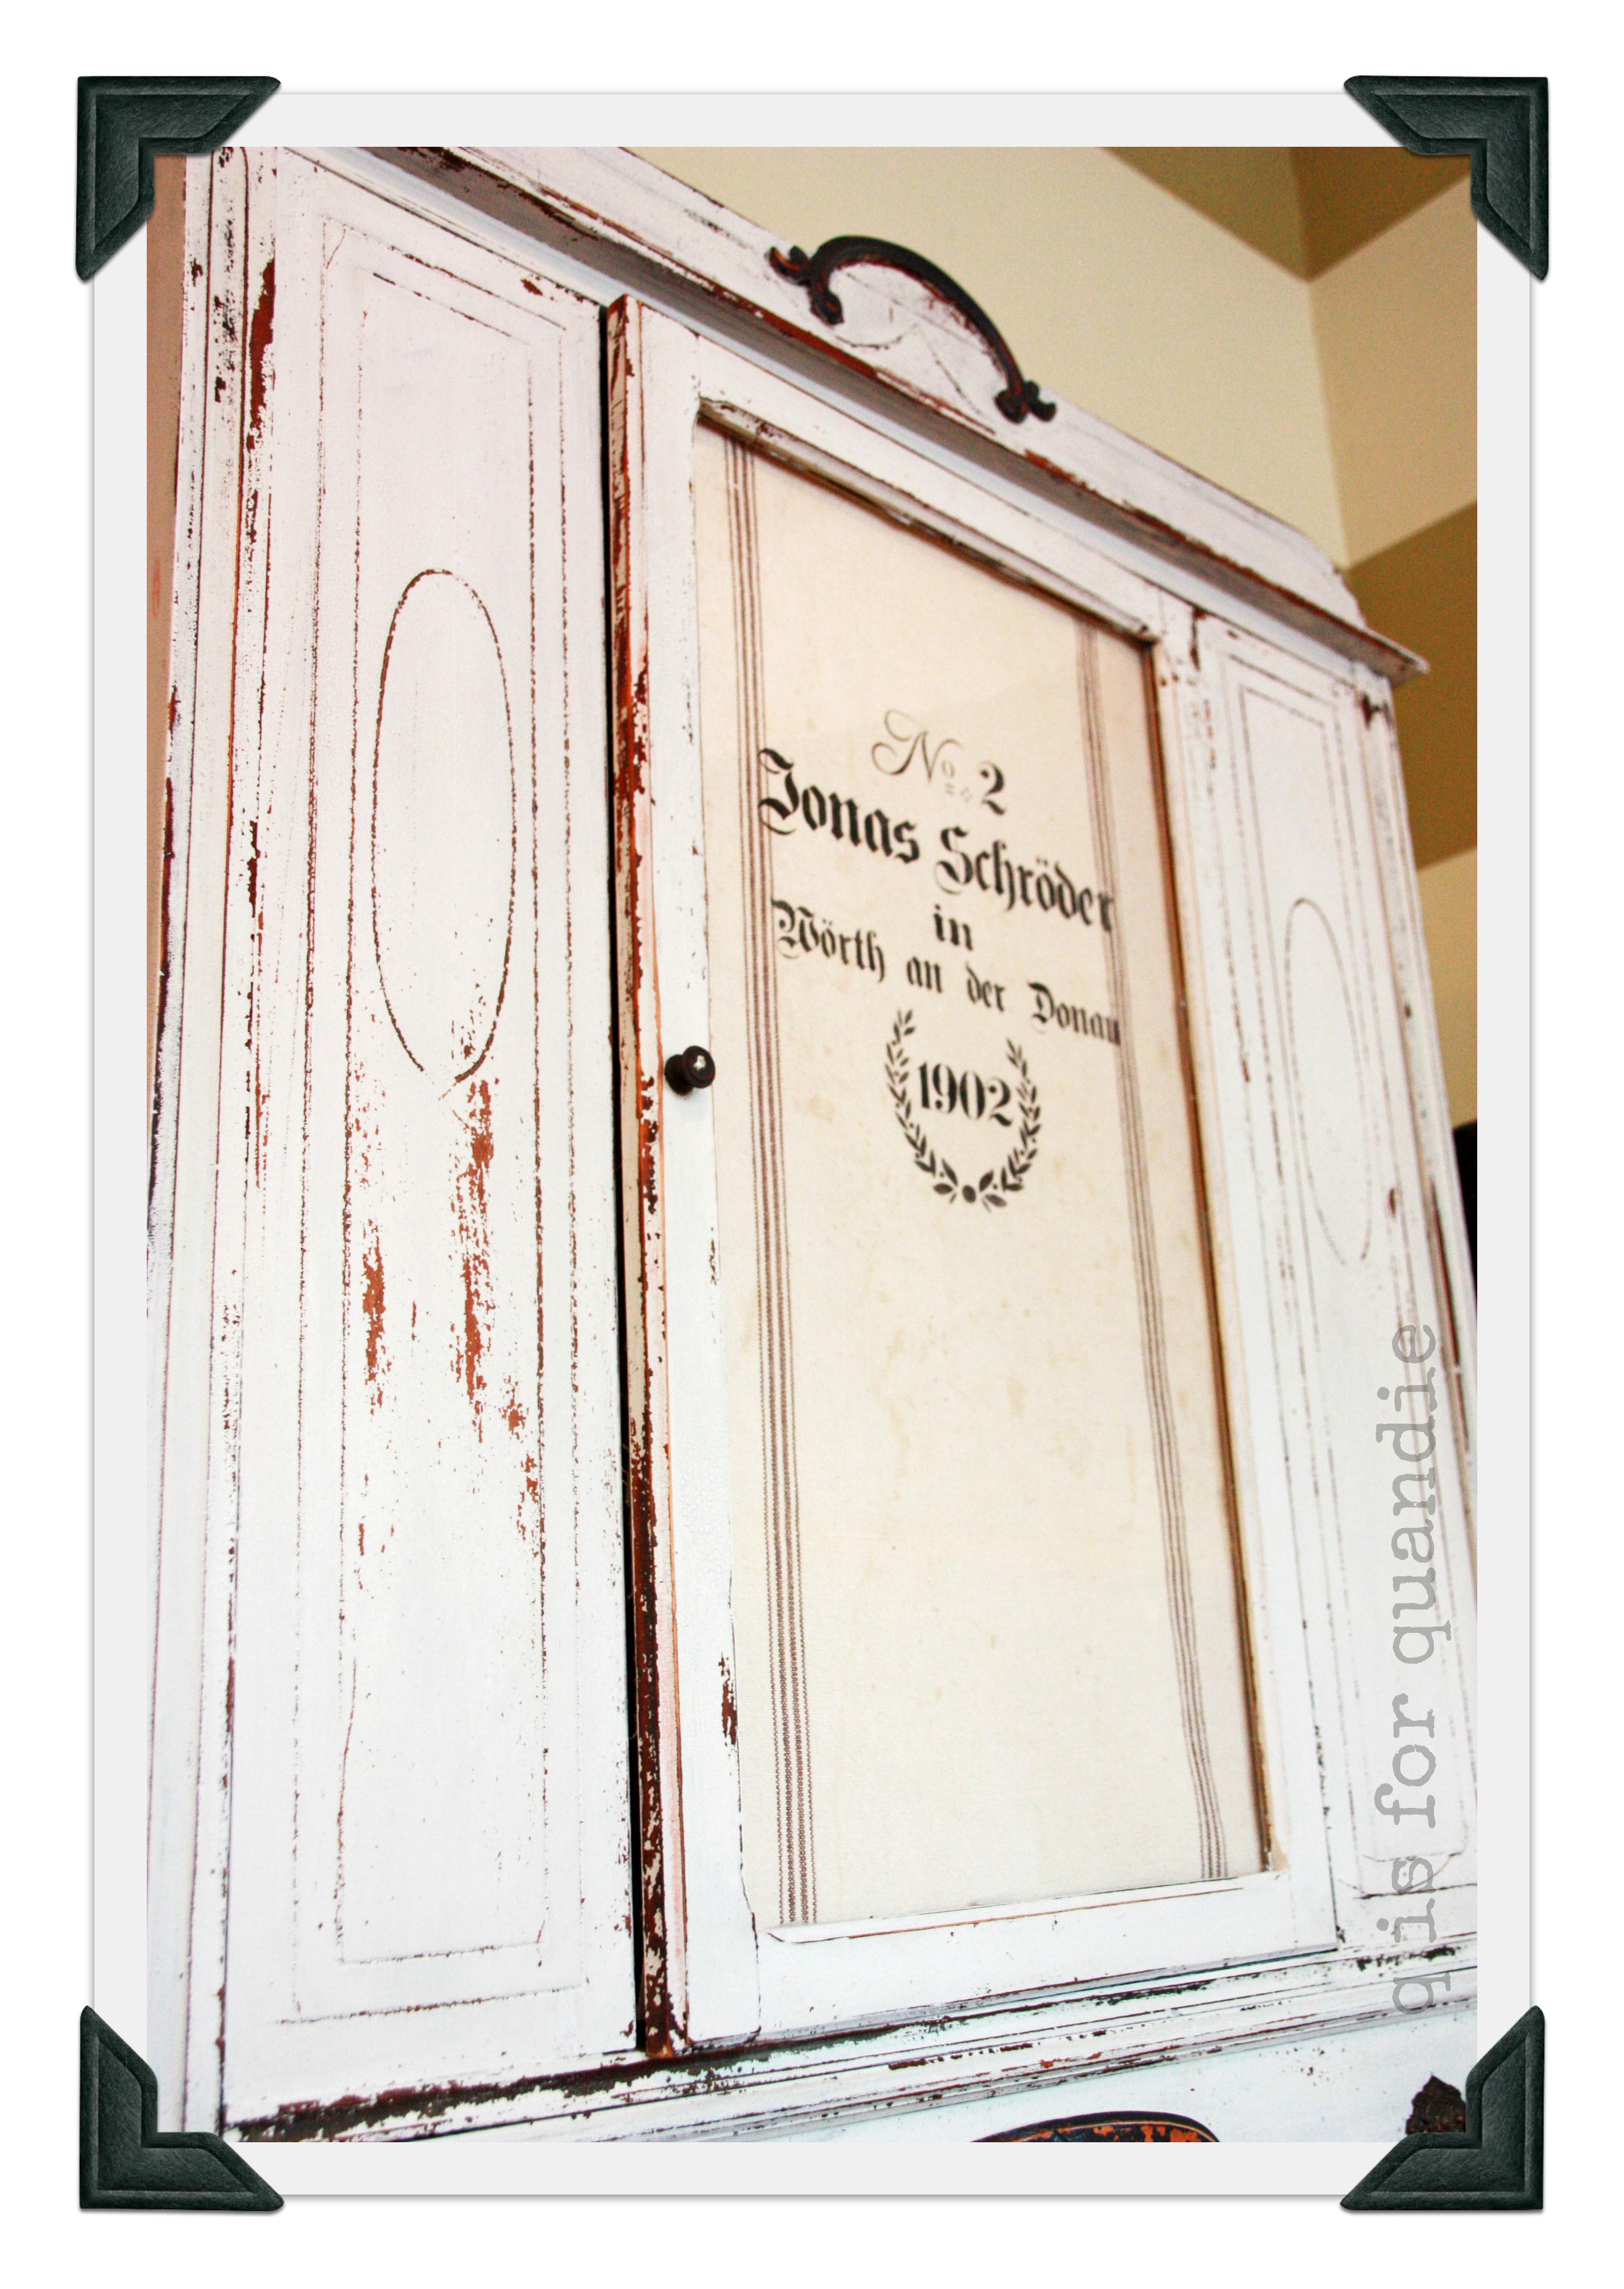
Remember my faux European grain sack?  Well, I had a purpose in mind for it when I made it.

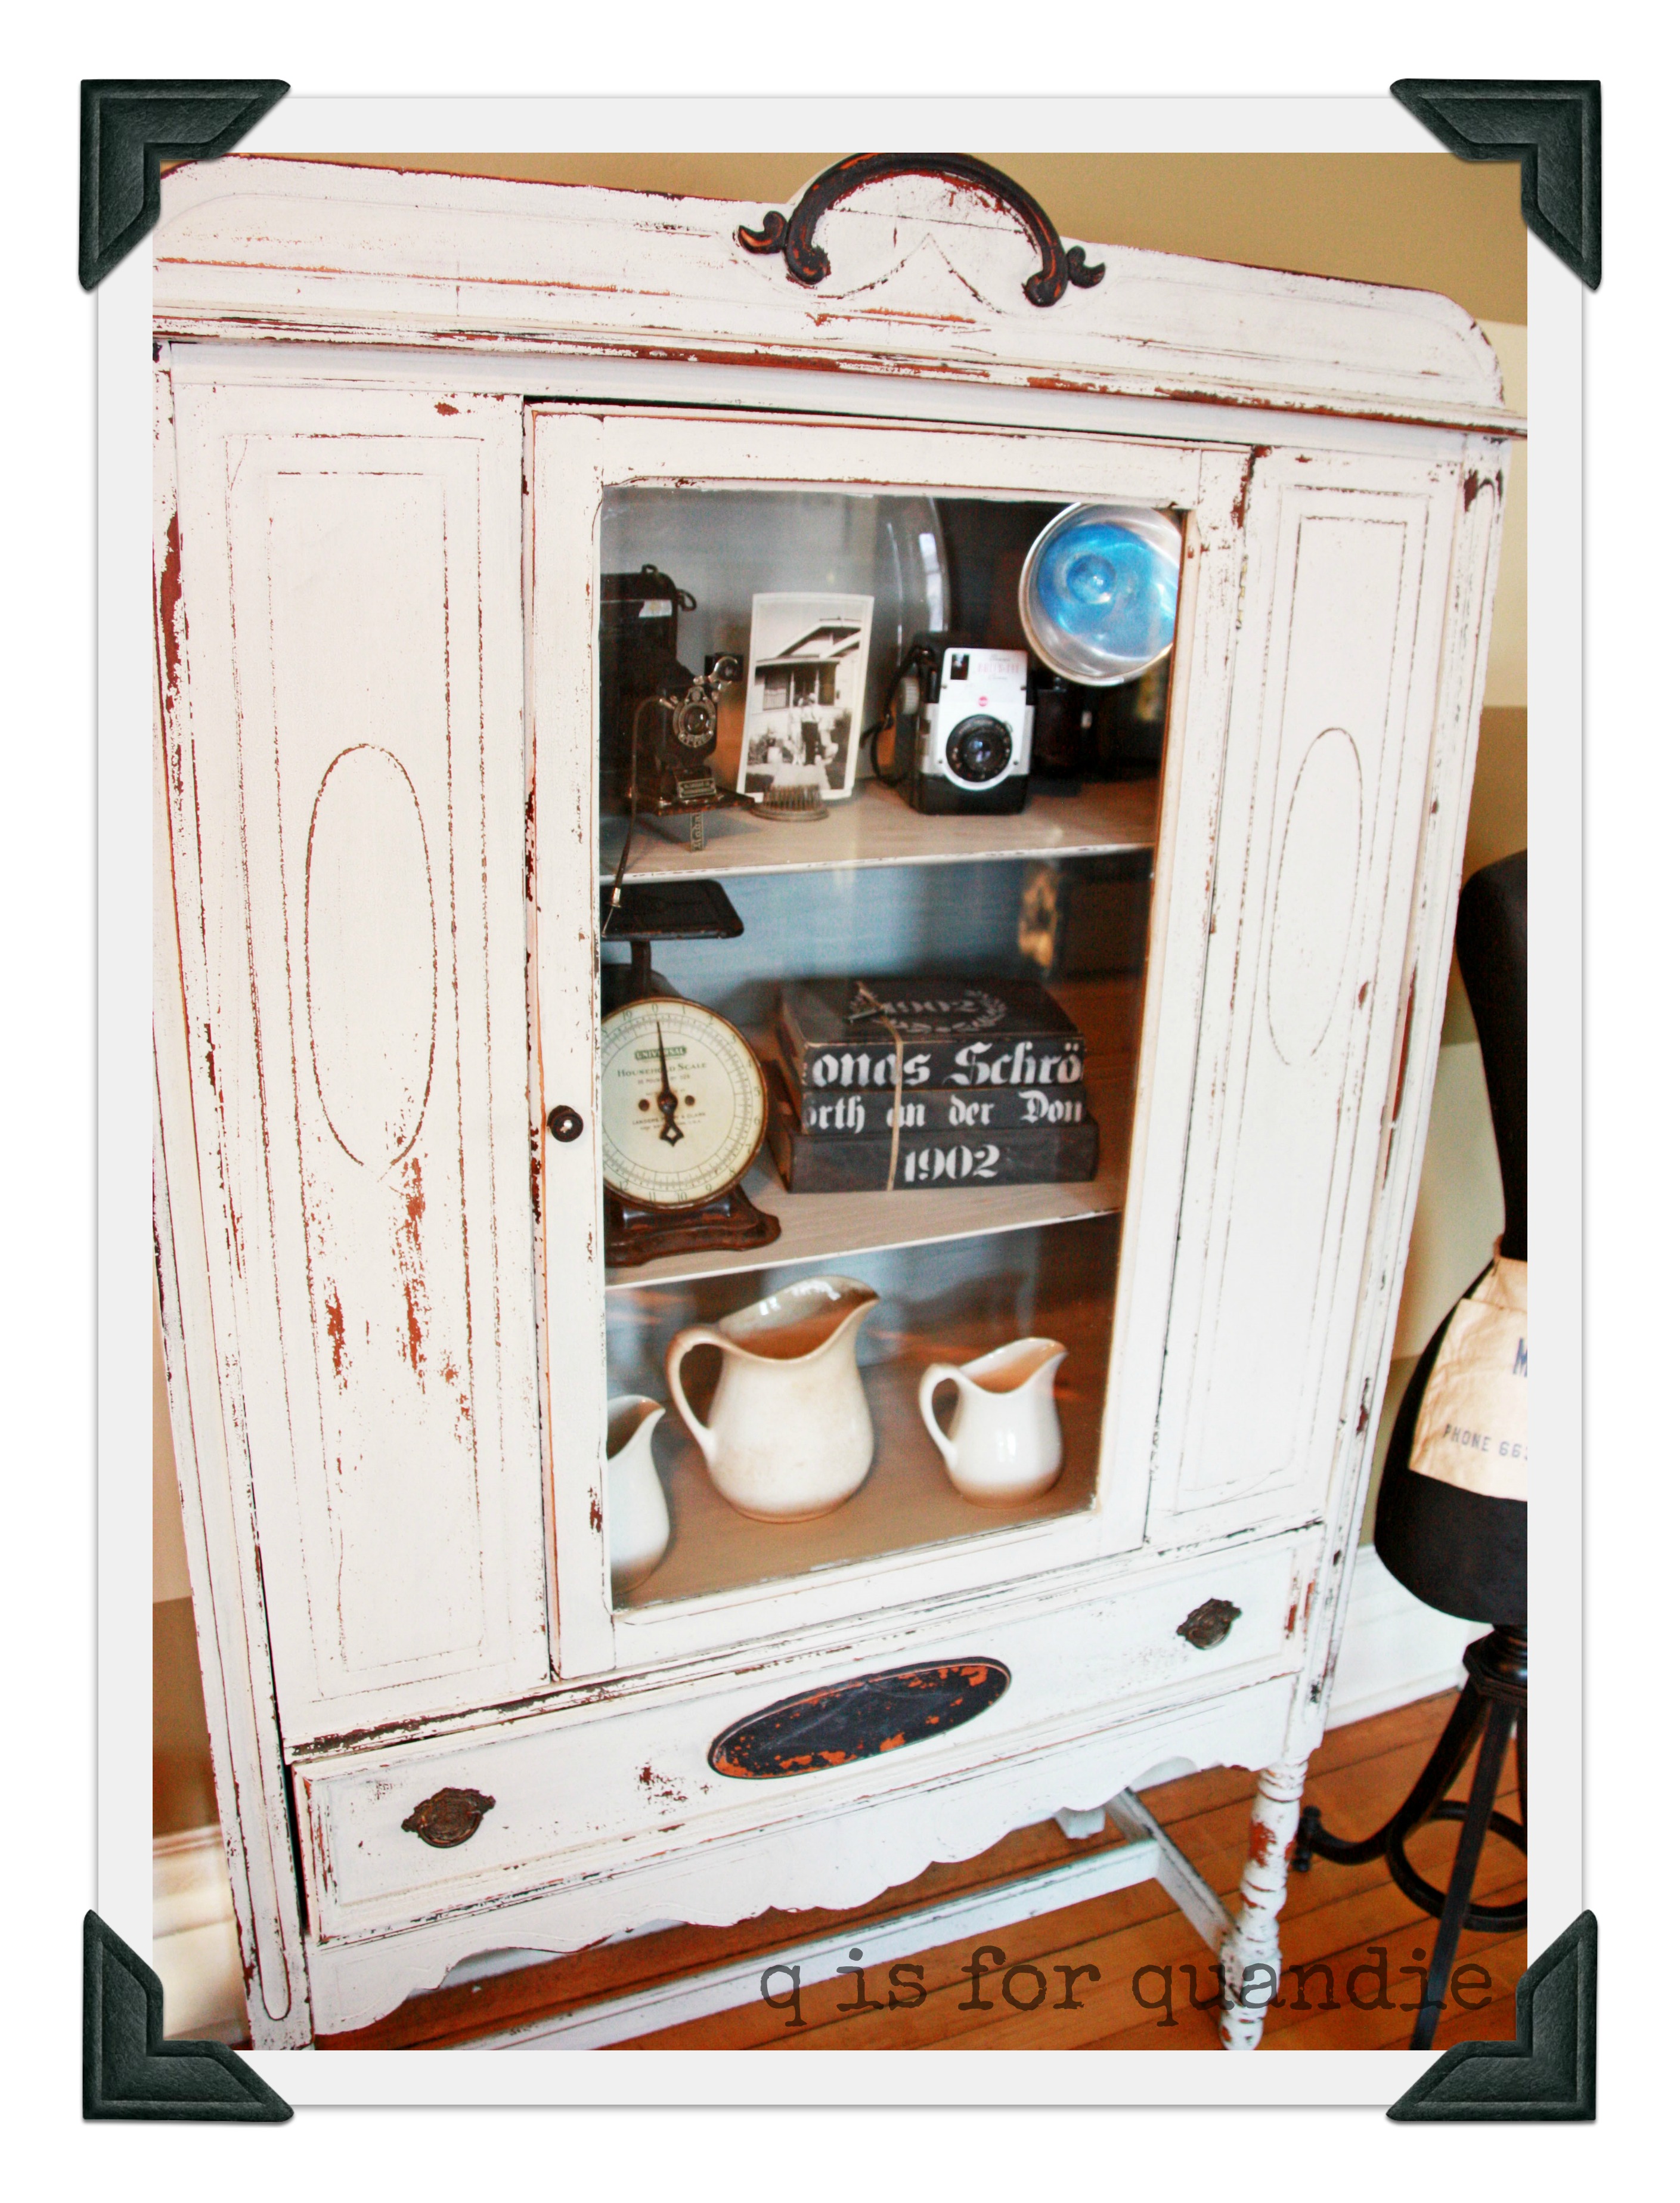
Jonas hutch 1

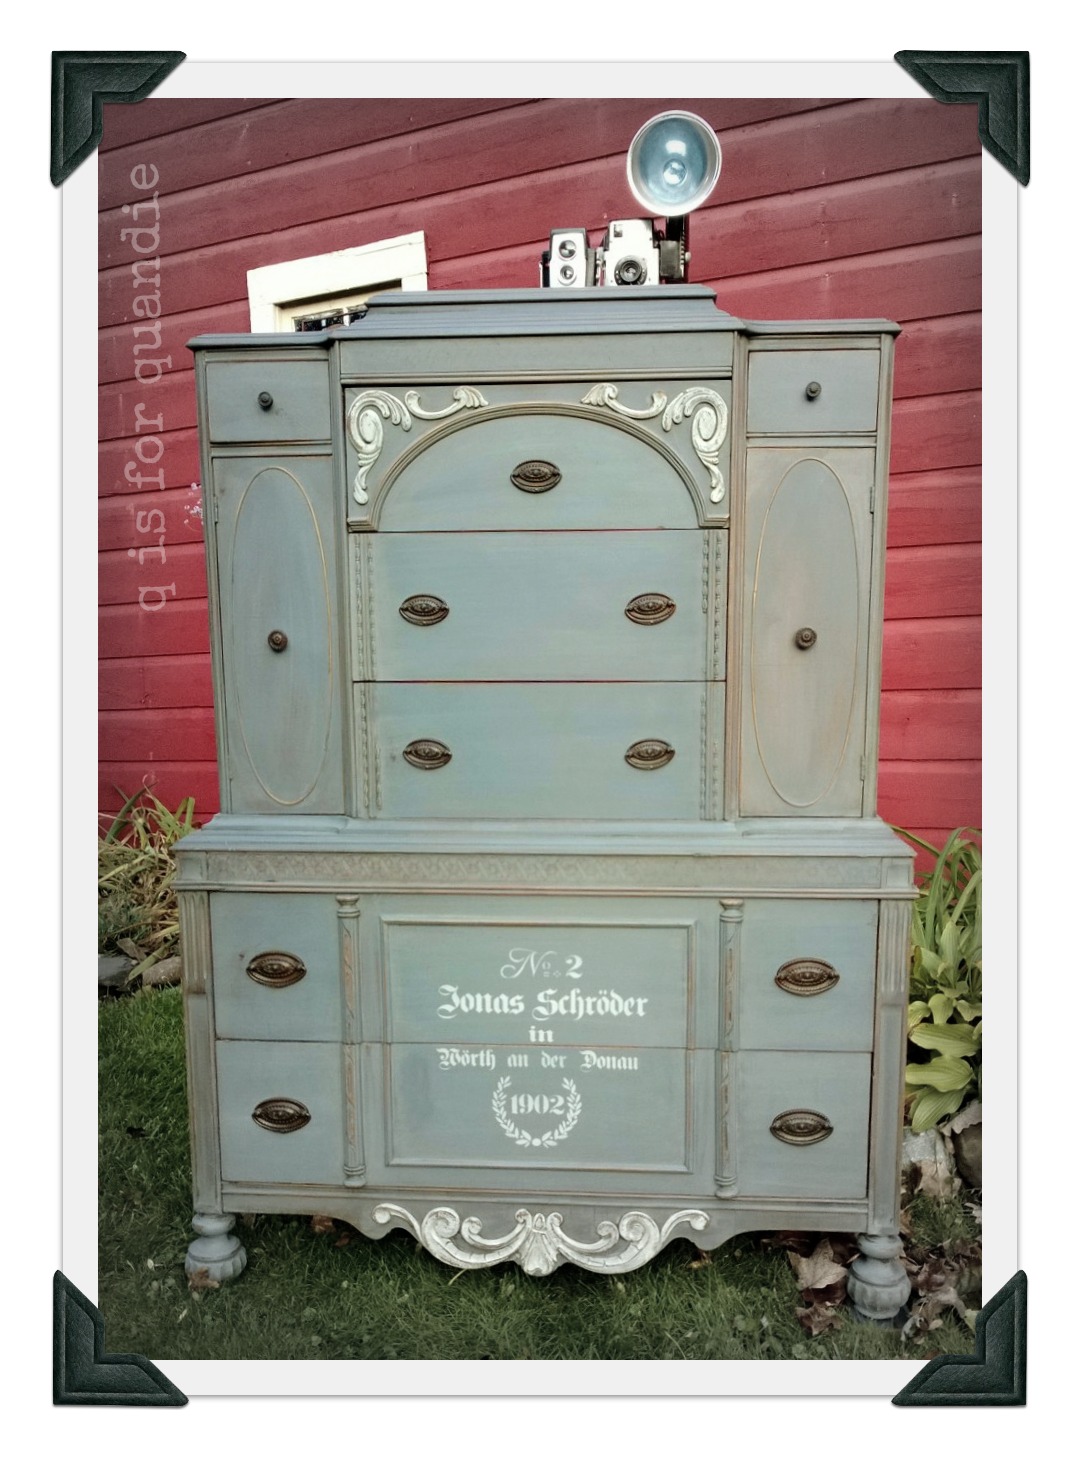
I saw something similar on pinterest and thought it was fantastic.  So when I found this hutch on craigslist, I knew I had to try this myself.  I’ll admit this piece was in much better shape than the pieces I usually work with.  I might have even felt a tiny little twinge of guilt over painting it.  However, I wanted to take it from ‘grandma’s hutch filled with her tea cup collection’ to amazing.  And I hope that is what I did.

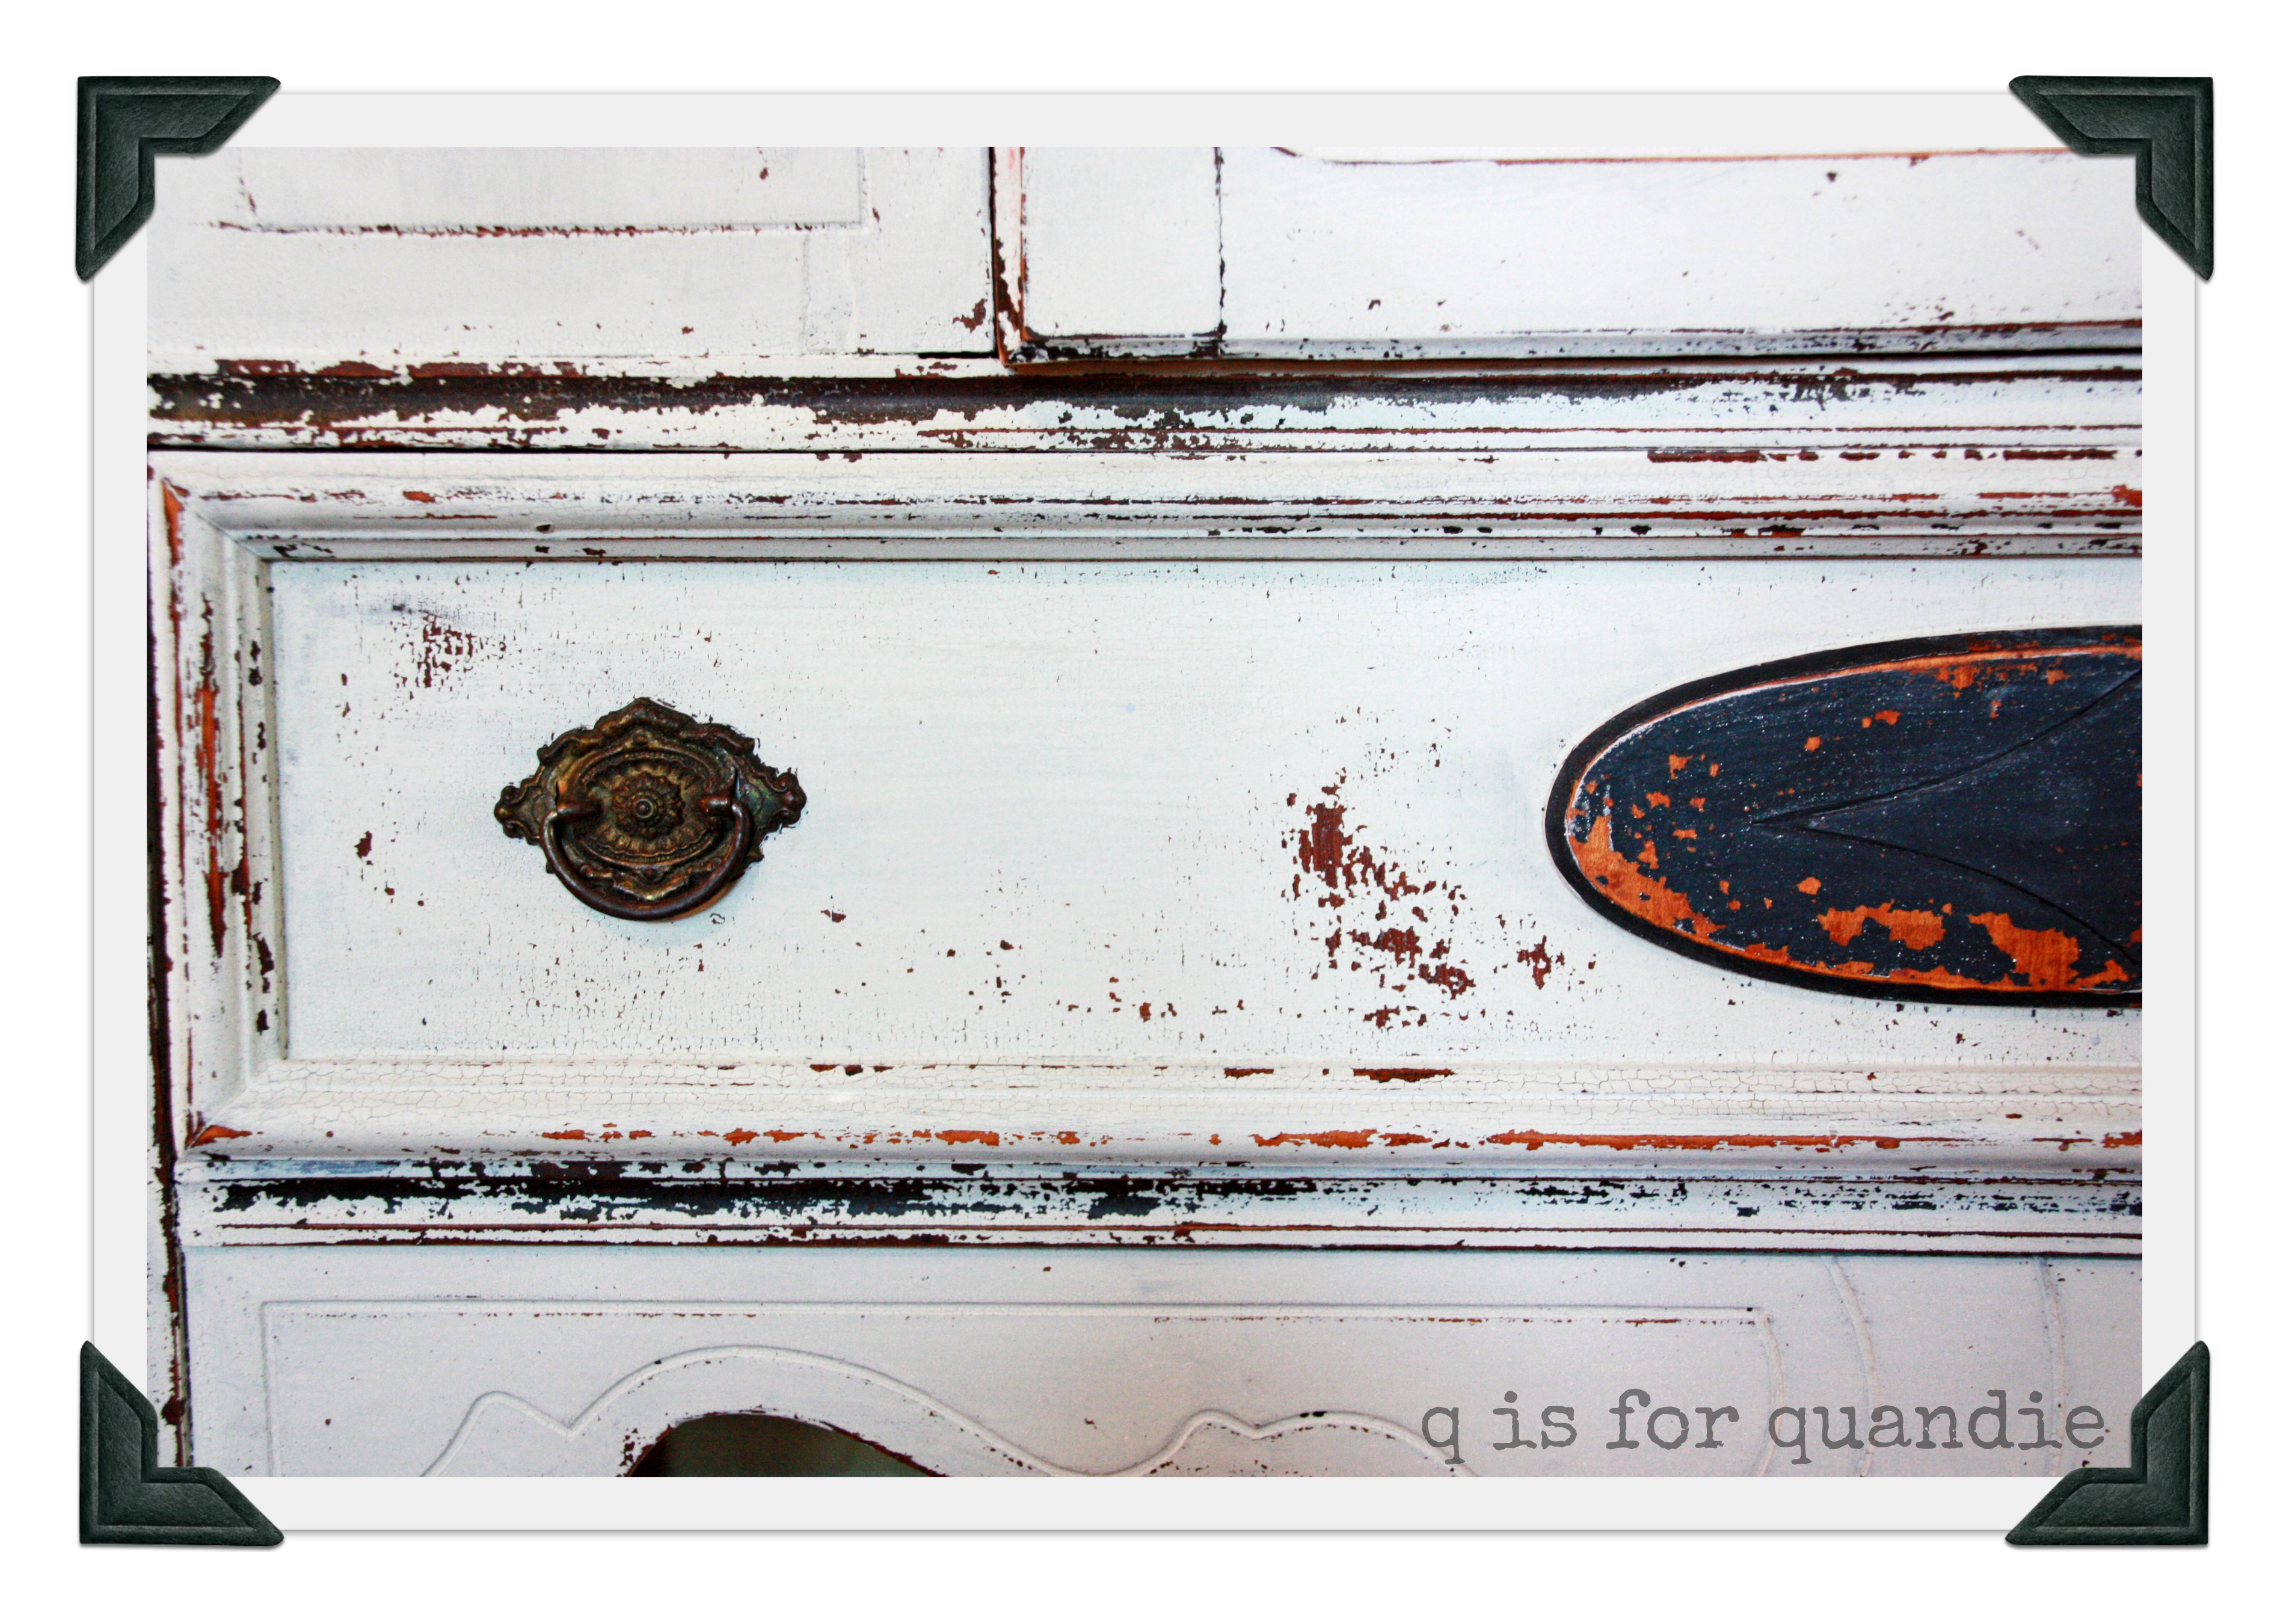
I painted him with Miss Mustard Seed’s ‘grain sack’ overall.  The trim at the top, and the oval on the drawer are painted in Miss Mustard Seed’s ‘typewriter’.  I have noticed that many furniture refinishers swap out the hardware on their pieces for something new, but I prefer to keep the antique hardware whenever possible.  These drawer pulls were gorgeous and full of character, so I kept them.

jonas hutch close up

With the grain sack ‘curtain’ this hutch becomes a fantastic storage piece that could be used for just about anything.

jonas hutch 2

  Personally, I would keep it this way.  But, one could also remove the sack and use this as a display cabinet.

jonas hutch 5

I think this hutch is a stunner.  I am SO tempted to keep him, except I have a very similar piece on my front porch already.  So, I will be delivering him to the Round Barn in Andover soon for some lucky buyer to discover.
50 shades of green.

I only recently started using Miss Mustard Seed paint.  I held out for a long time simply because it is kind of expensive.  Then last summer I bought a sample of it at the Oronoco Gold Rush.  As I feared would happen, I loved it.  Damn!  Now I drive all the way across the river to Hudson to buy it.

Oh … who am I kidding … I send my husband all the way across the river to buy it.  Thanks hon!

Working with this stuff has a bit of a steep learning curve though.  One problem has been especially prevalent with the green shades.  The thing is, you don’t get the same color every time.

It started with a dresser I painted in MMS’ Boxwood.  After painting it, I realized that one of the drawers needed to be completely sanded down and re-done (long story for another time).  I was pretty new to MMS paint then, and I just decided to use the leftover paint from the first go around.  I gave it a good stir and repainted the drawer … and ended up with a totally different shade of green.  Argh.  In the end, I had to repaint all of the drawers with a new mix of paint.

So really, I should have known better with the Luckett’s Green dresser.  But yet, I did it again.  One drawer needed repairs and was sent over to Ken for work.  I mixed up the paint and painted everything else.  This time I figured I could just mix up a new batch of paint for the last drawer.  If it didn’t sit around with the pigments separating, I figured it would be fine.  Surely it would be the same color, right?

Wrong.

oops.
oops.

Yep, there it is.  The bottom drawer.  Not the same at all.  I don’t know why this happens.  I use the same ratio of paint to water.  I am painting the same type of wood, with the same light sanding to start.

The lesson learned here.  Be patient.  Wait until you have all the pieces ready to go, and then paint them all at once.  In the end, it is worth it because you end up with this:

ah, so much better.
ah, so much better.

Live and learn baby, live and learn.

the owl dresser.

The other day someone asked me “is your house full of your own painted furniture?”  My initial reply was no.  Painting stuff for myself always takes a back seat to painting stuff to sell.  I always have that one item (or ten) that I need to finish before the sale, or before the next trip to the Round Barn.

But then I looked around my house when I got home and realized the answer is closer to yes.  Most of the stuff in my house is furniture that I have painted over the years.  And occasionally I paint something intending to sell it and end up falling in love with it and keeping it for myself instead.

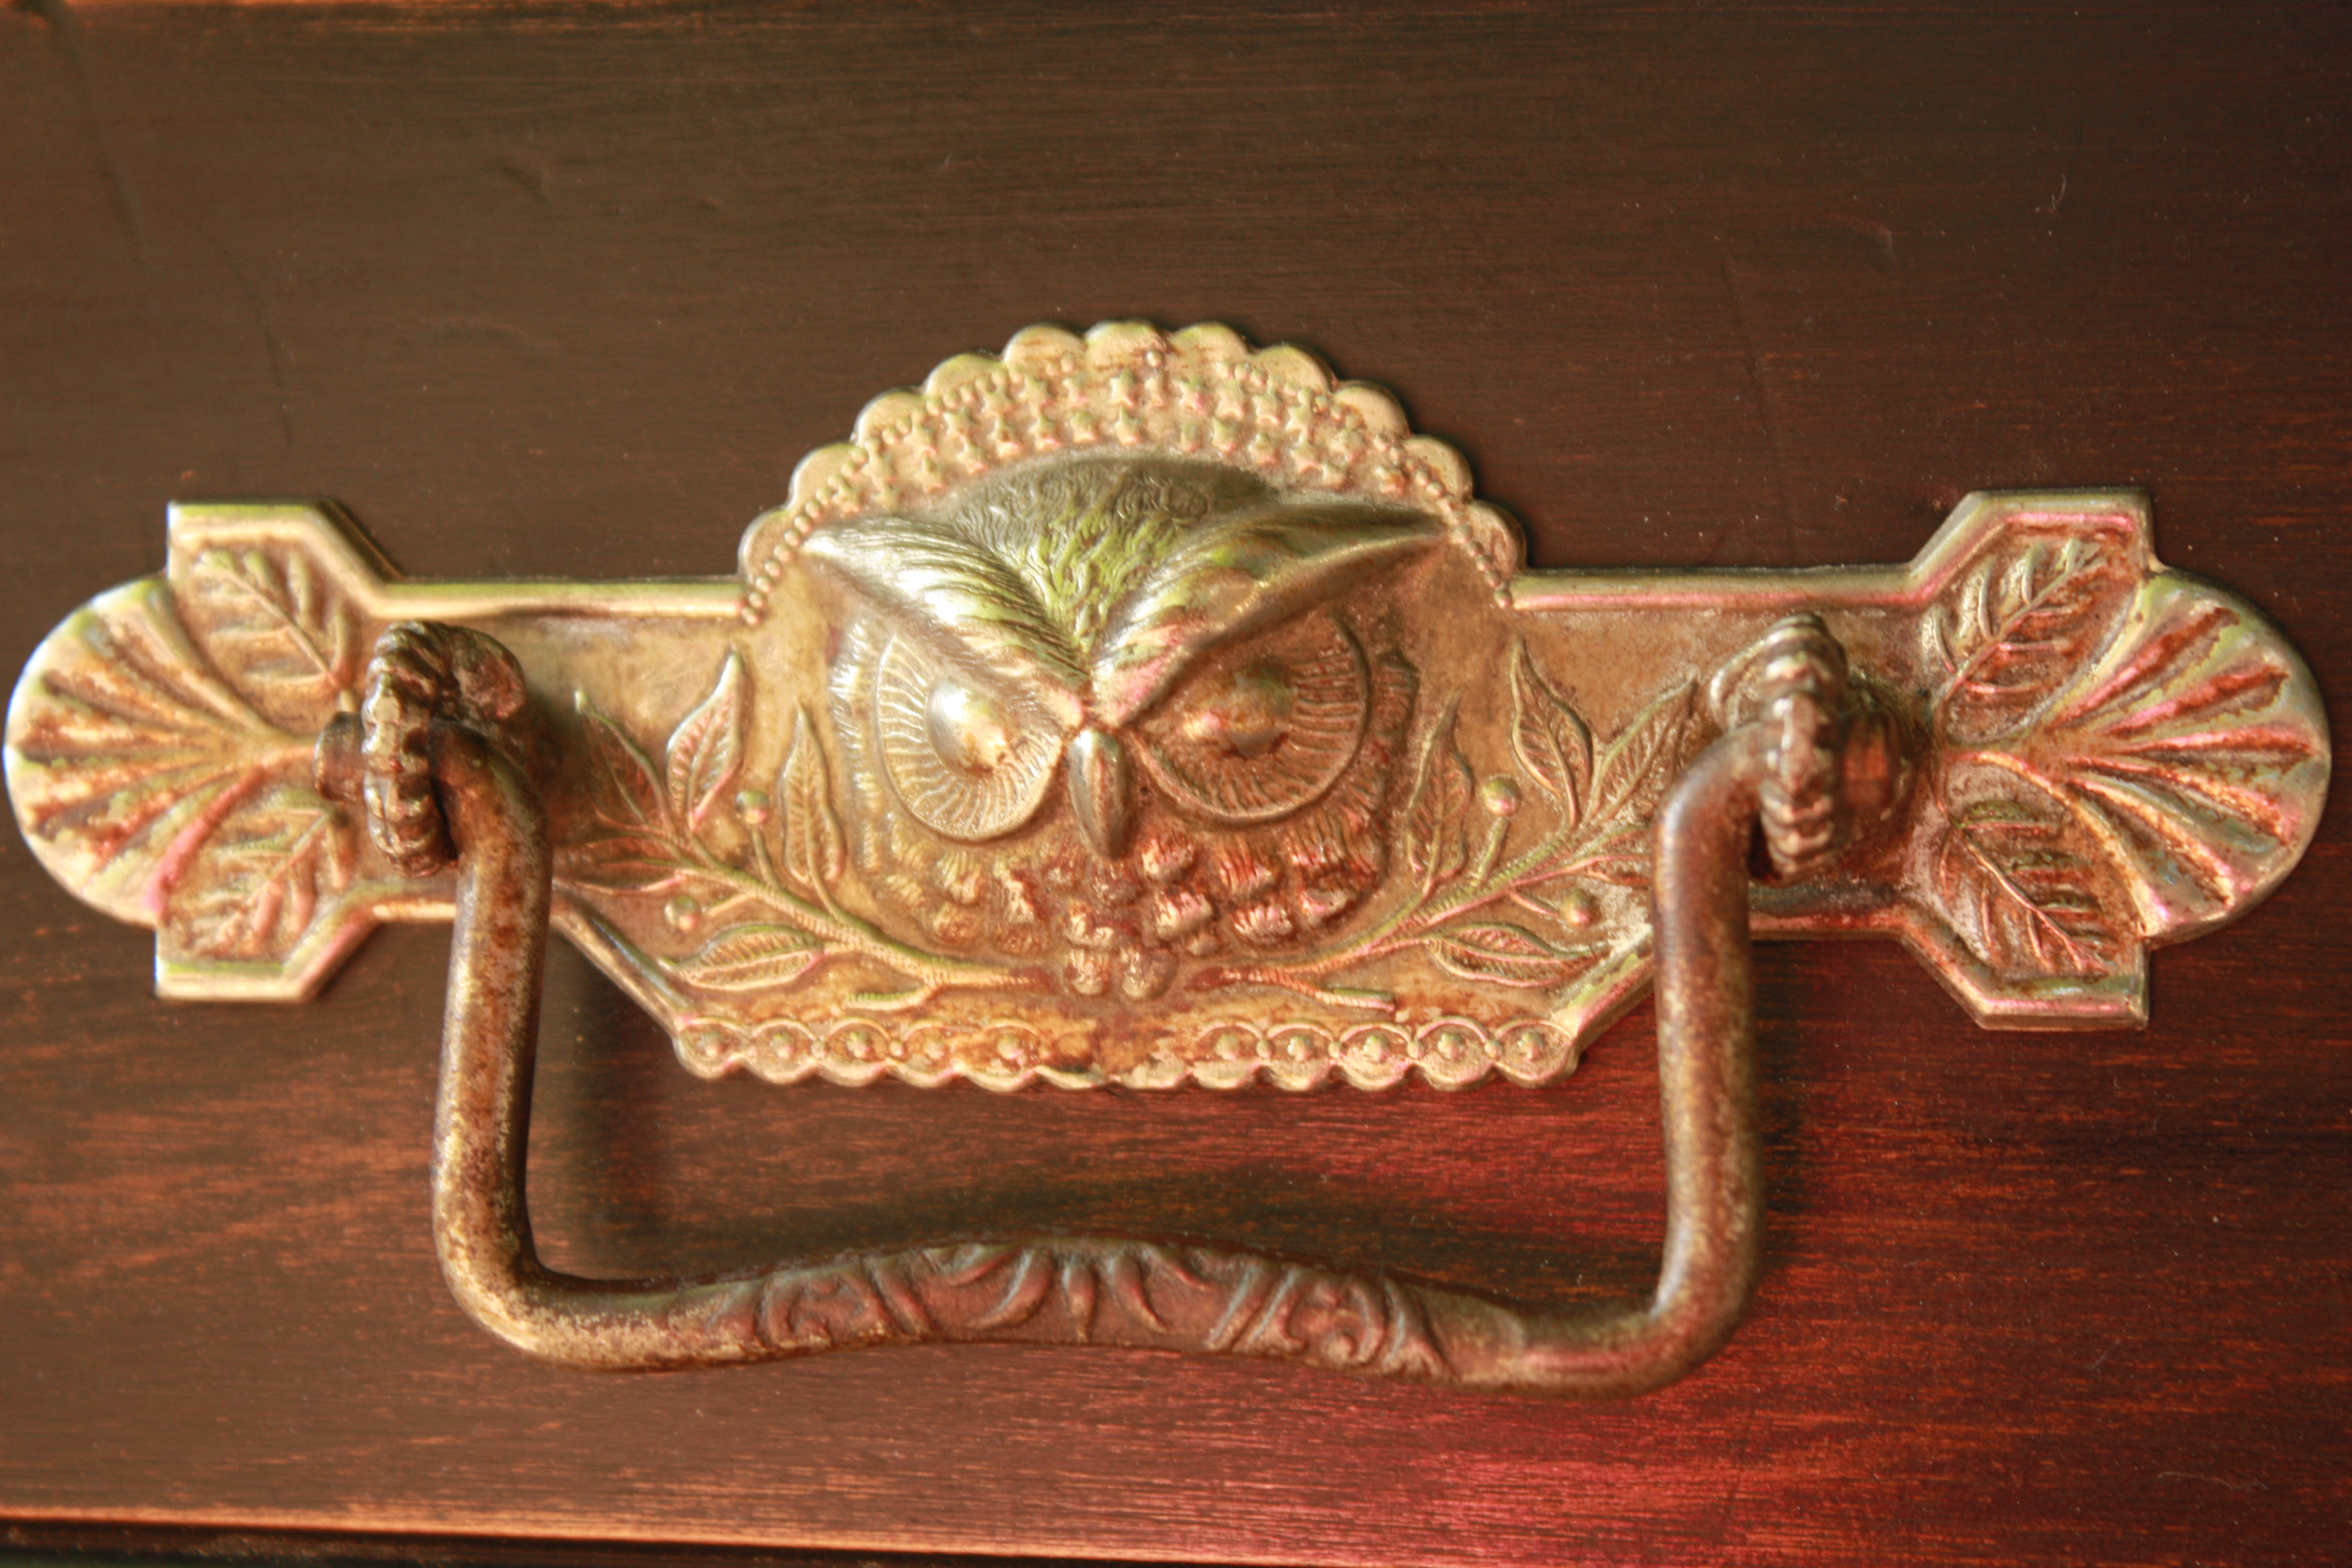
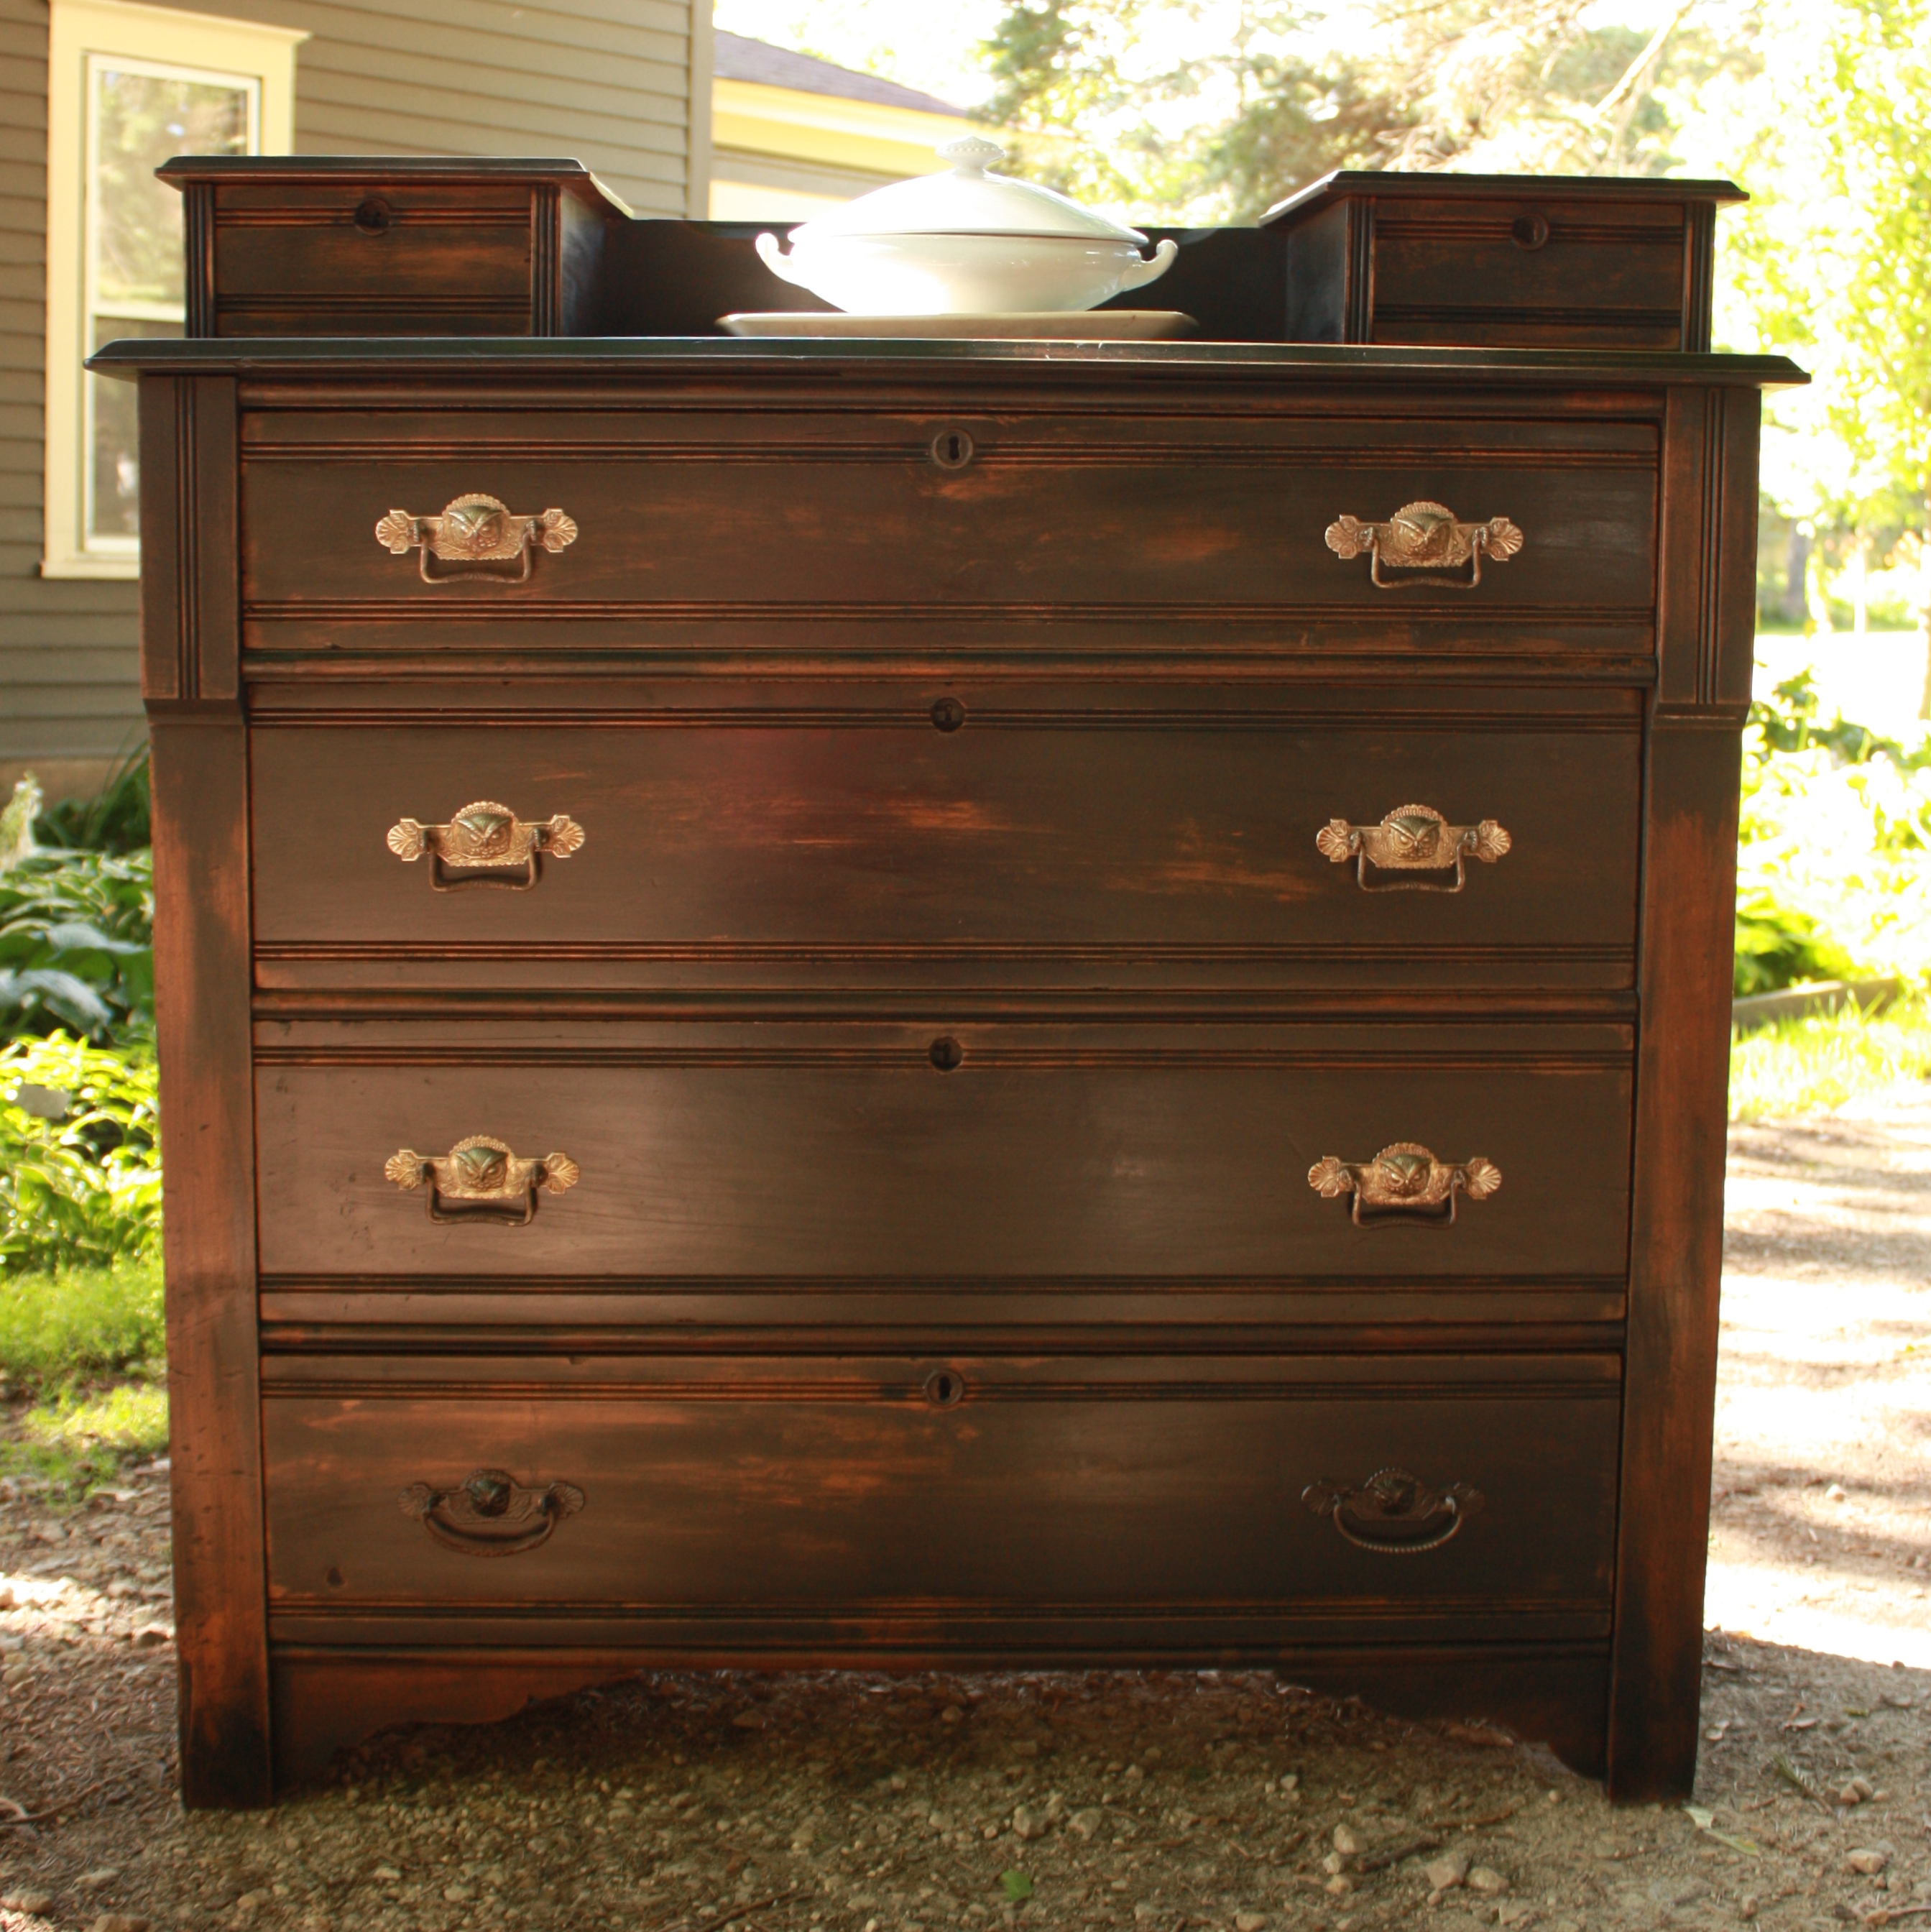
Such was the case with the ‘owl pull dresser’.  I bought this from a young guy in NE Mpls via craigslist.  I was drawn to the owls on the drawer pulls.

IMG_5492

Who could resist these?

I was drawn to the price too.  It was cheap.  I called the guy and he said he was moving that night!  If no one bought the dresser, he was just going to leave it in the apartment.  Holy mackerel.  I was on it.  I couldn’t get there before his going away party though, so he agreed to leave the dresser on the porch, if I would leave an envelope of money in the mailbox.  I know, crazy, right?

Once I got it home, I decided to paint it black.  I don’t do a lot of black anymore, but this dresser was so strong and masculine looking.  It was calling out for black.

Then, I did something really crazy.  This is the point where I have to swear you to secrecy.  Do not reveal my method!  I painted the whole thing with satin black spray paint.  After allowing it to dry for about 30 minutes, I then used a rag to apply paste wax.  The wax takes off some (or maybe a lot) of the paint.  This method is not for the faint of heart.  It’s messy, and you never know what kind of result you might get.  For this dresser, the result was fantastic!

IMG_5481

I loved it so much, I knew I had to keep it.  And I had the perfect spot for it just inside my back door.  This thing holds a ton of stuff too.  Bottom two drawers are all shoes.  Top two are scarves, gloves and hats.  And those two little jewelry drawers at the top are perfect ‘his and hers’ spots for the little stuff … keys, sunglasses, spare change.

So, for now, I’m keeping this one.