another library book review.

It’s time for another installment of ‘book reviews from mom’s library’!

If you’ve followed me for long, you may remember that last year I borrowed a bunch of decorating books from my mom’s library while I was out visiting her.  Then when I got home I reviewed them all in a blog post.

I was a little sad when I looked back at that photo from February 2022.  See that bougainvillea in the background?  This year it was killed by freezing temps.  Yep, Las Vegas has had a cold winter this year.

But anyway, back to the books.

When I came home from mom’s place last year, I was all fired up to renew my library card and check out the books that were available at my own local library.  As it turned out, the selection wasn’t nearly as good.  I’m guessing that my mom’s library has much better funding than mine and thus is able to purchase new books more often.

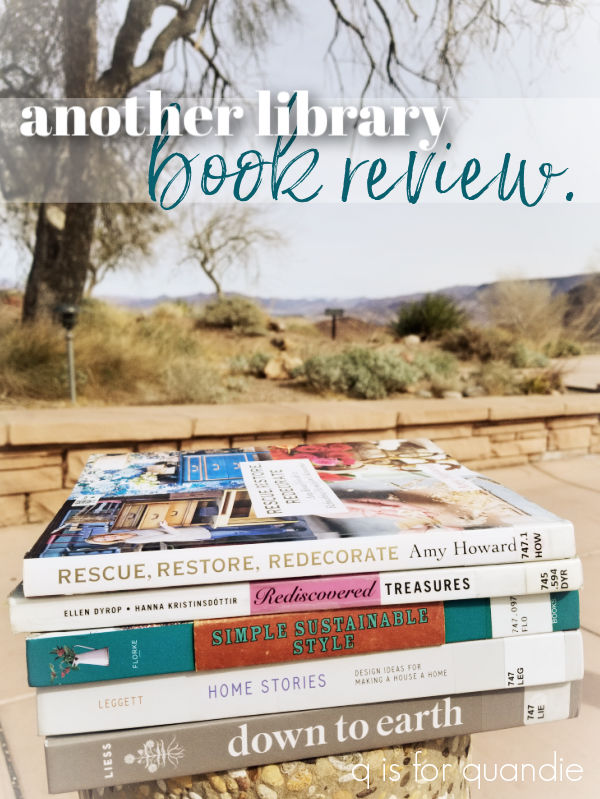
Sure enough, I found another nice pile of decorating books at mom’s library last month.

My sister was willing to play along and hold them up while I snapped some photos of them with Lake Mead in the background.  She’s really pretty good about humoring me when it comes to this sort of thing.

Let’s just start at the top of the pile and work our way down.

Rather than being strictly a decorating book, Rescue, Restore, Redecorate by Amy Howard is a ‘how-to’ book with lots of practical step by step instructions for using various products.  It was published in 2018, so it’s semi-recent.

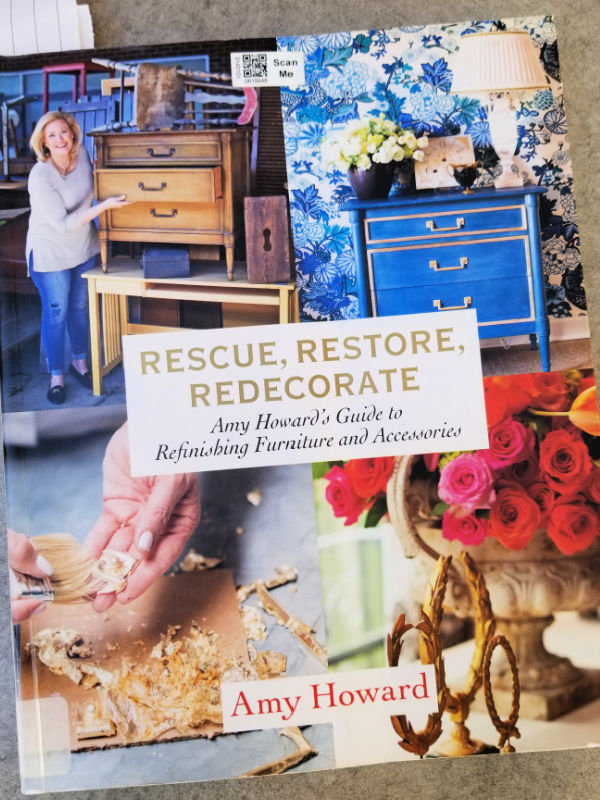
I’m sure many of you are familiar with the Amy Howard brand of chalk paint and other products.  I have to admit, I was surprised to find that she never seemed to mention her own specific products throughout the book.  She mentions them in a generic sort of way, and they are shown in photos, but she never specifically tells you about them.  I wonder why that is?

She includes a lot of info on gold leafing.

I’ve never tried gold leafing, have you?  Lately I’ve been thinking about what new skills I could add to my repertoire, and I think I’m going to give gold leafing a try.  Coincidentally, Dixie Belle has just come out with their own gold, silver and copper leafing-ish product.

I’m not at all sure how it works, so I ordered some of the gold and silver so I can test it out and then share the results with you guys.  Be sure to stay tuned for that.

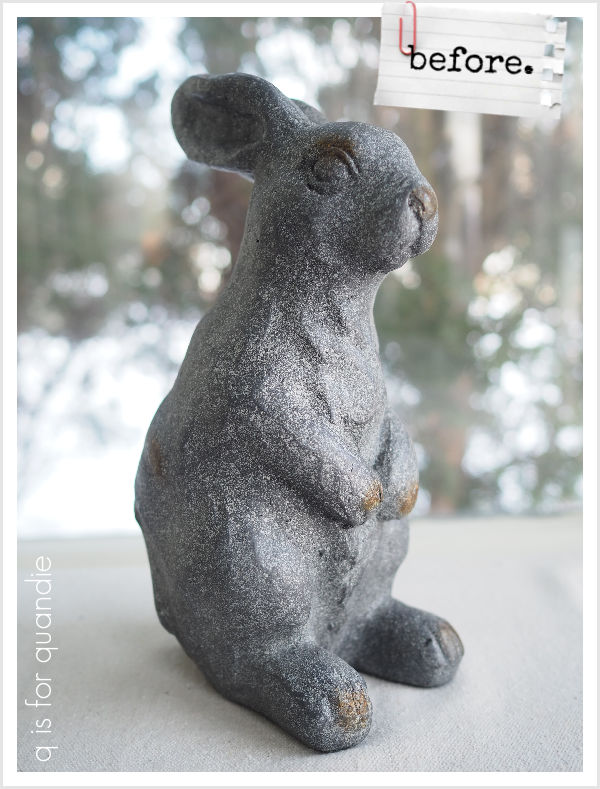
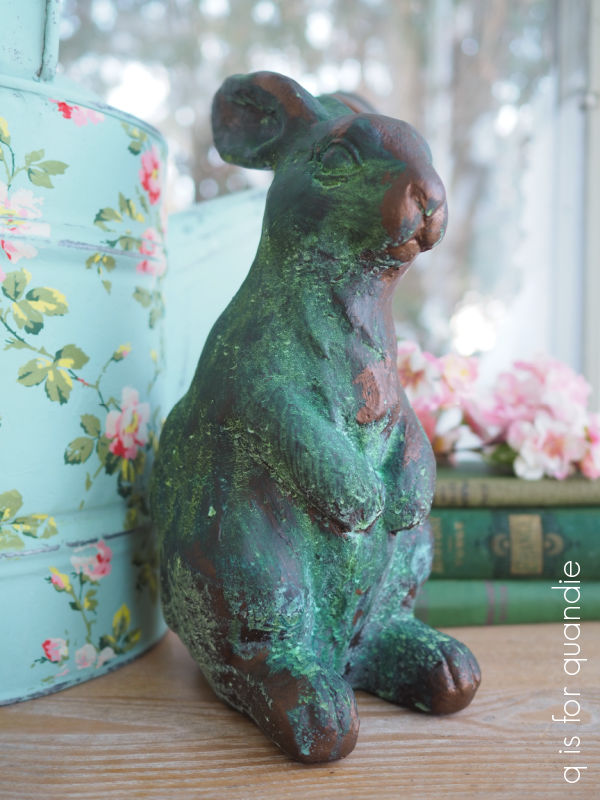
Amy Howard also has a project using a zinc antiquing solution in her book that is pretty cool.

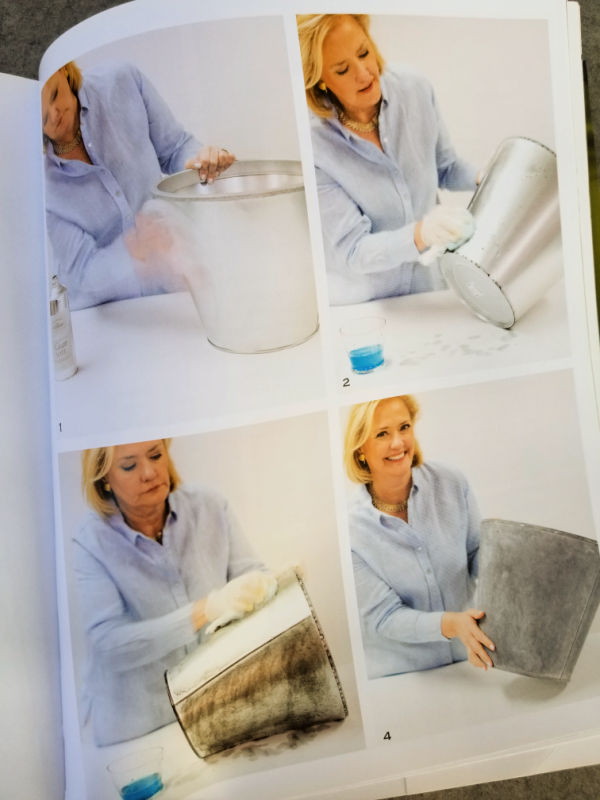
She takes brand new looking metal and turns it into this …

I will note that I looked this product up on her website and the fine print says it only works on unfinished/uncoated galvanized sheet metal so that would be something to keep in mind if you are thinking about giving this a try.

The item that stole the show for me in this book was this painted stereo cabinet.

I absolutely loved that lime green!  If I’m brave enough, I may have to try that on something.

The next book in the pile is Rediscovered Treasures by Ellen Dyrop and Hanna Kristinsdóttir.

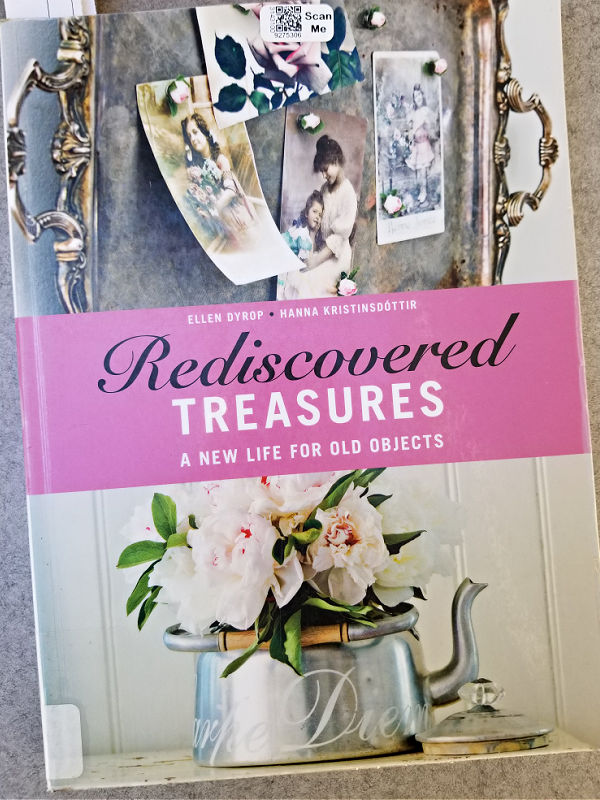
This is a translation of a book originally published in Norway in 2009, so it did feel a bit dated to me.  There were quite a few doilies.

They had a lot of small projects using vintage items though, which I always appreciate.

The next book in the pile is a Country Living book called Simple Sustainable Style and was published in 2012.

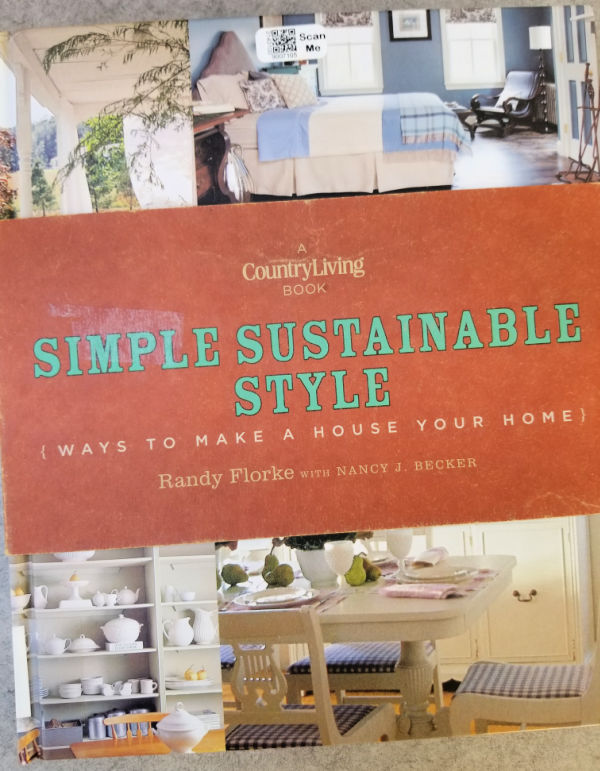
It’s written by the same authors as Restore, Recycle, Repurpose, the Country Living book that I reviewed after last year’s visit to my mom’s library.

Let me start by saying that I pretty much love every Country Living book that I’ve ever picked up.  My only complaint about them is that if you also get the magazine, you’ll likely have seen most of what is included in their books.  I especially ran into that with their Christmas at Home (published in 2018).

Although Simple Sustainable Style is somewhat dated, as evidenced by the wall mounted T.V. in this shot …

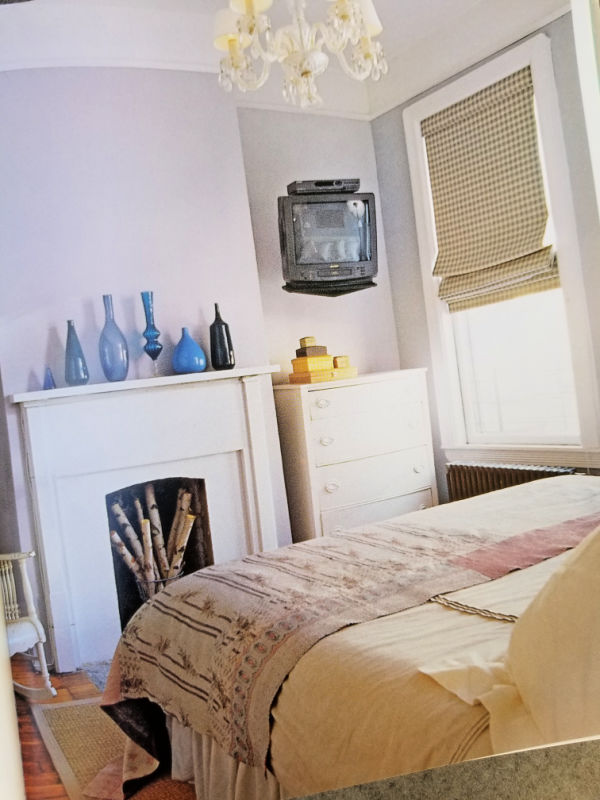
I think their style is fairly timeless.

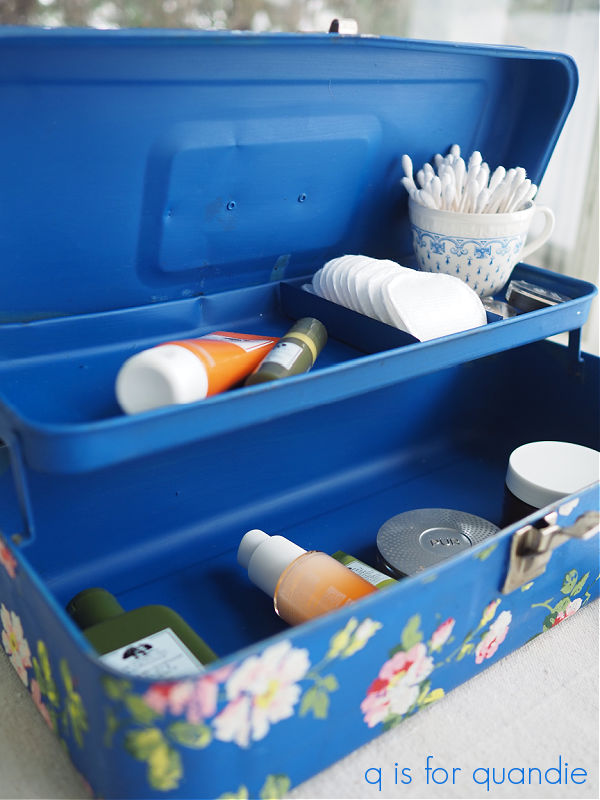
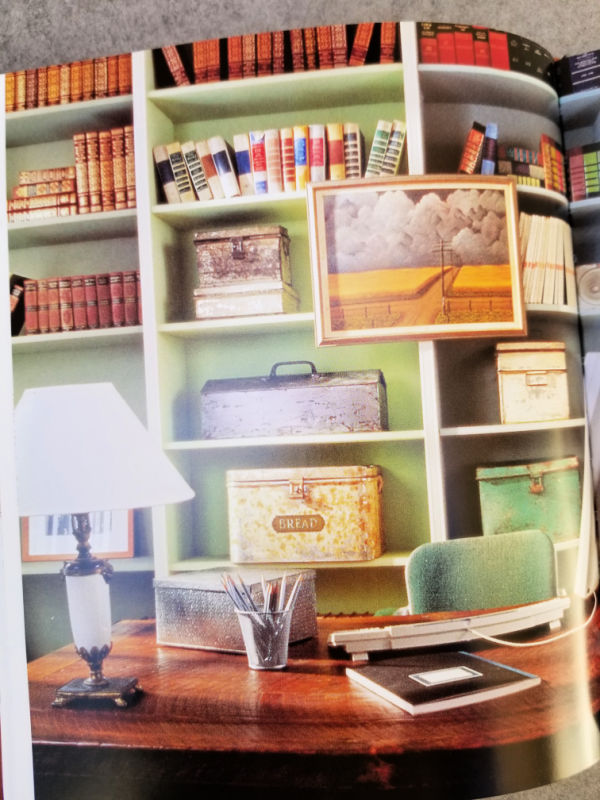
And anyone who uses old toolboxes as décor gets a gold star from me!

The books seem to be getting newer as I near the bottom of the pile.  Home Stories by Kim Leggett was published in 2020.  Kim Leggett was also the author of City Farmhouse Style which a lot of you may be familiar with.

In a nutshell, I think ‘city farmhouse’ says it all about her style.  She uses farmhouse style vintage pieces, but pairs them with more modern pieces for an updated look.

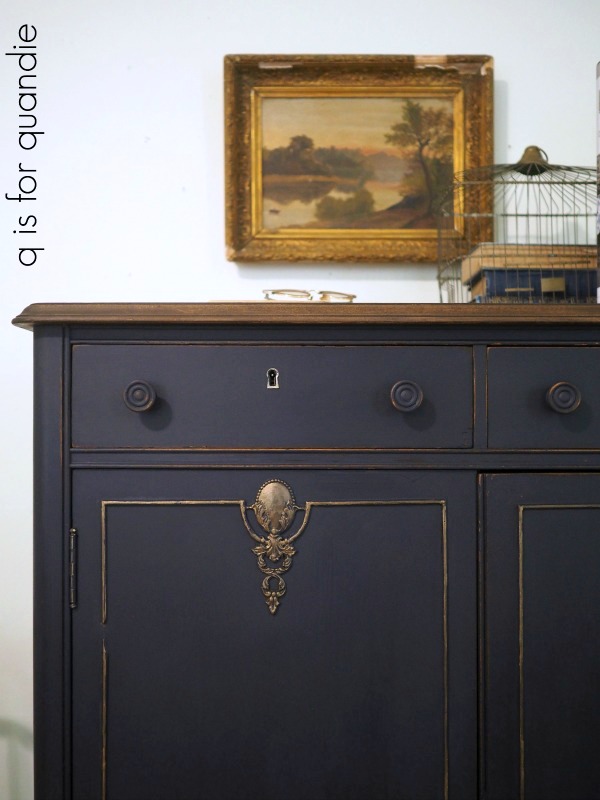
Obviously anyone with a stack of vintage suitcases has me at hello, but see how she has added that modern round, black vase?  Just that small touch makes this feel more current to me.  I have to admit though, I really want to paint that dresser, how about you?

She’s got a touch of that ‘dark academia’ look that we’re hearing so much about lately too.

She also uses a mix of painted and un-painted pieces, and some fabulously chippy pieces too!

And who says chalkboards are passé?

There is also a seasonal section at the back of the book that I enjoyed.

I have to say, if I was going to purchase any of these books it would be this one.  This would be a good one to study for ways to update your vintage style.  In fact, I think I might just go ahead and order this one today!

The final book I’m reviewing today is Down to Earth by Lauren Liess, published in 2019.

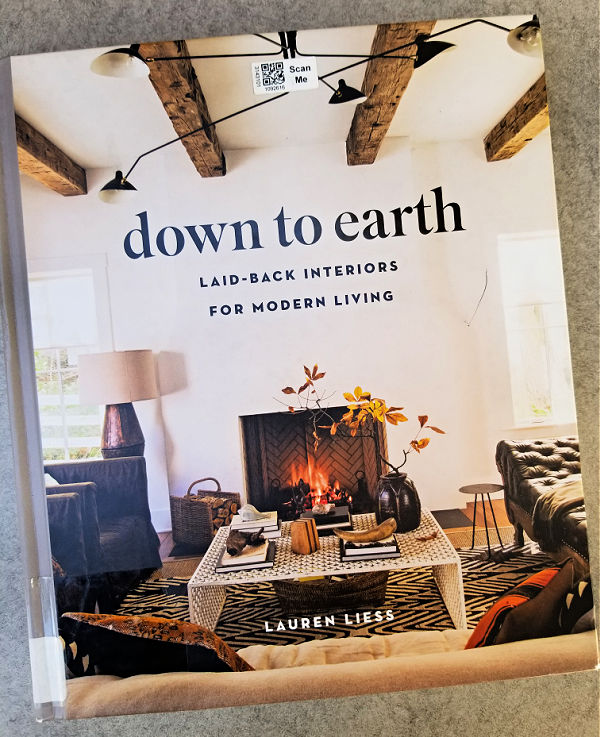
This one also has an interesting mix of mid-mod and older vintage pieces.  It’s organized into sections by styles such as ‘cozy bohemian’, ‘timeless-ness’ and ‘vintage revival’ with tips for each on how to achieve the look.

There were some very interesting combinations of vintage and modern.

Much like with Kim Leggett’s book, I’m really vibing on this idea of using antiques in a more modern context.

One review I read of this book called it ‘elevated, yet accessible’, but I have to slightly disagree.  In fact, my one complaint about this book is that it didn’t feel accessible at all to me.

As much as I appreciate the stunning beauty of that room, I’m never going to have anything like that.  I felt that way about most of the interiors that were featured.

That being said, there were some ideas I could take away from some of the smaller vignettes like this one.

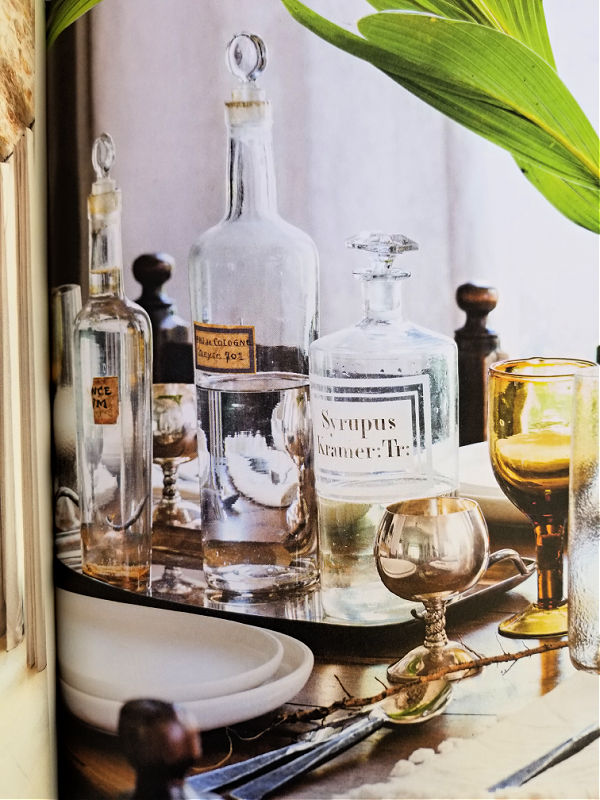
I don’t think I would spend the money to own this particular book, but it was a good one to check out from the library.

I hope you enjoyed this library book review, and you were able to take away some ideas from today’s post.  Leave me a comment and let me know if any of these books are favorites of yours!

hoppin’ down the bunny trail.

Throughout the year, I’ve been picking up cute bunnies whenever I see them at the thrift store or garage sales.  I’ve managed to accumulate a handful of them.

And now it’s time to pull them out and get them spruced up for the shop.

The galvanized bunny mold just needed a good cleaning, and some goof off to remove the residue left by the packing tape that was holding his two sides together.

Isn’t he sweet?

The copper mold bunnies also just needed a bit of cleaning.

Next up came the faux stone bunny.

I think he was supposed to look like he was carved out of granite, or something like that.  I’m not sure.  But in reality he is some sort of resin or other man made material.

I decided he could be improved with some of Dixie Belle’s Patina Paint.  I debated going rusty at first, but ultimately decided to go with the bronze paint paired with the green spray (you can find all of the details on using this product in this post).

The patina paints lend a very authentic looking faux finish, in my opinion.

I went ahead and added a couple of quick coats of Rustoleum’s matte clear coat to protect him from any excess handling.

Next up is the cute bunny pull toy.

I really didn’t like the heavy grain of the wood, or that particular shade of brown, so I gave him a paint job using Dixie Belle’s French Linen.  I followed that with a quick stencil job using a portion of one of JRV’s Crock Minis stencils and Dixie Belle’s Drop Cloth paint.

I also painted the wooden dowel handle to the pull toy in Drop Cloth.

While working on the rest of the bunnies, I also remembered that I had a trio of ceramic bunnies that my friend Sue found for me.

Normally this sort of thing is not my style at all.  But I’d seen a video … or maybe it was a blog post?  I really don’t remember … but I’d seen someone, somewhere, spray paint these in a chocolate brown to make faux chocolate bunnies.  So I thought I’d give it a shot.

Of course, when you live in Minnesota, it’s winter and you aren’t blessed with any sort of well-ventilated spray painting booth, you have to get creative.  So here’s what I do …

I rest a big flat piece of cardboard on a snowbank, spray quick, and then haul everything back inside to dry.  I had to do that about 4 times to get the bunnies fully coated on all sides.  But I made it work on a slightly warmish afternoon last week.  Well, OK, it was 37°, but hey, that’s above freezing.

My paint of choice for chocolate bunnies was this one …

It’s a paint and primer in one, and they say it will work on any surface.  Since I was painting glossy ceramic bunnies, I wanted to be sure it would stick.  It’s also has a satin finish rather than the matte finish that I usually prefer, and I think that makes these look more like glossy chocolate.

Yum!  Doesn’t he look delicious?

These would be great to incorporate into a tablescape for Easter when you don’t want anyone to eat the decorations!

Or you could just pop them into an Easter basket.

I’ll be hoppin’ on into the shop with these on Wednesday, hopefully there’s enough time left between now and Easter for all of these bunnies to find a good home.  And maybe I’ve inspired you to create some faux copper or chocolate bunnies of your own!

the moody blues.

I wonder how many of you are old enough to be Moody Blues fans, or to have played their albums over and over.  You know, back when we had record players and albums.  Oh boy, I’m probably really dating myself now.  Although now that I think about it, I probably listened to them on cassette tapes in my car more than on albums.

Once upon a time, in my wildest dreams.

Anyway, today’s post isn’t about music, it’s about the moodier shades of blue available from Dixie Belle Paint Co (and be sure to read to the end because I’m giving some away).  I’ve been using a few of them lately, so I thought it might be helpful to show you guys a comparison of their In the Navy, Bunker Hill Blue, Yankee Blue and Cobalt Blue.  Just in case you are struggling to pick one.

The darkest one is In the Navy.  This color is almost, but not quite, black.  I used quite a bit of this one for a while.  One of my all-time favorite pieces painted in this color was this linen press dresser.

I also painted a waterfall style desk with In the Navy.

Lately I’ve been using more of the next darkest shade, Bunker Hill Blue, most recently on this dresser.

I really like this shade on mid-mod pieces such as this dresser that was a curb-side find.

It looks gorgeous paired with gold hardware.

I’ve also been known to mix In the Navy with Bunker Hill Blue to tone down the Bunker Hill Blue just a tad, or brighten up the In the Navy, whichever way you want to look at it.

That’s what I did on this piece.

Well, to be perfectly honest, I only mixed them because I didn’t have enough Bunker Hill Blue at the time to paint the whole dresser so I stretched it by adding In the Navy.  But it ended up being a fantastic combo.

I haven’t used so much of the Yankee Blue.  This one is the lightest shade of these four colors, and has a bit more grey to it than the other three which becomes more obvious when you look at them all side by side.

Yankee Blue is actually one of the very first Dixie Belle colors I ever used when I paired it with Drop Cloth on this stool.

I’ve used it to create quite a few grain sack stripes since then, including the ones on this desk.

I also used it inside the drawers on that piece after blocking some ink stains using Dixie Belle’s B.O.S.S.

That brings me to the brightest of the four colors, and one I was only recently brave enough to use, Cobalt Blue.

It was gorgeous paired with the I.O.D. Rose Chintz paint inlay on this tackle box.

I’m not sure I’m quite ready to use it on a piece of furniture yet, but I could see mixing the Cobalt Blue with the Bunker Hill Blue to get something somewhere in between the two.

How about you, have you tried any of these colors yet?  And if so, do you have a favorite?

If not, now’s your chance.  I’m giving away a 16 oz. jar of each to one lucky winner.

And I’m even going to throw in a CD of the Very Best of The Moody Blues, just for fun.

The rules for today’s giveaway:  Simply leave a comment on this blog post (and please forgive me if I don’t respond to every one, but know that I read and appreciate all of them).

Your comment must be left on this blog post, not on Facebook or Instagram.  You are not required to follow my blog, or follow my Facebook or Instagram accounts, although it would be awesome if you did!

I will randomly draw the name of a winner for today’s prize from all of the comments left on this post by Friday, March 10, 2023 at the stroke of midnight (U.S. Central time).

The fine print: no purchase necessary, you must be 18 years of age or older to win, void where prohibited by law, the number of eligible entries received determines the odds of winning, approximate retail value of prize is $100, if the prize is not claimed by Friday, March 17, 2023 another name will be drawn at random to win, blah, blah, blah.

Thank you to Dixie Belle Paint Co for providing the paint included in today’s giveaway.

the valley of fire.

As I mentioned in a recent post, my trip to visit my mom was a bit of a roller coaster.  And that included the weather.  We saw everything from cold and blustery to warm and sunny while we were there.  There were high winds one evening, and that brought down a fairly good sized tree out behind my mom’s townhouse.  One afternoon it even snowed!  Ugh!  We went to Las Vegas to get away from the snow!

Granted, it wasn’t our Minnesota style snow.  More like just flurries in the air.  But still, not what we were hoping for.

Naturally, on our last full day the weather turned perfect.  Sunny and a high of 70.  So my sister and I decided to drive out to the Valley of Fire State Park.

We hadn’t been out there since our dad was still alive, so it was probably at least 20 years ago or more.  I’d forgotten how beautiful it is.

I think most people heading to the Valley of Fire from Las Vegas will take the interstate highway, I15.  But we were leaving from my mom’s place in Henderson and thus decided to take a more scenic route through the Lake Mead National Recreation Area.

It wasn’t until we got to the entrance gate for the Recreation Area that we discovered there was a separate $25 fee for driving through, then another $15 fee to enter the Valley of Fire (note:  one is a state park, one is a national park).  Yikes!  I have to admit, I’m not sure we would have chosen that route had we known, but there was no turning around at that point so we ponied up the cash and kept going.

Ultimately though, it was worth it for a few reasons.  First, the views along the way are pretty fabulous.

Second, we pretty much had the road mainly to ourselves (maybe because nobody else wanted to pay $25??).

That’s pretty unusual considering it was a holiday (President’s Day) and the perfect day for a road trip (and as I’ll mention in a minute, the Valley of Fire itself was mobbed).

I takes about an hour to drive this route from Henderson to the Valley of Fire, so it was nice taking this peaceful scenic route rather than a crowded interstate.

Lastly, there was some decent hiking along this road before we even got to our final destination.

We pulled off at the Redstone Dunes Trail, which is an easy 30 minute walk around some red sandstone rock formations.

This was a great place to stop and stretch our legs a bit.

One thing to note about the $25 entrance fee is that it’s good for a full week of entry.  Of course, we were on the last day of our vacation, so that didn’t really help us any.  But the Lake Mead National Recreation Area is huge, so next time we’re out visiting mom we’ll start earlier in the week and take advantage of that.

The route through the Recreation Area takes you to the east entrance into the Valley of Fire, if you take I15 you’ll end up at the west entrance.  So our initial couple of stops inside the park were still rather empty of crowds.

That gave us some time to appreciate the C.C.C. cabins in peace and quiet.

Can you imagine being able to stay in such a location for your holiday?

You could wake up to that view every morning!

Of course, you can no longer stay in these cabins but there are two campgrounds in the Valley of Fire for those of you that are campers.

There are some petroglyphs on the sandstone wall behind the cabins.

These carvings are as much as 2,000 years old.  It always bums me out to see that people have scratched over some of them with modern graffiti, which I did see here.  Things like “M.K. loves J.B” are clearly not original.  What is wrong with people?

Unfortunately, that was our last stop before we caught up to the Vegas crowds.  After making a pit stop at the Visitor Center, we headed up towards the Fire Canyon Overlook to see if we could find an available picnic spot for our lunch.

We found a spectacular view, but the picnic tables were all taken.

So we got back in the car and drove up to the White Domes Loop.  Once there, we couldn’t even find a parking spot, let alone an unoccupied picnic table.  By this time we were getting pretty hungry, so we just pulled into a parking area a ways back down the road and ate in the car.  We did have a gorgeous view from there though.

Next up we headed to Mouse’s Tank.  According to their website, “Mouse’s Tank is named for a Southern Paiute Indian renegade (“Little Mouse”) who used Valley of Fire as a hideout in the 1890s after he was accused of killing two prospectors and other crimes in the area.”

Hmmm, no sign of renegades or prospectors while we were there, but there were lots of signs of other hikers.

This is a very sandy trail, and the sand got deeper further along.  We had to take our shoes off and dump out the sand after this one.

There are supposed to be petroglyphs visible from this trail as well, but we were so busy watching our footing that we never did spot them.  Although the trail is mostly easy going over sand (sort of like walking on the beach), there are a couple of rockier spots and one area with probably about a 4′ drop to navigate.

The scenery is spectacular along the way.

After getting all of that sand out of our shoes, we made one more quick stop to check out Elephant Rock on our way out of the park.

Then we had to head back to Henderson and get our rental car returned before the place closed for the day.

No matter which route you take to get there, I totally recommend a day trip out to the Valley of Fire if you’re in the Vegas area.  Unfortunately, it will require a car.  Although there seem to be many tour companies that offer day tours out there from the strip as well.  A quick google search reveals that most of them run around $129/person though, so at that rate you may as well rent a car if there are two of you or more.  That way you can pick your own hikes and other stops along the way.

How about you?  Have you been to the Valley of Fire?  Or the Lake Mead National Recreation Area?  Or maybe you have some other tips about places to visit near Las Vegas.  If so, be sure to leave a comment and let us know.