and just like that.

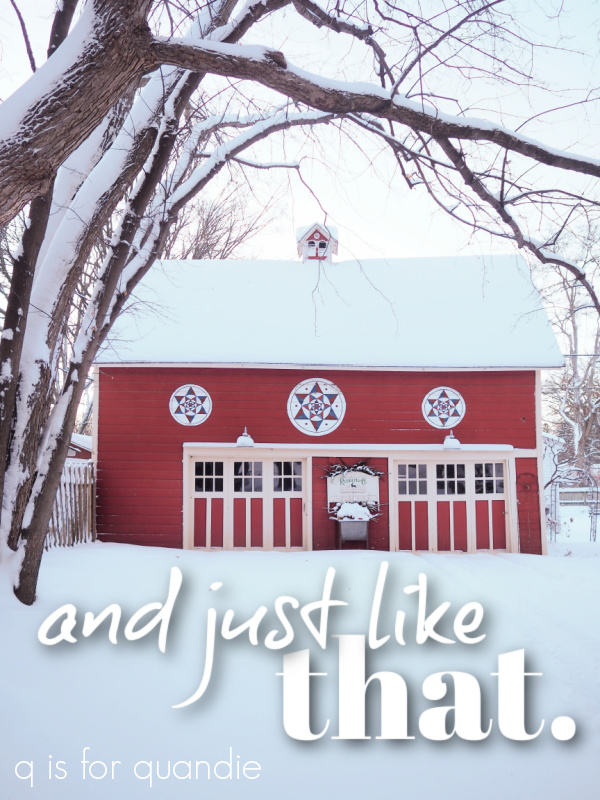
There’s nothing like a good snow day to fill you with holiday spirit.  Last week I mentioned that we could use a little more snow for good outdoor holiday photos, and just like that, we got a perfectly picturesque snowfall last Friday afternoon and evening.

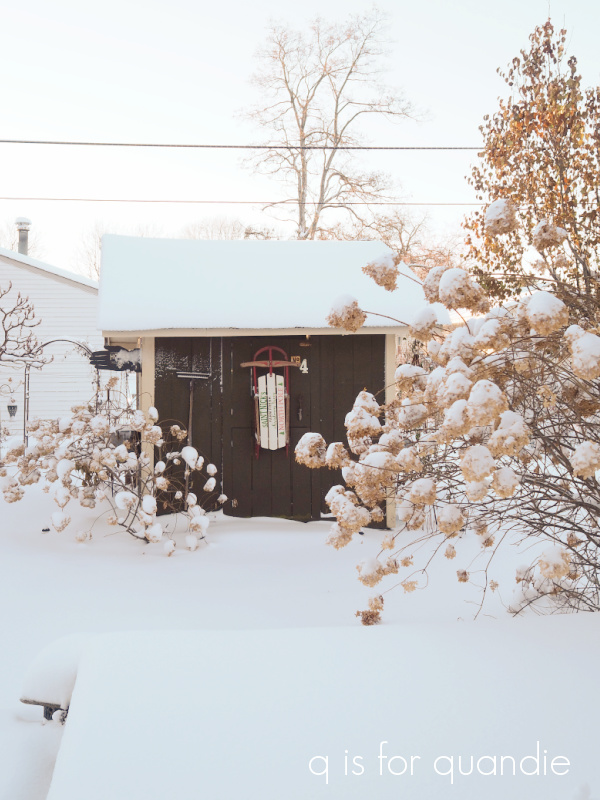
Some parts of the Twin Cities got up to 21″, but we probably got somewhere closer to 8 or 9″ here at our house.  Just the right amount to be festive, but not totally overwhelming.

And I’m sure some of you are tired of hearing about it, but boy, how fabulous to be retired and not have to commute in a snow storm!

Mr. Q and I stayed home and watched it come down.  He made his famous secret family recipe brownies, while I watched And Just Like That.  Any other Sex and the City fans out there?  I was a huge fan of that show.  I knew that they were coming out with a reboot, but I wasn’t quite clued in to the fact that I could watch it on HBO Max, which we just happened to add to our channel line up when Dune came out.  So, I’m a little behind (what’s new there?) and two episodes are out already.  Spoiler alert!  Don’t read the rest of this paragraph if you haven’t seen the show yet!  But wth?  I wasn’t expecting them to kill off Big in episode one.  Then again, it makes sense.  What would be the ongoing story line in ‘happily ever after’?  I love the fact that the characters are all around my age, and their lives have changed accordingly.  I can totally relate to Carrie trying to stay relevant with Instagram and podcasts.

But I digress.

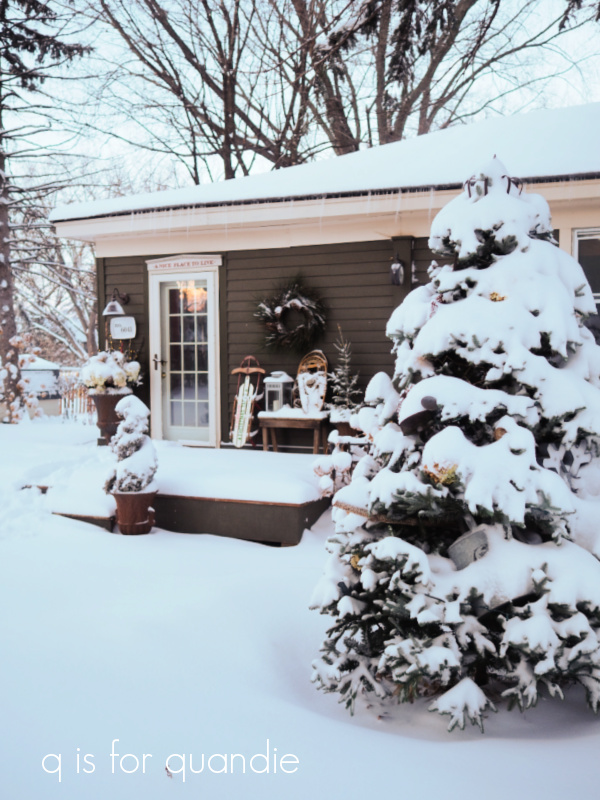
I got up early on Saturday morning as the sun was just coming up so that I could get some photos before shoveling out.

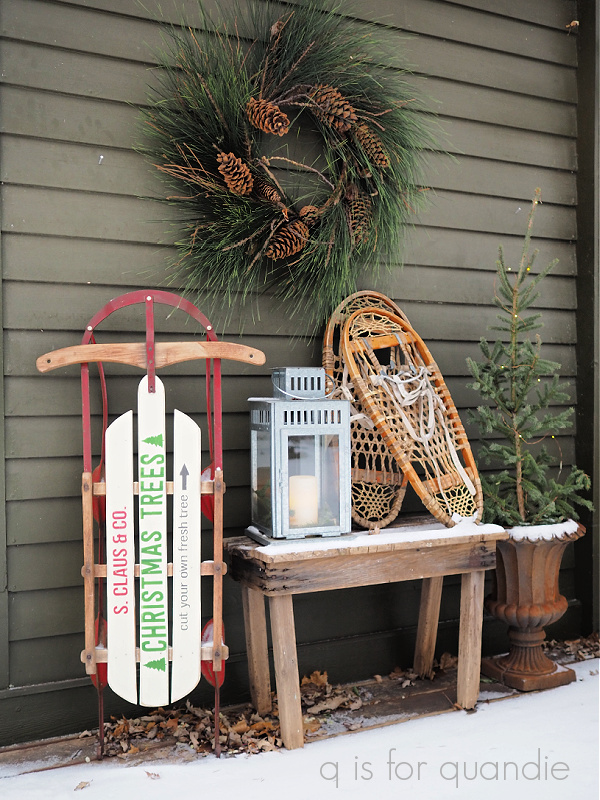
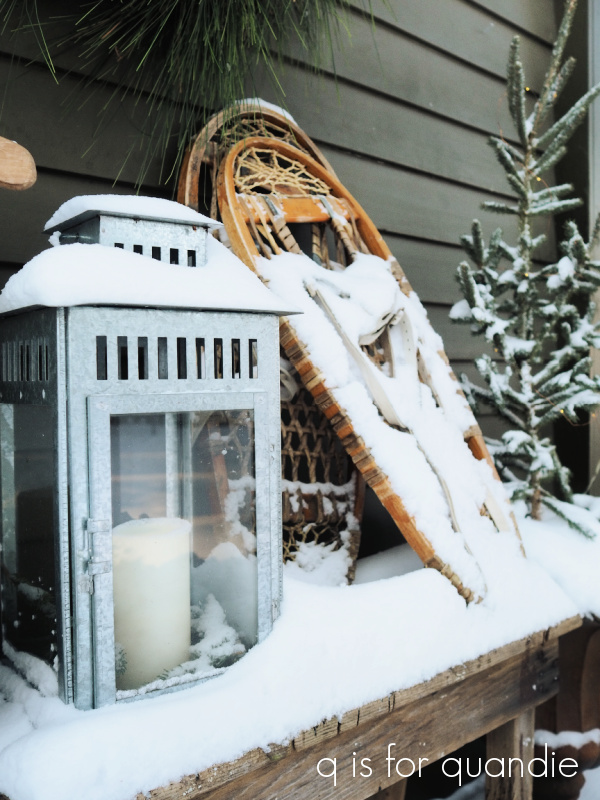
On the one hand, the snow is gorgeous.  On the other hand, it covered up a lot of my outdoor decorations!

Hmmmm.  You can’t even see the arrangement of greens in my various containers.

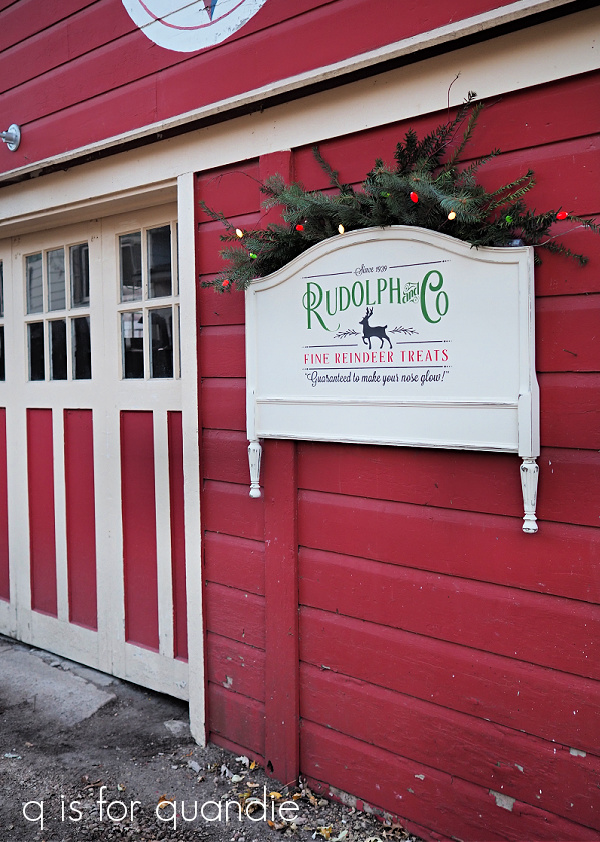
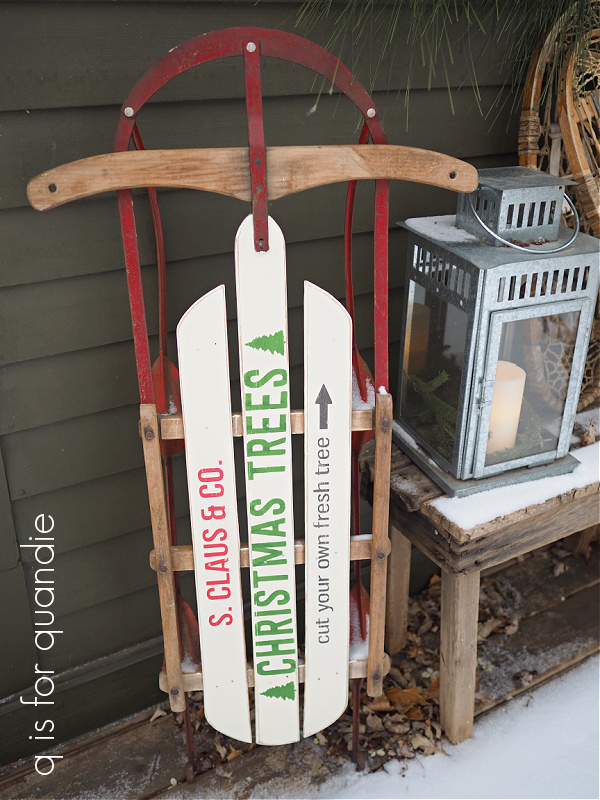
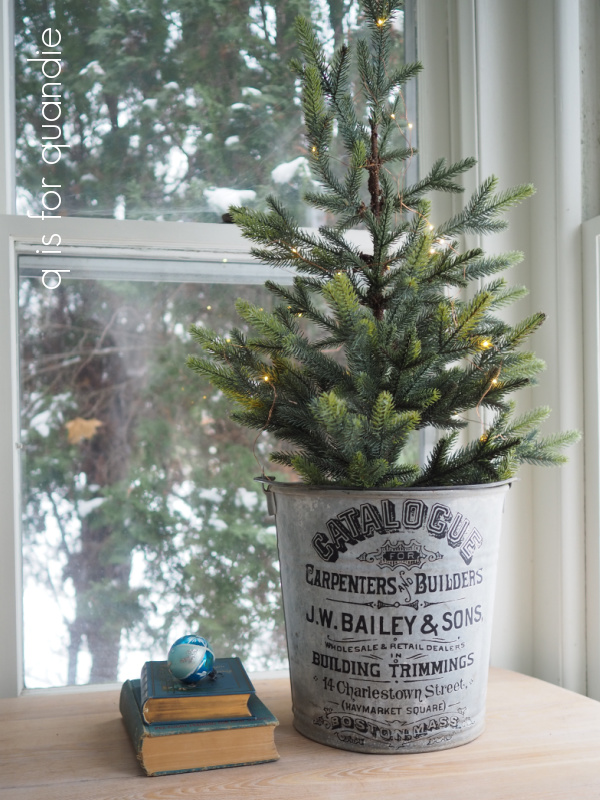
But not to worry, that snow will melt later in the week and my greenery will be revealed once again, including my garden Christmas tree (I’ll share the details on that soon).

Since I knew the snow was coming, I took some time on Friday morning to finish up my front window box.

Well, more accurately, to almost finish it up.  You see those stars?  One of my readers (thanks again Connie!) sent me three of them.  I only had enough lights on hand for two of them on Friday though.  I’d like to get the third one in there too, hopefully I’ll get to that this week.

In the meantime, I’m just going to enjoy this snowy wonderland for a bit.

There’s nothing like that first good snowfall of the year.  I absolutely love it.  How about you?  Are you a fan, or are you in the ‘snow is a four letter word’ camp?

remember that bed?

Remember that bed that didn’t sell?

I ended up repurposing the headboard into a Farmers Market sign

I was hanging onto the foot board for a similar purpose.  To make it into a sign.  Only this time one with a holiday theme.

And here it is.

I scuff sanded the foot board and gave it two coats of Dixie Belle’s Drop Cloth.  Then I added the stencil using their Honky Tonk Red, Evergreen and Midnight Sky.

I’d ordered the stencil from Wallcutz in just the right size for the foot board (sorry, can’t remember exactly which size it is, but the point is that you can order in a variety of sizes specifically to fit your item).

I love the way the curve of “Rudolph and Co” mirrors the curve at the top of the foot board.

And the classic red and green color scheme works beautifully on my red carriage house.

I debated adding a row of hooks in that bottom section, which would have made it the perfect spot to hang Christmas stockings, but I knew I’d be using this outside so I left them off.  And speaking of using it outside, I just used clear wax as my top coat.  I’ve done that on quite a few things that I use outside and I never seem to have much of an issue with it not adding enough protection.  Especially for seasonal items like this one.  It will be hung up for about two months each year, and the rest of the year will be stored inside the carriage house.

For those of you who may be newer-ish to my blog, this is my carriage house, a.k.a. the ‘garage’ a.k.a. ‘the barn’ a.k.a. my ‘workshop’ (in summer).  Technically it is a carriage house as evidenced by the doors which slide open to the side, rather than a barn.

Although our house was originally part of a dairy farm, the carriage house would have been used to store carriages and was never used to house animals like a barn would have been.

There is a 2nd floor that we use for storage.  In the summer it’s mostly empty, but in the winter we keep all of our patio furniture up there, plus a good bit of nnK’s garden furniture and pool parts.  I have thought about how fantastic it would be if I could use that space as a workshop, but carrying furniture up and down the steep staircase all the time wouldn’t be terribly practical.  And putting in an elevator wouldn’t really be practical either 😉  Also, heating it in the winter would not be cheap.  And I’m nothing if not cheap.

That’s an old photo, by the way.  We did get a little snow this week, but not quite that much, although more is coming this afternoon.  Maybe I’ll get a good opportunity to update that photo later today!

So, how do like my re-purposing of the foot board?

Although I’m starting to wind down on creating Christmas décor pieces to sell for this year, I’ll be keeping an eye out next year for more unique pieces that I can use this stencil on.

Next week I’ll share the rest of my outdoor Christmas décor, so be sure to stay tuned!

been there, done that.

I know, I know.  These craft paper scroll signs have been around for years.  As tends to be the norm for me, I’m the last one to catch on to a new (and by now, old) trend.

I really debated even sharing this project, fearing that you guys will all be thinking ‘been there, done that’.

But I’ve always wanted to try my hand at making one of these, and I never found the time when I was a 9 to 5’er.  Now that I am retired, I’m going to have time to get to more of these little side projects.

Not only that, but for me this project was completely free, only requiring supplies that I already had on hand.  Now that I’m on a fixed income, I’ll need to be watching my budget more closely.  Ha … who am I kidding?  I’ve always been a penny pincher, nothing has changed there.

First up, I gathered my supplies.  I always have a giant roll of brown craft paper on hand.  In addition, I pulled out my Dixie Belle paint in Caviar, my re.design with prima 1.5″ wax brush (which works great for stenciling larger designs), some stencils and some string (oh, and not pictured, some paper toweling and some Frog tape).

I rolled out a section of the kraft paper and weighted down the ends with heavy items that were close at hand to keep it from rolling back up as I worked.  Then I used yellow Frog tape to secure my stencil (I ended up going with my North Pole Trading Co stencil from Wallcutz).  I left about a foot of paper at the top and bottom to roll up later, and then cut this piece from the roll.

The yellow Frog tape is the one for delicate surfaces and I really recommend it for this project in particular because it won’t leave a mark on your craft paper when you pull it up.

Libby left me a comment last week suggesting I write a post about my stenciling technique, and I plan to do a more detailed one later, but for now, here is one of my most important q tips … always use a dry brush for stenciling.

What does that mean?  Well, basically you load your brush with paint and then dab most of it off onto a paper towel before using it.  It feels rather wasteful, but it’s the best way to get a clean result.

Another of my stenciling recommendations is to use a thicker paint.  In this case, I am at the very bottom of this particular jar of Caviar.  I’ve gunked up the threads on the jar so badly with dried on paint that the lid no longer seals tightly.  As a result, the paint has really thickened up, making it perfect for stenciling!

Patience is also key while stenciling.  If you aren’t getting immediate coverage with your dry brush, that’s OK.  Wait for the first coat to dry and then go back over it with a 2nd coat.  Just make sure your stencil hasn’t shifted in the meantime.

Once the paint was dry, I used my Carpenter Square to make a pencil line where I wanted to trim down the width of my craft paper.

After trimming off the excess on the side, I simply rolled the top and bottom and secured the rolls using paper clips.

Then I threaded my string through the top roll, tied it in a bow, and hung my scroll on the wall.

Ultimately I felt like it needed just a little something more, so I added a garland of faux greenery to the top to dress it up.

This project couldn’t have been more simple, or more cheap.

Have you ever tried making a craft paper scroll?  Am I hopelessly behind the times with this project?  Been there, done that?  Leave me a comment and let me know.

a handful of stragglers.

First up, congrats to Jeanne Raway!  I drew her name to win my blogiversary giveaway.

Now, on with today’s post.

Way back before I went to Disney World in early November, I brought a load of Christmas items in to the shop where I sell on consignment, Reclaiming Beautiful.  At the time, I definitely thought I’d be painting up many more things and bringing them in.  And then life intervened and I spent a bunch of time and energy on arranging to retire from the day job.  And somehow I just haven’t quite managed to make it back down there again.  Now I feel like the Christmas decorating season is winding down and I may have missed the boat on that.  Do most people buy decorations well before the holiday so that they can enjoy them for a while?  Or is that just me?

Either way, I have a handful of stragglers that haven’t made it into the shop, and I thought I’d share them here today and see if any locals what to snatch them up (must be able to pick them up at my house in Oakdale, MN).

First up is one more stenciled sled.

It looks pretty cute on my deck …

but I have another very similar sled that I’ve kept for myself for this spot.  So this one is up for grabs.  It is 46″ tall by 22″ wide.  It’s for sale at $50.

Next up is this bucket (tree not included).

The bucket itself isn’t especially Christmas themed, but it’s the perfect container for a small tree.  And as a bonus, you can use the bucket year round for other things.

The bucket is $40.

And I have a 2nd bucket …

The buckets work well with a Christmas floral arrangement too.

This one is also available for $40.

I completely missed bringing this pair of ice skates into the shop this year.

I actually created these last year, but they didn’t sell.  So I put them away, and then forgot all about taking them back in to the shop again.

They would be fabulous filled with greens and hung on the door instead of a more traditional swag.

The skates are $28 (greens not included).

Last up is one more cupboard door sign.

It would be perfect for holding a couple of Christmas stockings.  Or maybe hang some mittens from those knobs.

It is 25″ wide x 10.5″ tall and is available for $28.

If any of you locals are interested in these items, be sure to shoot me an email at qisforquandie@gmail.com.

milk and cookies.

Unfortunately, I neglected to get a ‘before’ picture of the pair of kid sized chairs that my picker, Sue, found for me last summer and I’m sharing here today.  Gosh, I’ve really been bad about that lately, especially with these Christmas items.

Anyway, I don’t have a ‘before’, but here is the after.

These chairs were a little bit smaller than the kid sized chairs I’ve painted in the past …

So the Christmas Farm stencil wasn’t going to fit on their seats.

I measured the seats of the chairs and determined that the 9″ x 9″ version of the Milk and Cookies stencil from Wallcutz would fit perfectly though.  So I ordered it a while back and had it ready and waiting.

I painted the chairs in Dixie Belle’s Drop Cloth first.  Then I decided it would be fun to do one of the chairs in traditional red and green, and the other in a more neutral palette so that you all could see a comparison.

To give the design a little more depth, I added a shadow to the ‘milk & cookies’ wording on the neutral version using Dixie Belle’s Coffee Bean.

To accomplish that, I simply stenciled just that portion first in the Coffee Bean.  Then I moved the stencil just a hair up and over and stenciled the entire design in Dixie Belle’s Putty.

So cute!  And perfect for those who aren’t necessarily fans of the traditional Christmas colors.

For the red and green version, I decided not to add a shadow.

I wasn’t sure what color I could use that would look good, so I went without.

Still super cute I think.

They are the perfect size to tuck under the Christmas tree, and a great spot to leave out the milk and cookies for Santa!

I took these chairs into the shop back before I went to Disney World (gosh, that seems like forever ago now!), so I’m fairly sure they are no longer available.  But which one would you choose?  Traditional red and green, or the more neutral option?  Leave me a comment and let me know!

once in a blue moon.

If I do say so myself, I think I’m pretty good at letting go of the things that I create.  Many of you often leave comments saying that you wouldn’t have been able to part with this or that, and I know what you mean.  But for the most part, I am happy to sell my items on for someone else to enjoy.

But every once in a blue moon I finish something and realize that I don’t want to part with it.  Such is the case with today’s project.

I purchased an old wooden grain shovel (or at least that’s what I was told it is) at a barn sale last summer.  I paid a little more for it than I usually would spend on such items, mainly because it had the perfect surface for a stencil.  I was immediately able to picture it dressed up for the holidays!

Unfortunately, once again I neglected to get a ‘before’ photo … I’m going to work on being better about that.  If I had one, I’d insert it here 😉

I had purposely purchased the Rudolph & Co stencil (from Wallcutz) in a size that would fit on the toy truck that I shared last week …

and coincidentally, it also just happened to be the perfect size to fit on this shovel.

As you can see, once again I went with my black and white color scheme.  I painted the background in Dixie Belle’s Midnight Sky, and then stenciled using their Drop Cloth.

Next up I used clear wax on the entire thing, which freshened up the remaining unfinished wood without taking away from its vintage patina.

I hung it on the wall next to the cupboard in my piano room.  It works perfectly with the rest of the black and white Christmas décor that I use in that room.

Is it weird that I use a perpetual calendar as Christmas décor?

I know that a lot of people would be tempted to dress up the handle of the shovel with some greens and maybe some ribbon, but I like the simplicity of it without that.

Maybe I’ll grow tired of the grain shovel, and next year I’ll sell it on.  But for now I think I’m going to hang onto it.

How about you, do you have a hard time letting go of things?  Or are you more like me, keeping only the really special ones, and letting the rest go to be enjoyed by someone else?