a boxwood farmhouse table.

Way back in early summer I picked up this farmhouse table at the ECCO neighborhood garage sales (along with that first mini cabinet!).

ECCO 1

Personally, I’m not a fan of the leaving the leaves on these tables.  They are ten times more fabulous without their leaves.  So I removed the leaves and saved them for a future project.

I took my inspiration for this table from this pin.

photo by Embellish & Restore

And accordingly, I painted the base in MMS milk paint in Boxwood.  I purposely did no sanding at all because I wanted to maximize chipping for a beat up farm table look.

boxwood farmhouse table

And I did end up with some fantastic chippyness.

boxwood chippy

And I love the green base with the beat up wood top.

Farmhouse table painted with MMSMP in boxwood

I staged this table as a desk with a vintage Underwood and some old books in varying shades of green …

Farmhouse table with vintage typewriter and books

And with the most charming little chair …

boxwood chair

Believe it or not, no one purchased this desk at the Carriage House sale.  I’ve been trying to think of a spot for it in my own house, but I haven’t come up with anything yet.  I’ll keep thinking about it though.  In the meantime, how about you?  Need a fabulous chippy farmhouse table?

the best of both worlds.

When I popped by the Farmhouse Inspired booth at Oronoco Gold Rush back in August, the owner Jody told me she was giving demos on a layering technique that she has been using lately.  She showed me a painted chair that she was using for the demo, and it was fab.  So, I tucked that little bit of info away in the back of my head.  It popped back up when I came across this blah little oak chair that I purchased at a garage sale while my sis was here.

layered chair before Basically, the twist on this layering technique is that you get the best of both worlds; chalk paint and milk paint.  You’ve probably seen the comparisons, the pros and cons of each product.  They both have their place in my heart.  Some projects are more suited for milk paint, and some for chalk paint.  But with this technique, you can take advantage of the best qualities of both!

You start with an undercoat of chalk paint.  Using the chalk paint eliminates the need for much, if any, prep work at all since it will stick without chipping or flaking.  This gives you a base color that can then show through your 2nd layer, which will be milk paint.

In this case, I skipped the prep.  No sanding, no cleaning, no nothin’.  I just painted on one coat of Annie Sloan’s Aubusson.

layer no 1

Oooooo, pretty!  Of course, this is without any sanding or waxing; so far you only see the chalky finish that comes with chalk paint.

Next I wanted to make sure I got lots of chippy-ness with my milk paint, so I used a hemp oil resist.  Basically all this means is that I added a layer of hemp oil in all the spots on the chair that I wanted to get chippy.

hemp oil

Then I mixed up some MMS milk paint in Eulalie’s Sky, and I left it slightly thicker than usual.  I painted on one thick coat.  Since I wanted extra chipping/crackling, I gave it a shot of heat with my blow dryer (this is not the same blow dryer I use on my hair, I swear).

You can see that it is starting to chip from the blow drying.

blow drying

I then left the chair to fully dry overnight.  The next evening I got out the sand paper and sanded harder in areas that I thought would be more worn naturally, and a little more lightly everywhere else.  I was hoping for a lot more chipping, but I did get some fairly realistic looking chips.

sanded chairI was able to sand lightly down to the undercoat in some areas, which gives a worn appearance.  I finished by vacuuming away the dust and adding a final coat of MMS furniture wax.  Here is the final result.

layered chair finalIt’s pretty sweet.

chair final close up

You’ll probably see me experiment with this some more in the future.  I think Annie Sloan’s Duck Egg would make a lovely undercoat with some MMSMP in Linen on top.  I’ll keep you posted if I give that a try!

a great success.

I should have trusted that a little cold and blustery weather wouldn’t keep Minnesotans (and a few Wisconsinites) away!  In the end, a good time was had by all at the Carriage House sale.  I tried to get decent pictures, but most of them were total crap.  I got only 2 that were even remotely blog worthy!

2014 Fall Carriage House Sale

Let’s see … both of my painted chairs sold (more on the blue one soon).  The cute little “Let it Snow” suitcase sold, but the striped one did not.  The globe is long gone (people still love globes!), but the table and the mystery cabinet didn’t sell.  Darn.

2014 Fall Carriage House sale

As for this one .. um, well, absolutely nothing pictured here sold.  I still have it all.  Anyone need a chalkboard door?  This door was inspired by a photo on pinterest:

photo via pinterest
photo via pinterest

I’d keep it myself, except I already have a chalkboard door at my house.  I try not to get too redundant at home.  I may put this one on craigslist and see if it sells that way, unless any of you need a chalkboard door ($40).  It has a fantastic vintage doorknob plate that you can see in my photo.

Despite that fact that not much in these two pictures sold, I actually sold quite a bit of furniture.  Probably more pieces than I’ve ever sold at my sale before.  So that was pretty exciting.  I was really thrilled that three of my little painted miniature cabinets sold.  I was worried that perhaps I was the only one with such a fascination for all things tiny, but apparently not!

Best of all, the sale was just a lot of fun.  I love to see familiar faces that have been coming to my sale for years as well as some new faces.  And I also am very grateful each year for my friends that come and help me out.  I couldn’t do it without them, and they all are willing to help year after year, which is quite awesome.

Now it’s time to clear out the Carriage House to make room for the vehicles, bring all of the supplies inside the house so they don’t freeze, and start thinking about how I’m going to get my furniture painting fix indoors again this winter.  Thanks goodness MMS’s milk paint has zero VOC’s!

brrrrrrrr.

Today is the day!  And we are going to freeze our buns off.  I hope the cold doesn’t keep the shoppers away!  Unfortunately, my team and I will be out in it for about 6 hours or so (including set up).  We aren’t quite ready for this weather yet.  Heck, last weekend it was 80 and sunny!  Remind me why we didn’t pick that weekend for our sale?  Oh yeah, I didn’t want to compete with Junk Bonanza (as if I could).  That was foolish.  Next year we might have to rethink that idea.

But meanwhile, here we are.  It’s supposed to be 36 degrees and cloudy at 10 a.m.  Oh my.  But, the show must go on!

We have tons of great stuff.  I tried my darndest to get some good photos to share with you, but it was gloomy yesterday and the Carriage House does not have the best lighting.

2014 Carriage House Sale

 Remember I said we had lots of plates?  Yep, we do.

Pretty floral china

Also, since this is our last sale of the year, we brought out all of our holiday goodies from Halloween …

Fab skull

through Christmas …

Christmas colors

Christmas stuff

We also just have a slew of super fab vintage stuff.  Like this Super Lectric fan and mercury glass thermos …

super lectric fan

And I just love this little framed map of Minnesota.  It has a great vintage look, wouldn’t it be cute hanging in a cabin?

vintage MN map

We have a nice selection of vintage silver.

vintage silver

My farmhouse style table painted in MMS Boxwood would work great as a desk.

Boxwood desk for blog

There really is so much more, but this is all I have time to show you!  I’m off to try and stay warm, and cross my fingers that customers are going to show up.  Wish me luck!

the carriage house sale!

We’ve been preparing for months.  Slaving away with a paintbrush, gathering up fab vintage finds, re-purposing other people’s cast offs and just generally enjoying the process.  And now, it’s here!

We have furniture galore!

2014 Furniture by qisforquandie.com

2014 Furniture by qisforquandie.com

And lots of fabulous vintage finds!

2014 Fall Carriage House Sale preview

Special note:  new this sale, we will be accepting credit cards for purchases over $50!

If you live in the Twin Cities, we hope you can swing by!  Please remember, no one gets in early.  Doors open at 10 a.m. on Saturday, October 4.

tiny cupboards.

In the wine, makes me feel happy, makes me feel fine.  Bubbles, cupboards … get it?  Oh never mind.

It has been the summer of the tiny cupboard.  Sometimes it goes this way, there is a particular unique item that keeps reappearing at multiple garage sales.  This summer it was the tiny cupboard.

I bought this one first, and painted it in Sweetie Jane milk paint, remember?

sweetie jane title

When I bought this one, I had never seen anything like it before.  I thought it was doll furniture.  I could tell that it had some age to it, but I wasn’t sure how much.  This one has a mirrored back and little lights inside.  I thought it was completely unique.

So, imagine my surprise when I found its twin sister at the Lake of Isles garage sales!  It’s twin does not have mirrors or lights, but otherwise is pretty identical.  I actually wasn’t going to purchase the twin, but the seller wouldn’t let me walk away.  He kept lowering his price until I simply had to say yes.

Not only that, but he also insisted I purchase its companion.  Yet another tiny cupboard!

tiny cupboard before

I know this one is very ‘grandma’s tea cup collection’, but I took it home thinking that perhaps I could give it a fab makeover.

I gave it a coat of MMSMP in Trophy, which went a long way towards improving it.   A little distressing helped give it some character.  Then I covered the mirror at the back with a page out of an old plat book for Washington County.  I staged it with some of my old cameras and my painted books, and voila!

grey cupboard

 As for Sweetie Jane’s twin, I painted it in MMS milk paint in Apron Strings.

apron strings cabinet

I used a bit more of my vintage wallpaper stash to line the shelves.

apron strings cabinet 2

Later, at the Falcon Heights garage sales, what did I find but yet ANOTHER cupboard exactly like this.  Only this time the seller wanted $40 for it!  Ha.  As if.  I did not buy that one!  But out of curiosity, I did a little googling.  And I found a slew … well, OK, three … of these on eBay.  One that sold for $80!  I didn’t find much information on them, but from what I see, I think these were always intended to just house collectibles for display, not as doll furniture.  I doubt they are valuable or anything, but they are vintage.  I think they are the perfect size for American Girl Dolls and would be fun play furniture for them.

These tiny cupboards, plus this one from last spring, will all be available at the Carriage House Sale!

tiny hutch after

wall o’ plates.

We return to pinterest for some more inspiration today.

Have you considered adding a wall of plates in your home?  I love this look and have been stockpiling plates for years.  I used to keep them all on display in my summer house, but now that I have converted it to a photo cottage, I just don’t have a home for all of these plates.  Therefore, I’m selling a lot of them at my Carriage House Sale.  And the prices are dirt cheap at $3 to $6 each.

So, how about some ideas for plate walls?

One of my favorites is this one that includes a customized house number plate.

source:  onsuttonplace.com
source: onsuttonplace.com

Use number decals to add the numbers! Or just add a touch of whimsy above a chalkboard with number plates (click on the photo below to link directly to love grows wild’s post about how to add the numbers with a Silhouette machine).

source:  lovegrowswild.com
source: lovegrowswild.com

Or you could update the look with a more asymmetrical design such as this one.

soure:  mmmcrafts
soure: mmmcrafts

Or like this charming display for the kitchen.

source:  house & home
source: house & home

One of my all time favorites is this display that mirrors the shape of the headboard.

source:  the screaming meme
source: the screaming meme

I don’t happen to have any fish plates at my sale, but I am loving this look for a cabin or lodge.

source:  countryliving.com
source: countryliving.com

You could take a lesson from Miss Mustard Seed and arrange monochromatic platters from large to small.

source:  Miss Mustard Seed
source: Miss Mustard Seed

One last clever idea, add word decals and use for a wedding reception!

source:  style me pretty
source: style me pretty

Let’s face it, there are a lot of fun ways to use pretty vintage plates.  Stock up on some at the Carriage House Sale!

it had to be yellow.

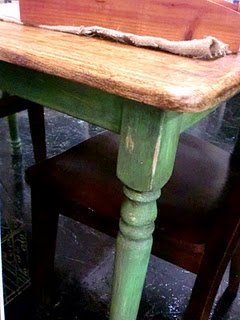
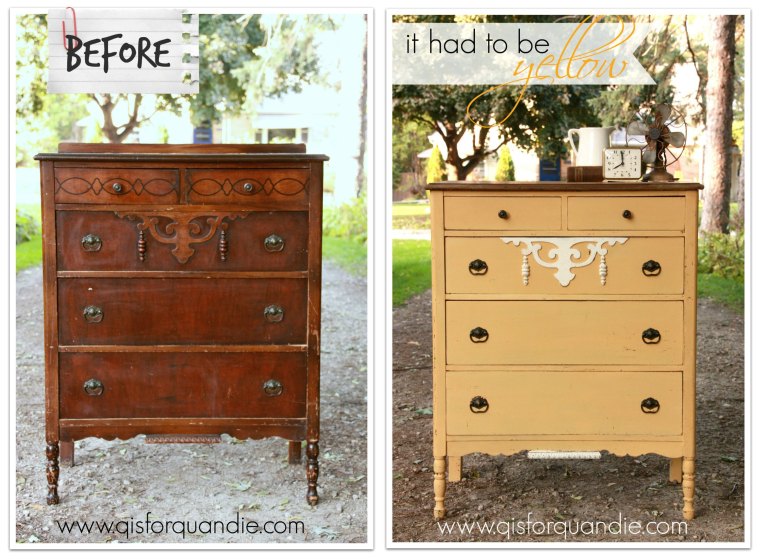
Last week my co-workers Sue & Cathy and I went garage saling over our lunch hour, and I picked up this dresser.

yellow dresser before

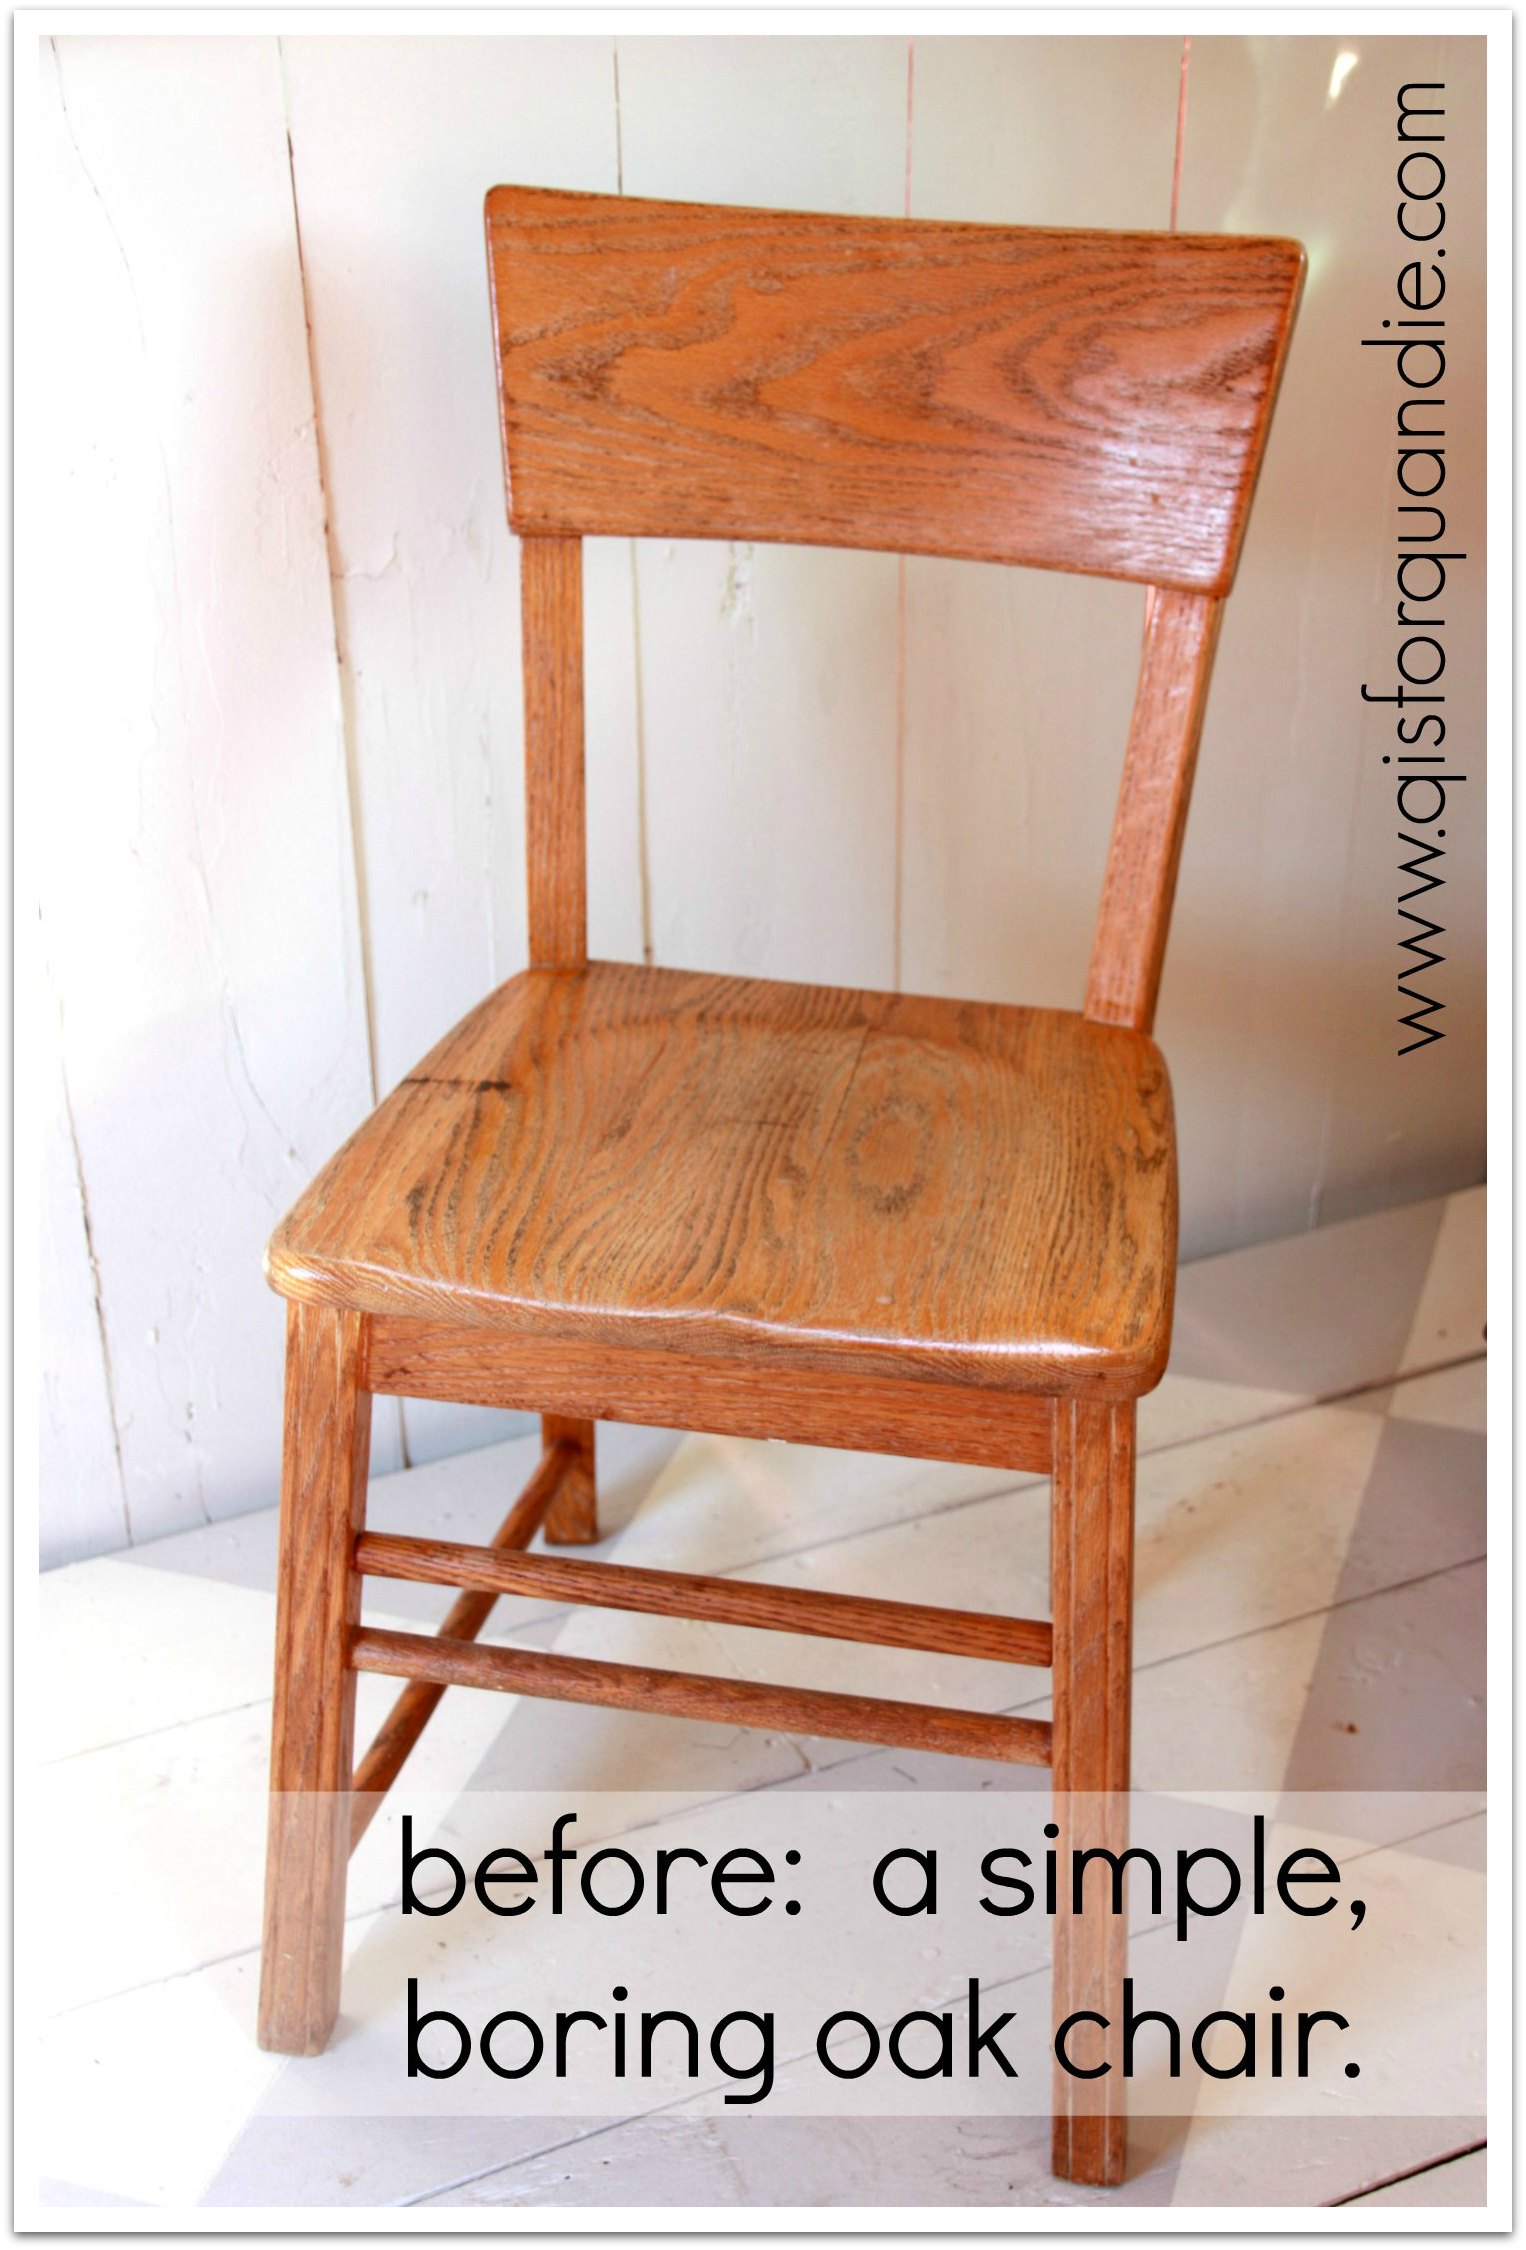
It was pretty beat up, as you can sort of see in the ‘before’ picture.  But on the plus side, it had all of the original hardware, the drawers all worked well, and I knew it would be much cuter painted.

I really thought about painting it in MMS Kitchen Scale, but in the back of my mind I just kept seeing it painted yellow.  Then I realized why.  It’s basically the same style as this famous piece by Miss Mustard herself.

MMS yellow dresser

In fact, take a close look, aside from the shape (tall v. wide), it is the same dresser.  I assume they are the gentlemen’s and ladies’ version of the same bedroom set.

In the end I decided, why fight it?  I can only see it painted yellow, so yellow it shall be.  I will call it an homage to the incredible style of Miss Mustard herself.

yellow dresser after

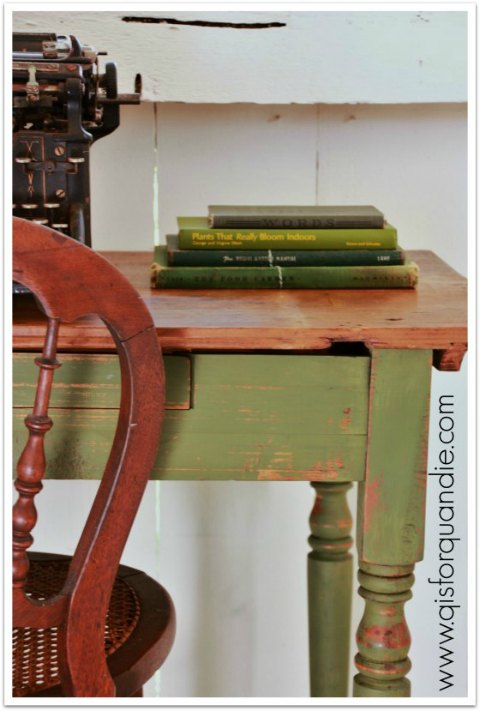
Let’s go ahead and point out how my version pales in comparison to Miss Mustard.  First, the pattern on the top drawers.  You can see that this pattern was there originally.  I don’t think it was an actual inlay, but just stained to look like an inlay.  Once painted, I could barely even see the outline.  I very much admire Marian’s ability to paint designs like this free-hand on her drawer fronts, but I do not have that skill.  So my upper drawers remained plain.

yellow close up

Miss Mustard also painted some of the bands around the front legs of her dresser white, and I did not think to do that.

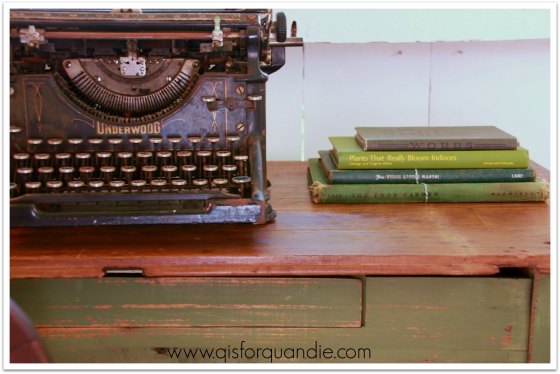
As for the top, Miss Mustard stripped and stained the top of her dresser in Dark Walnut.  I just stripped and added a dark wax to mine.  I think her’s is better.  Although I will say that I think if someone is looking for a more rustic, aged look, mine fits that bill.

yellow dresser top

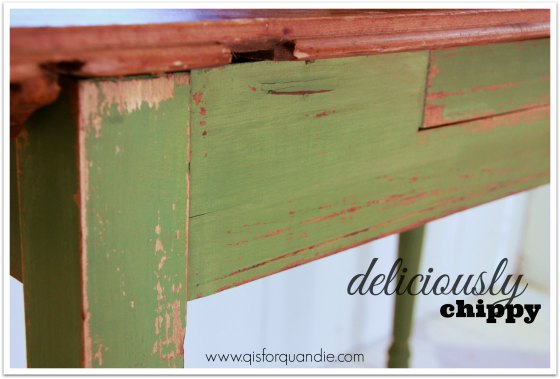
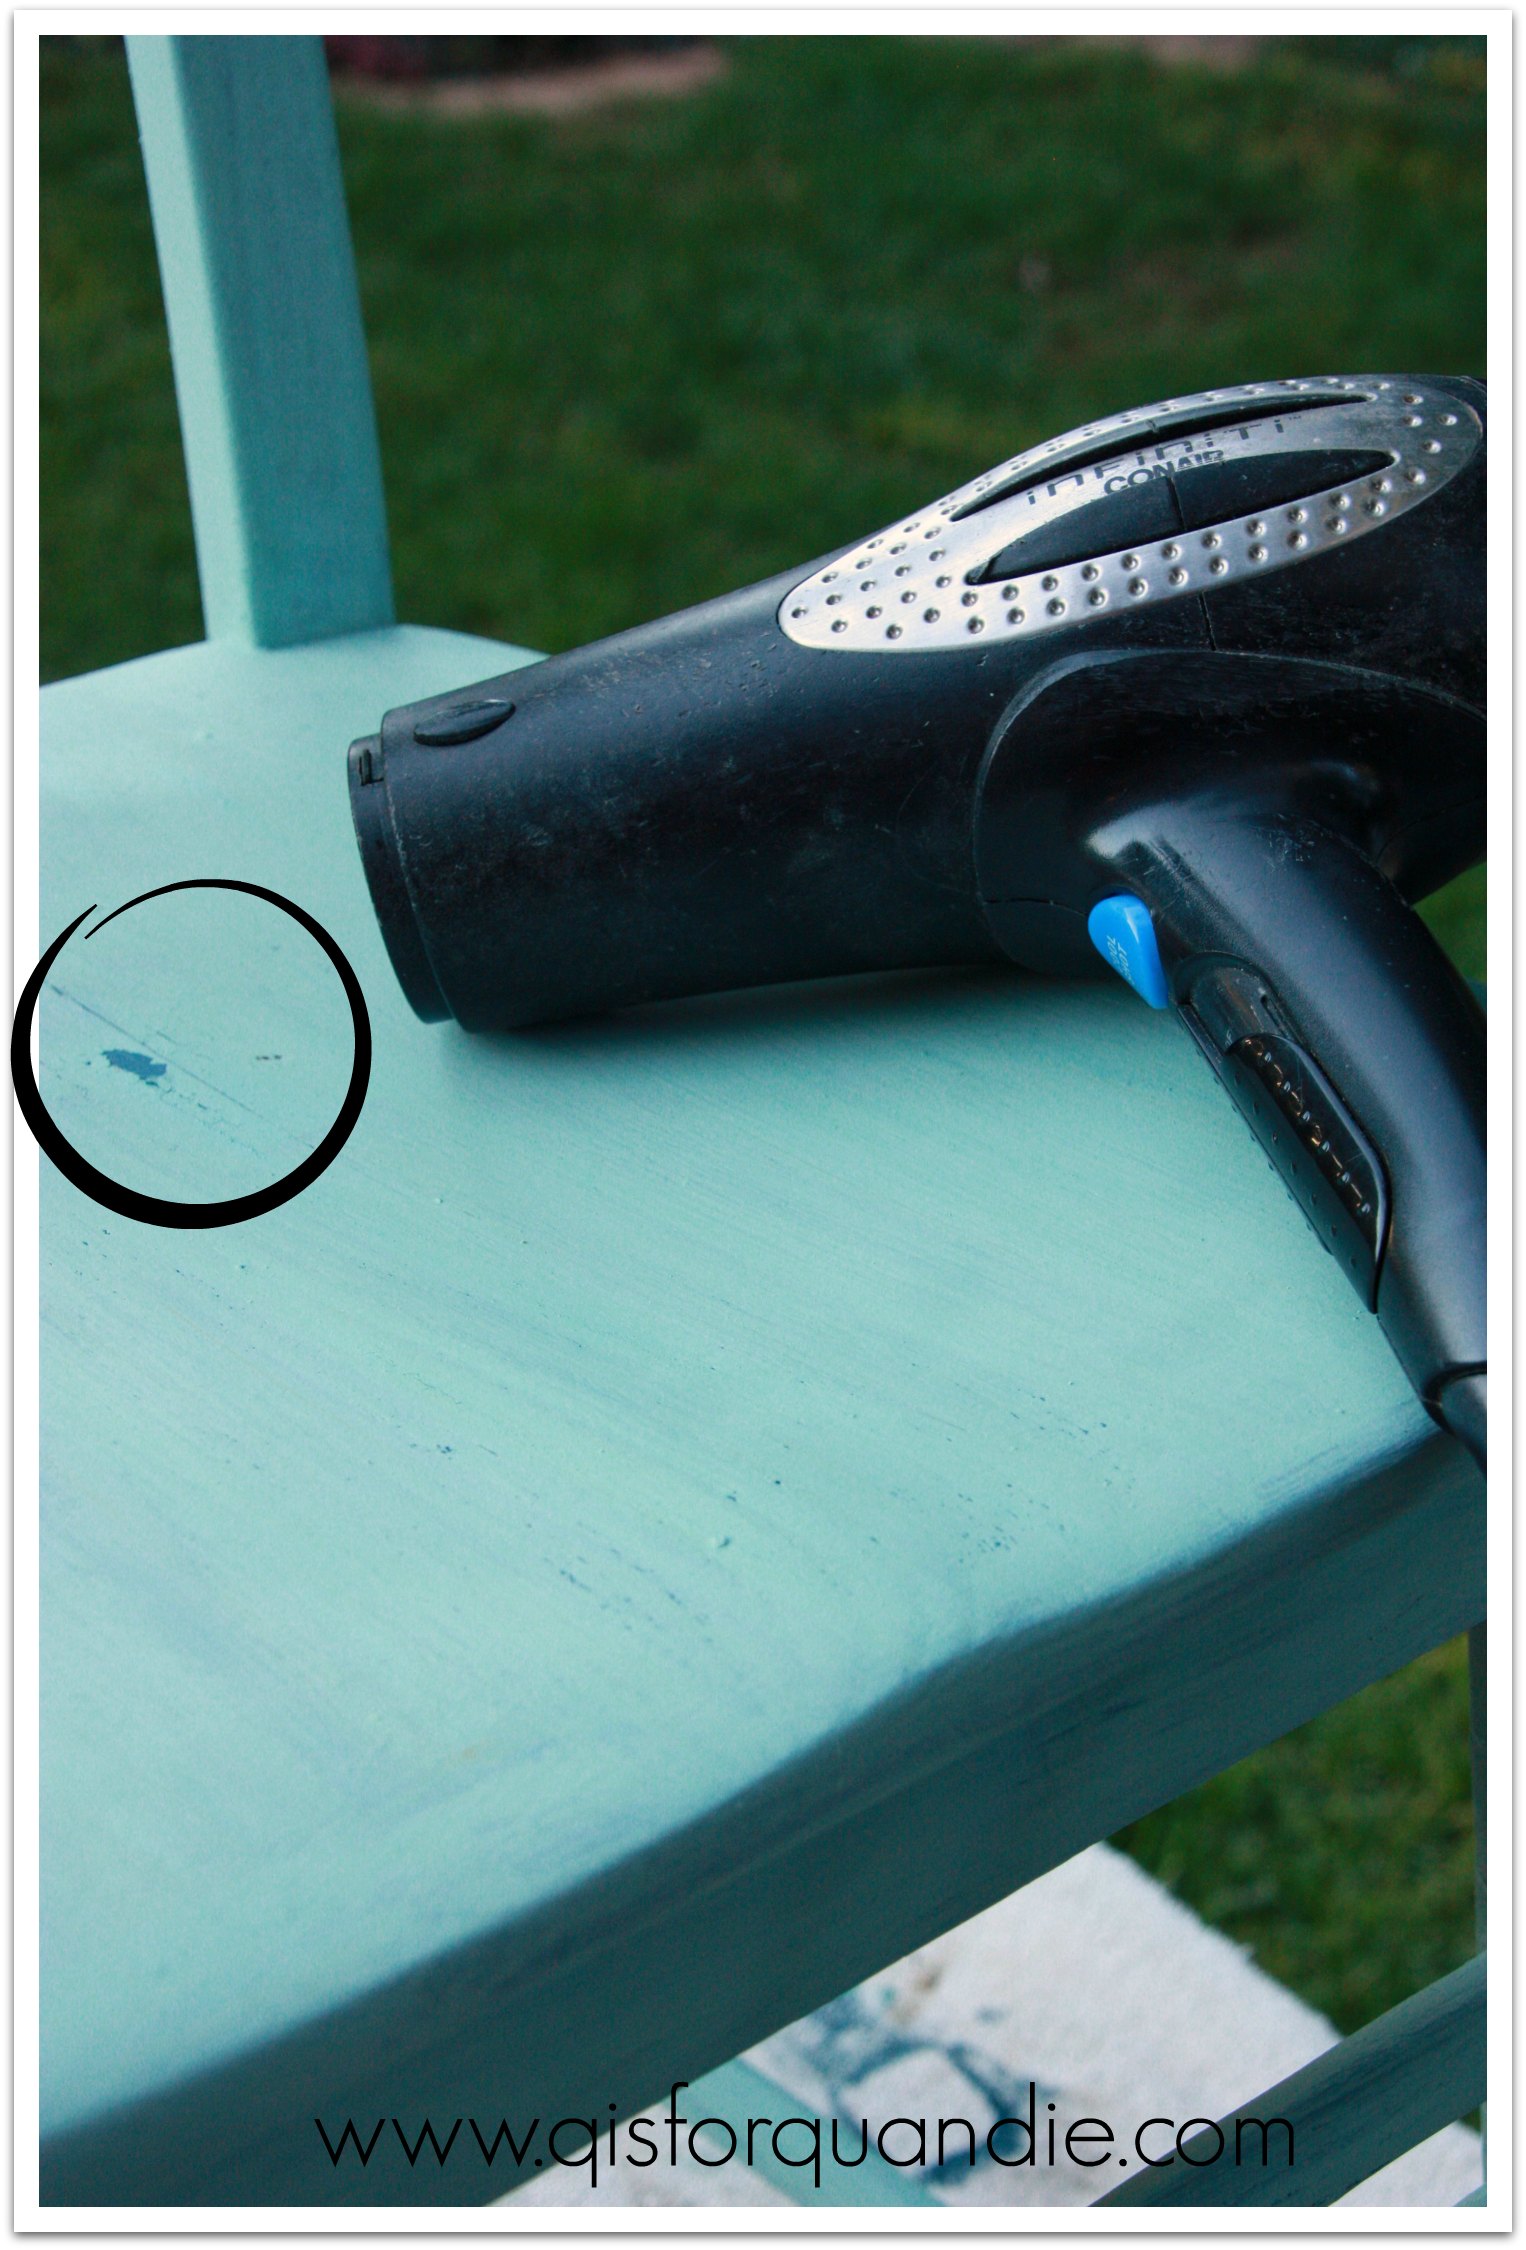
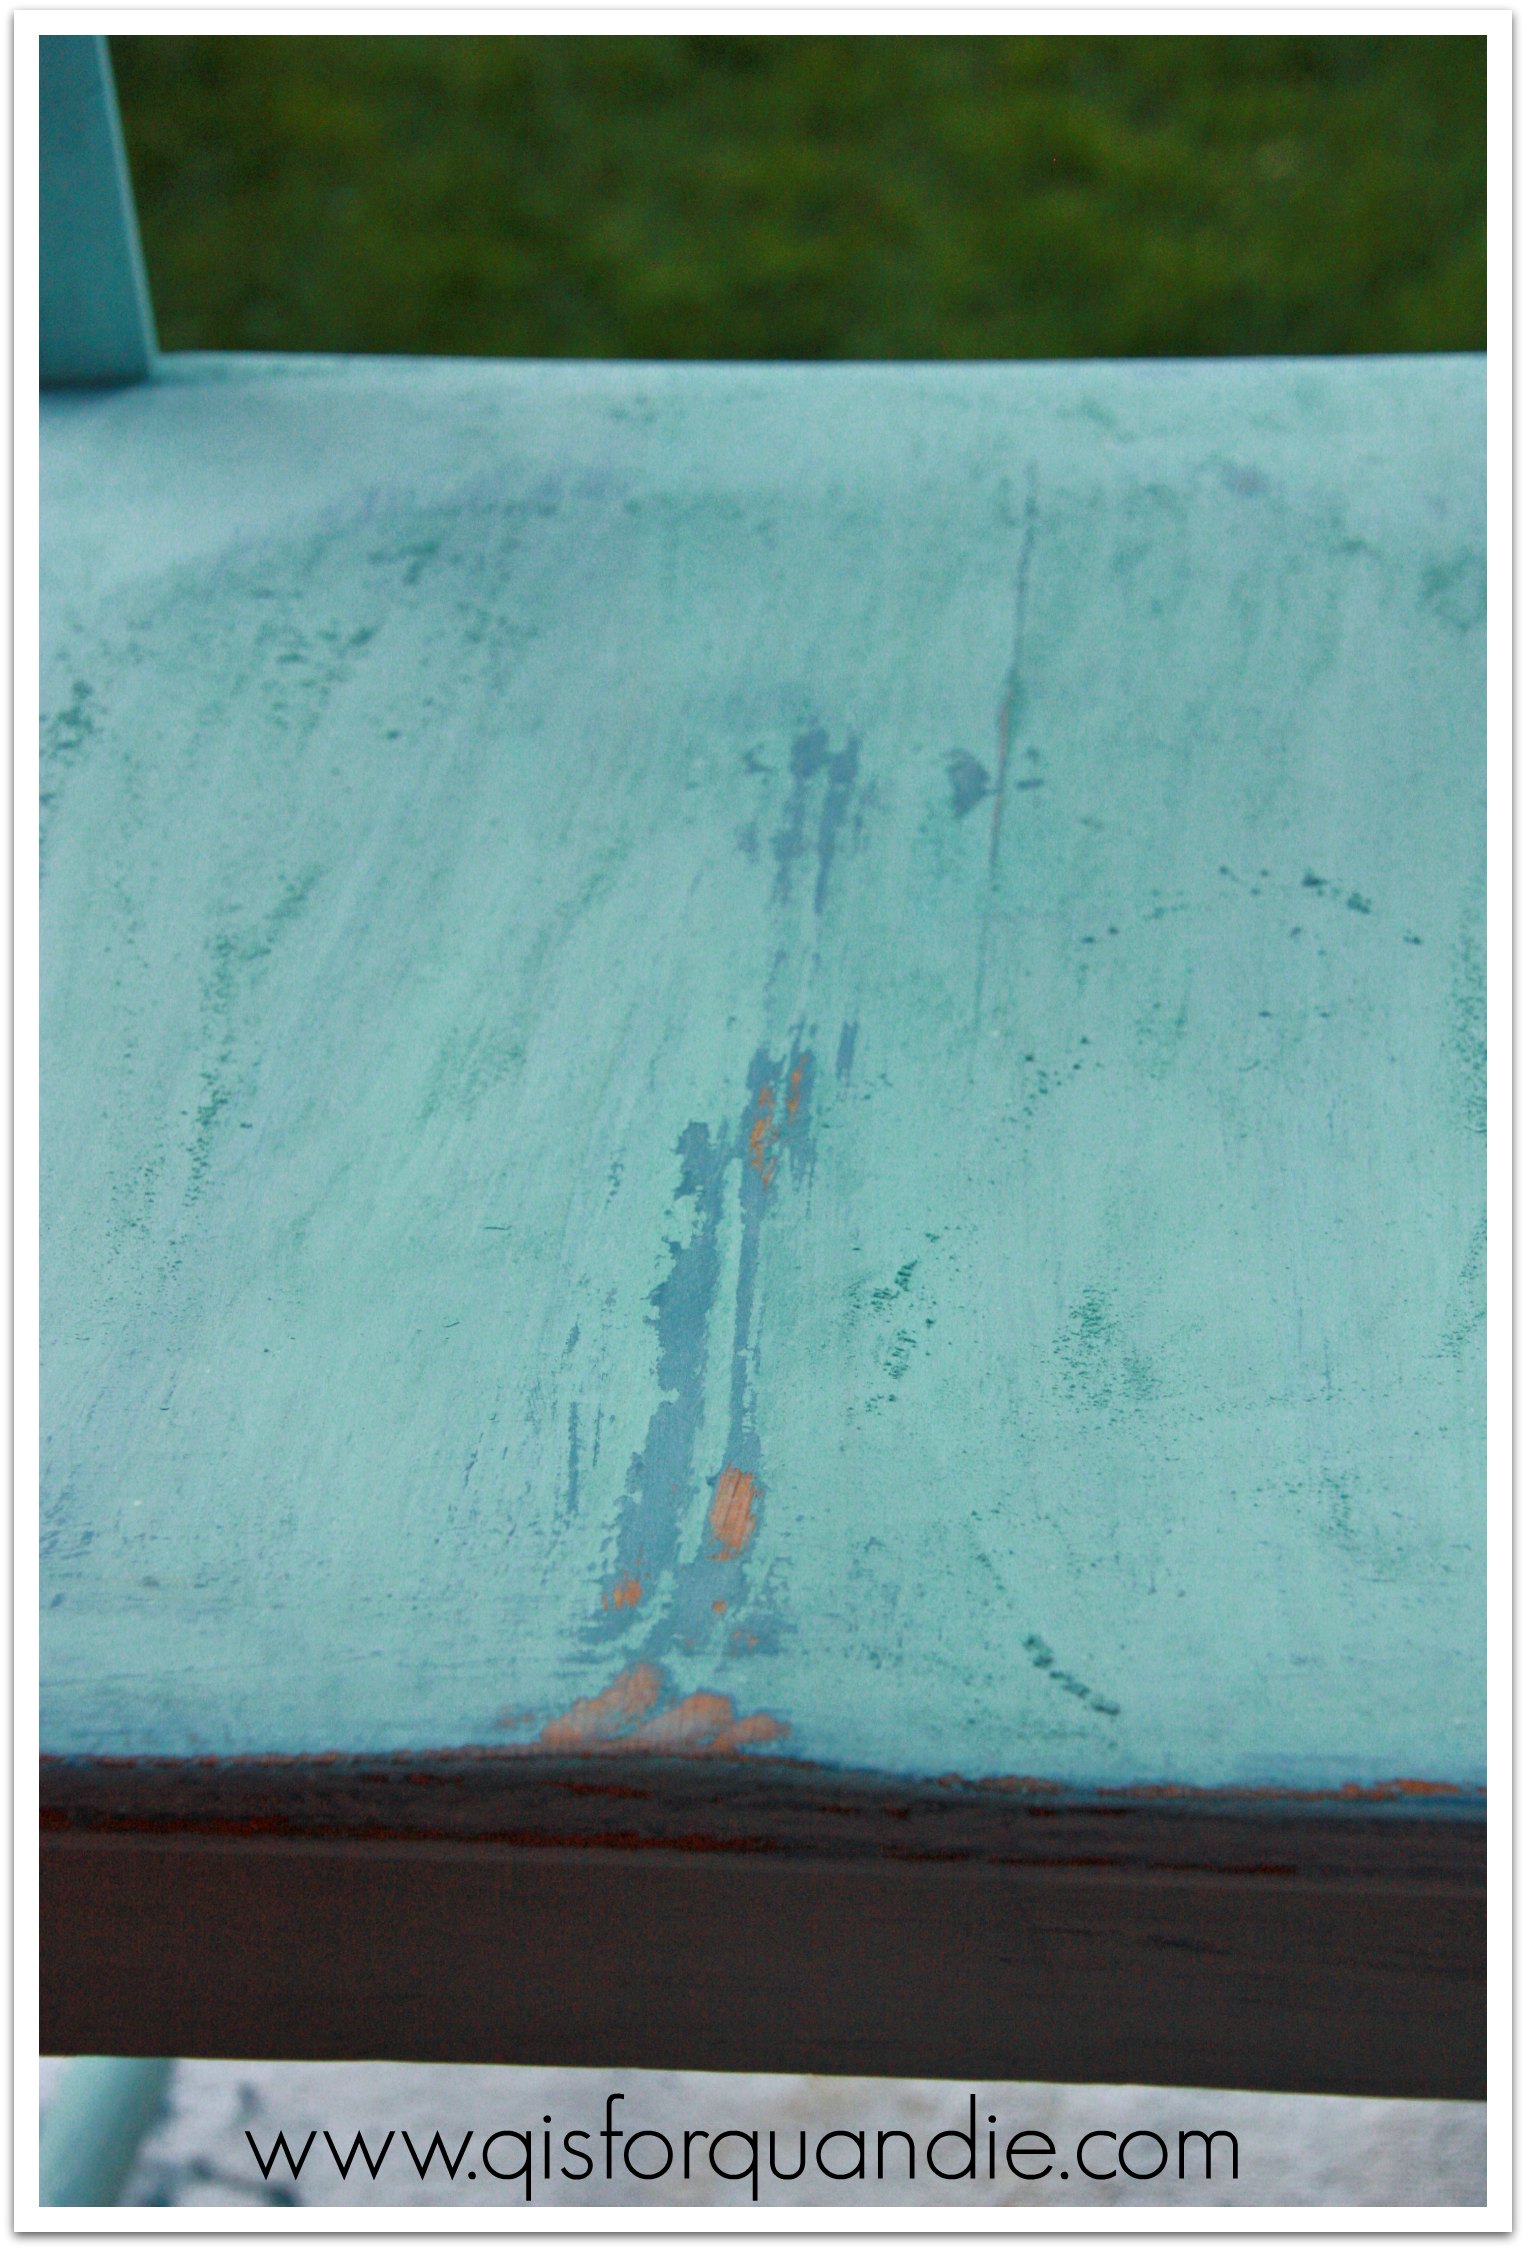
Now let’s get a close up look at the gorgeous chippy finish I ended up with on this dresser.

yellow detail close up

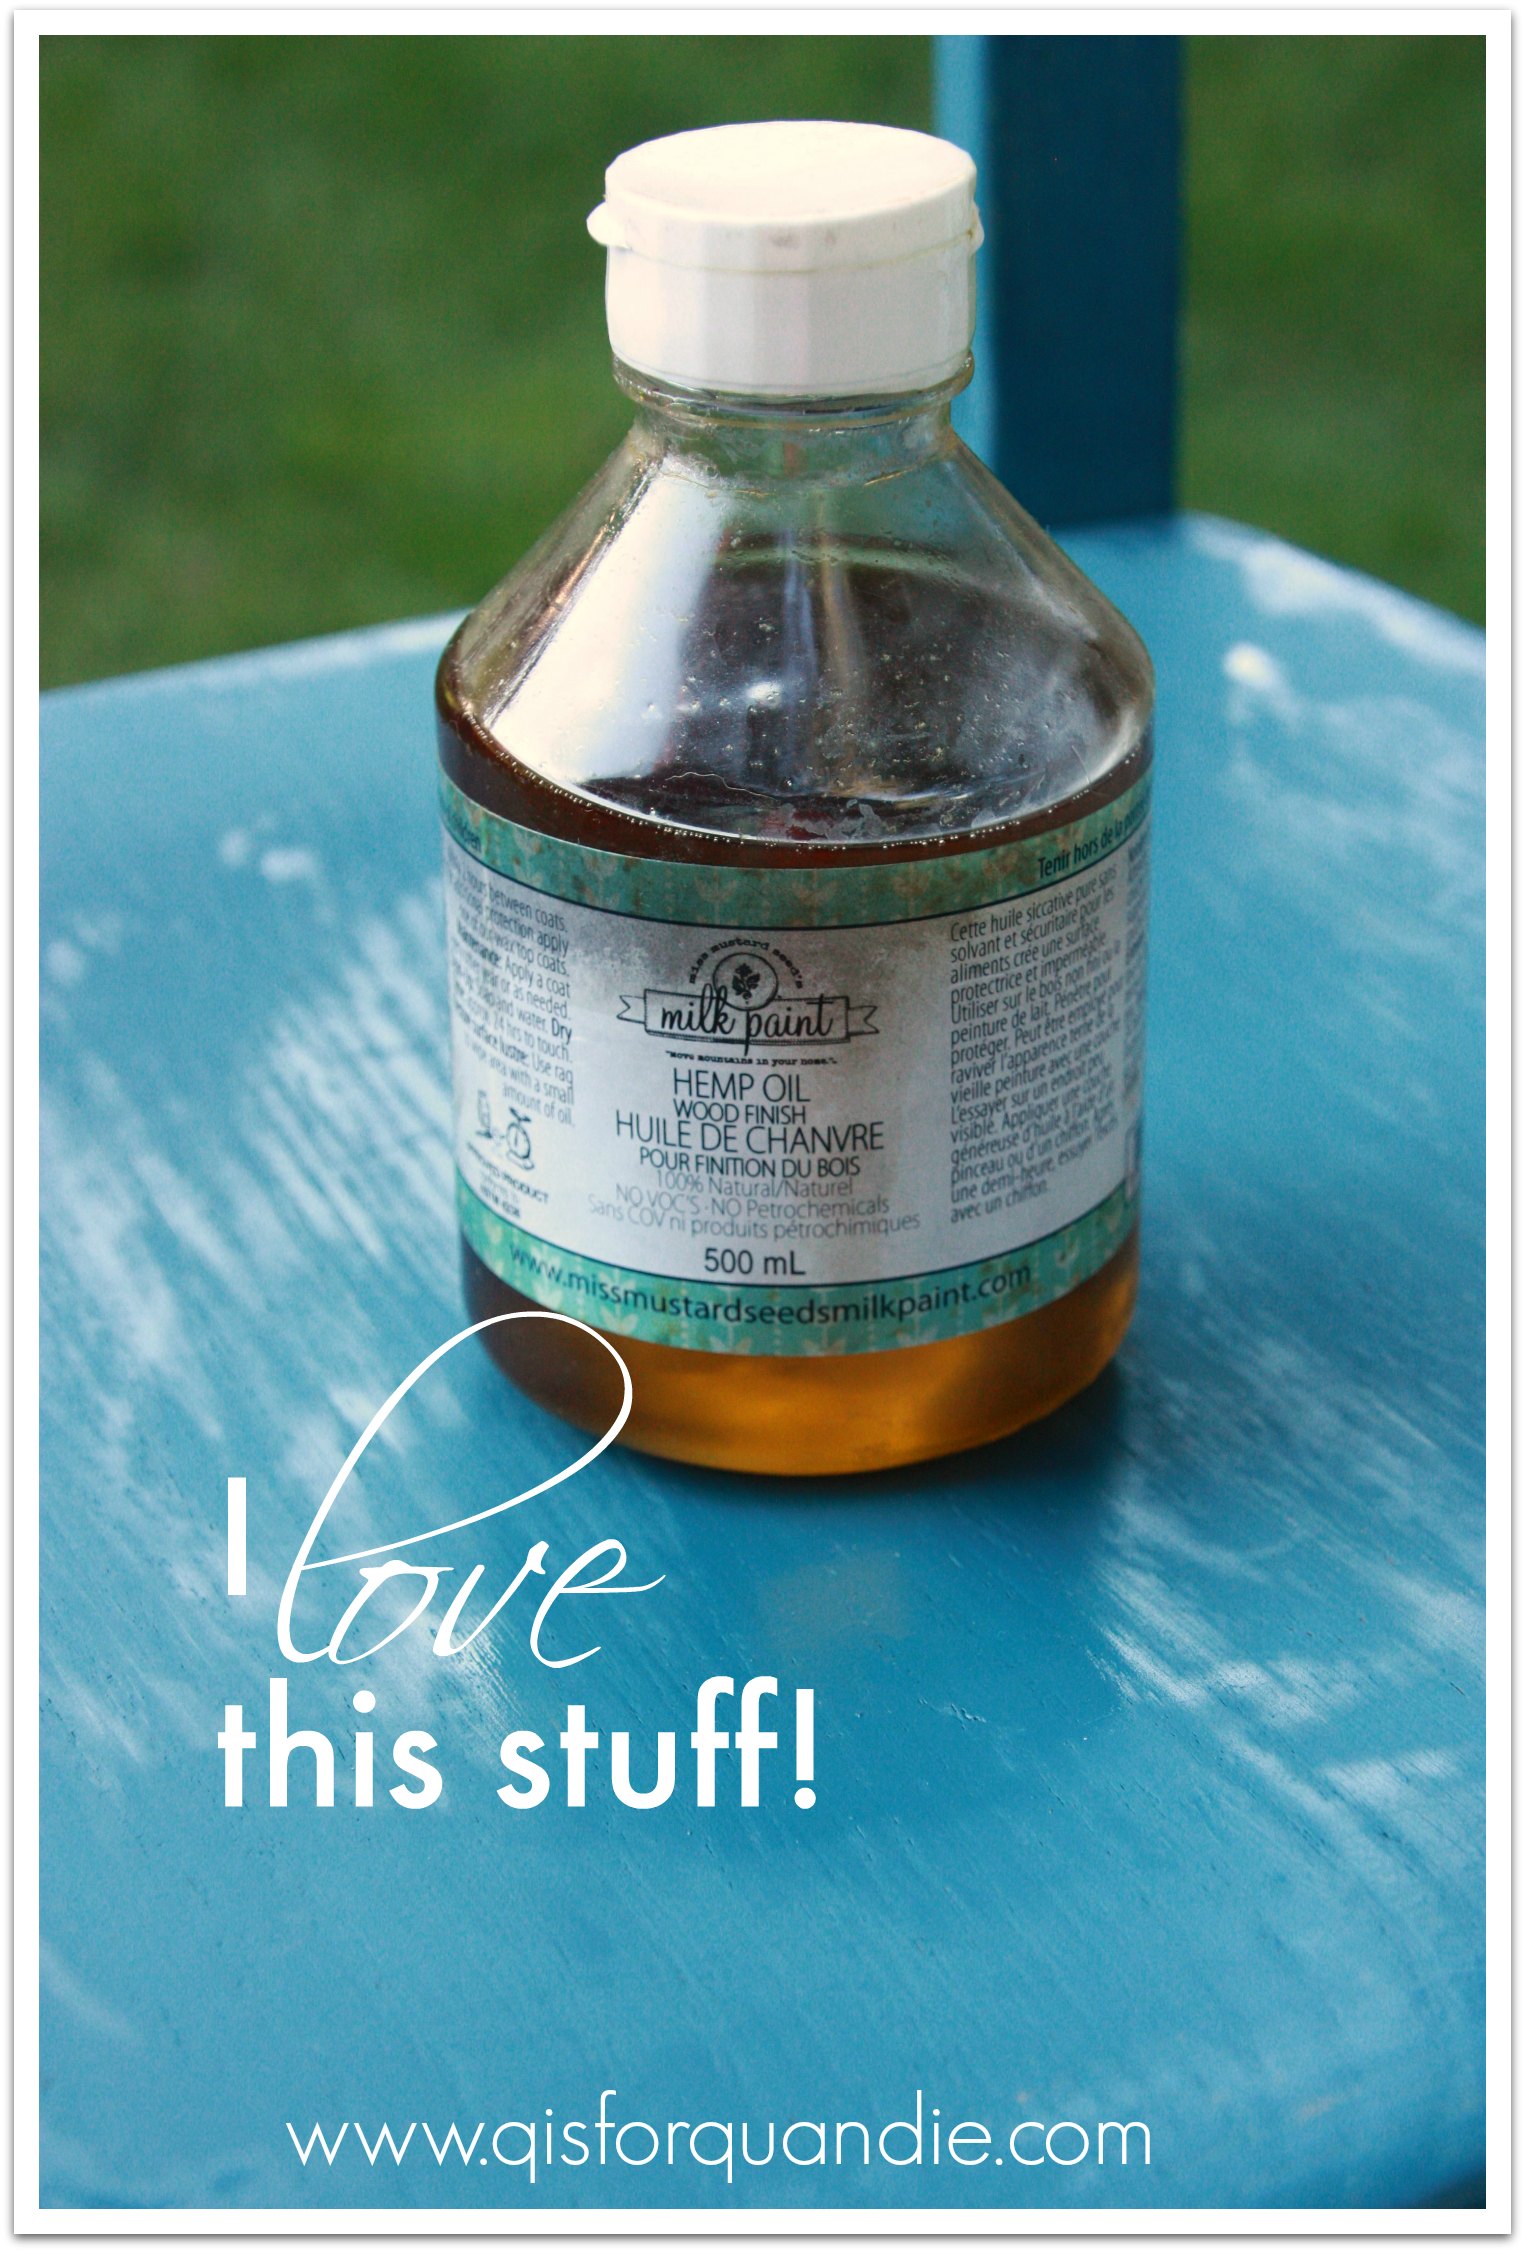
And that right there is why I love Miss Mustard Seed milk paint.  In a nutshell.  You simply won’t get this look with a chalk paint.  This dresser has the perfect amount of chippyness to look authentic without it being over the top.  I love it when that happens!  Standing next to this dresser in person, one would really be tempted to believe this is an authentic 75 year old finish.

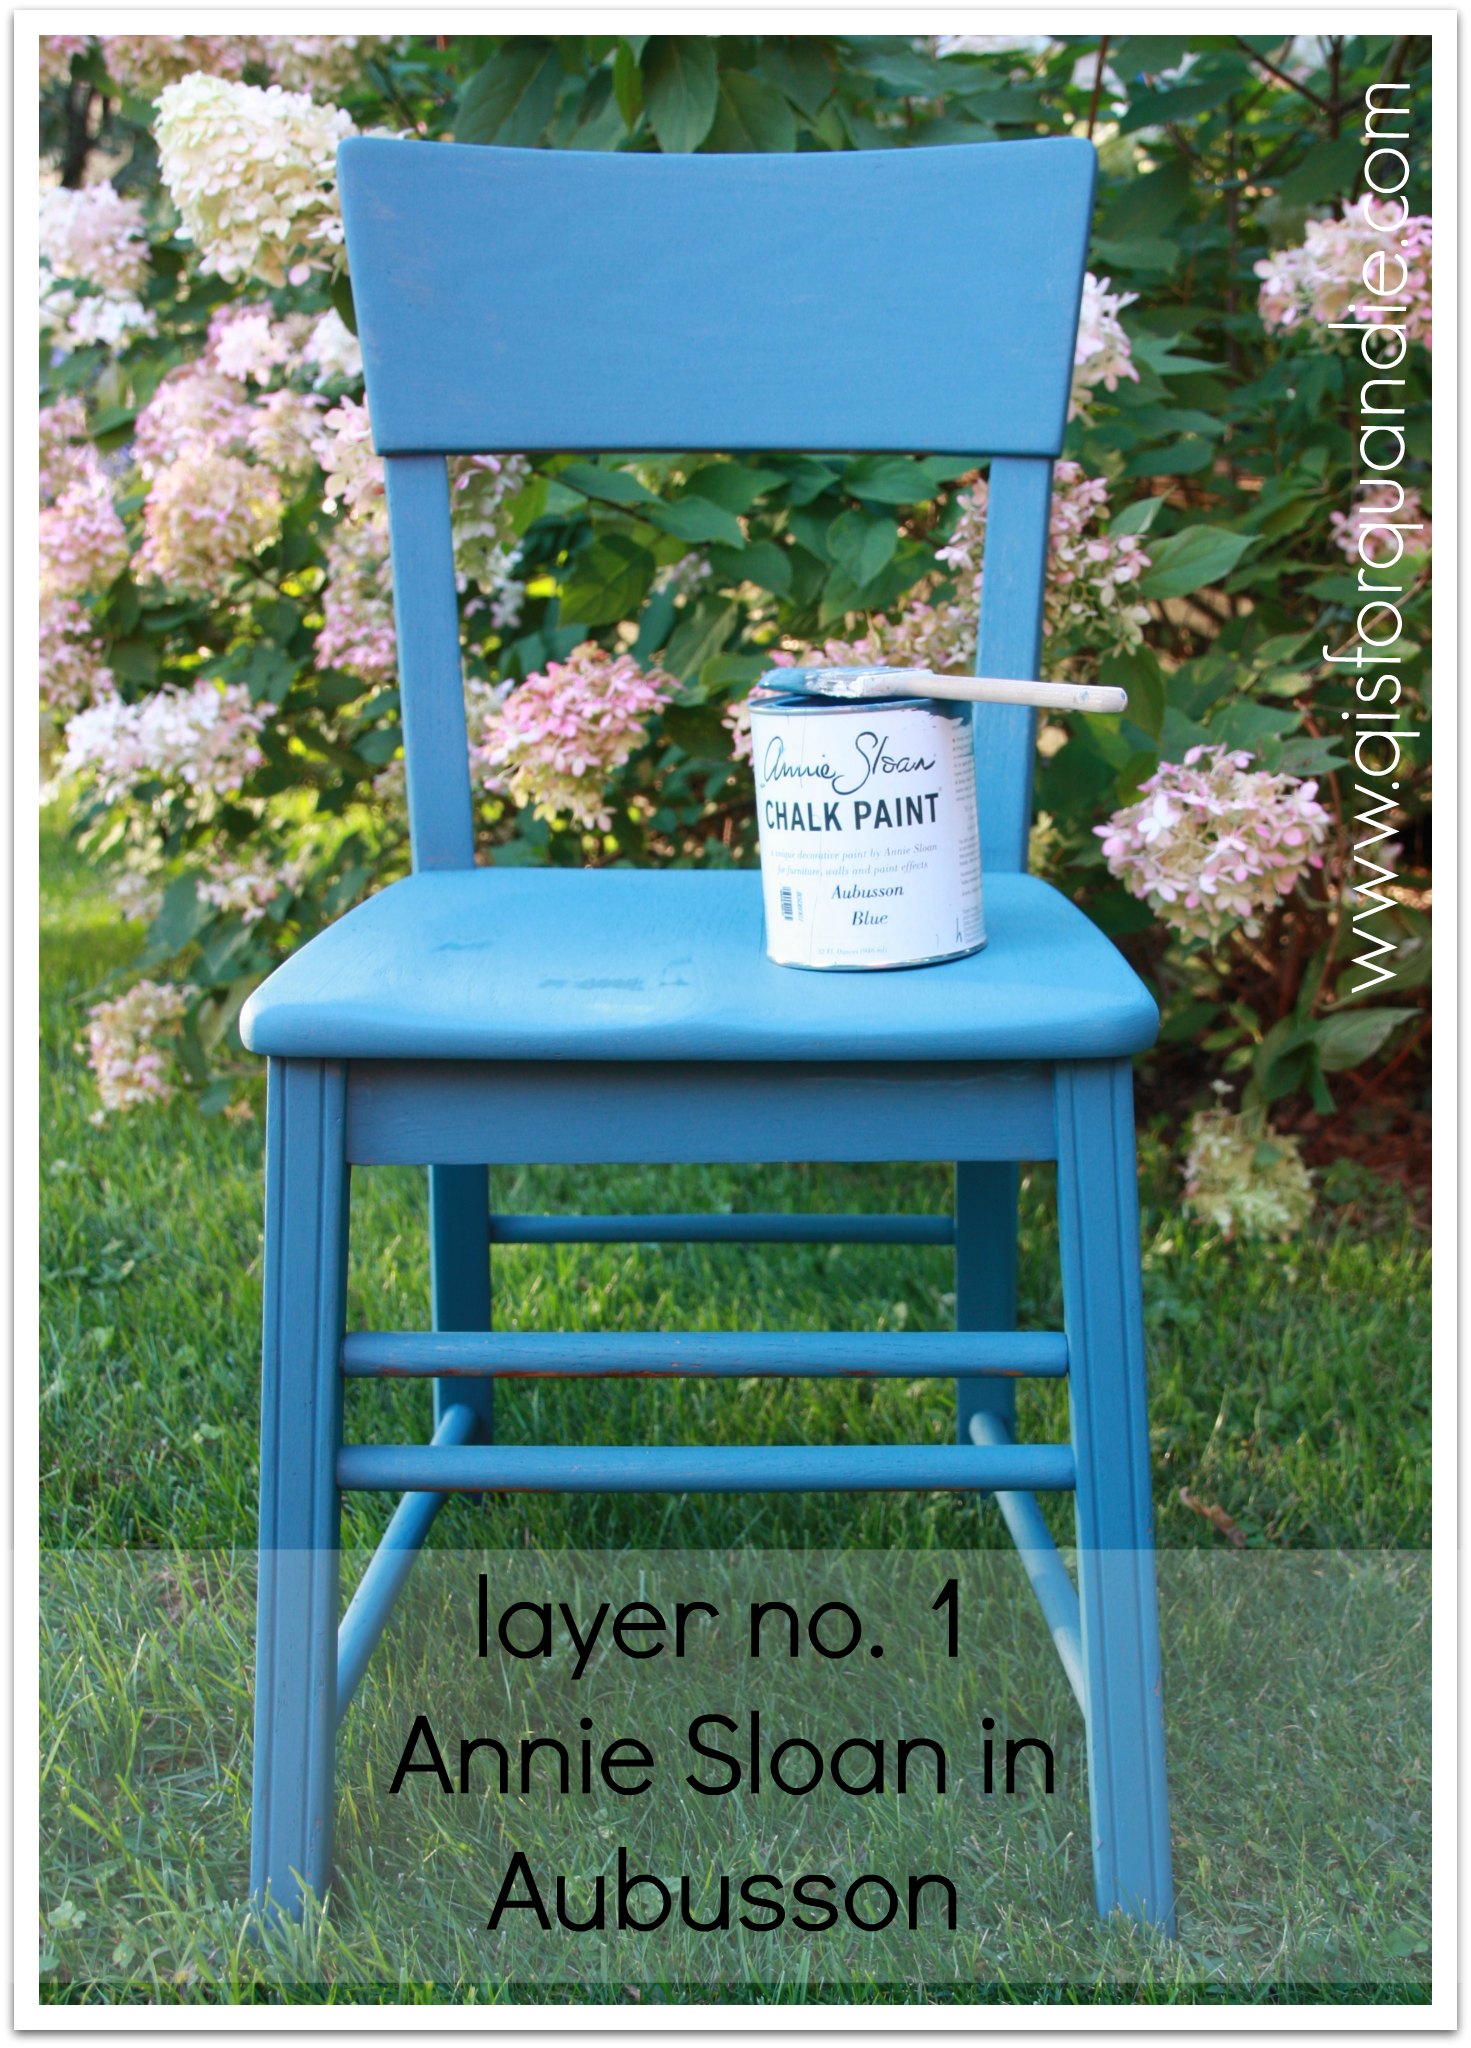
Here are the boring painting details for those of you who want to know (everyone else can skip this part).  I stripped the top, sanded the body lightly, painted three coats of MMS milk paint in Mustard Seed Yellow on the body, and three coats of MMS milk paint in Linen on the details.  It took three coats to get full coverage on this piece, and I didn’t want a streaky look.  I waxed the body with MMS clear wax, and I waxed the top with two coats of my own custom blend dark wax.

This very charming yellow dresser will be available at the Carriage House Sale on Saturday.  Hope you can stop by!

yellow b and a collage

P.S.  One little housekeeping note here.  Do any of you blog in wordpress?  I have been really frustrated by how fuzzy my photos seem once I load them on the blog.  Recently I discovered that if you click on the photo and bring it up in another tab, you lose the fuzziness.  Maybe all of you already knew this?  Anyway, my tip to you if you want to see a picture in more detail with less fuzziness, just click on it (or right click, select ‘open in a new tab’).  And if any of you know why this happens, or if there is a way that I can correct it, please let me know!