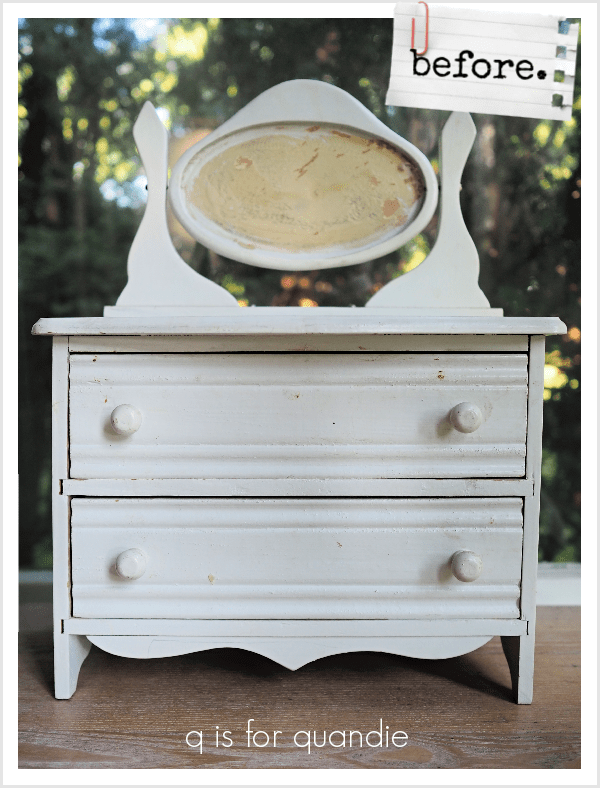
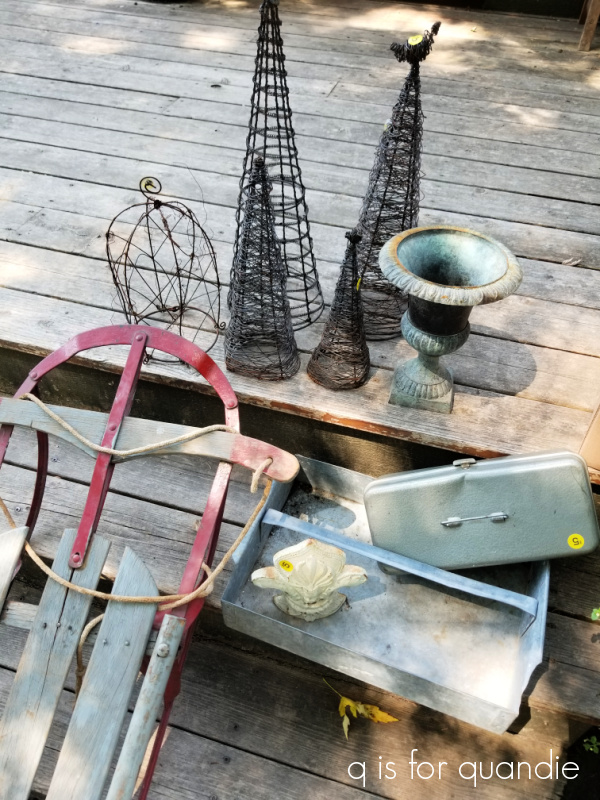
You may remember when my picker Sue found this little cabinet for me back in May.
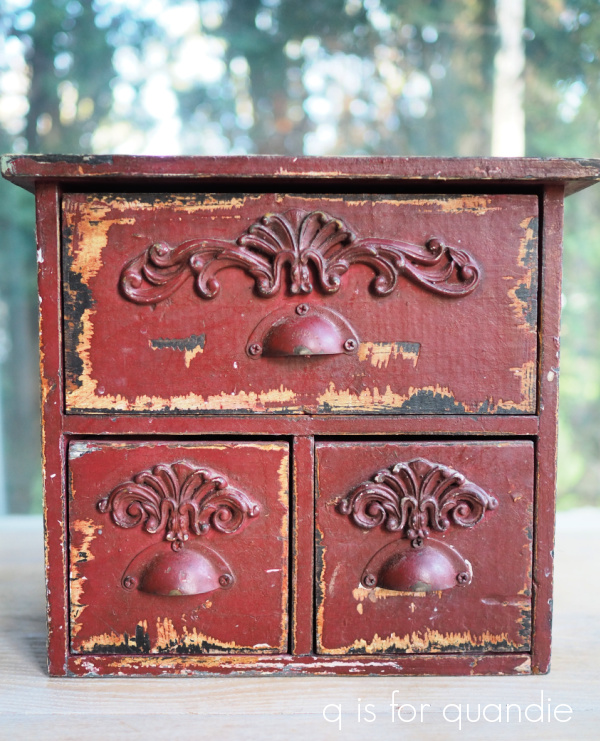
At the time I mentioned that I wasn’t sure that I liked the cup pulls combined with the scrolly embellishments. It seemed a bit busy to me. I definitely didn’t like the brick red color, but maybe that’s just a personal preference thing.
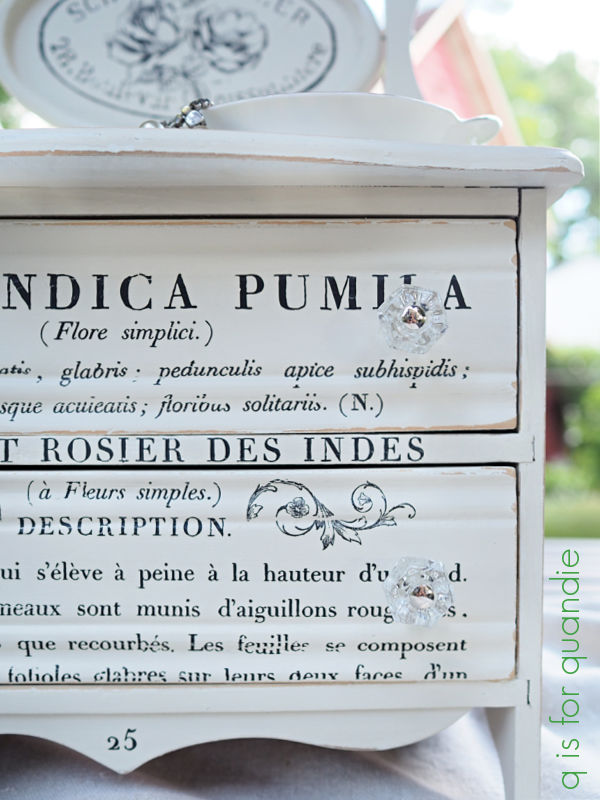
I got some mixed opinions from you guys in the comments on how to update this one, but I opted to start with painting it white to see how that changed it up.
So I mixed up some white milk paint (a mix of two shades) and gave it a couple of coats.
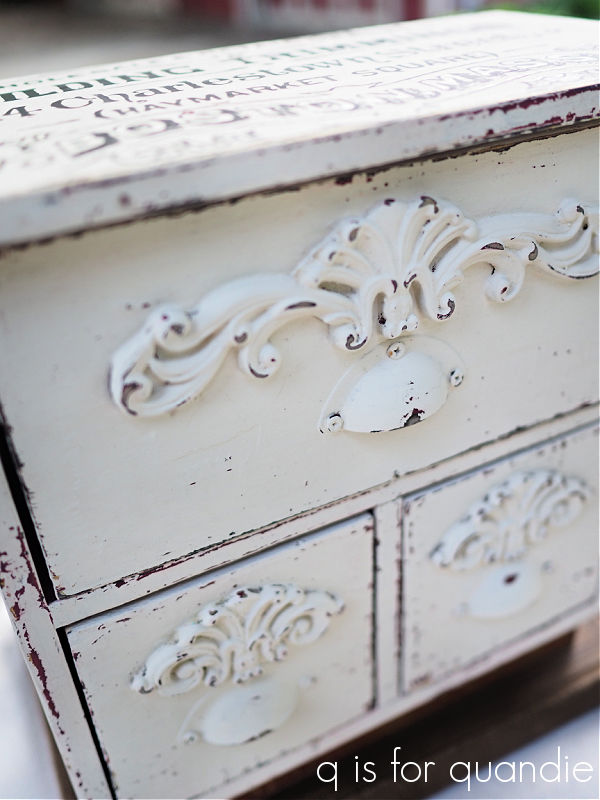
It turned out fabulously chippy! And I think the white did tone down the visual clutter on those drawer fronts a bit.
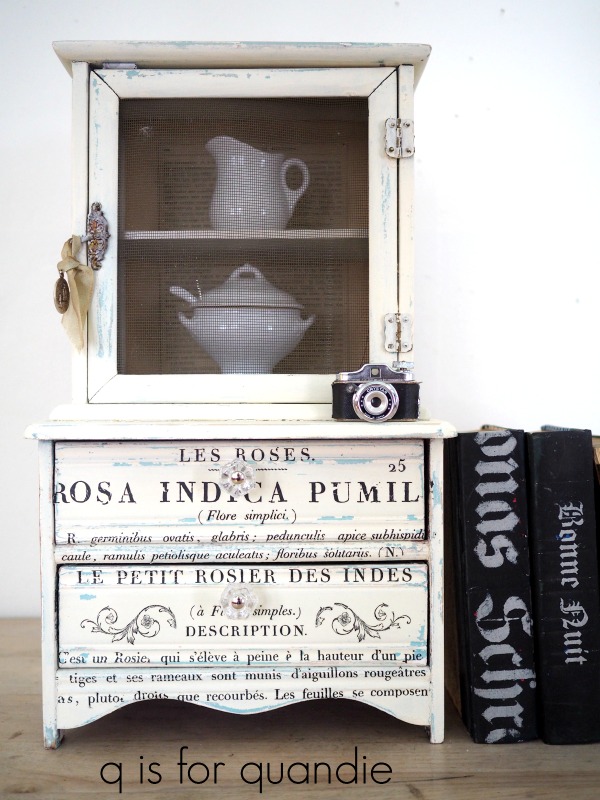
Once it was painted, I kept looking at it and thinking somehow the balance was off. I decided what it really needed was some feet, or some sort of base anyway. I looked at both Michael’s and Hobby Lobby for some small wooden feet to add to it, but didn’t find anything I liked. Certainly I could have then looked further afield for something appropriate, but while I was cleaning out my workshop I came across an old yardstick that I’d already cut up and used part of for another project. There was enough left to go around three sides of the cabinet as trim for a base.

I thought it would add a funky touch. Plus I liked that the wording on the yardstick was red, which tied in with the red paint still visible behind the chippy white paint (and I left the interior in its original red as well).
The cabinet is not just sitting on flimsy yardsticks, Ken cut some wood to use as a solid base and then tacked the yardstick pieces around three sides. So it’s nice and sturdy.

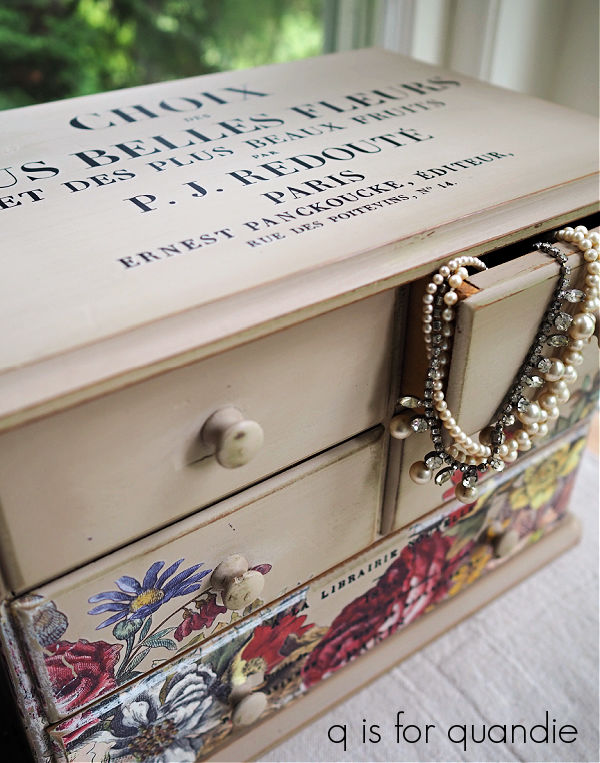
Since the yardstick has a hardware-ish sort of theme, I thought adding this section from the I.O.D. Label Ephemera transfer to the top would tie in with that.

Side bar; am I the only one who automatically sings “02134” whenever I read “Boston, Mass”? The old Zoom address song? Anyone else raised on early 70’s PBS kid shows?
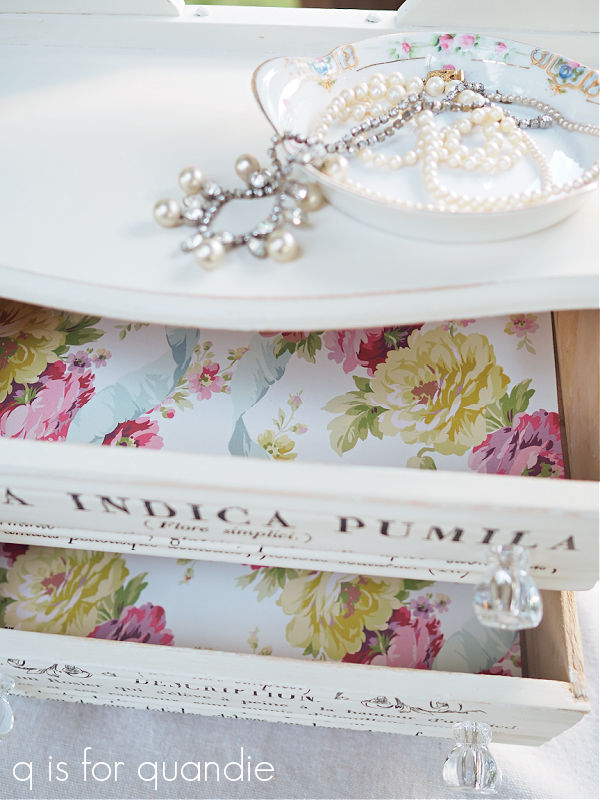
OK, anyway, as I mentioned, I left the cabinet red inside and then lined it with some scrapbook paper.

I also came across some vintage oil cans that Sue found for me while cleaning out the workshop, so I decided they would be perfect for continuing the hardware-ish theme.
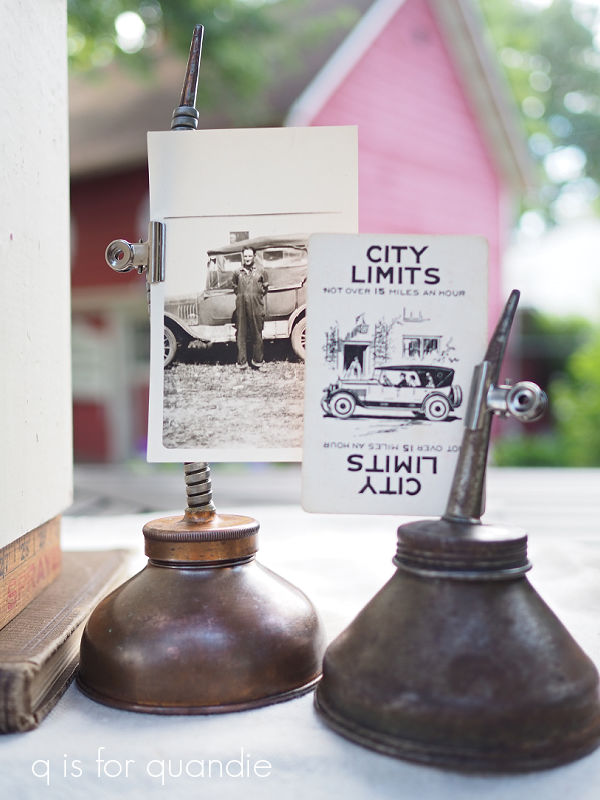
It took a bit of cleaning to get these un-oily … or mostly un-oily. I washed them with Dawn dish soap first, then I followed that up with two rounds Mean Green Superstrength Cleaner and Degreaser, and finally a rinse with clean, hot water.
I’ve done a few of these oil cans in the past and they’ve all sold. Most recently, after adding a white transfer, I sold the tiny little can that I shared in the same post as this original cabinet.

I’ve also painted them in the past …

and I also found one in an original cobalt blue paint once.

So I’m still debating these oil cans. Should I paint them, should I add transfers, or should I leave them in their current state? Will I continue to find a market for selling them? Any suggestions?
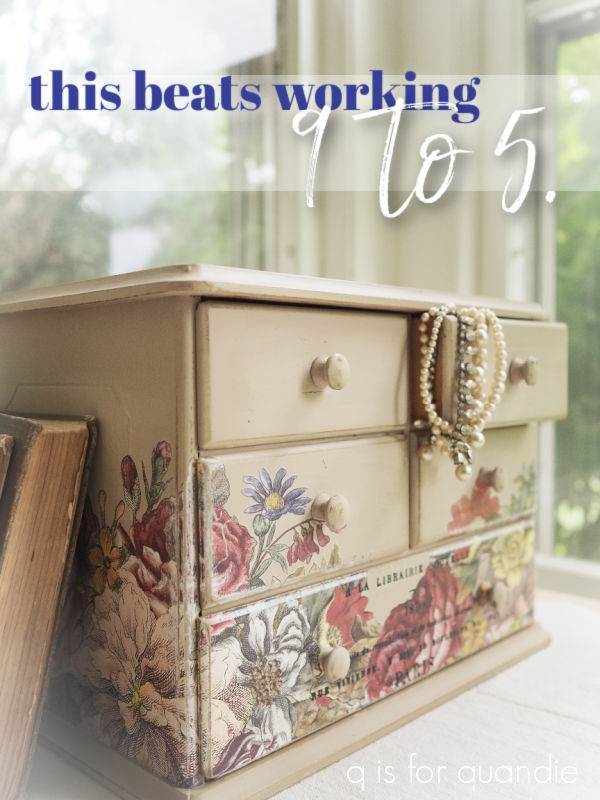
Meanwhile, this little cabinet would be perfect for storing one’s stash of knobs.
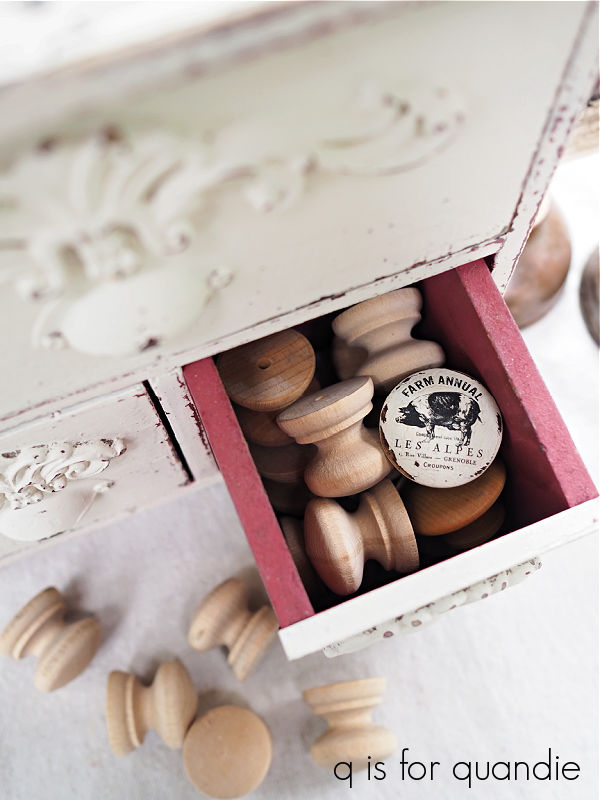
Or any other hardware or crafting items really.

Since I already have a good storage system for my hardware, this cabinet is for sale locally so be sure to check out the details on my ‘available for local sale‘ page.