

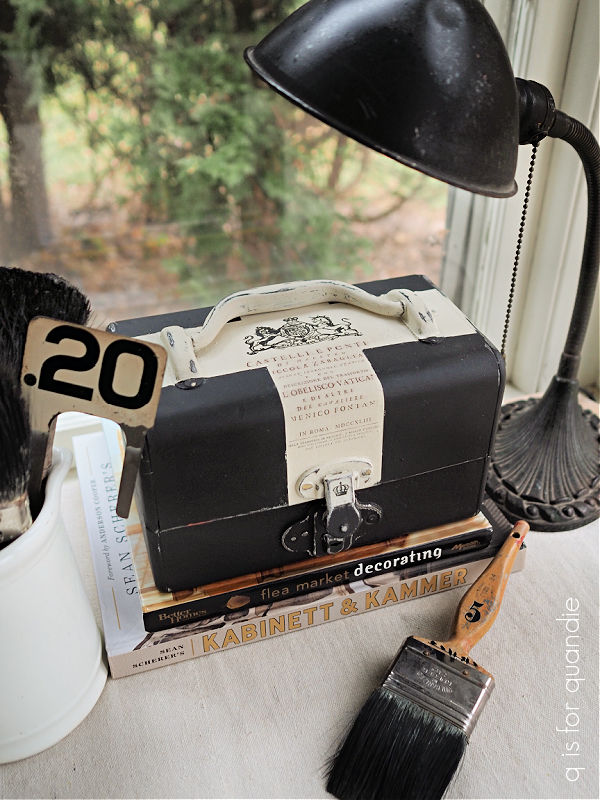
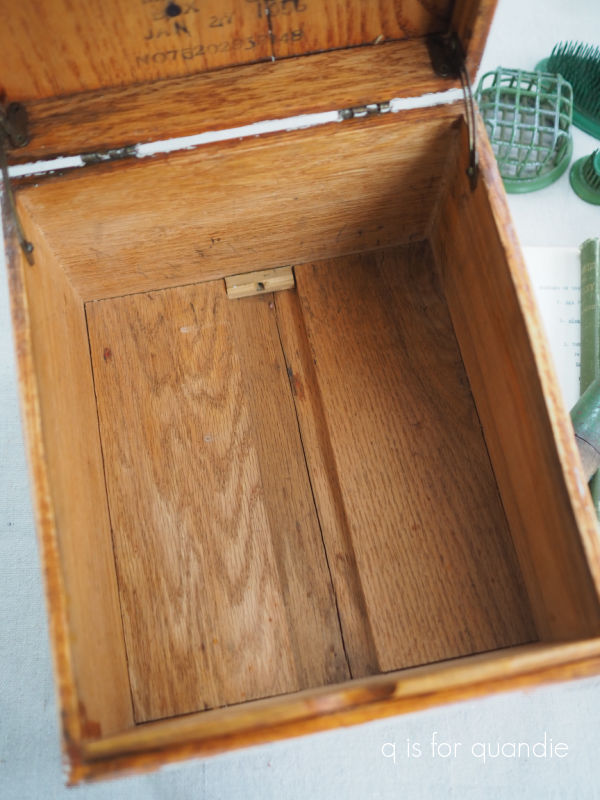
My friend opK found this sweet little toolbox for me last summer.

She thought it would be the perfect candidate for a makeover, and she was right.
I gave it my usual prep, a good washing with soapy water and then a coat of Dixie Belle’s B.O.S.S. By the way, while we’re on the subject of B.O.S.S., did you hear that Dixie Belle is coming out with a new product that combines the qualities of B.O.S.S. and Slick Stick? So it will still block odors and seal stains, but it will also be formulated to use on slick surfaces to improve the adhesion of your paint. I’m looking forward to trying that out.
But in the meantime, I still like using the clear B.O.S.S. on items like this. I prefer the clear version over the white or grey because I almost always distress my pieces and I don’t want to see that white or grey color under my final paint color. Of course, in this particular instance I could have used the grey and it wouldn’t have made much difference since the original color of this toolbox was a silvery grey.
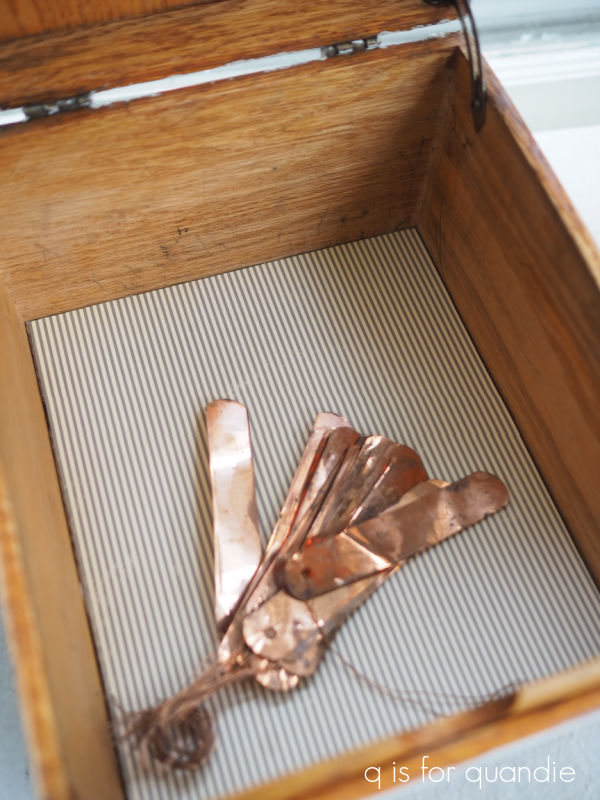
I painted the inside in DB’s Cottage Door. This is such a lovely warm pinkish coral. I’ve used it to create a pop of color inside a few toolboxes now.

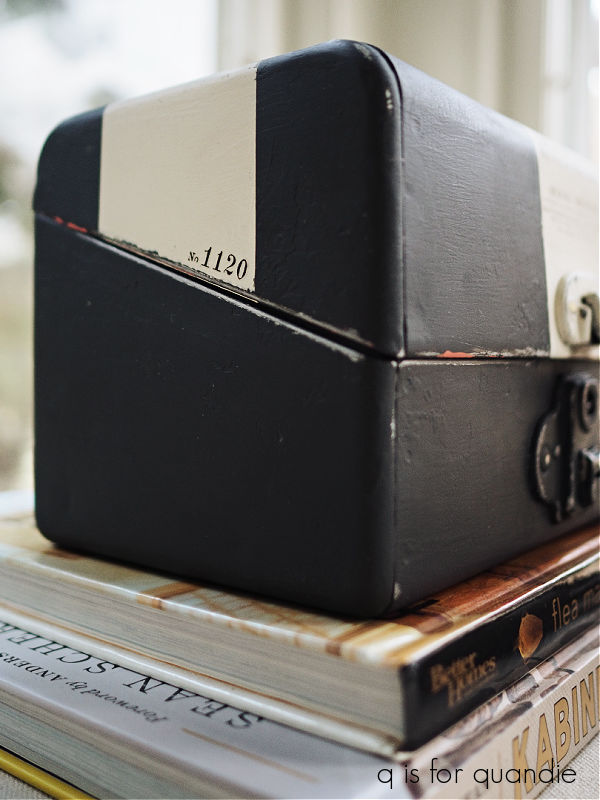
Next I painted the outside in DB’s Midnight Sky. Then I taped off a Swiss cross to paint in Drop Cloth. Unfortunately, after I painted the cross, the tape I used pulled a bunch of the Midnight Sky with it when I took it off.
I usually use the yellow Frog Tape for delicate surfaces, but they didn’t have that one at Home Depot so I had purchased the regular green Frog Tape instead. I’ve since gone back to Menard’s to stock up on the yellow version so this doesn’t happen again. I could also probably avoid this problem if I allowed the paint to cure longer before taping over it, but who has the patience for that?
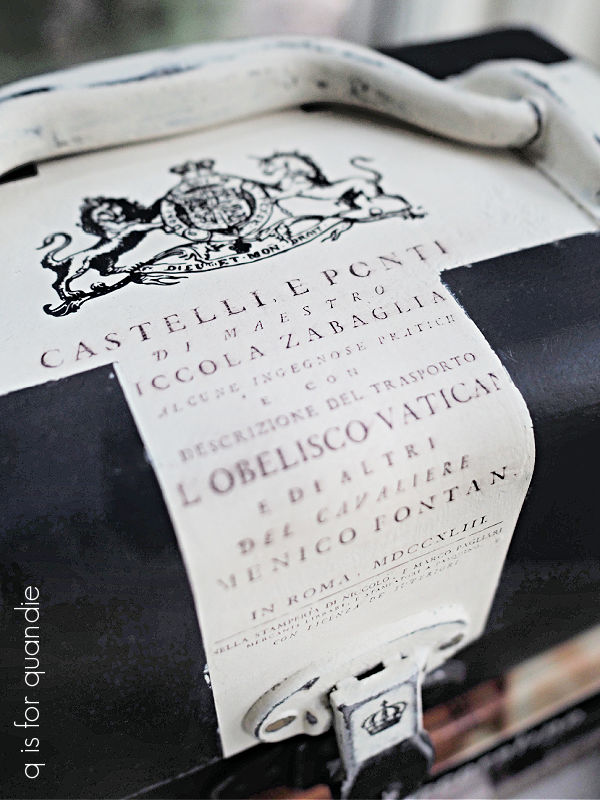
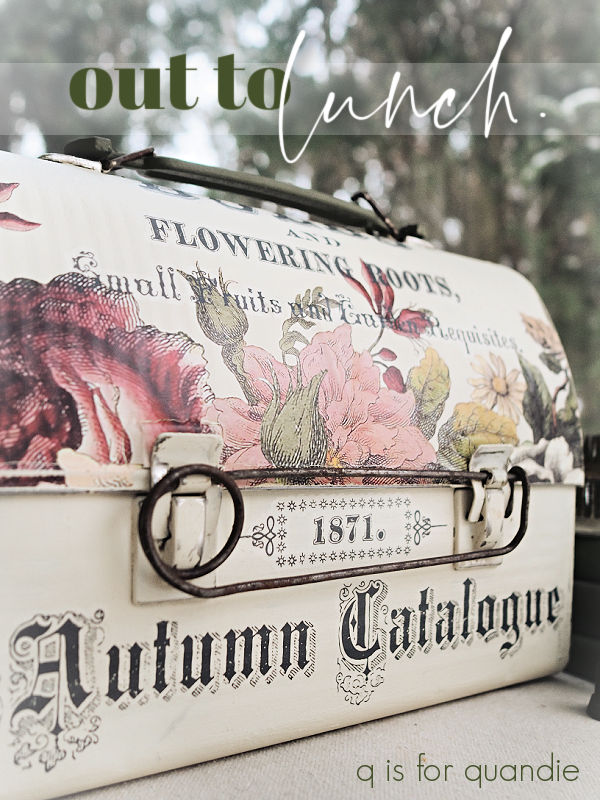
After going back and touching up the Midnight Sky, I added a small transfer from I.O.D.’s Label Ephemera to the top of the toolbox.
![]()
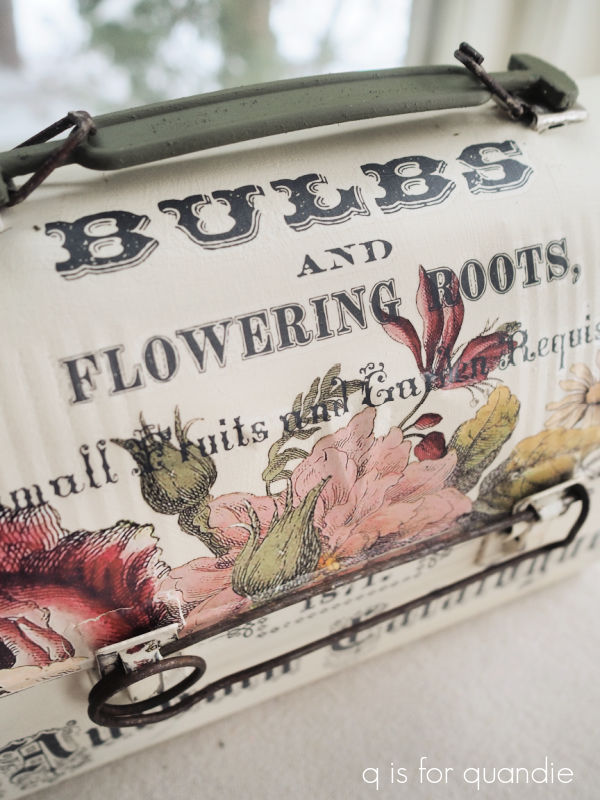
Then I decided that a small section from the I.O.D. Mélange paint inlay had the perfect typography for below that transfer.

I love it!
Except what did I do? You can definitely see it in that close up photo above. Yep, I forgot to seal my paint inlay with a spray sealer before applying some clear wax. As soon as I swiped over it with the wax brush it smeared. Ugh!
A more detailed explanation on the correct way to apply and seal a paint inlay can be found here.
I’m so annoyed with myself, I definitely knew better, I just wasn’t thinking.
I went back in with a q-tip to try and clean it up a bit, but you can definitely still see a bit of smearing, especially in a close up.
But most people aren’t going to be scrutinizing it that closely, right?
Unfortunately, an immediate fix for this would be rather delicate. Since the paint inlay has to be applied to wet paint, I would have to paint back over that area. However, I wouldn’t trust the adhesion of paint over the freshly applied wax, although you can paint over it after it’s cured, in about 30 days. Otherwise, the wax would need to be removed by scrubbing it off with some mineral spirits.
Then I could brush on some more Drop Cloth paint and apply the paint inlay again. However, as I’ve found in the past, using a paint inlay for the 2nd time gives a much fainter result than the first time around. So would I be any happier with the look of that?
Another option would be to buy a new Mélange paint inlay just to use that little section of it. The inlay is currently on sale at The Painted Heirloom for $40.50, plus $6.95 shipping unless I would spend at least $150 to get free shipping. Yikes! That’s a lot of money to fork over just for this one little fix. Don’t get me wrong, I do think that the Mélange paint inlay is worth that price if you have lots of projects to use it on. But I already have it, and I’ve only used about half of it.
FYI, The Painted Heirloom site has a message saying that all I.O.D. paint inlays are now considered ‘limited release’ and once sold out there won’t be more. So maybe that’s motivation to buy another.
Do I really want to spend almost $50 for another Mélange inlay though, just for this one little section on this one little toolbox?
And maybe that blurring isn’t really that bad?

From a distance you barely notice it … especially if you squint just a little.
LOL, I don’t know. We’re always more critical of our own work, aren’t we? What do you think?
By the way, I also added a simple Tim Holtz number transfer to the side of the toolbox.
and I think the latch is my favorite part of this makeover.

It’s half black and half white, and I added a little crown.
For now I have set this toolbox aside while I consider whether or not I need to re-do that inlay. But I may just take it into the shop and see what happens. I can always make a decision about re-doing it if it doesn’t sell.
What would you do?


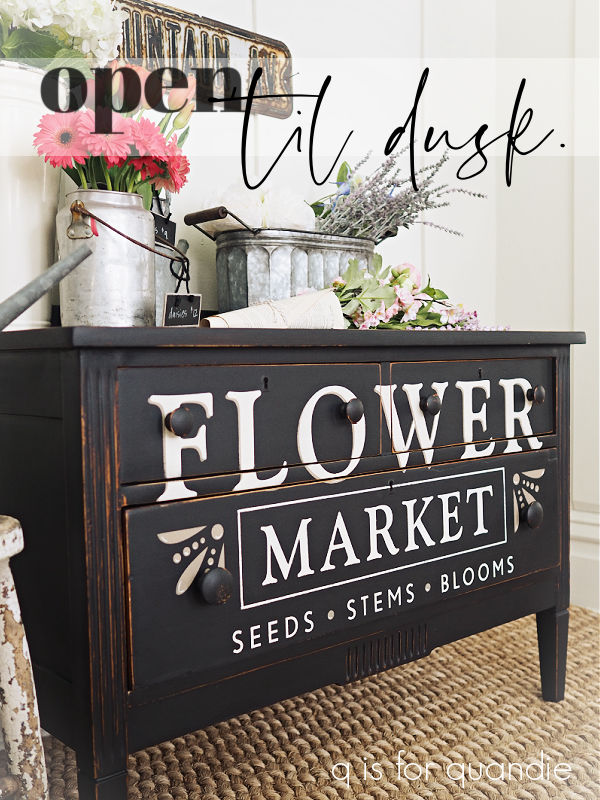
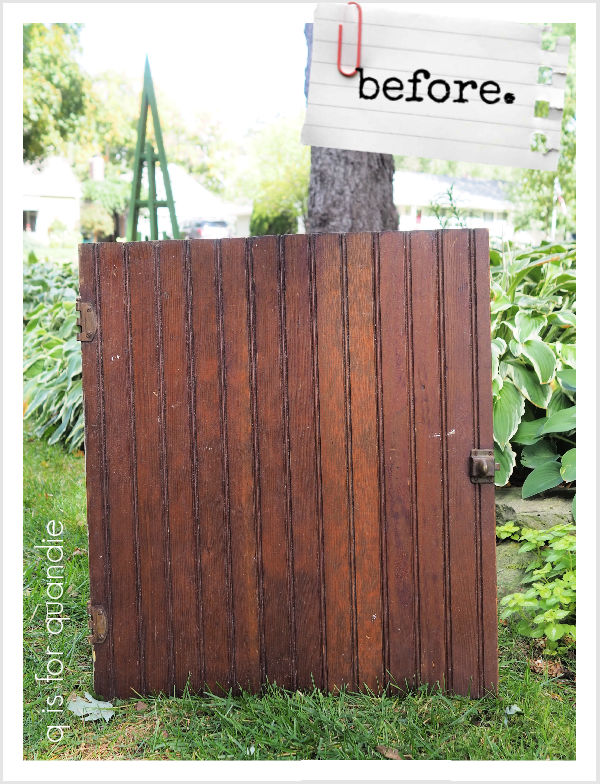
 That was one of my first cupboard door signs, but I really don’t remember when I painted it. I couldn’t find a blog post about it, so it may even be pre-blog. Back in 2014 (yikes! 10 years ago!) I put that French Market stencil on A LOT of items including cutting boards …


 to
to 

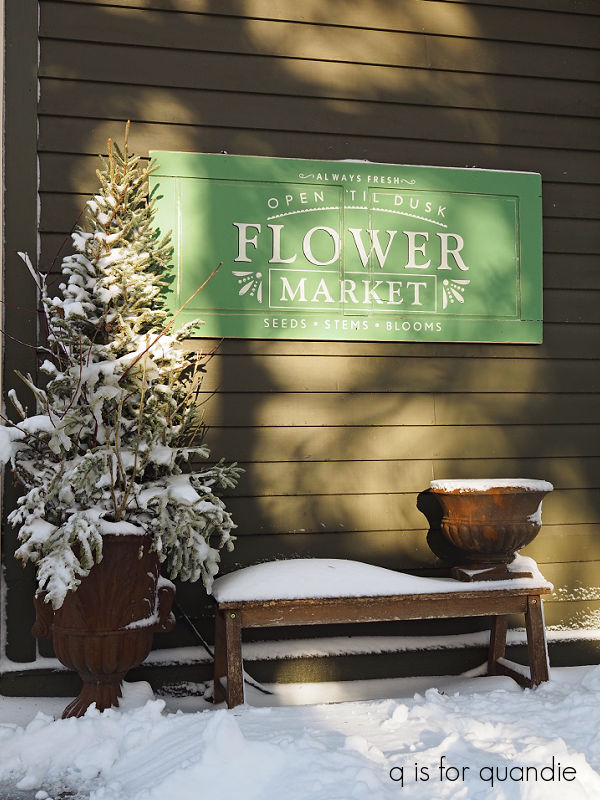


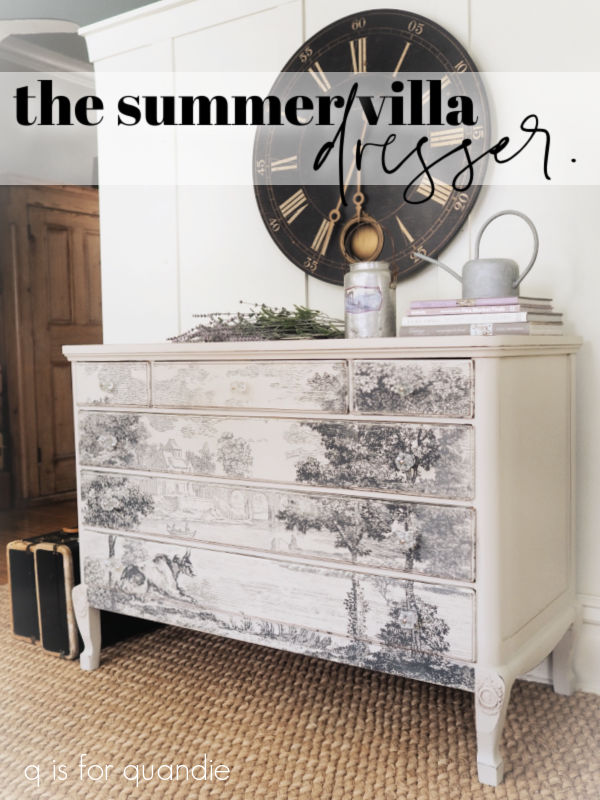
 After giving it a light scuff sanding and wiping it down with a damp cloth, I painted it in two coats of Dixie Belle’s Drop Cloth.


