I’m starting to suffer from some serious garage sale withdrawal, so I hit the thrift shops last week. Unfortunately, I didn’t find much, and definitely not anything very exciting.
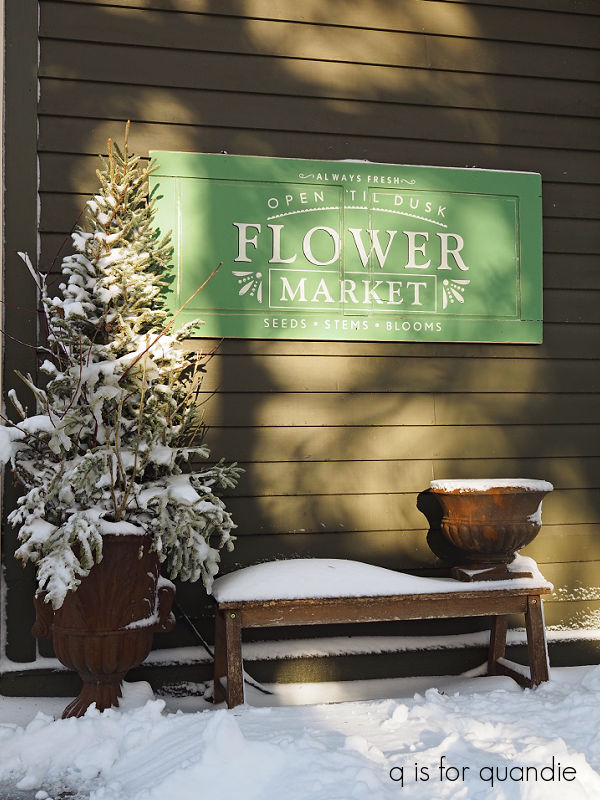
In addition to a couple of Goodwill stores, I also stopped in at Turn Style, which is a consignment store. It was a little startling to find one of my creations for sale there …
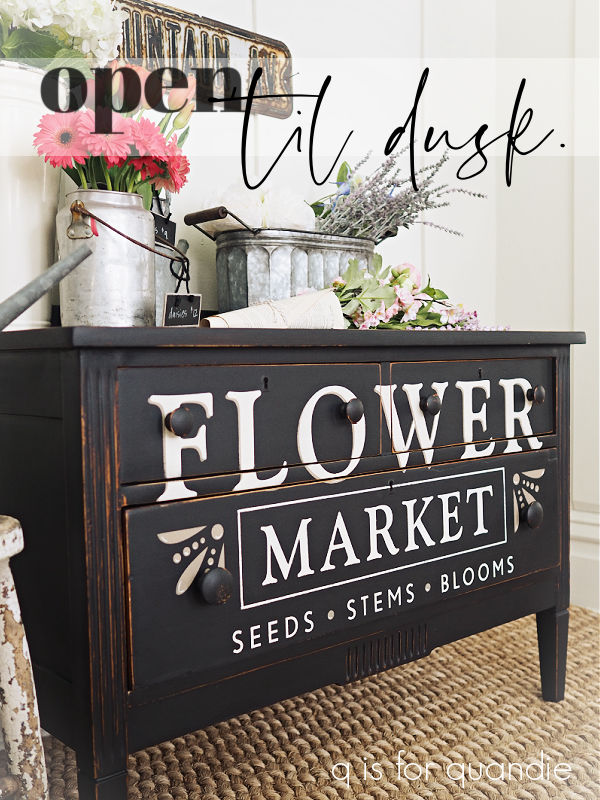
 That was one of my first cupboard door signs, but I really don’t remember when I painted it. I couldn’t find a blog post about it, so it may even be pre-blog. Back in 2014 (yikes! 10 years ago!) I put that French Market stencil on A LOT of items including cutting boards …

and buckets …

I likely sold that sign at one of my Carriage House sales. Whoever purchased it from me must be getting rid of it now. I debated buying it back, and then redoing it in some other way. But at $18, it was a little too expensive to be worthwhile for me. I prefer to get my cupboard doors for free, or for less than $5 or so.
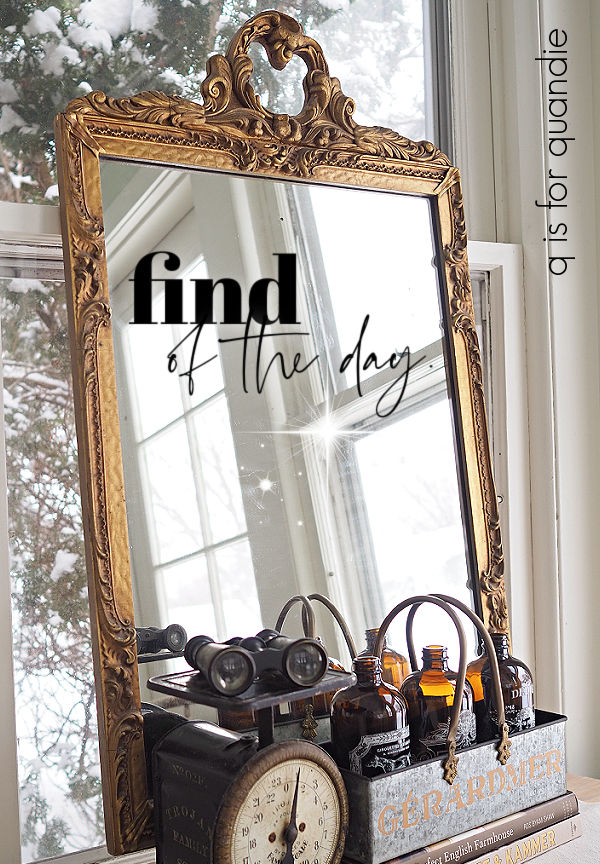
So I left the sign at Turn Style. But here’s what I did bring home.

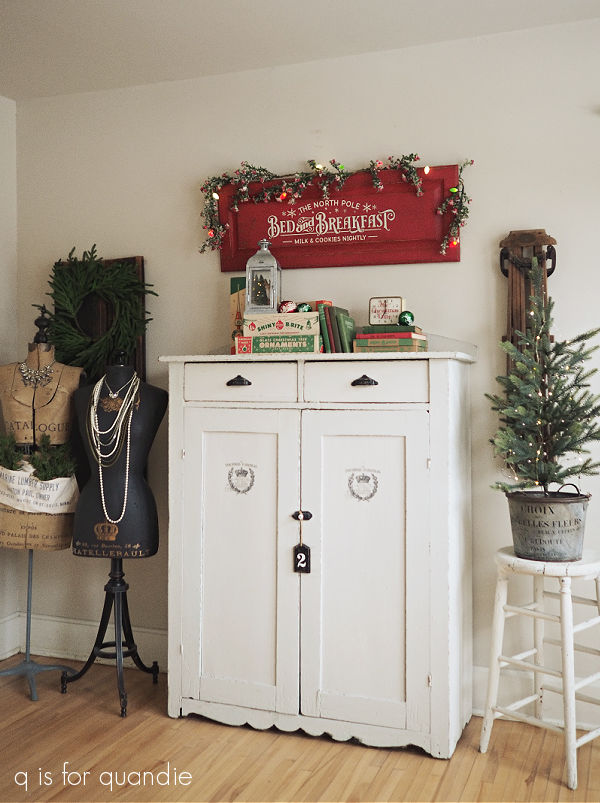
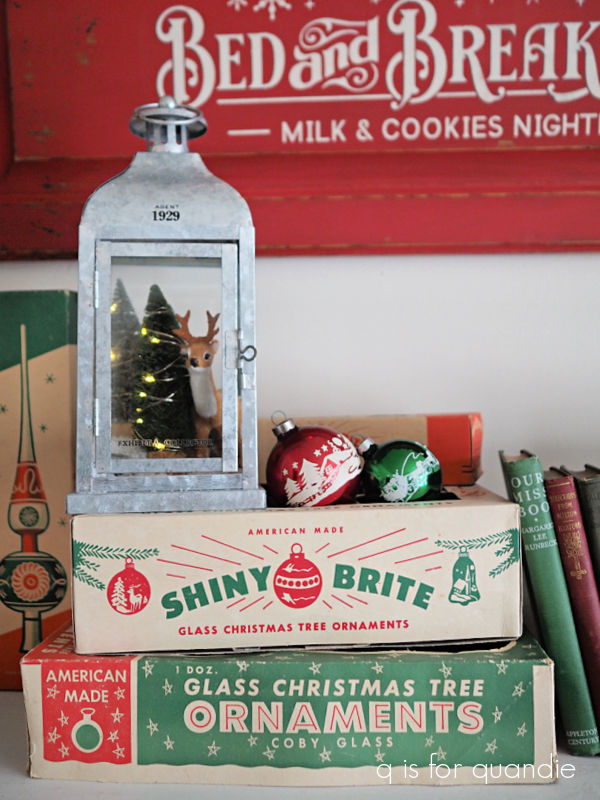
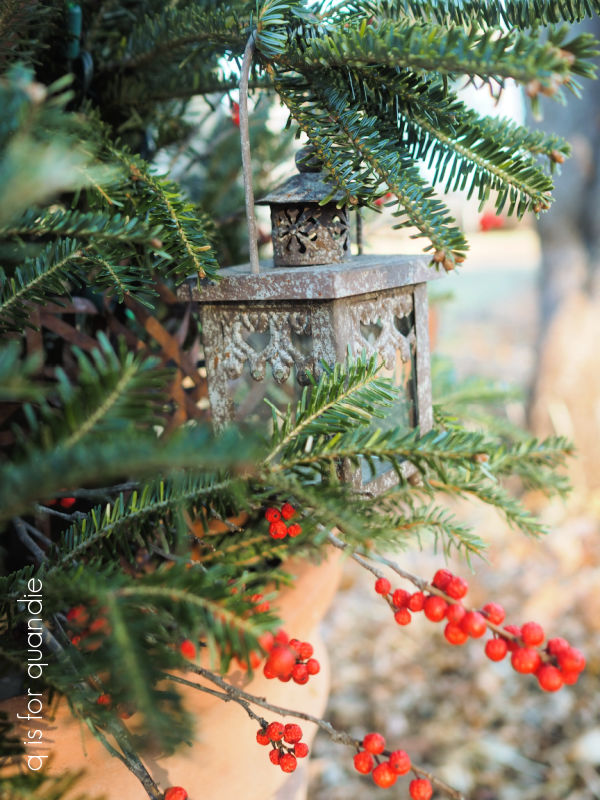
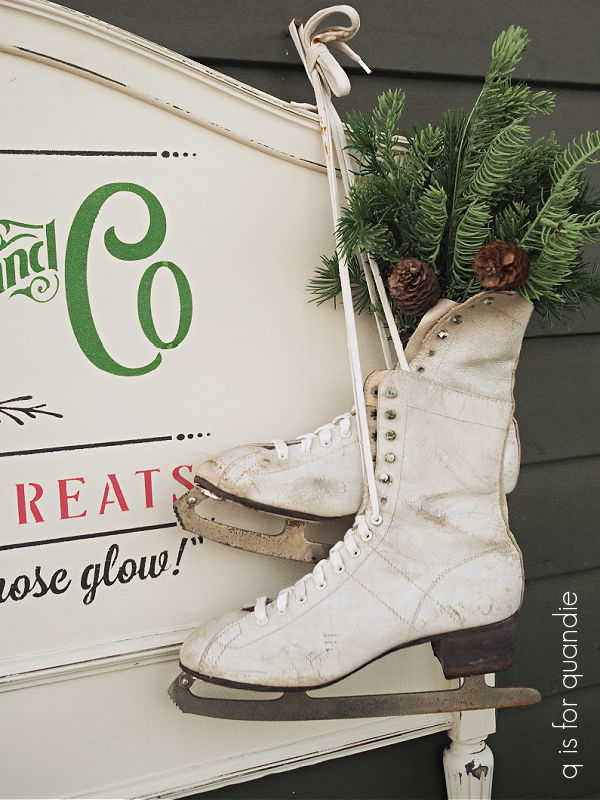
Well, most of it anyway. I did also purchase a pair of ice skates and some red & green plaid dishes for the 2024 holiday season (not pictured). I’m going to hang onto the little metal lantern for next Christmas season too. I think it will be adorable with a little bottle brush tree and a reindeer inside.
One of these items is for me to keep and that’s the hygrometer (which is the fancy word for a humidity gauge).

I’m not entirely sure that it works, but for only $3.99 I thought it was worth a shot. I am often wondering what the humidity is outside so if this works it will be handy to have for my workshop in the carriage house.
I did purchase a couple of things to flip that didn’t require more than a good cleaning. First up, this 1 qt. pitcher.
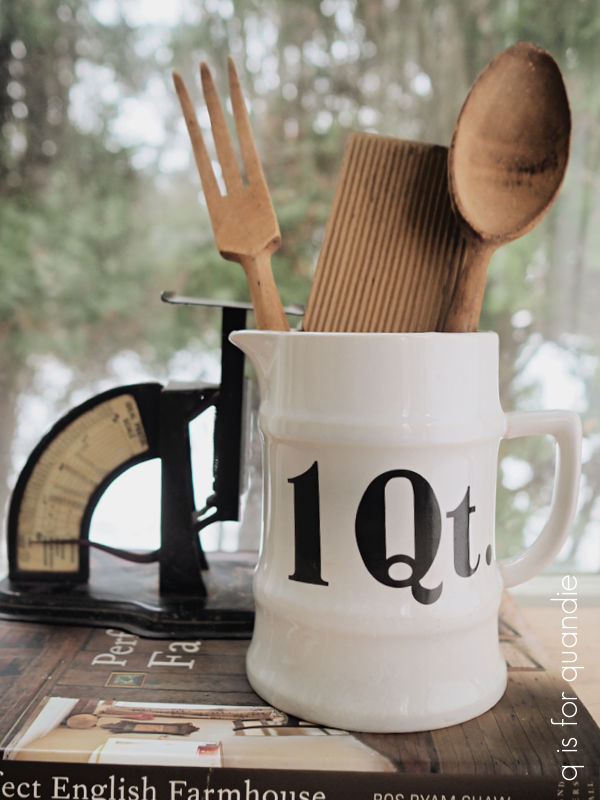
I’m always drawn to things with numbers or words on them.
I also grabbed this glass cannister.

You can never have too many glass cannisters. I use them inside my English pine cupboard to hold painting and/or crafting supplies. I like being able to see what’s inside them.
I also like to have them on hand to contain a grouping of items to sell, such as vintage cookie cutters or old children’s blocks.
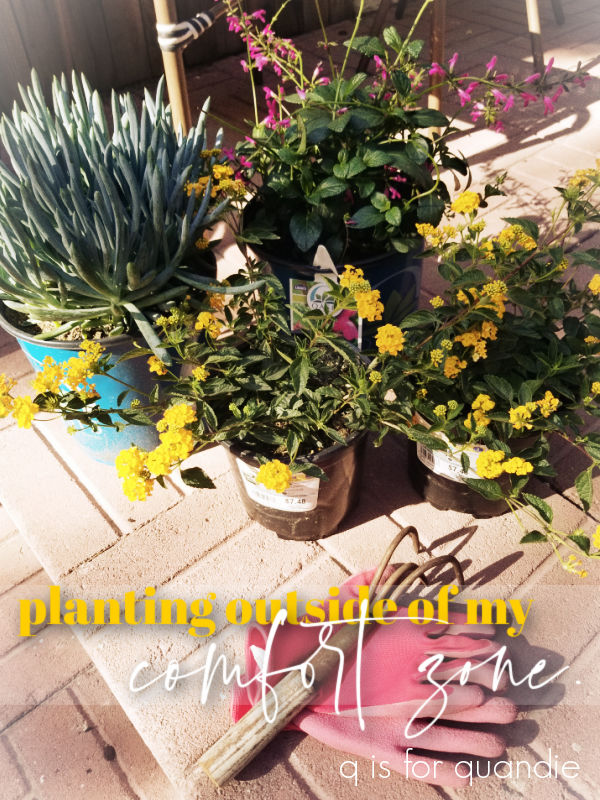
The rest of these items all got a paint and transfer makeover starting with the French flower bucket.
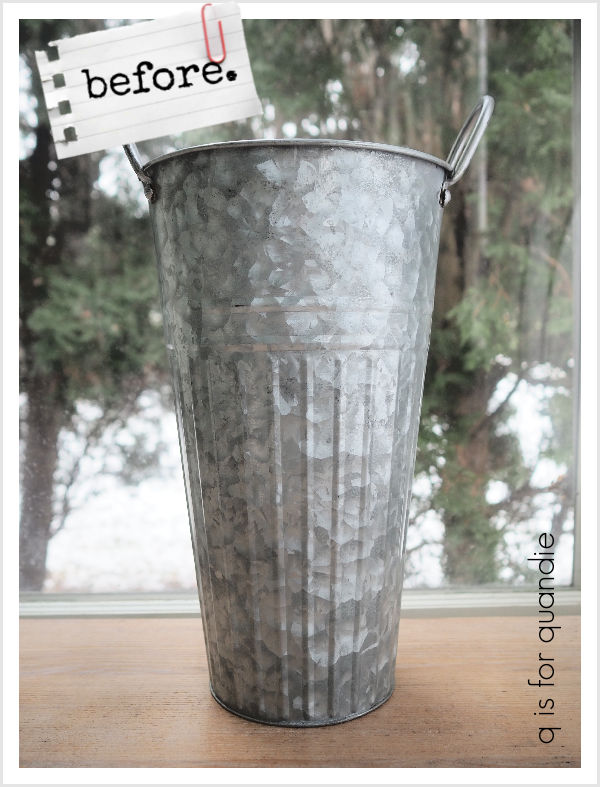
It looked just a bit too new. So my goal was to add some faux age.
I gave it a base coat of Dixie Belle’s French Linen first, then added a layer of their Sawmill Gravy over it. I was planning to do some wet distressing back to the French Linen layer, but uh … yeah … I forgot that I was going to do that and after the paint was dry I added a coat of clear wax. Turns out, the clear wax does protect the paint from water quite a bit. Enough that wet distressing was no longer a good option.
But then I remembered that I had ordered some of the Dixie Belle dirt to try out.

Dixie Dirt is a powder that you apply over tacky wax. Basically you apply wax, wait 10 minutes for it to get tacky, brush the Dixie Dirt into cracks and crevices, then wipe away any excess ‘dirt’.
I ordered the ‘dirt’ in two colors; Ash and Earth.

FYI, the French Tip brush from Dixie Belle works really nicely for applying the dirt.
I used the Ash color on my French flower bucket.
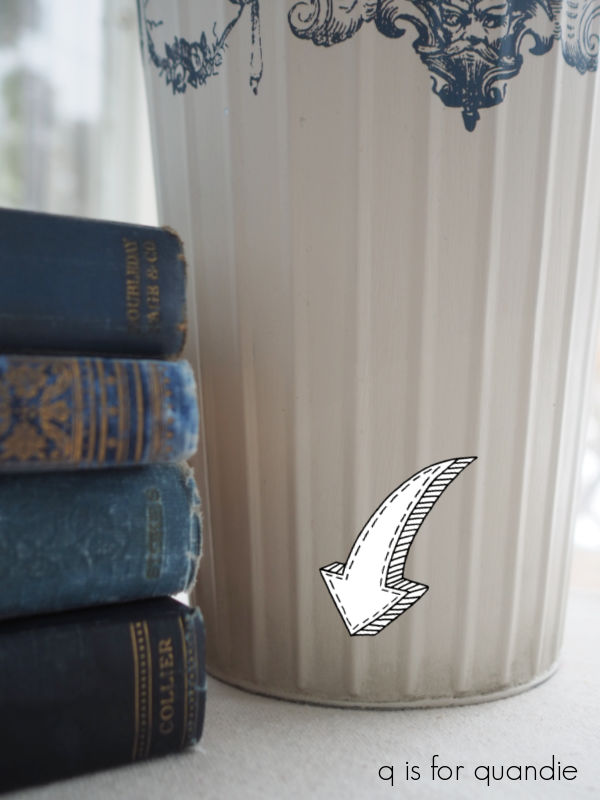
I feel like the look I got with the dirt is very comparable to using a dark wax. The benefit to the dirt is that it’s a bit cheaper than wax at $8.95 (find it here), and I think these little containers will go a long way. So if you already have a clear wax, but no dark wax, this might be a good option for you if you like this look.
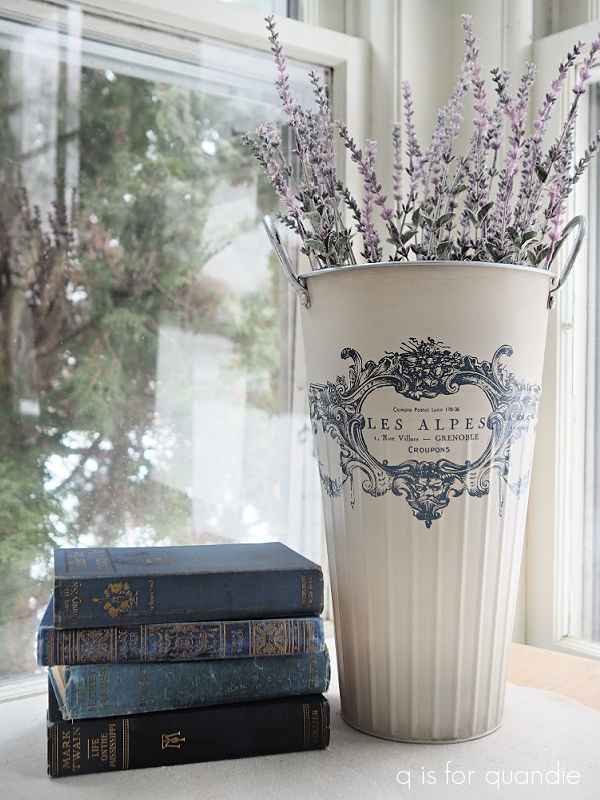
I should have mentioned that I also added a re.design with prima transfer to the flower bucket before I added any wax.
![]()
Always add transfers before wax, they will not adhere to a freshly waxed surface. This transfer is from the Lovely Labels Middy transfer set, and it is a dark blue color rather than the usual black or dark grey.
Here is the final look for the flower bucket.
Next up, I decided to give the box a similar treatment.

Again, it was too new for me. Too smooth, and only scratched up in a bad way, not a good way.
But this time, I added some of Dixie Belle’s Sea Spray texture additive to my base coat of French Linen first. I let that dry, and then added a coat of Sawmill Gravy over it. Once the Sawmill was dry, I sanded over it with 120 grit sandpaper to reveal the textured layer.

Next up I added a leftover scrap from the I.O.D. Label Ephemera transfer.

I finished it off with a coat of clear wax first. Then this time I did use a brown wax along the edges just to ‘dirty’ them up a bit. It was a pretty subtle adjustment, but it helps disguise any freshly sanded wood edges.
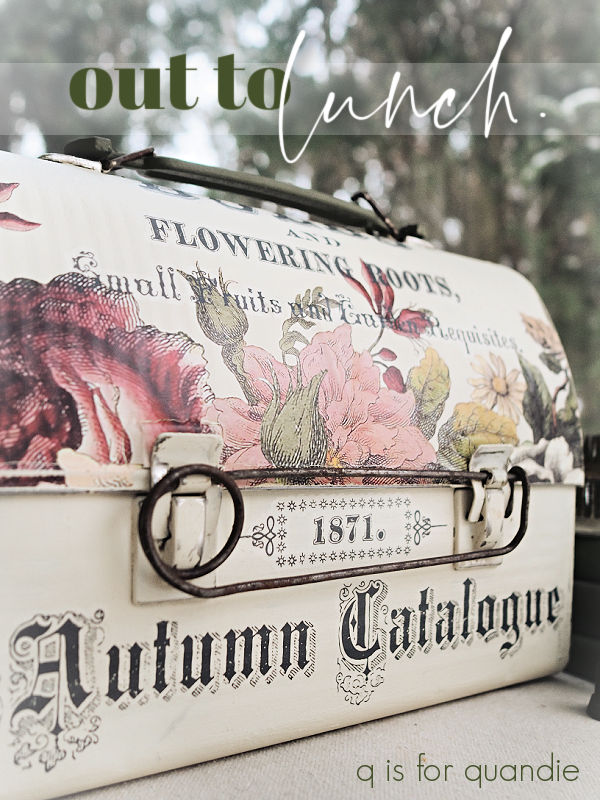
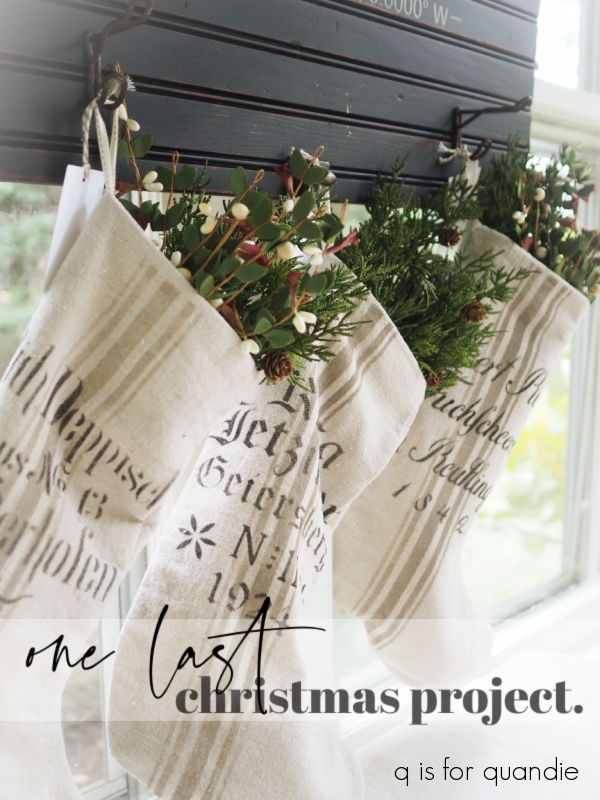
Finally we’ve got the two ‘signs’ that I purchased.

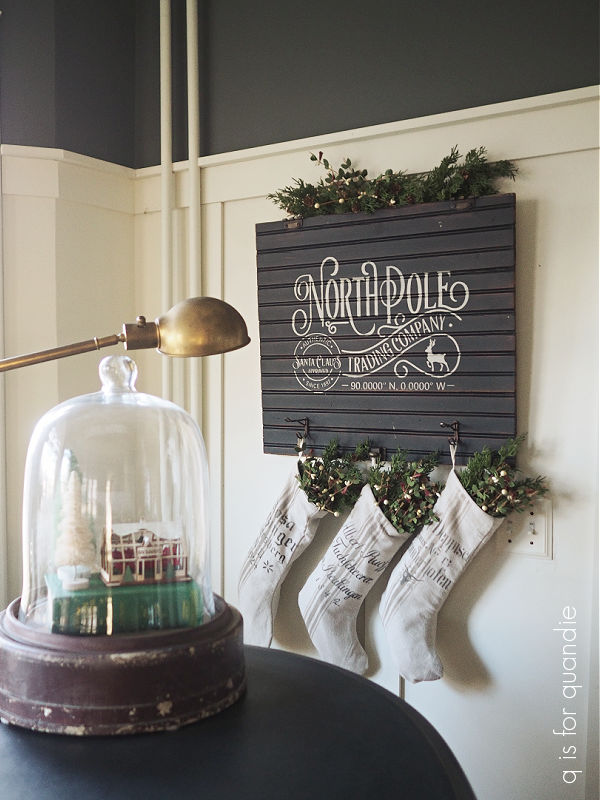
I knew the mustard yellow one would be perfect for that adorable row of birds from the I.O.D. Brocante transfer set. I gave it the same paint treatment as the box. A base coat of French Linen mixed with some Sea Spray, then a coat of Sawmill Gravy. Once dry, I sanded it smooth and added the birds.

I also added some random French typography from my transfer scrap pile, and then finished it off with a coat of clear wax.
I skipped the textured base coat on the 2nd sign. It has a sort of ribbed surface to begin with, so it didn’t need any additional texture. Instead I simply added a coat of Sawmill Gravy followed by some floral scraps from I.O.D.’s Floral Anthology transfer and some wording from the Classic Vintage Labels transfers from re.design with prima.

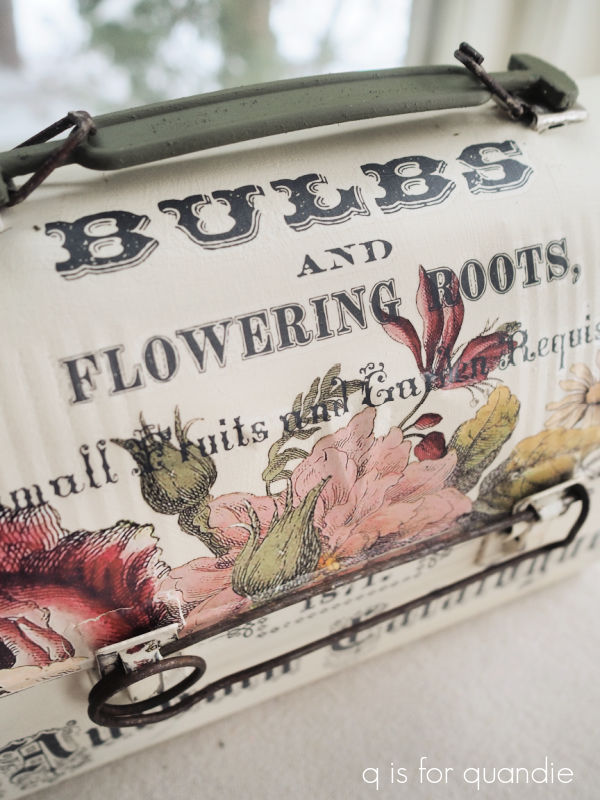
I added a little Dixie Dirt in the Earth color to this one.

You can see how it gets caught in the grooves in that close up photo.
I’ll be bringing most of these items into the shop tonight (Reclaiming Beautiful in Stillwater, MN) if any of you locals want to head over there this weekend and check them out.
In the meantime, are any of you finding goodies at the thrift stores, or are you finding that there are slim pickin’s like I am? Leave a comment and let me know, or just let me know which of today’s projects is your favorite.


 to
to 


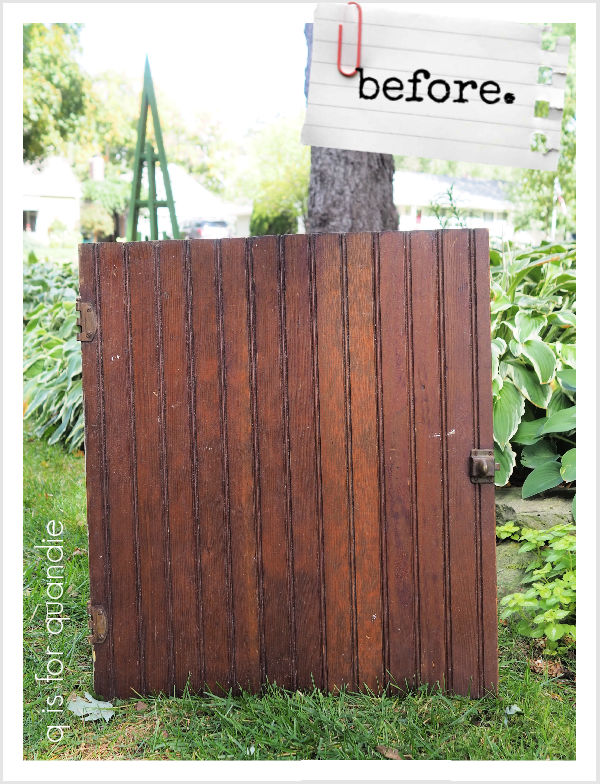


 After giving it a light scuff sanding and wiping it down with a damp cloth, I painted it in two coats of Dixie Belle’s Drop Cloth.