I can’t even begin to tell you guys how often I make the same mistake more than once.
You’d think I’d learn from my mistakes the first time around, but that is definitely not always the case. Today’s project is a good example.
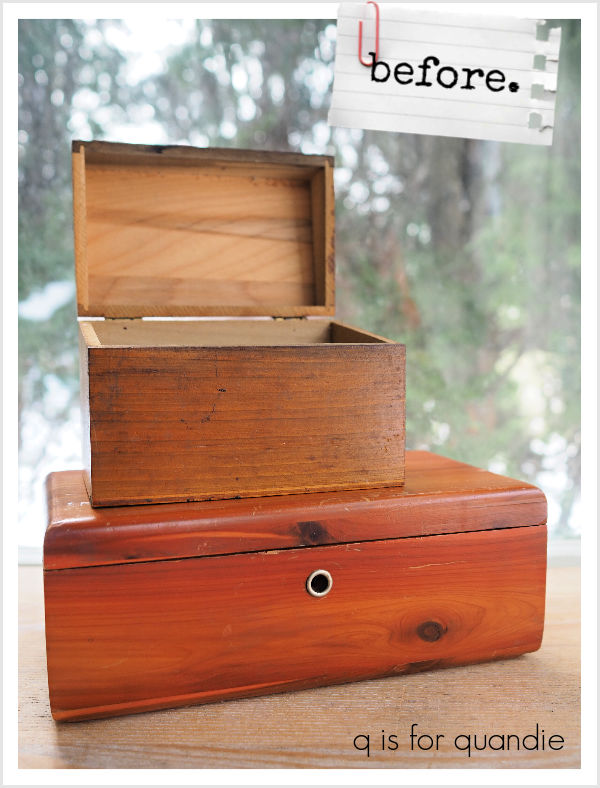
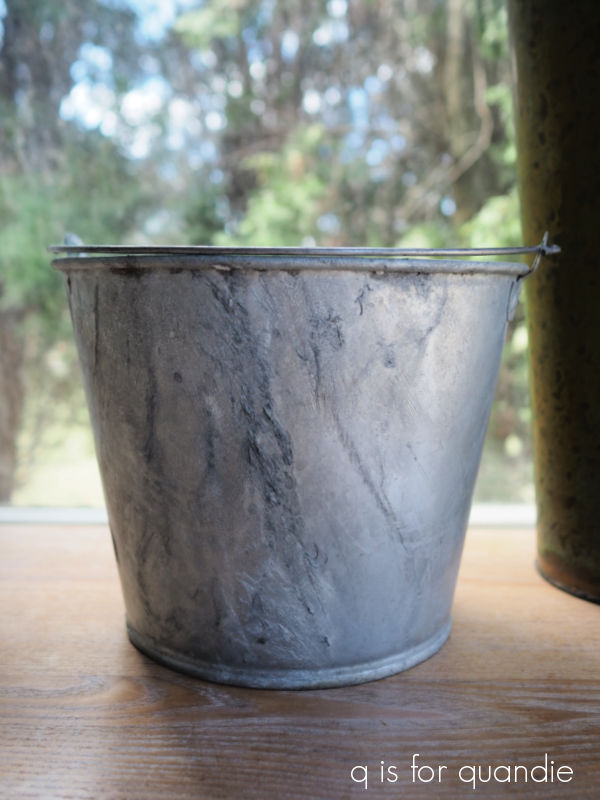
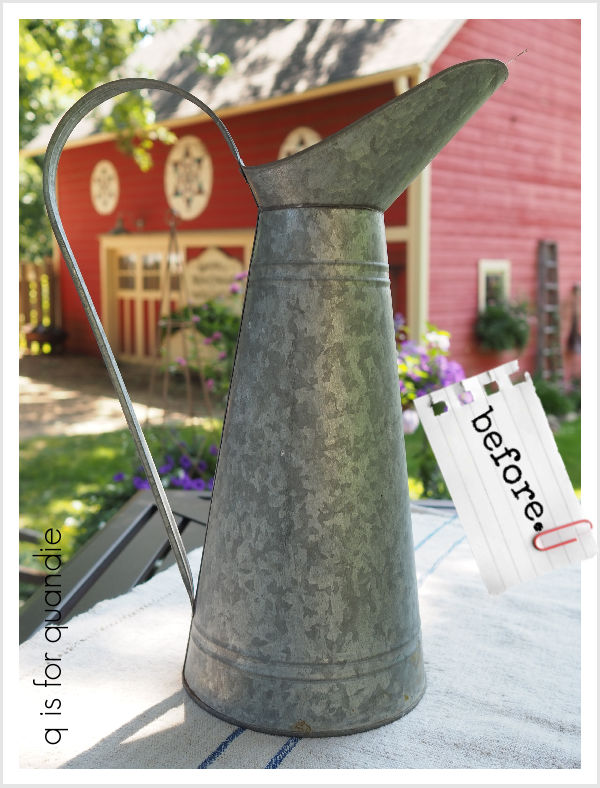
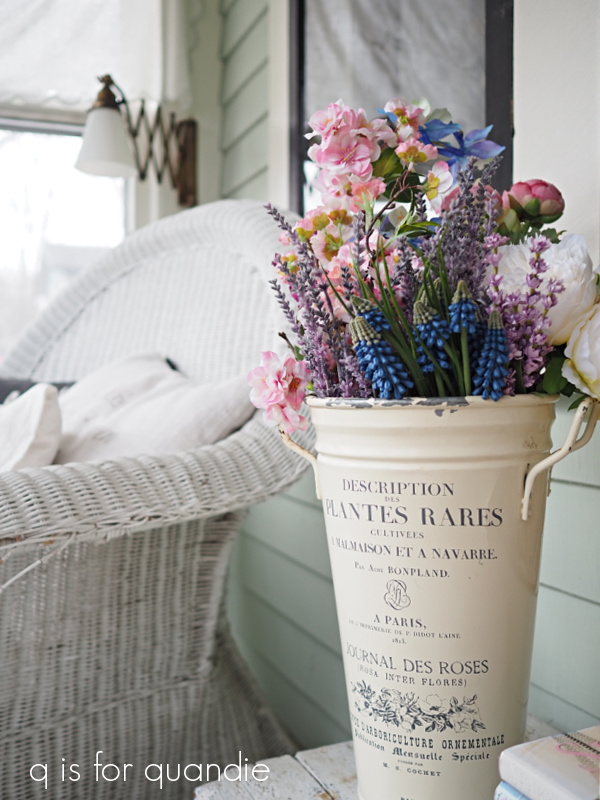
I think I found this flower bucket at the Goodwill. Or maybe it was a garage sale. I really don’t remember.
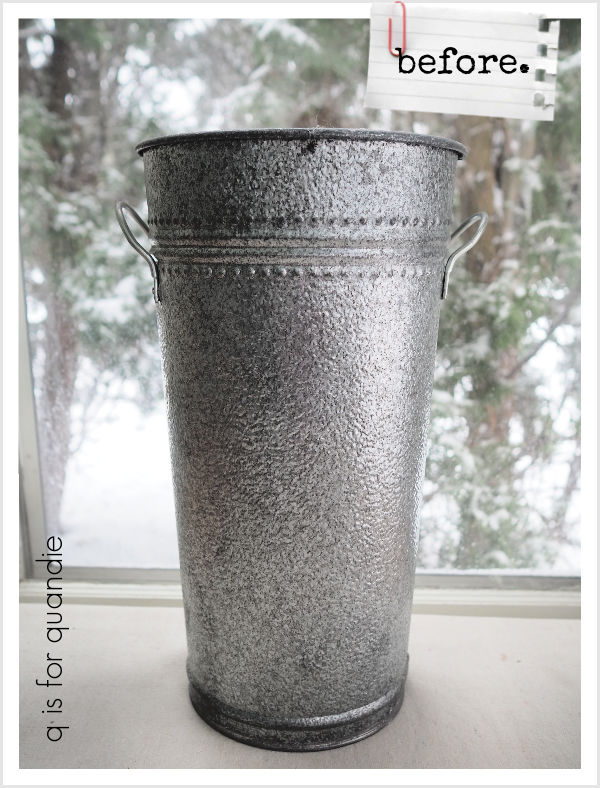
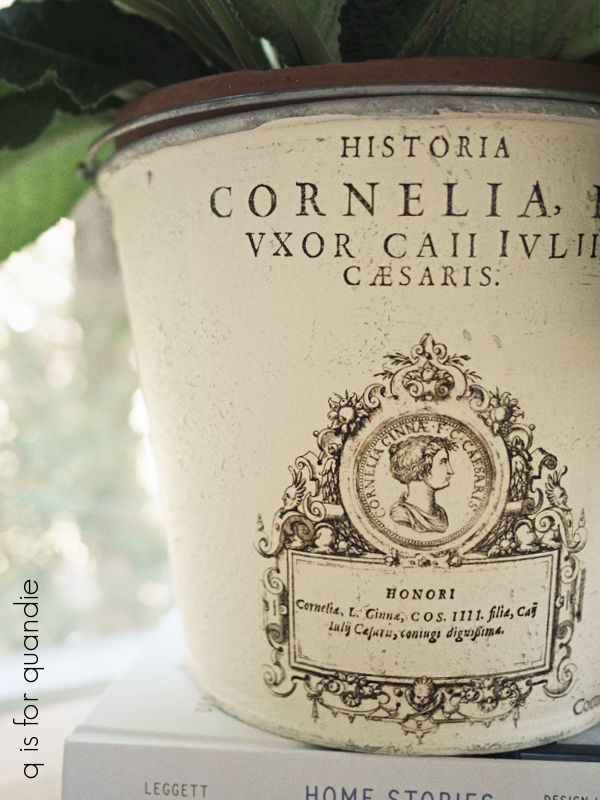
It’s a nice solid galvanized metal (not the flimsy ‘new’ sort of stuff). I knew it could benefit from a paint job though.
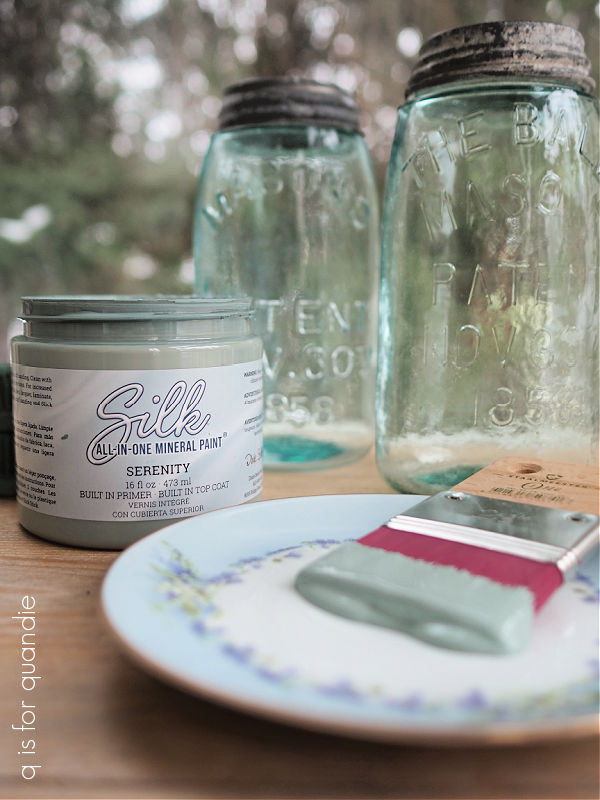
So after giving it a good cleaning, I painted it with Dixie Belle’s Dried Sage. Over time I have learned that chalk style paint is your best bet over metal like this. It really doesn’t need any extra primer to help it stick.
Once I had the paint on I went through my embellishments to decide what to add.
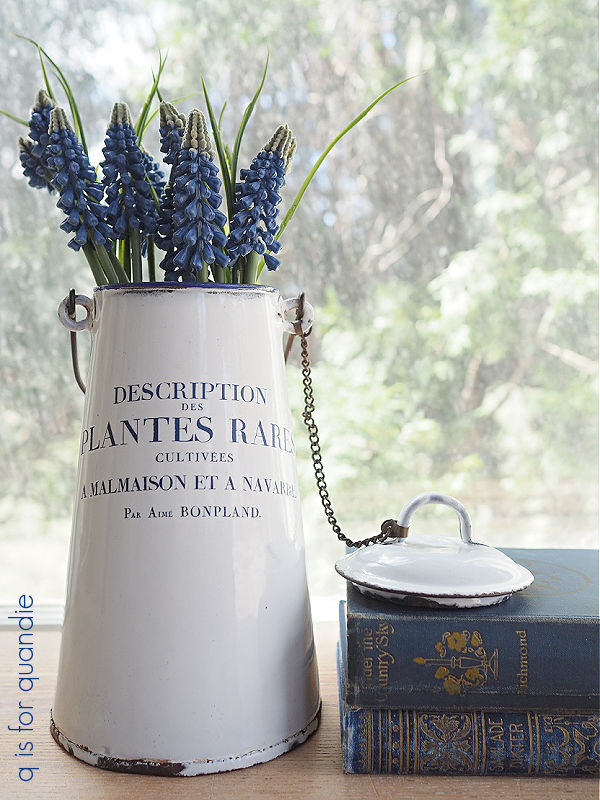
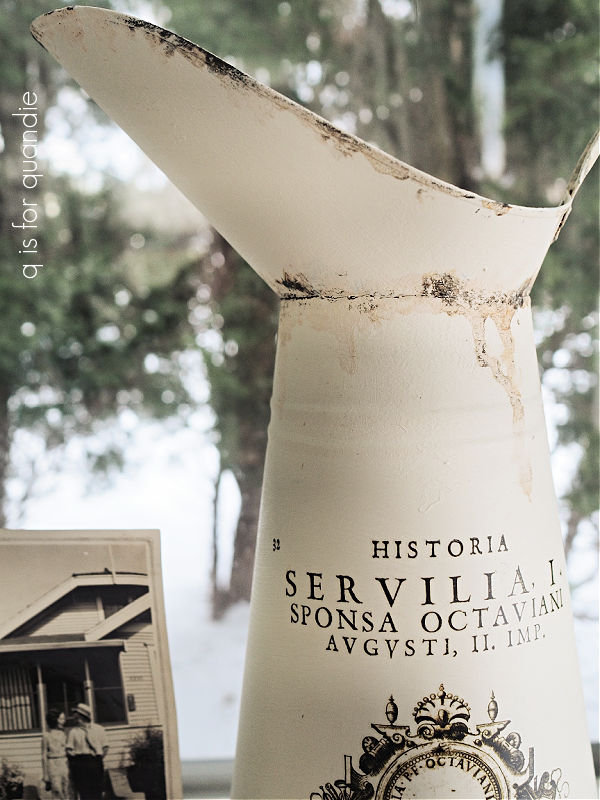
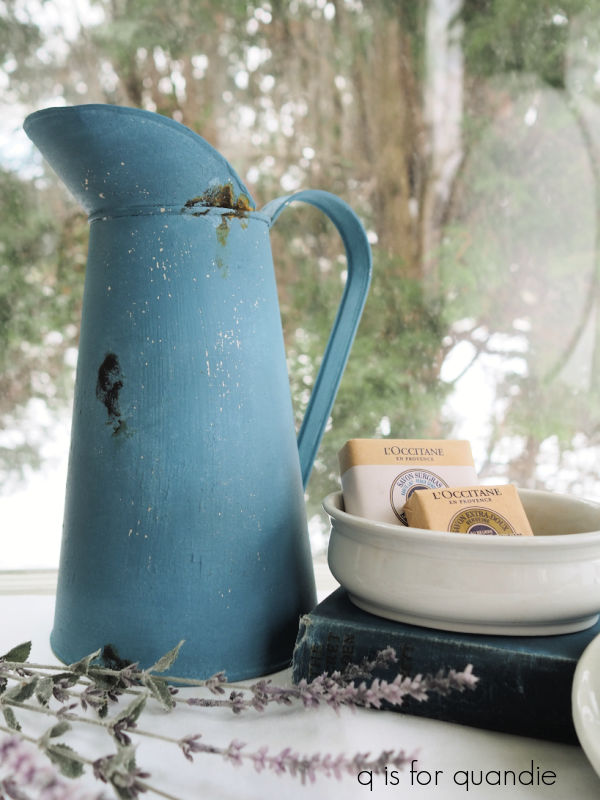
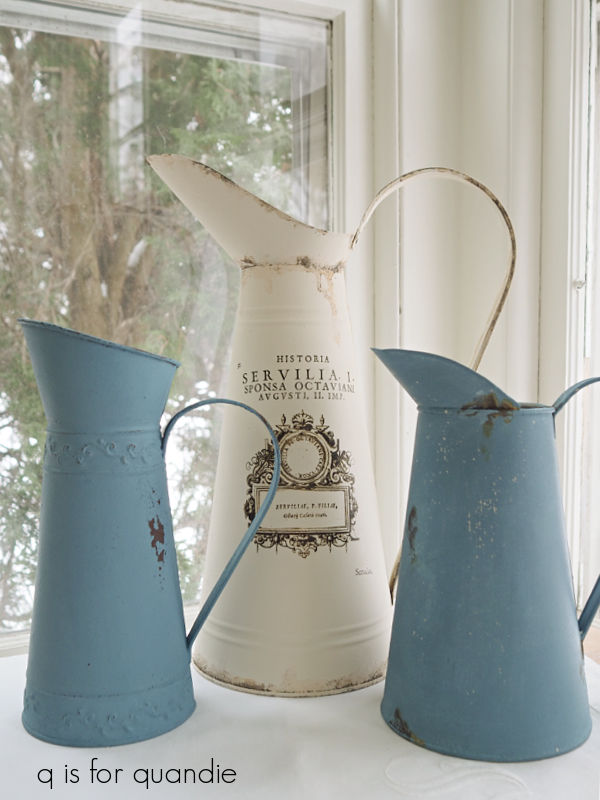
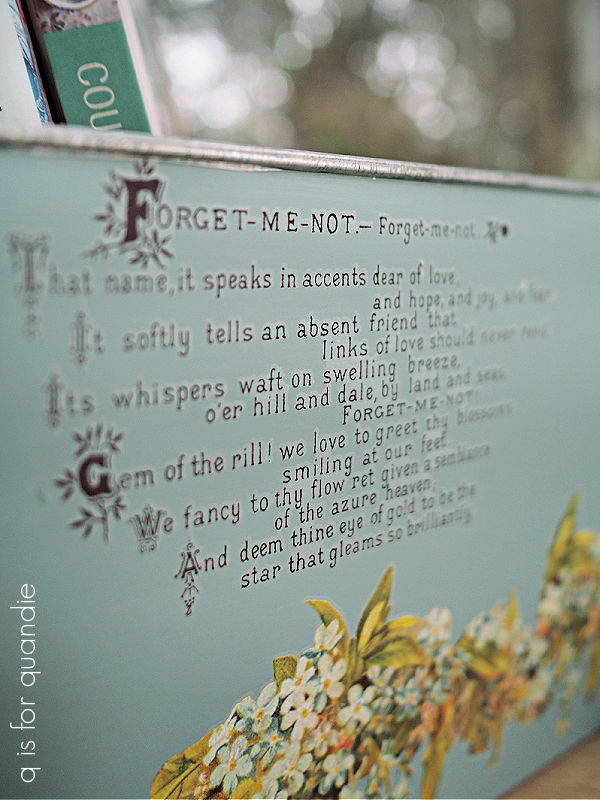
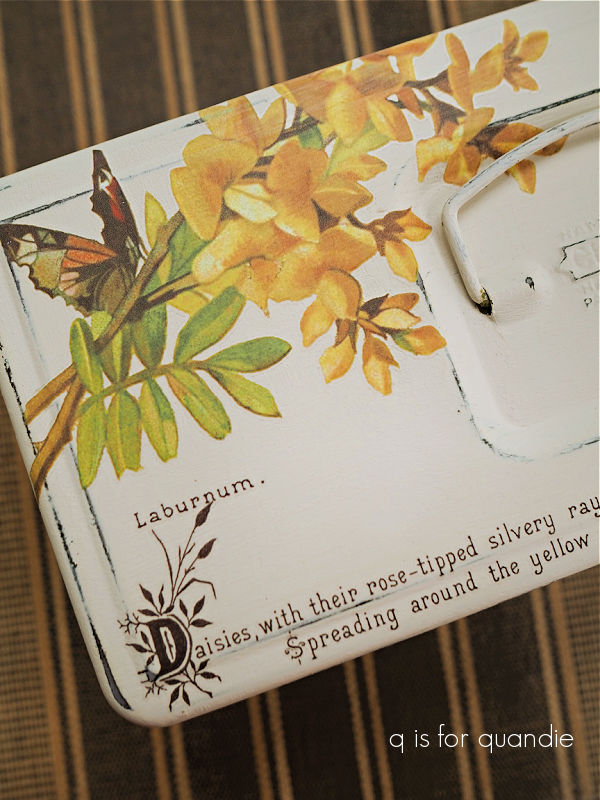
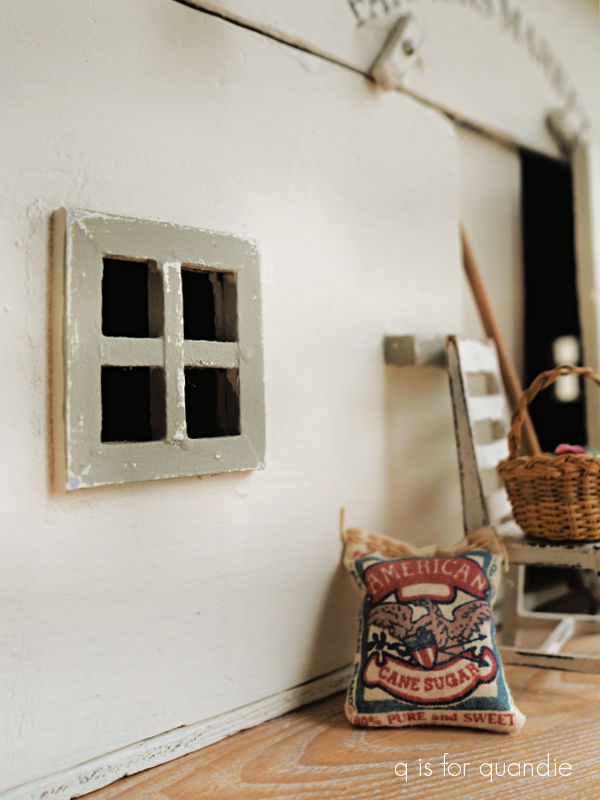
I considered using a simple transfer, like I did on this flower bucket.
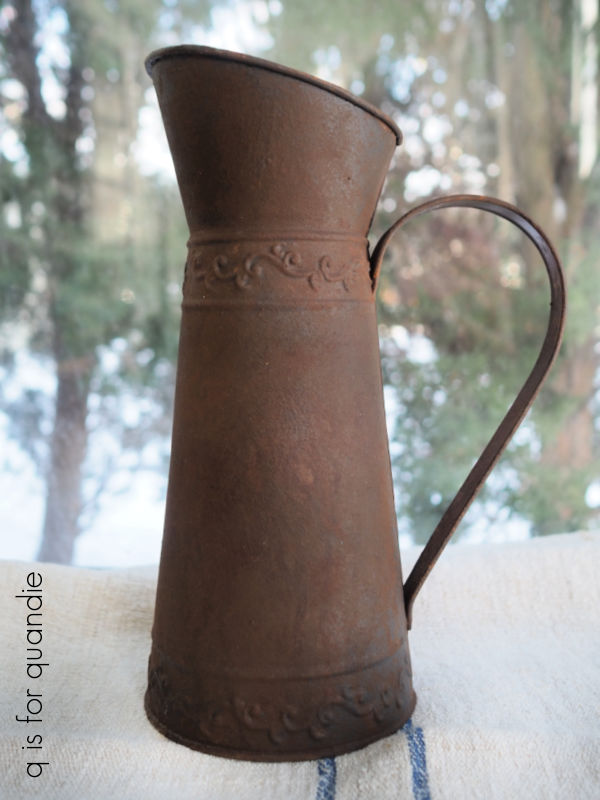
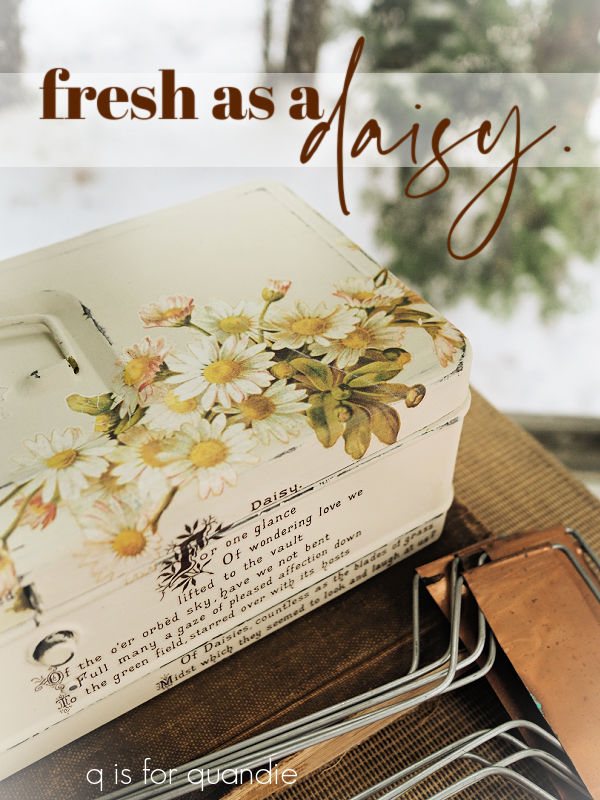
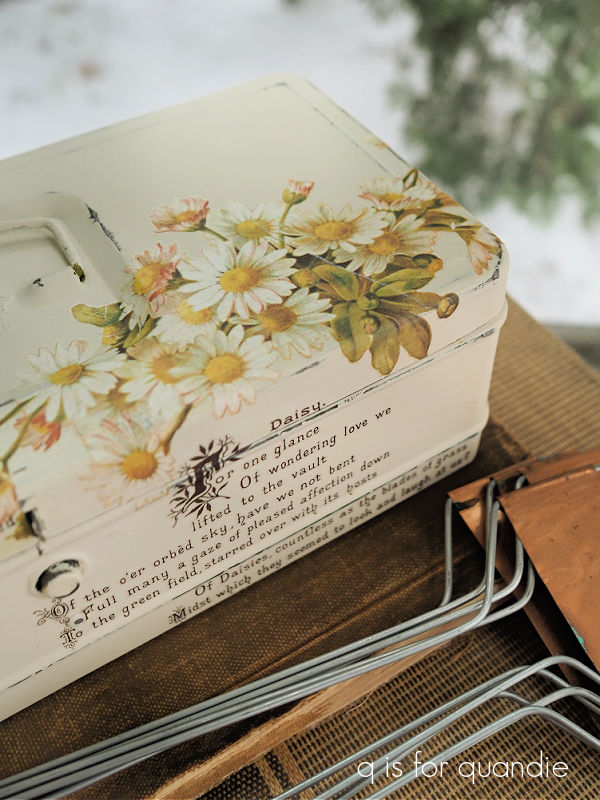
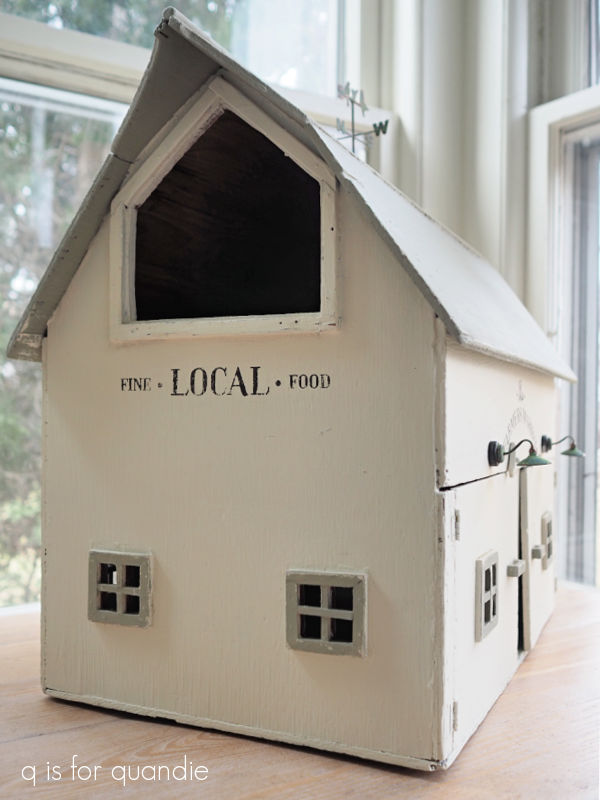
Or the one I just brought home from thrifting …

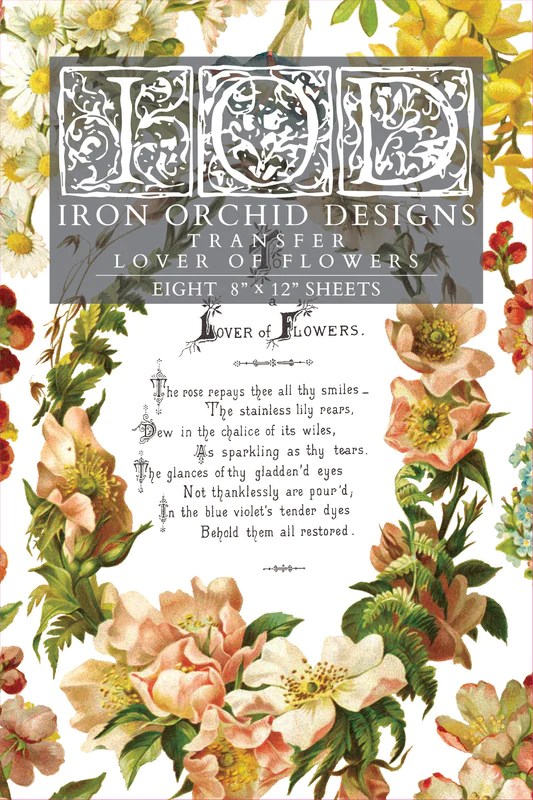
Or this one …
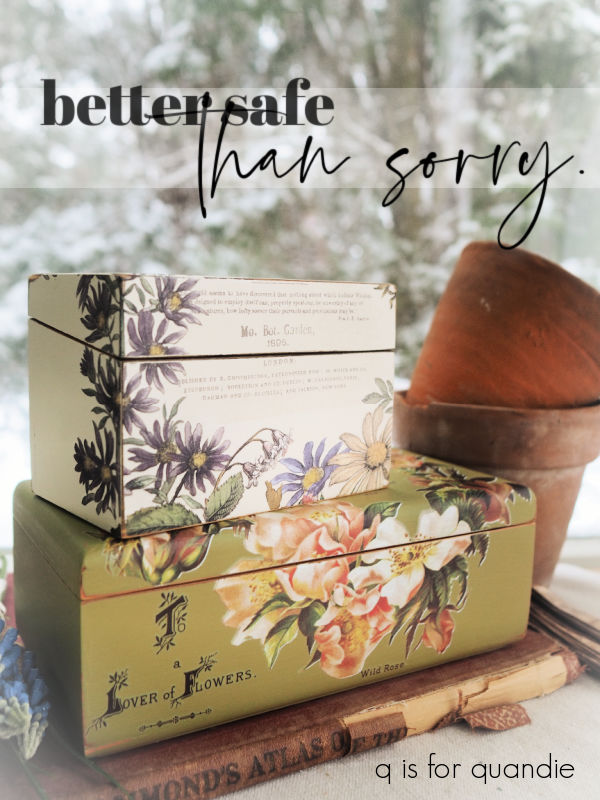
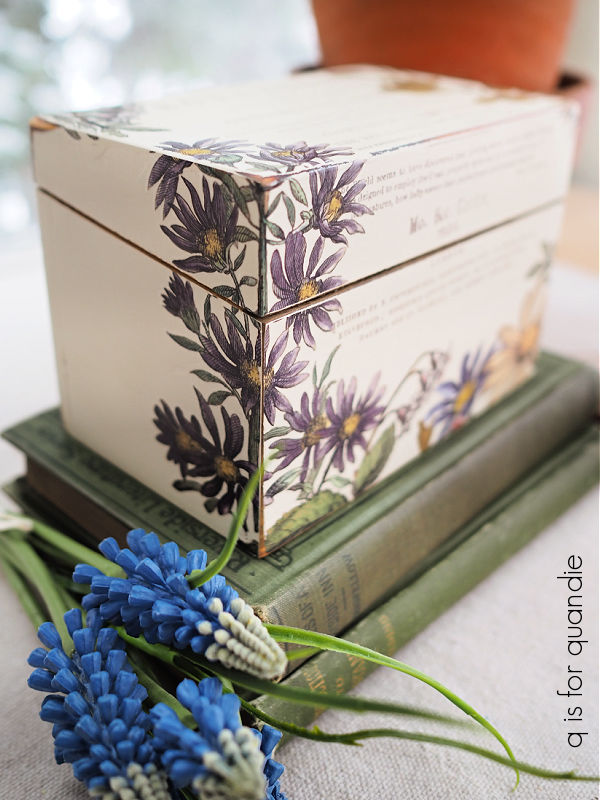
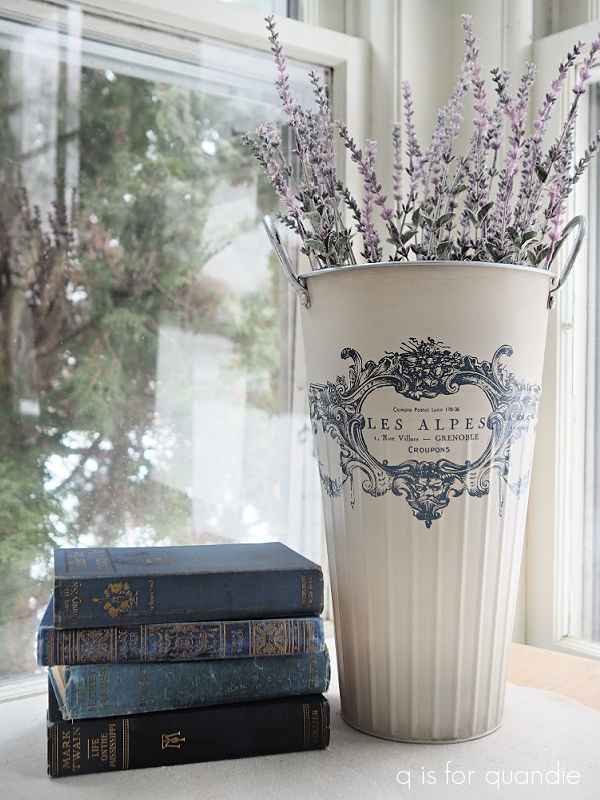
But as I was going through my stash I remembered the gorgeous paint inlay from the I.O.D. Melange set that I used on the trunk on our front porch last summer.

It looked like the perfect fit, and I’d only used it the one time so I should have been able to get a 2nd use out of it (like I did on the wooden box I shared earlier this week). I knew it would be a bit more faint the 2nd time around, but I forgot to factor in whether or not it would work well over the Dried Sage paint, which is a bit on the darker side.

I do think this could have worked over a lighter shade, like Drop Cloth. But it was really just too faint over the darker color.
That being said, other than the very faded look of it, I loved this design on the bucket. And I just happened to have a 2nd set of the Melange inlay on hand.
So I scuff sanded over the faint inlay just to smooth out any texture, added another two coats of the Dried Sage, and then tried again with the fresh new inlay.
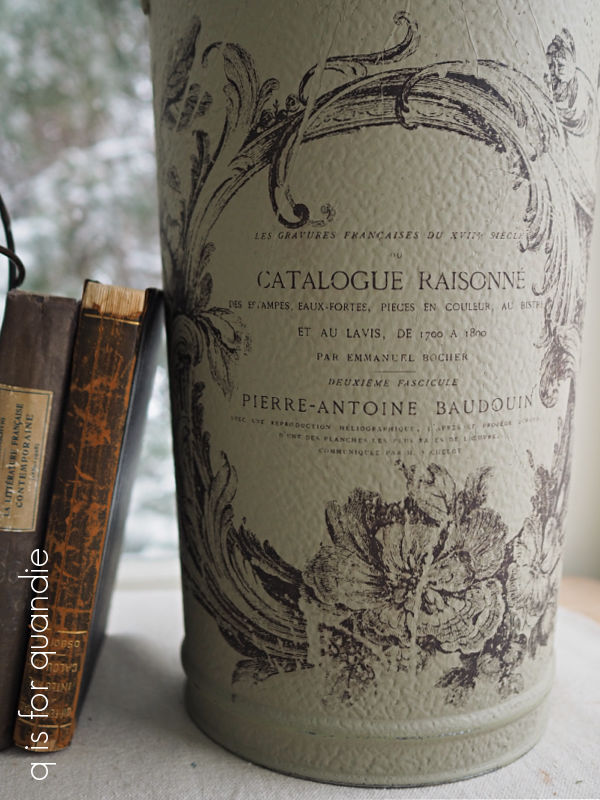
Ahhhh, so much better!
I just love it.
I did save the used paint inlay …

and maybe next time I’ll remember to use it over Drop Cloth!
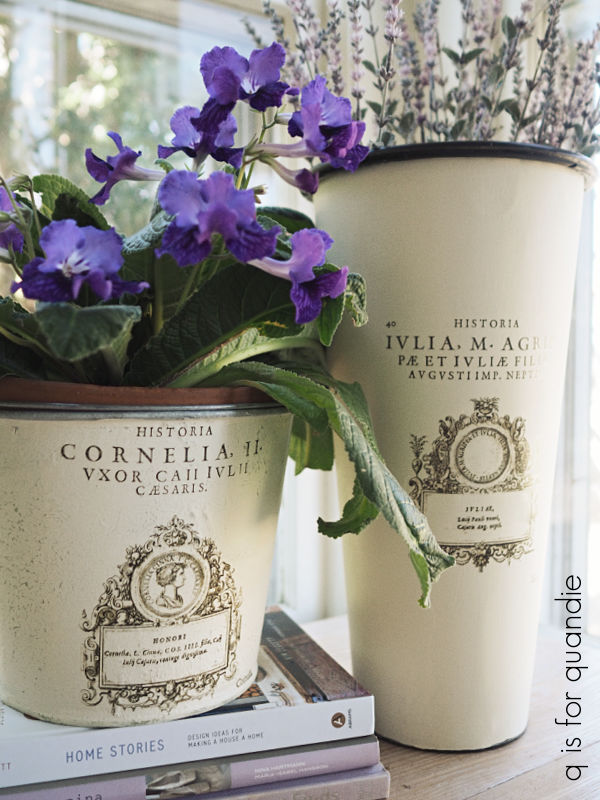
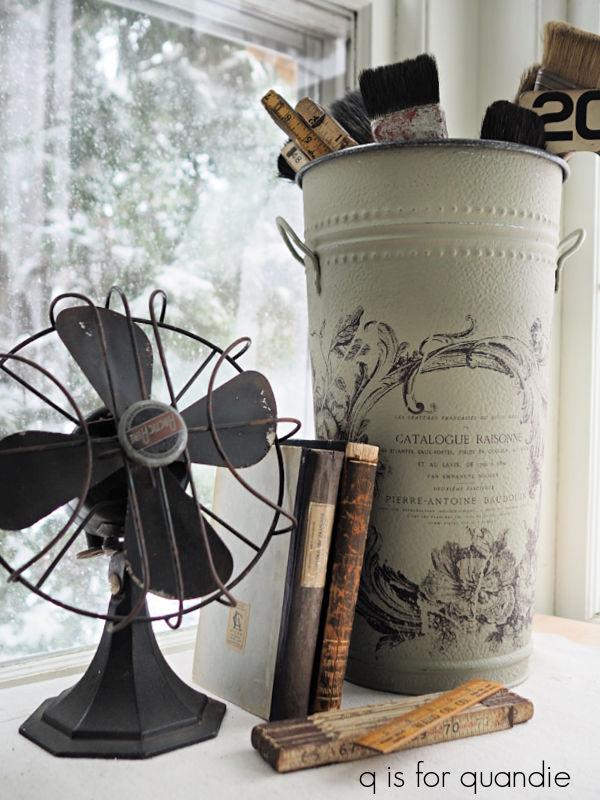
Once the flower bucket was dry, I gave it a quick spray with some Rust-Oleum matte spray sealer to seal the inlay. Once that dried, I went over it again with some clear wax.
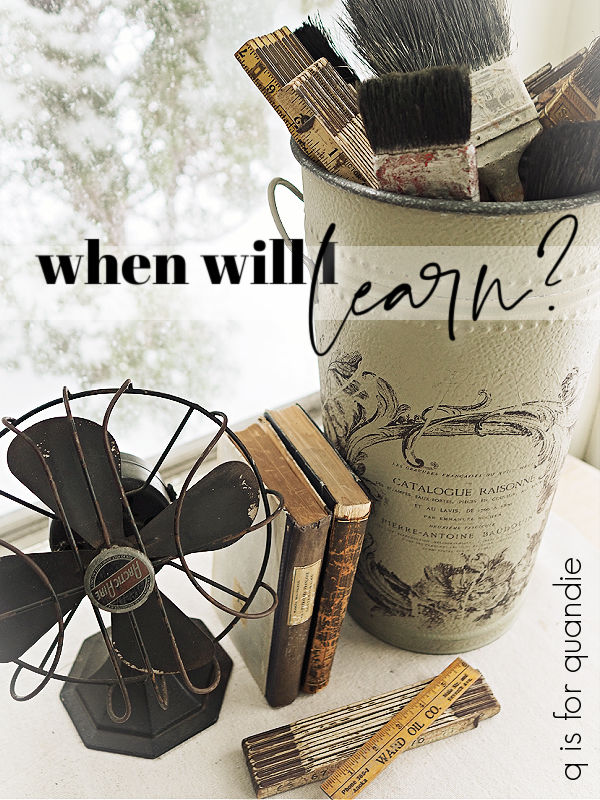
I filled it up with some old paint brushes and some vintage wooden rulers for my photos.

But I really think it would be perfect for some dried hydrangeas. Unfortunately, I didn’t harvest any this past fall because at the time I couldn’t think what I would use them for.

I guess that makes two lessons learned from this project. First, don’t re-use a paint inlay over a darker color and second, always dry your hydrangeas, you never know when you’ll find a use for them!
In other news, my sister and I are off to visit our mom again. But this time around I have some blog posts pre-scheduled to keep you entertained while I’m gone. So be sure to stay tuned!