
I have been struggling a bit with the milk paint lately. I know it’s unpredictable, and it’s hard to control the chippy factor. I know all about the color variations. But this summer I seem to be getting one unexpected result after another. This dresser is a case in point.
Let’s start at the beginning.
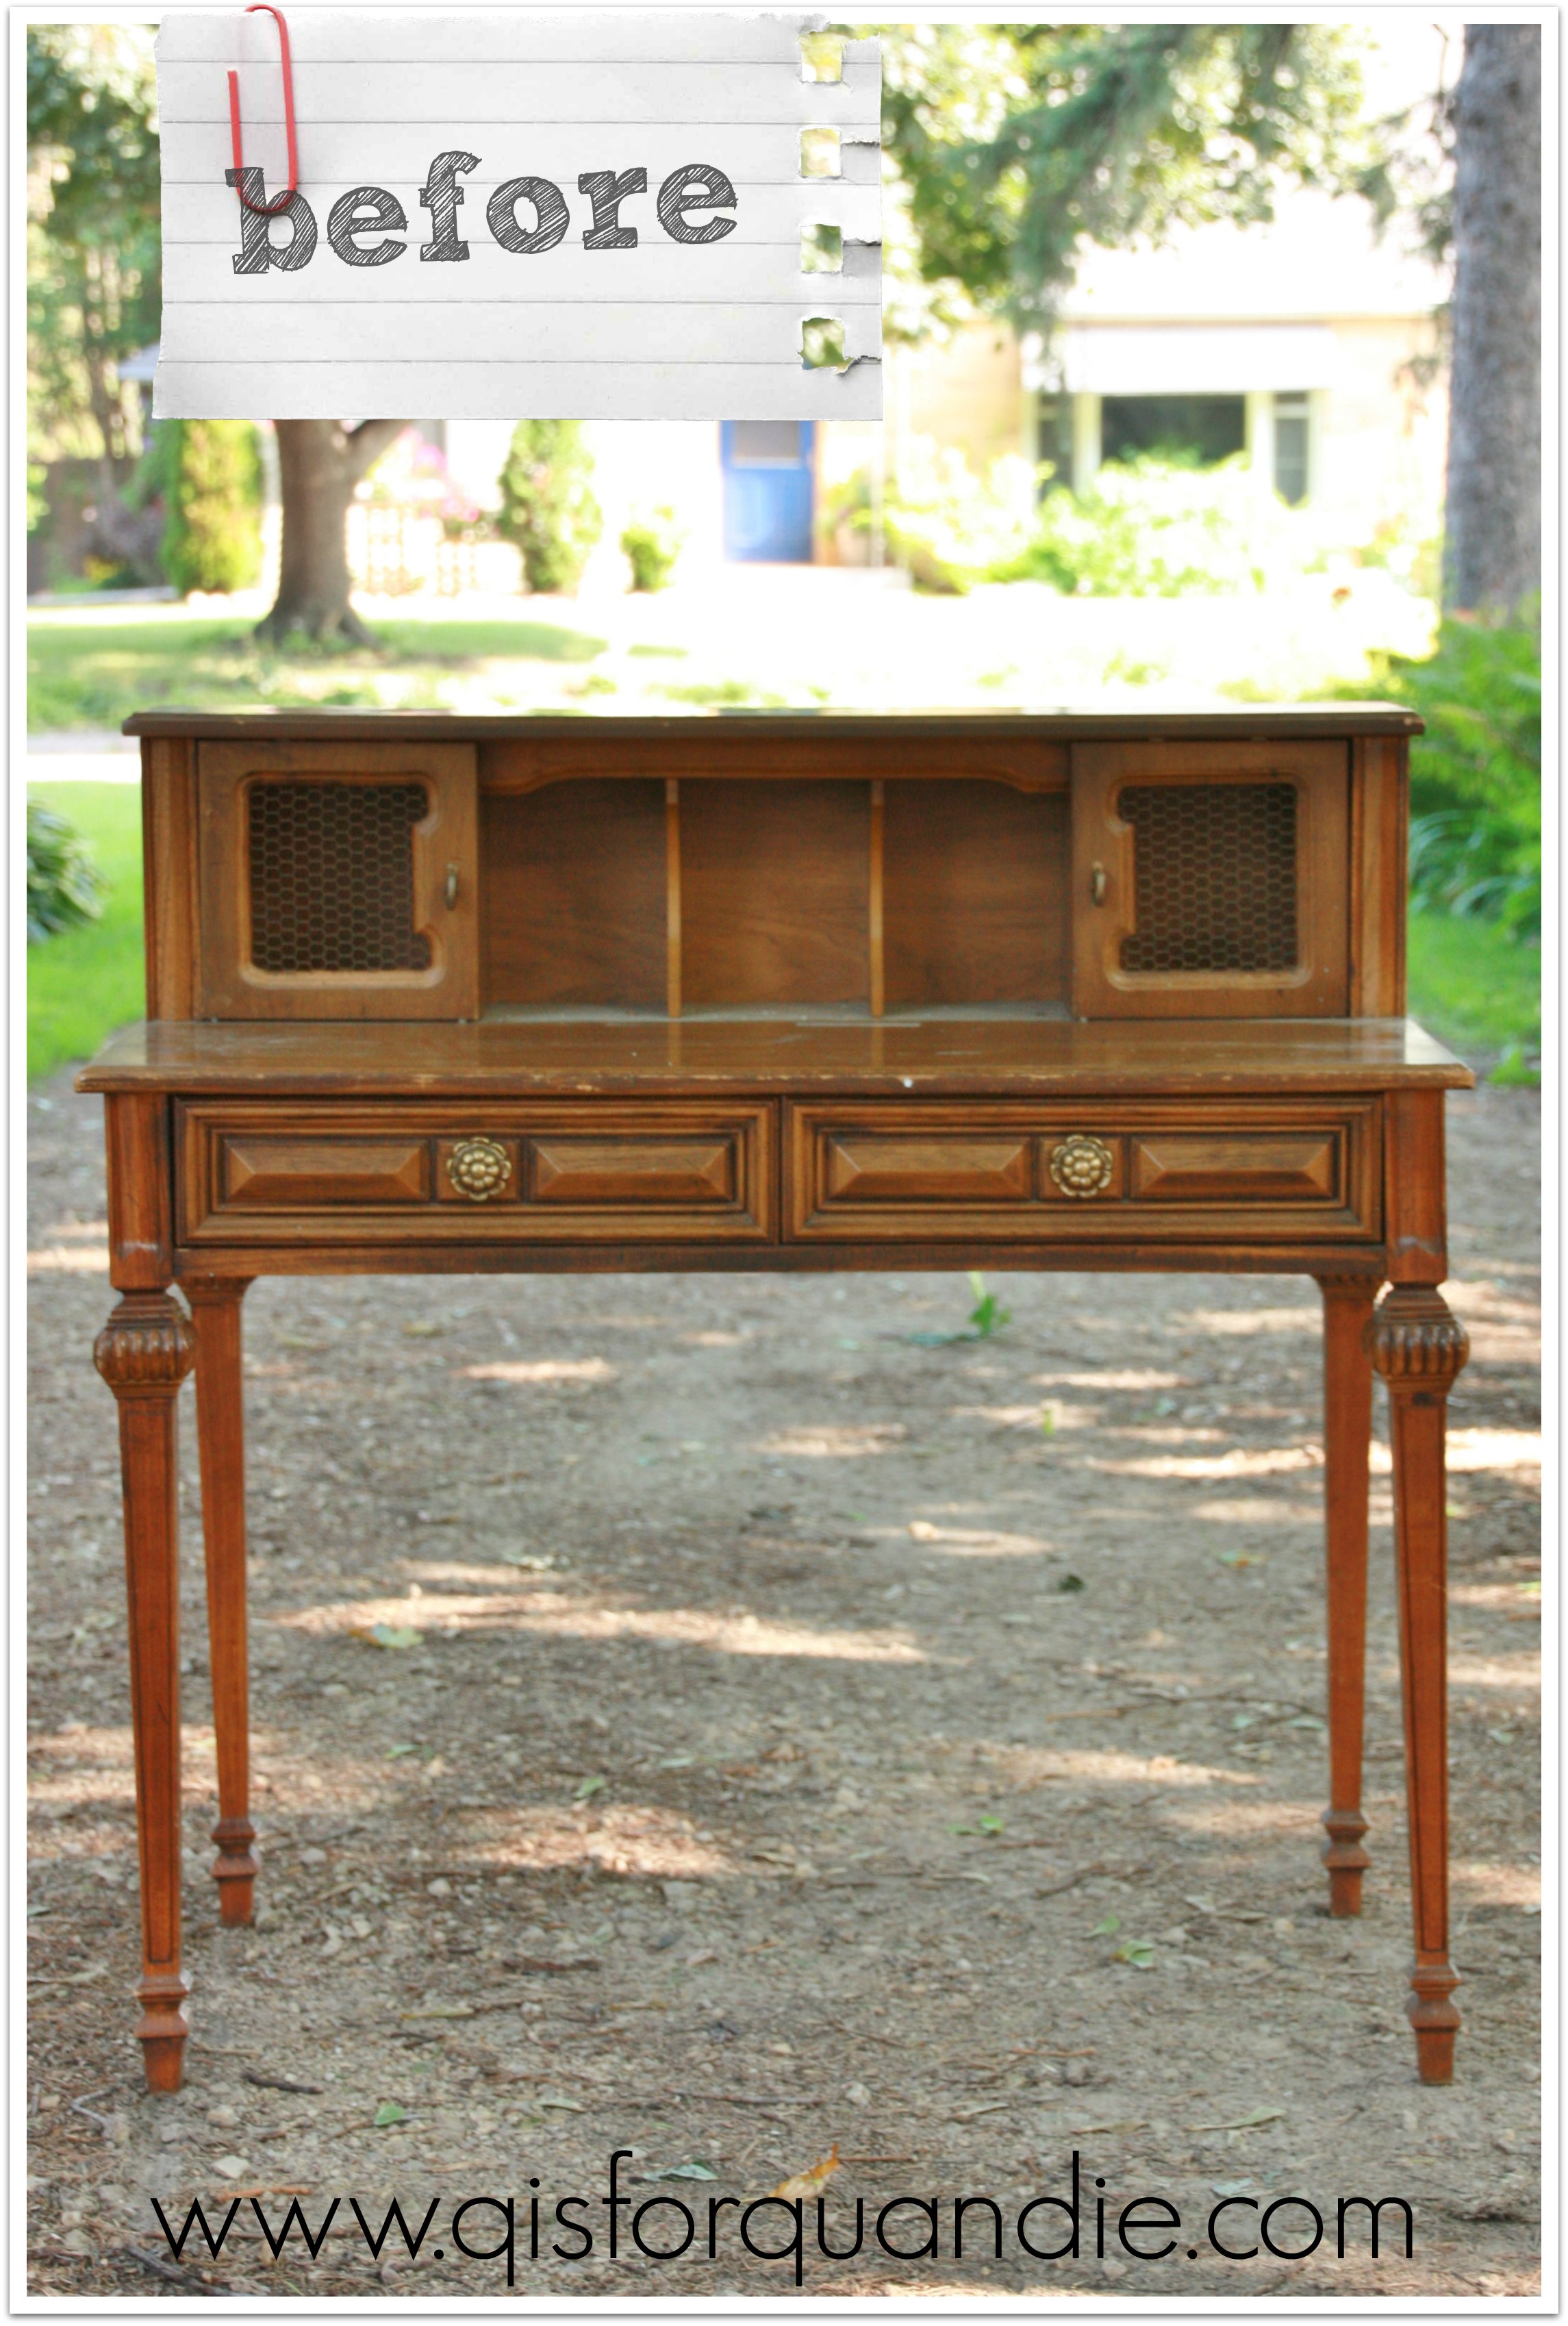
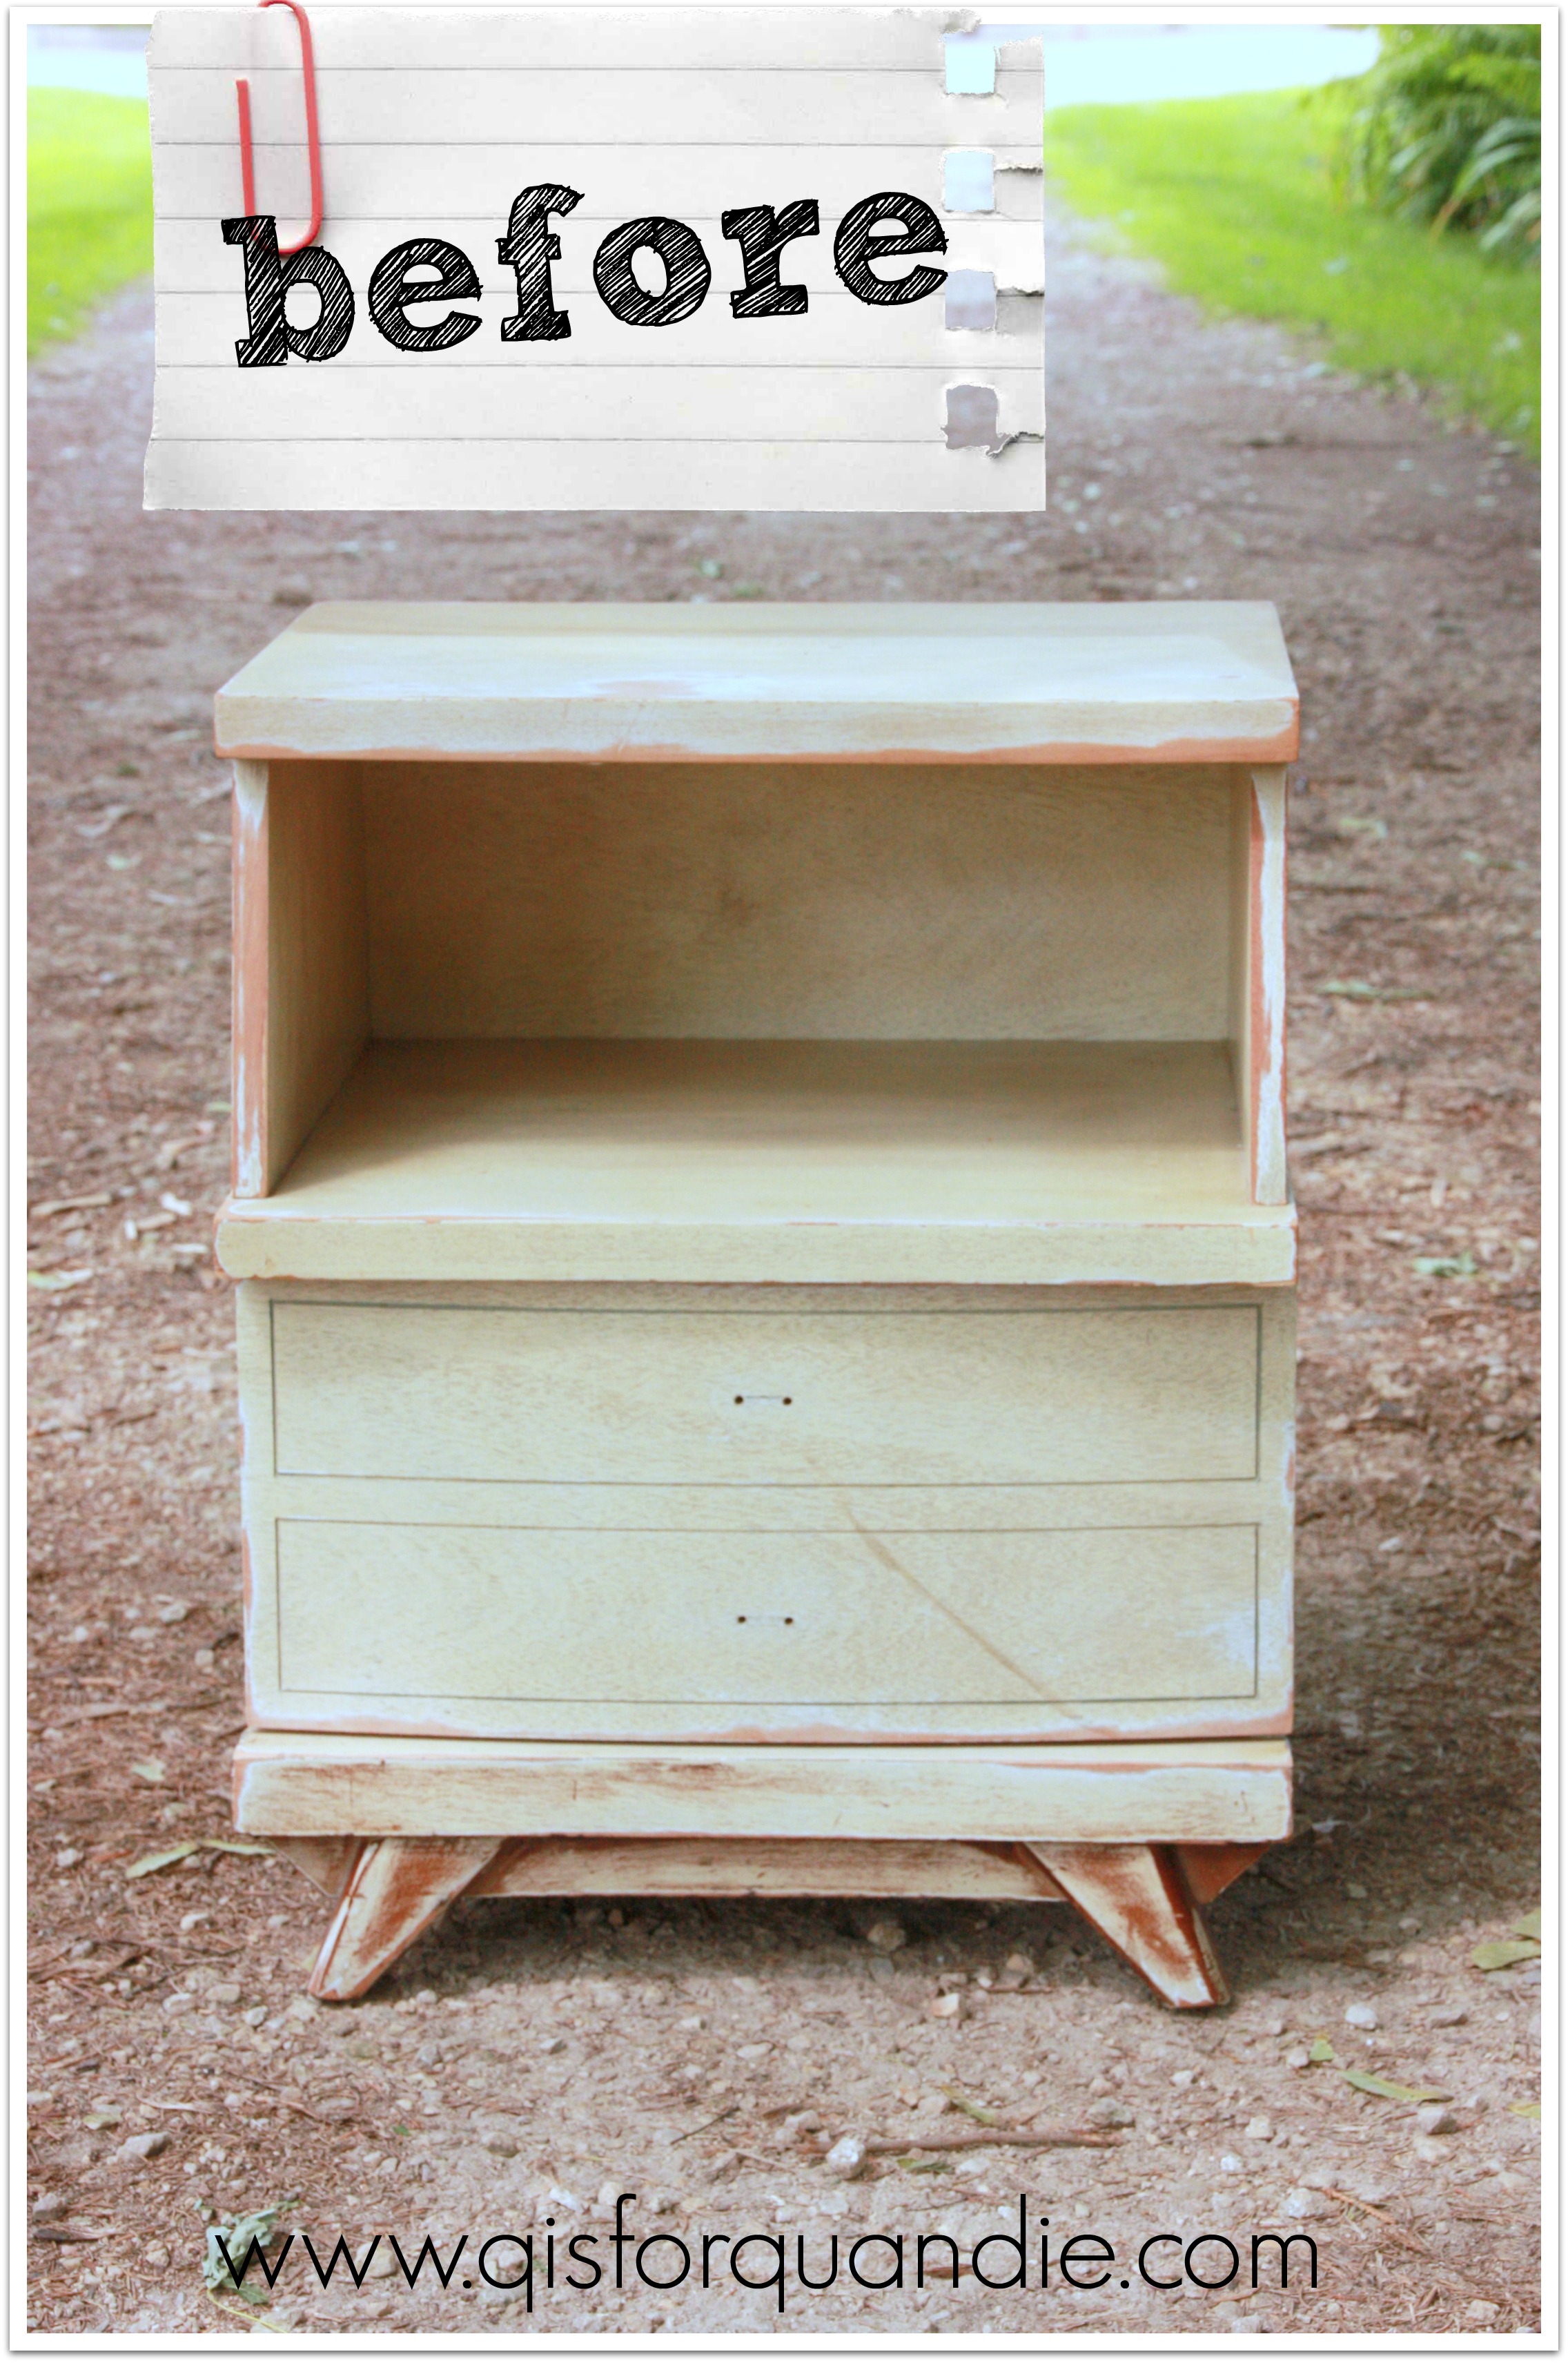
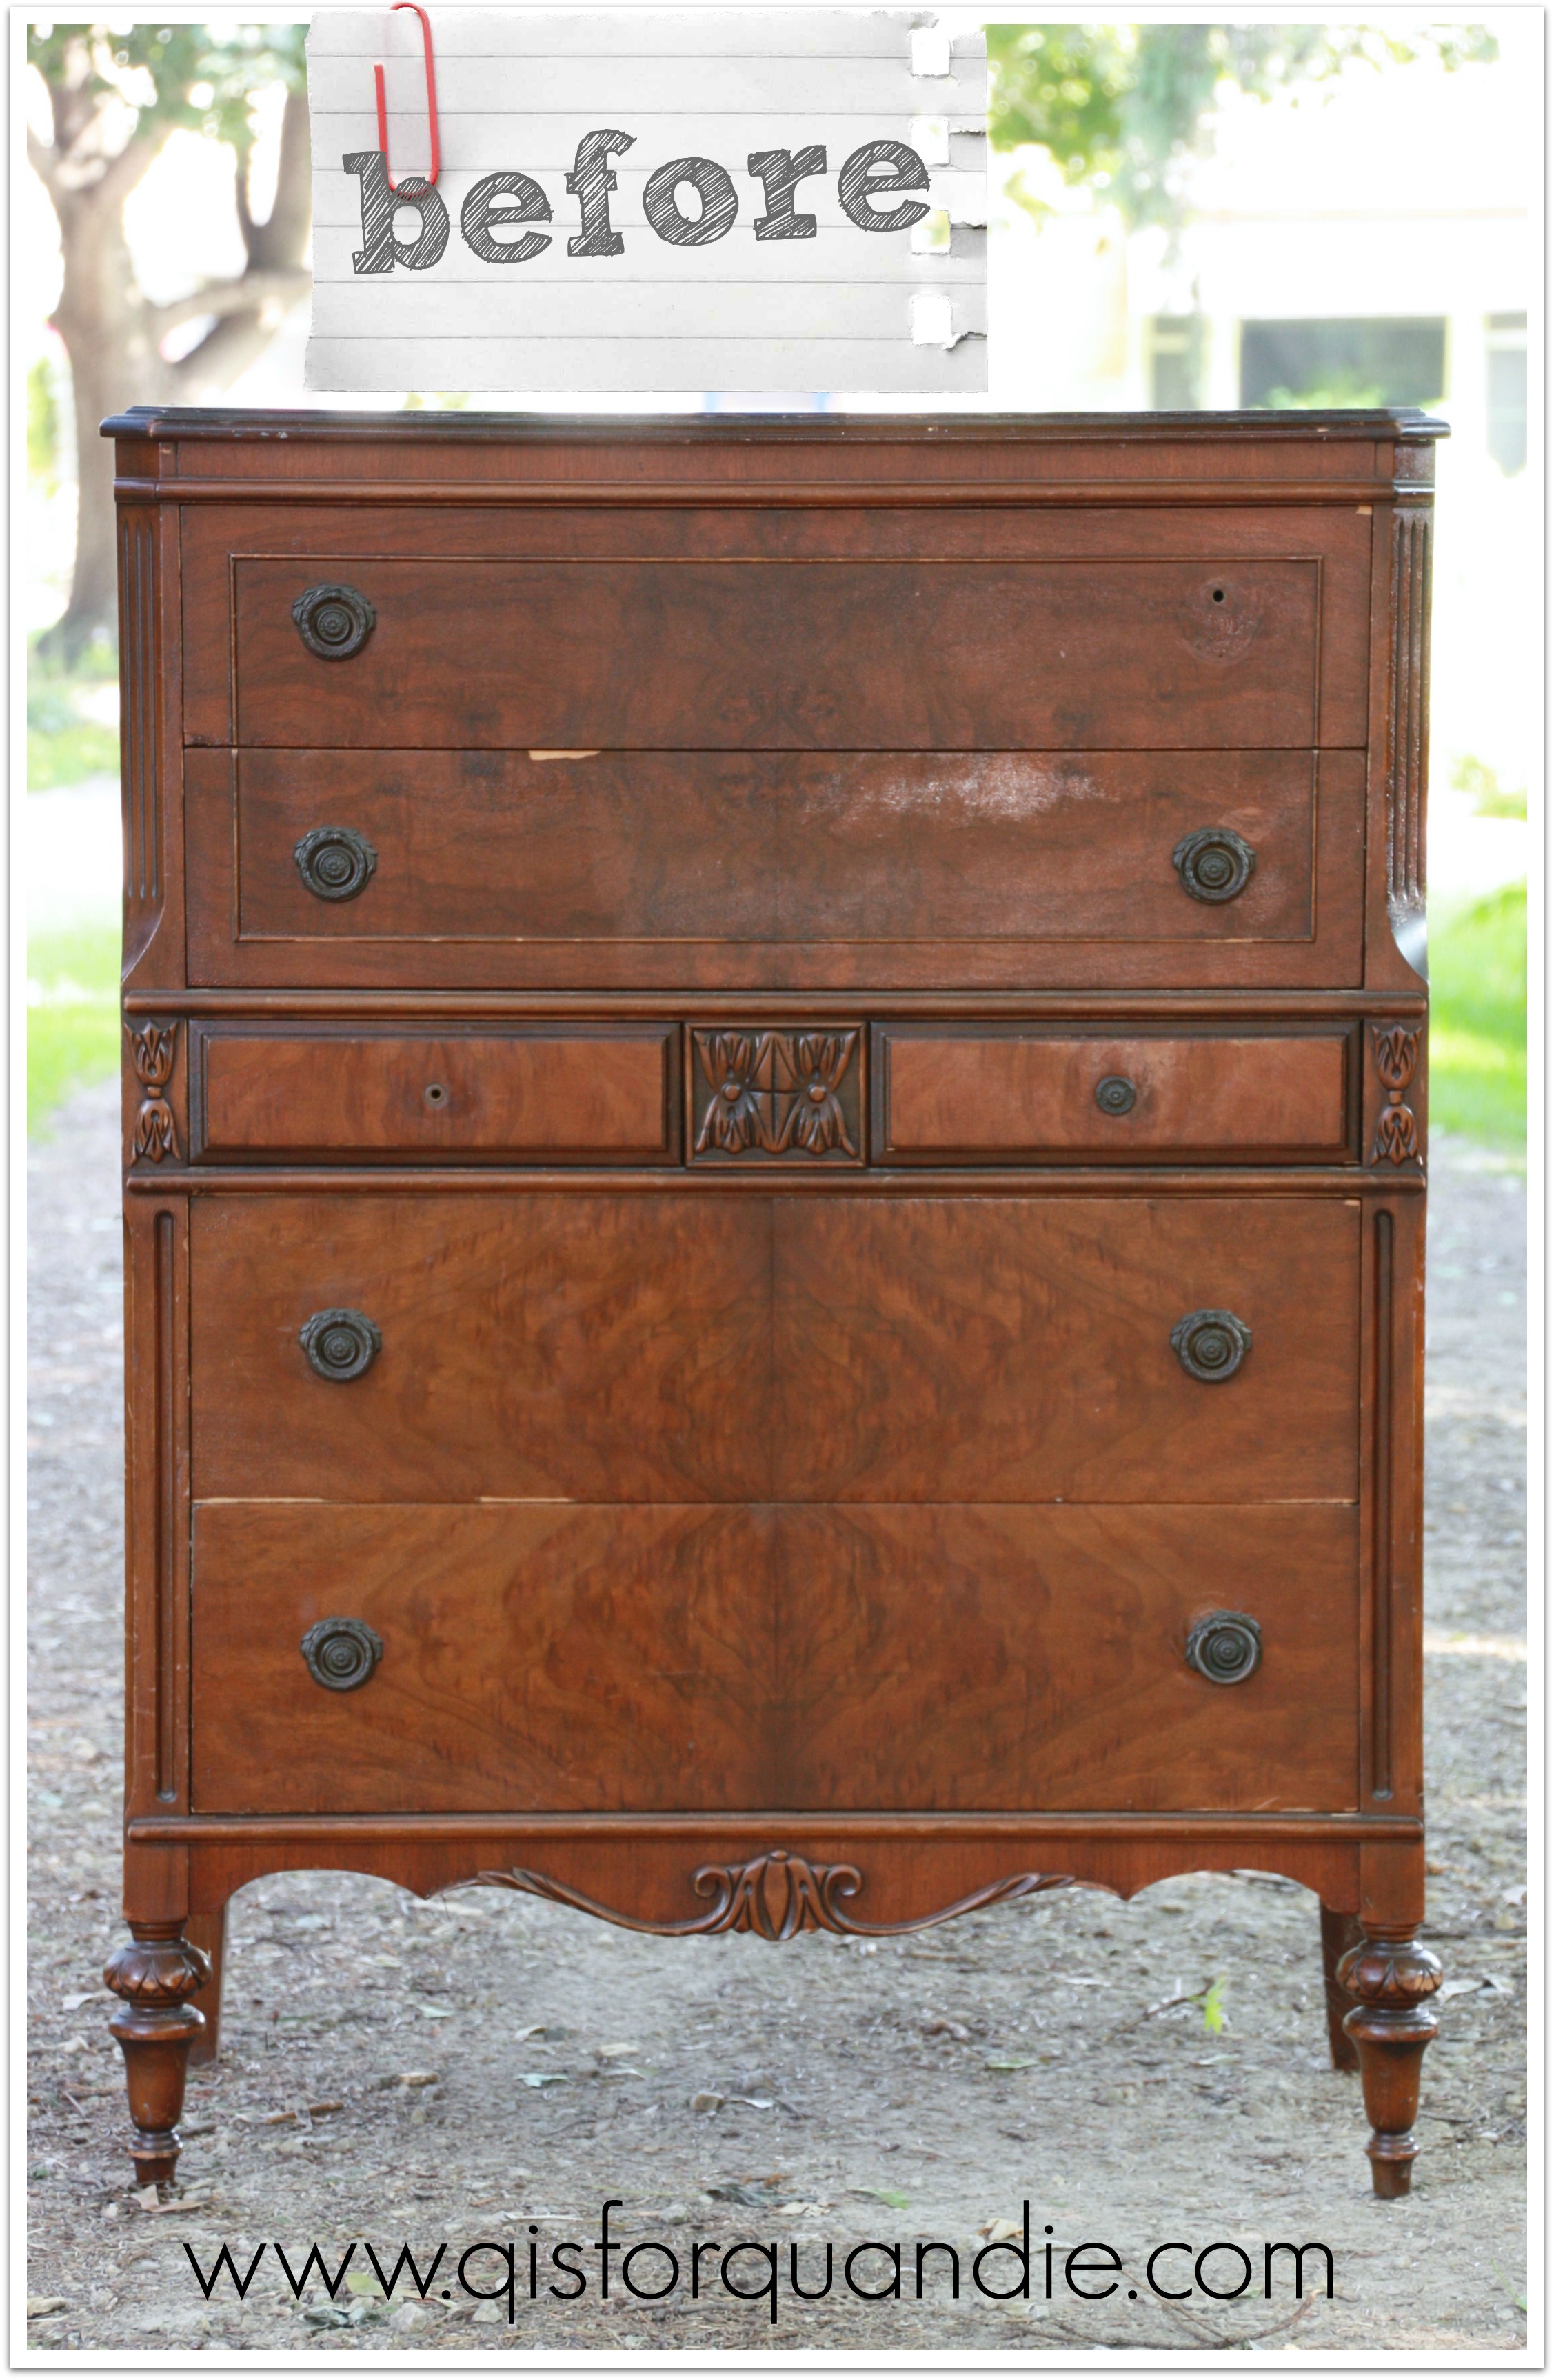 This one has lots of potential, right? It has a little bit of veneer damage, and a chunk of the trim is missing at the bottom. It’s the perfect candidate for a paint job.
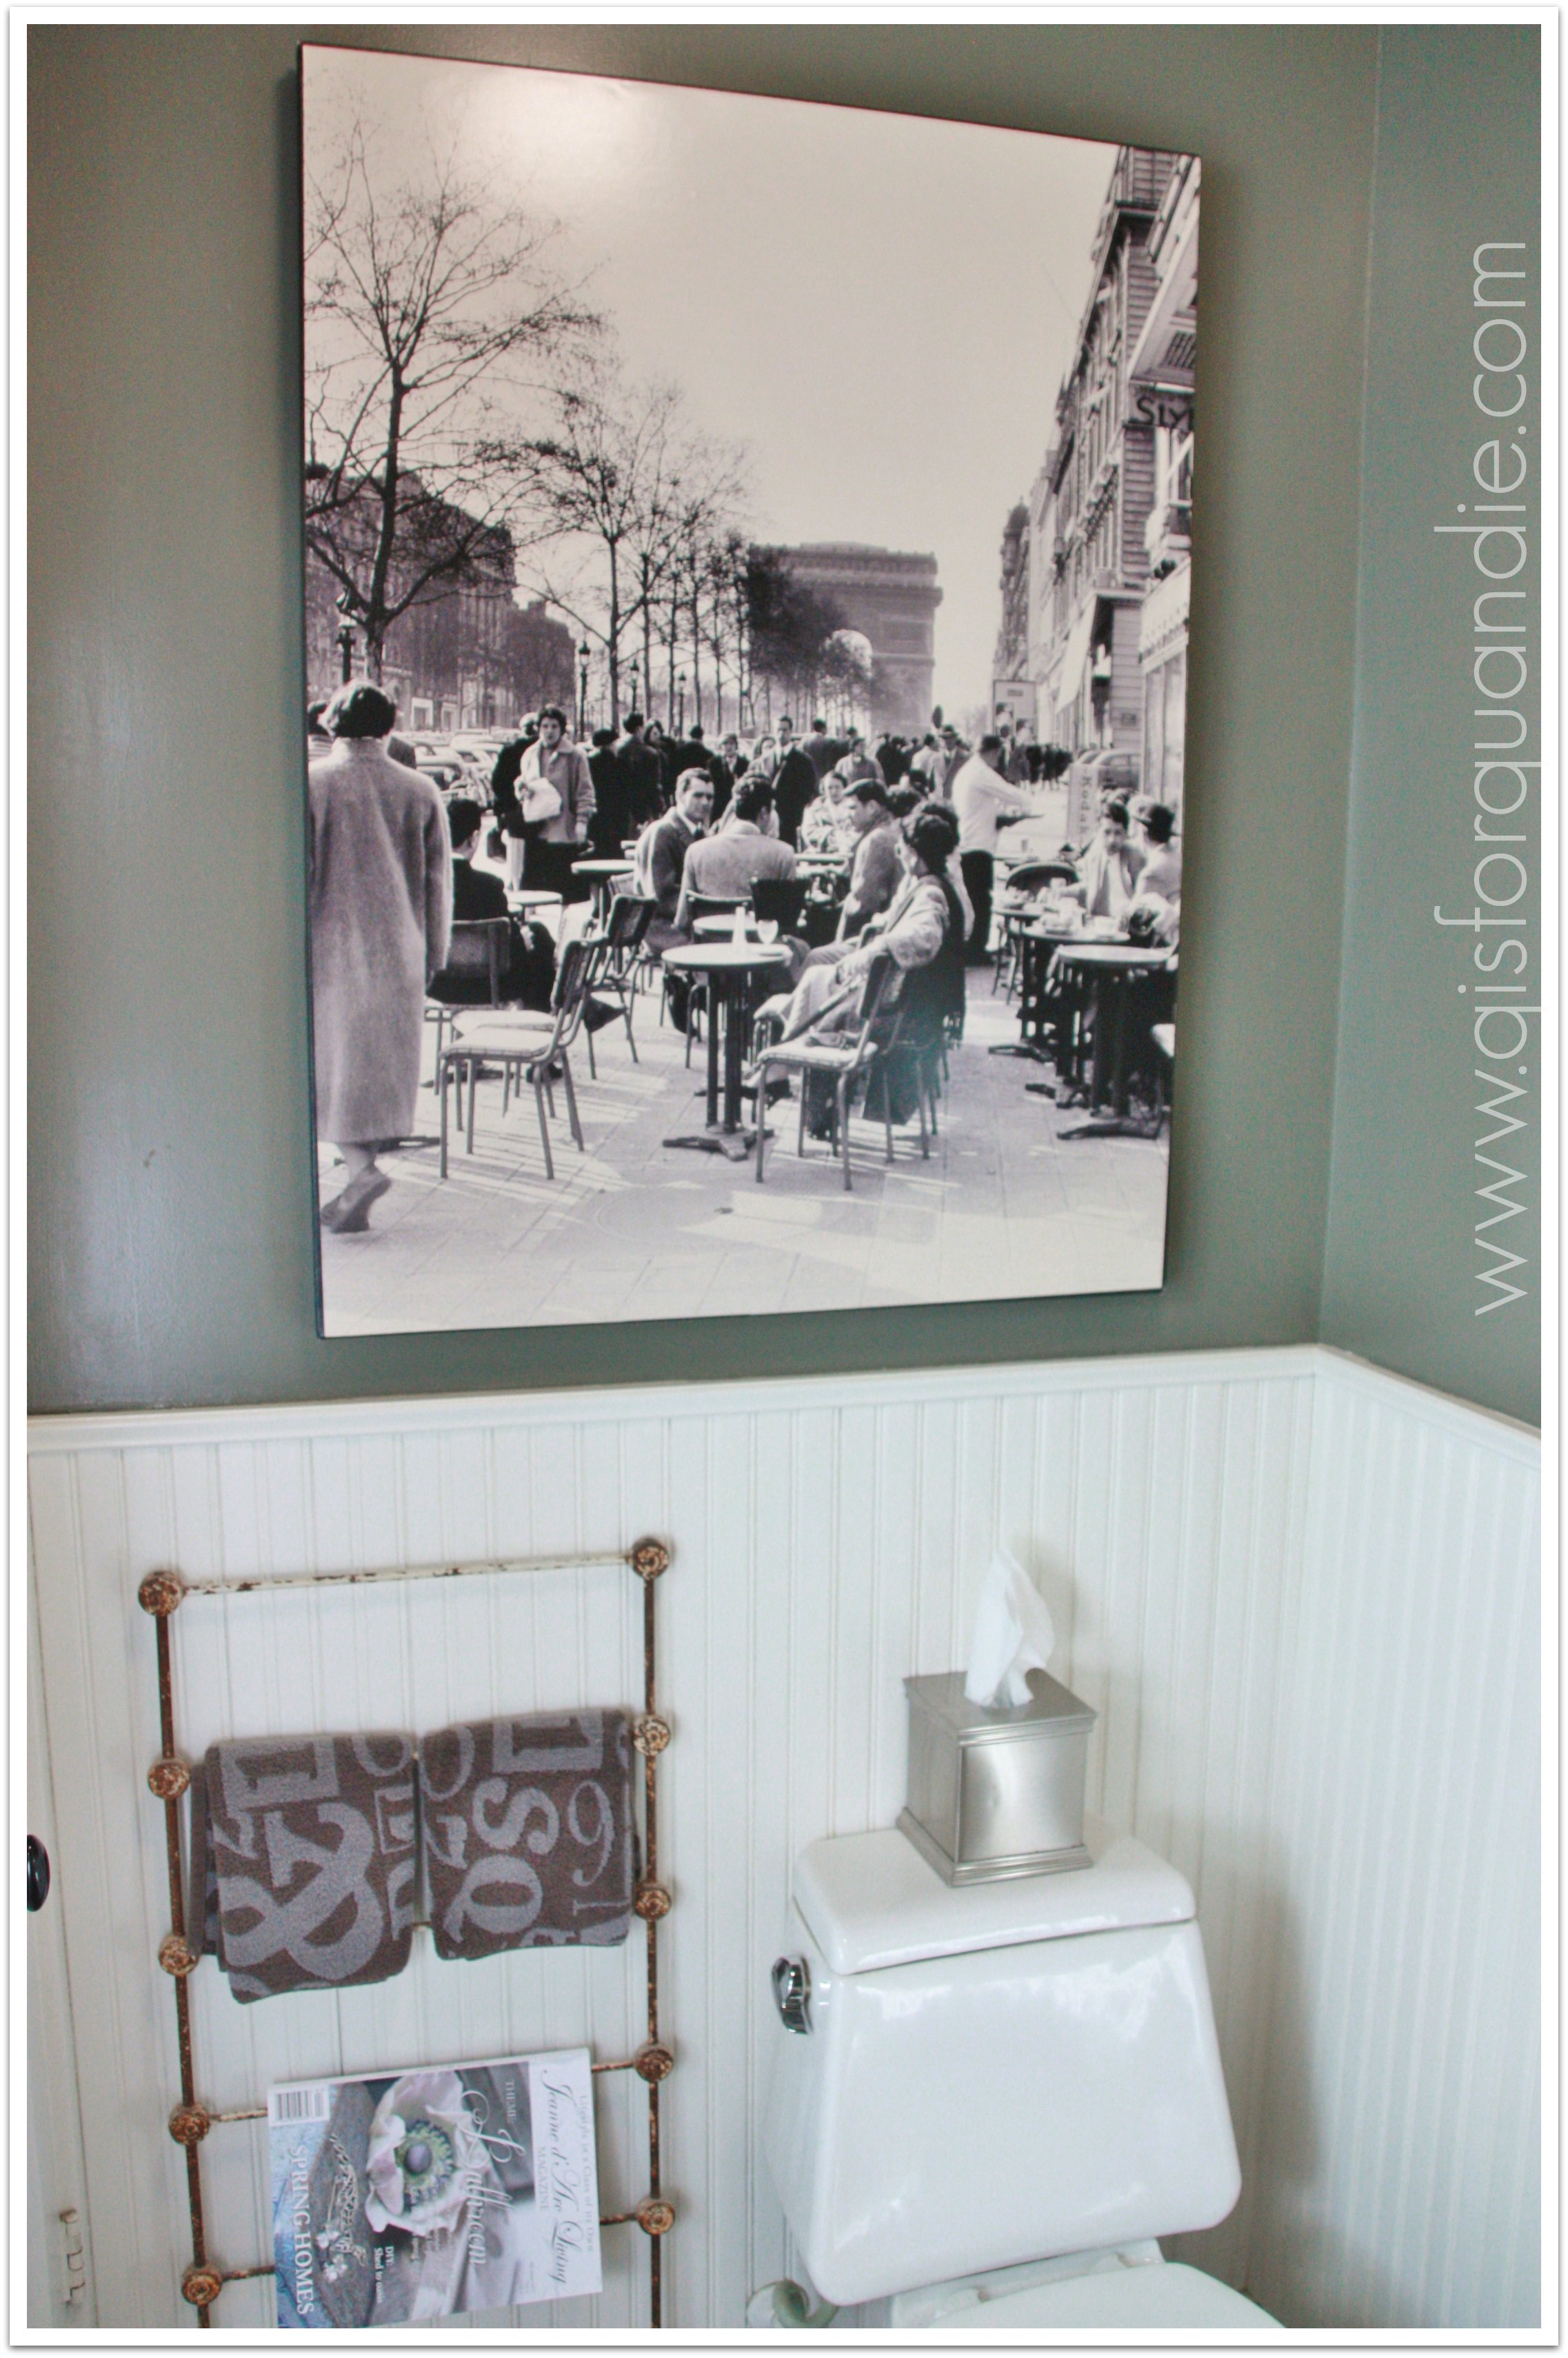
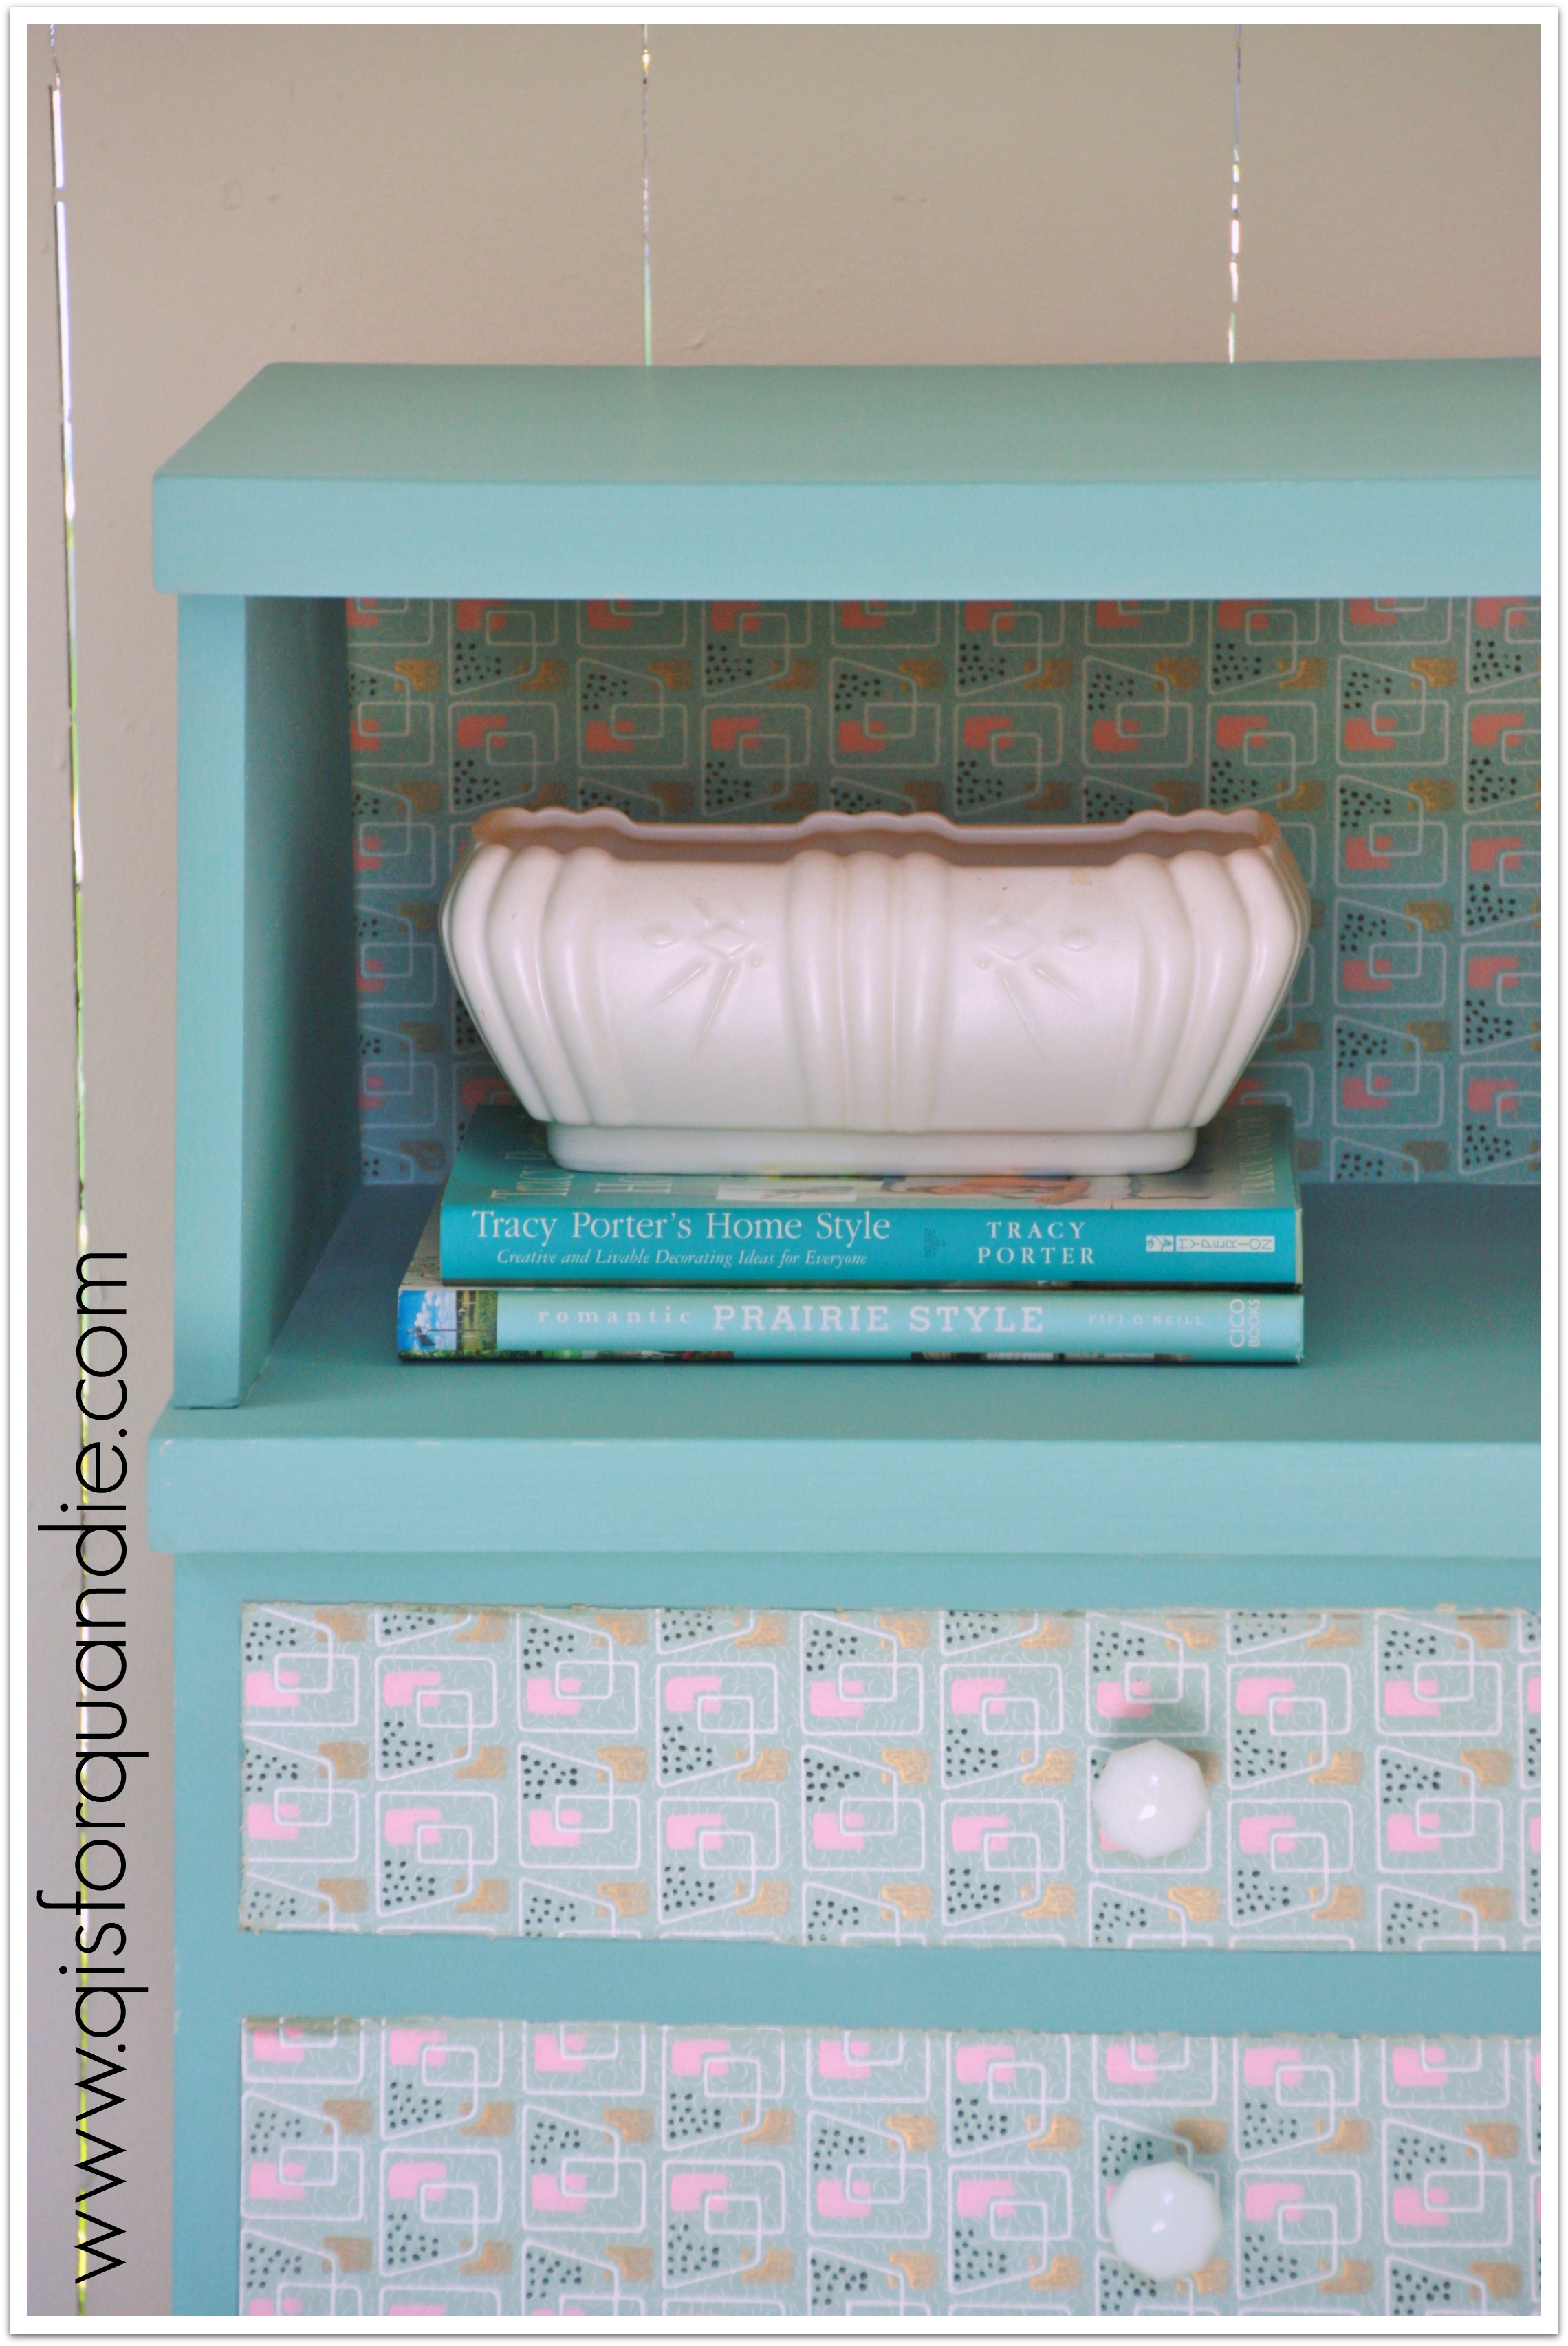
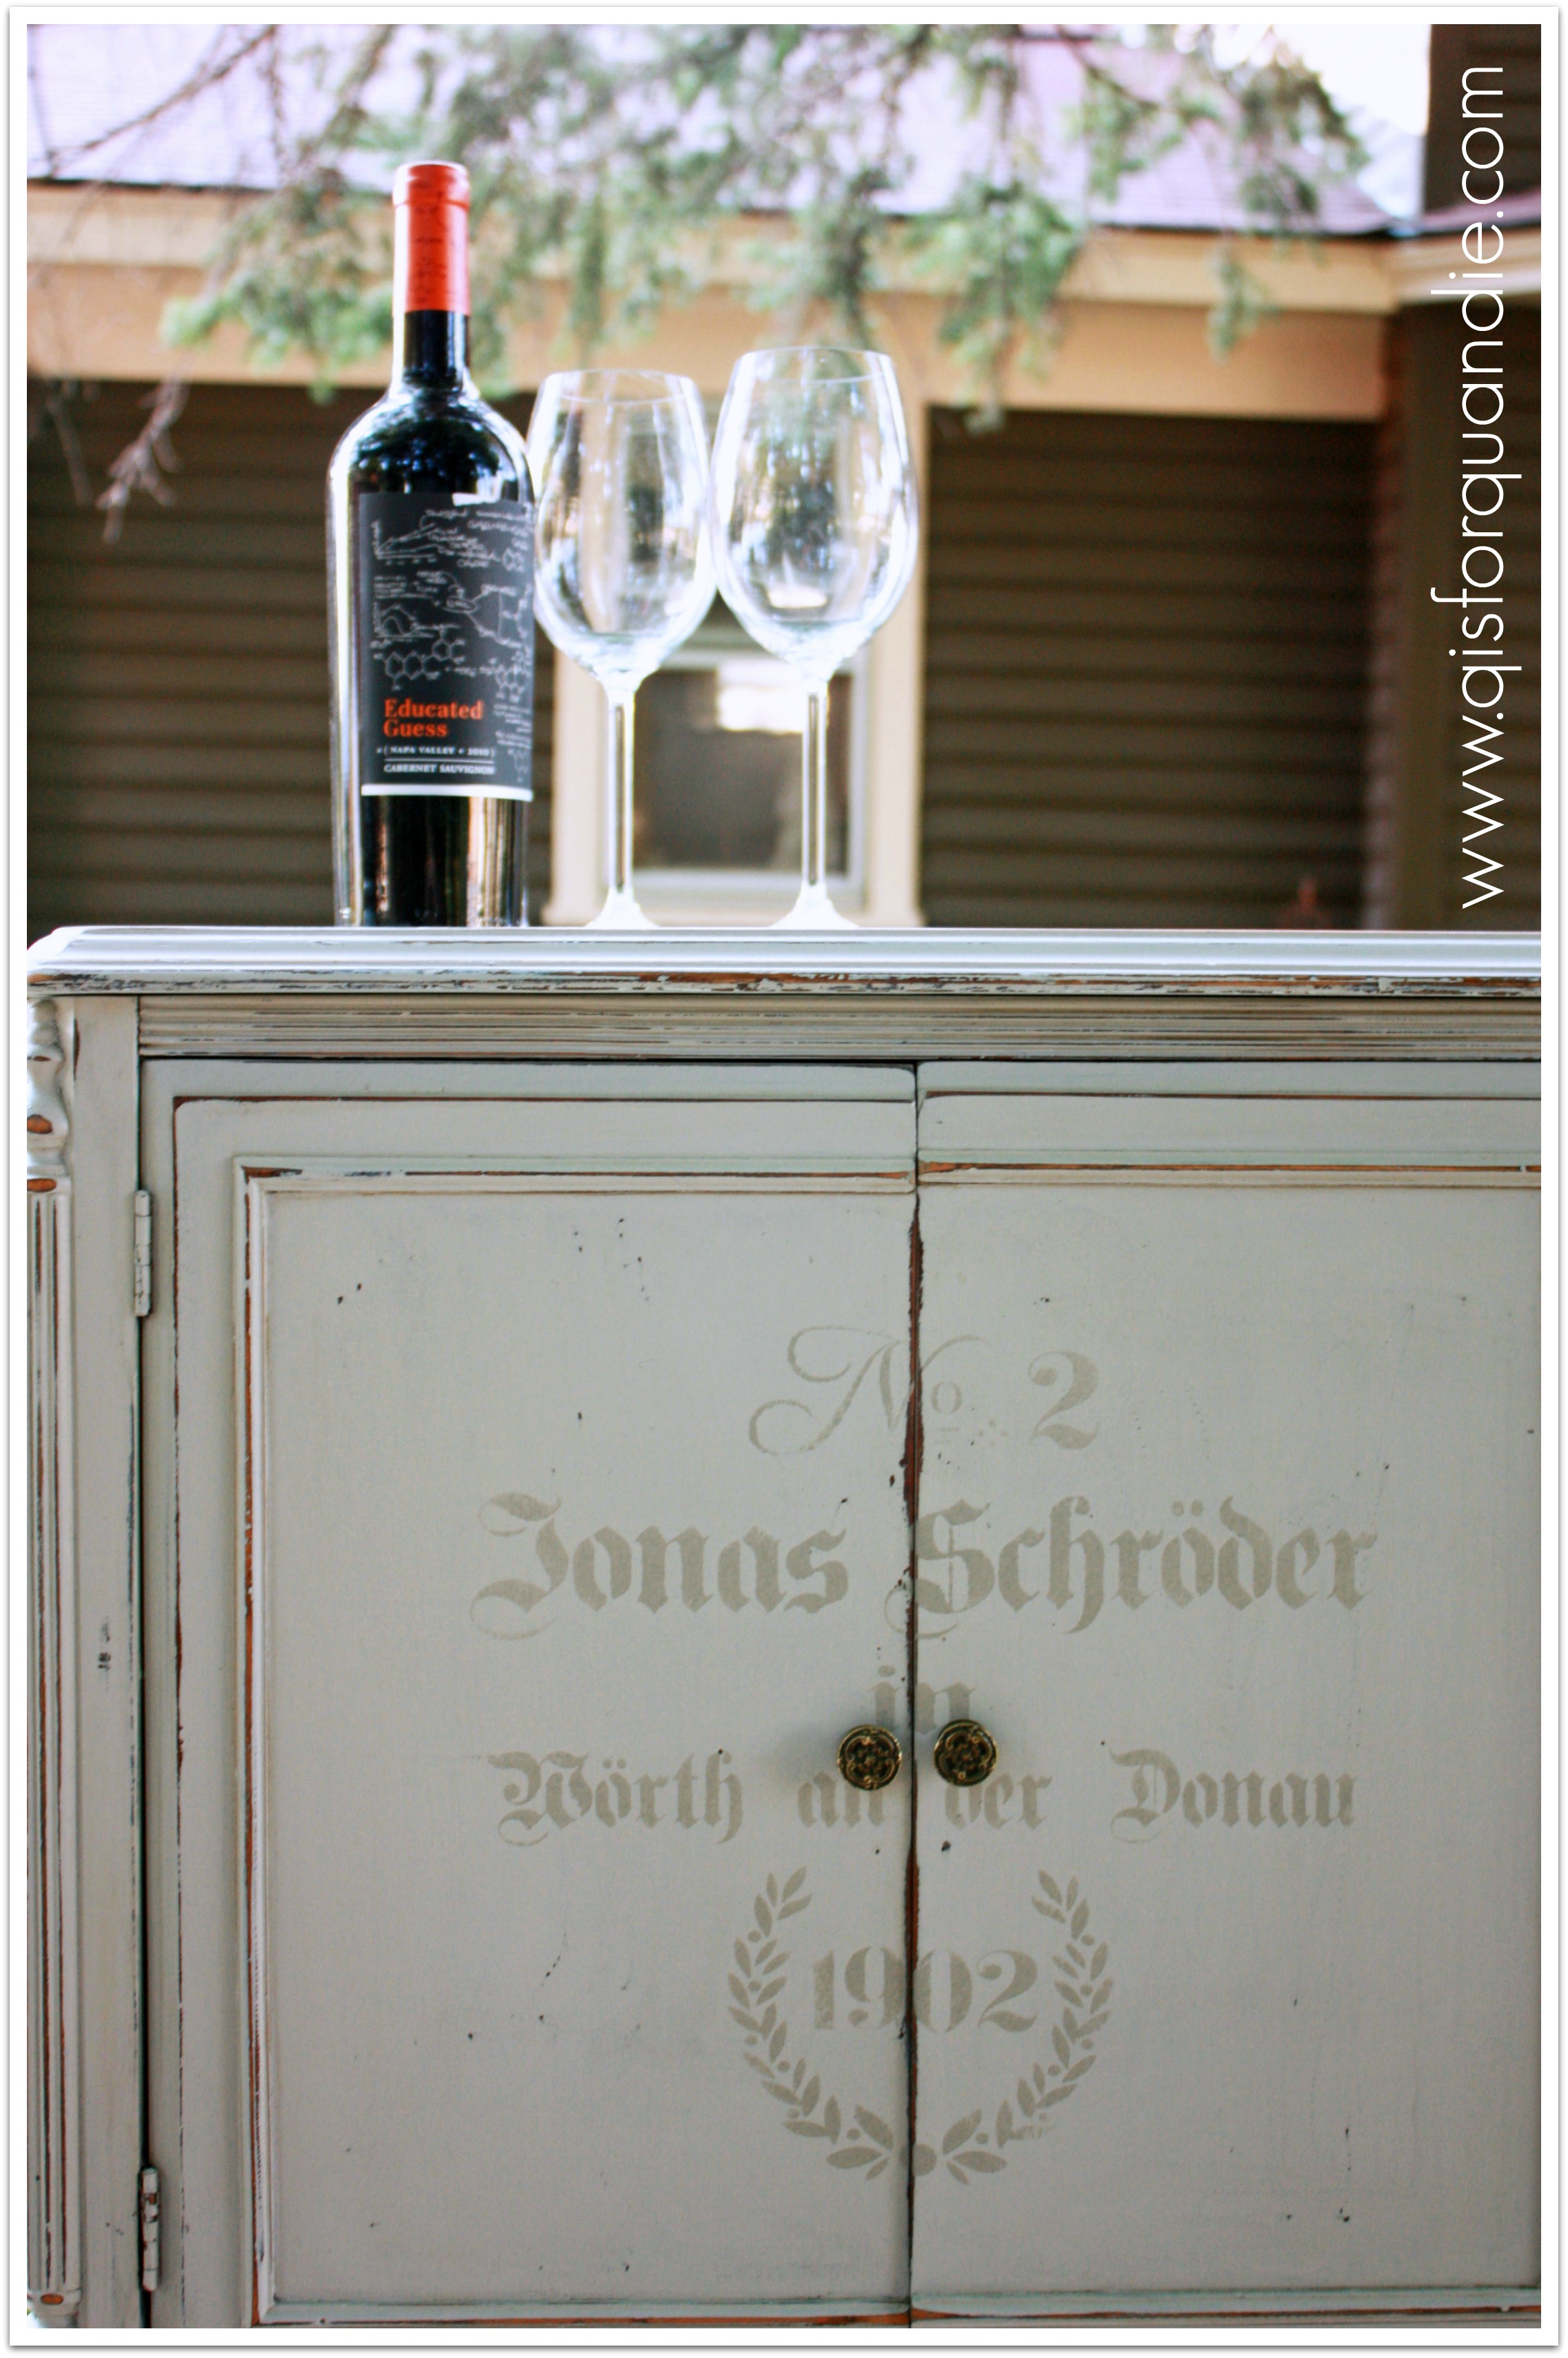
I decided to go with my absolute fave MMSMP color, Kitchen Scale. I hadn’t used this color for a while. My own mirrored buffet is painted this color and I absolutely love it.
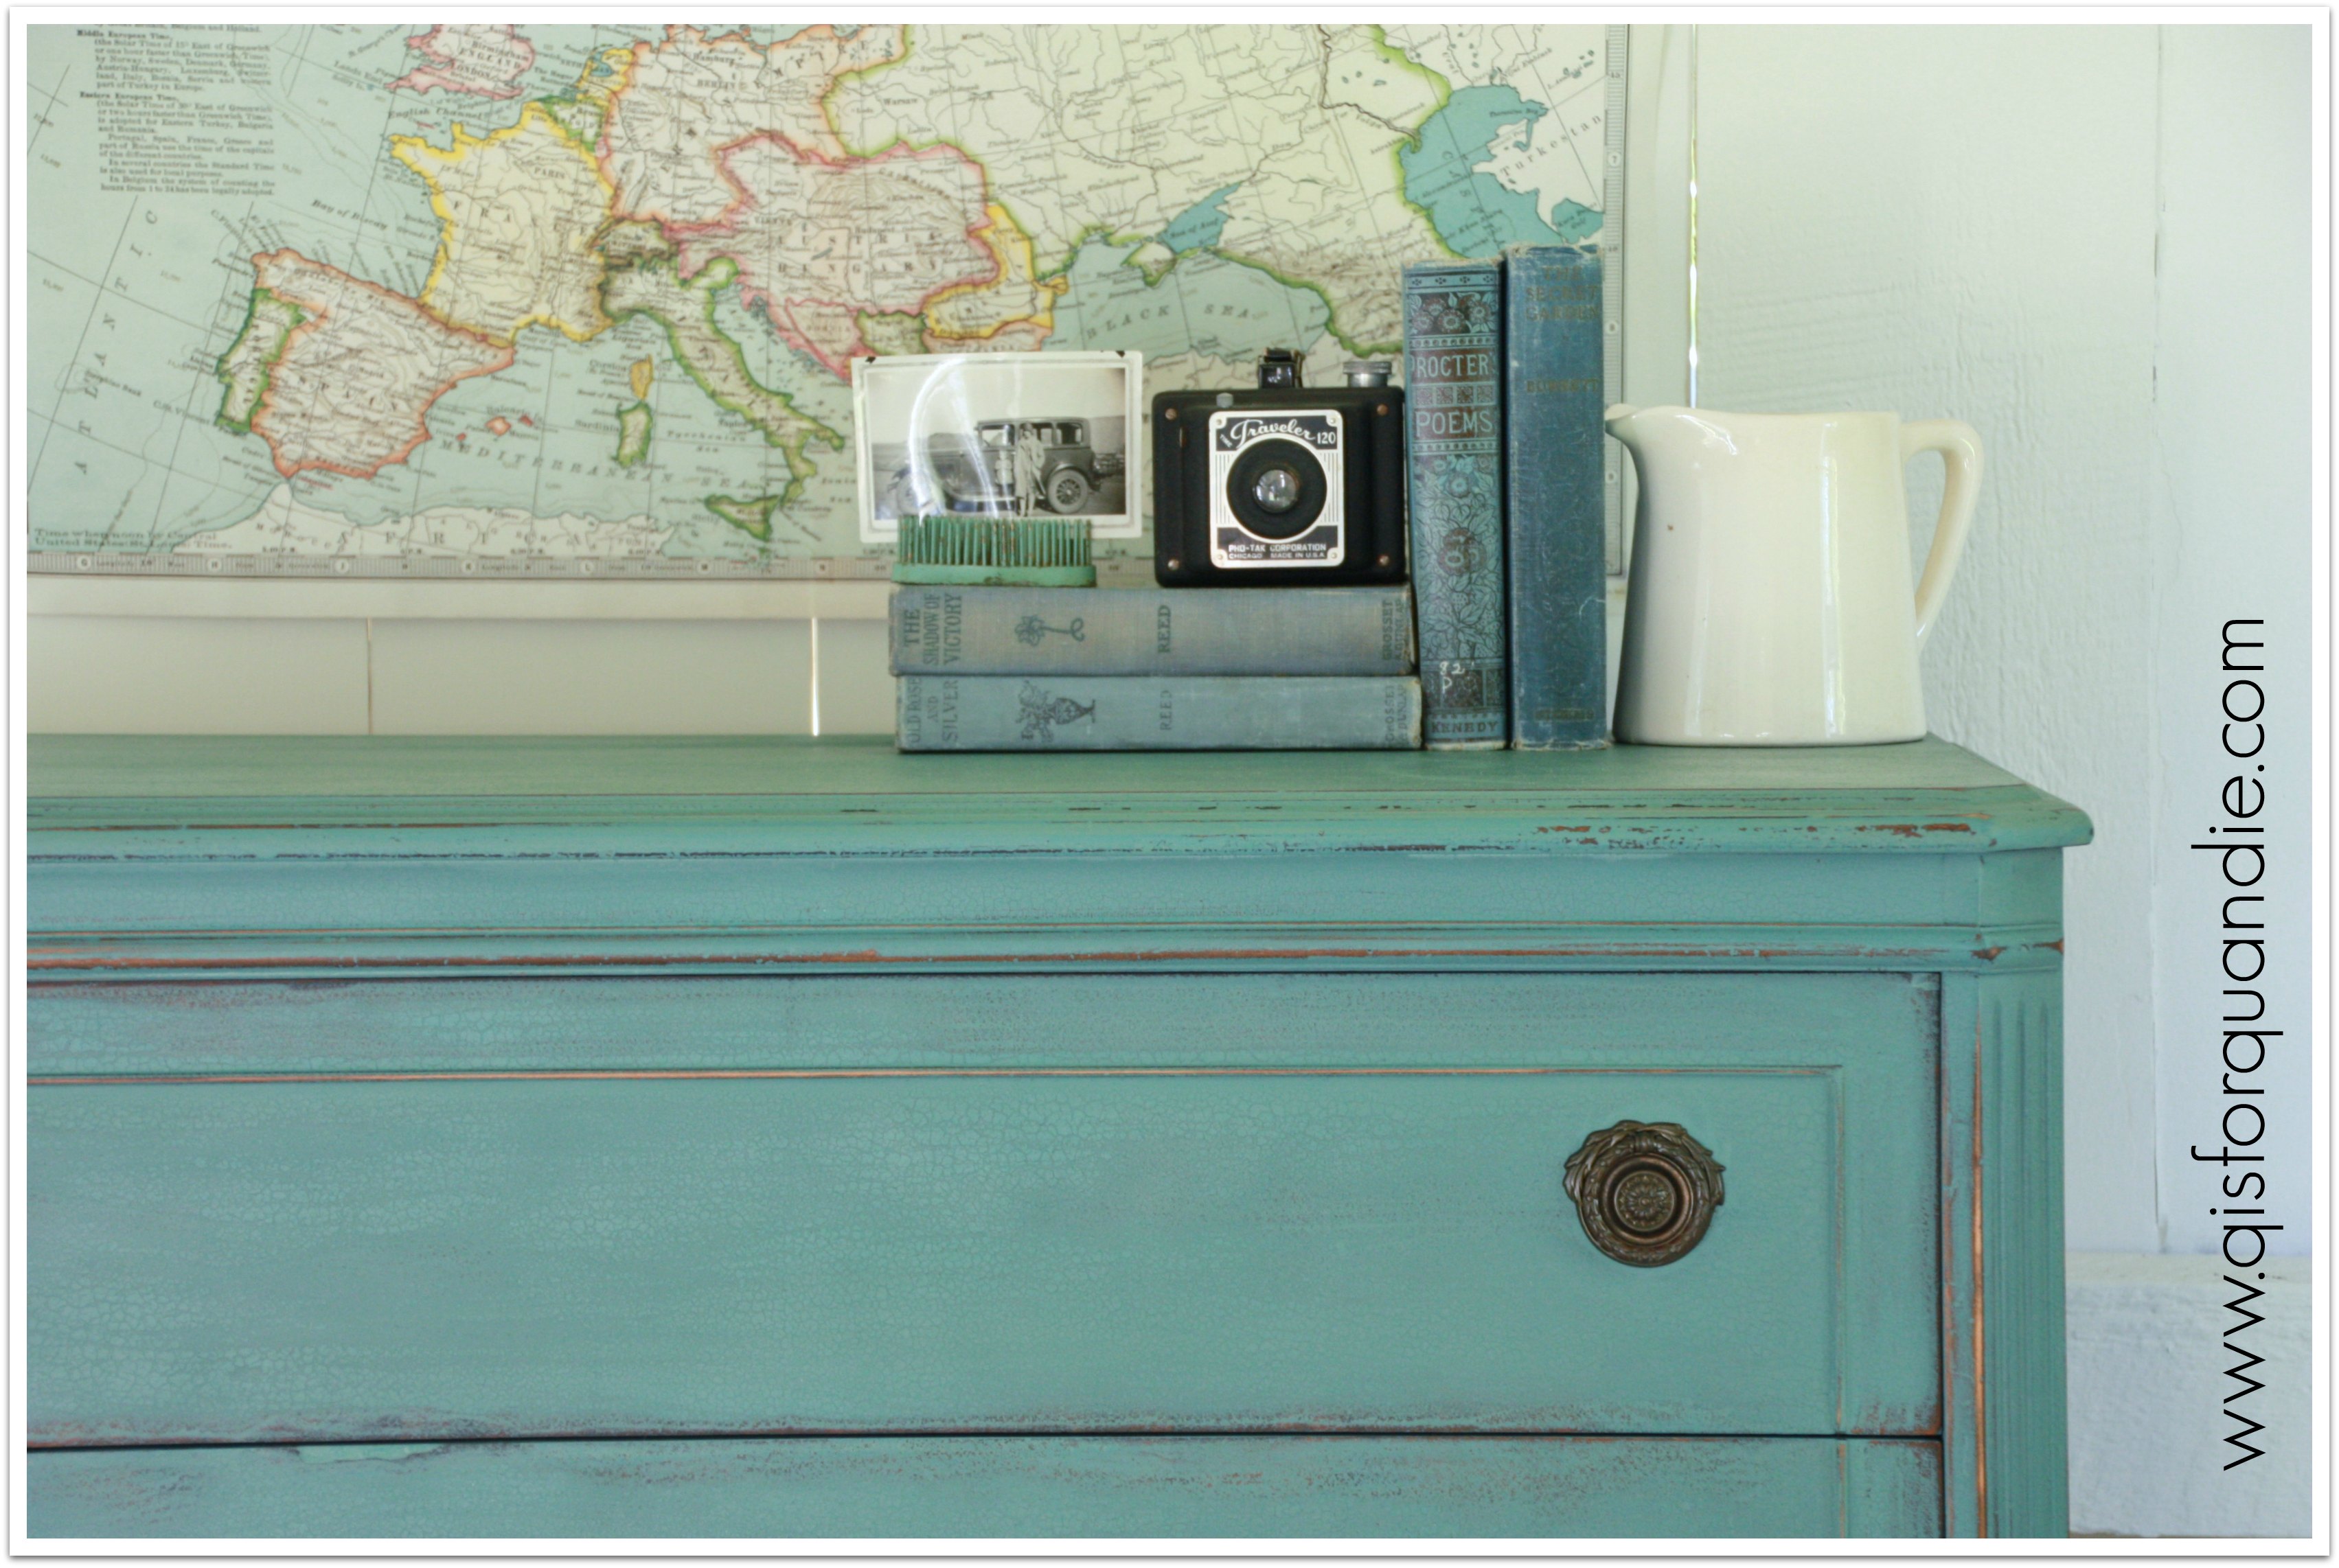
It works fantastically with grey, the neutral of the moment.
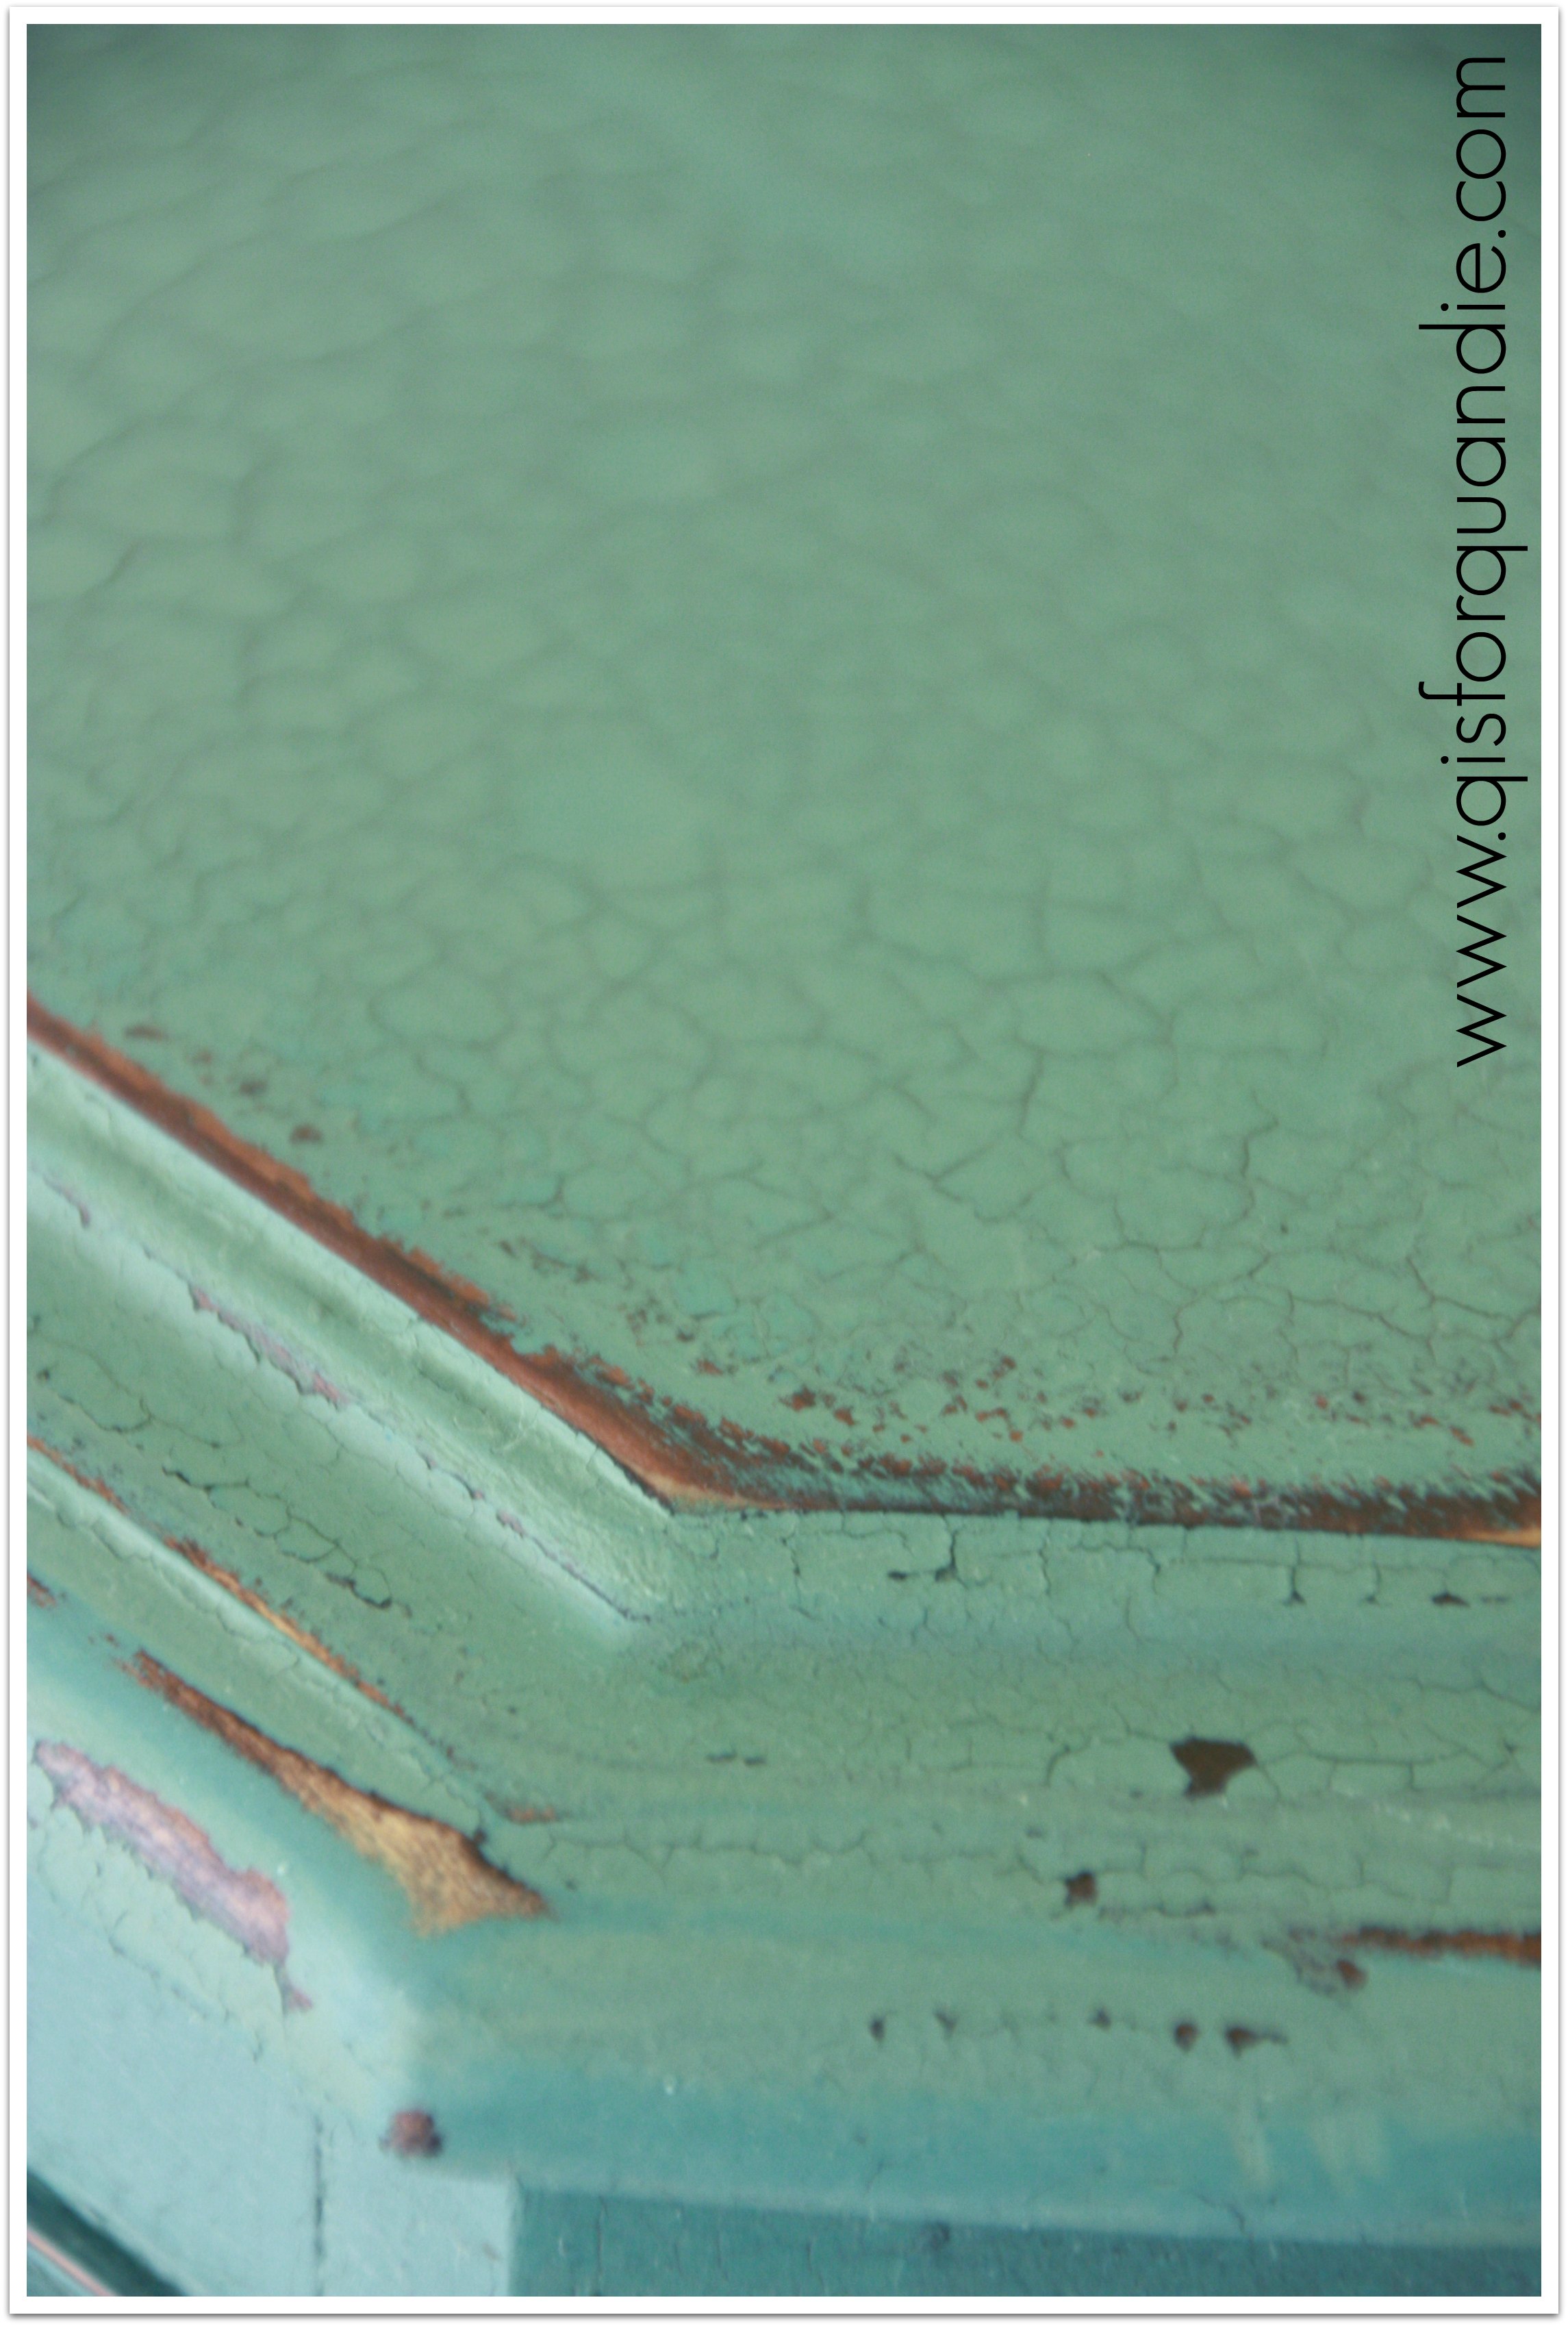
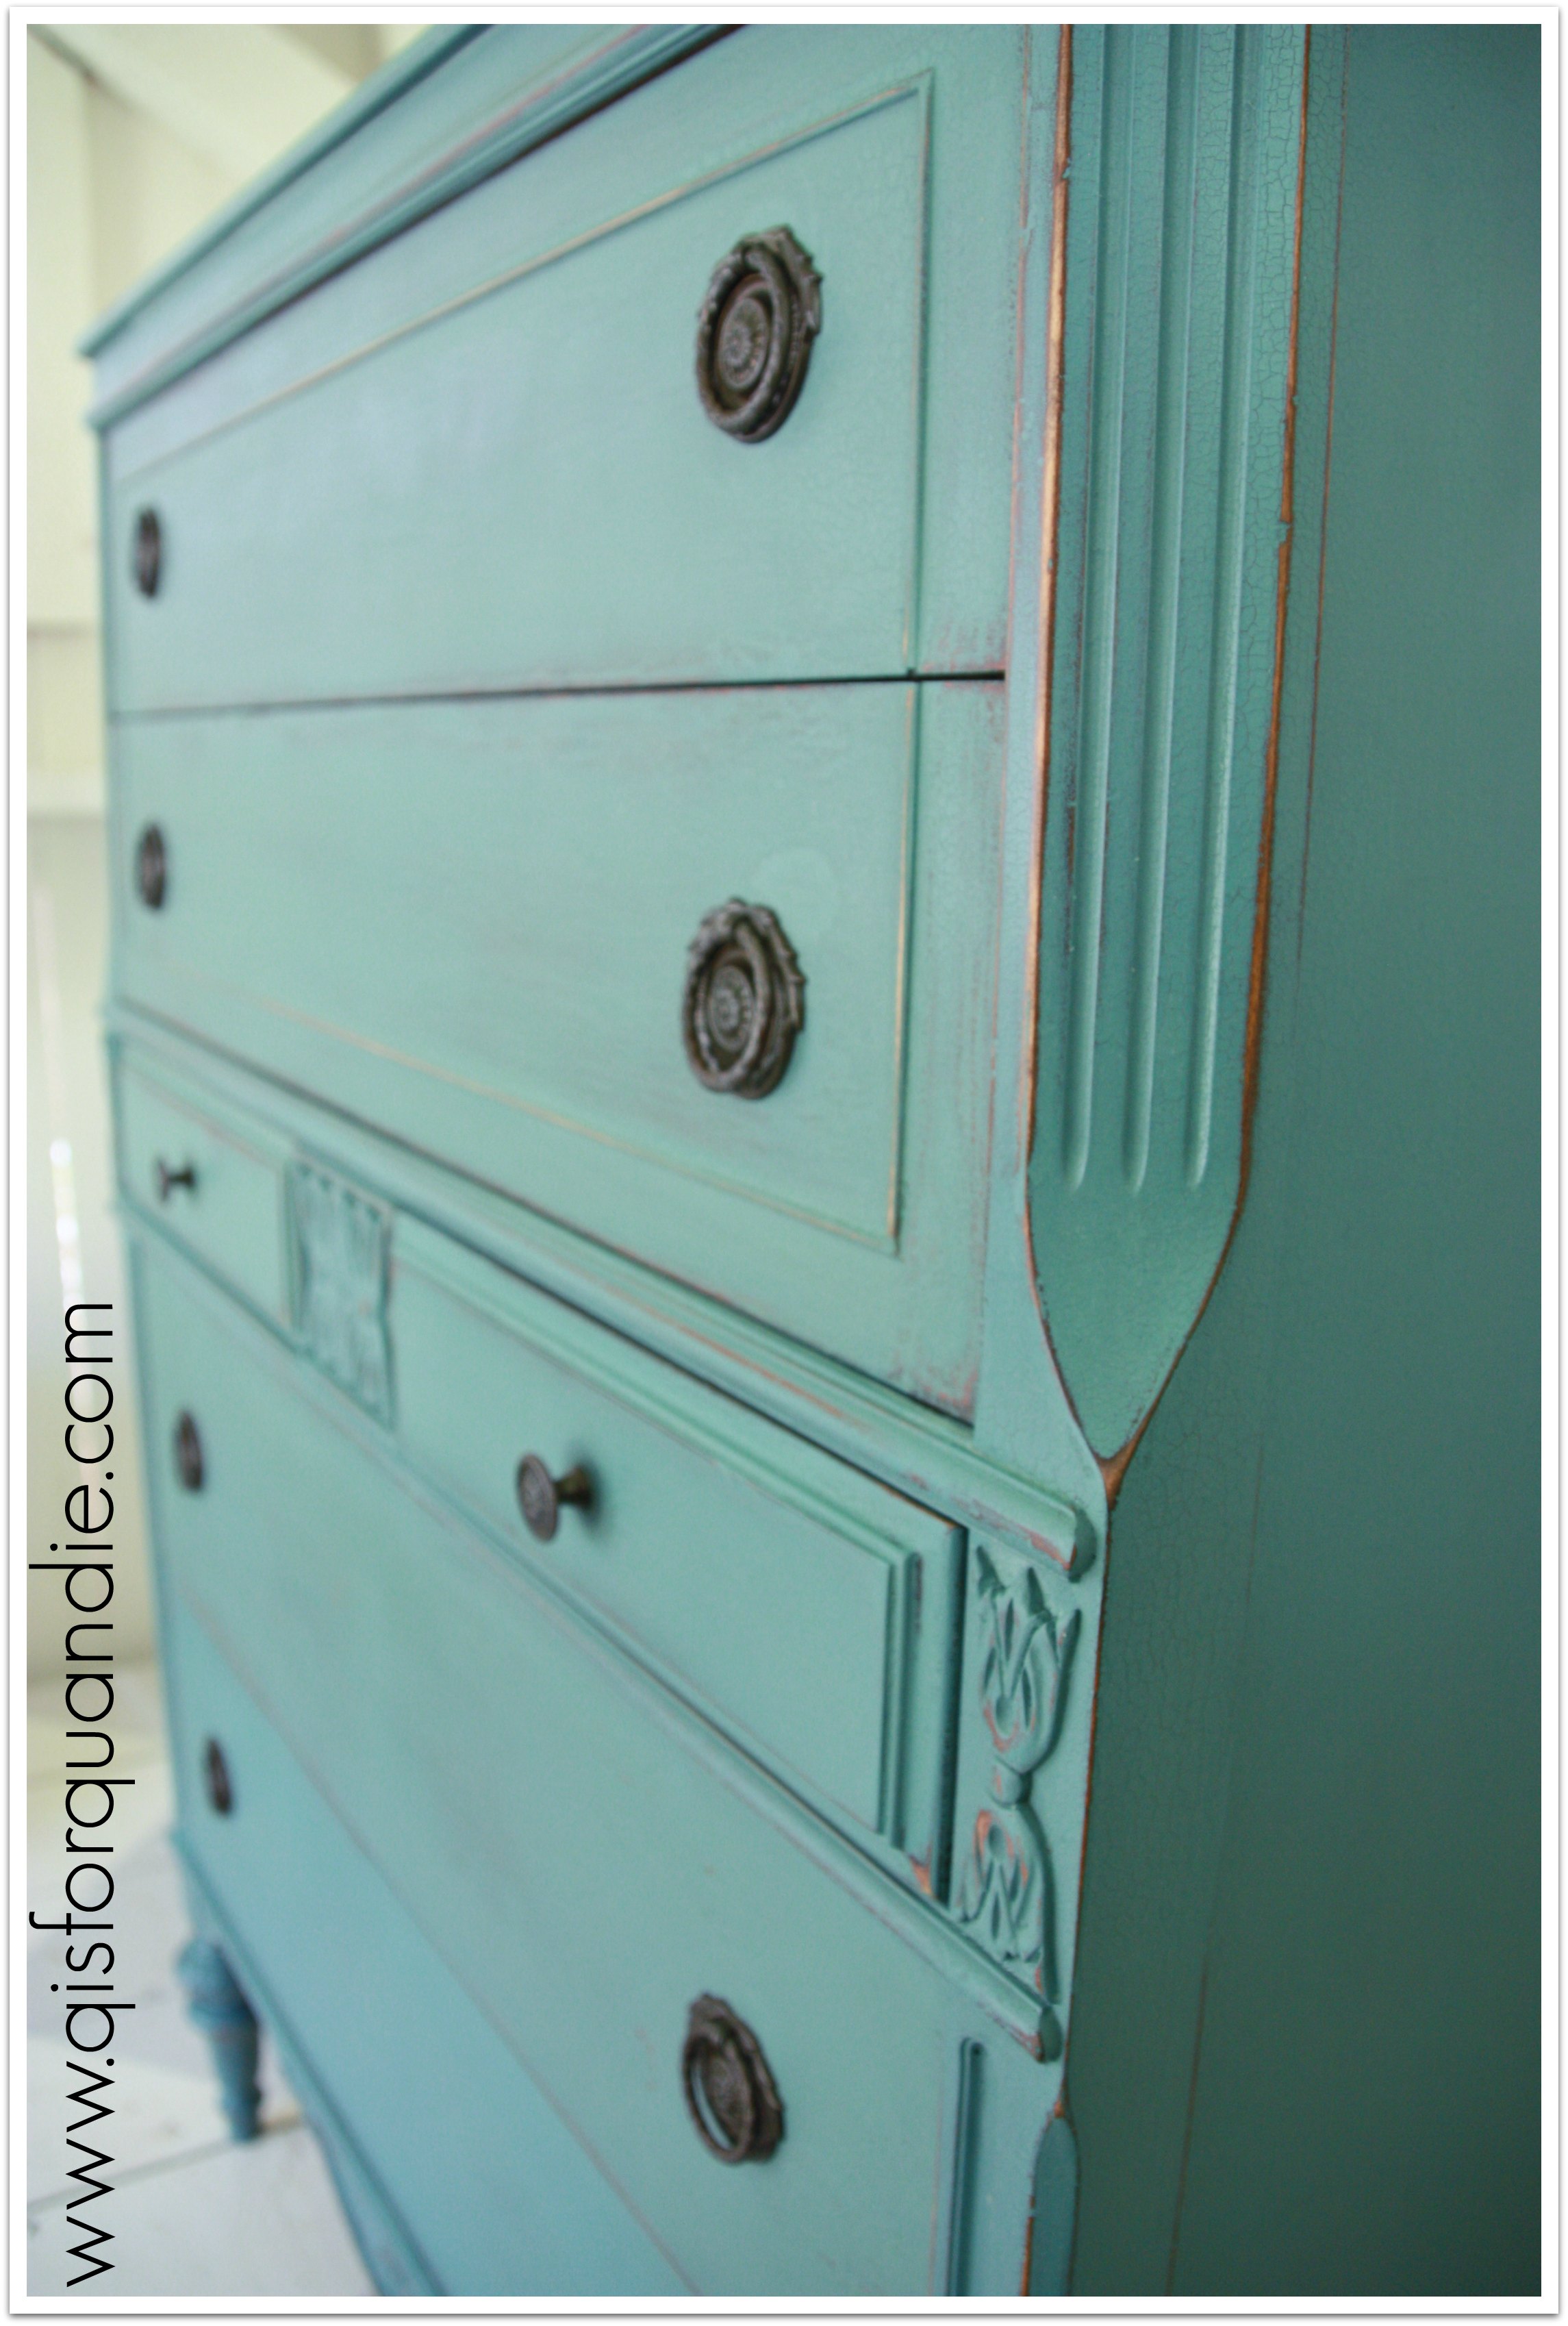
So I decided it was time for a Kitchen Scale dresser. I sanded this one quite vigorously because it was in rough shape, and I didn’t want a ton of chipping, just a subtle chippyness. I have to note here that I did mix the paint a little bit thicker than usual. I ignored the little voice in my head that was telling me to thin it down a bit more, which may have been a mistake. I painted my first coat and closed up shop for the evening. When I went back out the next day, I found a massive amount of crackling. On every surface except for the sides of the dresser. The sides didn’t crackle at all, go figure. Massive, bad, over the top, too much crackling everywhere else. I should have taken a picture for you, but I didn’t. When I have issues like this, it generally puts me in a bad mood and photography doesn’t happen.
I will note here that I did not apply heat to the dresser, and it was not all that warm outside and I did not paint under the full sun. Why the giant crackles? Was it just the thickness of the paint? No idea.
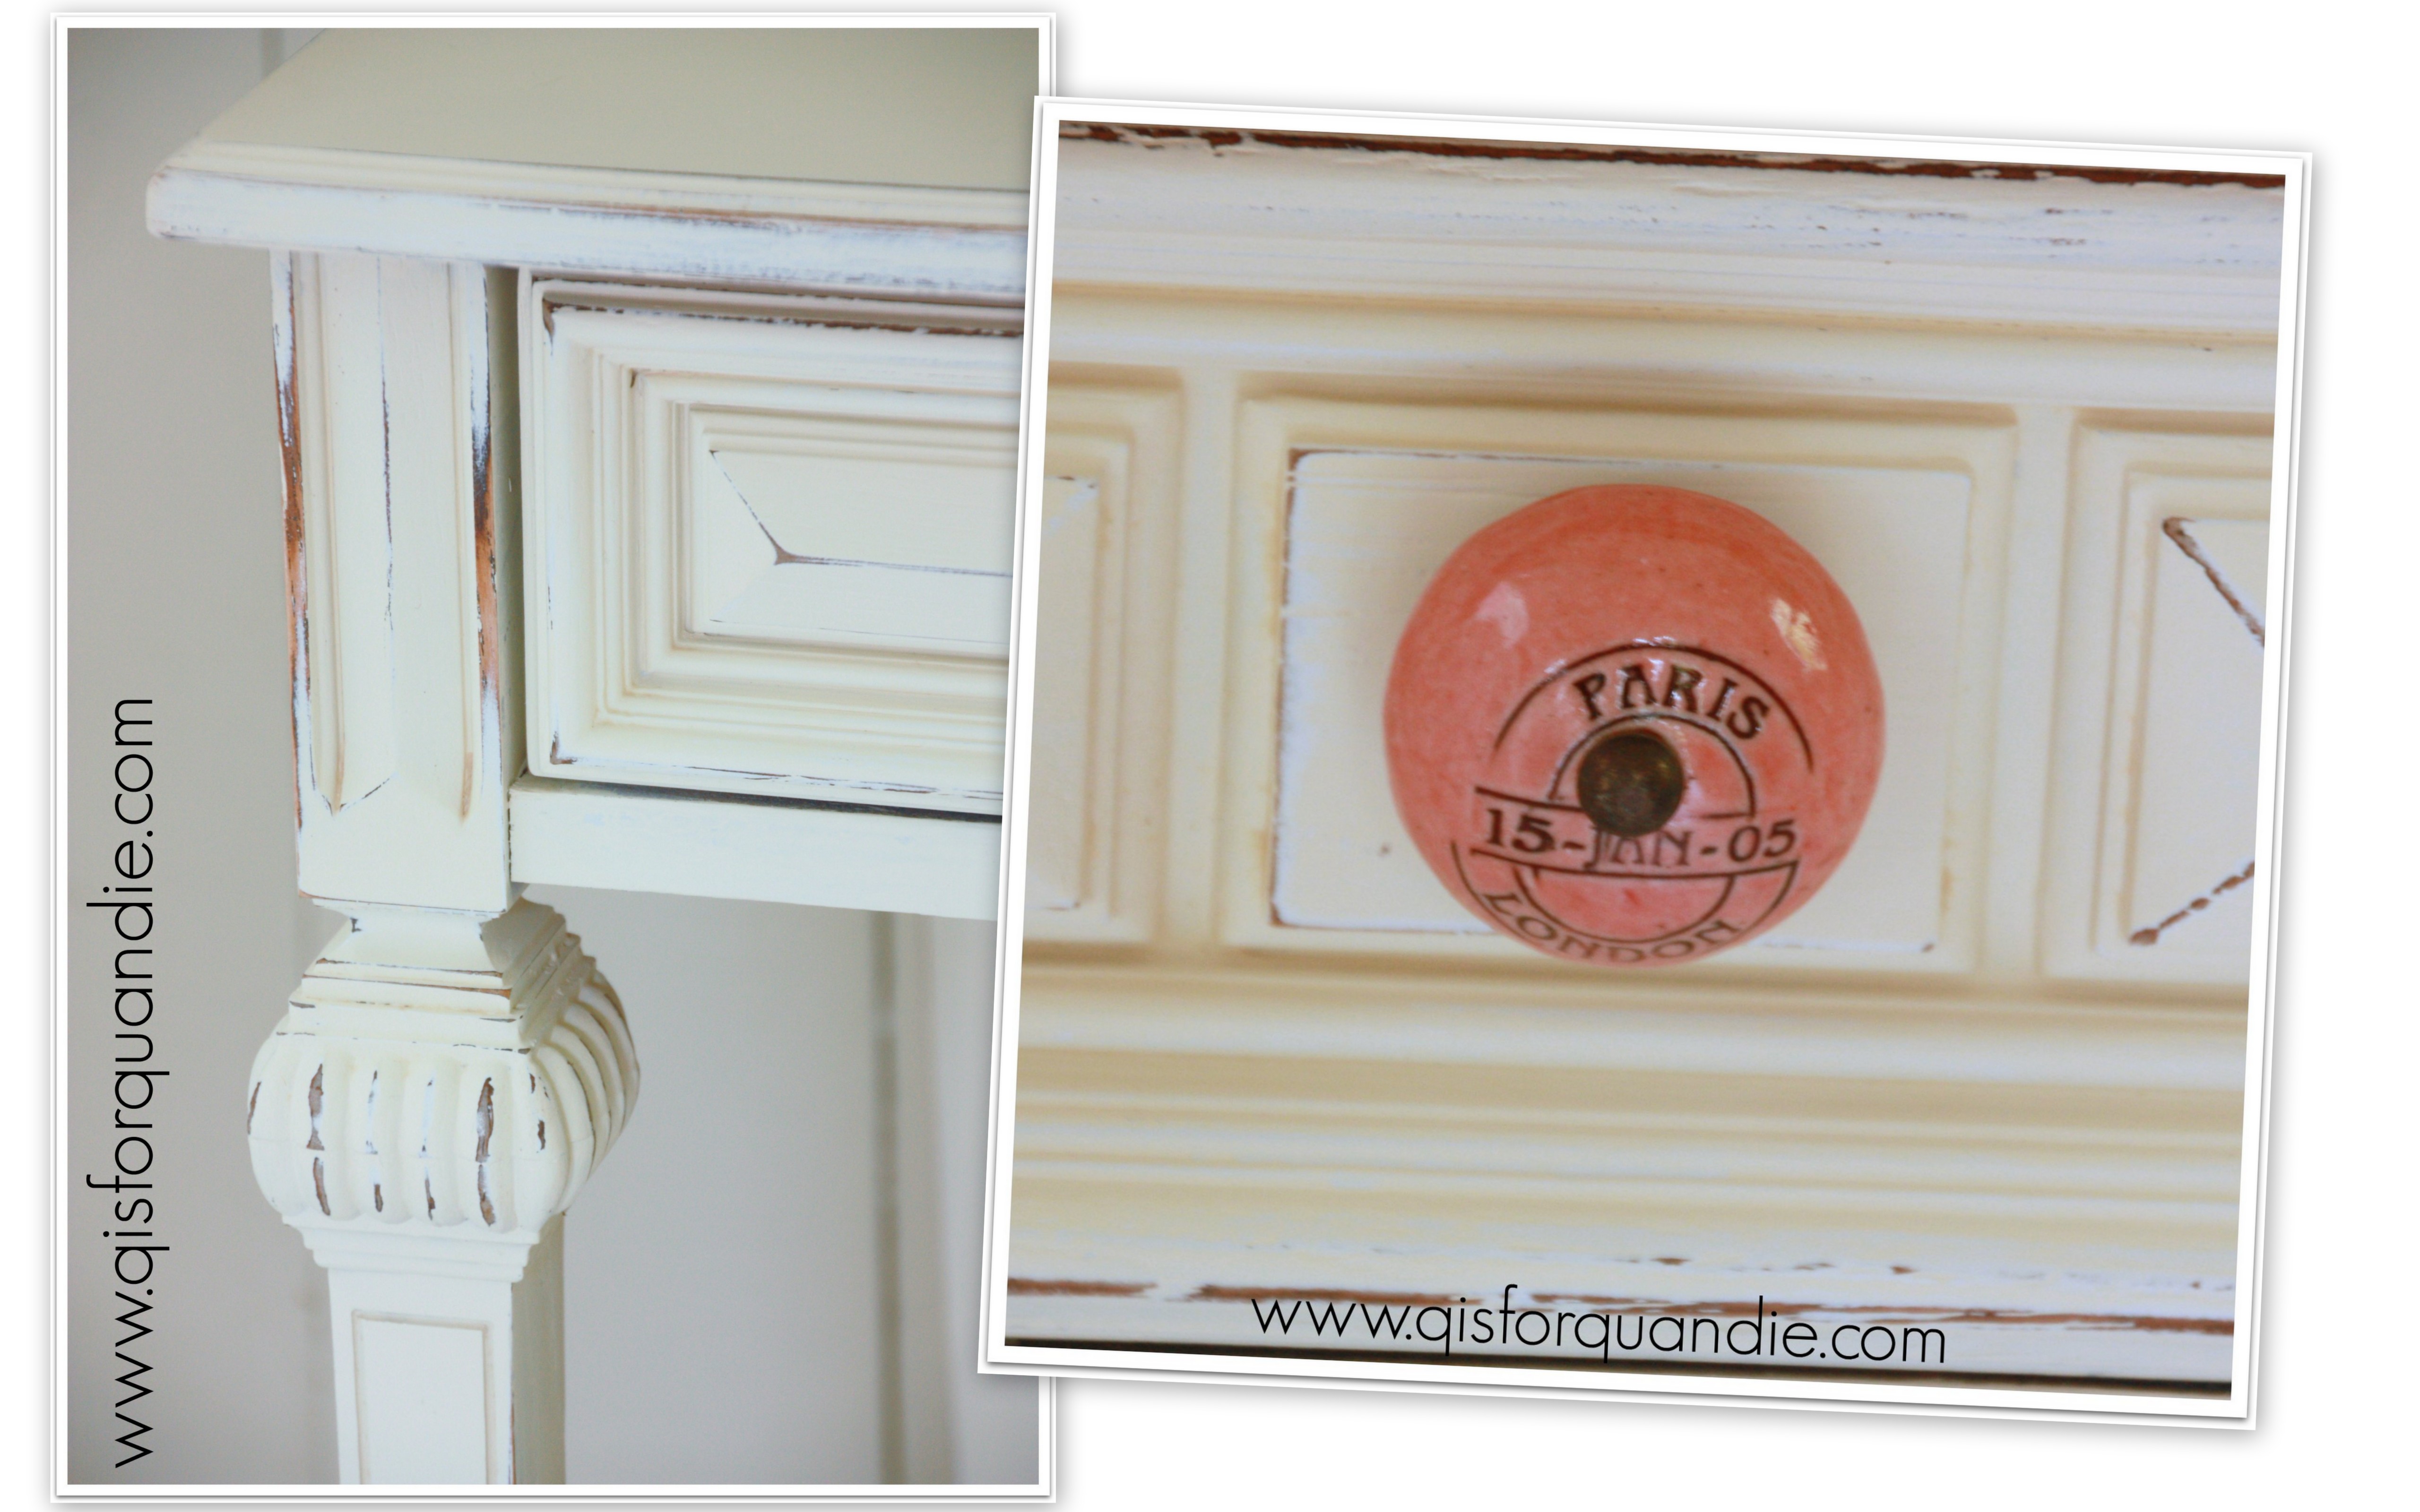
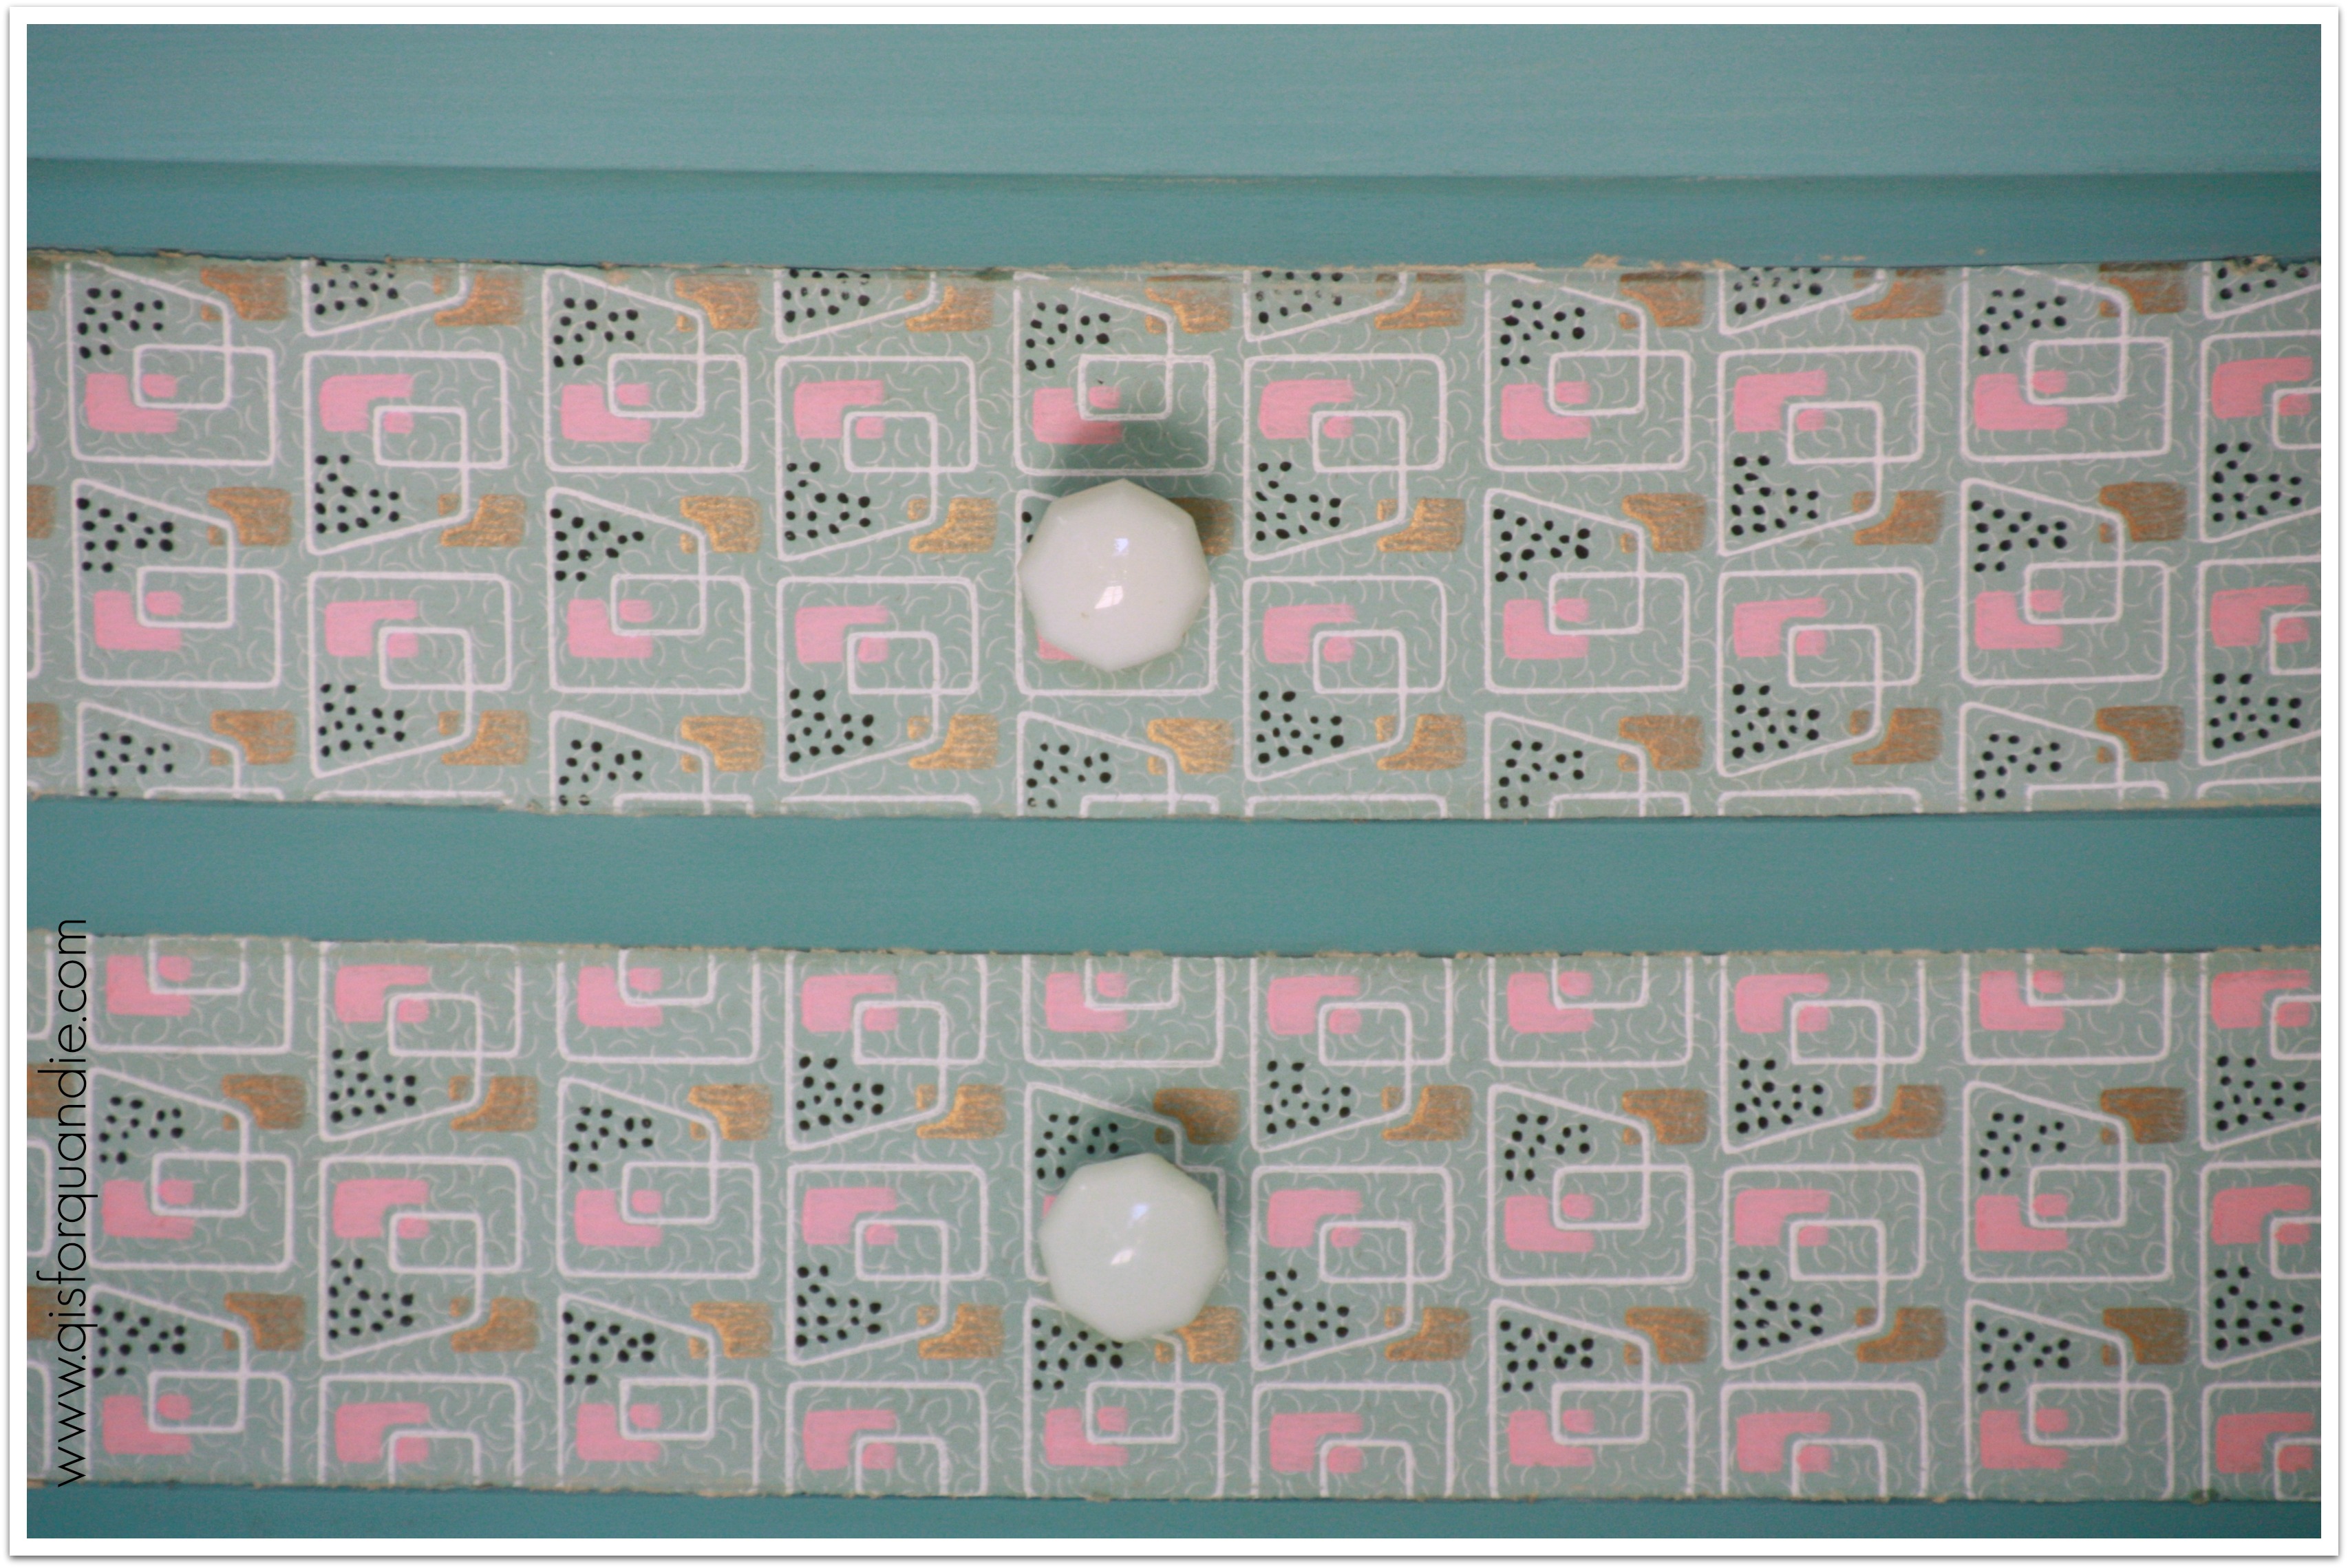
I decided to sand the heck out of it again, and try adding another coat of thinner paint. It had the desired result. It toned down the crackle. Oh, it’s still there, for sure, but now it’s at an acceptable level.
Am I the only one who considers this an acceptable level?
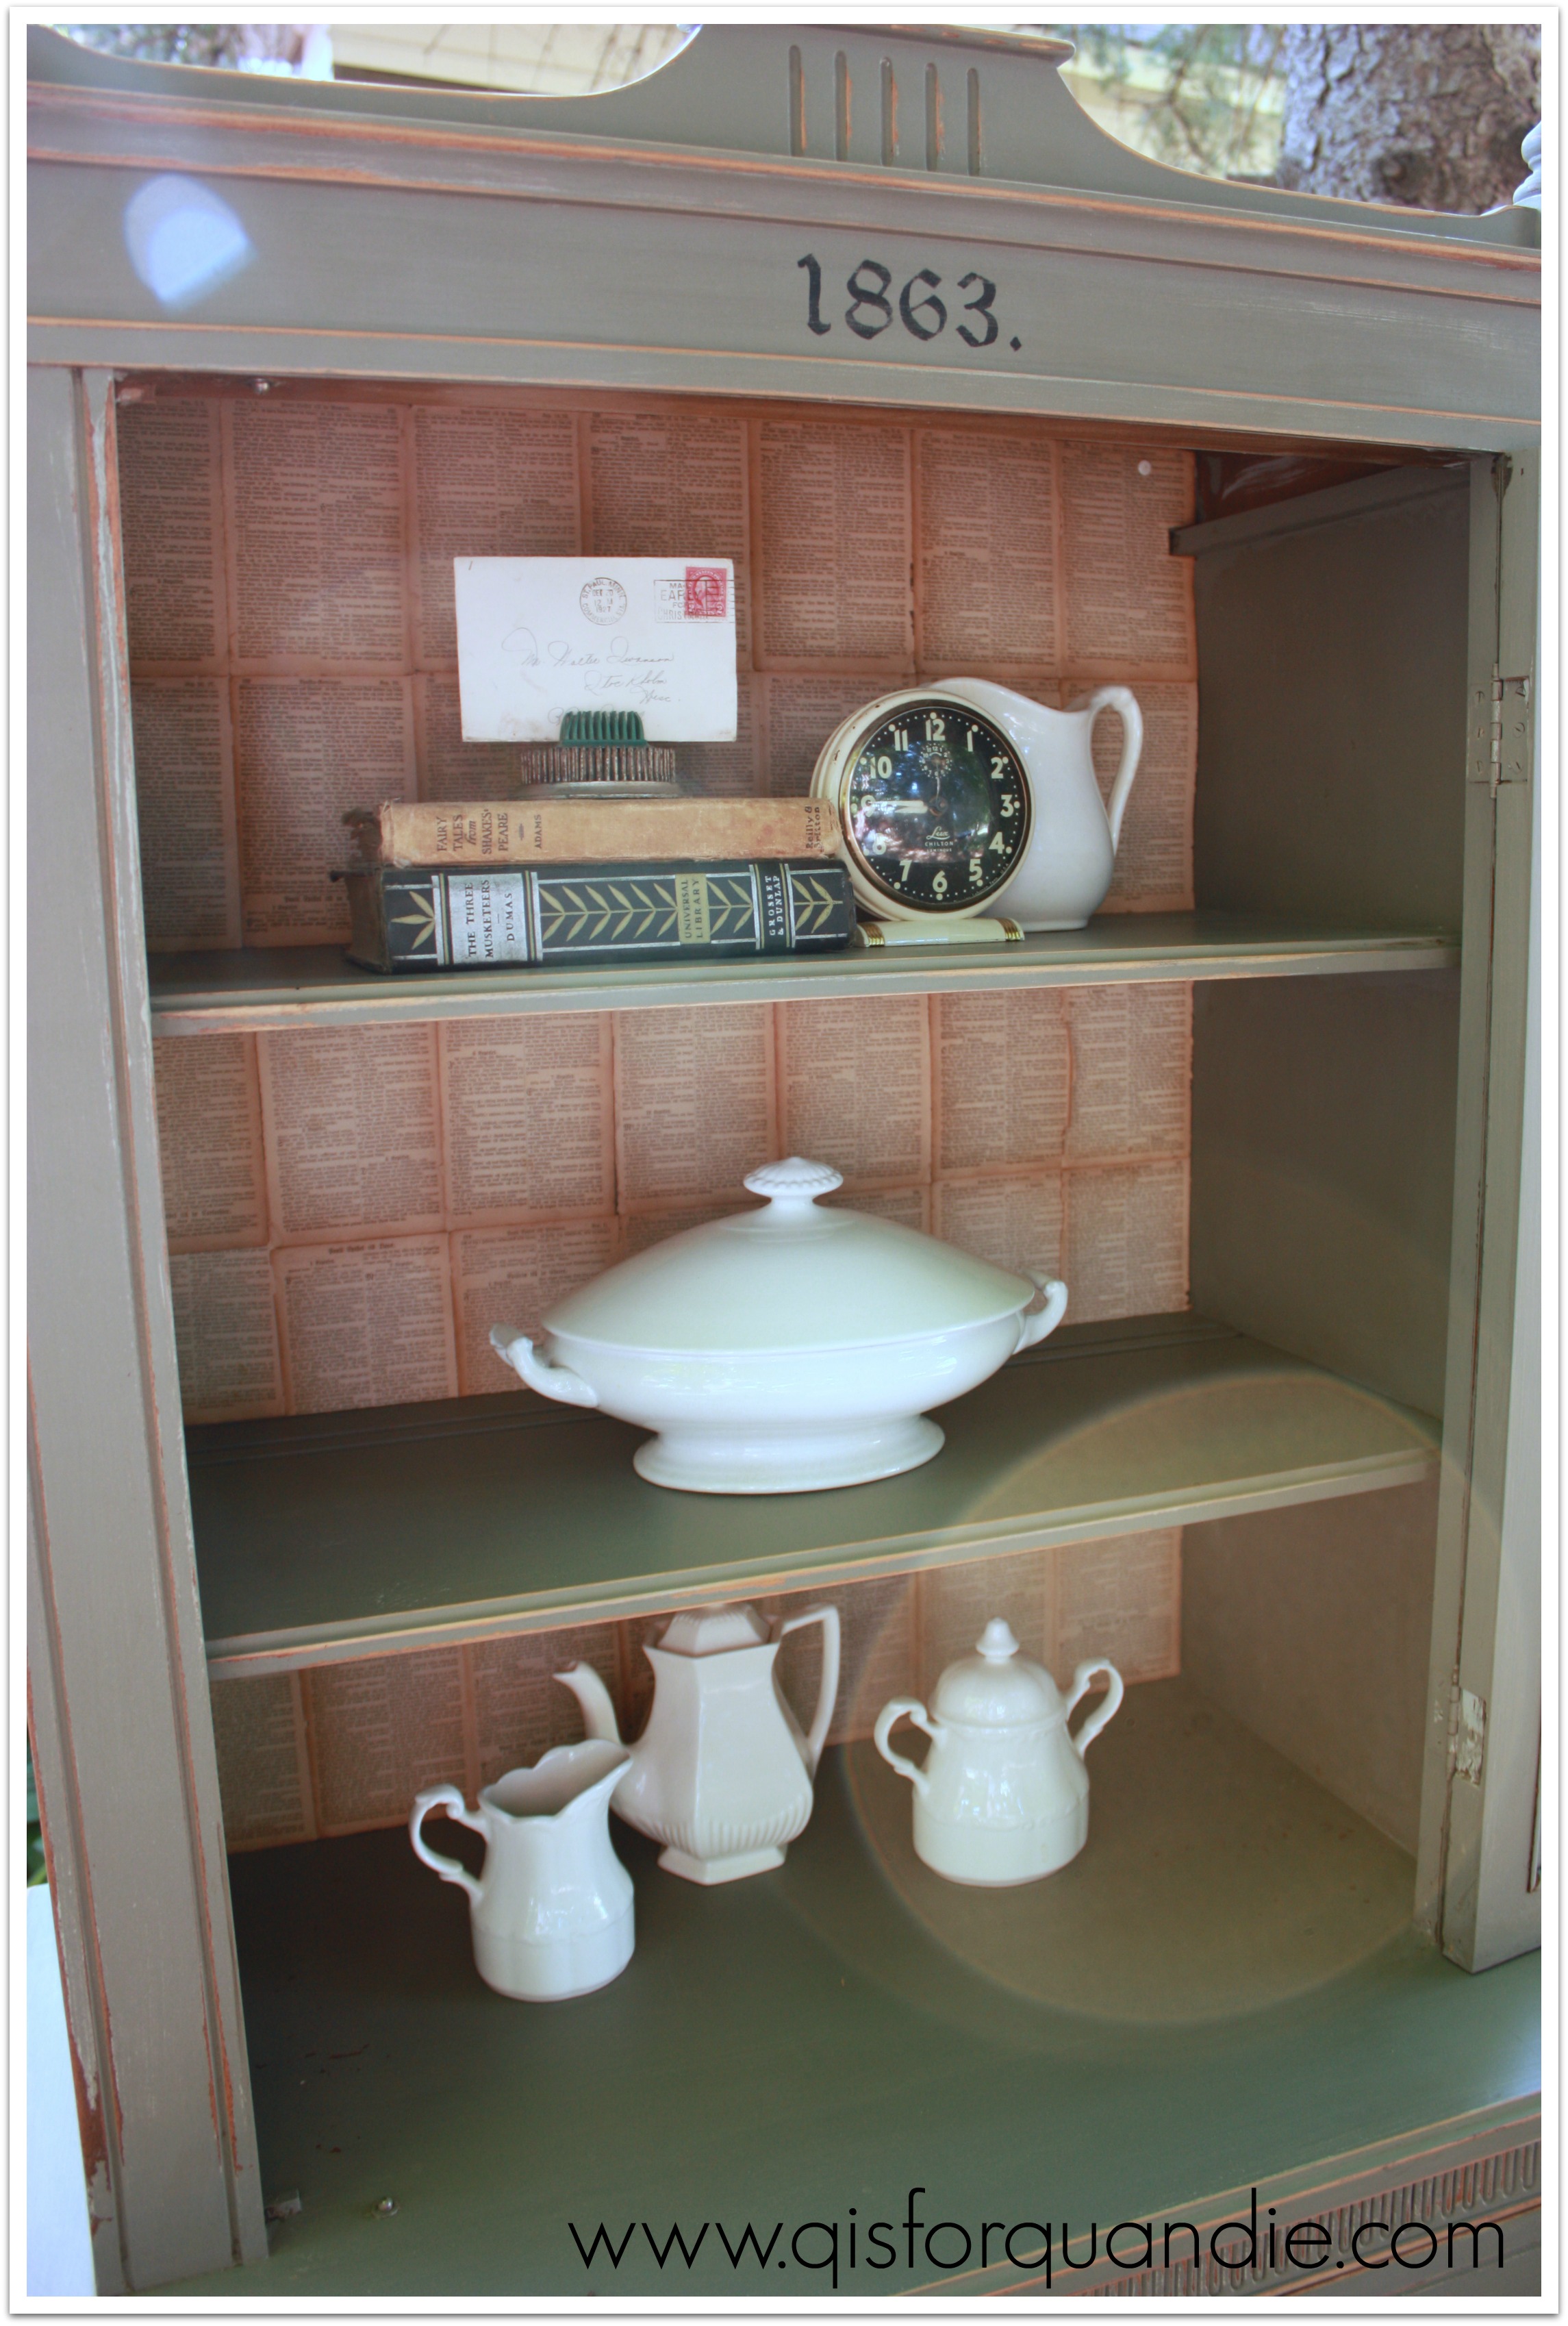
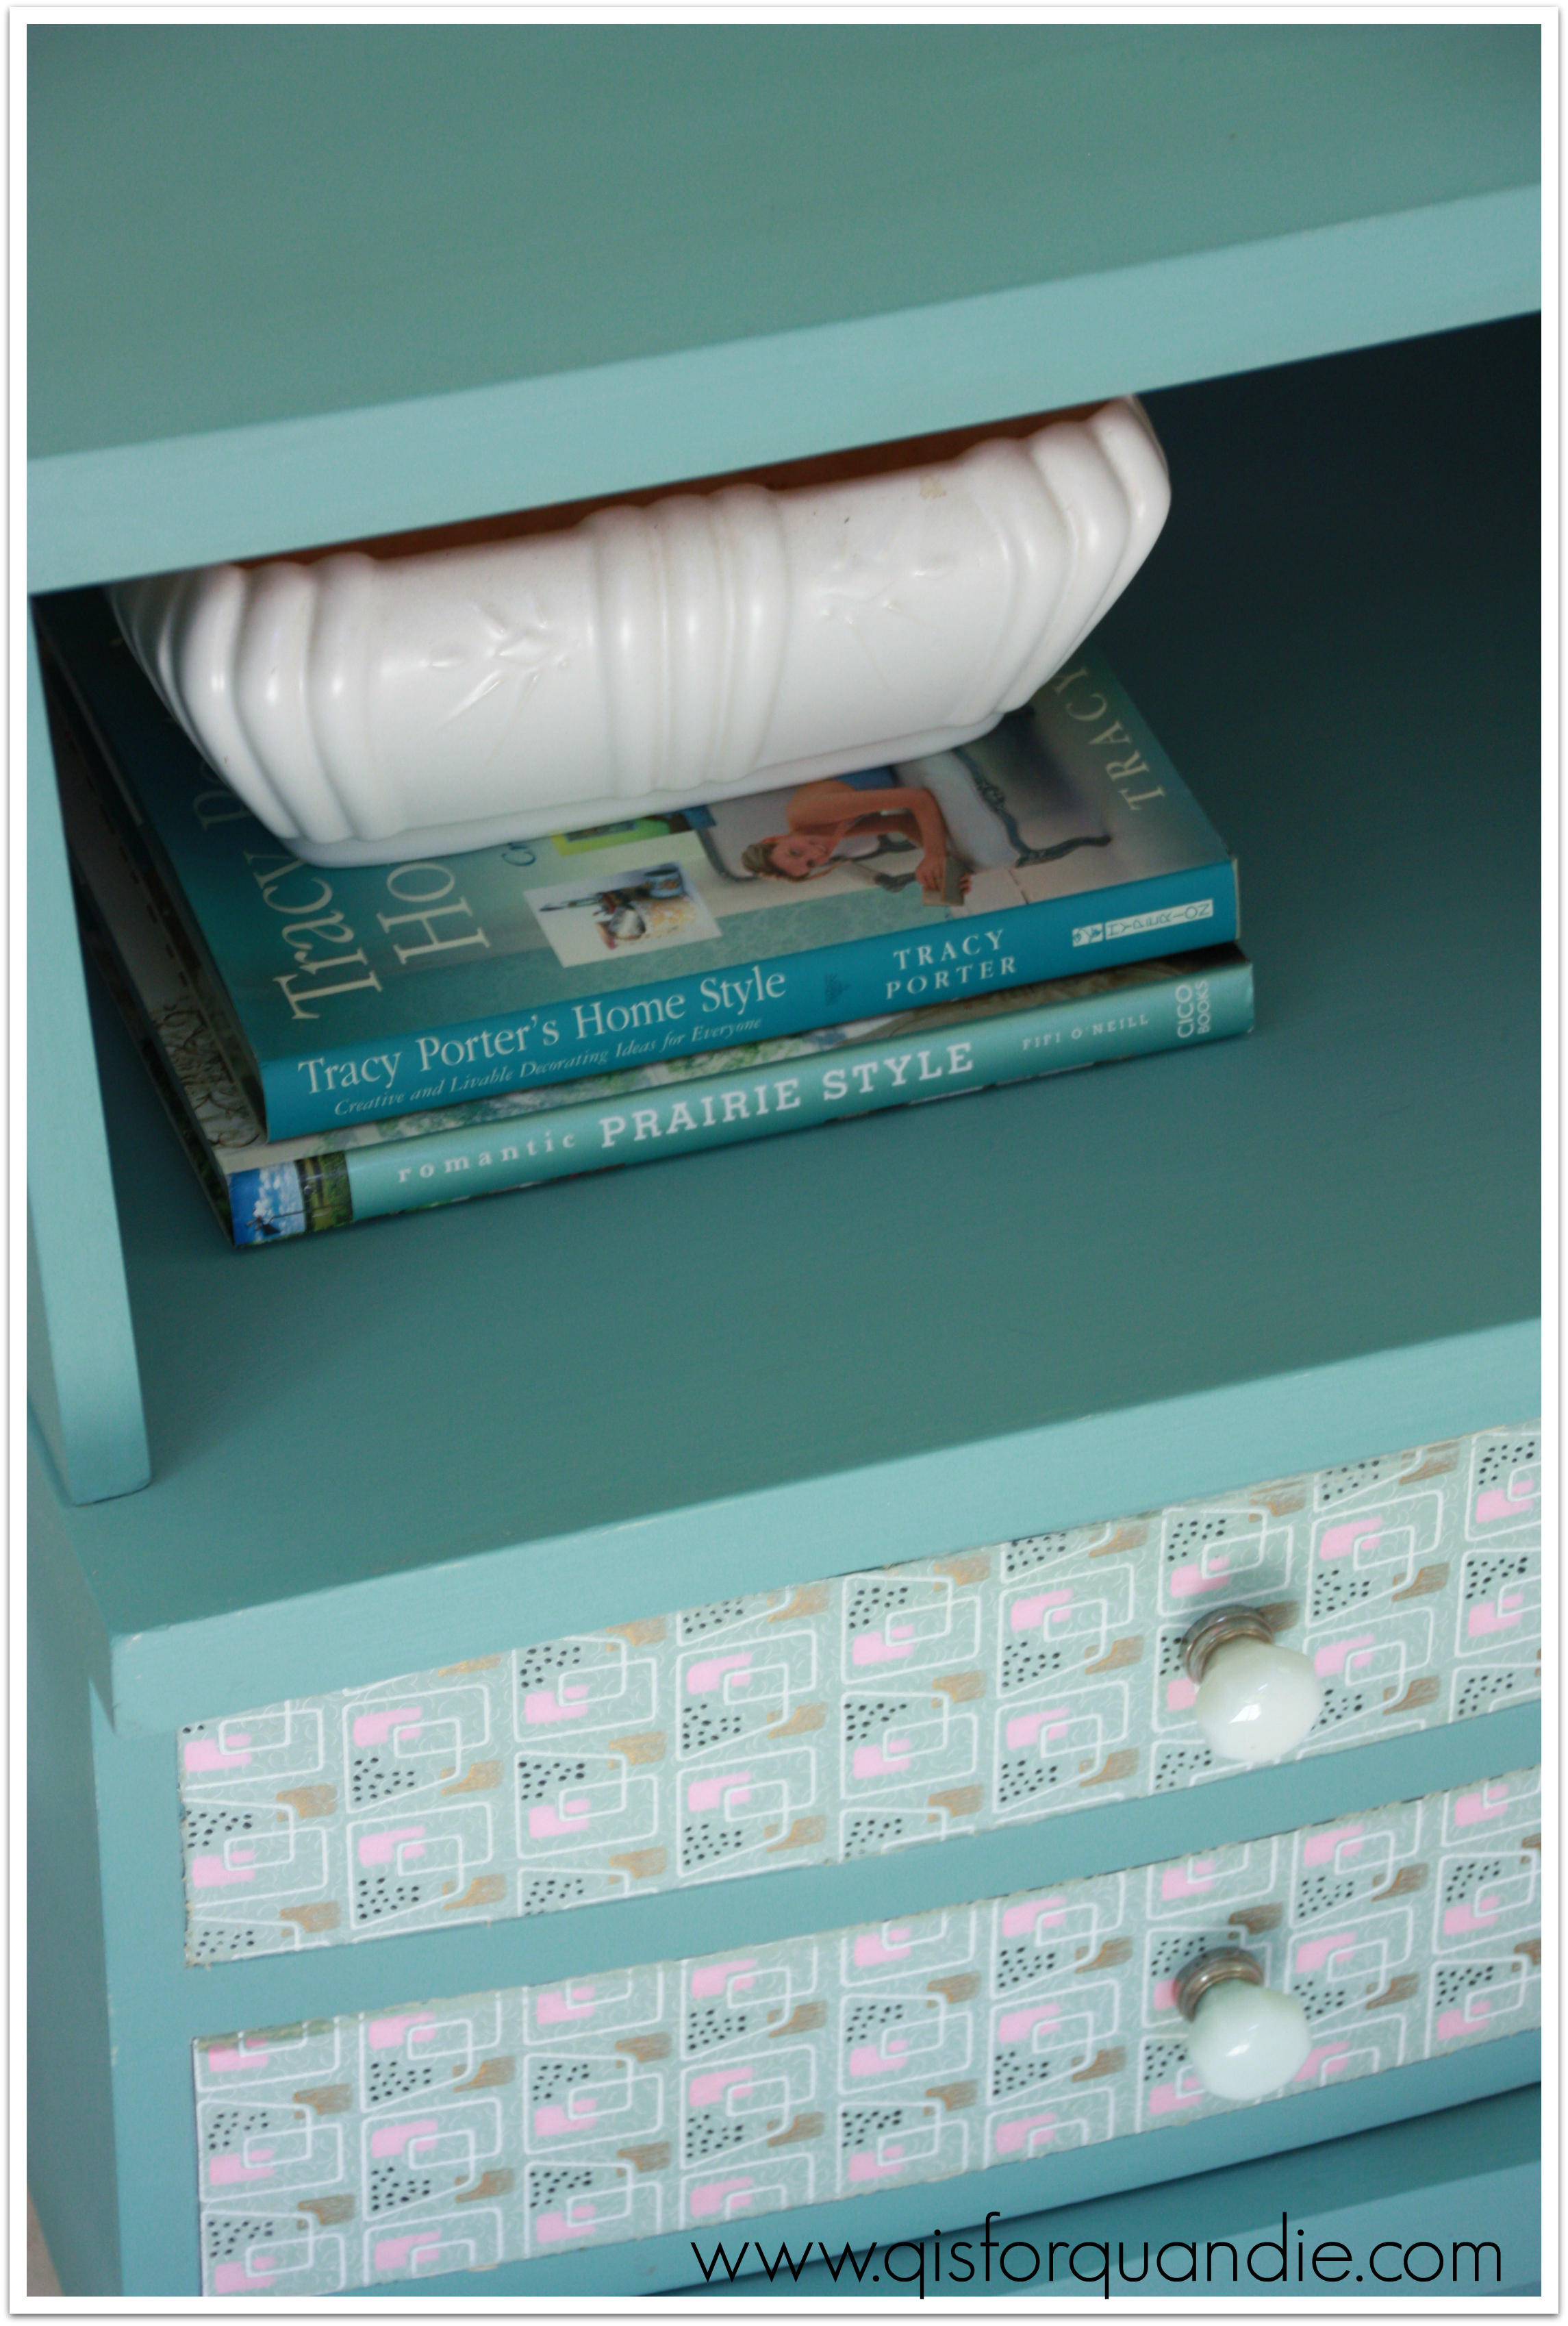
Often people wonder if milk paint will continue to chip away down the road, and the answer is no, it shouldn’t. As long as all of the loose chips were removed as part of the finishing process. In this case, I sanded the dresser pretty thoroughly and then vacuumed it to remove any loose chips. I put a final coat of hemp oil on it which also helps the paint remain adhered. I can run my hand across this dresser pretty vigorously and no paint chips off.
Alternatively, some people choose to leave the chipping paint in place and seal it with a poly finish. I’ve never tried this approach, but I can see where it would be a fabulous look in some cases. Maybe down the road, if I get a good chipper, I’ll give this a try.
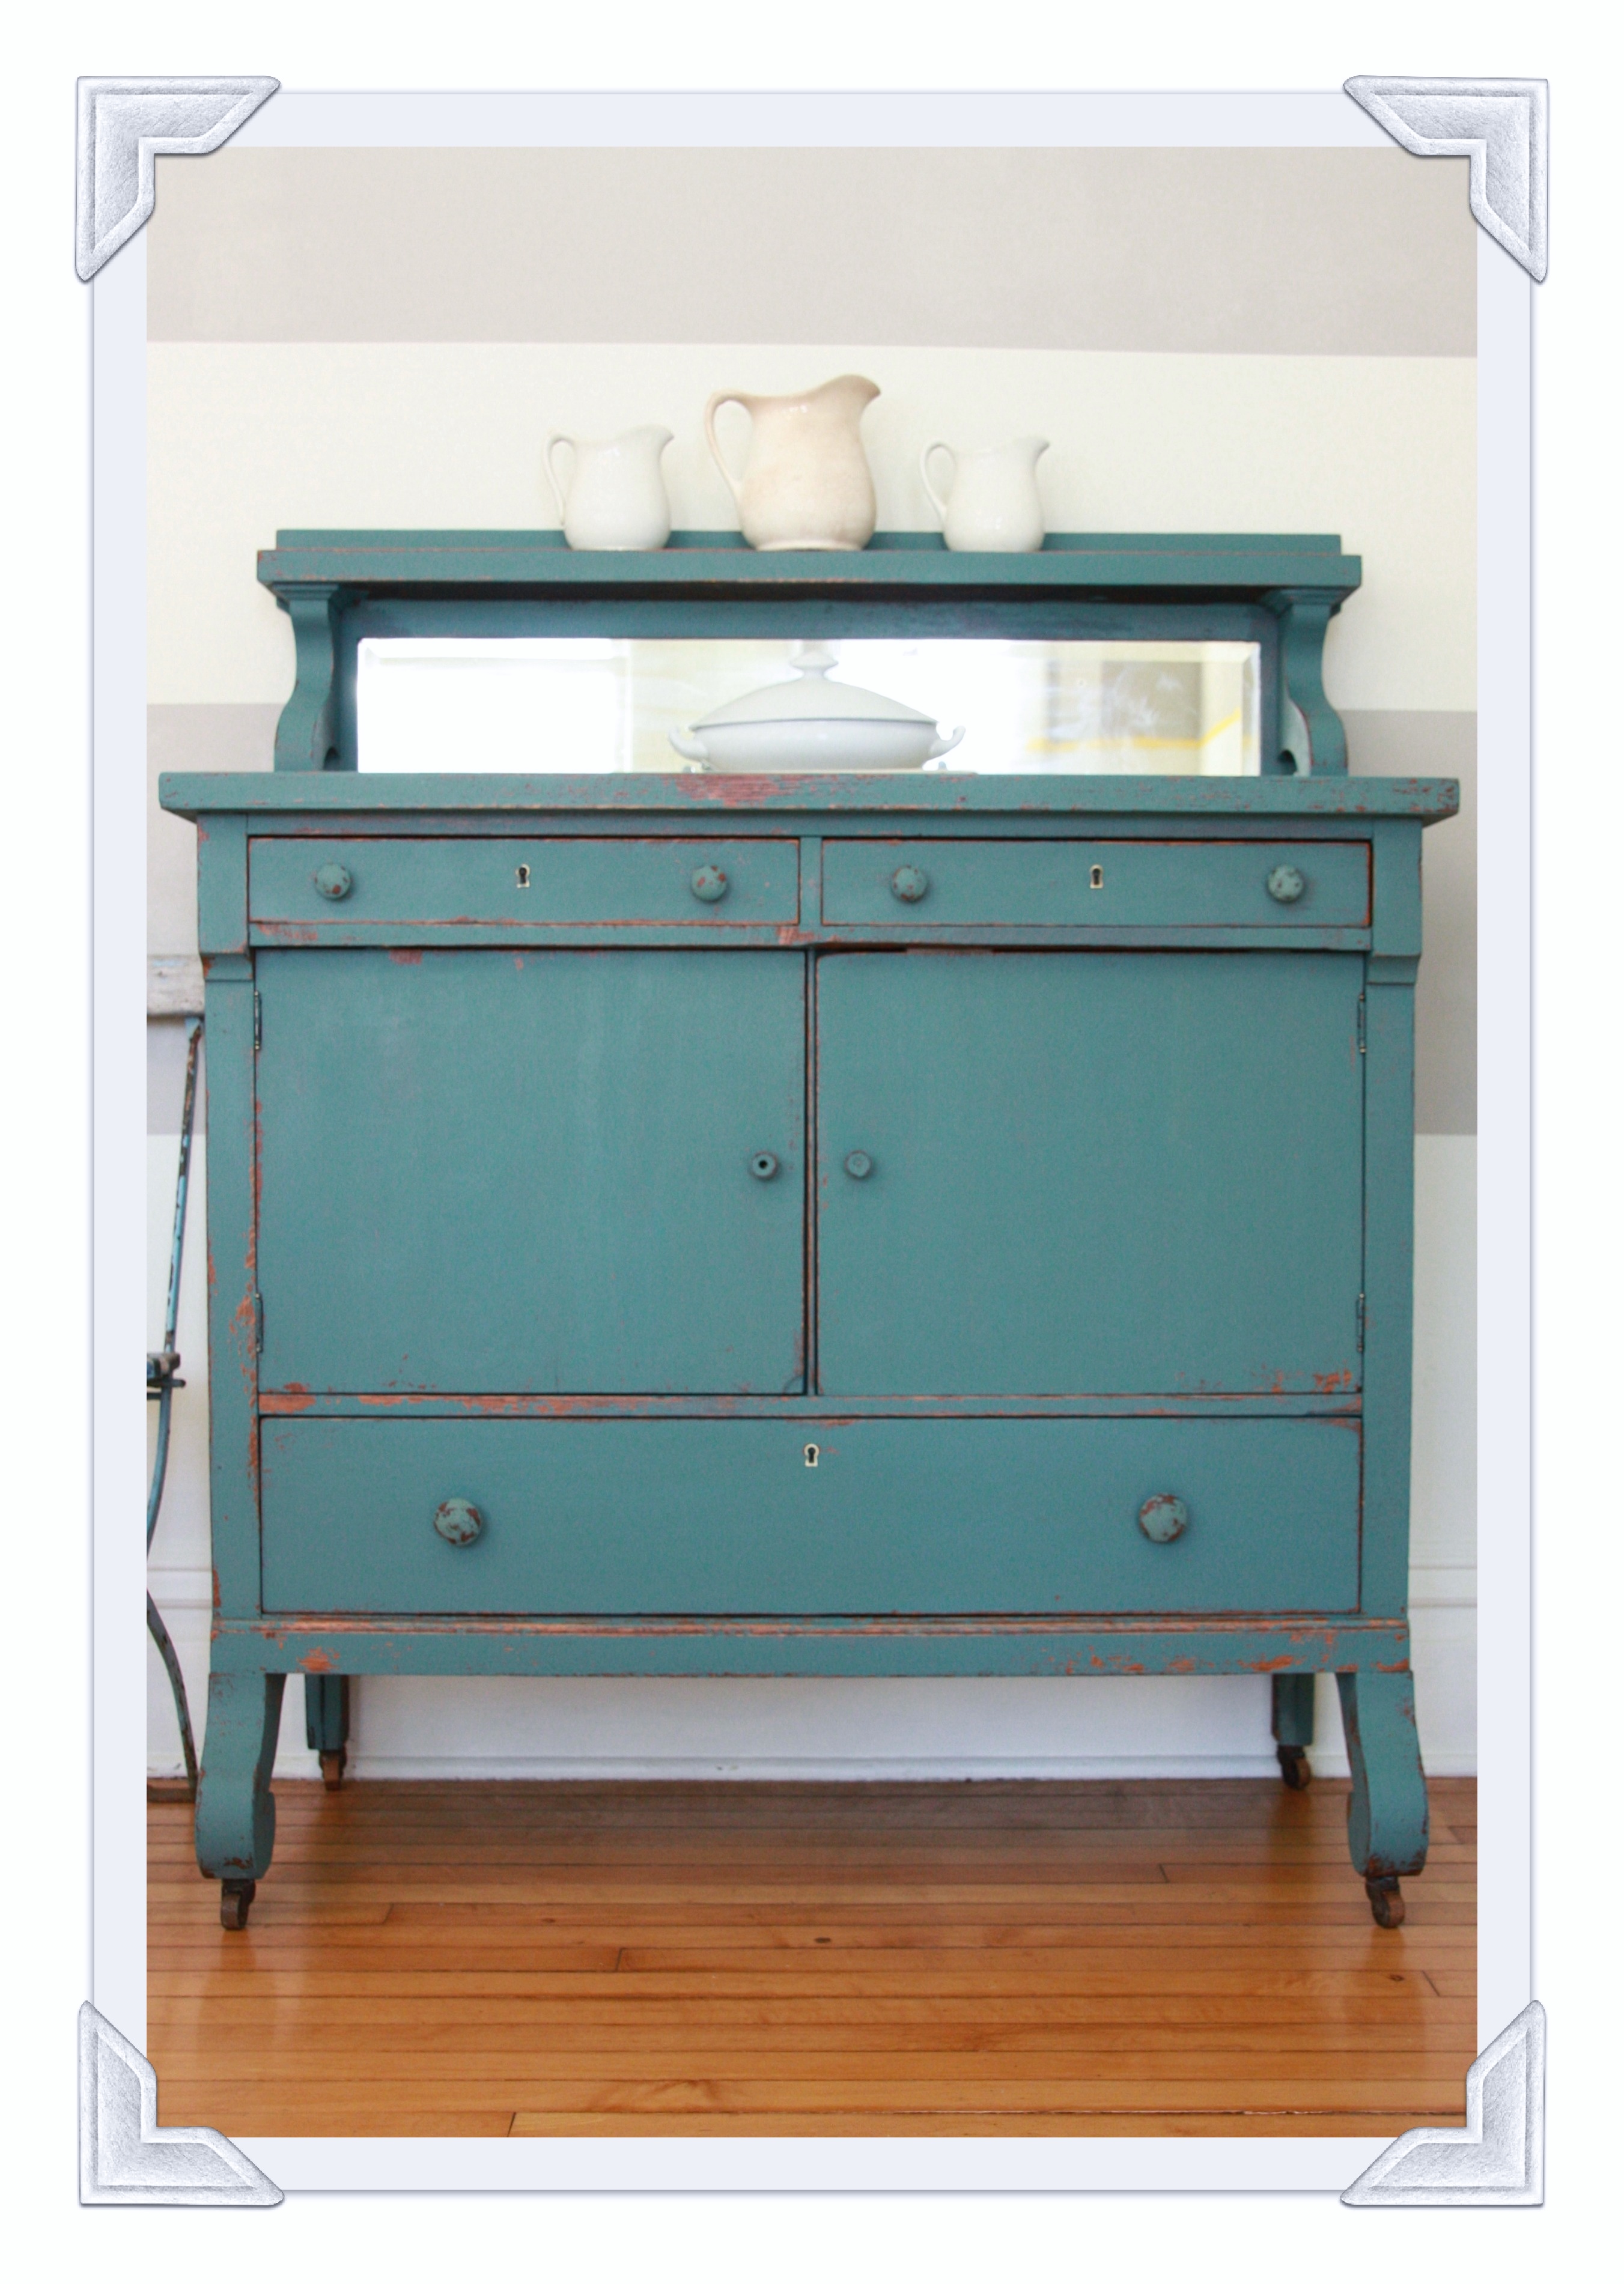
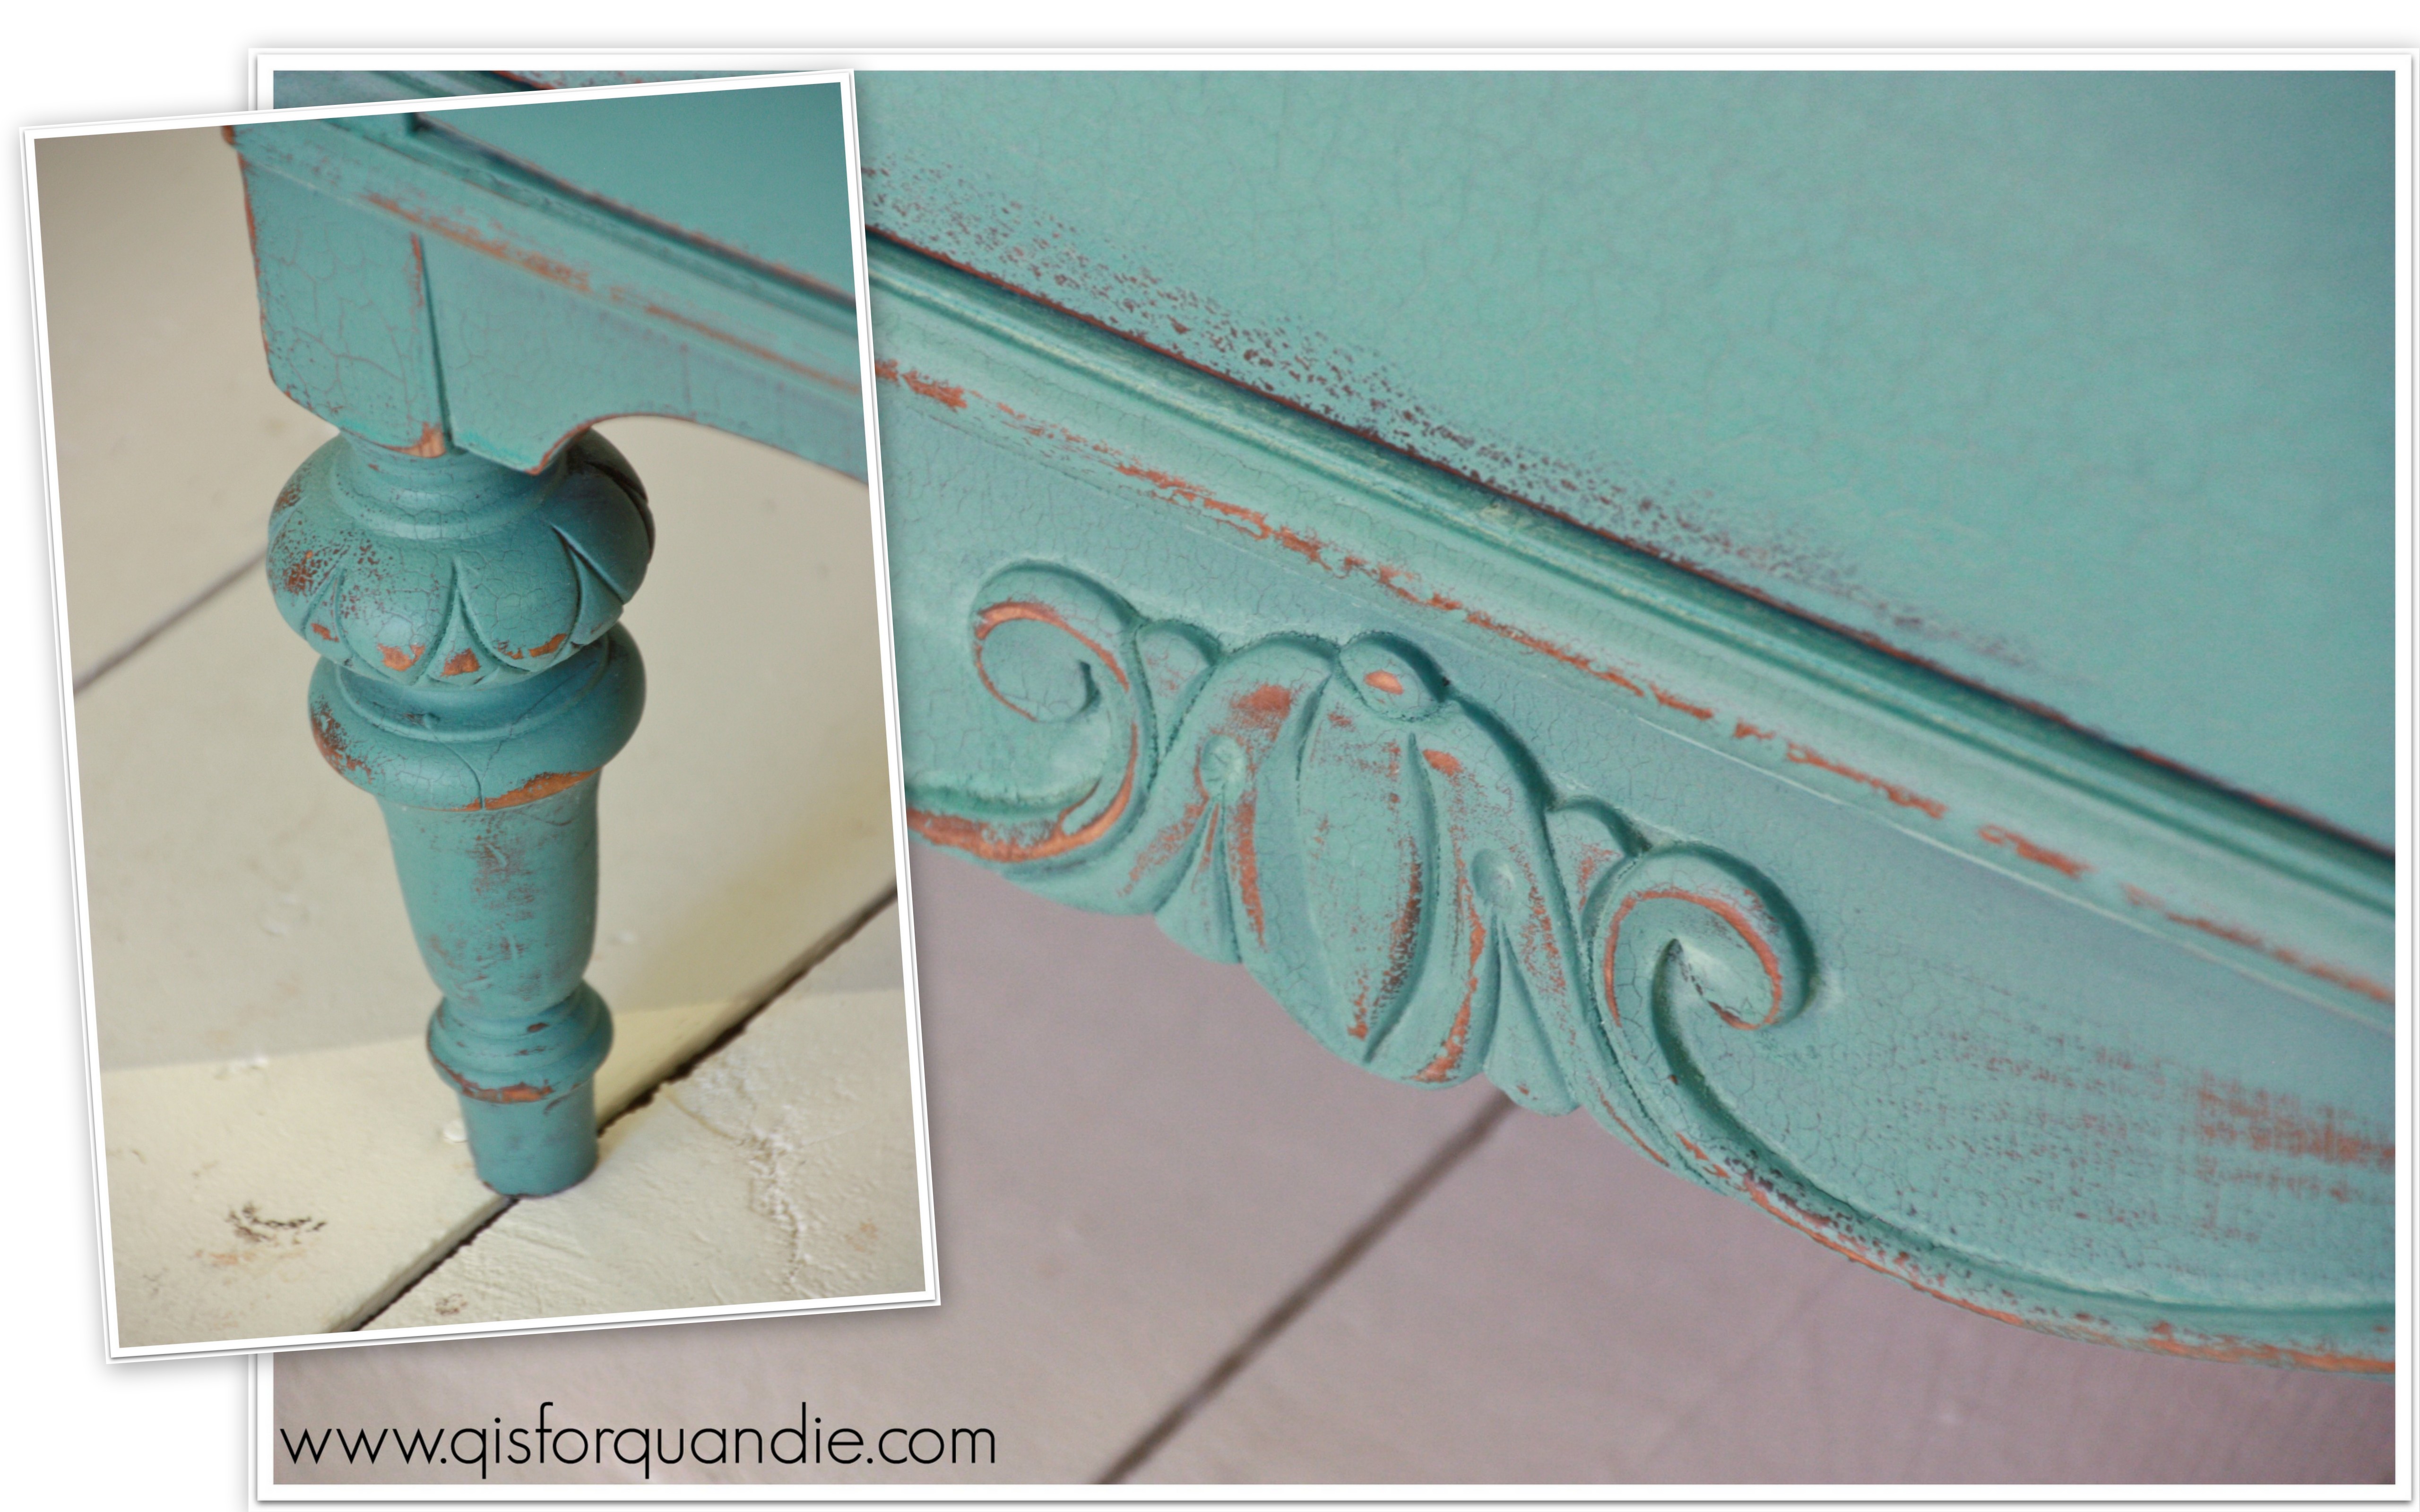
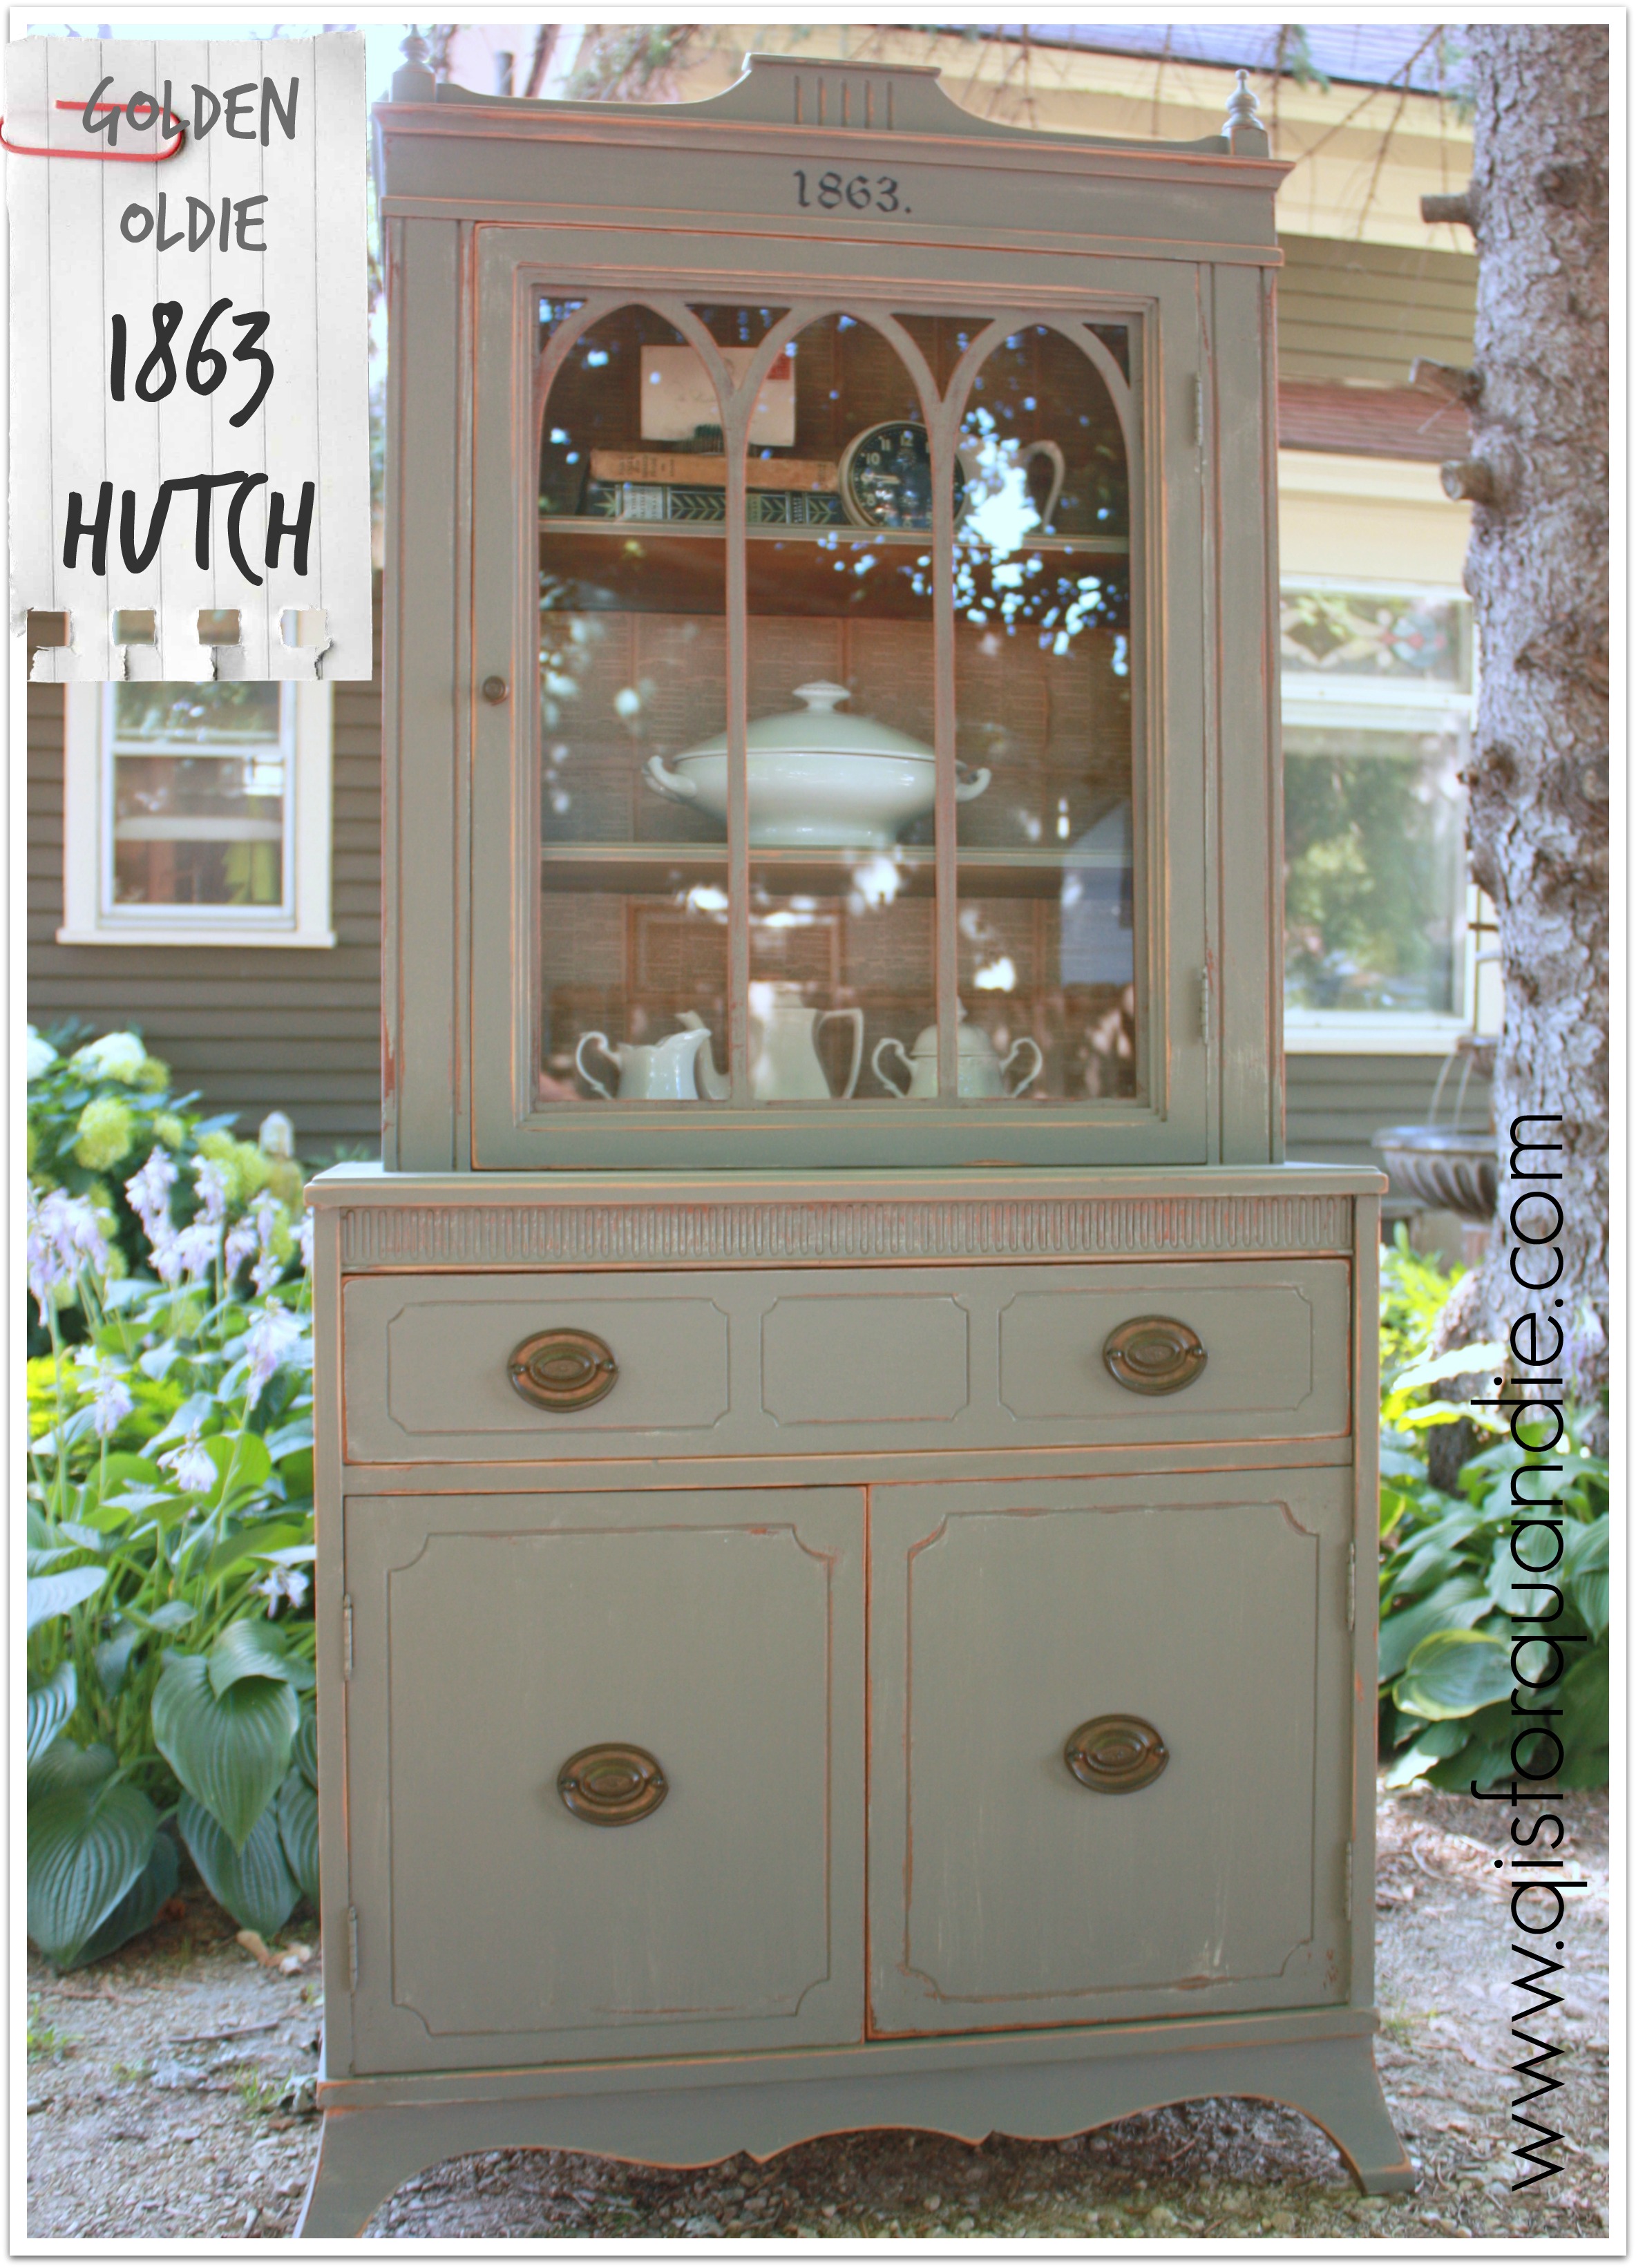
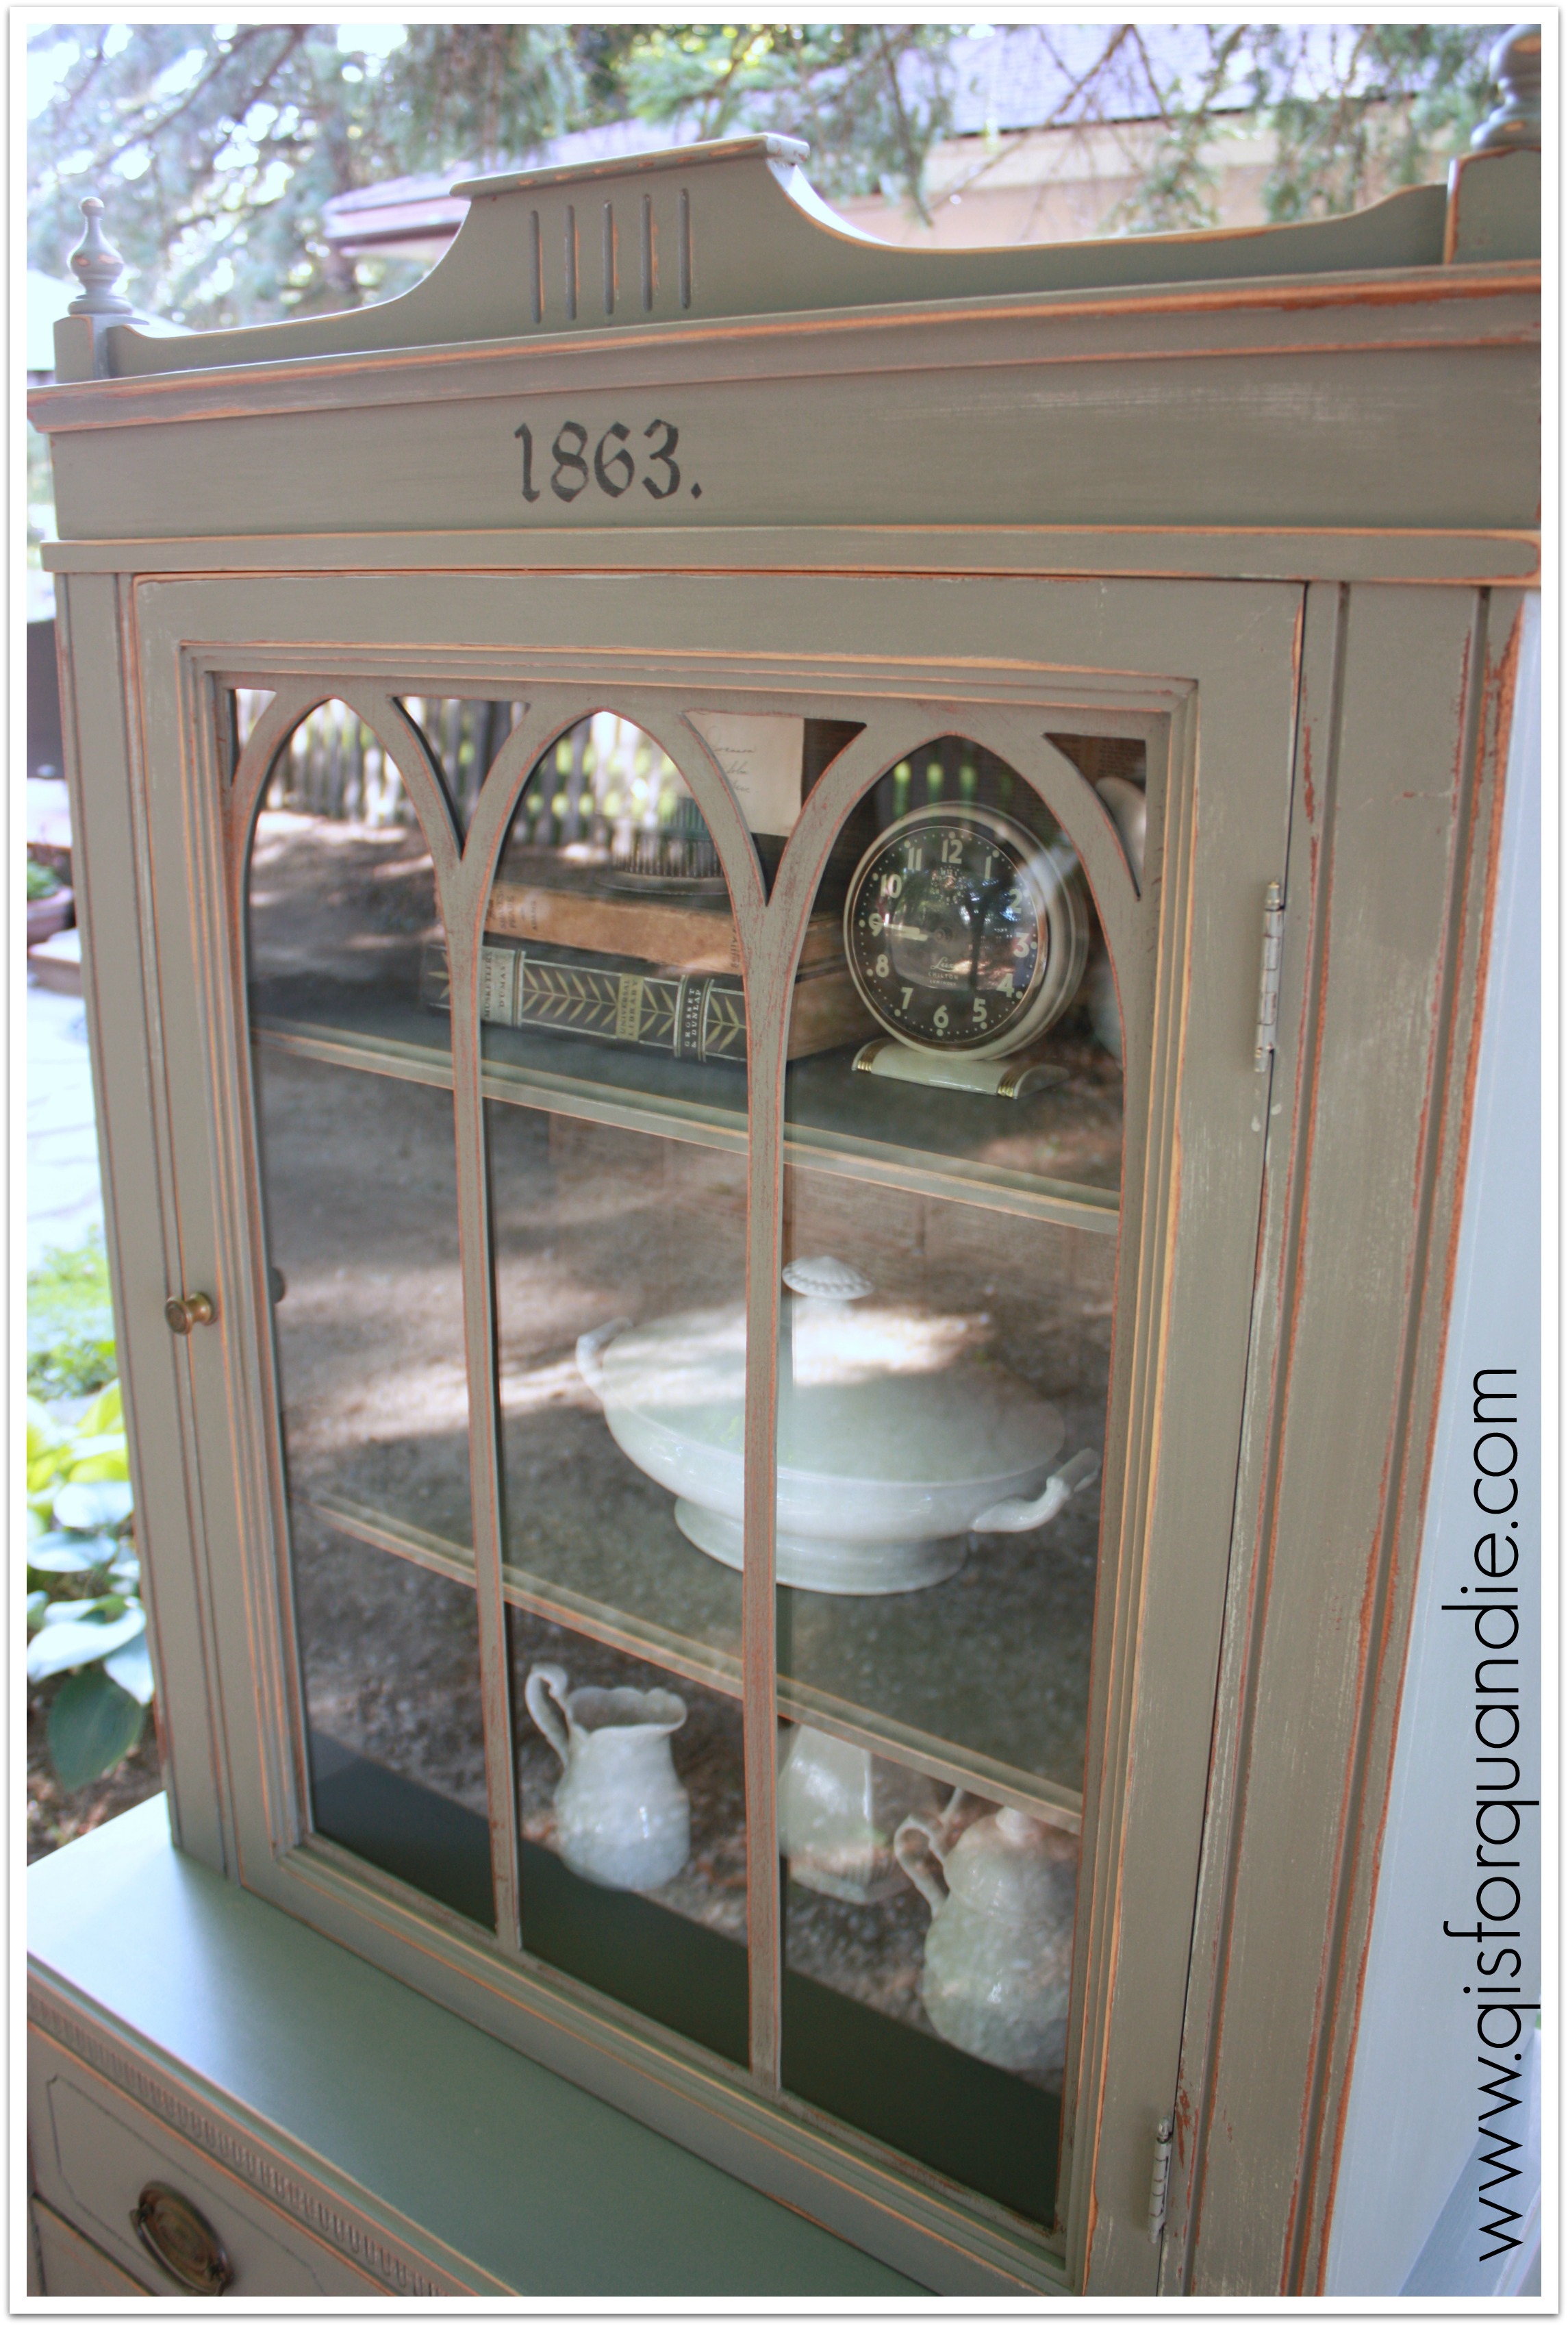
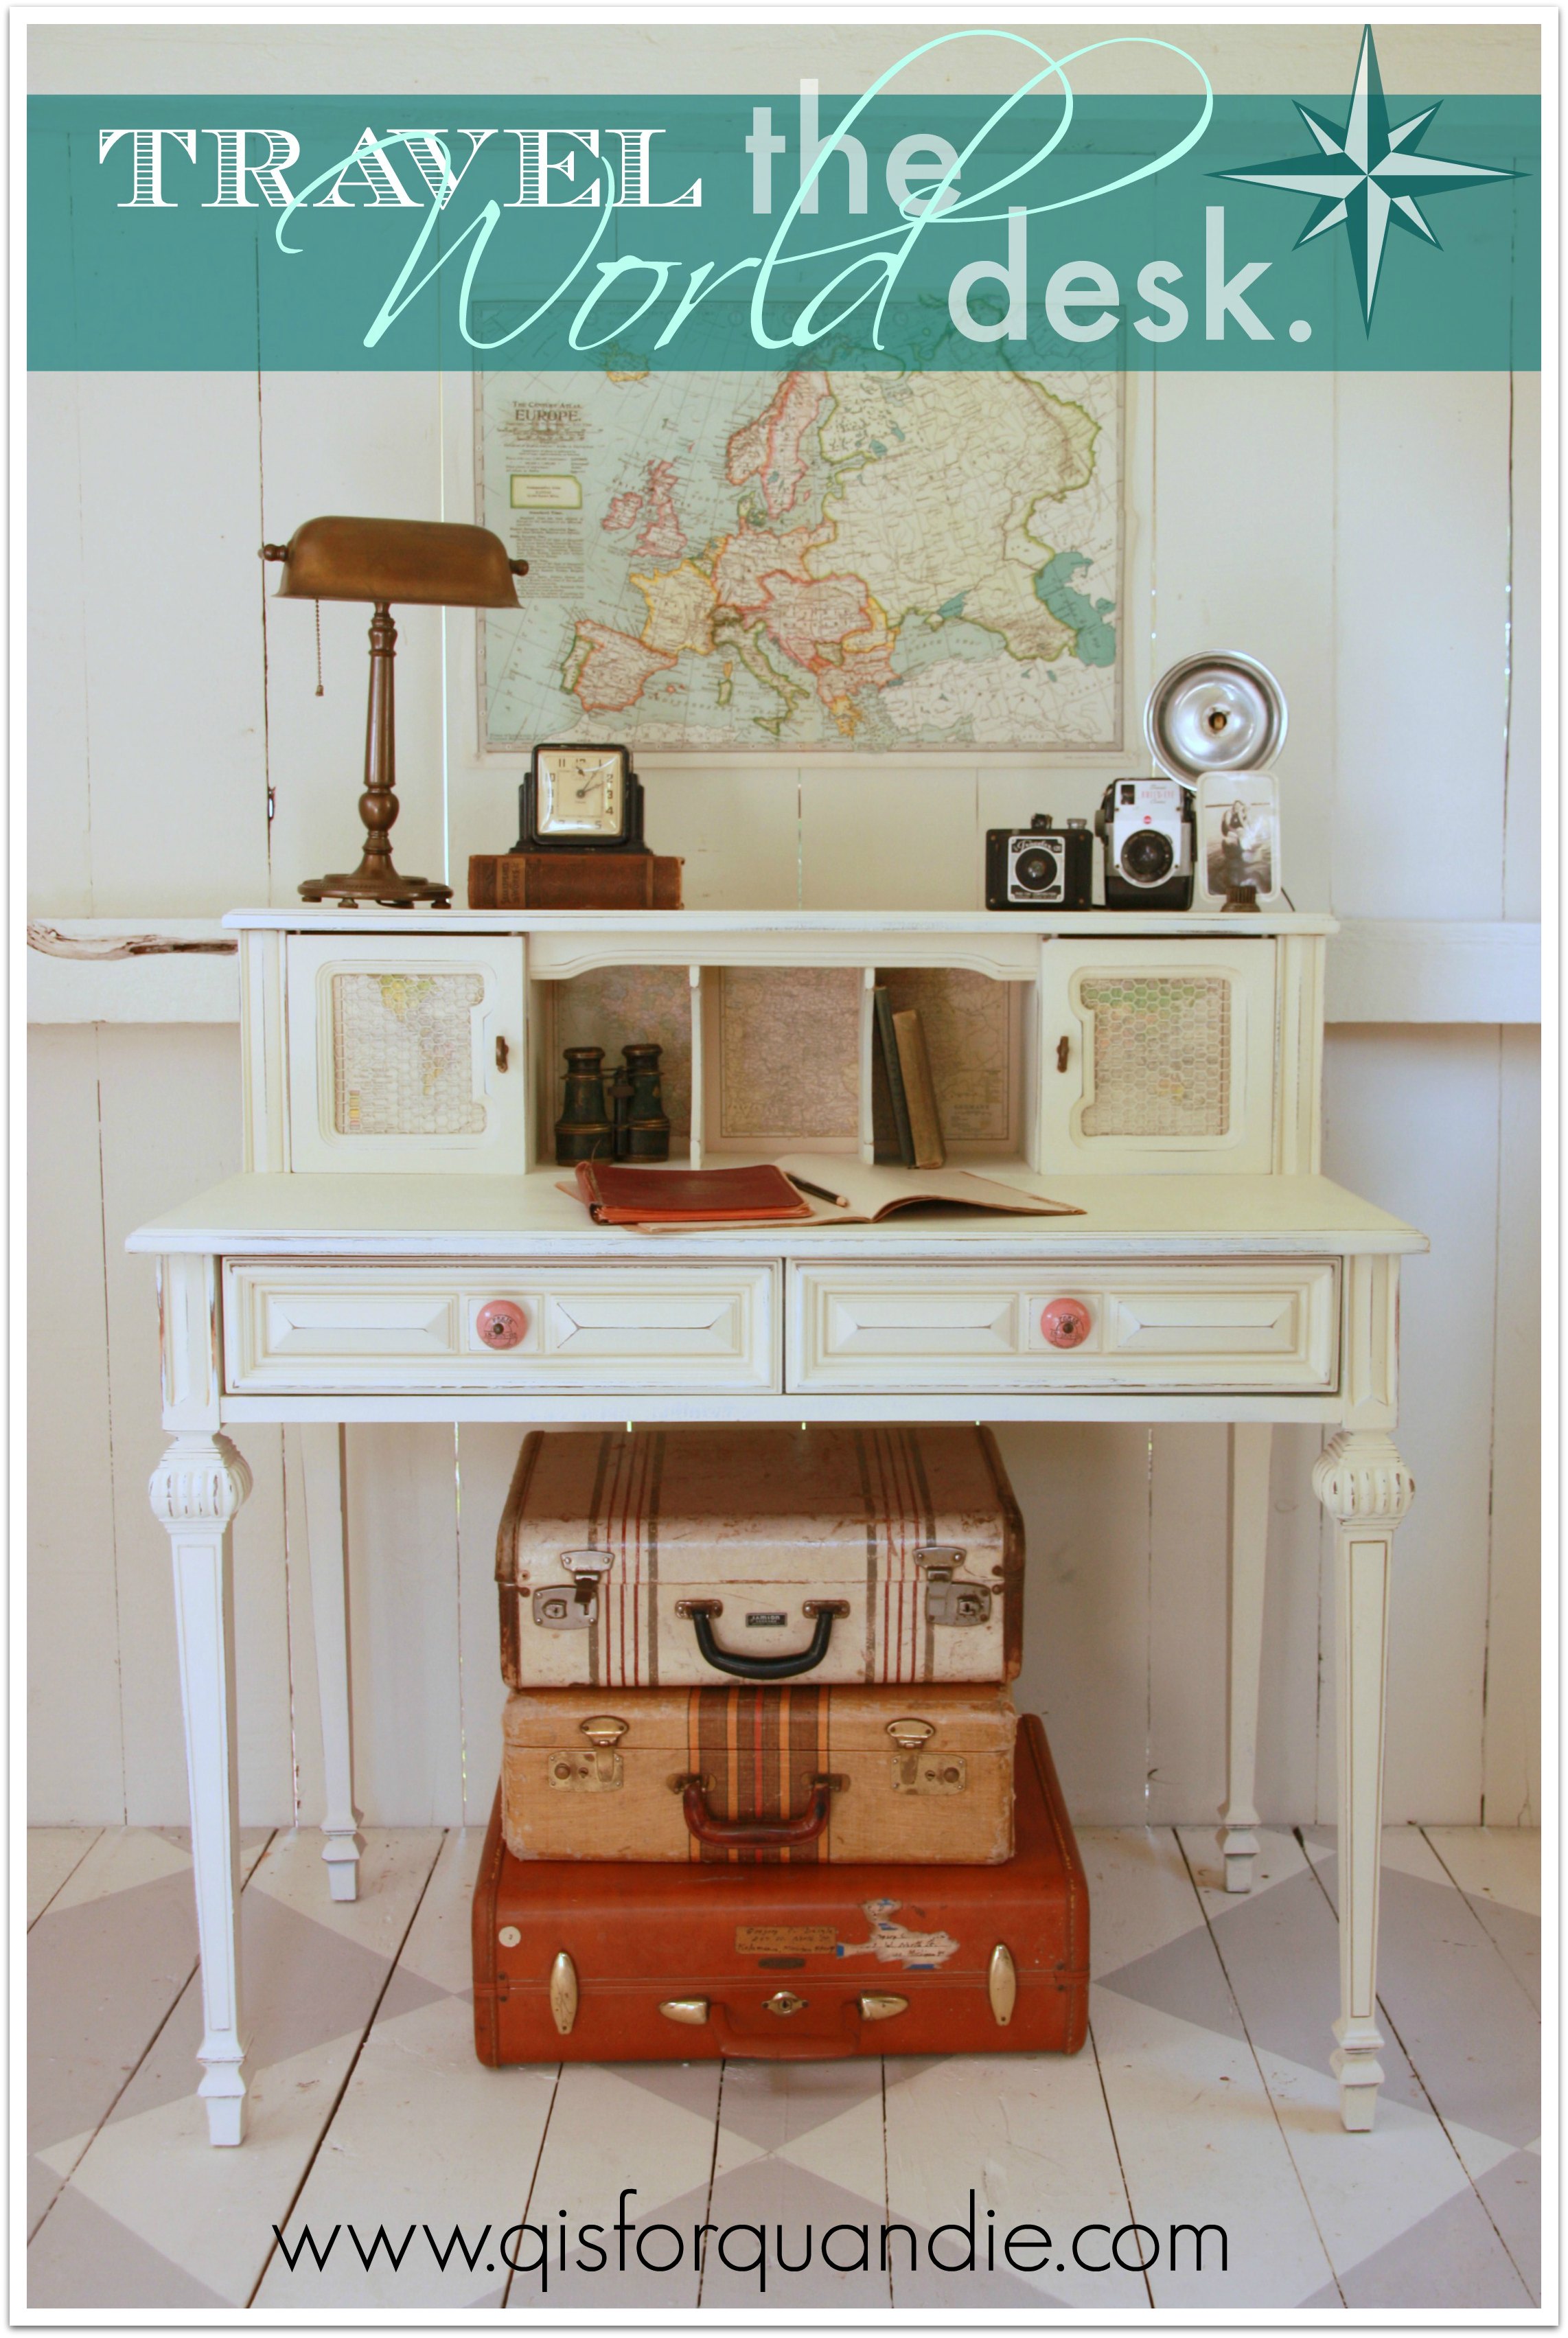
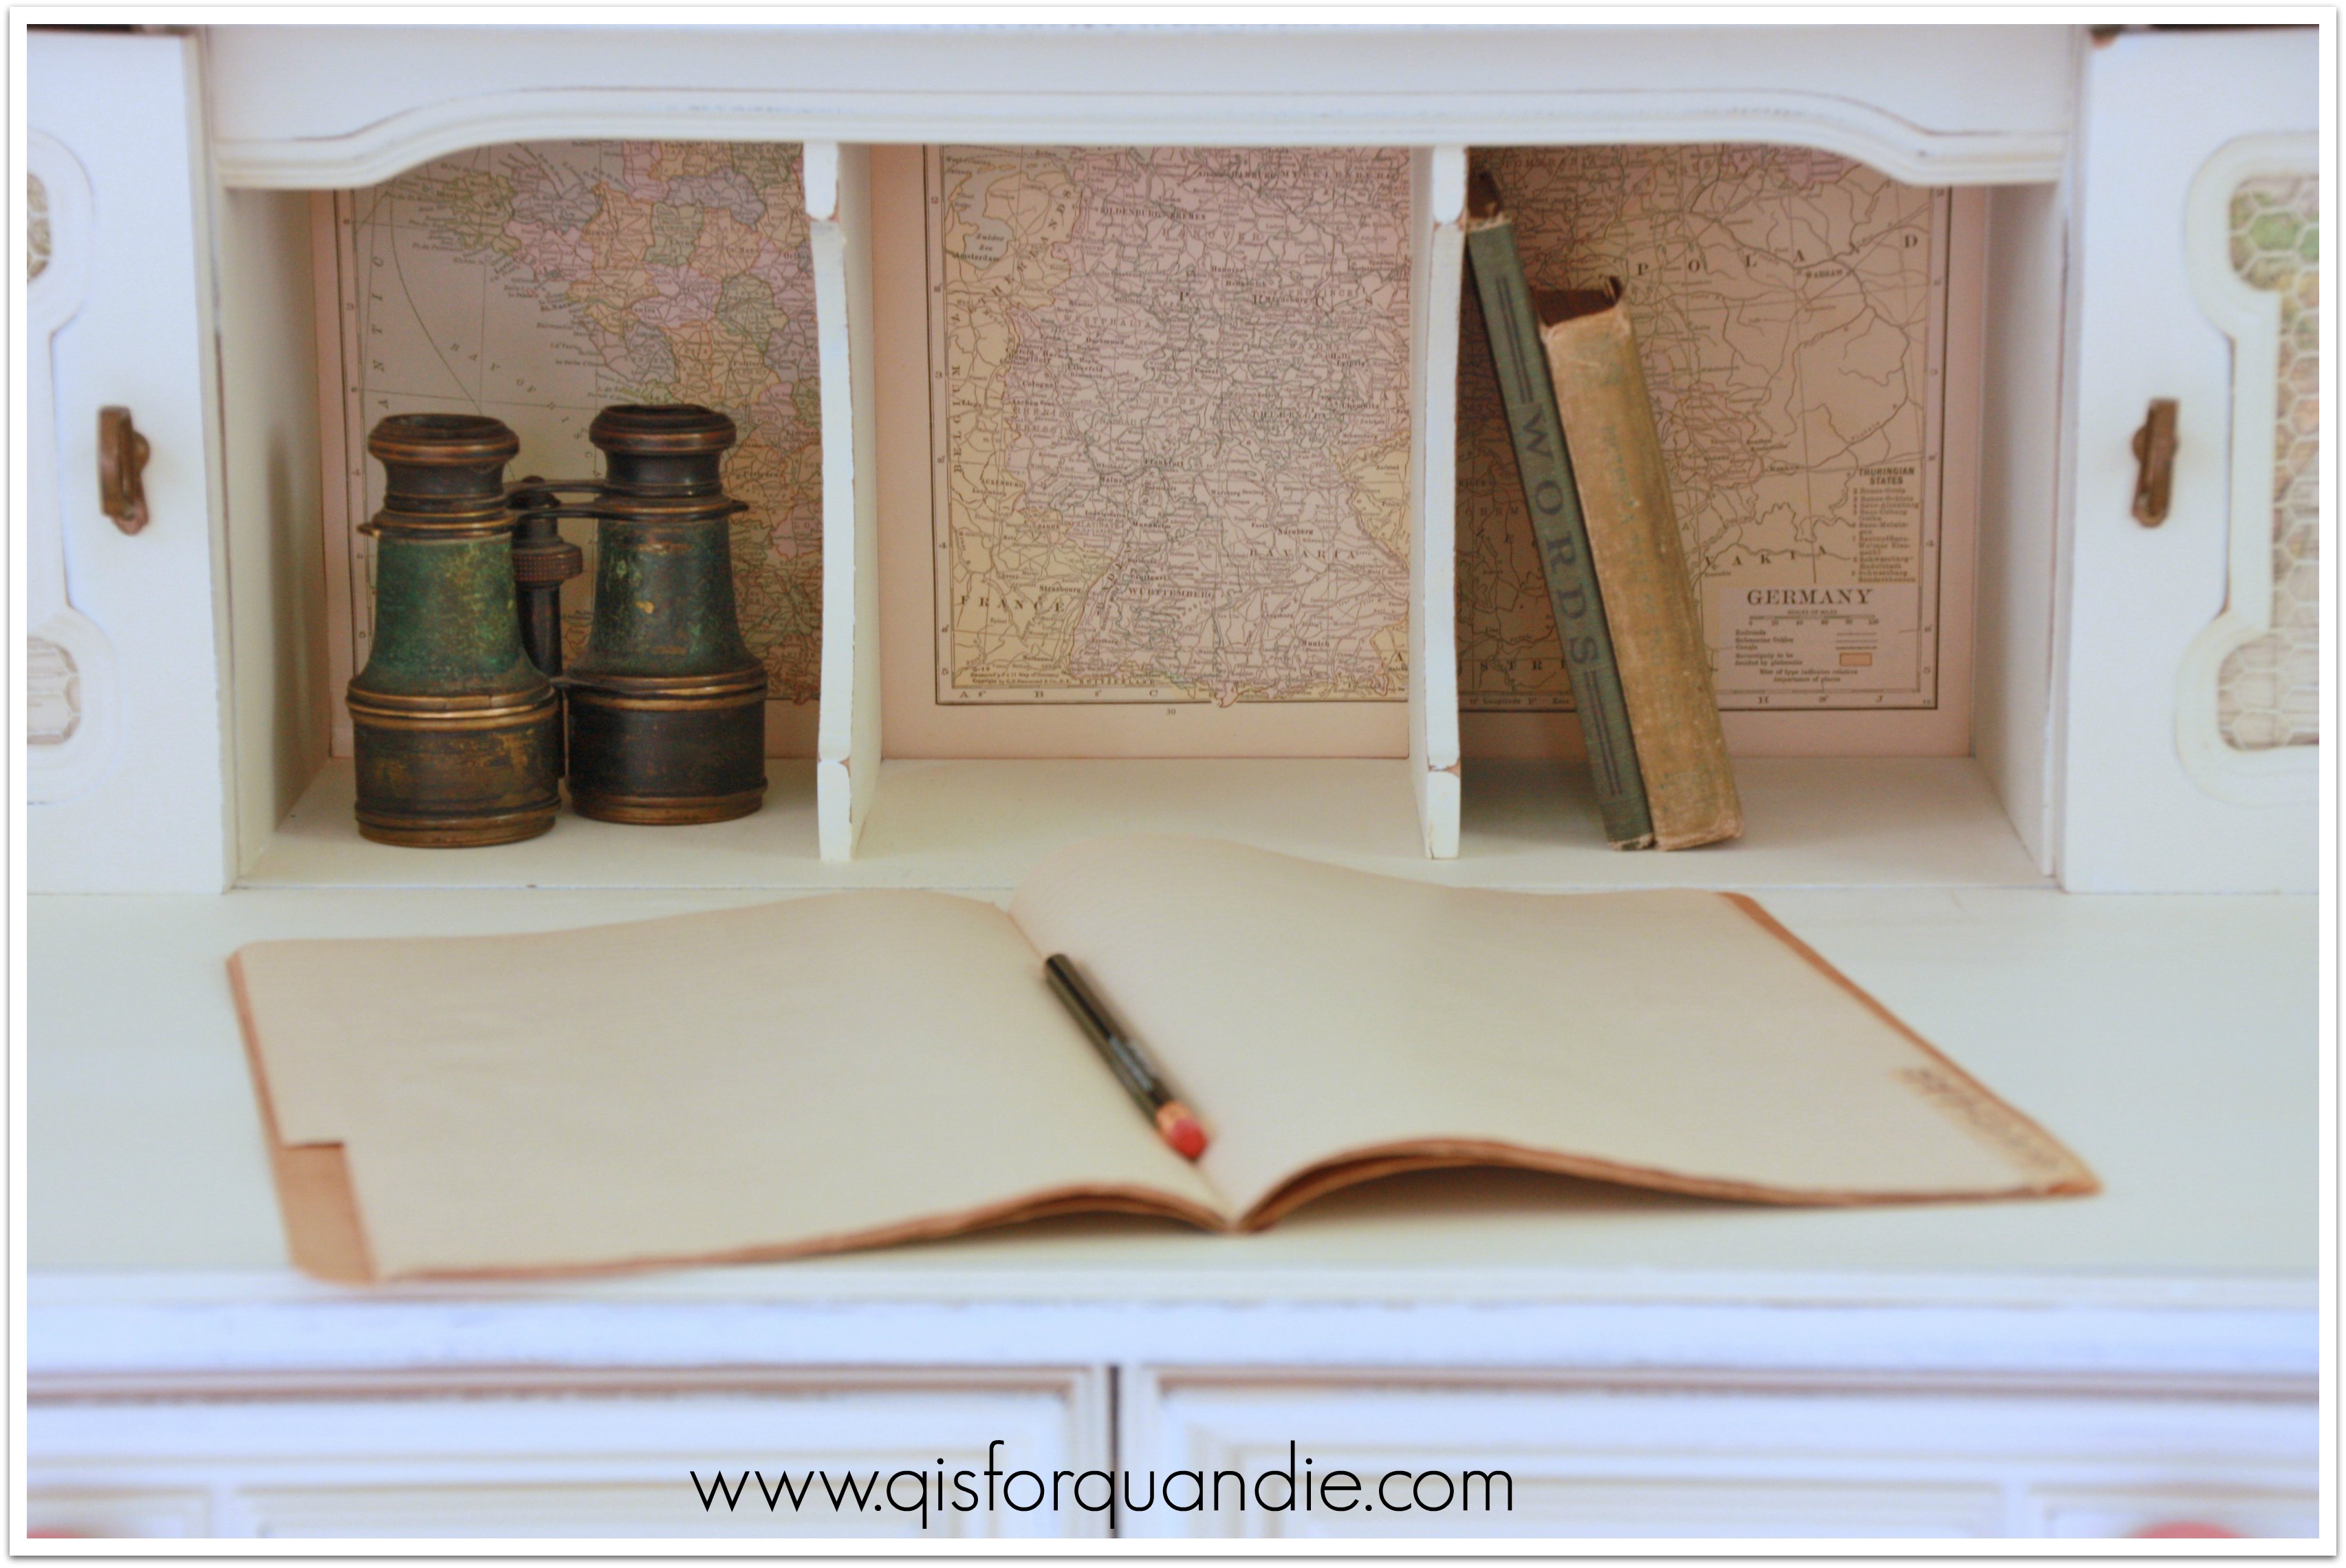
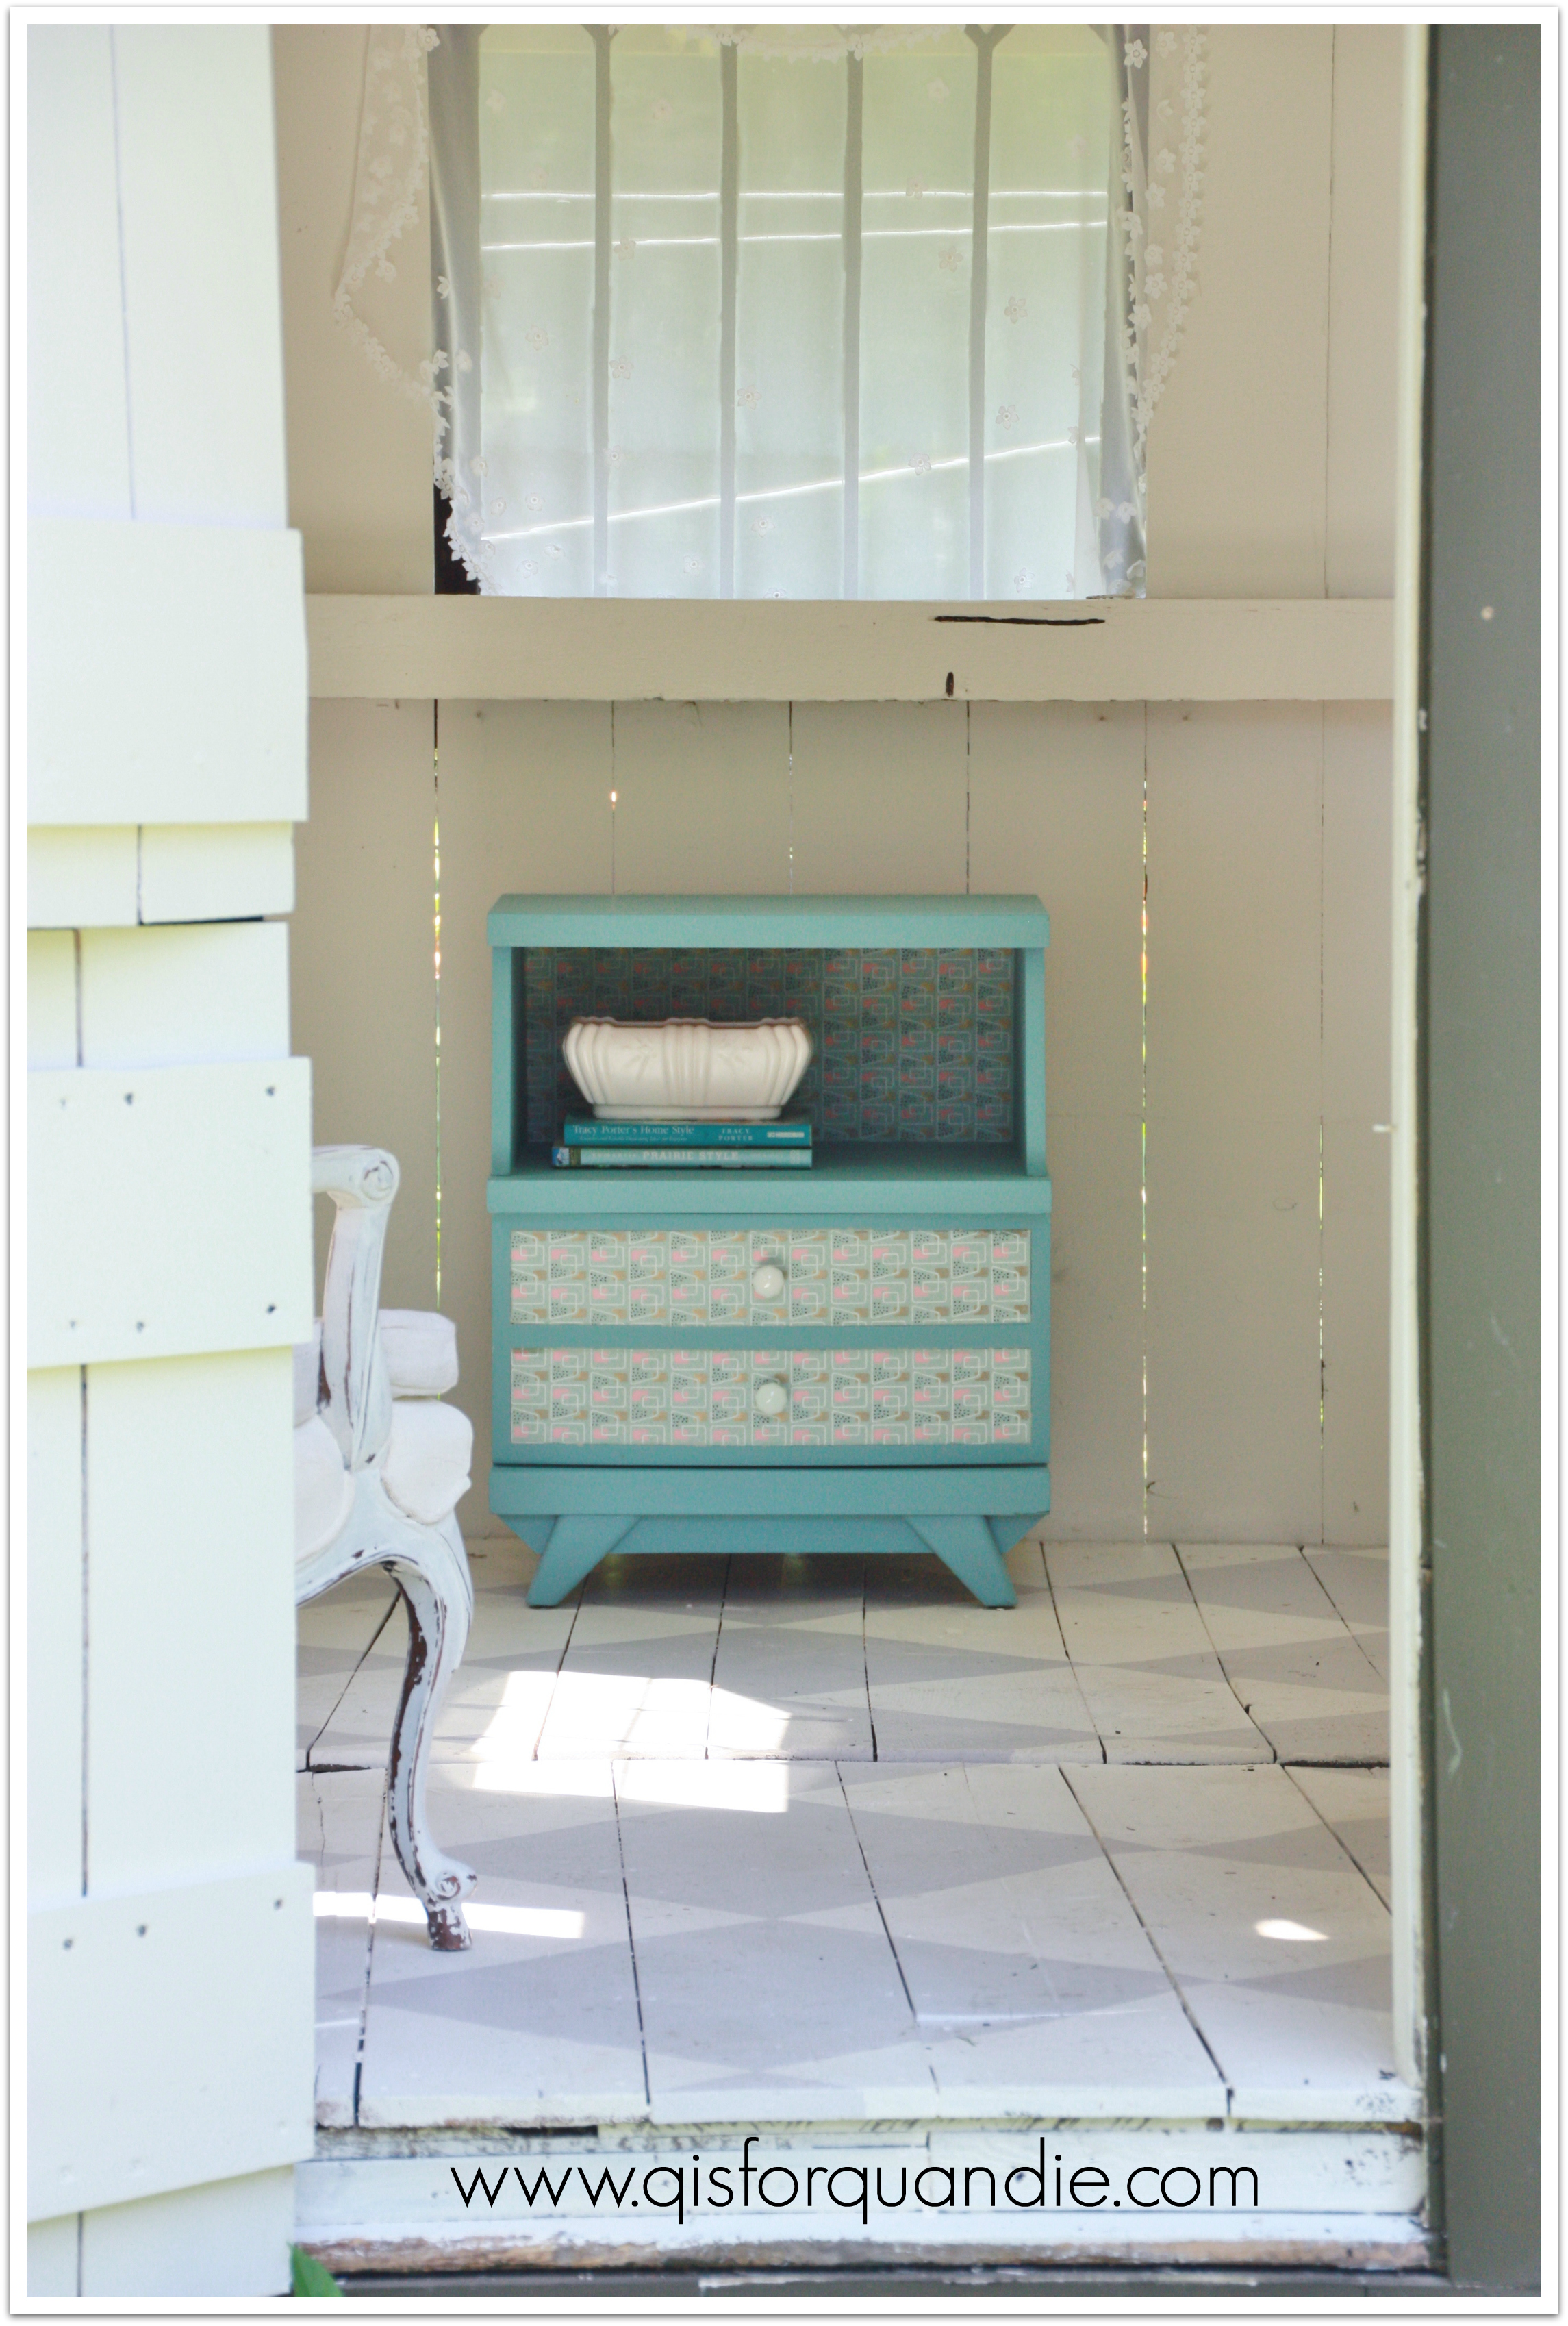
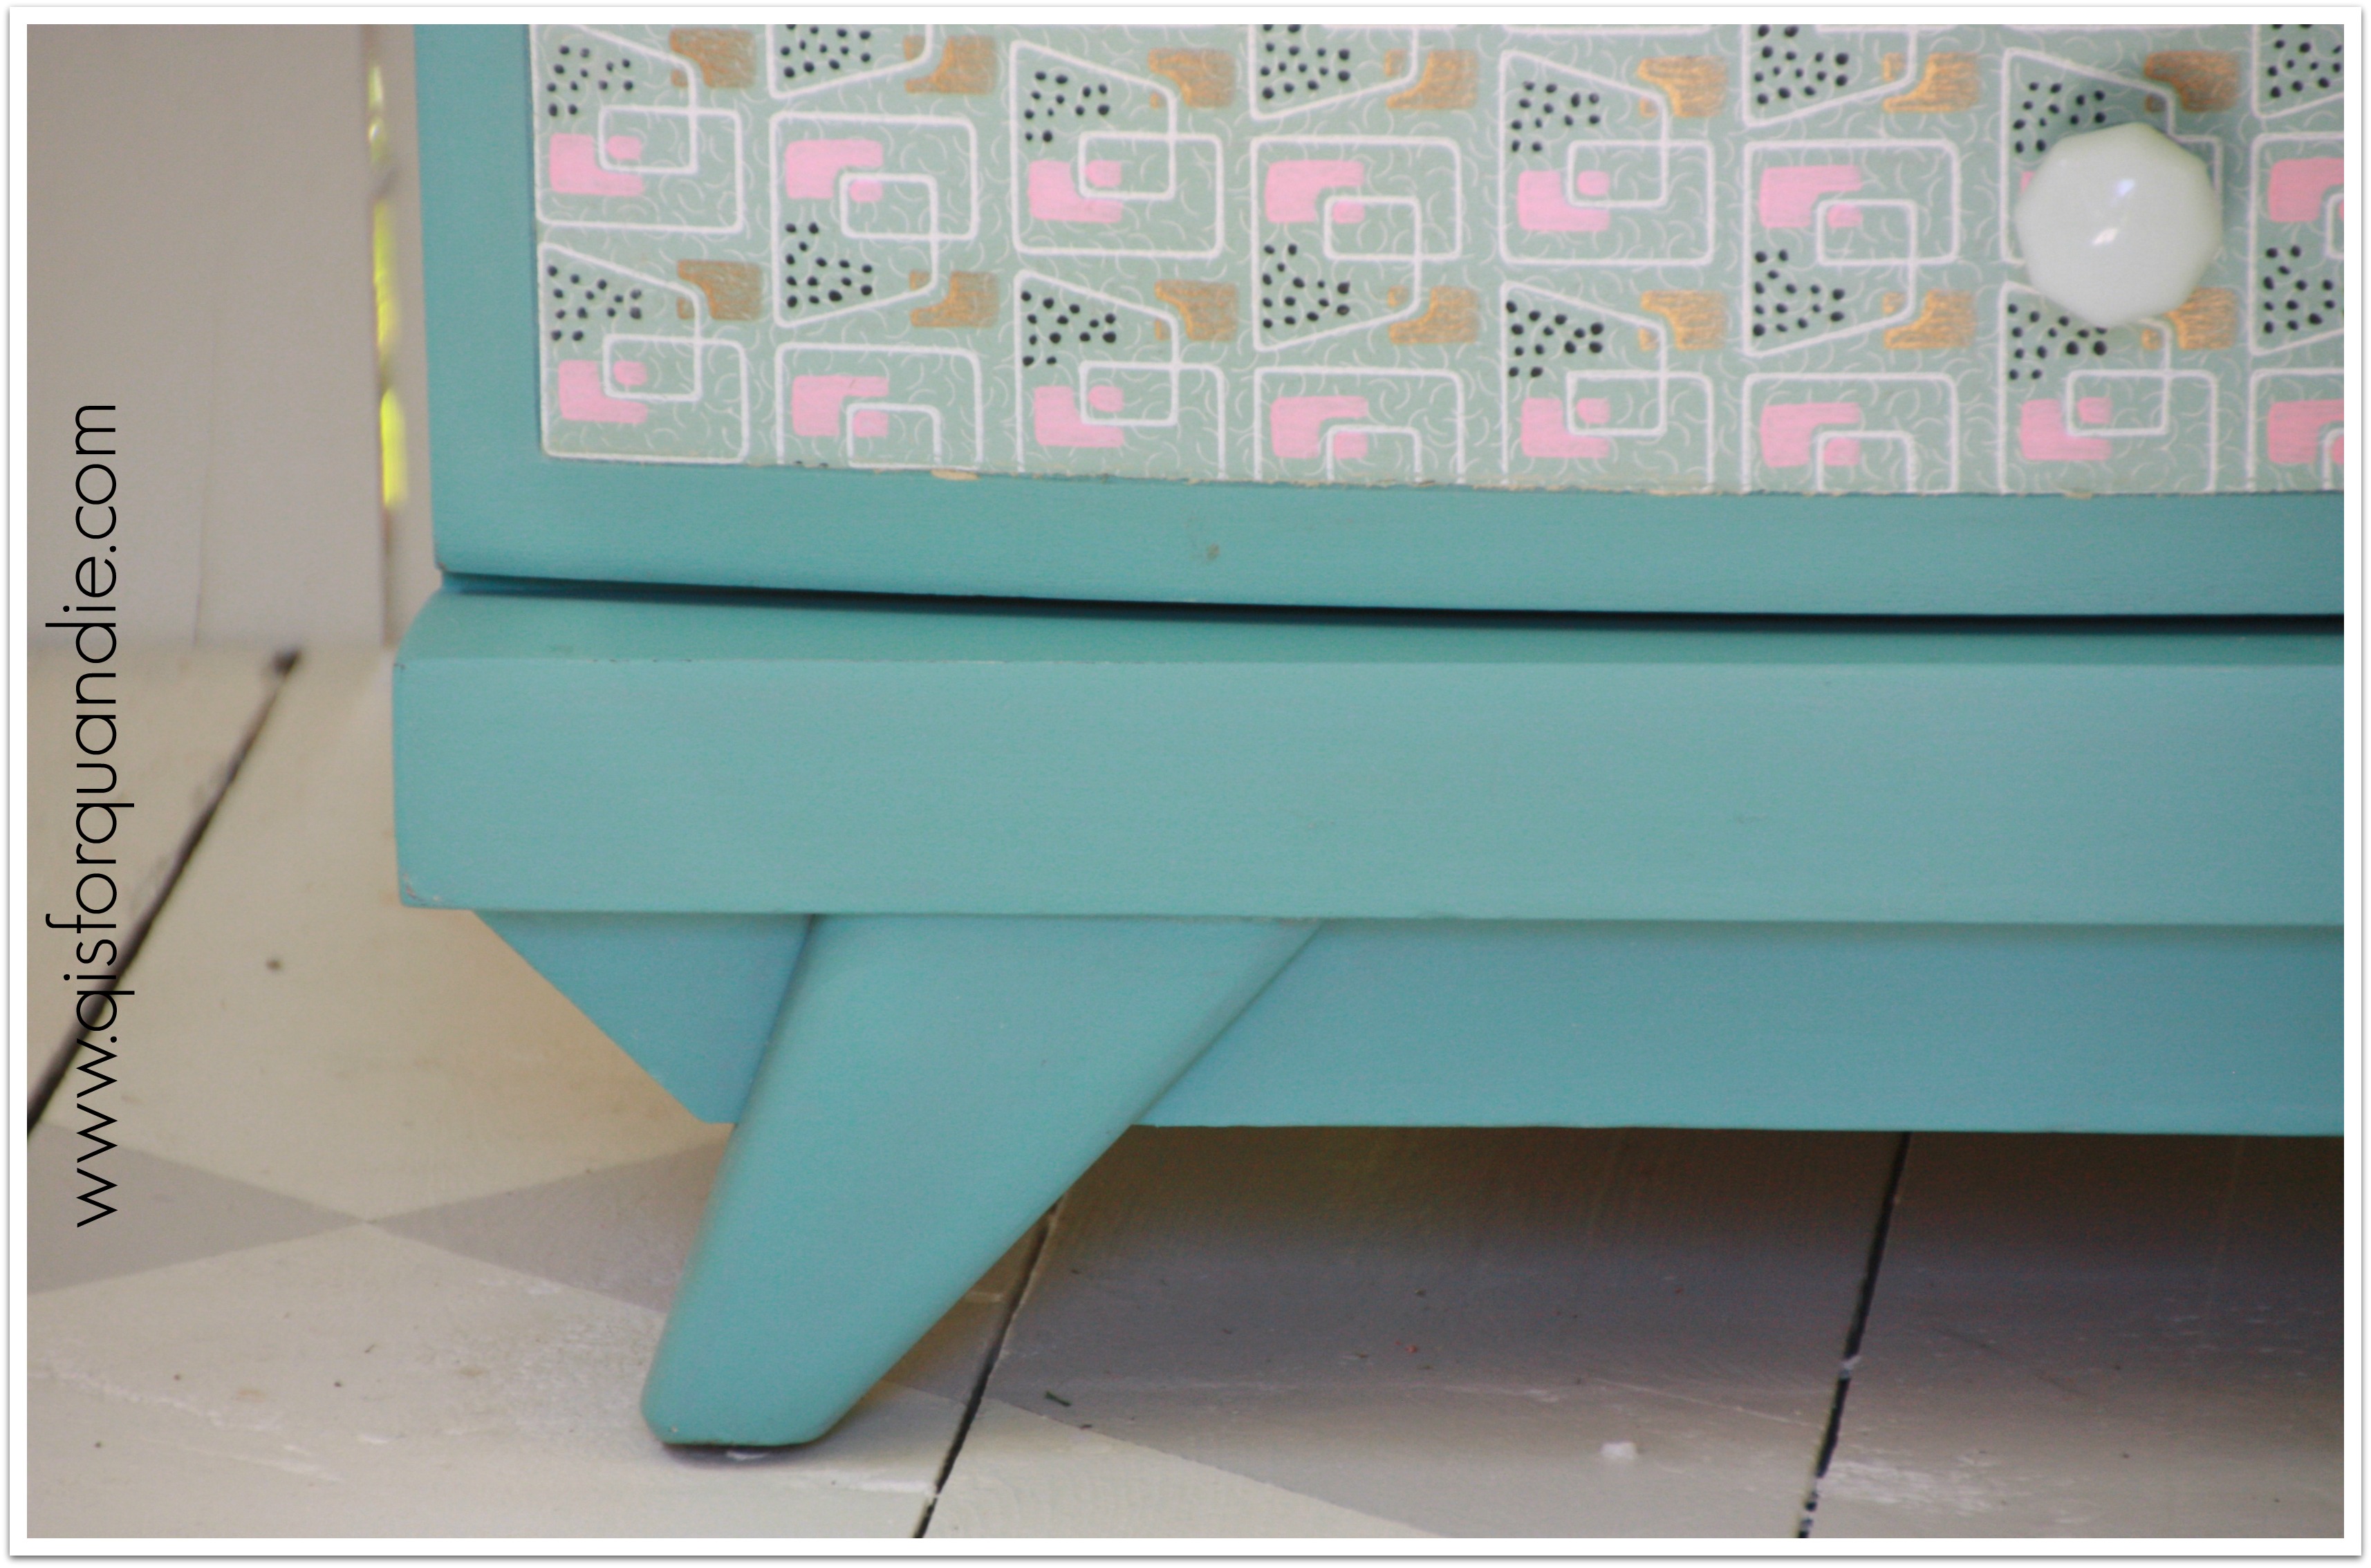
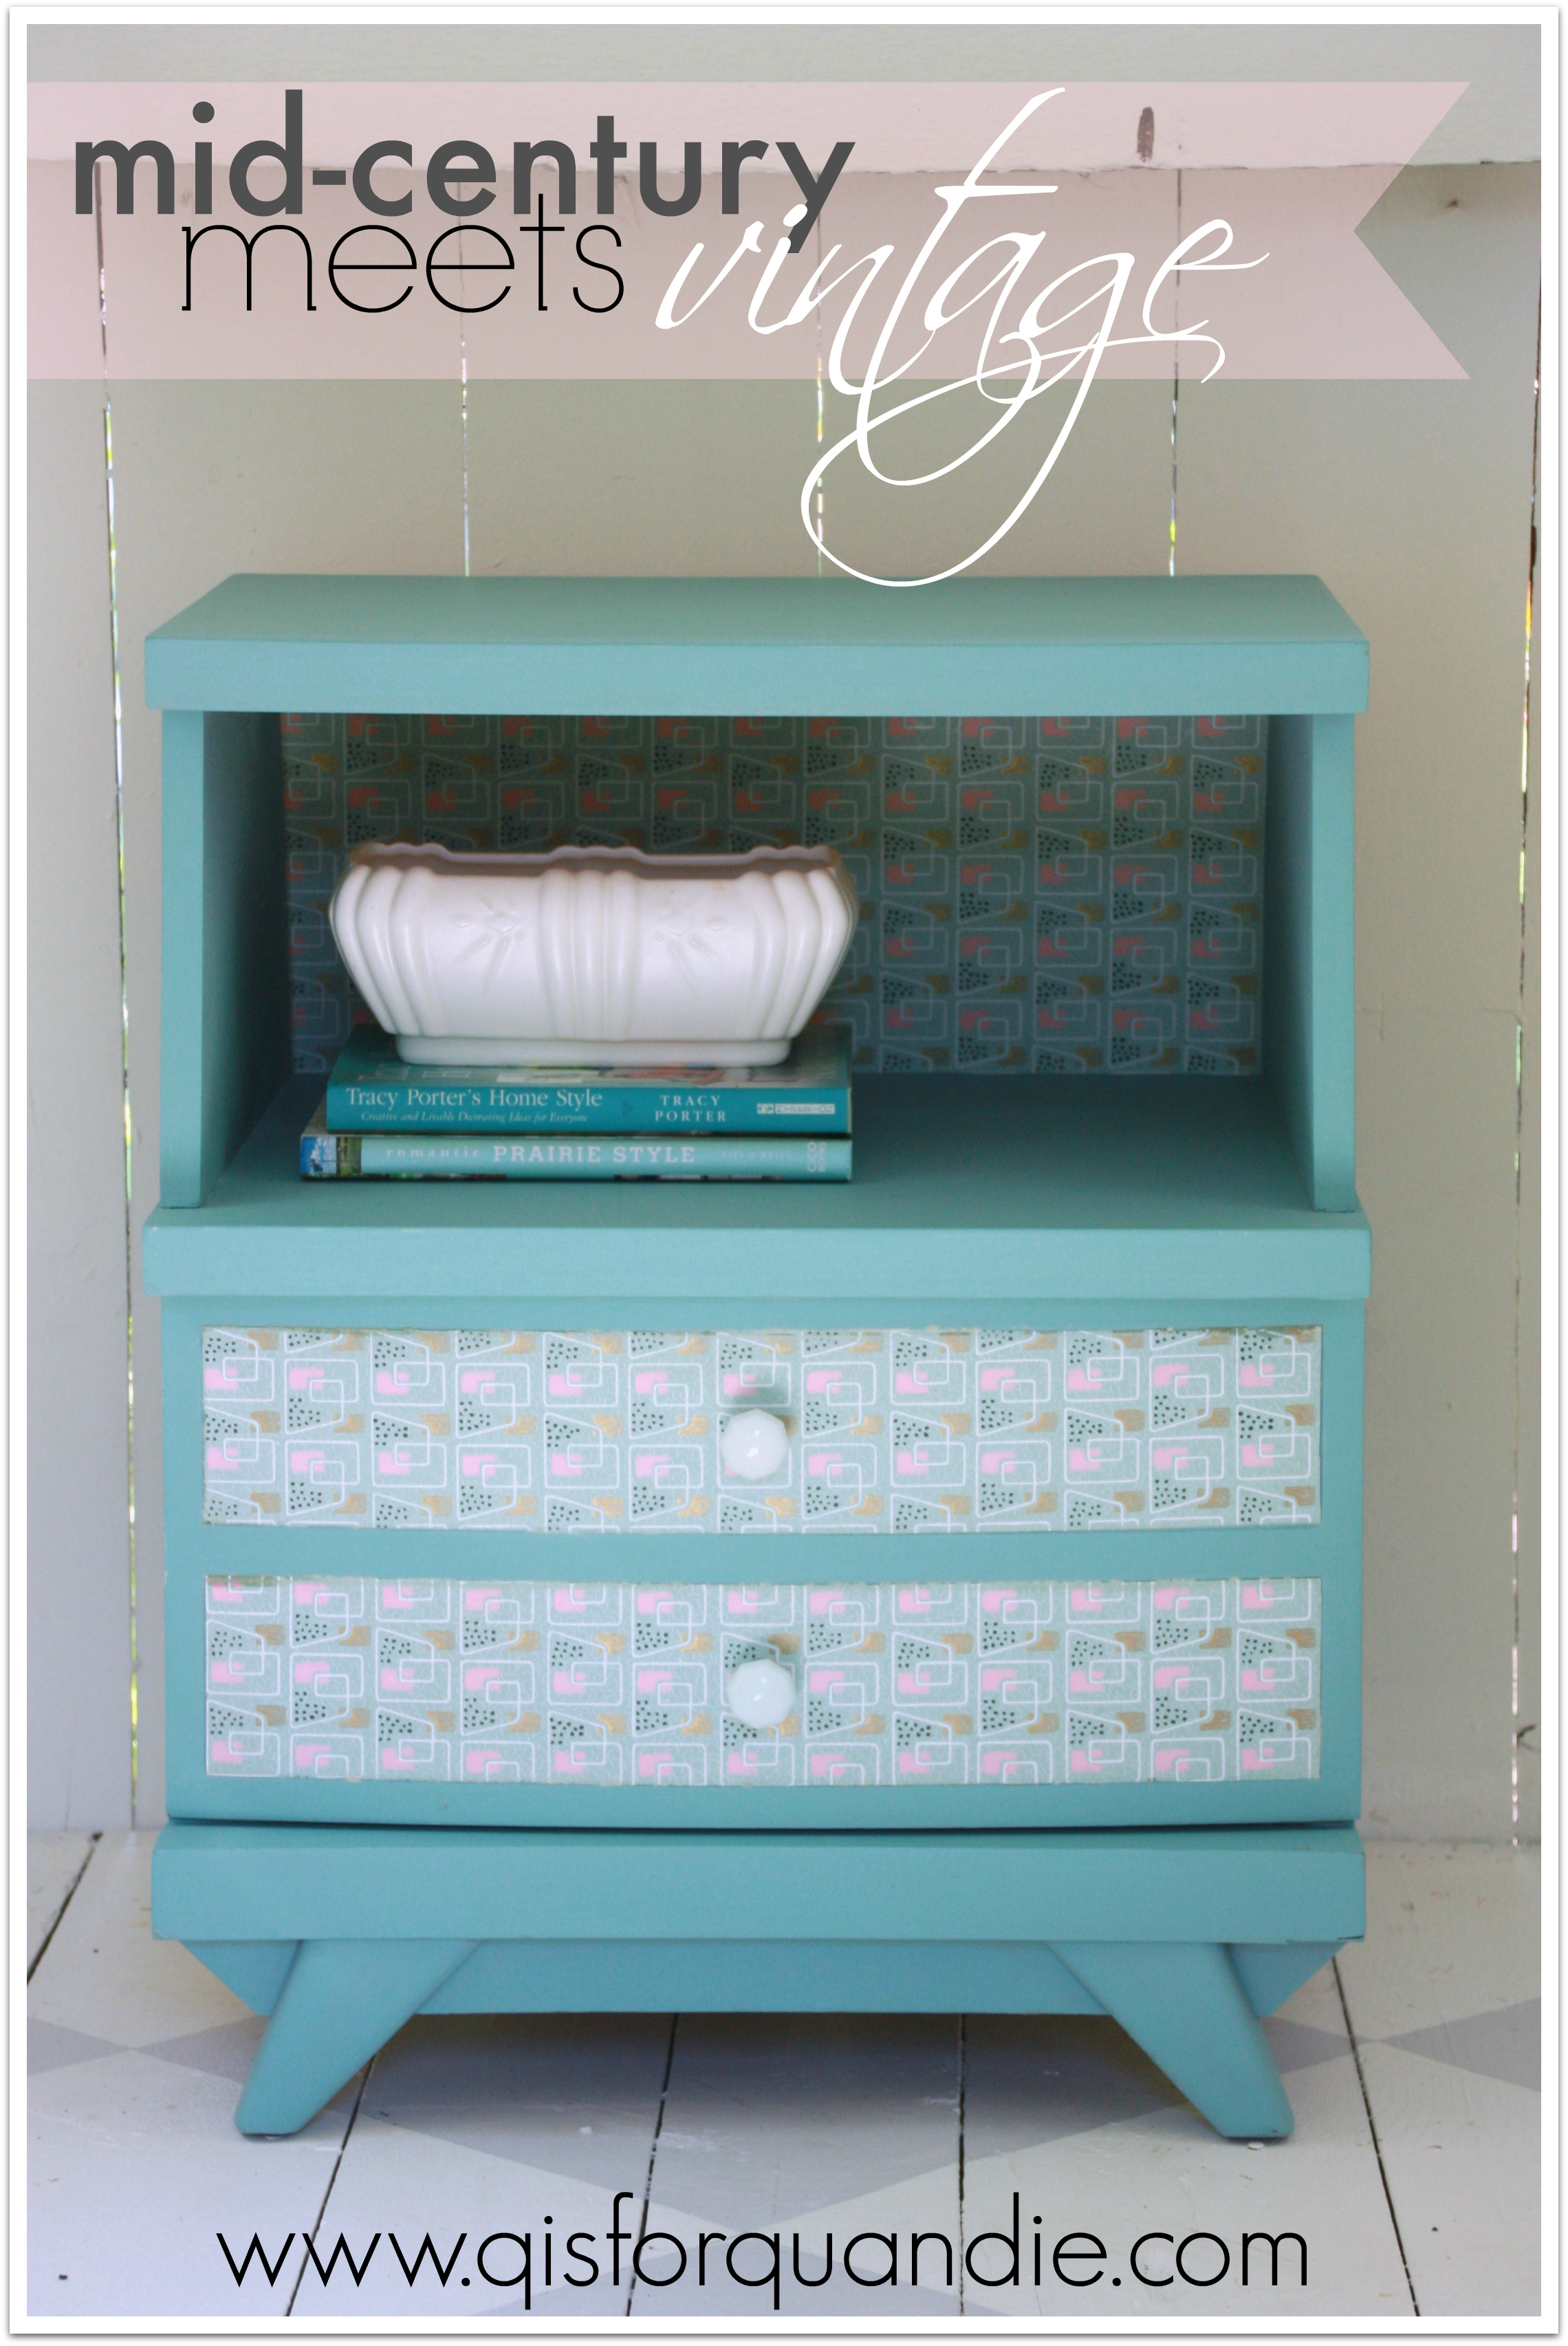
In the end, I think the dresser is quite lovely. It has some fantastic details like the angled sides and the carved bits that really pop now. I kept the original hardware because it is quite charming. This dresser is definitely distressed and has an aged appearance, but there are plenty of us out there who love that look, right?
Please say yes.
The moral to my story, if at first you don’t succeed, try, try, again. You can always sand something down and add a little more paint.
After all, ending up with something that looks like this is not an altogether bad thing.
 Anyone out there in the market for a gorgeous distressed dresser in my favorite shade of milk paint?
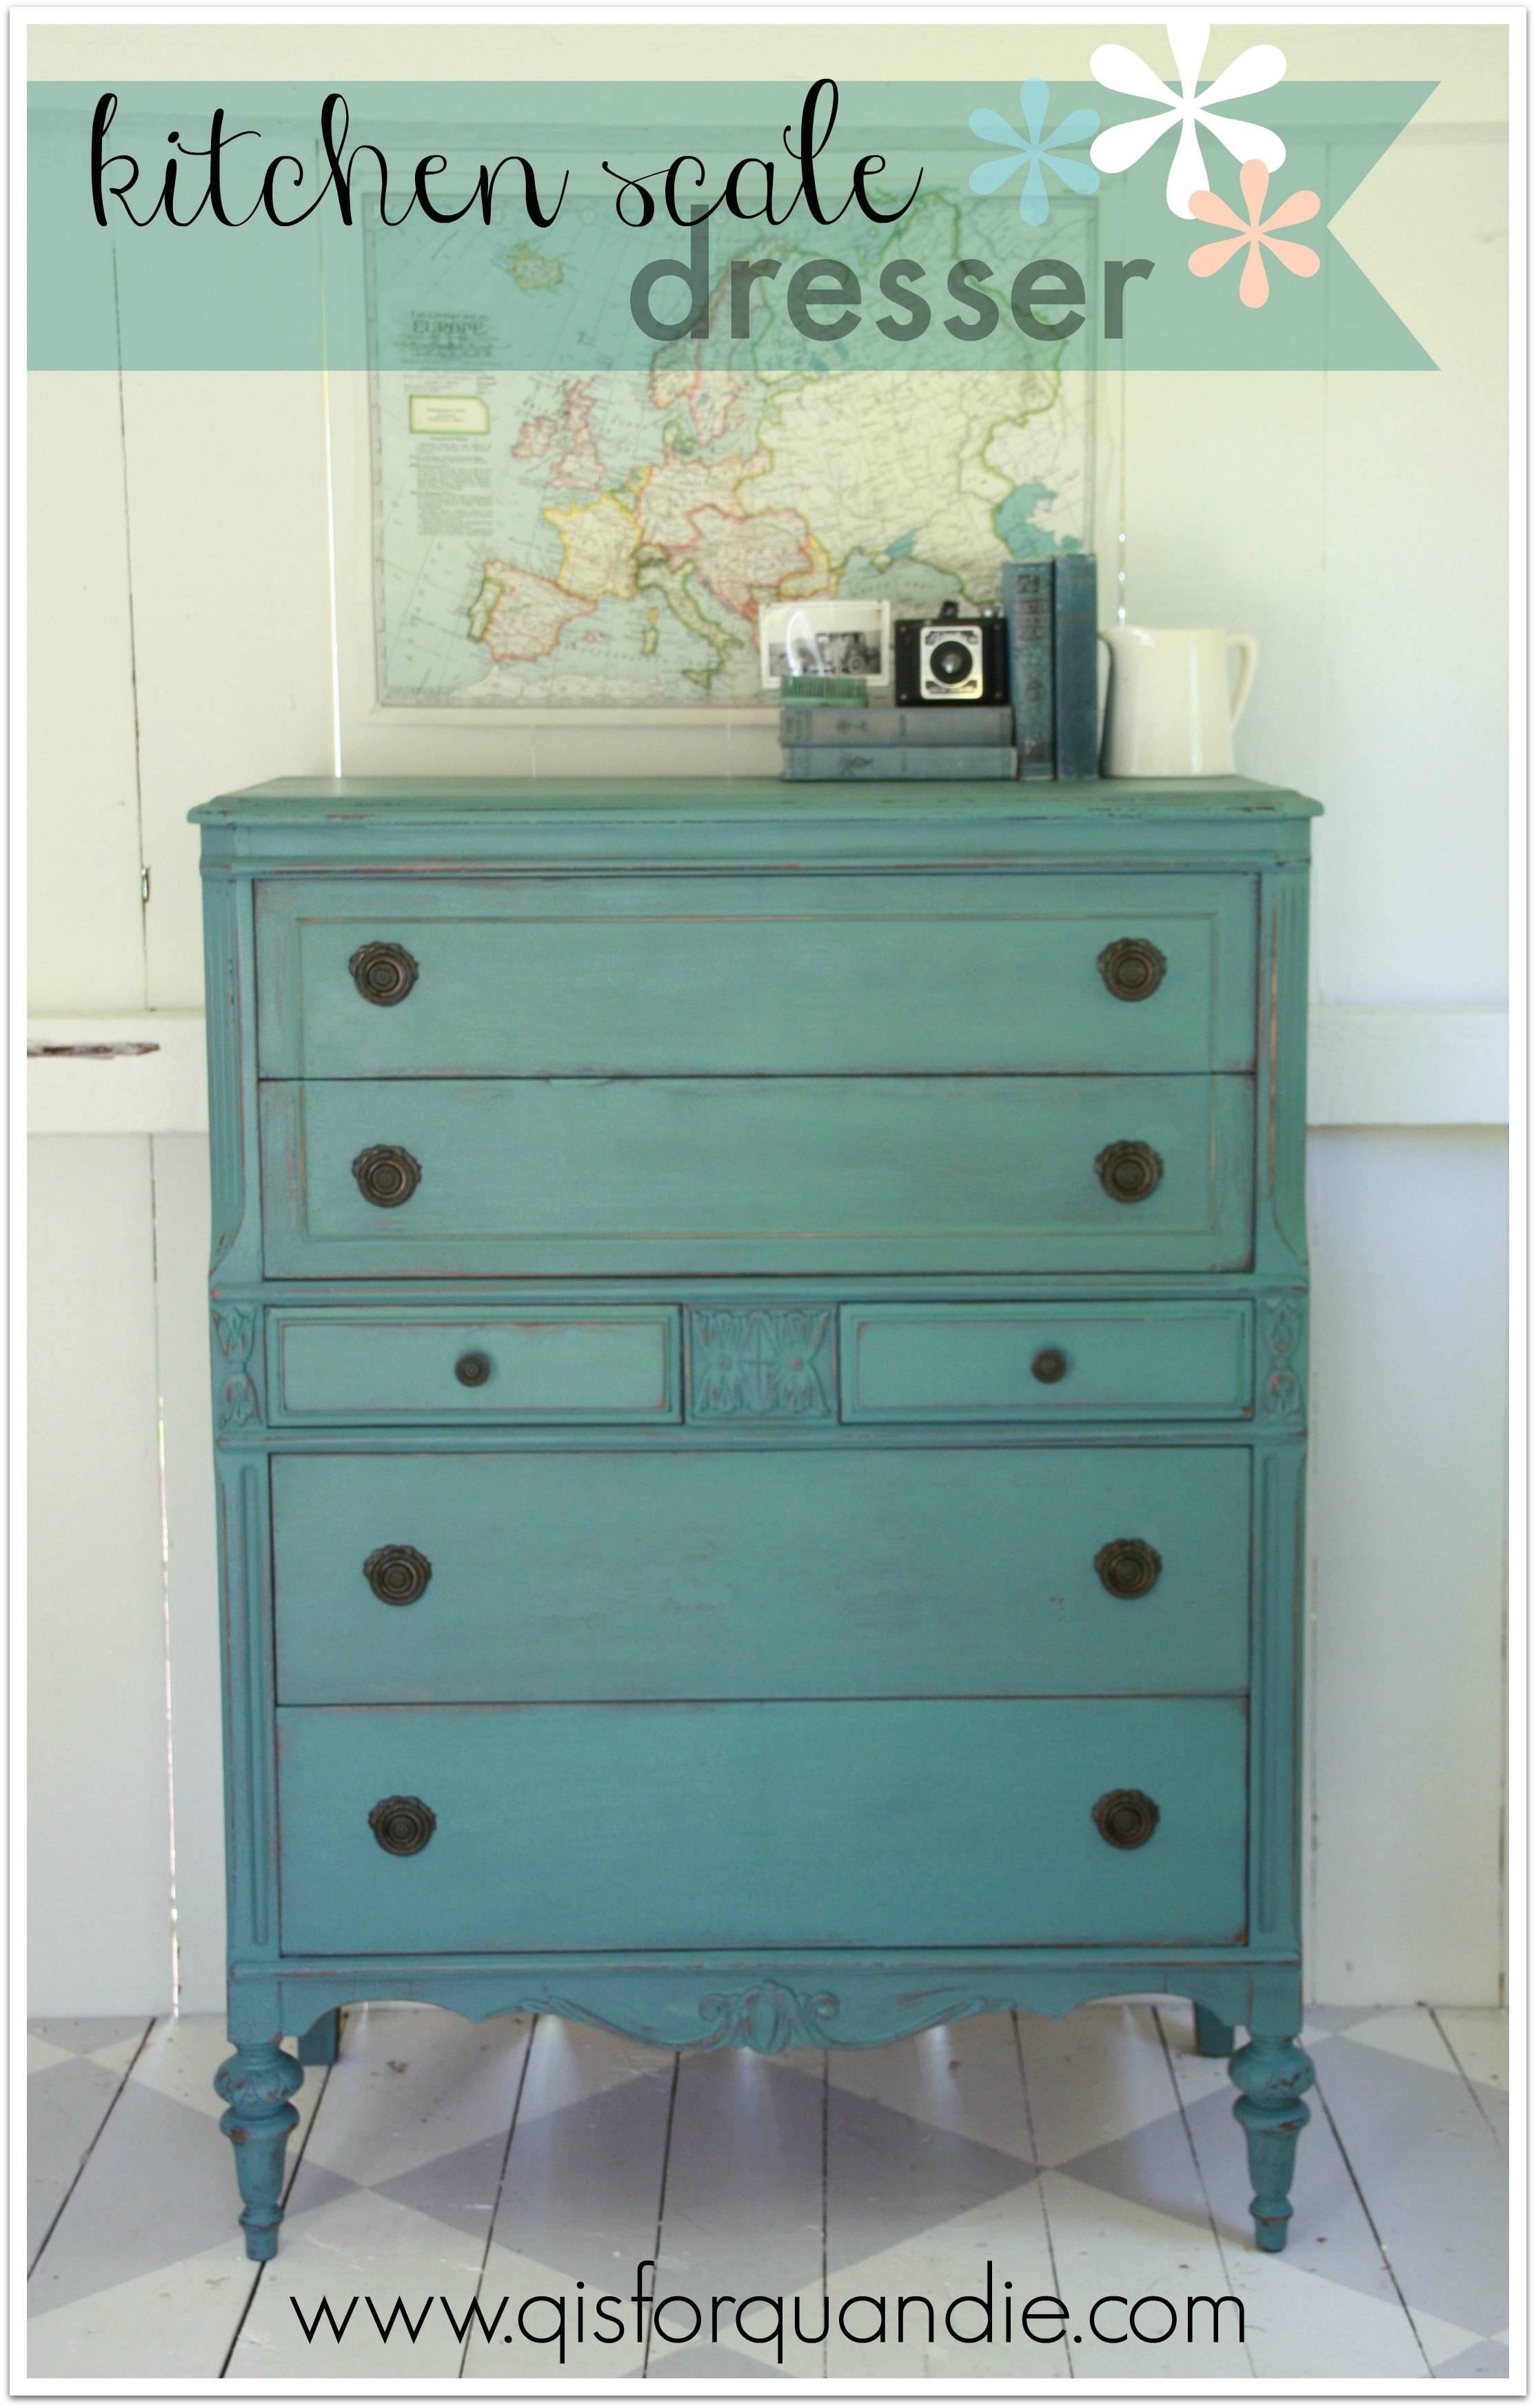
If so, leave me a comment and I will get back to you. Ooops! Sorry, this one is SOLD.


