Mr. Q’s mom and step-dad, Naomi and Tom, moved back to this area from New Orleans a few years back. They wanted to be close to family again, especially Naomi’s parents (Mr. Q’s grandparents) who are both still with us at 98!
So even though Tom has a serious aversion to cold weather, they moved to a small farmhouse about an hour east of here in the countryside of Wisconsin. Tom had one major requirement, a workshop that could rival the one he had in Louisiana. And obviously it had to be heated! He started from scratch and has been working on it since they got here. It’s still not done, but I thought I’d get some photos when we were out there for Thanksgiving so I could share it with all of you.

Yep, that’s his workshop. Are you green with envy yet? I know I am. How I would love to have something like this to work in all the time! It would be the perfect spot for painting furniture in the winter.
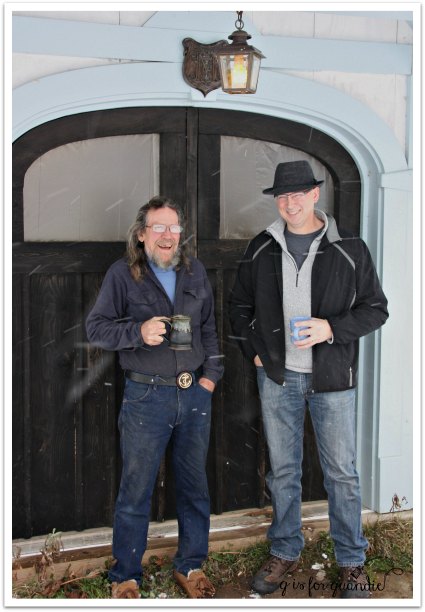
Here is Tom with Mr. Q.
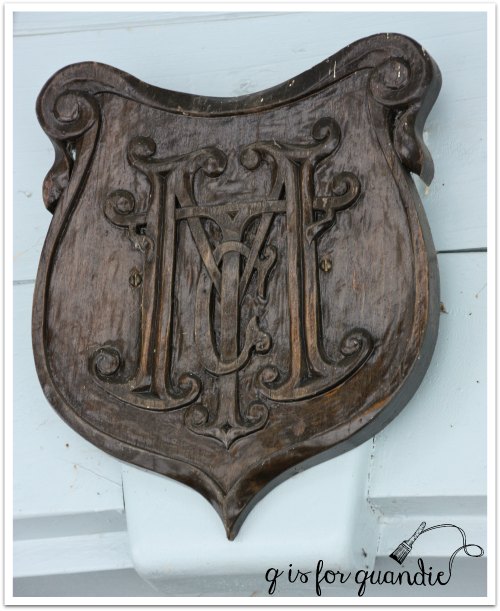
Tom is an artist who works with wood. He can do just about anything with wood, build stuff, carve designs, work in miniature, and so on. He made those doors (above photo) for example, and all of the trim around them. He also carved the plaque with his initials that is hanging about the doorway. Here’s a close up…
Here is a photo of the interior lower level.
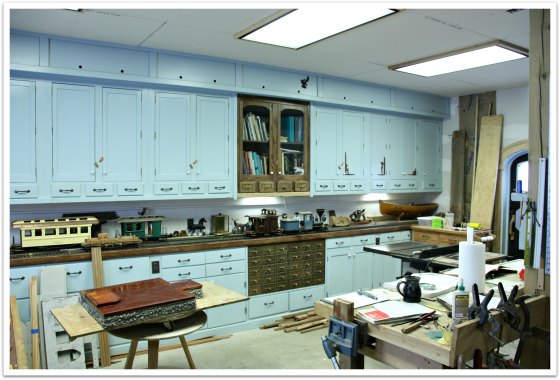
Imagine how much stuff you could store in all of those cupboards! I wonder how many dressers I could paint at one time with all of that space? I’m afraid that if I had a space like this to paint in, I would never come inside the house.
The place is heated with a wood burning stove, which keeps it fairly warm and toasty.

The upstairs isn’t finished yet but eventually will include a stained glass workshop for Naomi, as well as a small library/sitting room area.
Tom likes to work in miniature. Here is his own miniature self …

Ha! It really does look like him, right?!
I love this row of miniature boats.
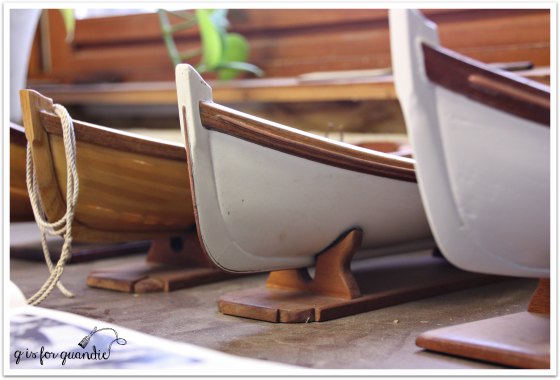
Just look at the detail on these!
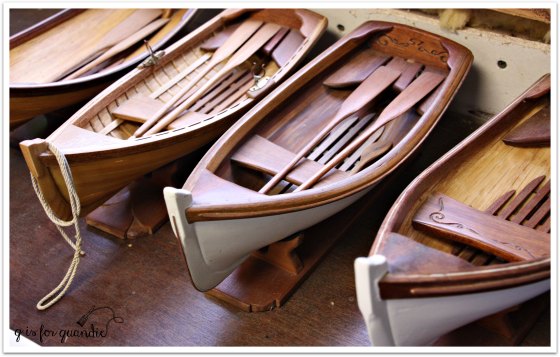
All of these are handmade by Tom and I think they are around 8″ long or so.
If we step back outside we can find some of Tom’s fairy houses out in the field.
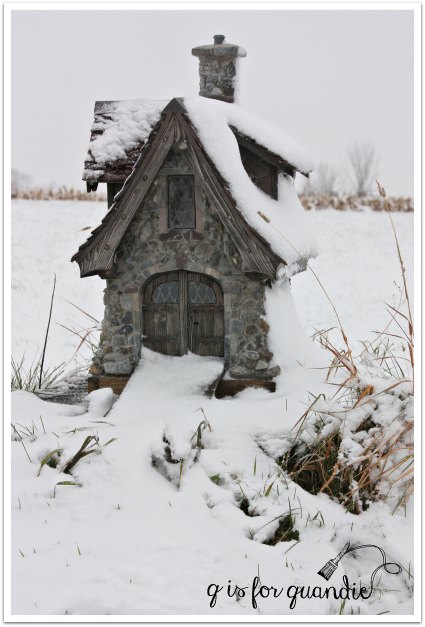
The detail on these is just amazing. There are furnishings inside and even light fixtures that work.
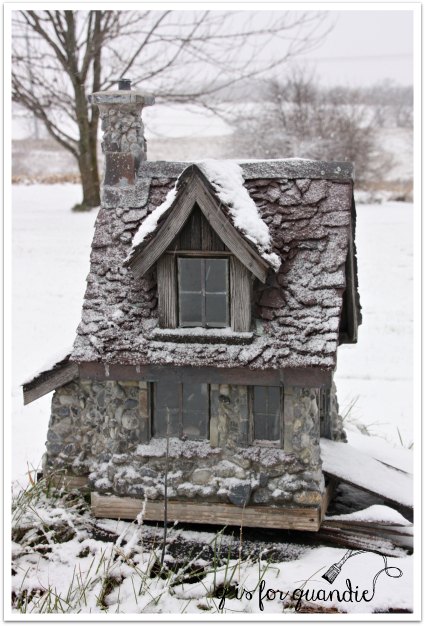
They are quite fabulous.

When Tom and Naomi moved in there was a barn still standing on the property, but it has since fallen down. I plan to salvage some of the wood for a future project in my dining room, but I may not get to it until spring now. There was also another building on the property that they took down because it wasn’t safe. But they did manage to salvage one outbuilding. Tom used wood from the other building that they took down to add onto this one for more storage area. The half of the building to the right with the door is newly built. Blends right in, doesn’t it?

The other side is graced with some of Naomi’s stained glass work.

Isn’t that barn wood amazing? I’m so glad that Tom saved it!
As you can see, we had a snowy Thanksgiving Day. We also got a few more inches of snow this past Monday.

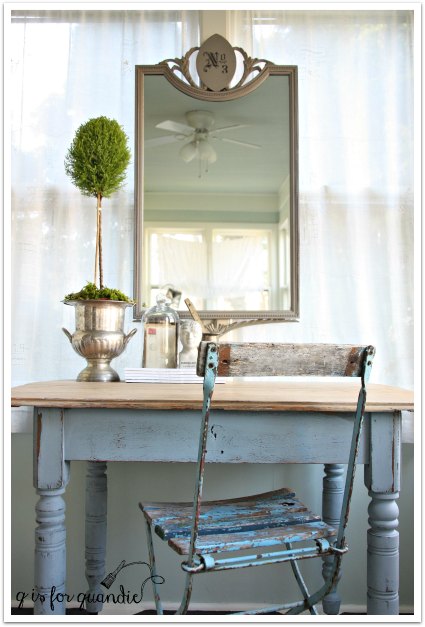
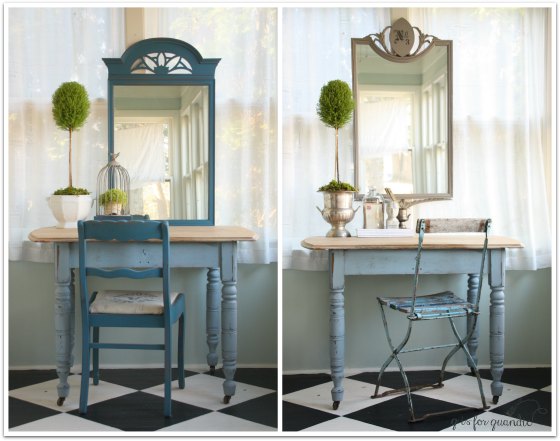
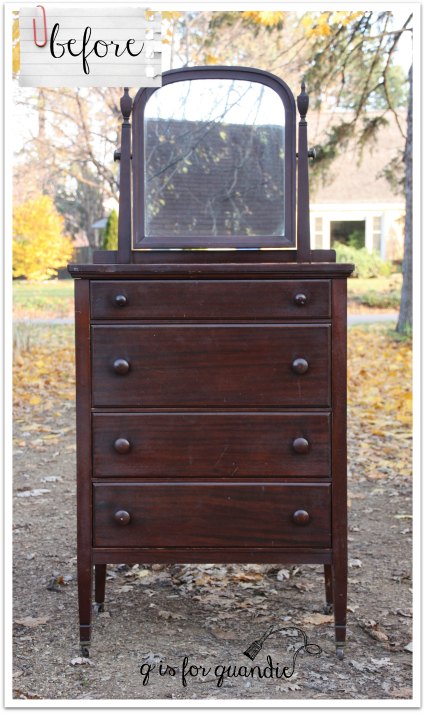
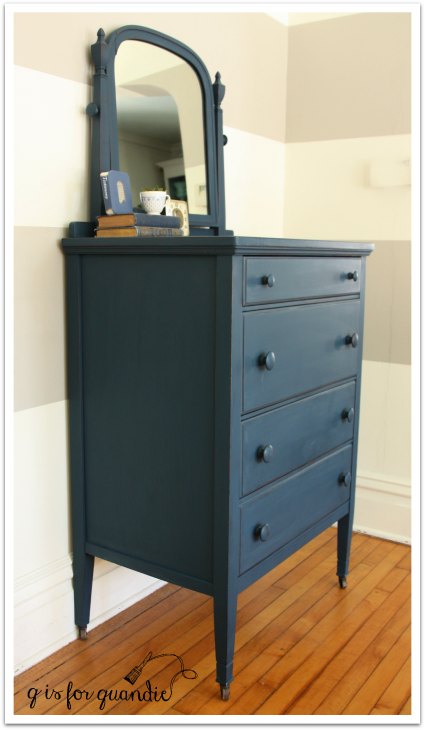
In other words, it’s beginning to look a lot like Christmas around here. Check back next week when I plan to share my Christmas decorations, as well as the most darling little dresser that I am just finishing up.