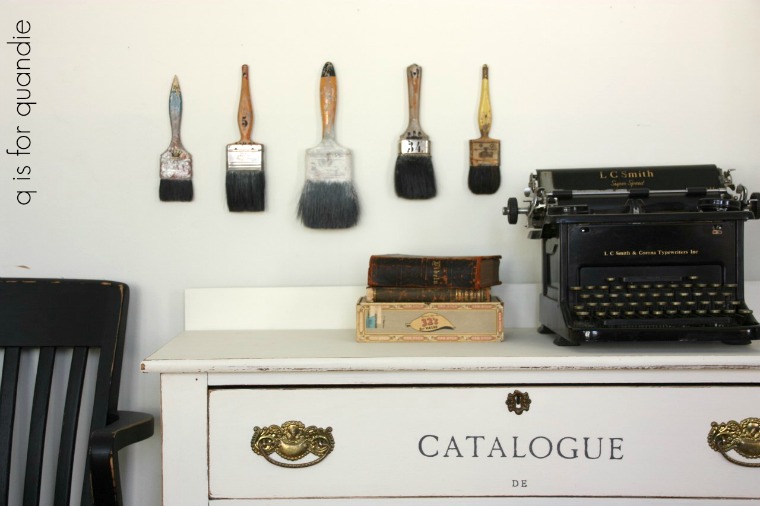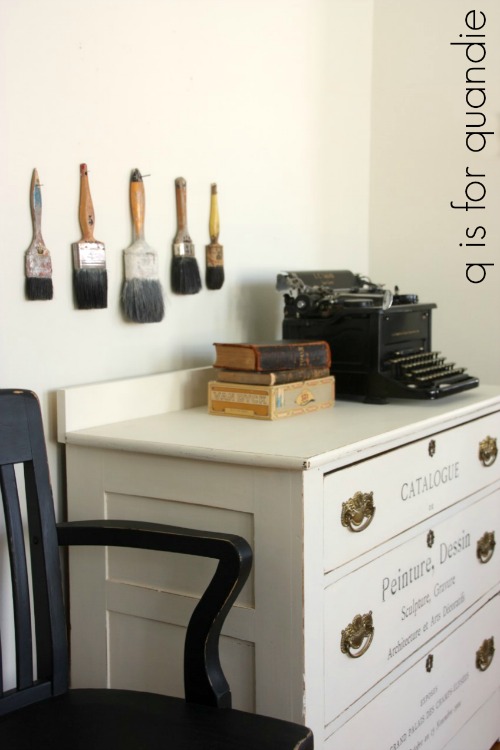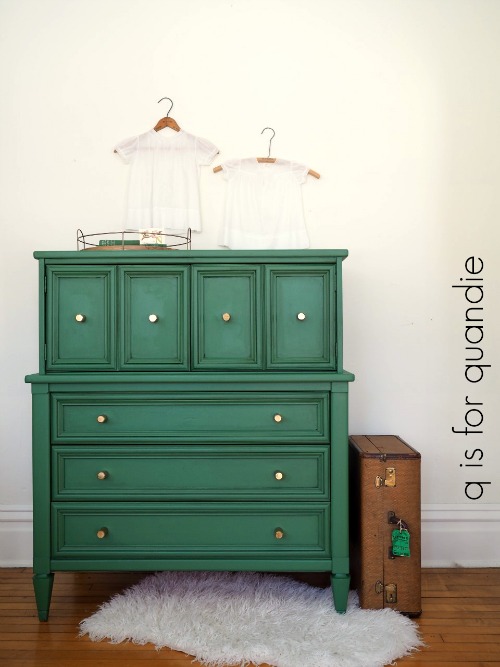
Today I’m sharing the rest of the desk makeover.
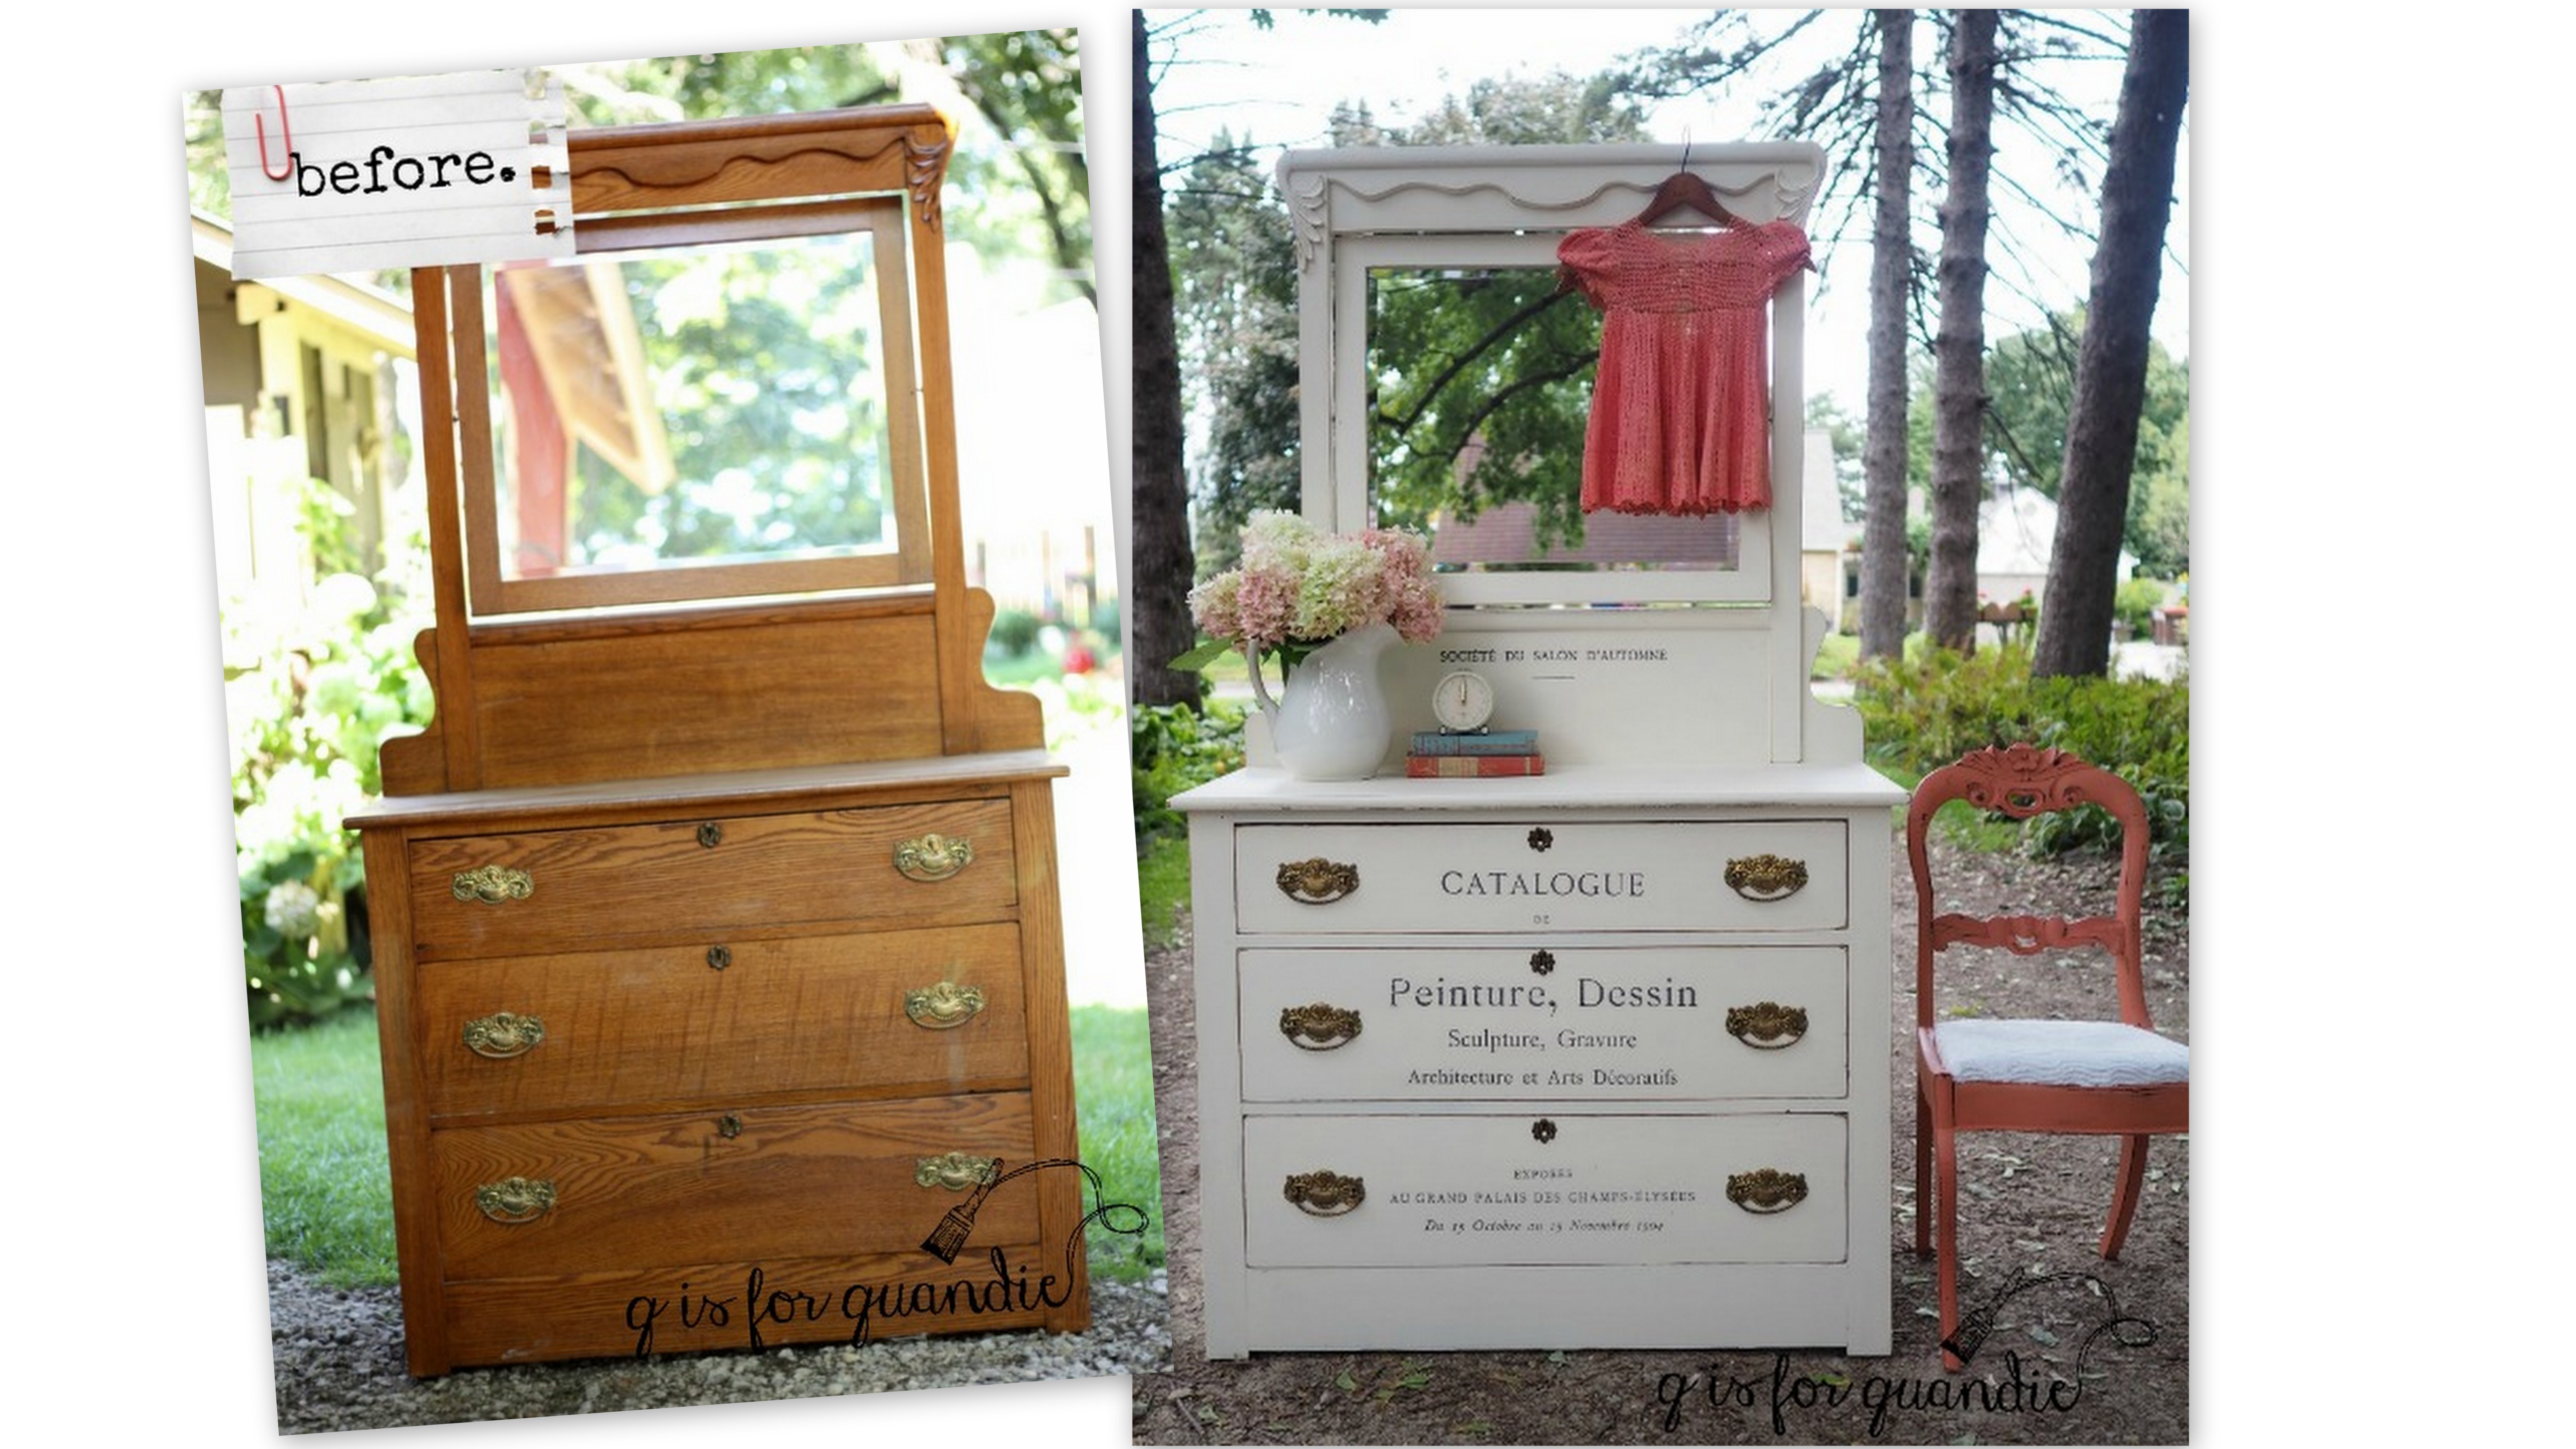
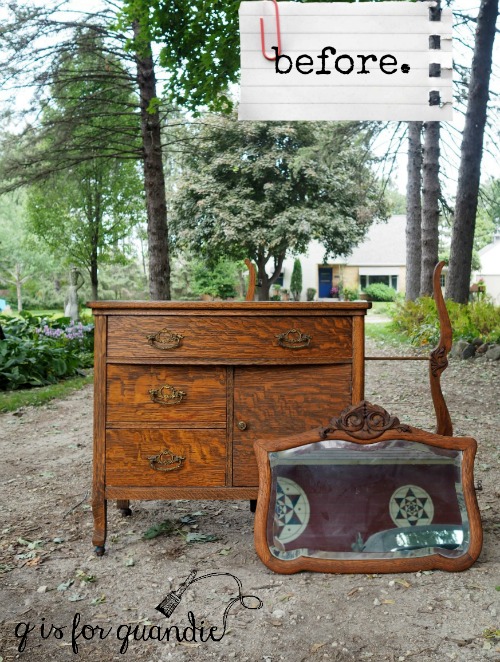
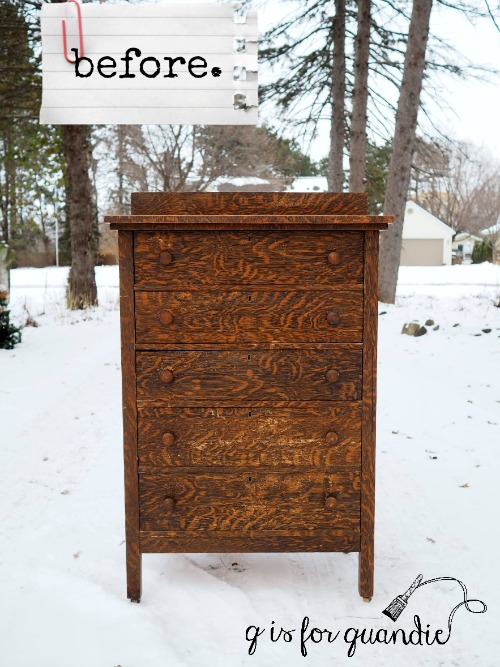
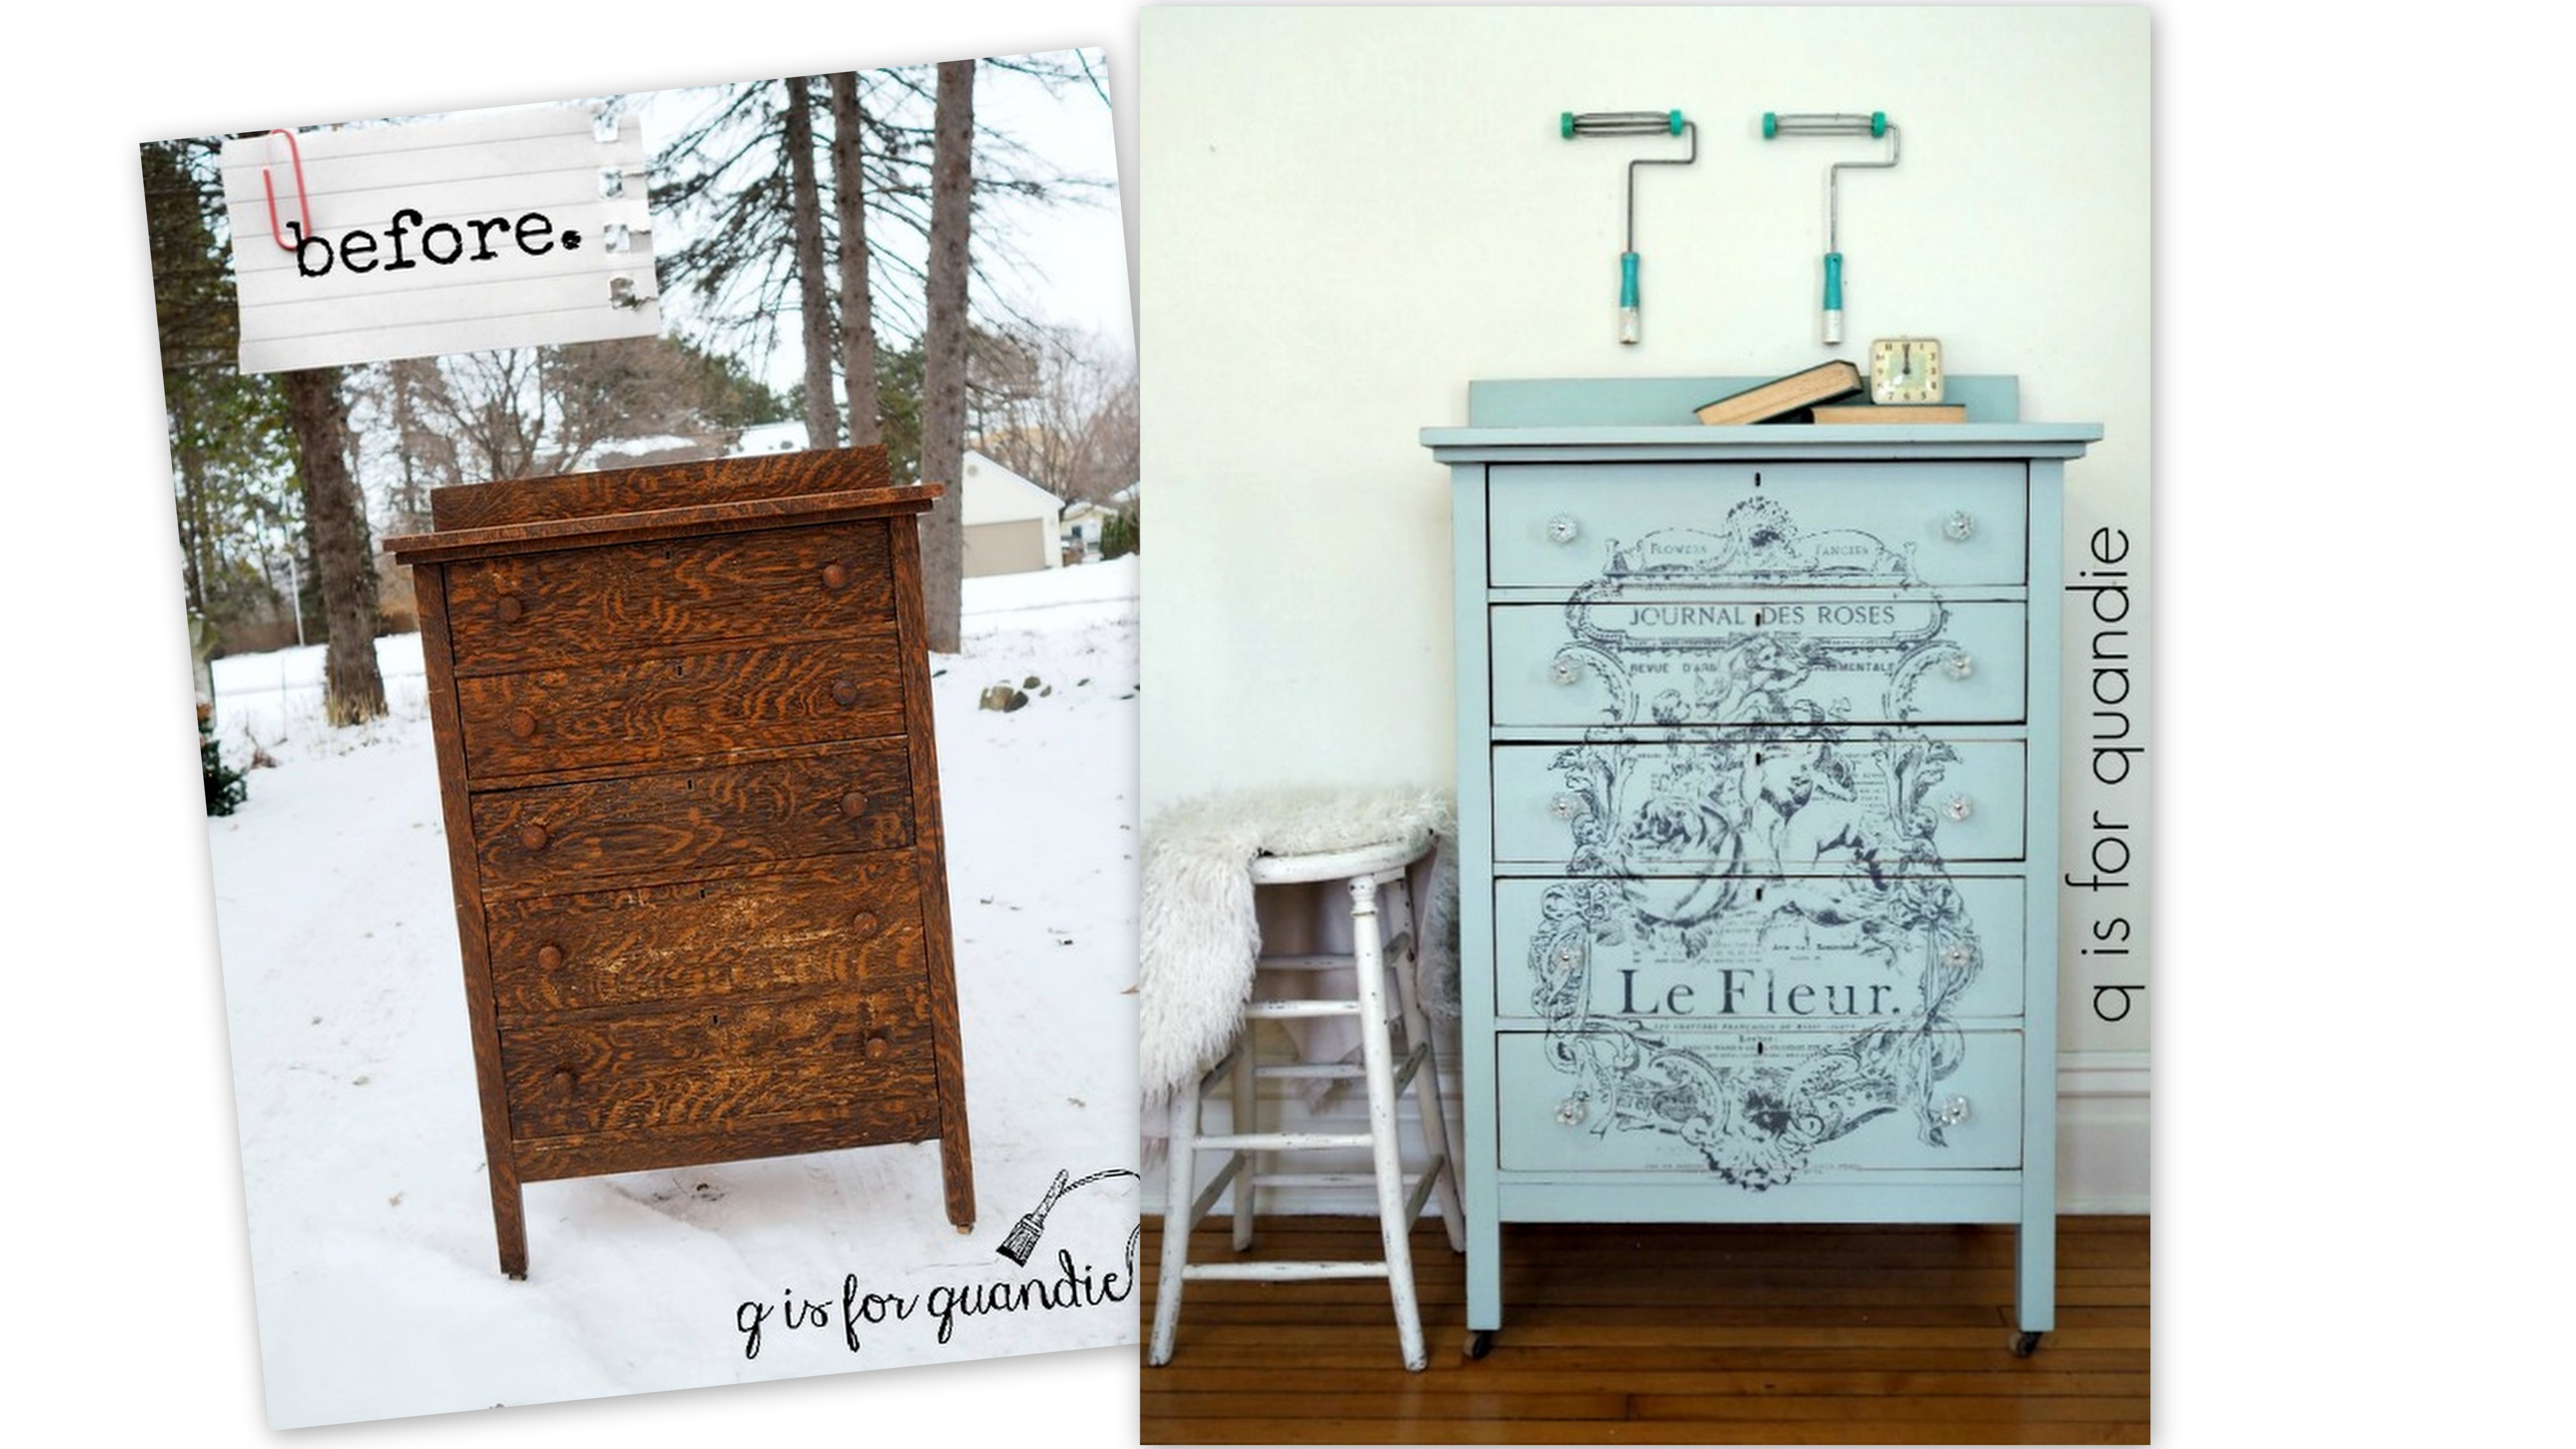
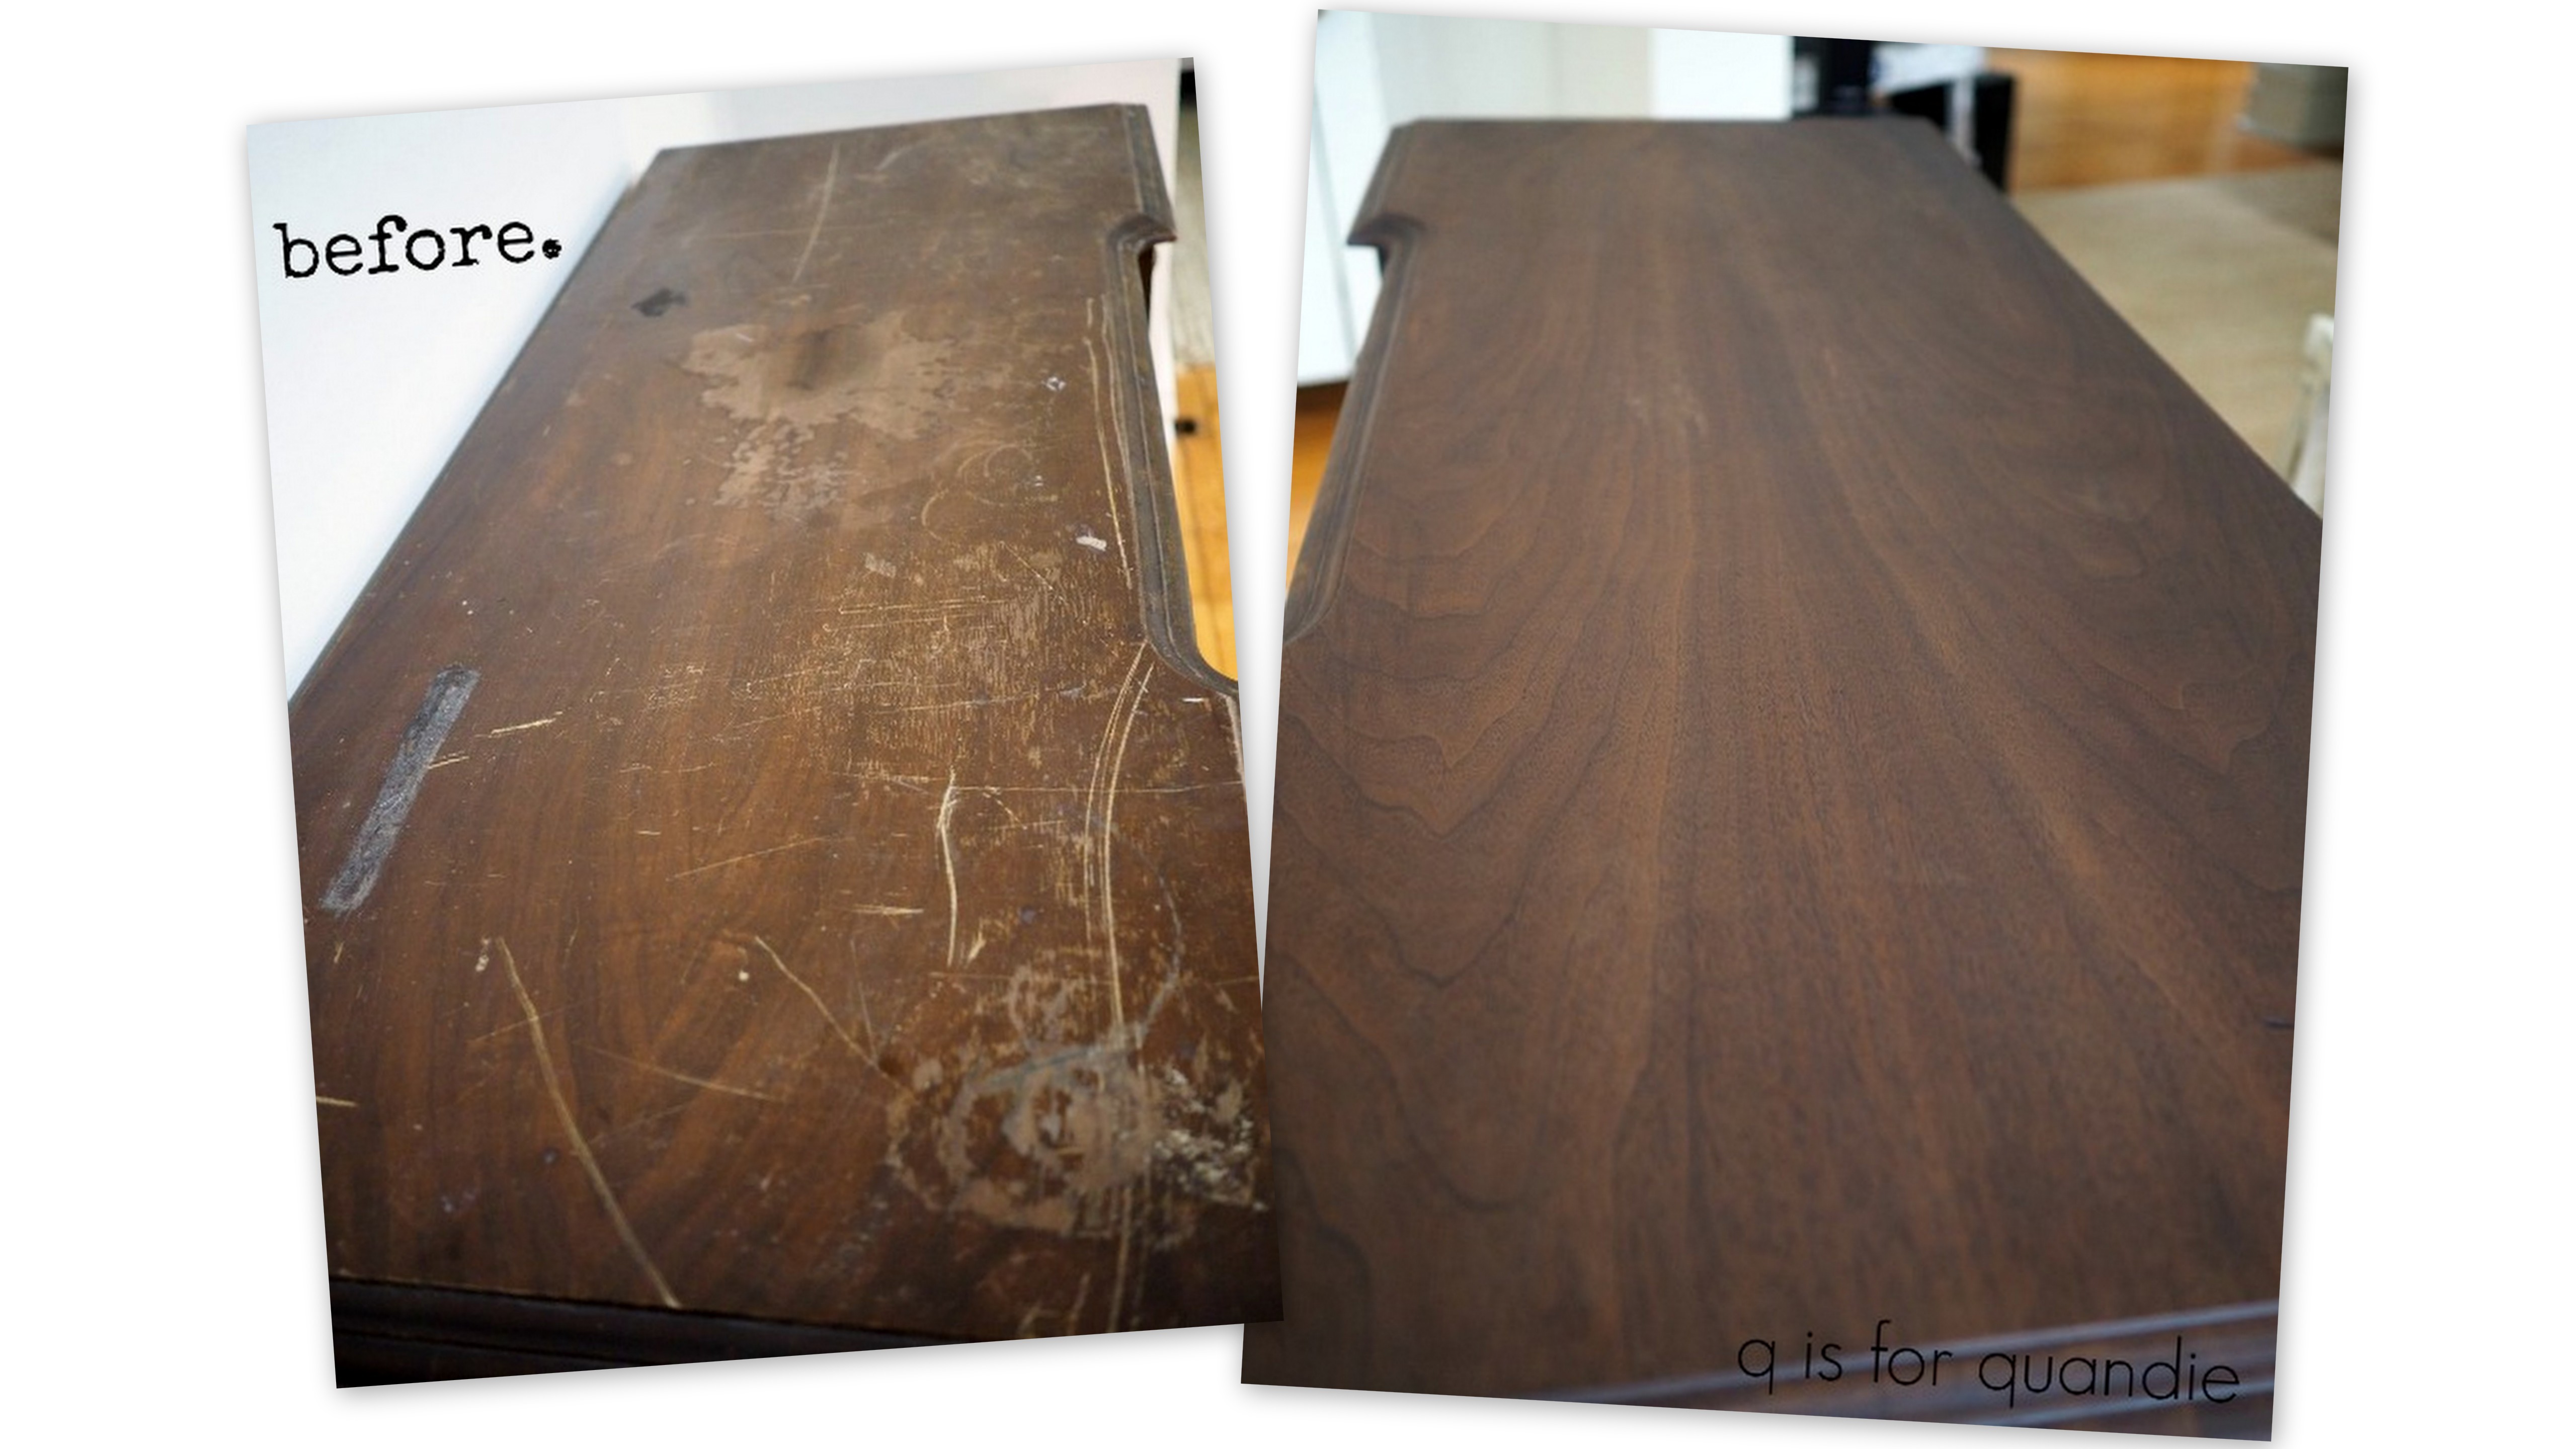
As a refresher, here is the ‘before’.

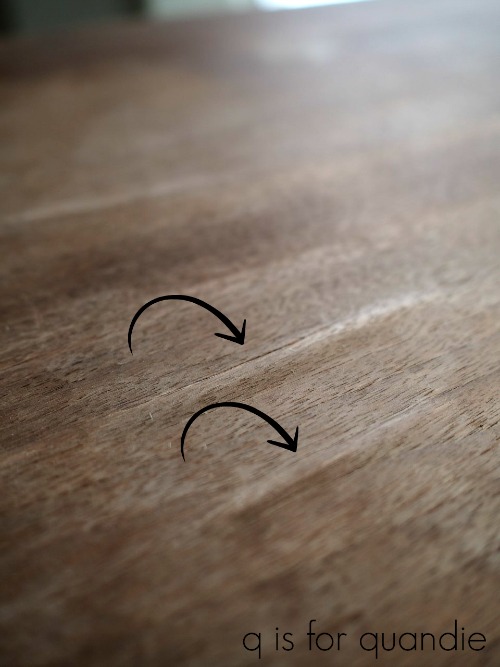
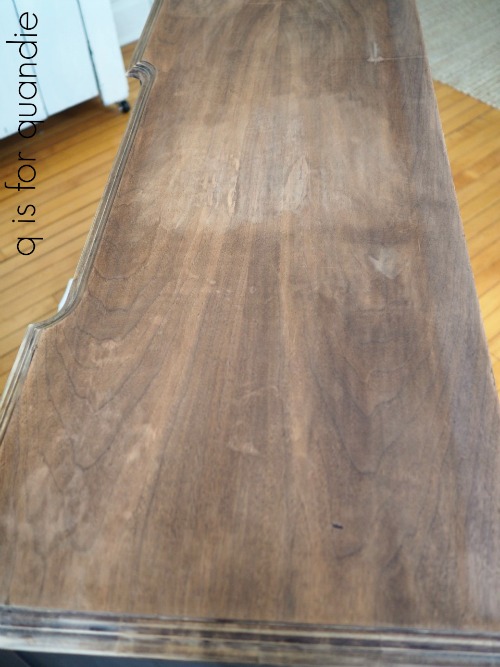
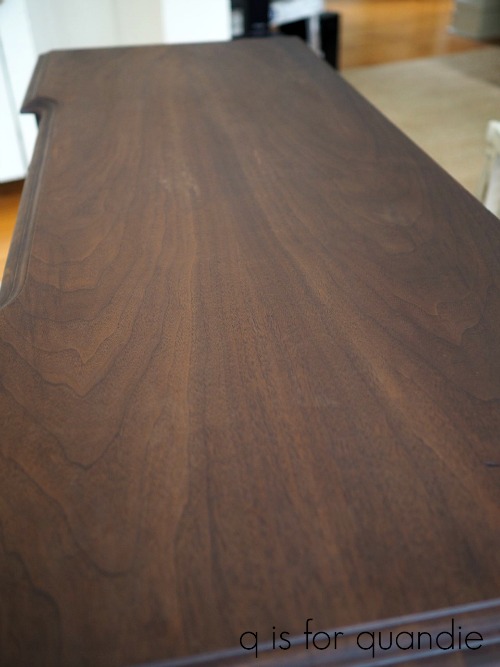
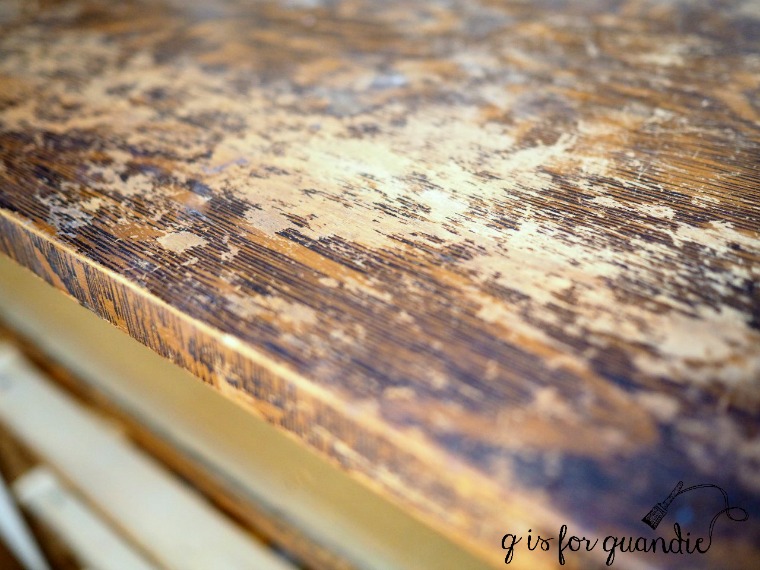
And here is the ‘before’ and ‘after’ of the desk top.
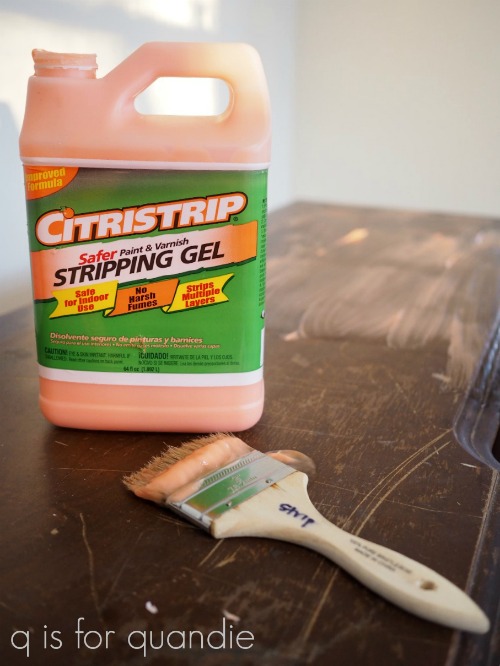
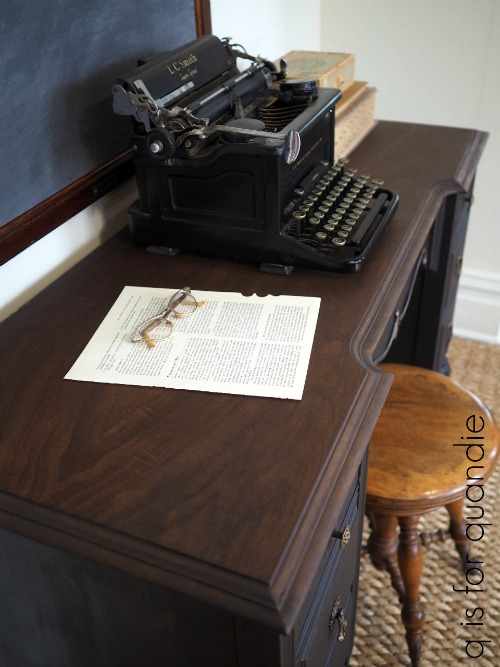
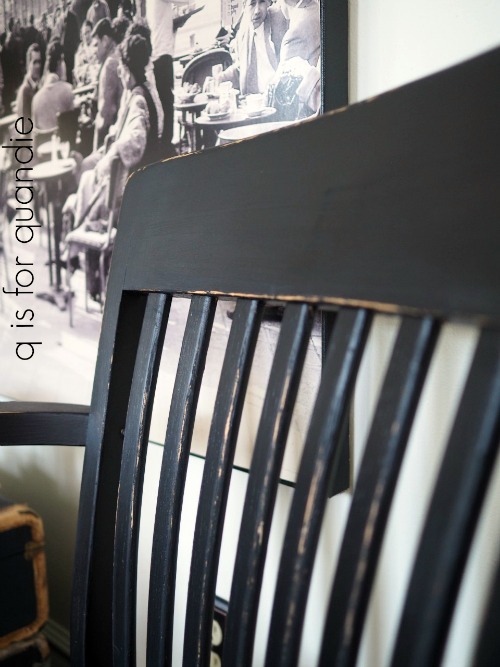
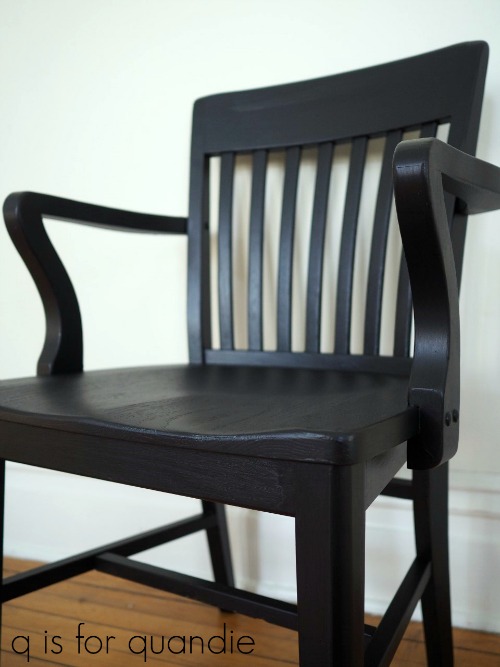
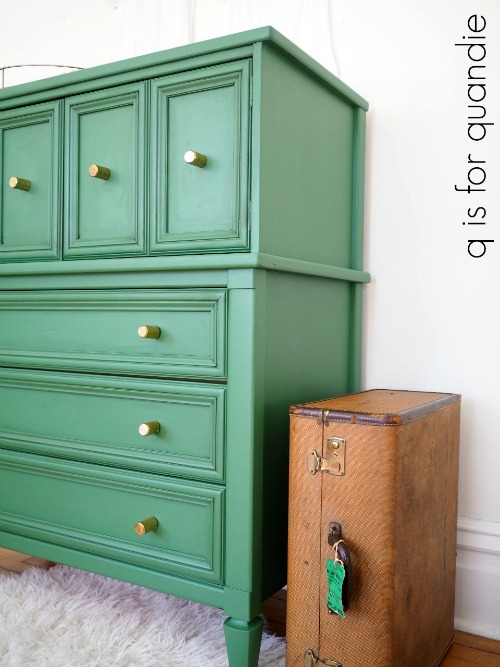
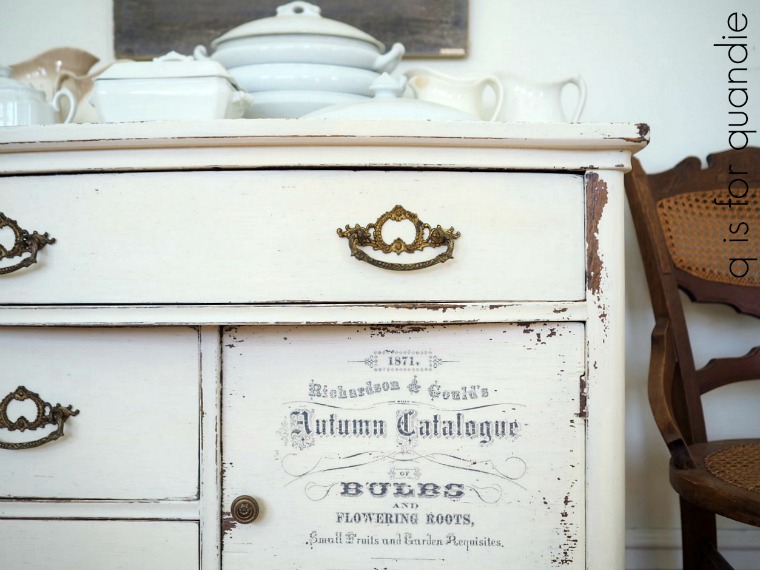
If you’ll remember, my initial plan was to paint the entire desk green. But then I decided to try and save that wood top. I still could have painted the rest of the desk green, but I decided to go with black milk paint instead.

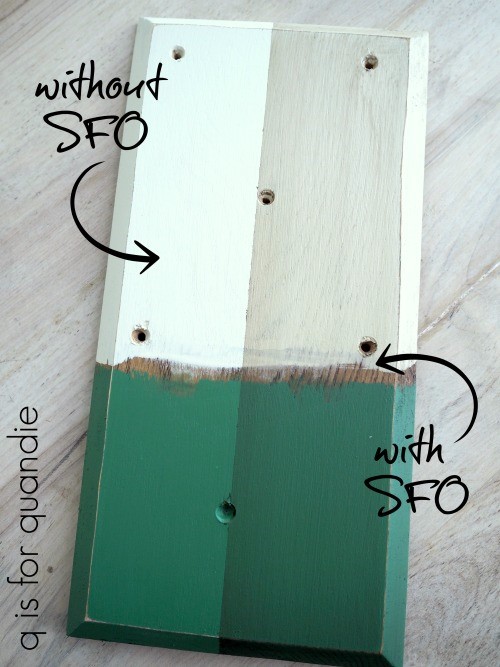
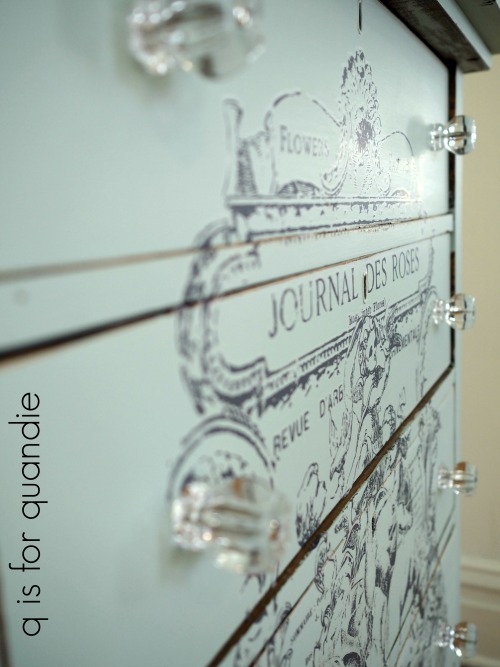
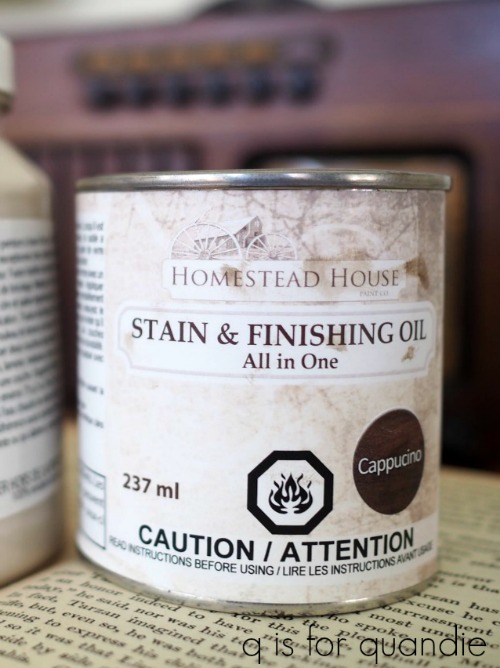
I used Homestead House milk paint in Coal Black, and this seemed like a good opportunity to try the Homestead House Stain & Finishing Oil in Cappucino as a topcoat over the milk paint.
The technique for this is fairly simple. Once your milk paint is dry, sand it with a fine grit sandpaper to smooth it out, distress the edges as desired and loosen any flaking milk paint. Vacuum away the dust, and then wipe your piece down. I like to use a dry microfiber cloth for that.
Next, apply a coat of the SFO. You can wipe it on with a lint free cloth or you can apply it with a stain applicator pad, but I chose to apply it with one of those cheap sponge brush thingies.

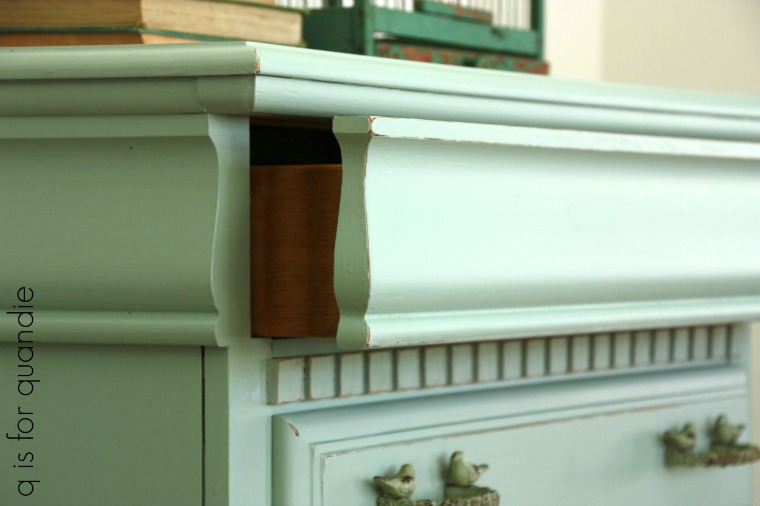
The angled tip of the sponge worked really well for getting the SFO into corners and grooves.
After allowing the SFO to absorb into the surface for a few minutes, wipe away the excess with a lint free cloth. I used an old black t-shirt.
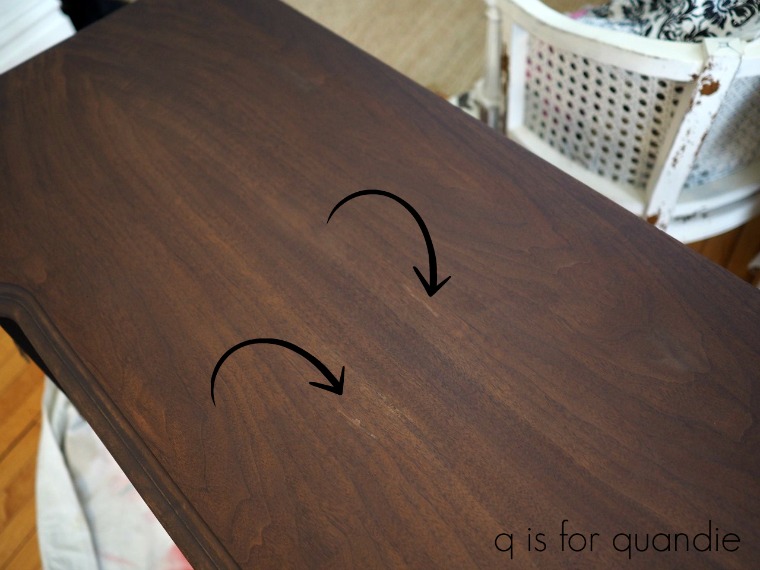
One coat of SFO will give you a matte finish. Subsequent coats will increase the shine, deepen the color and increase the durability. I had this crazy idea that I wanted a little more shine, so I added a second coat (after waiting 24 hours for the first coat to dry). As it turns out, I had a little trouble keeping the gloss consistent with the second coat. You don’t notice that on the front of the desk at all, but it’s more apparent on the sides when they catch the light just right.
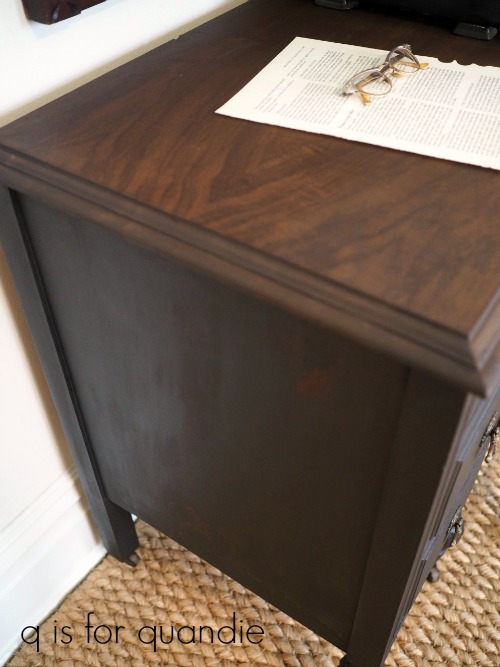
I’m sure this was the result of ‘user error’, this is the first time I’ve used the SFO over milk paint on a larger piece. Perhaps I wiped too much off in some areas and not others, or perhaps I didn’t wait long enough for the SFO to absorb before wiping. I’m not sure. Either way, I definitely prefer more of a matte look over my milk paint so next time I will stop after one coat of SFO.
Regardless, I absolutely love how the Cappucino SFO darkened up the black milk paint and really brought out the richness of the color.
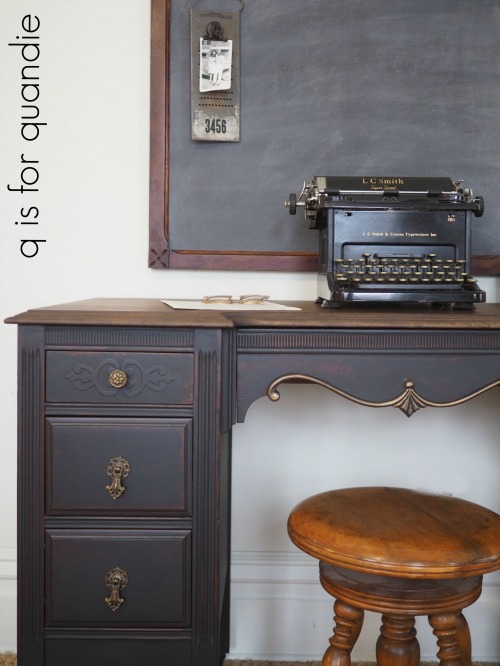
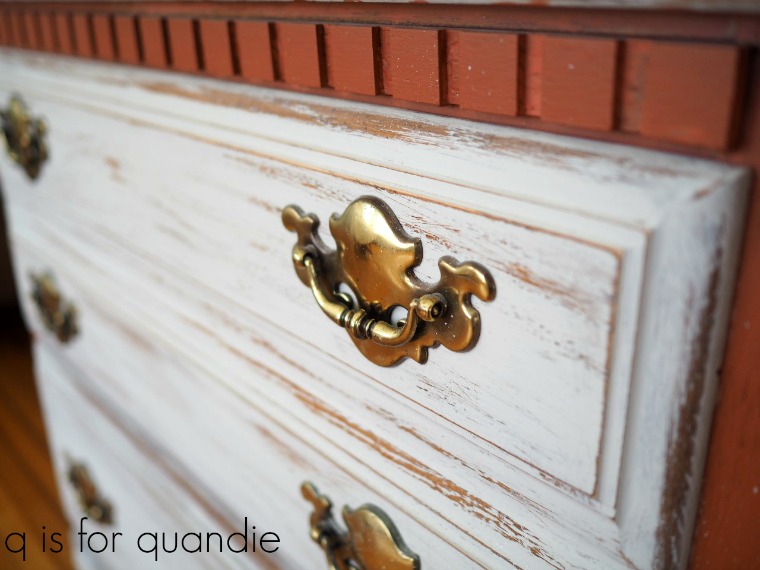
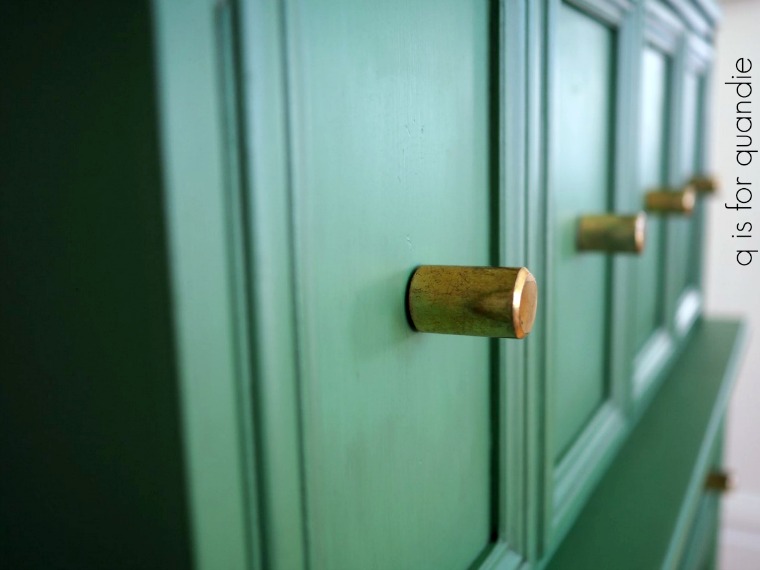
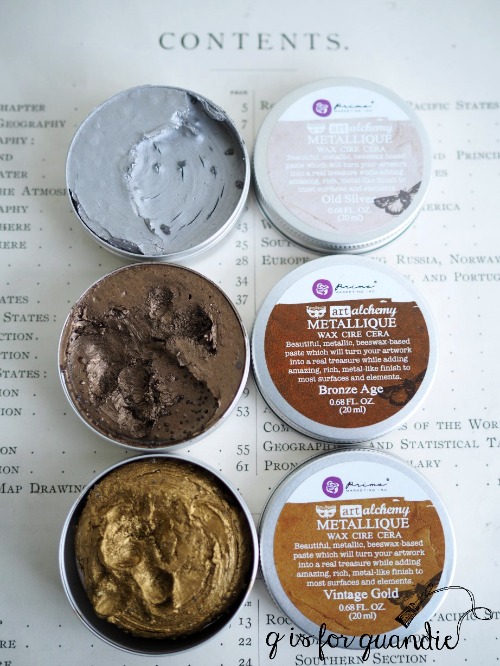
As for the hardware, I kept the original drawer pulls that came on the desk but I dressed them up a bit with some of the Prima Marketing art alchemy Metallique wax in Bronze Age.
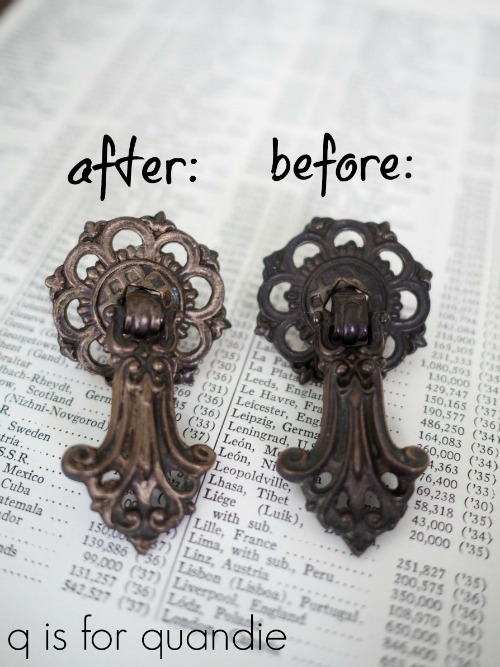
If you remember back, Prima Marketing provided me with several different colors of this wax a month or two ago.
I really love how subtle the Bronze Age is. Not too bright or too shiny.

To apply the wax simply dip a q-tip into the wax, swirl it around and then use the q-tip to apply the wax to your piece. Allow it to dry and harden for a couple of hours and then buff to bring out some shine.

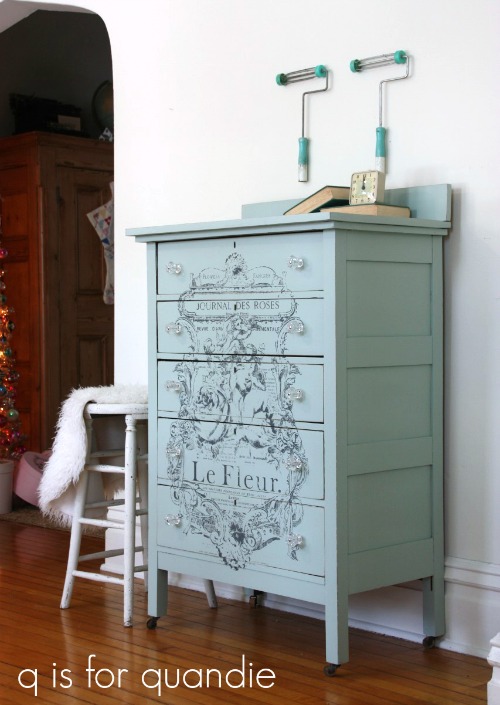
Since I loved the look of the Bronze Age wax against the black milk paint so much, I added some of it to the raised detail on the middle drawer.

I applied this in the same way, using a q-tip and rubbing it over the surface. Be careful to not get the wax anywhere you don’t want it, it is hard to remove again. So be sure to use a steady hand while doing this.
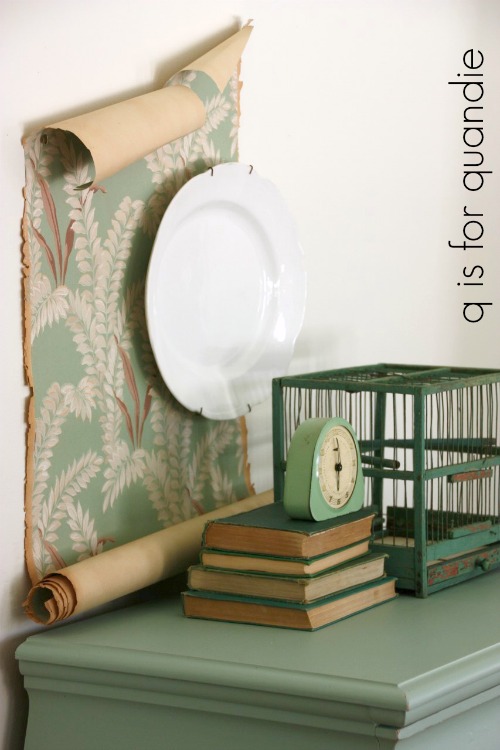
By the way, the chalkboard hanging on the wall is an old mirror frame taken off a dresser with a piece of hardboard cut to fit the opening which was then painted with two coats of Miss Mustard Seed milk paint in Typewriter. Once the last coat of milk paint is dry, I sand it smooth and then ‘season’ the chalkboard by rubbing chalk all over it and wiping it away with a microfiber cloth. I wiped the wood frame down with a little Miss Mustard Seed hemp oil just to freshen it up a bit.
If you’re wondering why I suddenly switched from the Homestead House Coal Black that’s on the desk to Miss Mustard Seed Typewriter for the chalkboard, it’s simply because I used up all of my Coal Black on the desk and I had the Typewriter on hand. I’ve painted with both of these colors side by side and I don’t think there is any difference. Of course they look different here because one has the SFO topcoat and one just had white chalk smeared all over it.
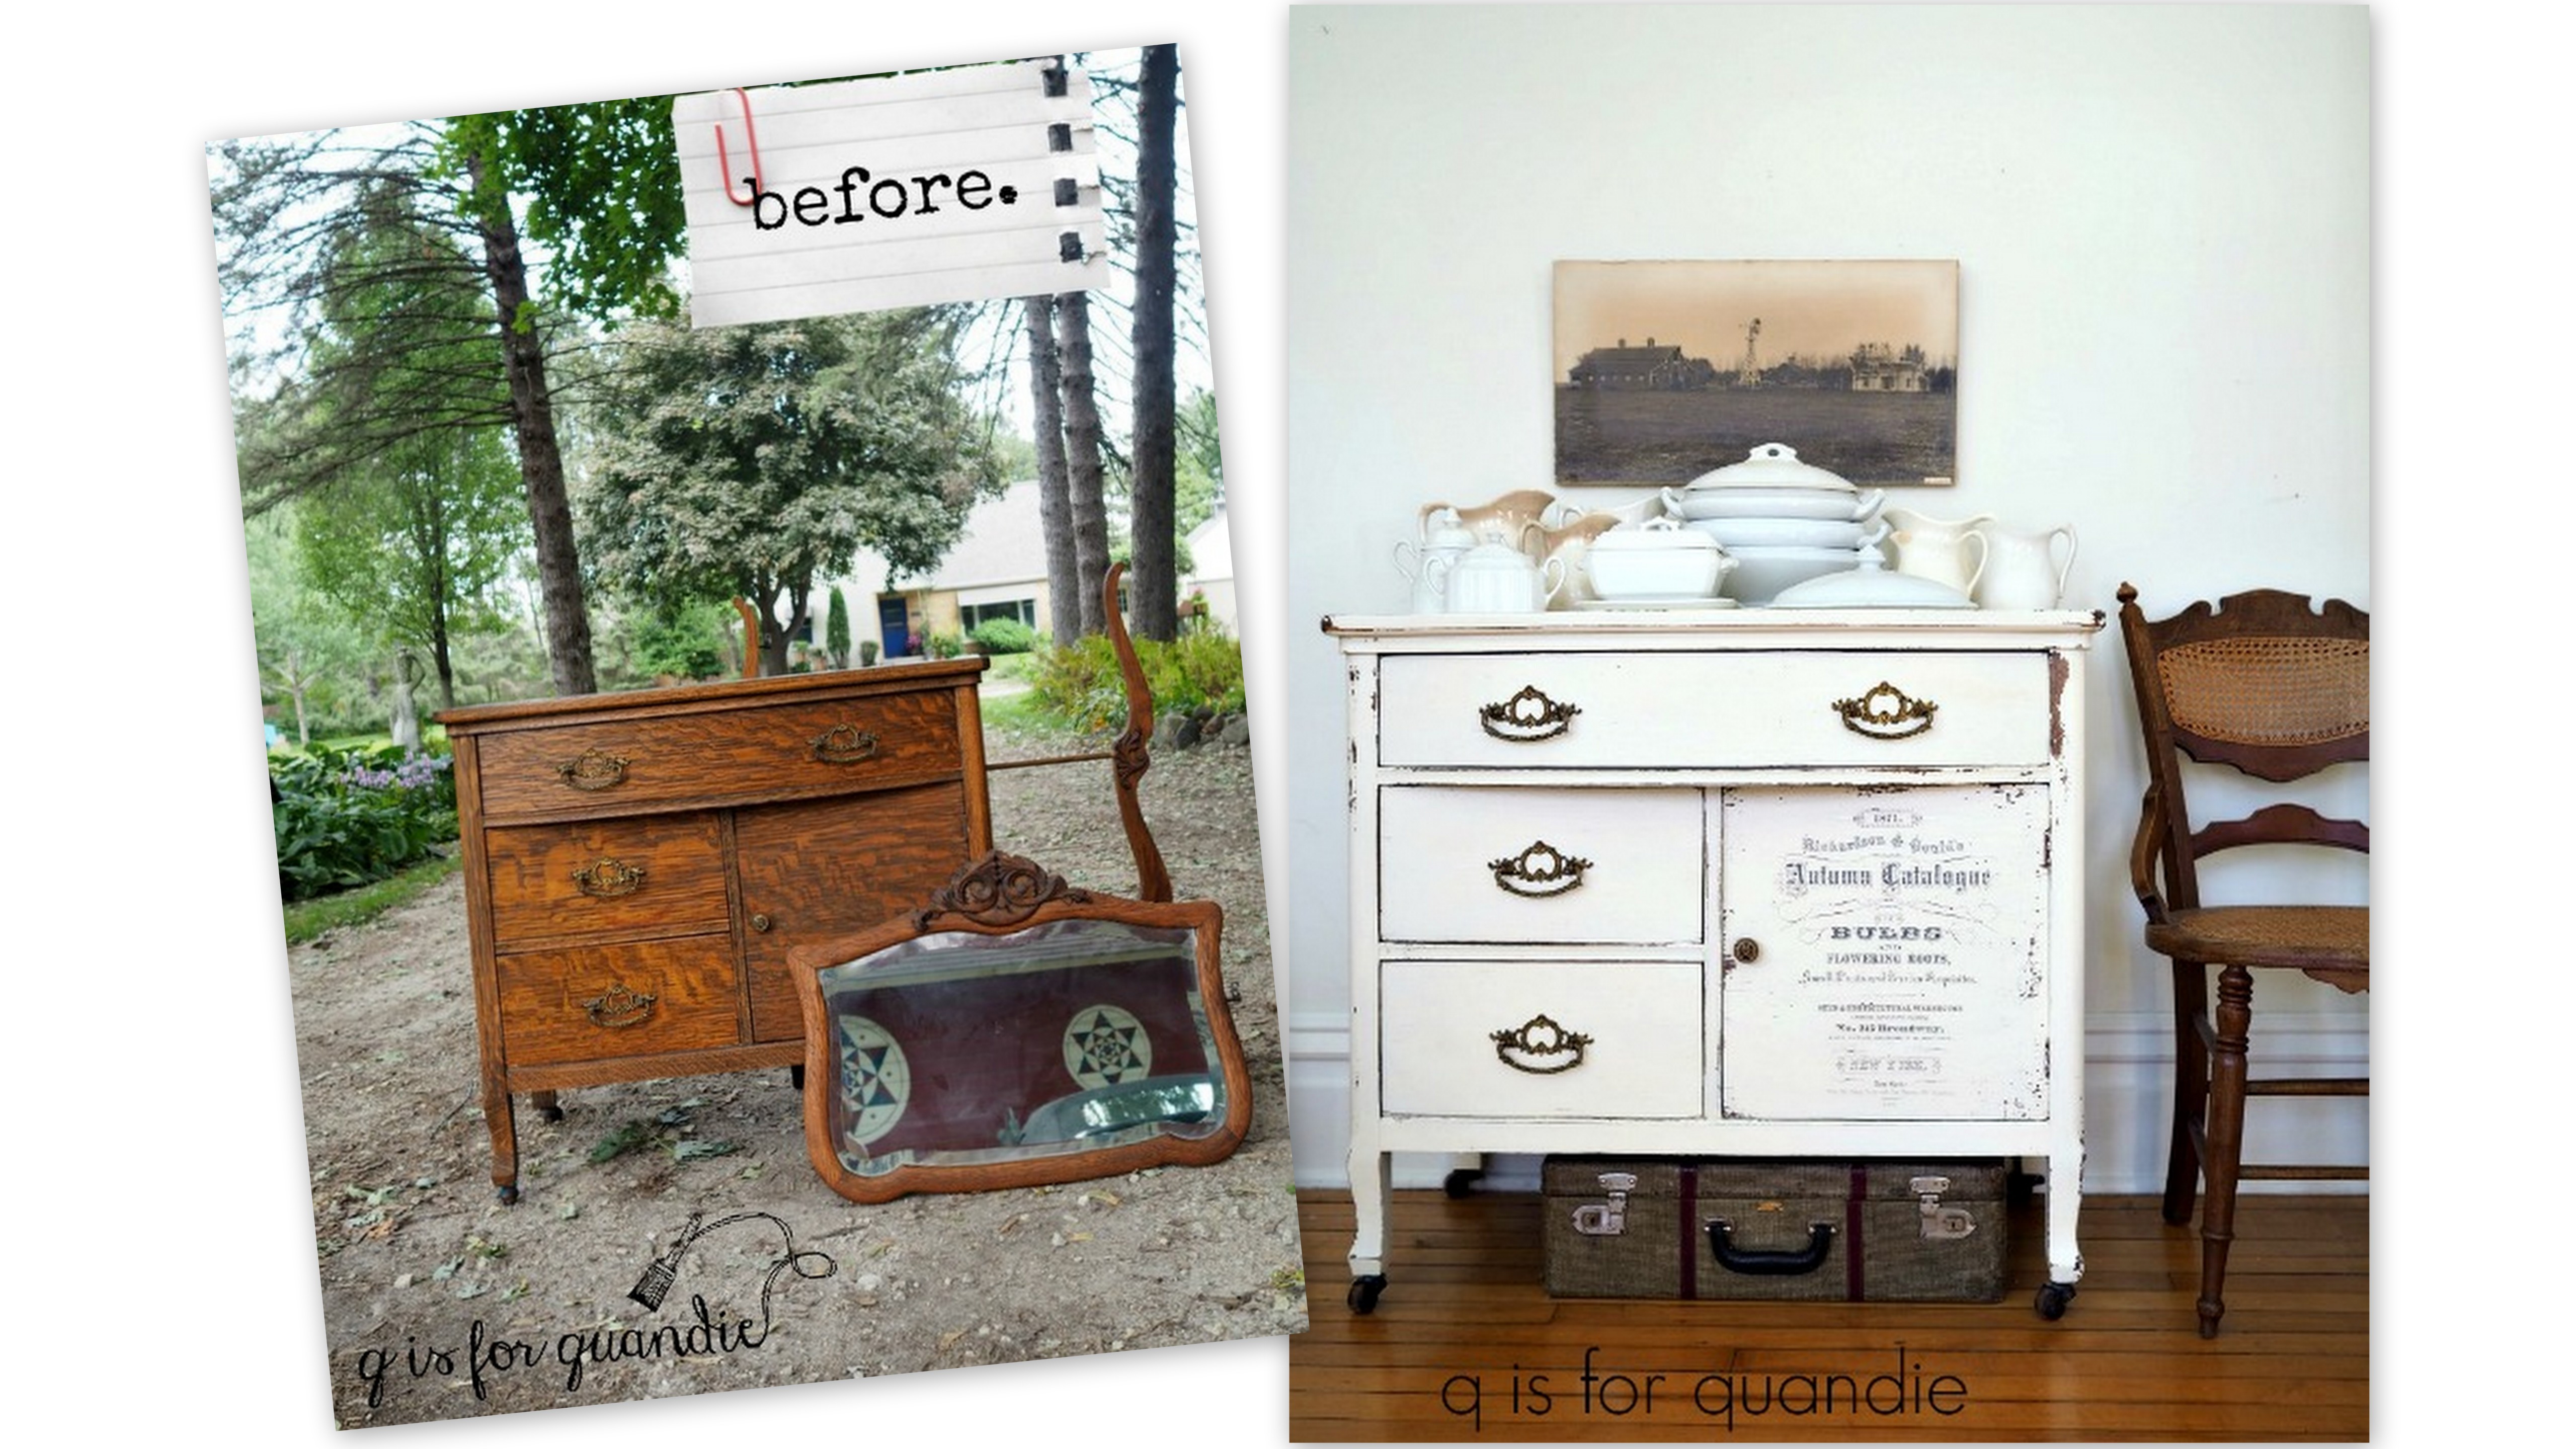
 We’ve come to the part of my blog post where I normally share a side by side collage of the ‘before’ and ‘after’ of the desk, but earlier this week Mr. Q gifted me with a new computer! It has a huge display screen, which is amazing, and it’s so much faster than my old computer. However, I don’t have Picasa on it which is the software I used to make those side by side collages. Picasa was retired back in March 2016 so I can’t load it on this computer. And as it turns out, Windows Live Photo Gallery was discontinued back in January 2017, so I couldn’t load that either. I’m going to have to learn all new software for organizing my photos, and I’m going to have to find new photo editing software that will let me make those collages. But I still have my old standby, PicMonkey so all is not lost there (but I’m not impressed with PicMonkey’s collage options).
In the meantime, you’ll have to excuse me while I take some time to learn some new tricks and just be content with seeing the ‘after’ all by itself.
This desk is for sale, so be sure to check my ‘available for local sale’ page for more details.