Back in the beginning of January I was pondering my blog content and thinking about potential ways to grow in the new year. I felt like it was time to try some new products. Don’t get me wrong, I absolutely love Fusion, Homestead House and Miss Mustard Seed products and I’ll definitely continue to use them on a regular basis. I’m also still officially addicted to the IOD Décor Transfers. But I felt like I needed to add a good chalk style paint to my line up and also just take a look around at what other sorts of products are out there and what they can do.
After all, variety is the spice of life, right?
My painting philosophy is that there is no one perfect paint that is best no matter what the project. Some projects are better suited for milk paint, some are better suited for an acrylic paint and some are better suited for a chalk style paint.
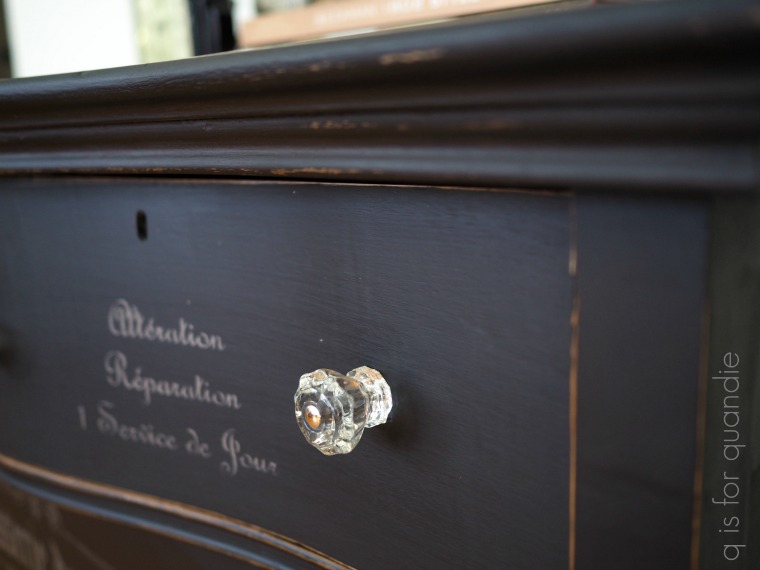
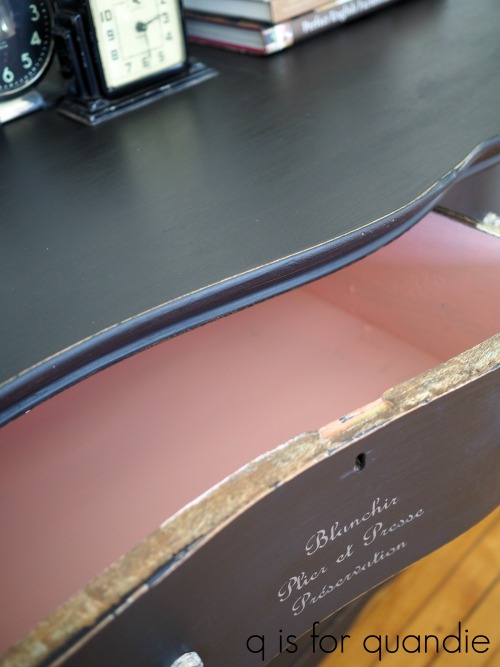
I decided to do a little research by looking at what other furniture painters that I admire are doing these days. One of those painters is Denise at Salvaged Inspirations (be sure to check out her blog post today about painting with black). She recently painted this gorgeous dresser in Dixie Belle chalk paint in a color called Caviar …

and this stunning blue buffet painted in Dixie Belle’s Bunker Hill Blue …

So I went to the Dixie Belle website and just browsed around a bit.
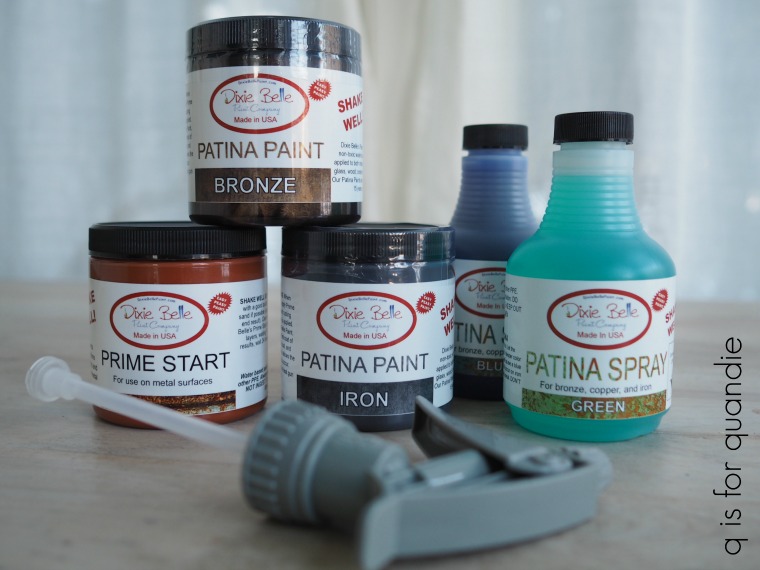
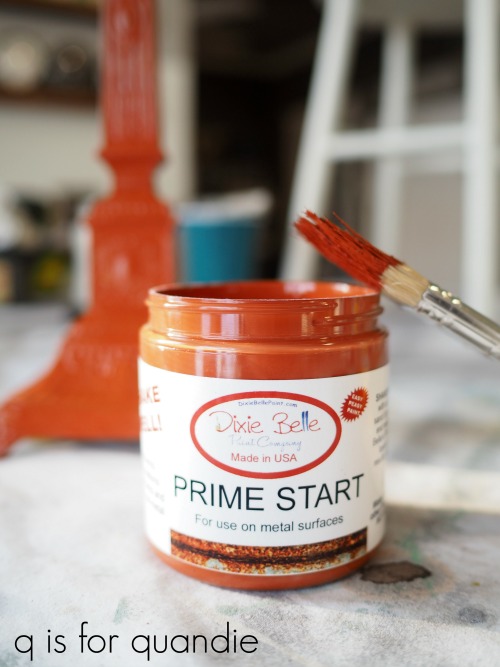
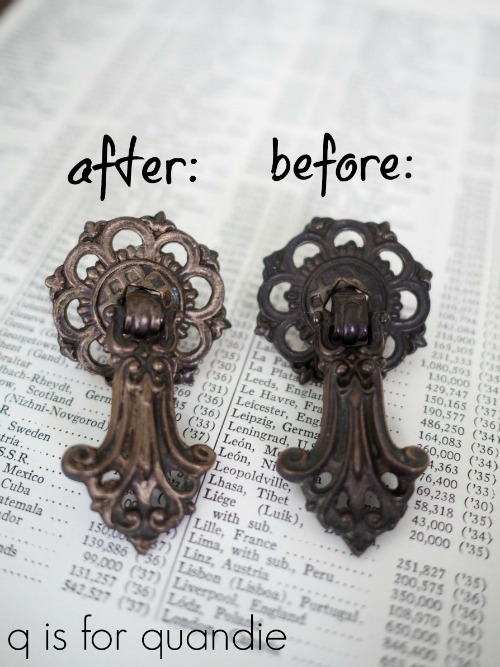
And guess what? They had some really cool stuff, like their Patina Collection for creating an aged metal look and a stain-blocking, smell-blocking clear primer called BOSS. I was also intrigued by their Easy Peasy Spray Wax and Dixie Belle Mud.
That was when fate intervened in an amazing way. I received an email from Teri at Dixie Belle out of the blue. She had seen my blog and wondered if I’d be interested in trying any of their products.
Seriously! What a wild coincidence right? The timing could not have been any more perfect.
Of course I said yes! I’d definitely be interested in trying a whole bunch of their products. Like all the ones I listed above, and certainly some paint too!
So last week I received a big heavy box in the mail from Dixie Belle! I’d asked them to ship it to my day job. The Dixie Belle paint should not be allowed to freeze. Since it’s January in Minnesota, having the box shipped to my office meant it wouldn’t be left sitting outside on my porch for any length of time.
Now I was fully stocked with some gorgeous paint colors and some fun, unique products that I couldn’t wait to experiment with.

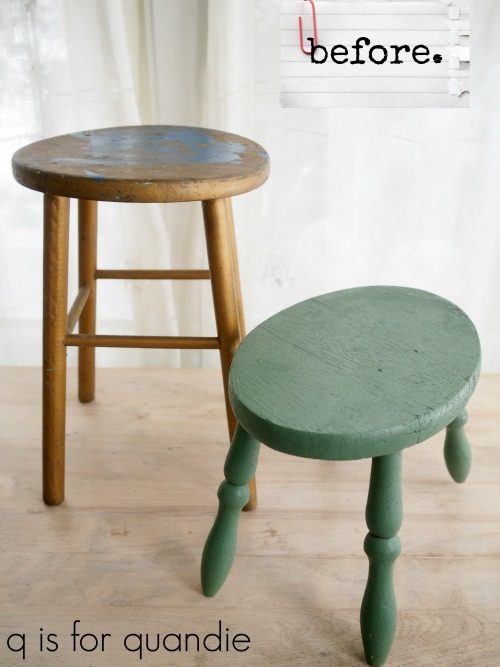
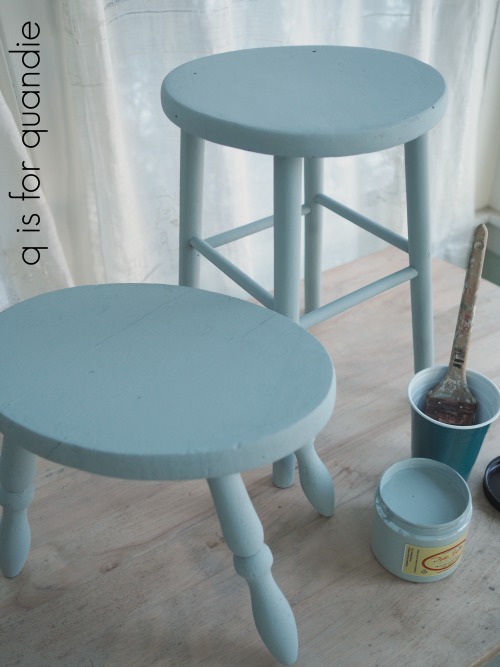
Having made my share of mistakes with new products over the years, I’m learning to start out slowly; test them out on something small to get a feel for how they work before jumping right in to the deep end and painting a big piece of furniture. So this time I pulled out a pair of stools that my friend Sue recently passed on to me to sample some of the paint colors and top coats.

And hence, the title of this blog post was born. Stool samples. Seriously, how could I resist?
The ‘how-to’ guide for Dixie Belle chalk paint says that you don’t have to sand your piece, just clean it and then start painting. I would have followed that advice to the letter except the seat of the taller stool had a big glob of spilled blue paint on it. Although I could have painted right over that and the paint would have adhered, you still would have been able to see the texture from it. In other words, it would have looked like I painted over a glob of something.

Q-tip of the day: if you don’t want to see texture (including drip marks and brush strokes) from a previous paint job (or spill), you will need to sand it down before painting with any kind of paint.
So I sanded the top of the taller stool pretty vigorously, but left the rest alone. It really was a relief to not have to sand all of those legs!
I didn’t want to see either of the existing colors on each stool when I distressed them after the final coat of paint, so I gave them an undercoat of a color that I wouldn’t mind seeing, Savannah Mist. Dixie Belle recommends using a damp paint brush and painting in thin coats. I’d never tried the damp paint brush technique before so I thought I would give it a try. You simply dip your brush into a bit of water, just a quick dip, not a big, swooshy, saturate your brush sort of dip, then dip your brush into the paint. You don’t have to re-dip your brush into the water with every fresh dip of paint, maybe just with every 4 or 5. I just kept a plastic cup of water handy.
Turns out I really like this technique which basically just waters down your paint as you use it. It makes the paint easier to apply and it definitely goes further. It also helps prevent brush strokes. Despite the watering down, I still got great coverage with just one coat of the fairly light base color.
I used the same technique to paint each stool with a top layer of a different color. The smaller stool got one coat of Gravel Road and the taller stool got two coats of Drop Cloth (white tends to require more coats for good coverage no matter what kind of paint you are using). Then, while I had the paint out anyway I also painted a third even smaller stool in the Gravel Road.
Since I was going to add some grain sack style stripes using tape next, I flipped over to the underside of one of the stools (which I had also painted) to test whether or not the tape would pull off any paint.
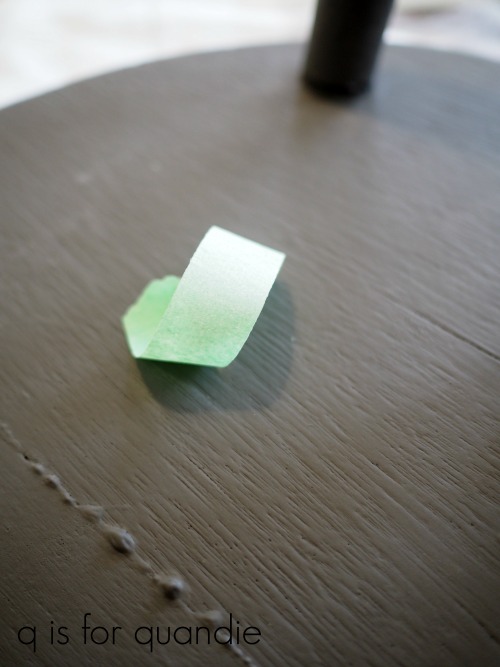
Nope. I was good to go. By the way, this is the color called Gravel Road.
I taped off some stripes on the two larger stools. One got striped with Drop Cloth, the other got Yankee Blue.
Next I decided to try wet distressing them. I think a chalk style paint is easier to wet distress than other types of paint. The trick is to do it right away as soon as the paint is dry, but before it hardens too much. In case you’ve never heard of it, to wet distress a piece you just use a damp cloth and wipe the paint off wherever you would normally distress the piece. I like to use a nubby terrycloth fabric for this and I have a bunch of old towels that I’ve cut down into rag sized pieces for jobs like these.
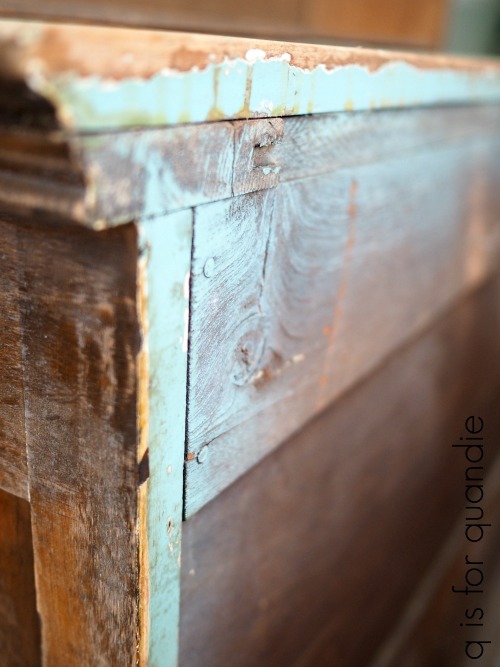
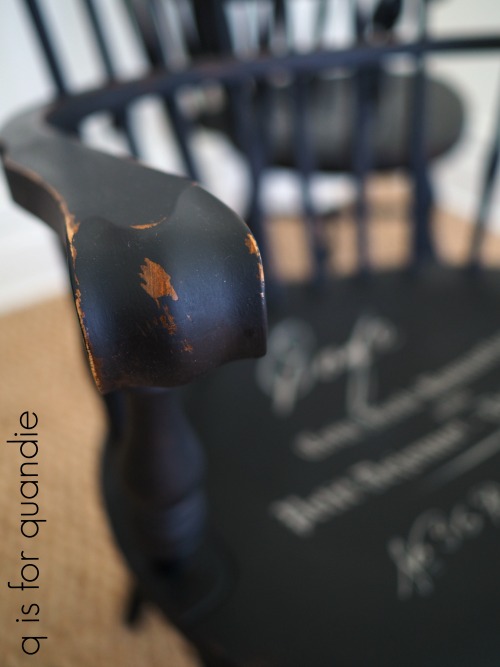
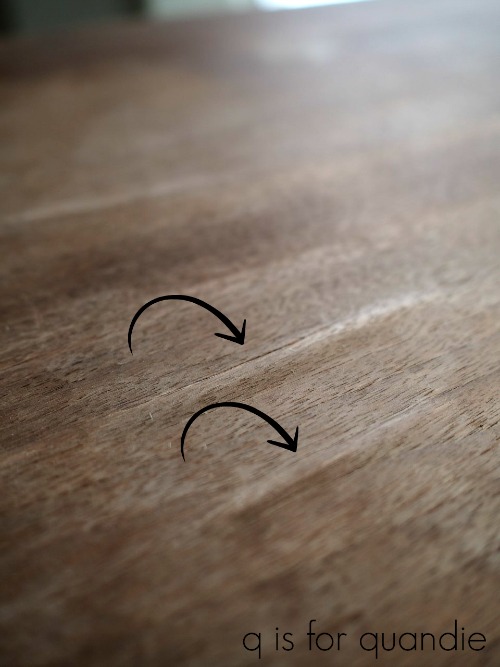
Here’s how the wet distressed edge looks up close …
 There are a couple of benefits to wet distressing. First of all, you don’t create any dust. This is a big plus when you are working indoors in the middle of winter. Second, you can more easily control how far down you distress. I didn’t want to see much of that original green color of this stool. As soon as I could see the coat of Savannah Mist coming through I stopped rubbing.
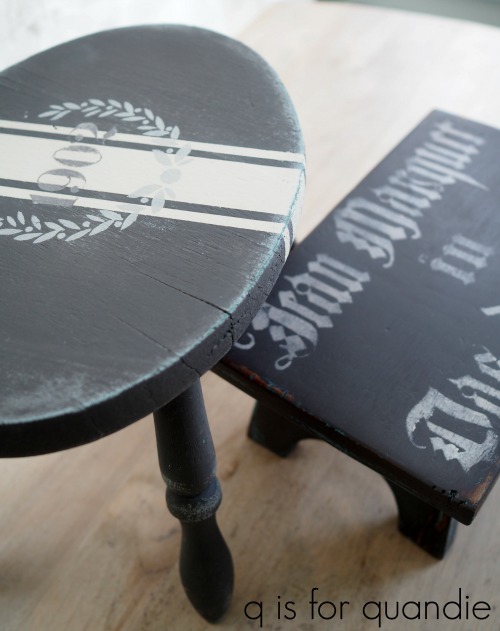
To add a little something extra, I stenciled the two smaller stools. After the painted stencil designs dried, I sanded the top of each stool with a fine 320 grit sand paper to smooth them out.
Next I sampled two of the Dixie Belle top coat options, the Easy Peasy spray wax and their Best Dang Wax! in Brown. The ‘1902’ stool was finished with the spray, the smaller stool with the brown wax.

The Easy Peasy spray definitely lives up to its name. You simple spray it on in a fine mist, wait 5 seconds and then wipe. Done.
The Best Dang Wax! is very creamy, soft and workable and it has no smell (which translates to no petroleum distillates and you know I like that). I also like the rich, dark color of the brown. I’m planning to test it out on some bare wood soon.
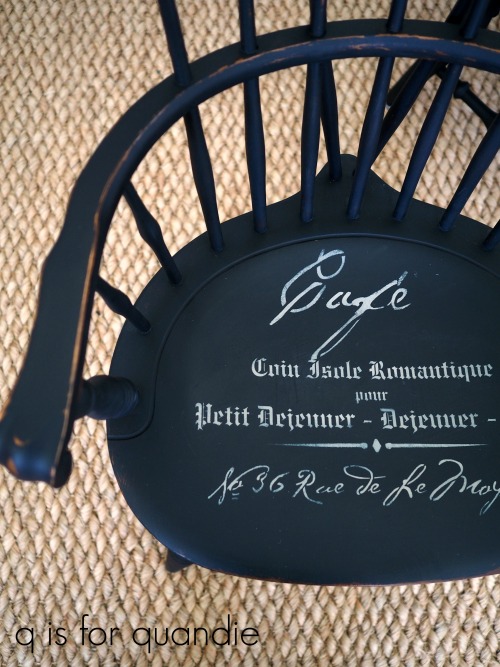
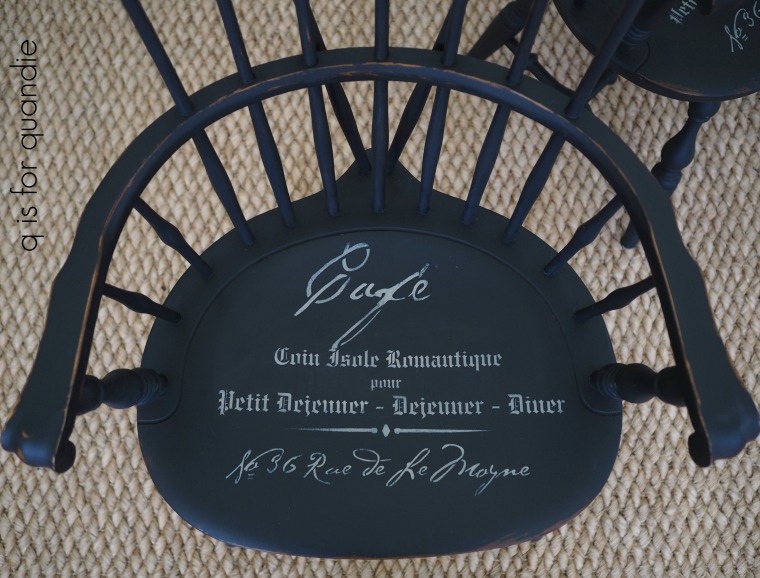
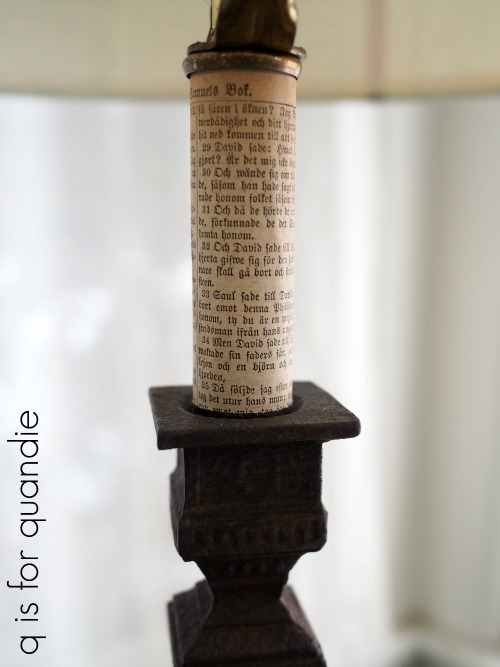
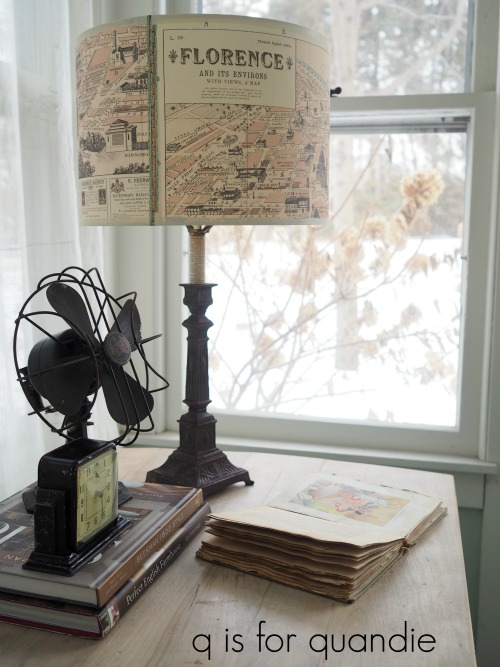
After sealing the tall stool with the Real Milk Paint Co’s Dead Flat, I used Fusion Transfer Gel to add a graphic (click here to read more about that technique).

Remember, if perfection is your goal then graphics added with transfer gel might not be right for you. If you want to compare various methods for adding a graphic to something check out my post on that {here}. Using transfer gel is definitely one of the most cost effective ways.

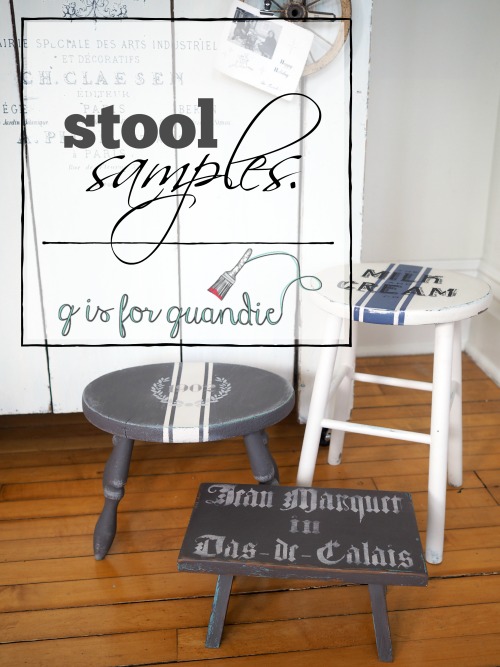
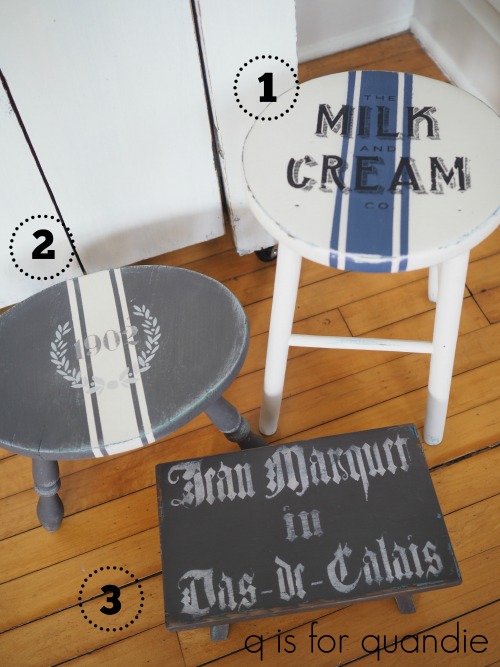
I had fun playing around with the various Dixie Belle paint colors and top coats while creating my three stool samples.

To recap …
stool sample no. 1 – painted with a base coat of Dixie Belle’s Savannah Mist, then painted with Dixie Belle’s Drop Cloth, striped with Dixie Belle’s Yankee Blue, sealed with Real Milk Paint Co’s Dead Flat, graphic added using Fusion’s Transfer Gel.
stool sample no. 2 – painted with a base coat of Dixie Belle’s Savannah Mist, then painted with Dixie Belle’s Gravel Road, striped with Dixie Belle’s Drop Cloth, stenciled with Martha Stewart acrylic craft paint, sealed with Dixie Belle’s Easy Peasy Spray On Wax.
stool sample no. 3 – painted with Dixie Belle’s Gravel Road, stenciled with Martha Stewart acrylic craft paint, waxed with Dixie Belle’s Best Dang Wax! in brown. You’ll notice that the Gravel Road looks darker on this stool as a result of adding the dark brown wax v. the Spray On wax.
I’ve already started my next project using the Dixie Belle products, so be sure to stay tuned!