Who remembers this bed from spring 2014?
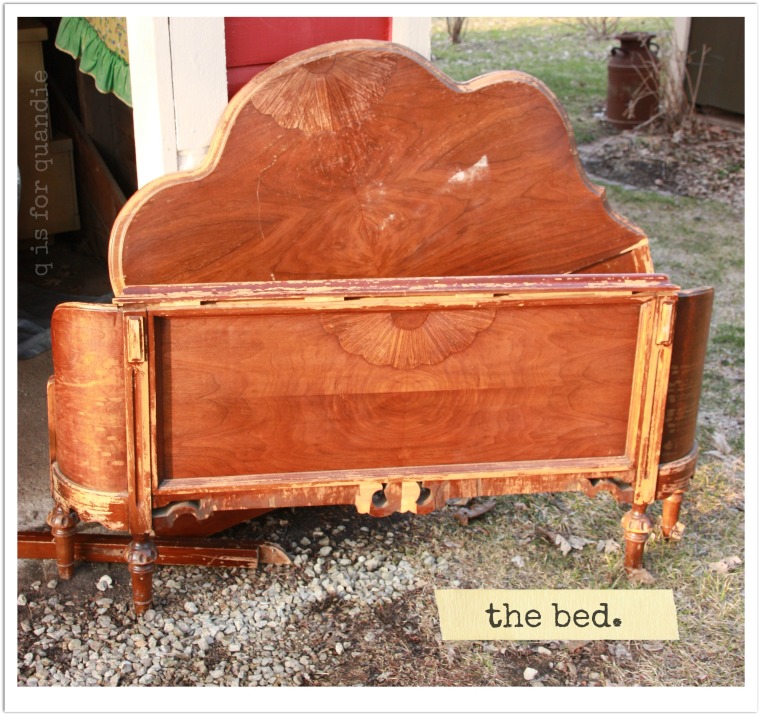
It needed a lot of work! One of the legs was broken off the headboard. The veneer was coming off everywhere. The foot board needed to have its topper reattached. So, in true Quandie fashion, I kept pushing it to the back of the line because it needed so much help. After two years of that, I finally got it finished.

In the end, after getting help fixing all of its problems, I gave it a simple paint job with Annie Sloan’s Duck Egg.

It is structurally sound now because Ken did a bang up job repairing the leg. I ended up removing all of the veneer from the bottom trim on the foot board, but you’d never know it with it painted.
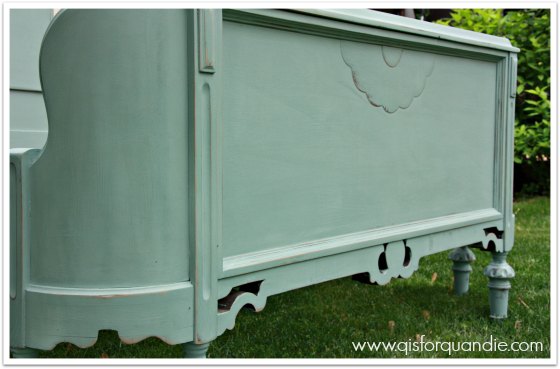
The bed has side rails and bottoms slats that go with it. I just love a curved foot board, don’t you?

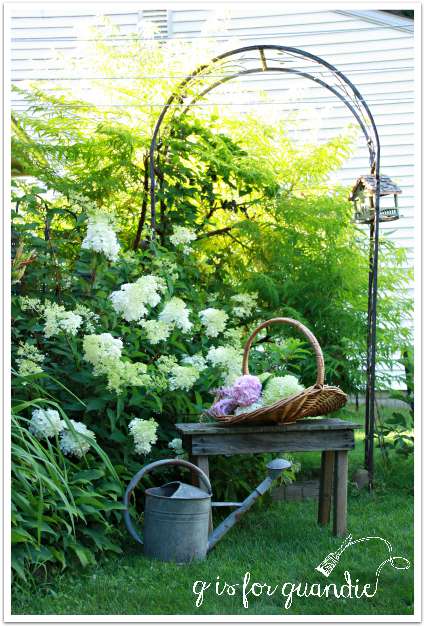
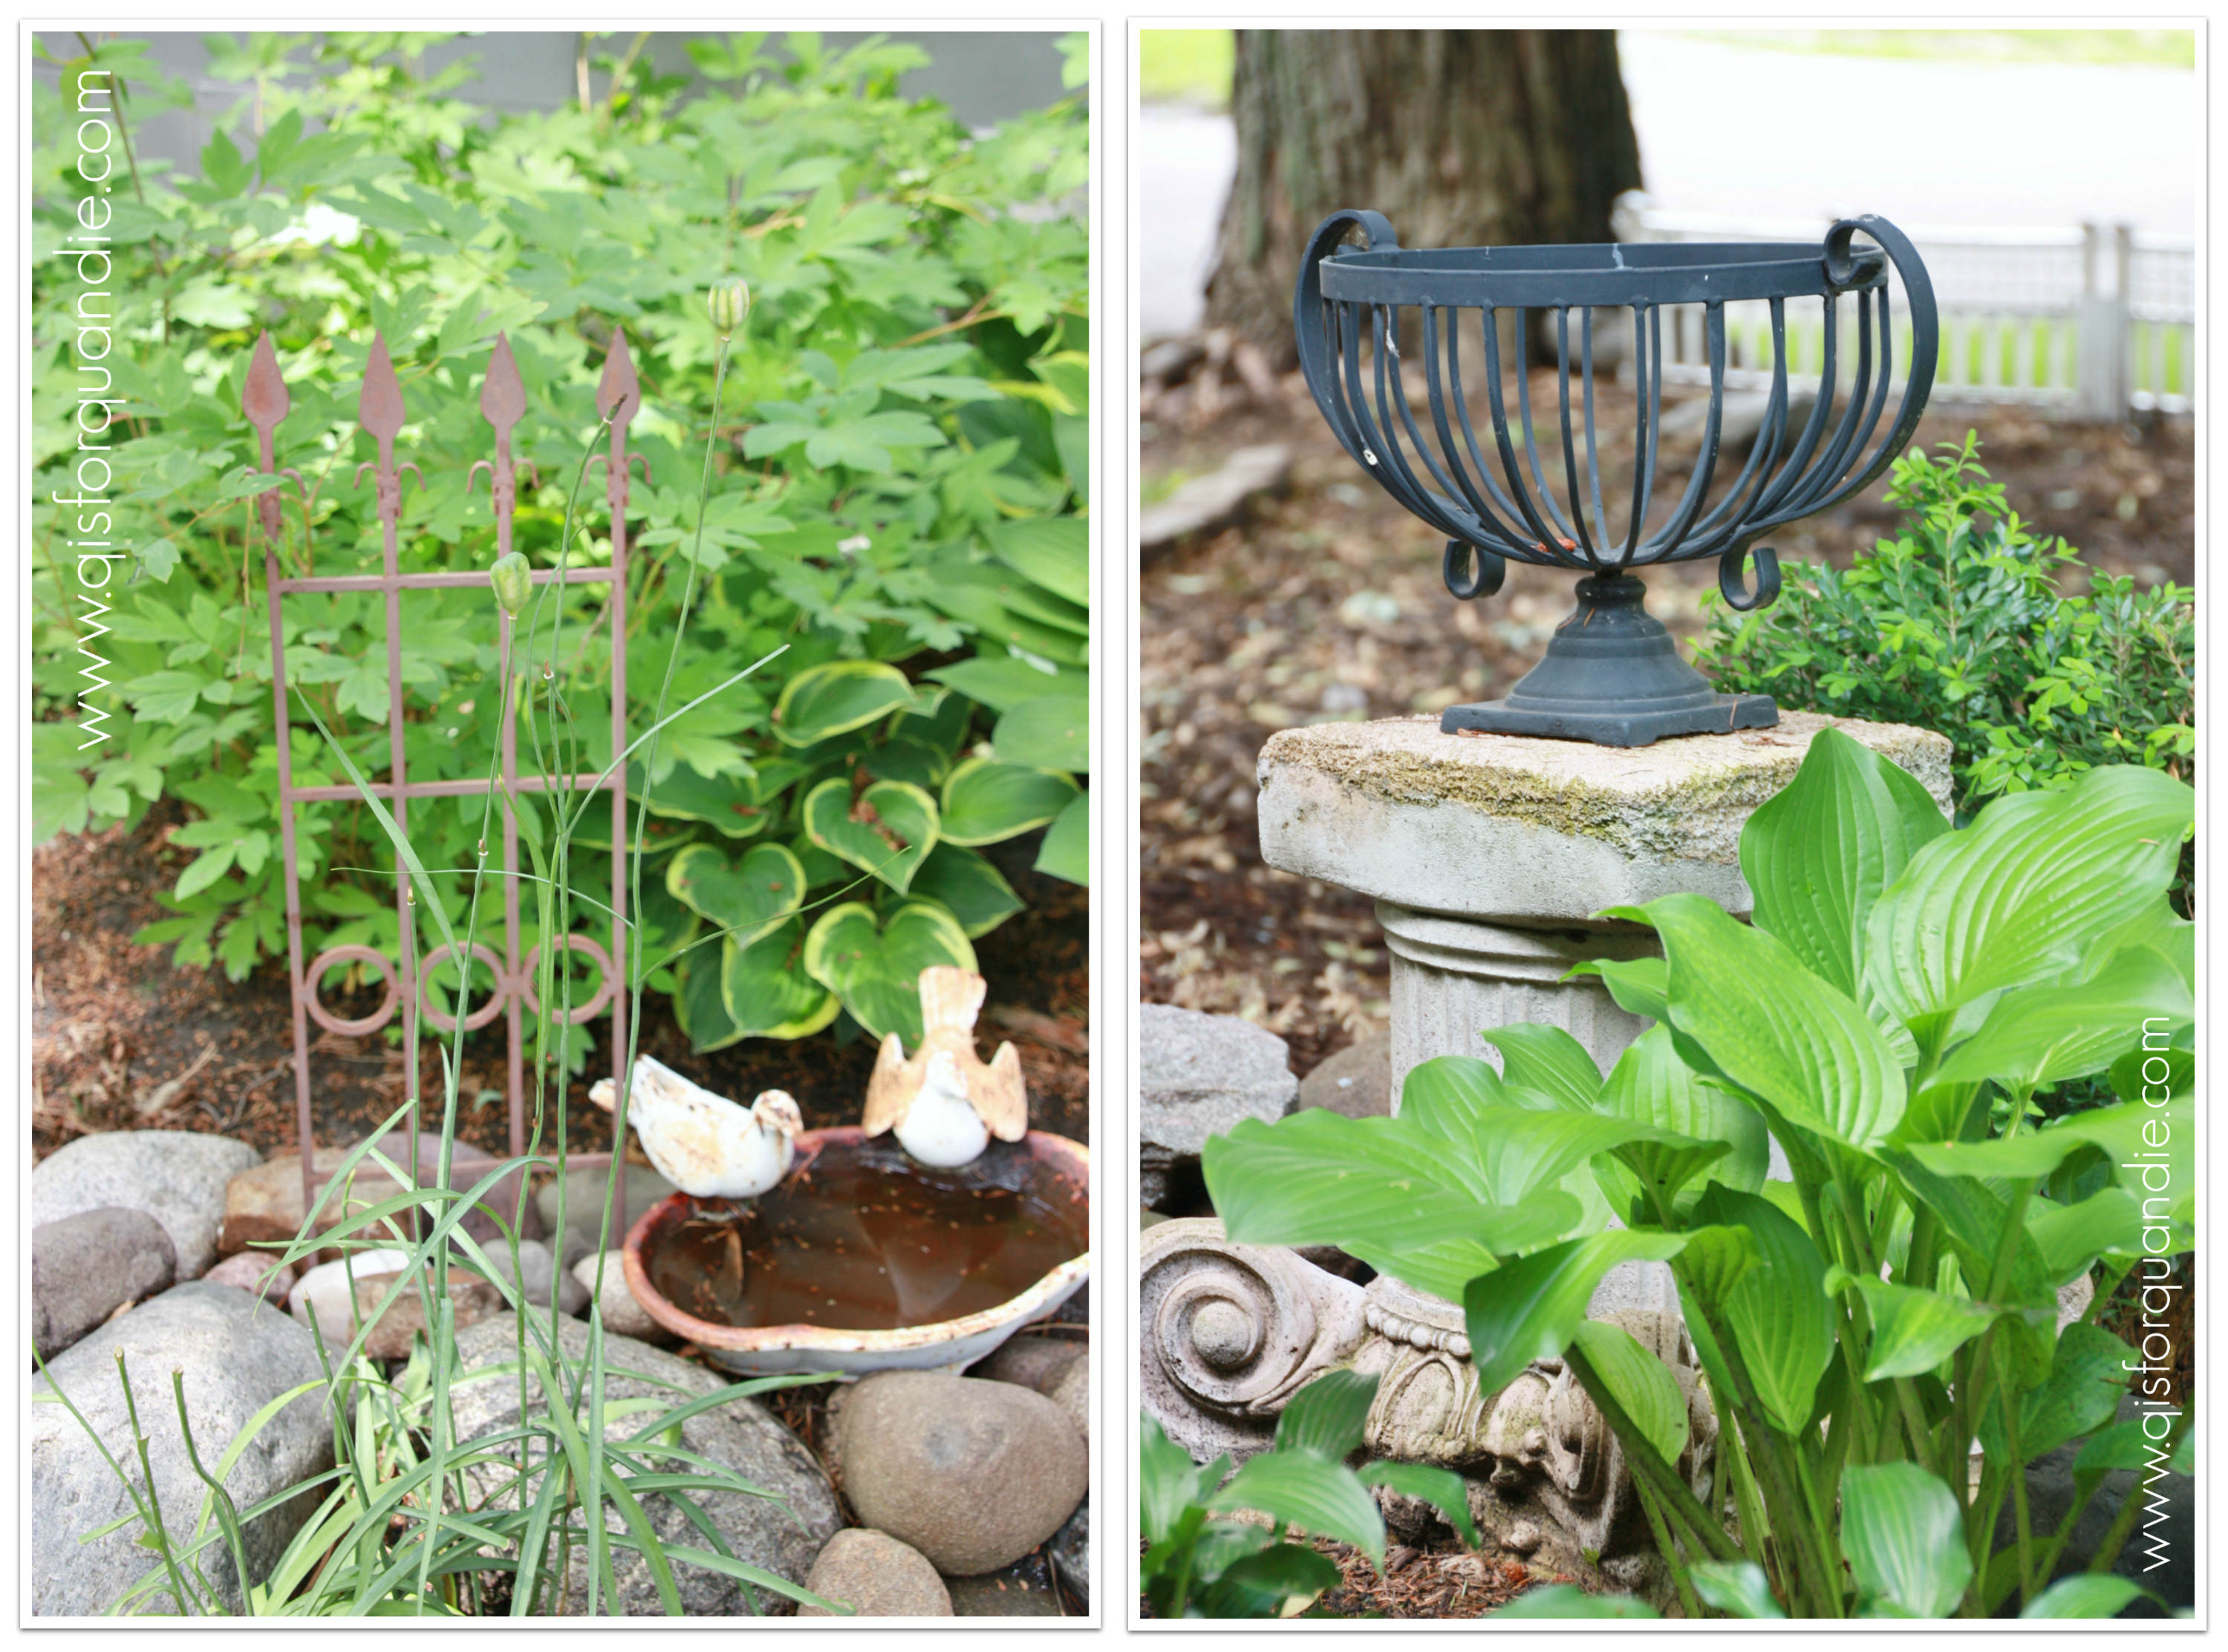
And since we’re already in the garden, I thought I would share a quick tour of what’s blooming this week in Minnesota. Some of my favorites are in full bloom right now, like the Allium. I never grew these until I saw then in nnK’s garden a few years ago. Did you know they are bulbs? If you want some in your garden next spring, plant them this fall. They are as simple to plant as tulips. I add a few more every fall. They mostly die back to the ground a month or so after blooming, so plant them among other plants that will hide the leaves as they die back, such as hostas or peonies. You can see that mine are planted among the peonies here.

This photo doesn’t really show how tall and statuesque the Allium really are.
The irises are also starting to open up.

As much as I love the flower, I’m not as fond of the plants themselves after the flowers are done. They tend to look a little messy in the garden. I’ve been slowly reducing the number of irises in my gardens. I gave away a bunch of yellow ones last year and I’d be happy to give away some more. If any of my locals readers would like some, let me know.
A bunch of my woodland plants are blooming now, the Columbine and the Anemones.

I added some Sweet Woodruff to the garden last year, and that is looking fab.

Like pretty much everything else in my home, I buy a lot of my plants at garage sales. There are a number of ‘pros’ to doing this. First of all, you know you are getting a plant that does well in your area. If it’s growing so well that the seller has enough to divide, it must grow well in your area. Second, I find that divisions from someone’s garden tend to establish faster than nursery plants. Maybe that is just my imagination, does anyone else find this to be the case? And third, of course, they are much less expensive!
However, I will caution you to do a little research into plants before you add them to your garden. You’ll also find that many of the plants being sold at garage sales are invasive. Sweet woodruff is one such plant. I’ll keep an eye on it, and try to keep it in check. I don’t mind if it fills in a large chunk of my shade garden though. Perennial geranium is another such plant. It is the sea of purplish blooms that you can see behind and to the left of the bed in a couple of photos.
Some more of my favorite hostas are looking really lovely right now as well. Here is my newest addition, Dream Weaver.

And one of my all time faves, June.

And I’m fairly certain that this one is Liberty, but the tag has gone missing.

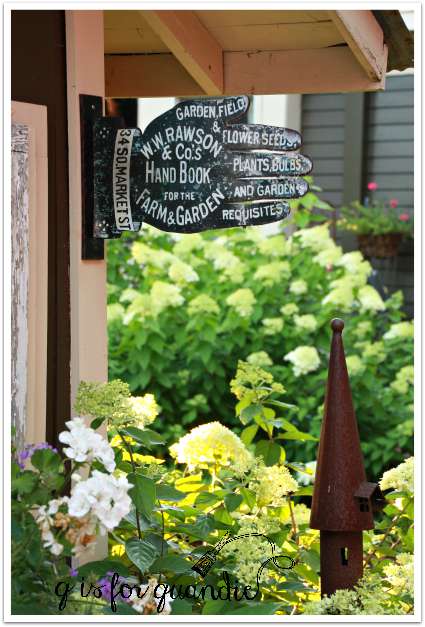
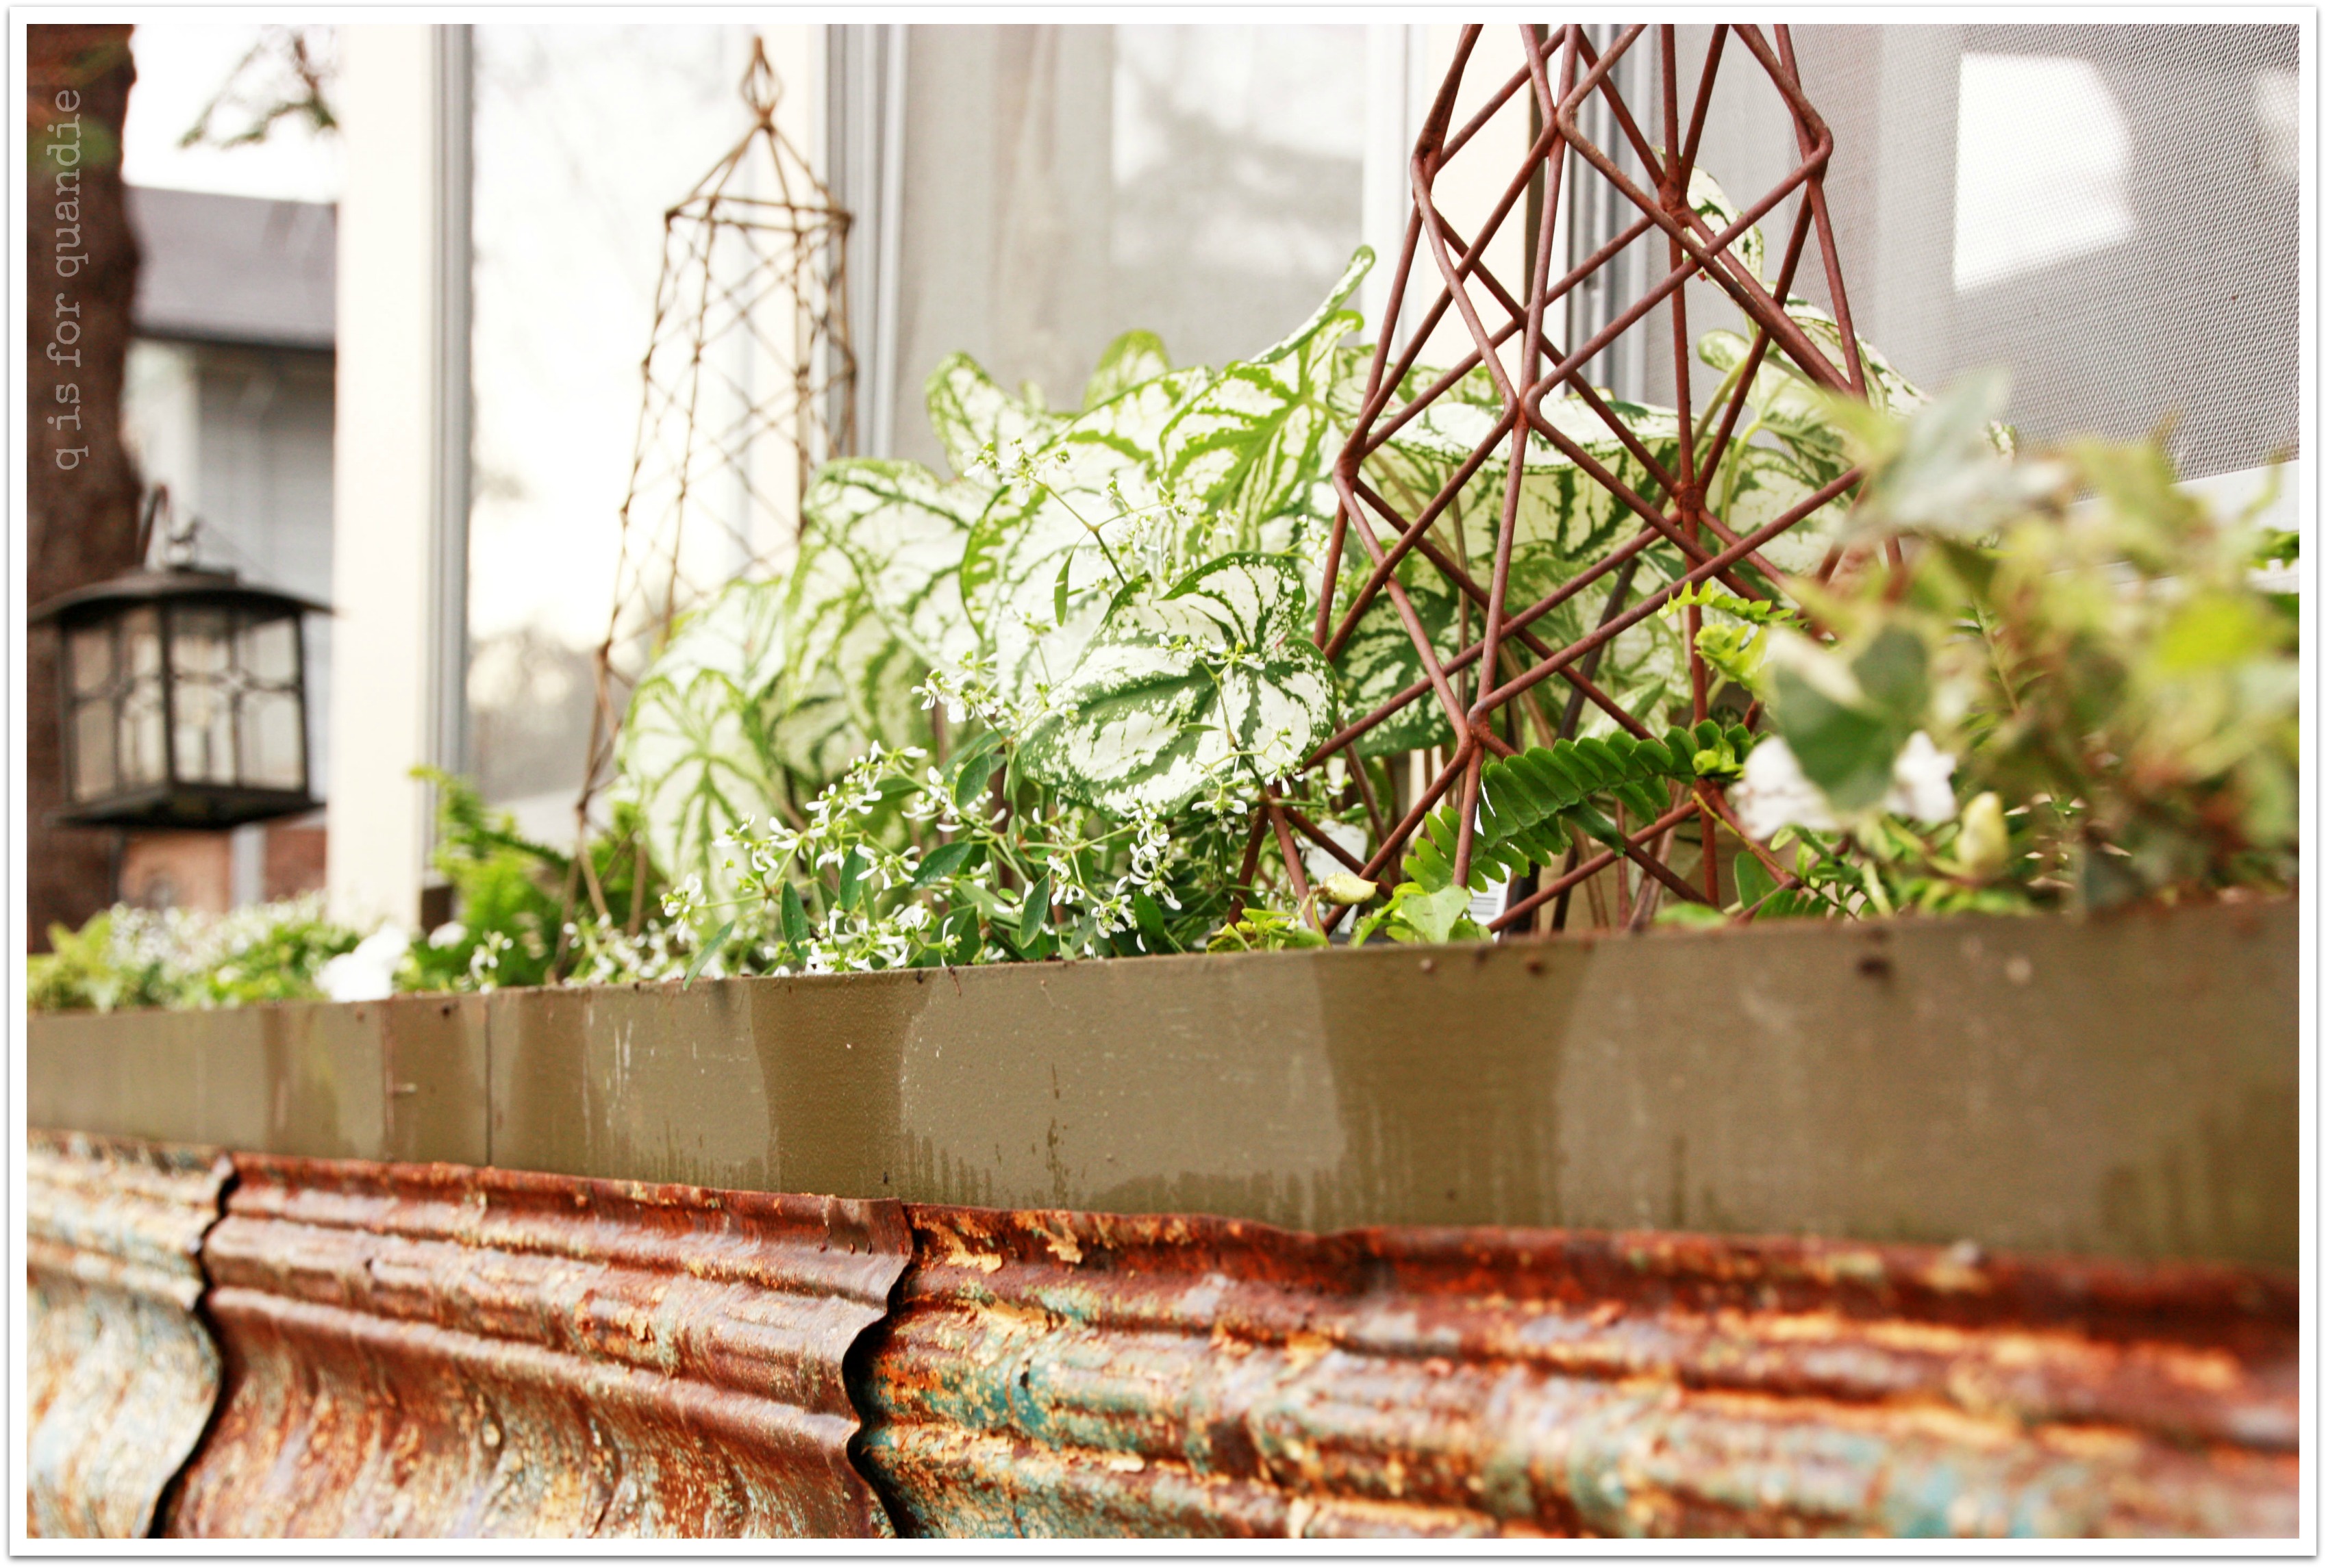
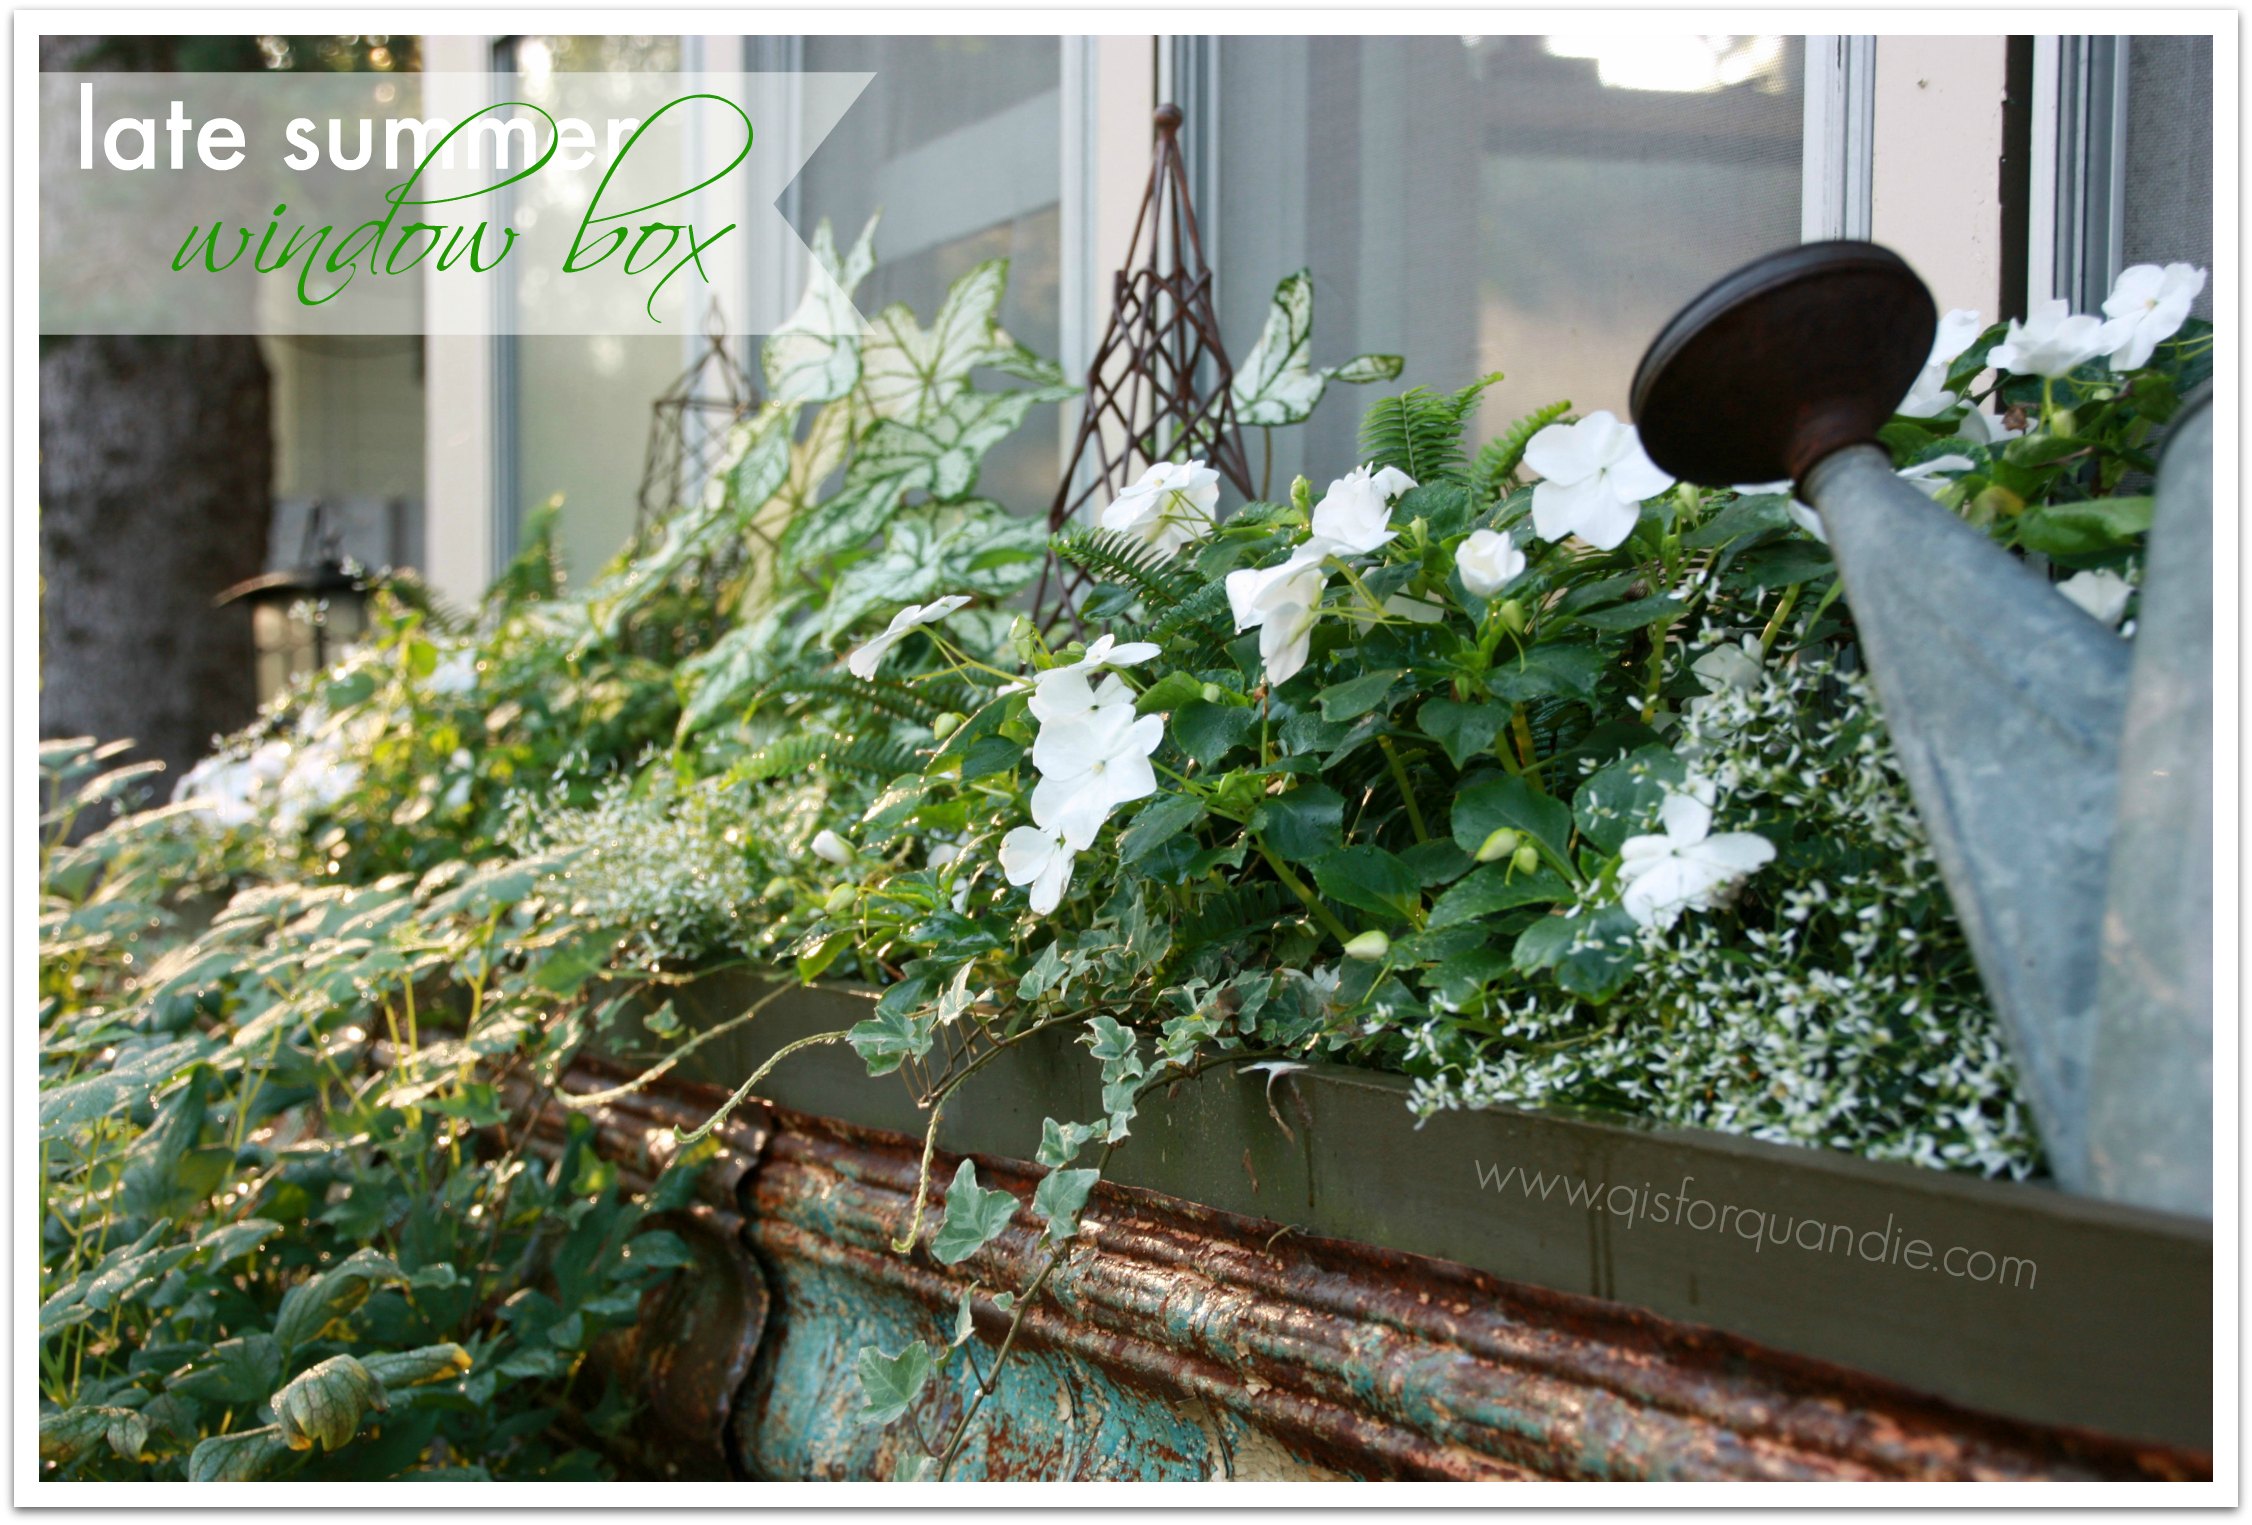
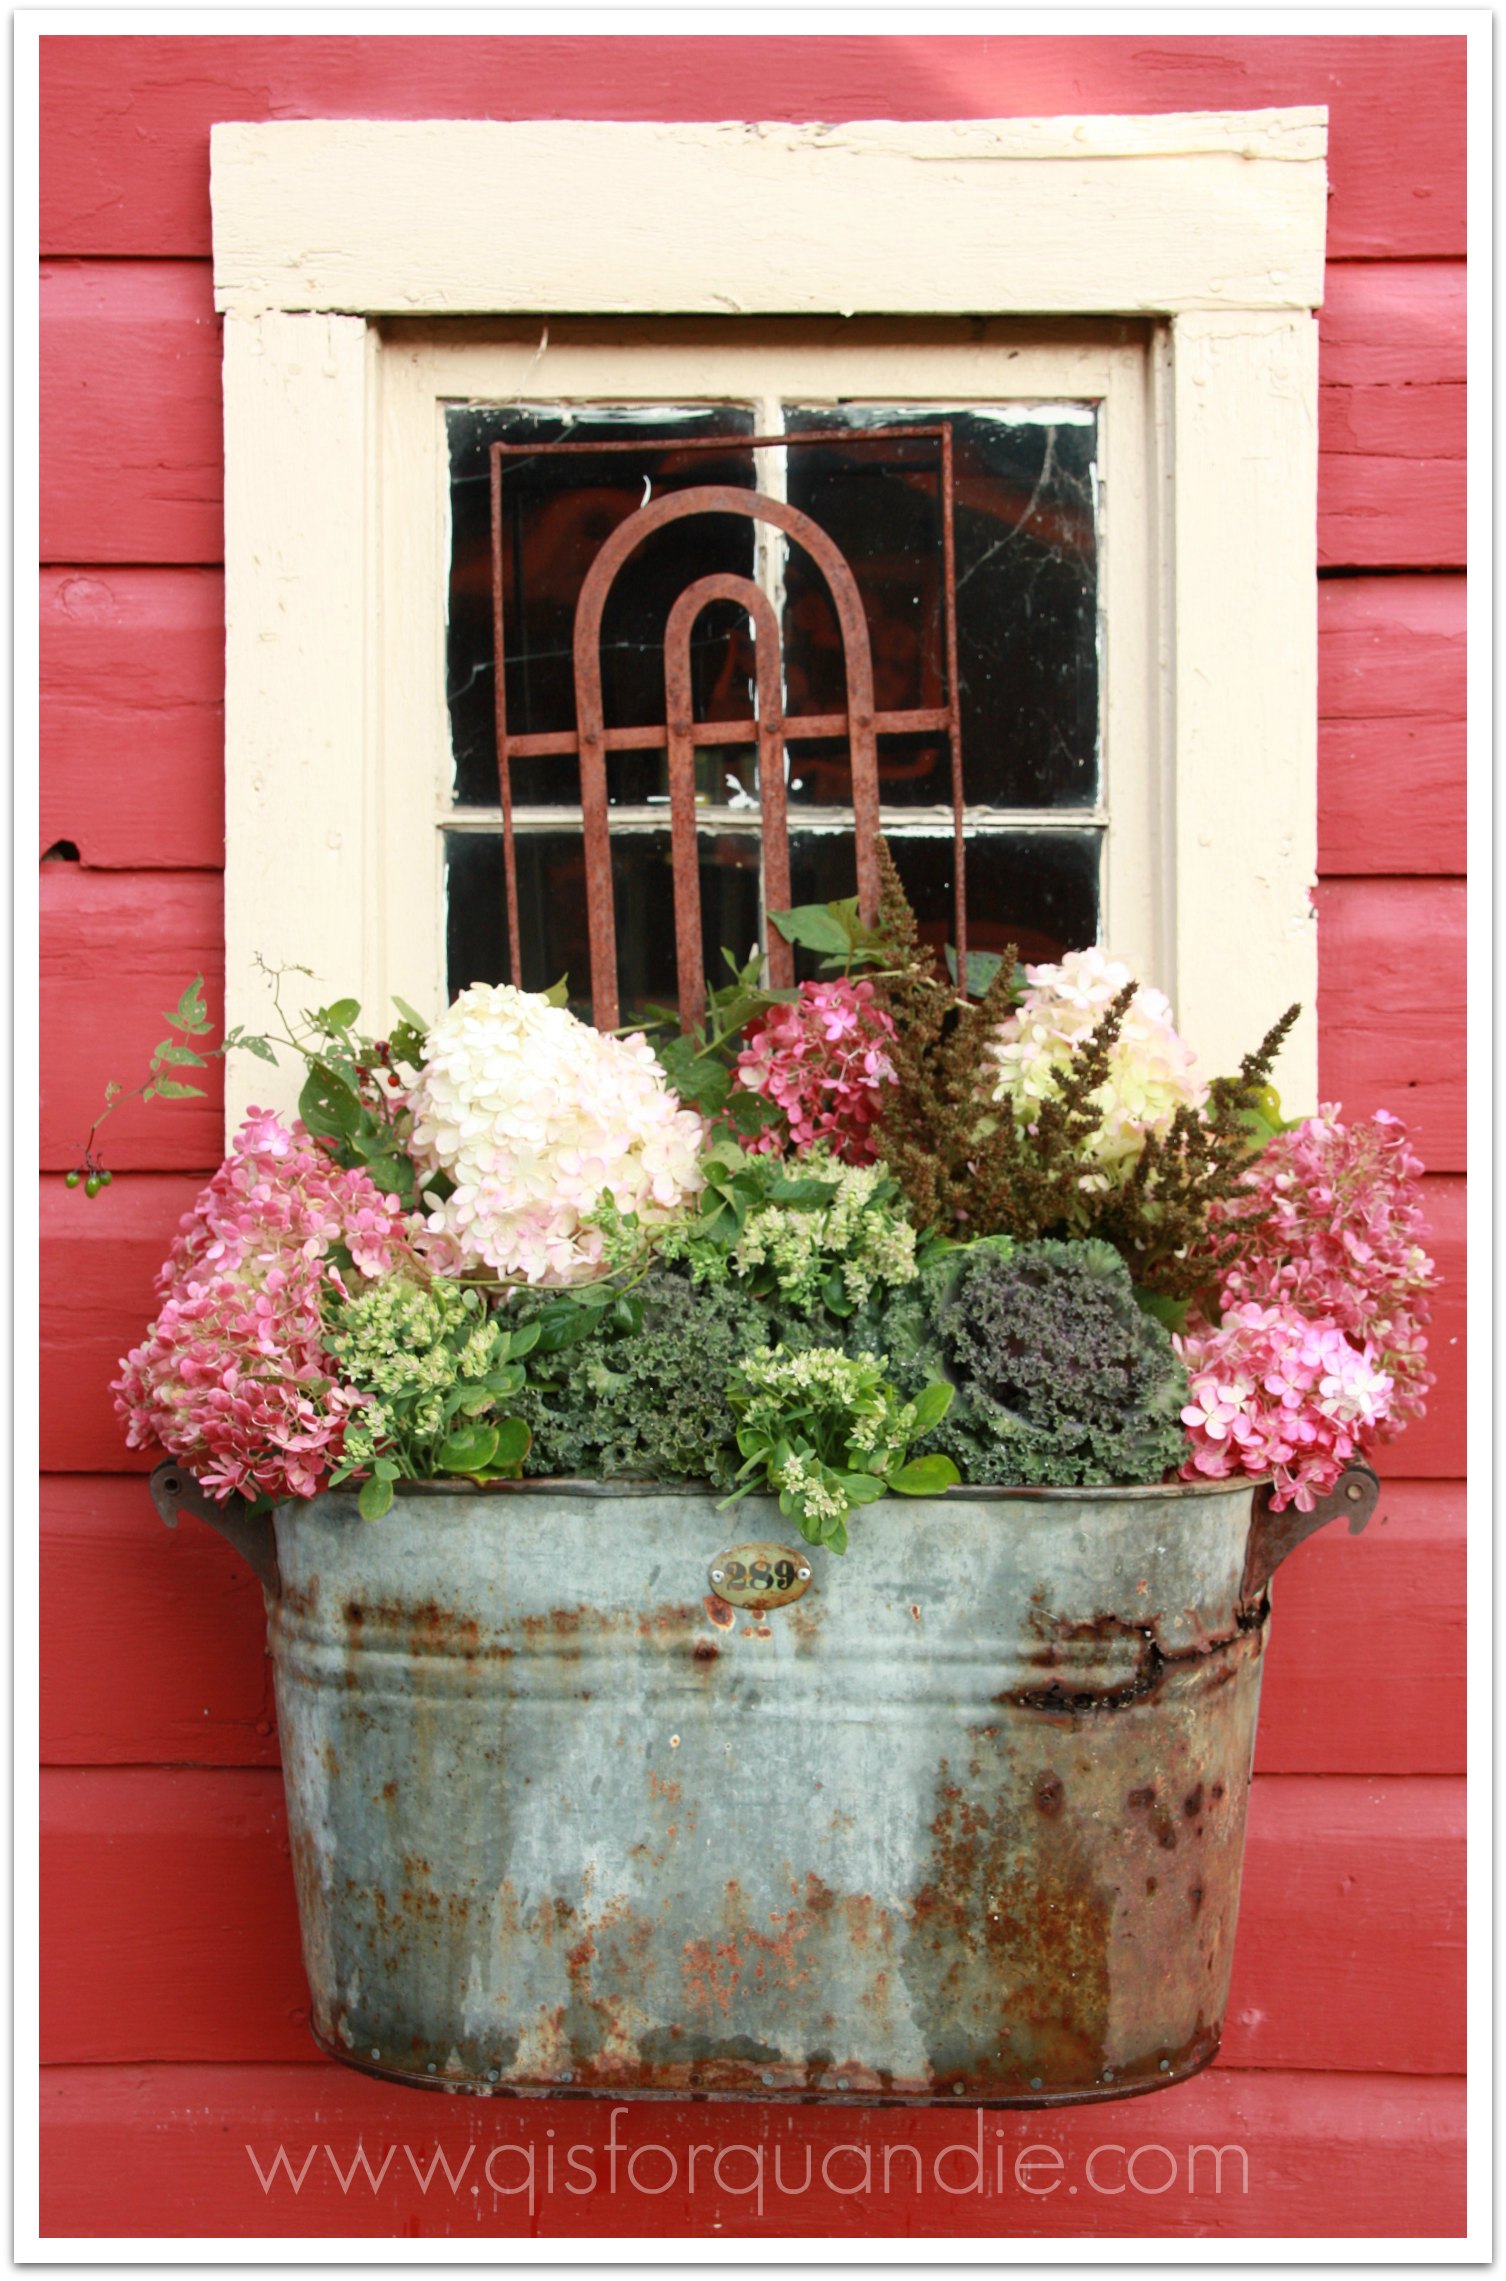
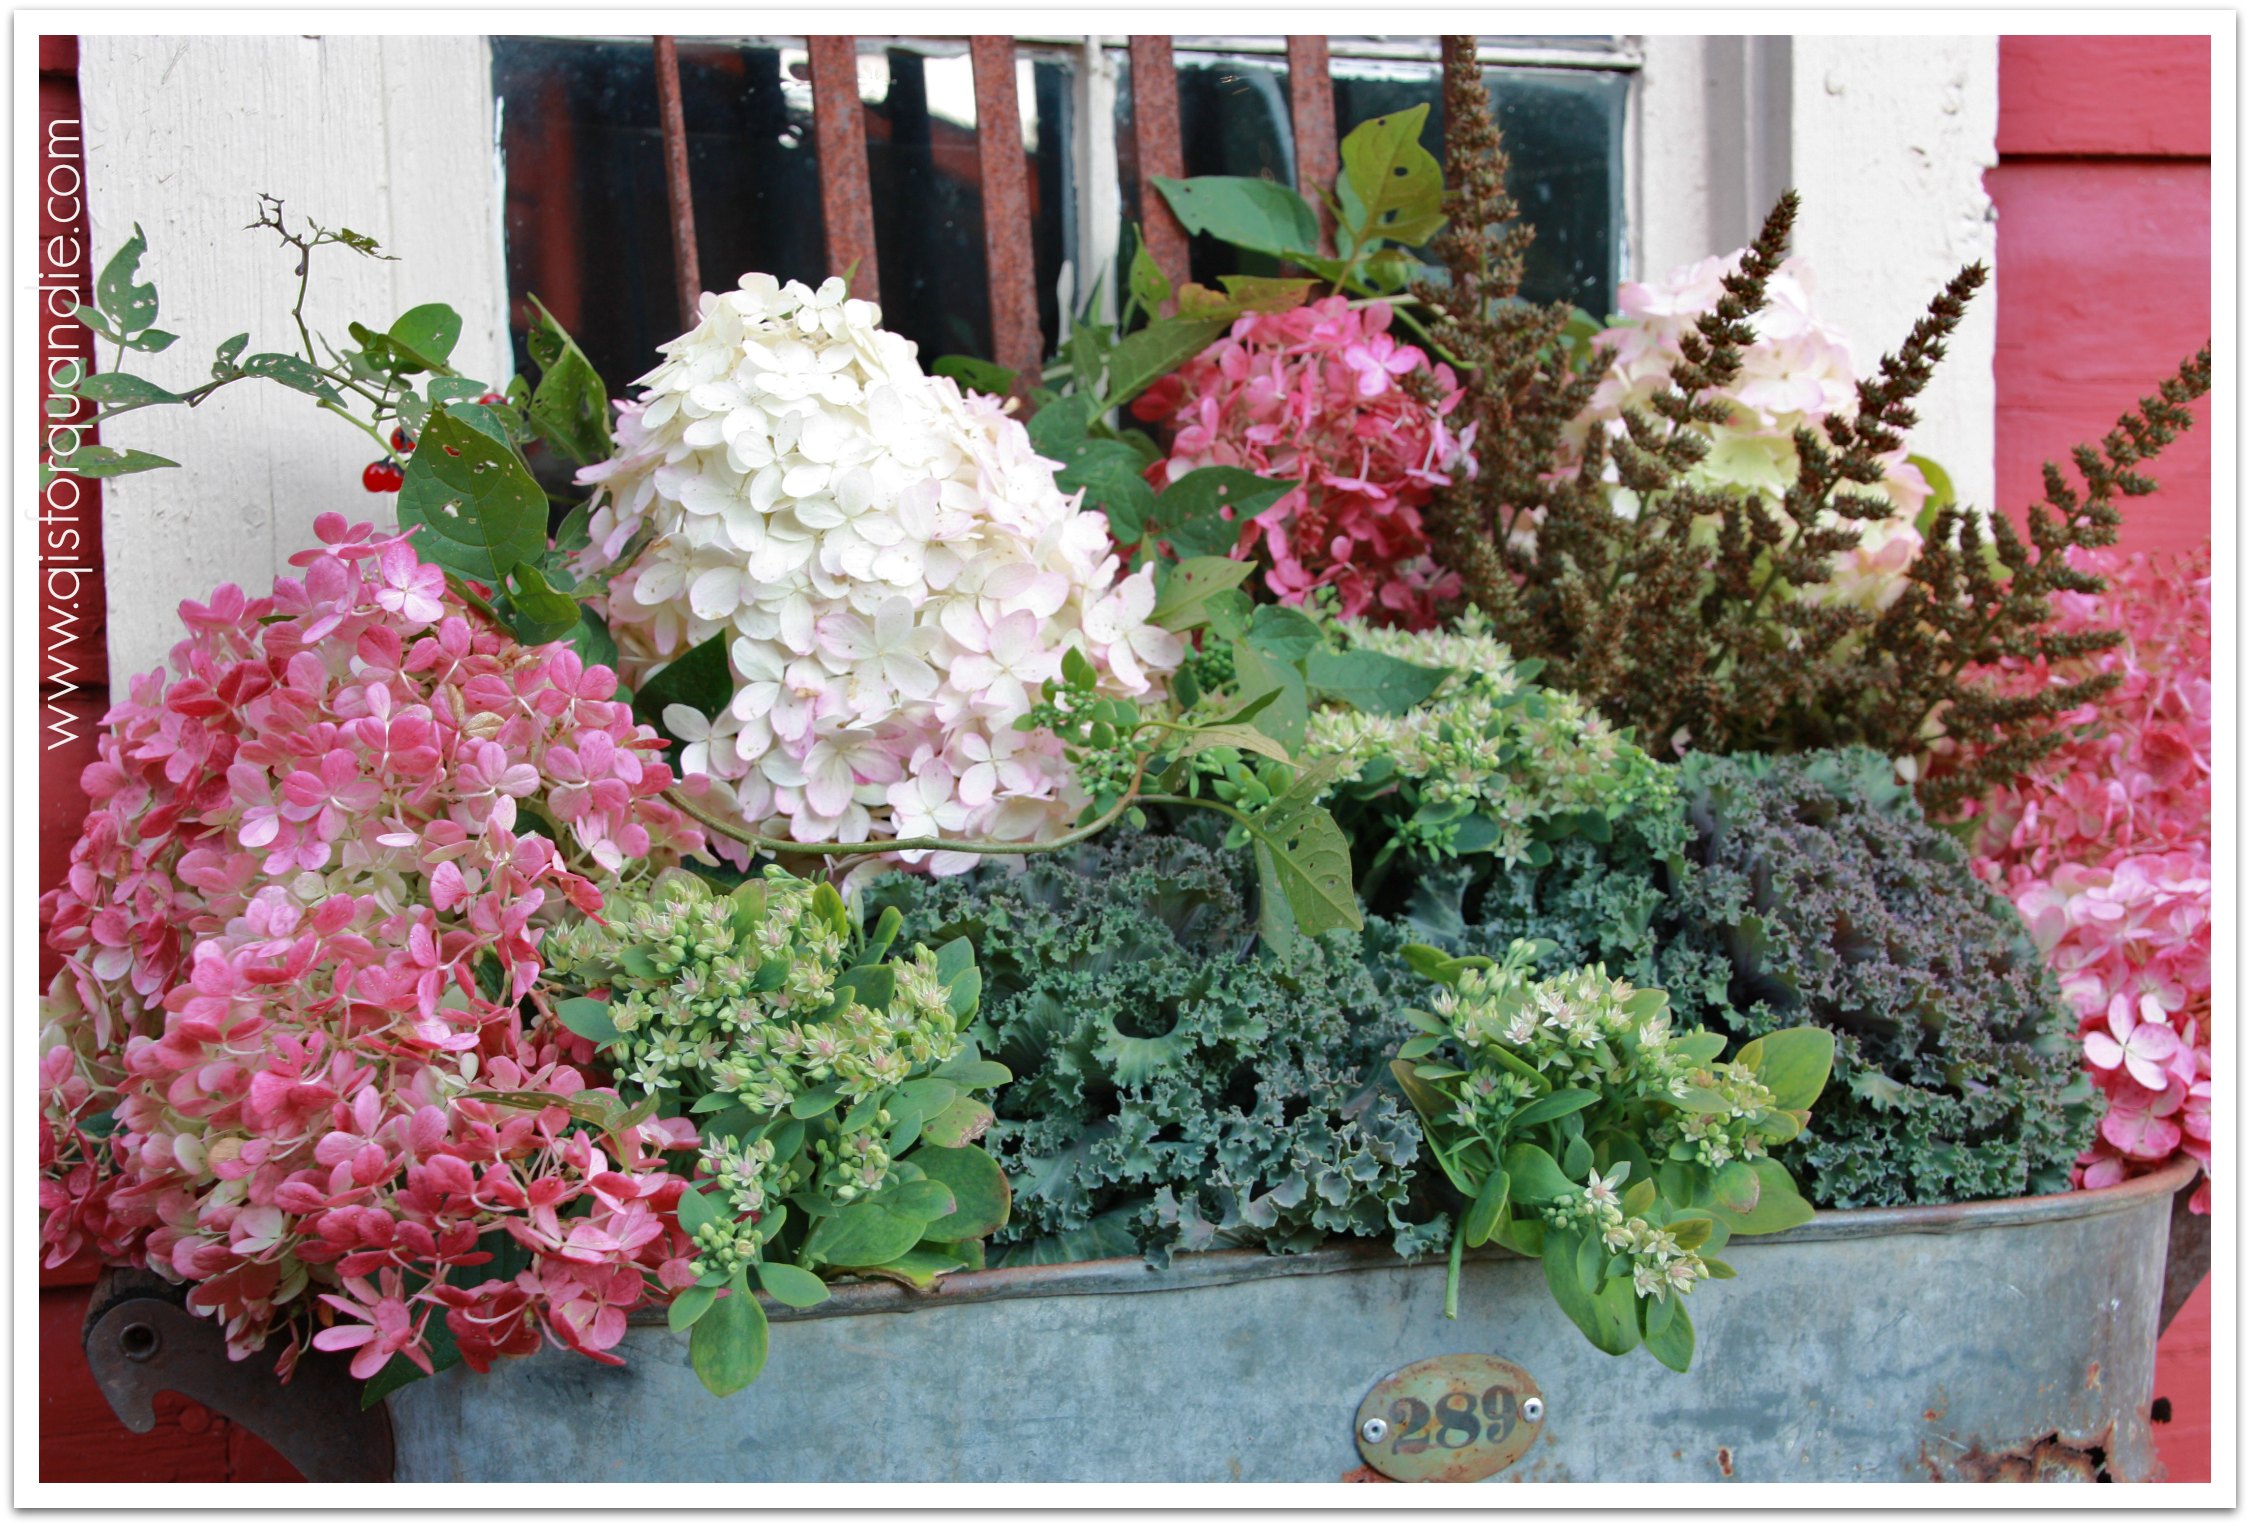
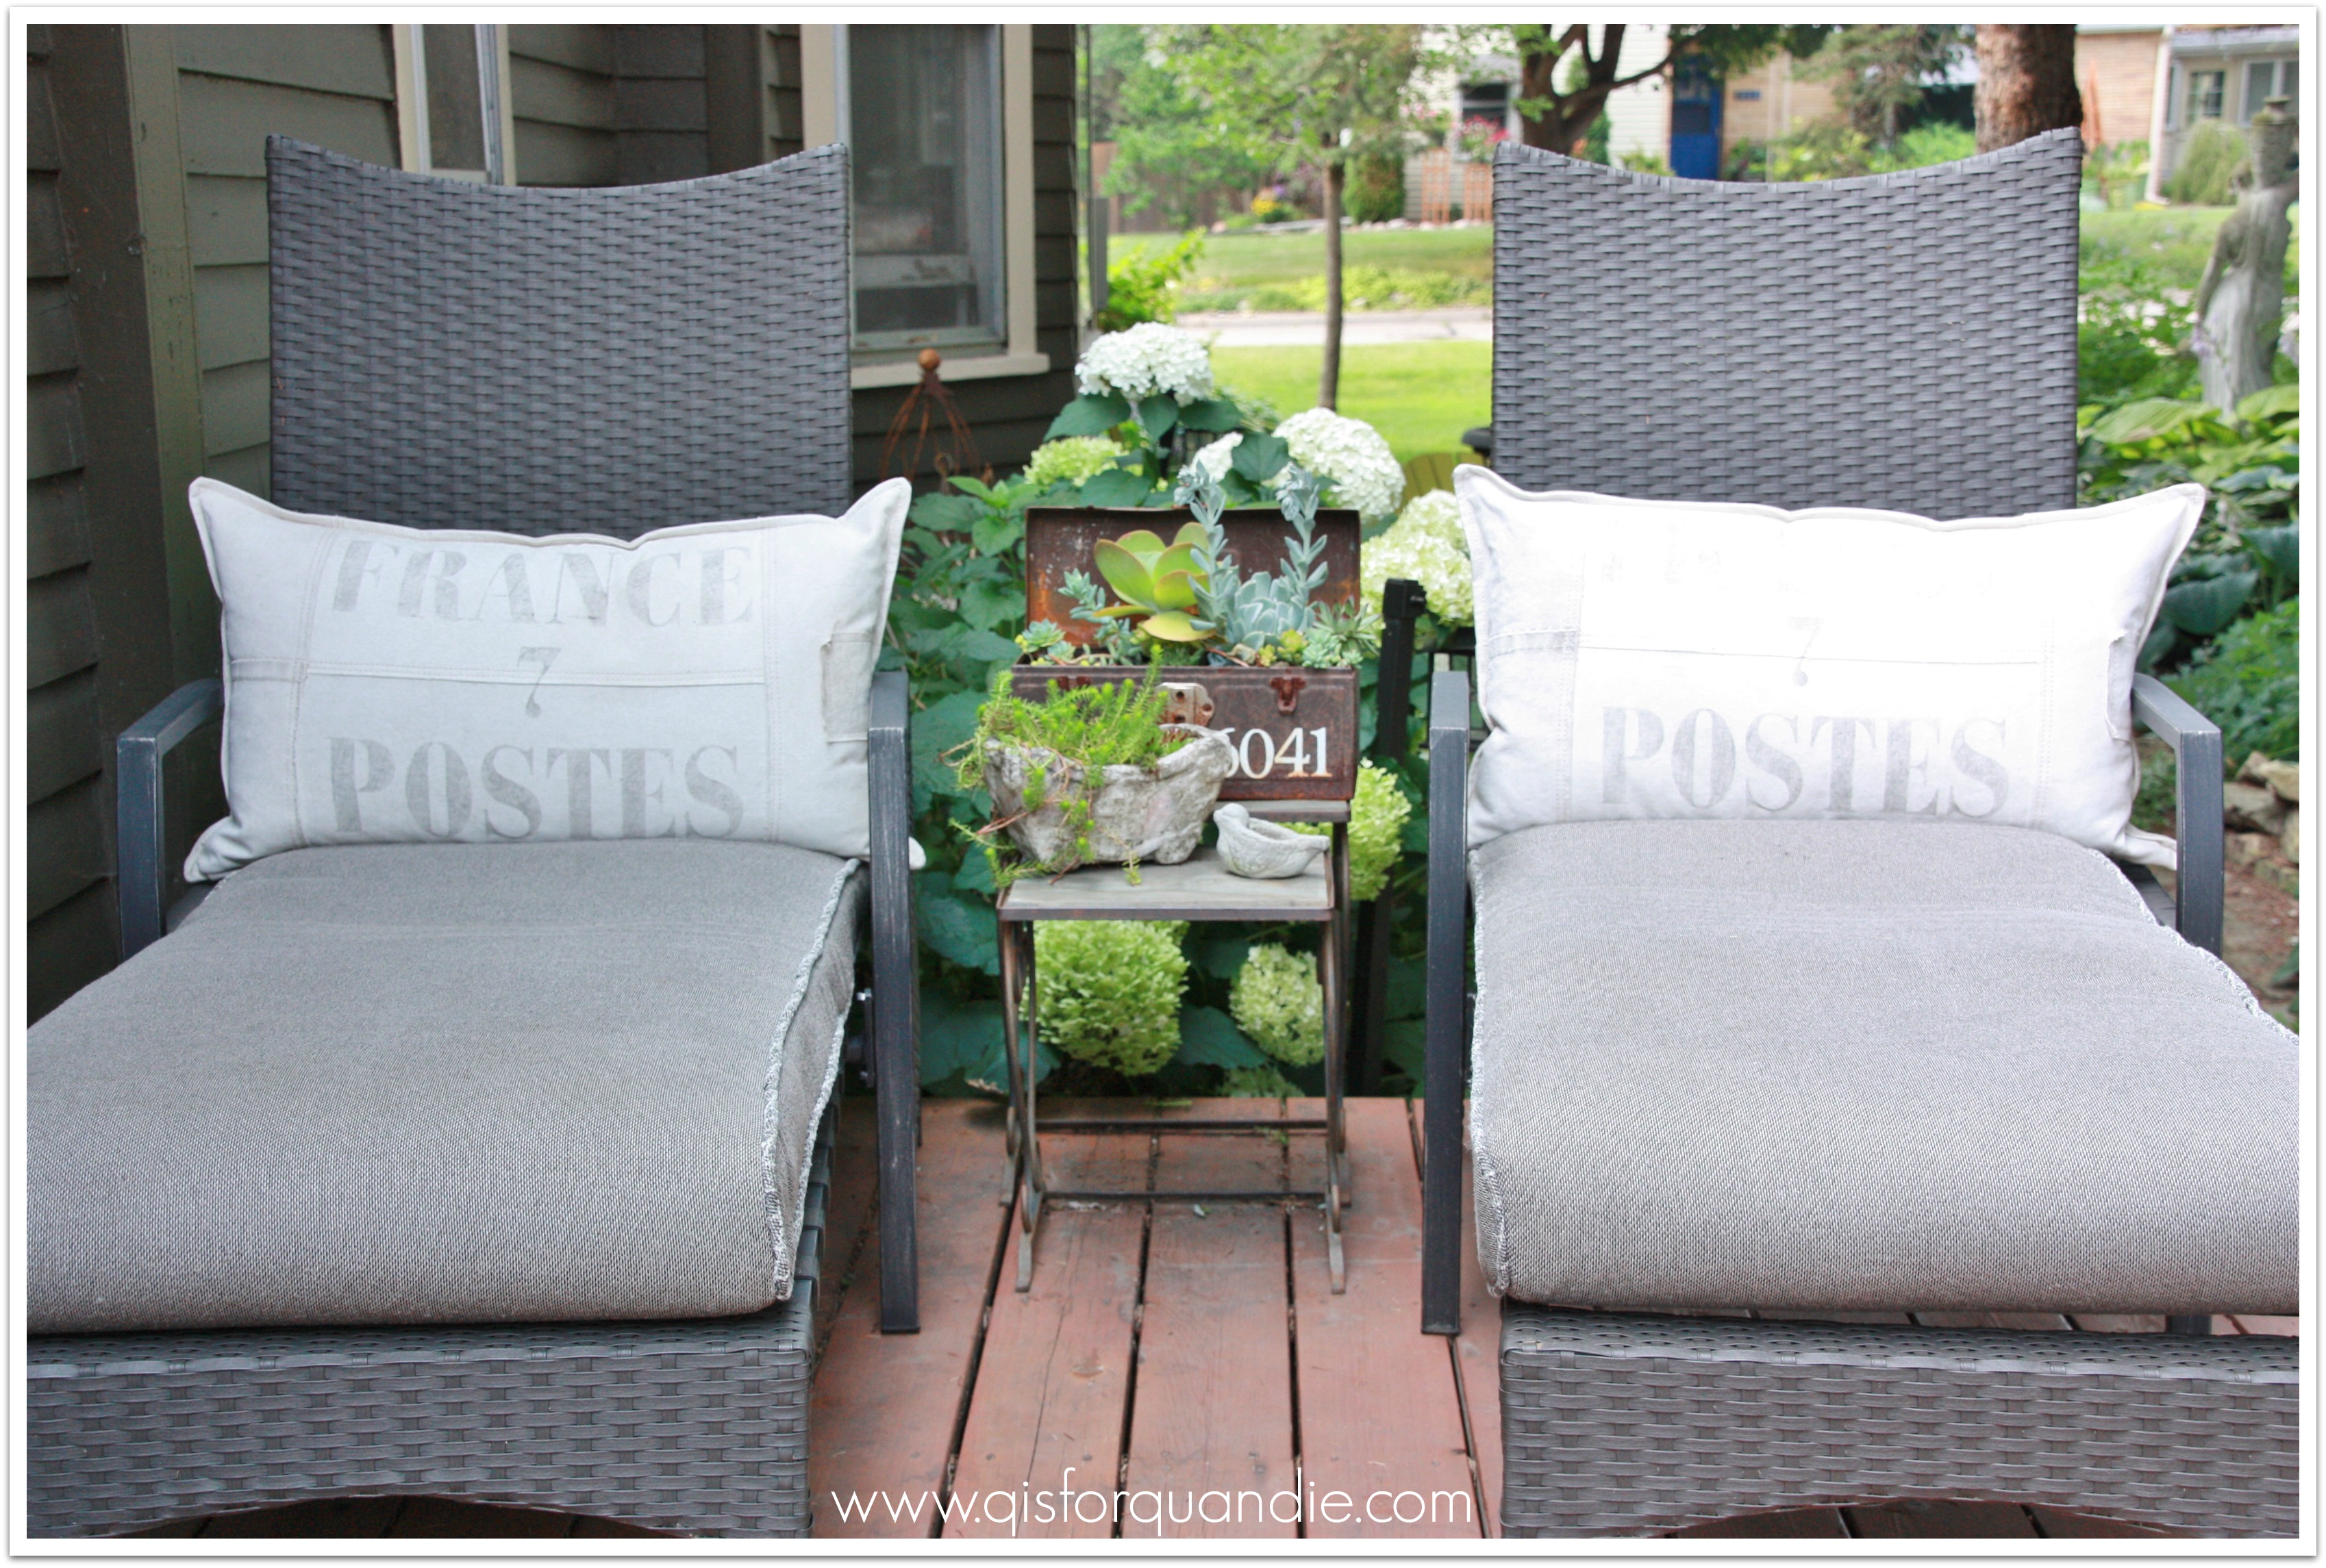
And in case you were wondering, my annuals did survive the cold snap we had just after they were planted. I’ve added my own wordy plate to one of my galvanized boiler window boxes.

Coming soon in the garden; peonies, clematis and then roses. But let’s not rush things, shall we?
Meanwhile, the garden bed is for sale at $225. If it doesn’t go sooner, it will be available at my upcoming sale. Please note, this is a full size bed. There is no such thing as an antique queen or king sized bed, these sizes weren’t manufactured until the mid-1950’s. But if you like to snuggle up close with your significant other, or if you sleep alone, a full might be perfect for you. Otherwise, it’s a great size for the kids or the guest room. You guests won’t be comfy enough to overstay their welcome.
Sidebar: Remember the dueling mid-century bureaus? My sis painted one, and I painted one. Well, Debbie is gloating all the way to the bank as hers sold already and mine remains on craigslist! Drat! She wins!