the lilac hedge fail.

First things first, I picked three names to win some Touring cards from Monday’s post.  Congrats to Mary (Moore), Wendy and Melanie!

Now, on with today’s post.

lilacs

Since I seem to usually share only my successes with you guys, today I decided to share a failure, my lilac hedge.  I just thought I’d keep it real and let you all know that not everything I do turns out well.

When we bought our house 28 years ago or so, there was an unruly hedge along the back property line.  I have no idea what kind of shrub it was, it didn’t flower or look pretty in any way whatsoever. It did however provide tons of privacy.  We could barely see any of the houses behind us.  In fact, in over 20 years I had never even met the lovely woman who owns the house just behind me.  This photo gives you some idea of how it looked back there behind the photo cottage.  It was tall and full, but also very straggly and unkempt.

old hedge

After many years of trying to prune it into some sort of shape, I finally gave up and we pulled it all out.  That year I met Claudia, whom I now secretly call the ‘neighbor behind the hedge’, and realized that she’s a lovely person and had lived back behind there the whole time!

I have to admit though, as soon as we pulled the hedge out I got a sick feeling in my stomach.  I felt like we had exposed ourselves to the world.  What was once a private oasis was now a wide open view of suburbia.  Ugh.  But I knew that I had to start somewhere with a new hedge and I reminded myself that gardening takes a lot of patience.  I told myself that it would only take 3 or 4 years before we had some privacy again.

I decided to put in lilacs.  I wanted something that would flower, and also something that would grow just as large as the last hedge.  I also wanted something old fashioned and not too formal or fussy.  Lilacs seemed like the perfect choice.  This all took place b.b. (before blog), so I wasn’t thinking about how lovely they are to photograph, but that has been a bonus.

lilacs 2

I selected a few different lilac hybrids for my hedge, some really dark purple, some pale pink, some more of a wine color.

lilac 3

I planted them as per instructions and initially they did well, but of course were short and spaced rather far apart.  After their first winter, I had a couple of shoots that died off.  I cut them back in the spring and kept hoping for lots of new growth.  But then the next winter I had more branches that died off.  I cut those back, and now my plants were fairly misshapen.  I continued to hope that they would fill in during year 3.  You know the adage, first year they sleep, second year they creep, third year they leap.

Unfortunately I am now on year five and my hedge looks likes this …

lilac hedge

It is not a pretty sight and it certainly isn’t giving me any privacy.  This past winter even more branches died back, and the plants on either end of the hedge are almost completely dead.

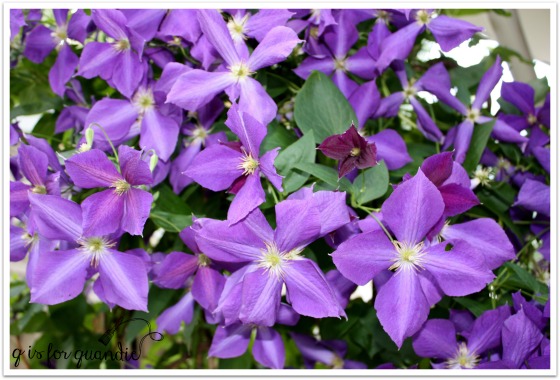
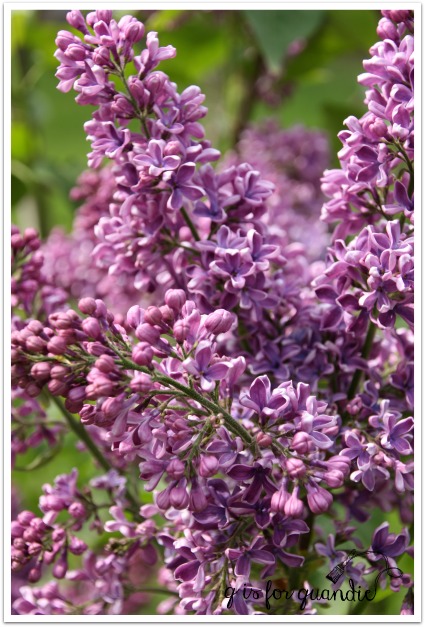
The branches that are still alive are covered in flowers though!

lilacs 4

I need to decide what to do at this point.  Do I attempt to prune them properly again this year and see if I can get them to fill out?  Do I replace the dead ones on the ends with new lilacs?  Or do I try something different like some Limelight hydrangeas or maybe a Viburnum?

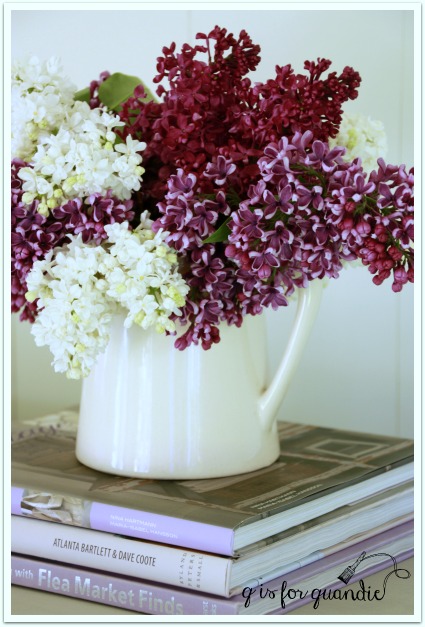
I hate to give up on them when they provide such lovely flowers for furniture photos shoots!

lilac 6

But they sure aren’t living up to my expectations.

If any of you have any lilac advice, I am all ears.


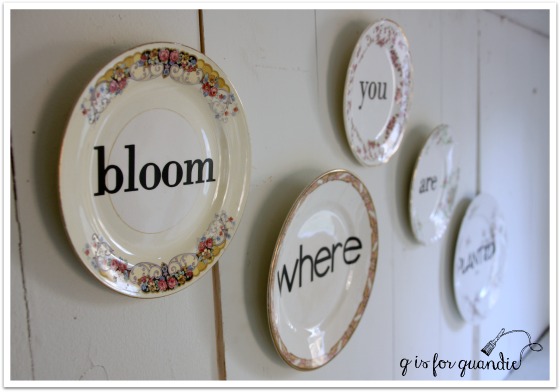
bloom where you are planted.

bloom where you are

I’m ending out the week with another garden themed post.  I have tulips, scilla and crocuses coming up in my garden.  Just you never mind that we got a snow storm on Wednesday!  It’s mostly melted now, so it’s safe to start thinking about what annuals to plant this year, what perennials need to be divided, which garden beds need to be revamped, and what new things can I use to ‘decorate’ my gardens.

Along those lines, I’ve dropped off a load of garden decor items at Reclaiming Beautiful, including a whole new crop of plates with words.

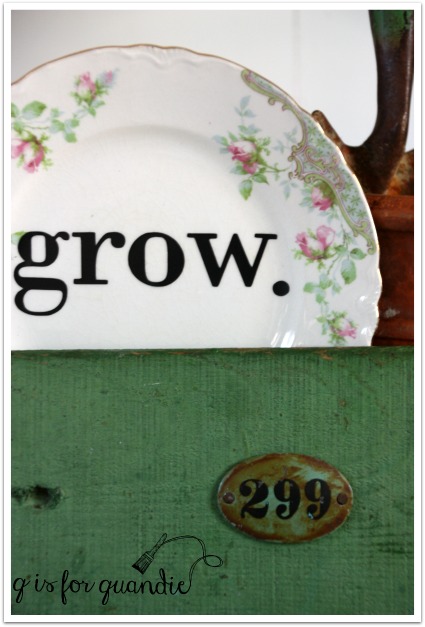
grow plate in box

I did a few of these last year and they were a big hit, so I’m doing more.  If you’d like more details about how I create these, check out {this post}.

 You can tuck these plates into a wooden crate with some vintage garden tools for display in your potting shed or on your porch.  Or you can add them to a planter, like this example.

grow plate

 I kept this plate in my boiler pot window box all summer and the vinyl letters held up just fine.  I’ll be putting it back out again this year.

I found some sweet plates at an antique shop in Buffalo, MN a week or so ago when we went out there to see my niece’s school play, The Wizard of Oz.  These were perfect for turning into garden plates.

bloom plate

But these plates that I purchased at the Macalester Groveland neighborhood garage sale last year are my absolute favorites.

grow close up

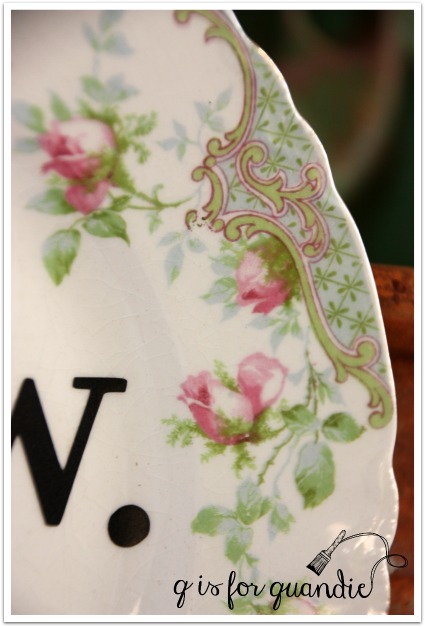
Isn’t the detail on these plates just gorgeous?  And I just love the colors.

grow plate detail

How about hanging this larger platter outside your front door?

welcome plate

I’ve also done up a couple of garden quotes on plates …

bloom plates 1

earth laughs

After I took these photos, I switched out the font I used for the “flowers” on that last plate.  I wasn’t loving how that one turned out.  I don’t have a photo to share though, I forgot to take another one before I sent them off to the shop.

In addition to the plates, I’ve also added ‘grow.’ to this old enamelware pot.  I used a large nail and a hammer to pound some holes into the bottom of it so that it has drainage.  You could plant some bright red geraniums right in the pot.  Or perhaps you’re more partial to petunias!

grow pot

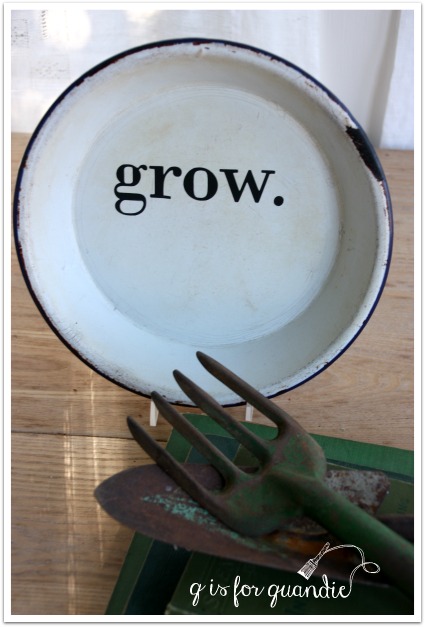
And this enamelware plate is probably my favorite of all.  I really was thinking about keeping this one.

enamelware grow plate

There’s just something about the rustic, farmhouse style simplicity of this one that appeals to me.  I can picture it added to a planter made out of an old galvanized tub, can’t you?

Are you starting to think about spring gardening where you are?

the potting shed.

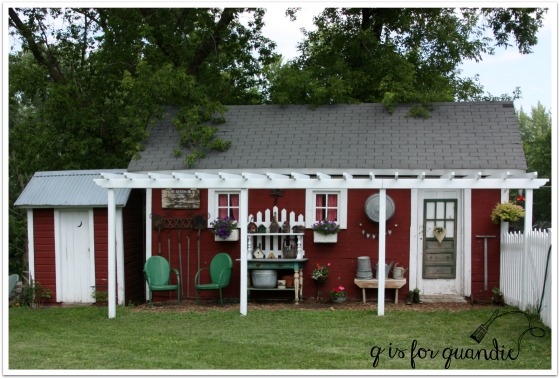
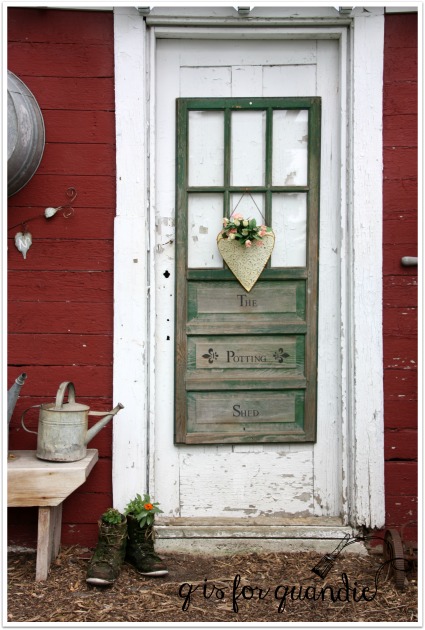
Back in the day long before it became the photo cottage, the summer house in my backyard was known as the potting shed.

photo cottage

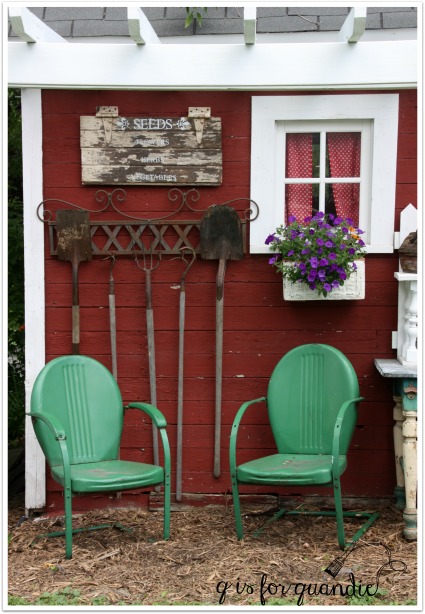
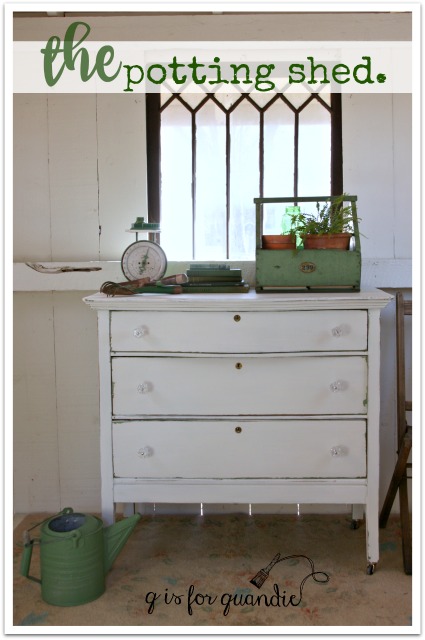
I actually had it all decked out with a workbench for potting up plants.  In reality, it did not make a very efficient potting shed.  Potting plants is messy work, I’m better off doing it right outside where I can just brush the dirt away onto the lawn.  Still, it was fun to stage today’s piece out there as though it still were a potting shed.

the potting shed

If I didn’t get so much use out of the photo cottage as is, I’d be tempted to turn it back into a potting shed now.

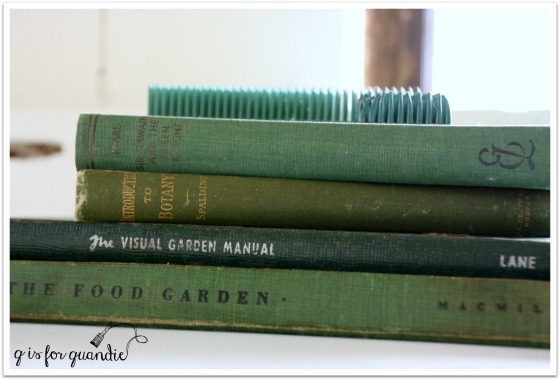
green garden booksI have lots of fab garden-y props, all in lovely shades of green.

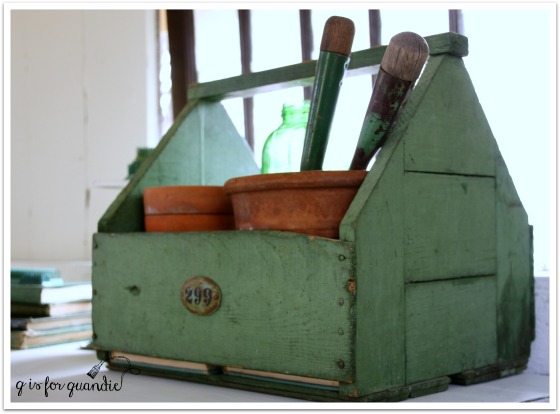
green scaleThis green box usually resides in my pantry holding cleaning supplies.

green garden box 2

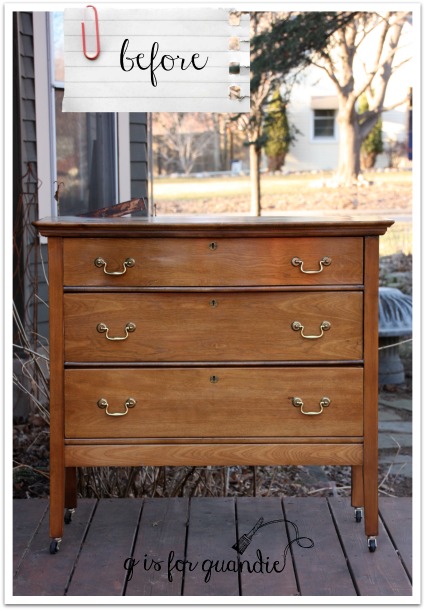
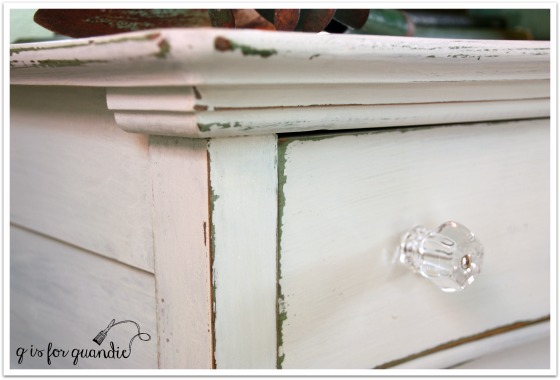
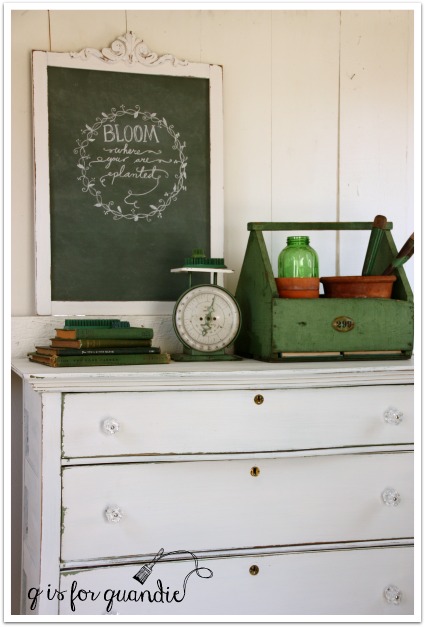
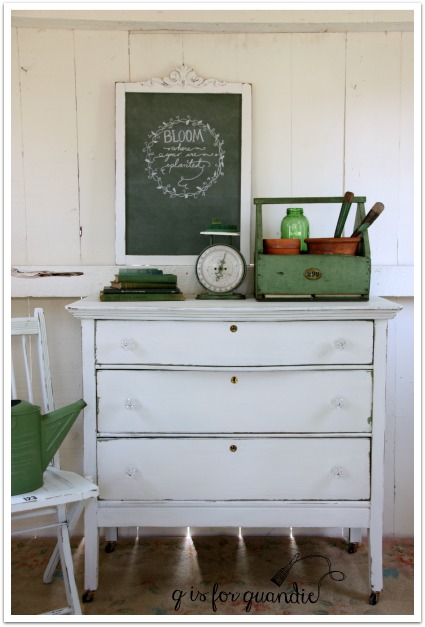
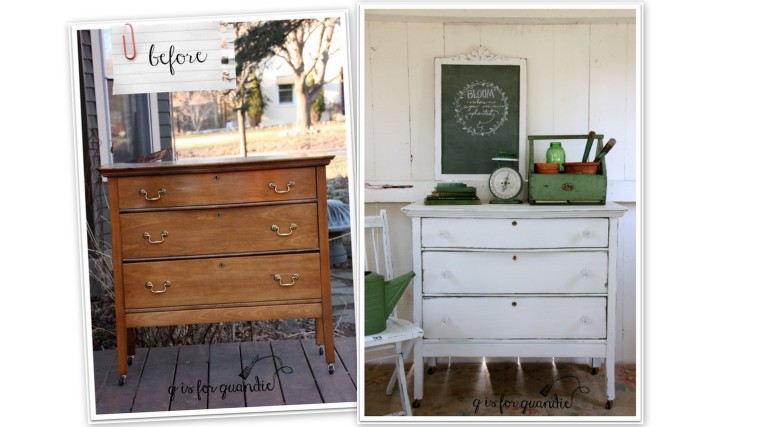
But the real reason for this post is the dresser.  This is another one that Mr. Q picked up for me via Craigslist.

porch swing before

This was an interesting piece.  The style says ‘old’, and inside it looks old, but there were some things that were throwing me off.  For one thing, the casters are new.  The drawers pulls are new too.  And the finish was very plastic-y and shiny, like new.  Someone worked really hard to take the “old” out of this piece, which I found to be a little bit sad.  Obviously it was up to me to put the ‘old’ back in!

I got off to a bit of a false start with this one.  I painted it with Little Billy Goat’s Porch Swing, which is a lovely green (in fact, a very similar green to the wood box with the handle in my photos).  But it did not work out.  I’m still doing some research into where I went wrong, and when I have some answers I’ll share that with you.  In the meantime, let’s just say I knew I had to go back to the drawing board.  I decided to paint over the green with white milk paint.  I purposely added some wax around the edges first so that some of the white would chip away to reveal the green.  This is the same mix of MMS whites that I used on the chalkboard frame from Monday, by the way.

potting shed dresser close up

Perfection!  In the end, maybe this was meant to be.  Just a hint of green rather than a sea of green.

potting shed dresser angle

As you may have noticed, I replaced the brass drawer pulls with some glass knobs.  These are the 1 1/2″ glass knobs from D Lawless Hardware.  They are the larger size glass knobs, and I think the scale of these was just right for this piece.

potting shed dresser 2

potting shed dresser 3

I took about six hundred photos of this thing.  Some with the window …

potting shed dresser 4

Some with my false wall in place.  If you don’t know about my false wall, you can read about that {here}.

potting shed dresser 1

I think this dresser would be perfect in a farmhouse style kitchen, or maybe on a covered porch.  Or perhaps beside the bed in place of a nightstand.

potting shed dresser collage

This one is for sale (local sales only, no shipping available), so if you’re interested in more details feel free to leave me a comment or shoot me an email at qisforquandie@gmail.com.

winter window boxes.

I’m so ahead of myself this year!  Last year I waited too long to get my winter window boxes done.  As a result, the dirt was frozen solid so everything had to be sort of placed on top of it.  That really doesn’t work well at all, so this year I was determined to not let that happen.  Maybe I overcompensated just a little, but the weather was so lovely last week that I decided I would get a jump on them.

winter window box 1

 I think the trick to a gorgeous window box is to fill it chock full, and here is how I make that happen.

I start by placing in my twig lights, spruce tops and some filler evergreens.  I purchased the evergreens from Bachman’s (my local nursery).  I spent about $60 for enough evergreens for my front window box, my two galvanized boiler window boxes, a planter on my deck and some small planters that hang on the mailbox post that I share with nnK.

window box layer 1

Those twig looking things are my twig lights.  Each end has a little light on it.  Last year I wasn’t able to use them because the boxes were too frozen to poke them in the dirt.  I mentioned this to one of the clerks at Bachman’s and she recommended using a drill (to drill a hole in the frozen dirt) should this happen again.  Great idea!  But easier in the long run to just get this done before the dirt freezes solid!

Once I have a base of greens I fill in with lots of hydrangeas.

window box layer 2

It would cost me an arm and a leg to purchase enough stuff to fill in this huge window box, so I sort of wander around my garden looking for dried plants that might add some interest, like these alium flowers …

window box allium

I don’t know what these are called, but they grow from the ferns.

window box ferns

I also added some dried Astilbe flowers.

window box astilbe

As Christmas gets closer, I’ll add some more festive yuletide touches to the window box, but for now it just has a simple wintery appeal.

I used a similar process on my galvanized boiler turned window box that is hung on the side of the Carriage House.

boiler window box 1

I went with a bit more color in this one though.  With the exception of the spruce top and the ornamental kale, everything in this arrangement was salvaged from my garden (well, or nnK’s garden across the street).

boiler window box close up 1

I have used hydrangea, sedum, lavender, foam flower and burning bush.

boiler window box close up 2

I also tucked my garden cranes in this year.  I purchased these at a garage sale several years ago.

boiler window box cranes

I put away most of my garden planters for the winter, but I add a winter arrangement to this large planter so I have something nice to look at when I come home every day.

deck planter

That planter, by the way, is faux.  It looks like concrete, but really it’s a Styrofoam like material that is very light.  I purchased it at a garage sale (naturally).

This year I decided to add some birch logs to this arrangement.  It’s all the rage you know, and I have to say I really love the look.

deck planter close up

This arrangement is mostly evergreens with a few hydrangeas in the front.  I purchased those tall brush-like things last year and last spring they were still in good enough condition to put away for use again this year.  This year I’ll save the birch logs to re-use as well.

You can see that my ironstone platter with my house numbers on it is holding up really well.  This is another plate that I did with my Cricut and some vinyl.  It has been hanging outside since June and the vinyl isn’t peeling at all.

Well, I hope I’ve inspired you to go gather some things from your garden and put together some winter arrangements whether inside or out.

mums the word.

This year’s summer window box was kind of a bust.  I tried something new and it was a fail.  I used a couple of annuals that were new to me, unfortunately I didn’t even keep track of their names.  By mid-August, it just looked like I had a bunch of weeds growing in my window box.

summer window box

Ugh!  Terrible, right?

So when I heard an ad on the radio saying that the mums were in at Bachman’s, I went to Menard’s to see if they had them too.  Mainly because Menard’s is usually a bit cheaper and I can get there on my lunch hour.  Sure enough, they had rows and rows of them.  The larger ones were only $3.99 and since I needed 9 of them that seemed like a do-able price.  So I grabbed a bunch of mums, threw in some celosia (at $6.99 each) and called it good.

I ripped everything out of the window box except the euphorbia, planted the celosia together in the middle and filled in with the mums.

window box 1

I’ve added a fab pop of color to the front of my house with this combination!  I didn’t go overly ‘fall-ish’ with my color choices since it is still rather early in the season.

window box 2

And sadly, these mums aren’t going to last much more than a month or so, if that.

window box 3

But they are a huge improvement over the ‘weeds’.

I still think I liked last year’s monochromatic fall window box better though.  Remember it?

fall window box title

Which one do you prefer?


where am I, and why am I in this hand basket?

I’m sorry to say it, but my garden has gone to hell in a hand basket this year.

handbasket title 2

I usually get tired of gardening around mid-August.  I figure a frost is coming soon (that is a ridiculous exaggeration, FYI) so why bother to continue weeding, etc.  But this year I have been motivated to give up weeding much earlier than usual because I have an unwelcome visitor!  A snake!

He appeared in my neighbor Arlene’s yard first, but he moved over to mine just hours later.  I think it’s a bull snake.  I’m no snake expert, but I did a little google research and that looks like the likeliest culprit.  When I saw him he was sunning himself under my clothes line.  I came around the corner and he freaked and ran (well, slithered) under the photo cottage!

garden photo cottage

Good gracious!  Why did he have to pick there?  He’s probably under that hosta right now!

He looked to be at least 4′ long.  OK, that’s another exaggeration, but he was pretty big.  Even nnK didn’t want to get near him, and she doesn’t mind snakes.

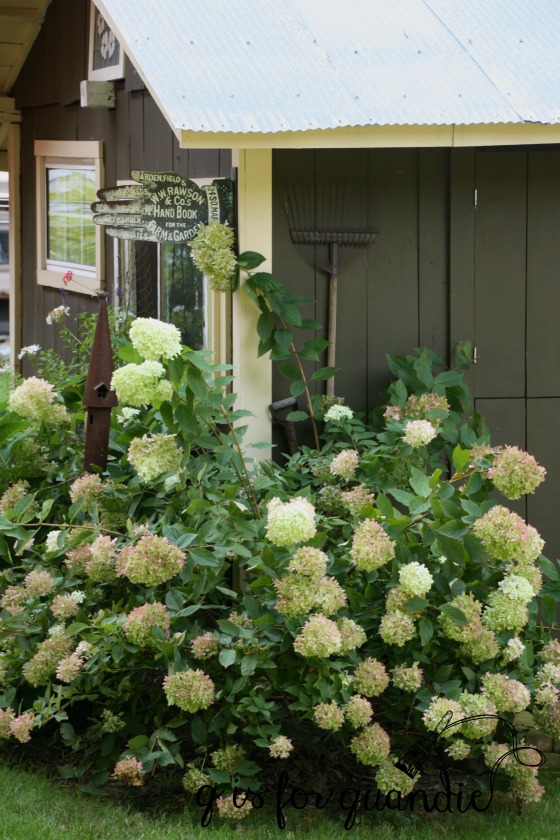
So the garden is getting a little scruffy.  It still has some bright spots though.  The hydrangeas are going gang busters this year.

garden

garden 2

And the lemon slice million bells are taking over the boiler pot window boxes.

window box

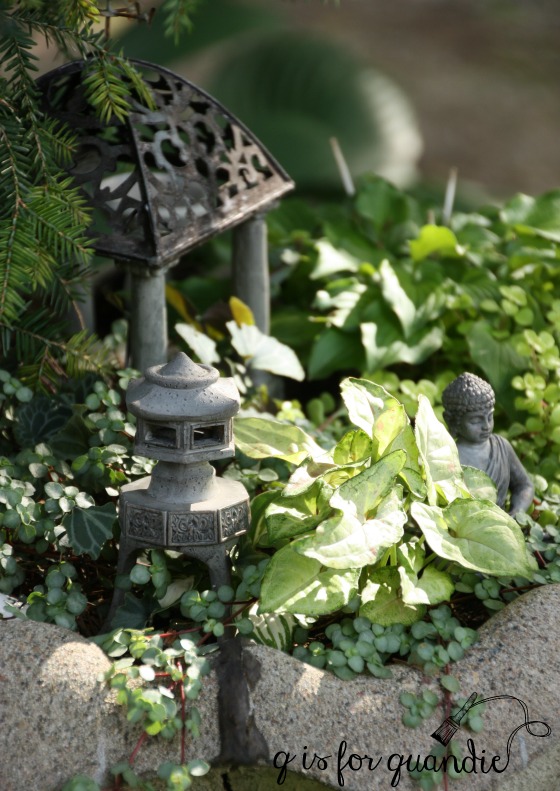
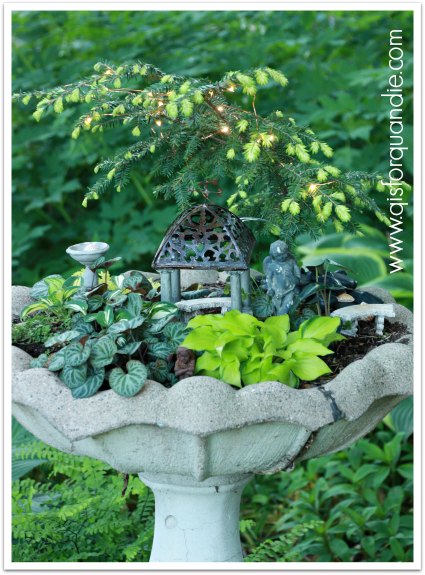
The fairy garden is looking lush, but then again, I don’t really have to worry about finding a snake in there so it gets more attention!

fairy garden

Cossetta is looking a little worse for the wear with a spider webbed face and her wonky crown.  She’s trying to cloak herself in ferns out of embarrassment.

cossetta

Can you blame her?

I have a Tiger Eye Sumac that has totally engulfed my arbor.  The clematis is tangled up with it, but still blooming away happily.

tiger eye and clematis

You’ll notice that I have skillfully avoided showing you the weeds.  I’m also not taking pictures of the plants that have been totally decimated by the dreaded Asian Beetle, but trust me, they are there!  But nobody wants to see photos of that stuff, right?

If you stand back and squint your eyes a bit, the garden still looks pretty good.

arbor

Just don’t get too close, and beware of snakes!

garden beds.

Who remembers this bed from spring 2014?

workshop bed

It needed a lot of work!  One of the legs was broken off the headboard.  The veneer was coming off everywhere.  The foot board needed to have its topper reattached.  So, in true Quandie fashion, I kept pushing it to the back of the line because it needed so much help.  After two years of that, I finally got it finished.

Bed painted with Annie Sloan Duck Egg

In the end, after getting help fixing all of its problems, I gave it a simple paint job with Annie Sloan’s Duck Egg.

bed corner

It is structurally sound now because Ken did a bang up job repairing the leg.  I ended up removing all of the veneer from the bottom trim on the foot board, but you’d never know it with it painted.

bed close up

The bed has side rails and bottoms slats that go with it.  I just love a curved foot board, don’t you?

antique bed painted in Annie Sloan Duck Egg

And since we’re already in the garden, I thought I would share a quick tour of what’s blooming this week in Minnesota.  Some of my favorites are in full bloom right now, like the Allium.  I never grew these until I saw then in nnK’s garden a few years ago.  Did you know they are bulbs?  If you want some in your garden next spring, plant them this fall.  They are as simple to plant as tulips.  I add a few more every fall.  They mostly die back to the ground a month or so after blooming, so plant them among other plants that will hide the leaves as they die back, such as hostas or peonies.  You can see that mine are planted among the peonies here.

allium

This photo doesn’t really show how tall and statuesque the Allium really are.

The irises are also starting to open up.

iris

As much as I love the flower, I’m not as fond of the plants themselves after the flowers are done.  They tend to look a little messy in the garden.  I’ve been slowly reducing the number of irises in my gardens.  I gave away a bunch of yellow ones last year and I’d be happy to give away some more.  If any of my locals readers would like some, let me know.

A bunch of my woodland plants are blooming now, the Columbine and the Anemones.

blooming collage

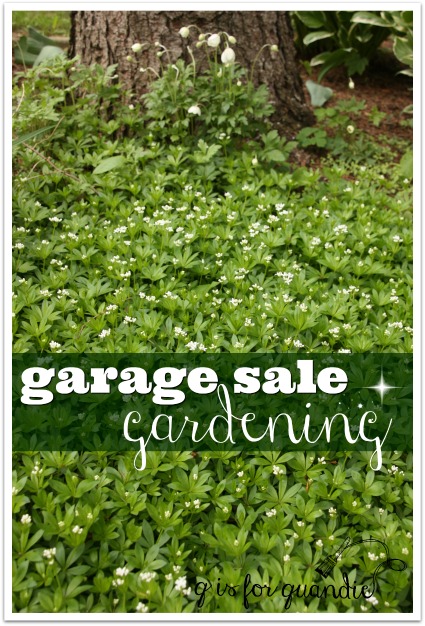
I added some Sweet Woodruff to the garden last year, and that is looking fab.

sweet woodruff

Like pretty much everything else in my home, I buy a lot of my plants at garage sales.  There are a number of ‘pros’ to doing this.  First of all, you know you are getting a plant that does well in your area.  If it’s growing so well that the seller has enough to divide, it must grow well in your area.  Second, I find that divisions from someone’s garden tend to establish faster than nursery plants.  Maybe that is just my imagination, does anyone else find this to be the case?  And third, of course, they are much less expensive!

However, I will caution you to do a little research into plants before you add them to your garden.  You’ll also find that many of the plants being sold at garage sales are invasive.  Sweet woodruff is one such plant.  I’ll keep an eye on it, and try to keep it in check.  I don’t mind if it fills in a large chunk of my shade garden though.  Perennial geranium is another such plant.  It is the sea of purplish blooms that you can see behind and to the left of the bed in a couple of photos.

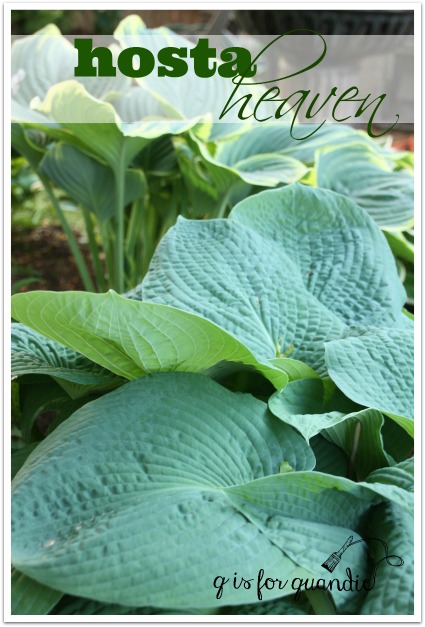
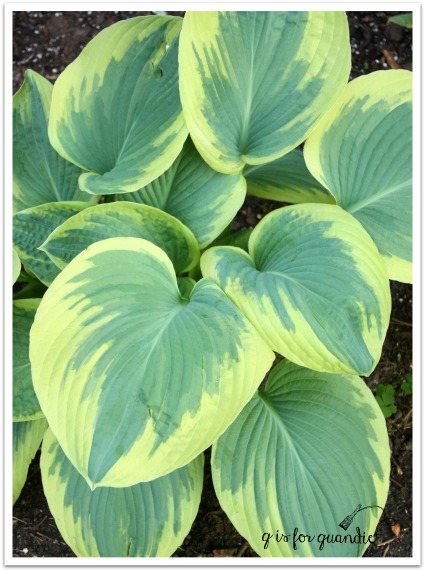
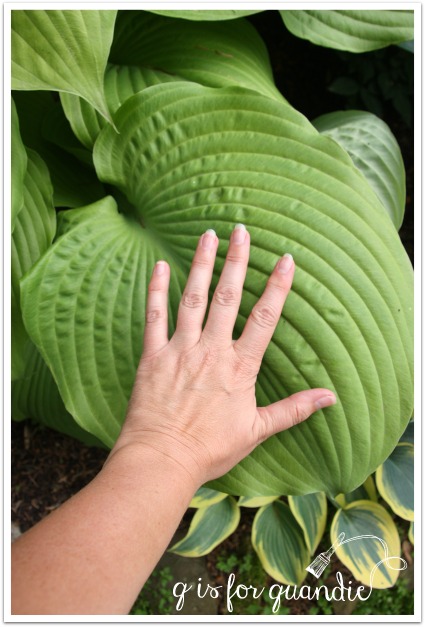
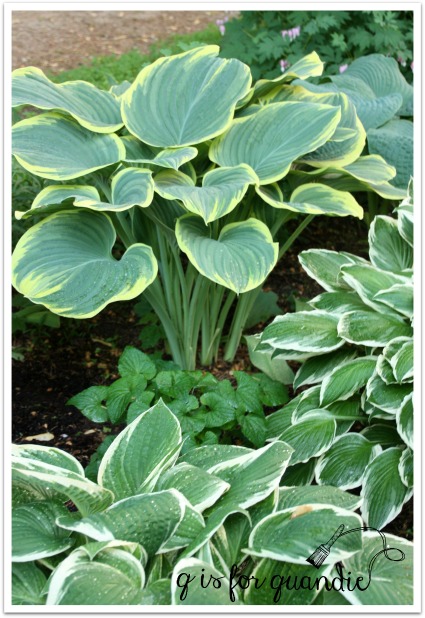
Some more of my favorite hostas are looking really lovely right now as well.   Here is my newest addition, Dream Weaver.

hosta dream weaver

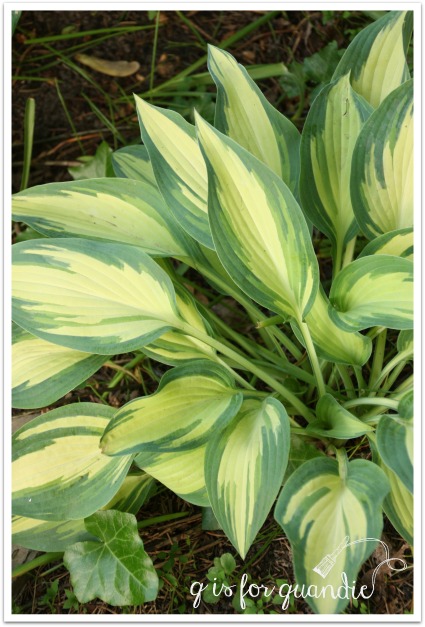
And one of my all time faves, June.

hosta june

And I’m fairly certain that this one is Liberty, but the tag has gone missing.

hosta liberty

And in case you were wondering, my annuals did survive the cold snap we had just after they were planted.  I’ve added my own wordy plate to one of my galvanized boiler window boxes.

grow plate

Coming soon in the garden; peonies, clematis and then roses.  But let’s not rush things, shall we?

Meanwhile, the garden bed is for sale at $225.  If it doesn’t go sooner, it will be available at my upcoming sale.  Please note, this is a full size bed.  There is no such thing as an antique queen or king sized bed, these sizes weren’t manufactured until the mid-1950’s.  But if you like to snuggle up close with your significant other, or if you sleep alone, a full might be perfect for you.  Otherwise, it’s a great size for the kids or the guest room.  You guests won’t be comfy enough to overstay their welcome.

Sidebar:  Remember the dueling mid-century bureaus?  My sis painted one, and I painted one.  Well, Debbie is gloating all the way to the bank as hers sold already and mine remains on craigslist!  Drat!  She wins!

a little slice of lemon.

Before I get to the lemon slice, if you haven’t already seen it, the winner of the Fusion giveaway was Lucy Auburn.  Congrats to Lucy!

I visited my favorite spot (Country Sun Farm in Lake Elmo) for buying my annuals last week and was really excited to find the Lemon Slice million bells.

Lemon Slice

I’d been admiring them in other people’s planters for the last couple of years, but hadn’t found them for my own.  Aren’t they fab?  I’m not usually a fan of yellow flowers, but these are so doggone charming they almost look fake.  So, I bought a bunch of them!  And while I was at it, I bought a bunch of other stuff too!

a little slice of lemon

I filled up my galvanized boiler window boxes.

boiler planter

And my rusty toolbox planter (see, I told you I don’t mind a little rust!)

rusty toolbox planter

While I was out planting, I took a moment to admire my May hosta.

May hosta

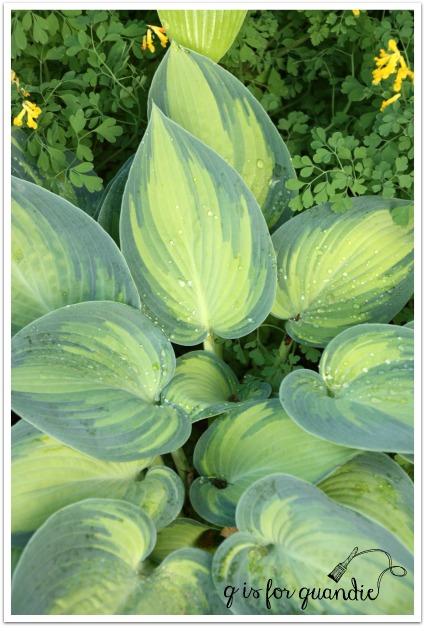
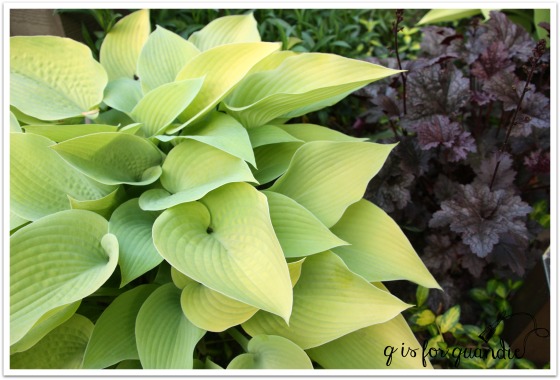
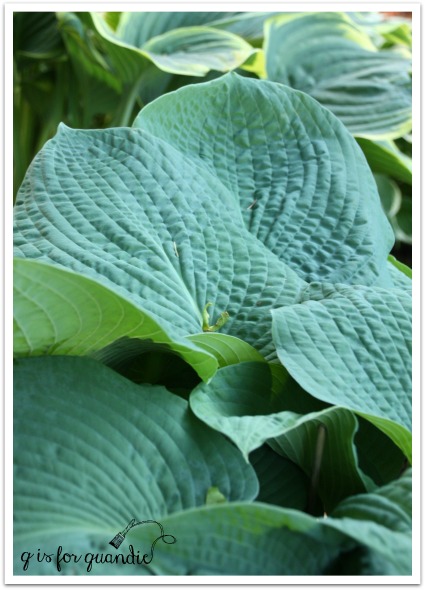
The color on this hosta is truly this vibrant.  It just glows.  It’s always so beautiful and pristine in the spring before it gets clobbered by hail or munched on by slugs, maybe that is why it’s called May.  If you are looking for a brilliant chartreuse hosta, I highly recommend it.  Here’s a hosta tip for you.  Even though hostas grow in the shade, you won’t get the most vibrant colors on them in full shade.  Those with more yellow tones will be brighter with a little sun.  This one is in a fairly sunny spot.  Blue toned hostas will do better in shade.

There are lots of things blooming in my May garden.  The bleeding heart is in full bloom.  This is a variety with chartreuse leaves called Gold Heart.  I have a lot of shade in my gardens and I love using bright chartreuse plants because they really pop out of the shadows.

bleeding heart

The foam flower is looking good.  This is also an amazing choice for the shade.  It blooms for quite a while, and even once it’s done blooming it is a pretty plant.

foam flower

I even still have some tulips blooming.  We’ve had cool weather lately and the tulips last forever when it stays cool.

tulips

And speaking of cool, last night we had temps forecast in the mid to upper 30’s.  I thought winter was over!  I had all of my new annuals, including my Lemon Slice million bells covered with sheets, I hope they made it!

watching the leaves fall.

Every once in a while, I allow myself a pretty extravagant luxury.  It’s one that most of us rarely have the opportunity to indulge in.  It is a full day with no plans, no to-do list, no commitments elsewhere.  24 hours of whatever I feel like doing.  I find this super hard to do, how about you?  I’d like to say that I’d spend it just sitting in my adirondack chair, wrapped in a blanket with a steaming cup of coffee, watching the leaves fall.

watching the leaves fall

But seriously, who am I kidding, I could handle that for about 5 minutes max.  Then I would have to jump up and do something.

So, it’s not really about sitting back and doing nothing for me.  It’s more about doing what I want to, with no pressure to finish something or be somewhere at a particular time.  I just go where the day takes me.

This past weekend it took me on a tour of my fall garden.

fall asters

Remember all of those beautiful yellow leaves that were on my trees last week?  Now most of them are on the ground.

fall wheelbarrow

But even though it is nearing the end of October, we’ve had a very mild fall with only a couple of near freezing temps at night.  So, there are quite a few things in the garden that are still going strong.  Like my painted fern.

fall painted fern

And the lamium and heucherella.

fall heucherella

Even the ferns in the front window box still look good, and the white mums finally opened up.

fall window box

The hydrangeas always look good into the fall.

fall hydrangea

I know many gardeners take the time now to clear out the gardens for winter, but I rarely do that.  I think the yellowing plants provide their own sort of beauty.

fall statue

Now that I have taken you on a stroll around the garden, I think I might spend a little time painting.  I have two fun projects in the works.

upcoming projects

Stay tuned to see what I do with these!

the fall window box.

Remember I told you I have a short attention span when it comes to gardening?  Yeah, I haven’t done a lick of gardening in weeks.  Fortunately, we are seeing signs of fall everywhere here in Minnesota, so it’s OK.  I can start tossing the summer annuals and throw in some fall updates and call it good.

First up, the front window box.  As you may remember, I tried something new this year, a monochromatic look of all white and green.  Here is how it looked when I planted it in May.

spring window box

 And here is how it looked by the end of August.

late summer window box 2

The Euphorbia ended up doing really well.  In the end though, the white impatiens were the star of the show.

Then, the impatiens all kacked.  I find that not many of my fellow gardeners are aware of this, but there is a virus that has been sweeping the nation and it attacks impatiens.  One moment they are full of blooms and looking gorgeous, and a mere week later they are nearly dead.  The flowers fall off first, then the leaves and you are left with nubbins of stems.  You will be tempted to believe that some kind of creature came and ate them, but no, it is a disease.  I hadn’t been planting impatiens for the last several years because of this, but last spring someone told me the virus had been ‘cured’.  This was bad info.  In reality, they have not found a cure.  According to my super scientific google research, the virus remains in your soil and will infect any impatiens you plant in that spot next year.  It also is airborne, infecting neighboring plants.  The double whammy of plant viruses, I guess.

Well, live and learn.  Next year, no more impatiens and I don’t think I’ll do the same monochromatic look.  It looked great close up, but from the street it lacked punch and without the impatiens, it just didn’t have much impact.

So, I yanked all of the remaining stems (bagging, sealing and tossing as recommended) and replaced them with white mums and some white pumpkins in keeping with my monochromatic look.  And here is how the window box looks for fall.

fall window box titleThe ferns, ivy and caladium are still going strong, so they stayed.  I added two white mums (flowers not quite open yet, and they better be white like the label says!), two white pumpkins, and some cut flowers from my Annabelle hydrangea.  My Annabelle’s turn a lovely chartreuse in the fall, do yours?

fall monochromatic window box

It’s an interesting twist on fall, not the traditional fall colors of yellows and oranges, but I love it.

full fall window box

I found the mums, kale and white pumpkins at Menards this week.  The mums were $3.98 each, the kale was $3.99, and the white pumpkins were $4.59 each.  So for about $33, and with the help of my prolific hydrangea bushes, I was able to give a both my large window box, and my two galvanized boiler pot planters a pop of new life for fall.

Hey, wait a minute, I don’t think I’ve ever shown you these.  Ken built them for me.  Both of the boiler pots came from garage sales and were super cheap because the bottoms were rusted out.  Ken added some wood slats, and then mounted them for me.  One on the Carriage House and one on the Photo Cottage.

fall boiler planter

I used the kale in this planter and added some Strawberry Vanilla hydrangea blooms, some Sedum flower heads, and some dried Astilbe flower heads.

Here is a better look at the arrangement.

boiler closeup

 I really enjoy being able to use stuff from my gardens in my window boxes for both fall and winter.  I’m hoping that these arrangements continue to look good for the next two months or so.  Or at least until the Carriage House sale.  Then sometime in early to mid-November I will switch them up again for winter.  I’ll be sure to share them with you again then!