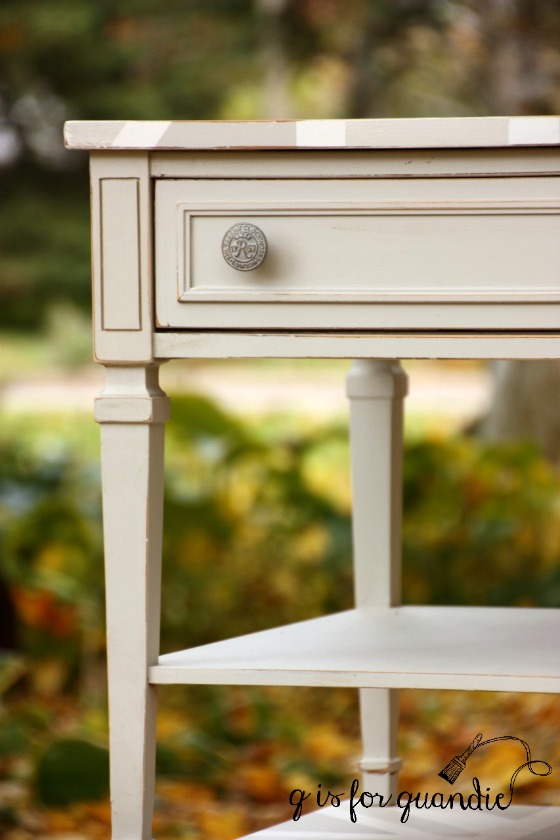
I’m still working with the pile of freebies that my friend Terri sent my way when her uncle passed away. This pair of end tables was among the items she gave me.
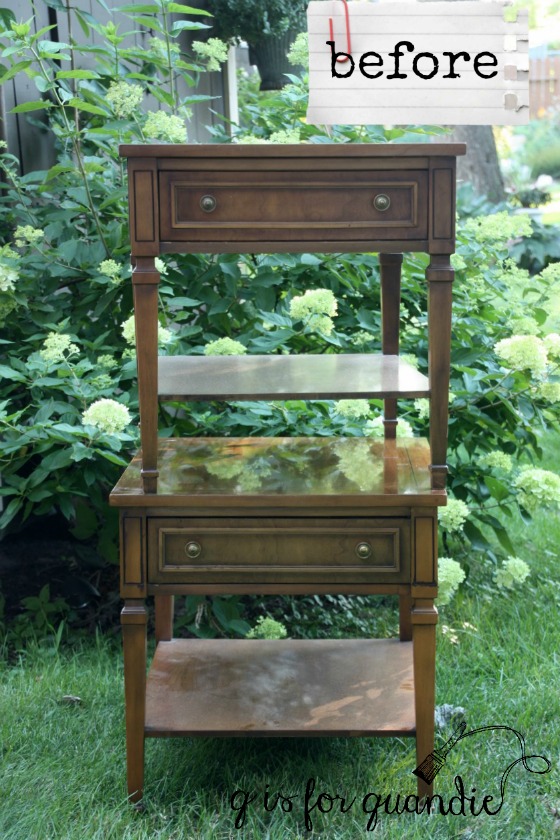
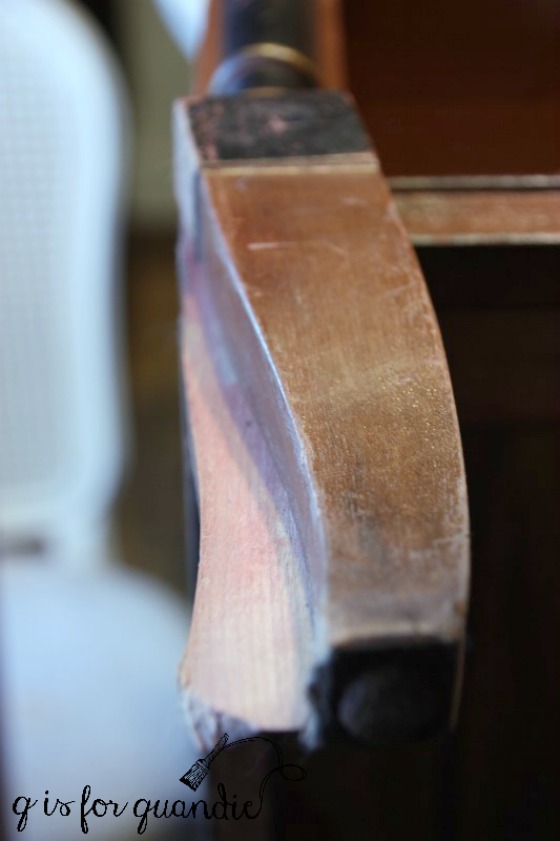
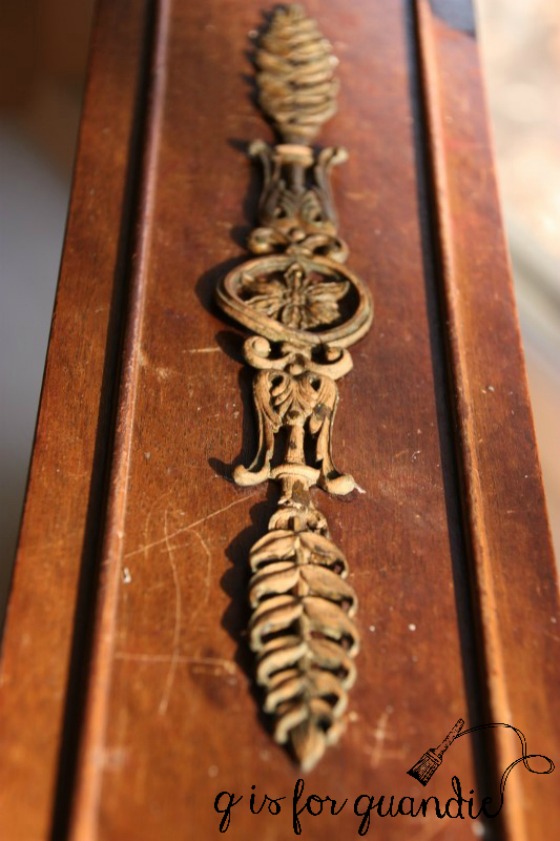
They are very traditional and they have that 80’s sort of finish. Just check out those shiny tops!
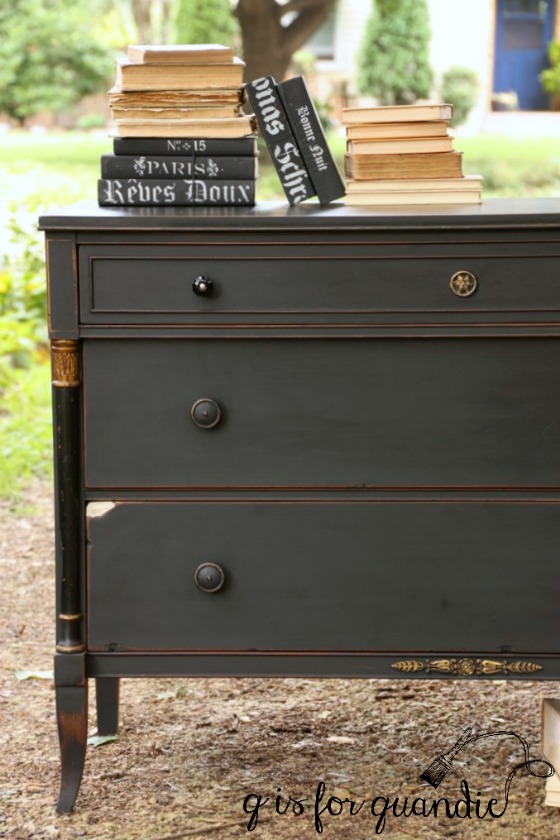
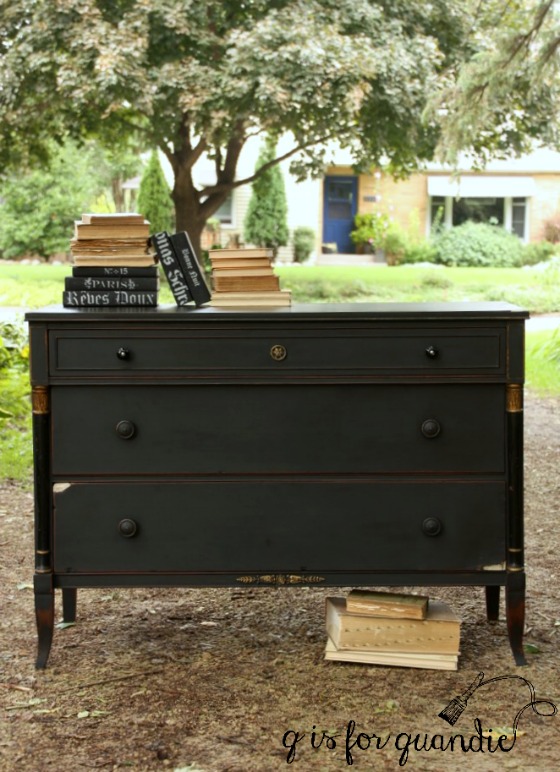
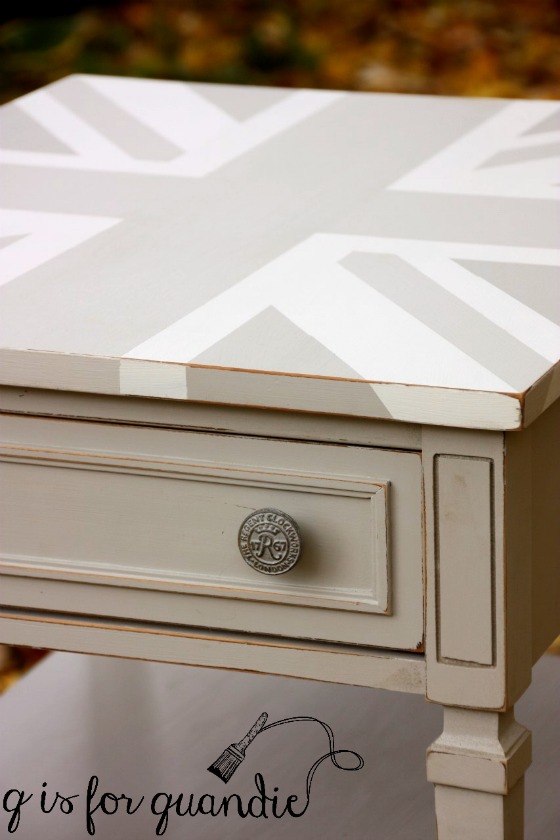
I kept passing them over in favor of other projects, mainly because I just wasn’t all that inspired by them. I debated painting them a bright color, or just painting them black. But in the end I couldn’t help wanting to give them each a union jack.
I’ve done a few union jack pieces in the past. Every time I do one I’m reminded of how much measuring and taping there is, and how many steps it takes. Paint a base color, wait for it to dry. Tape and paint the white layer, wait for it to dry. Tape and paint the 3rd layer, wait for it to dry. You get the idea. It’s a great project for evenings after work though because each step doesn’t take long, but you need that drying time in between. I painted these over the course of last week.
But every time I do one of these, I’m also reminded of how much I love them. I’m not even the tiniest bit British (well, maybe a tiny bit, I think my maternal grandfather had some ancestors that came from England), but there is just something about the design of the union jack that appeals to me.
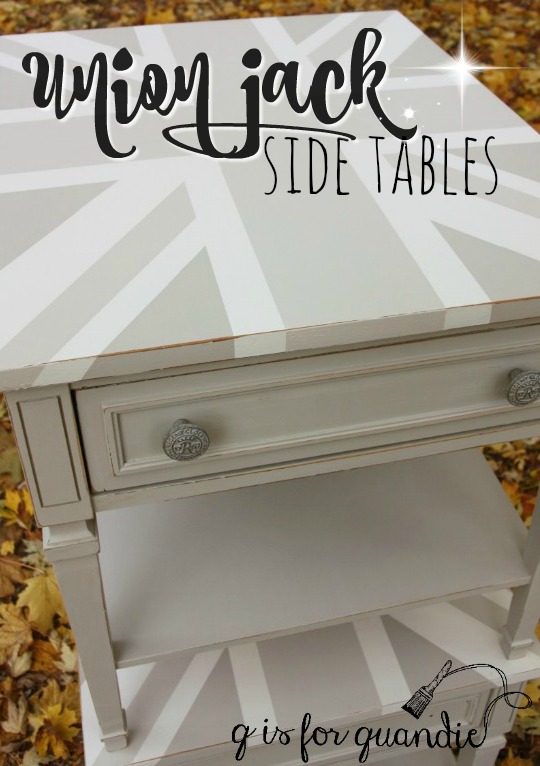
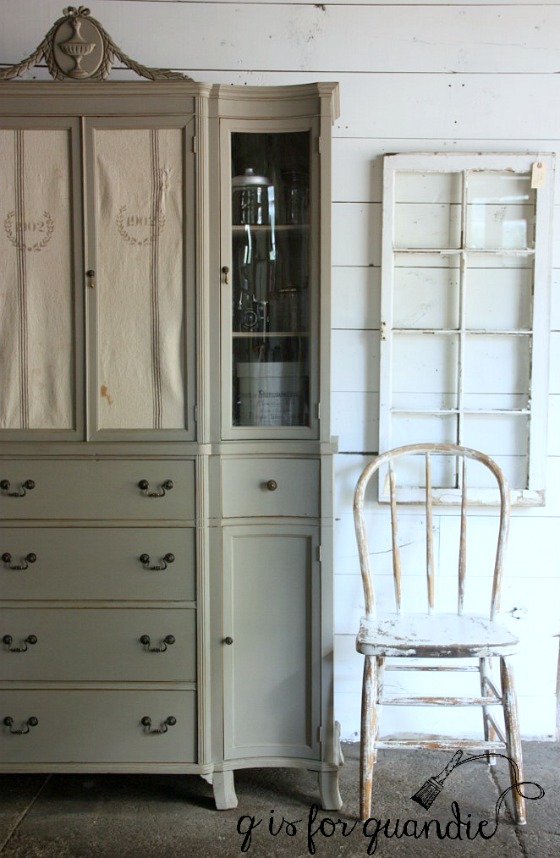
As you can see, I chose to forgo the traditional red, white and blue in favor of shades of grey. It tones down the design a little, and it will be easier for the future potential buyer to work neutral shades into their existing space. The base color is one of Fusion’s new colors called Putty. The white layer is their new Raw Silk. The 3rd color is a combination of Putty and another Fusion white called Champlain.
I like to use the Fusion paint when working with taped lines and multiple colors on one surface for two reasons. First of all, Fusion paint won’t pull off with the tape like milk paint will (as long as your surface is prepped with some sanding/cleaning and you are sure to wait for the paint to be fully dry before taping over it). And second, you don’t have to add wax with Fusion. With chalk paint, I find that adding the wax topcoat tends to drag the other colors into the white. This wouldn’t have been as big a problem with these grey tones, but if you’re using red it is definitely an issue.
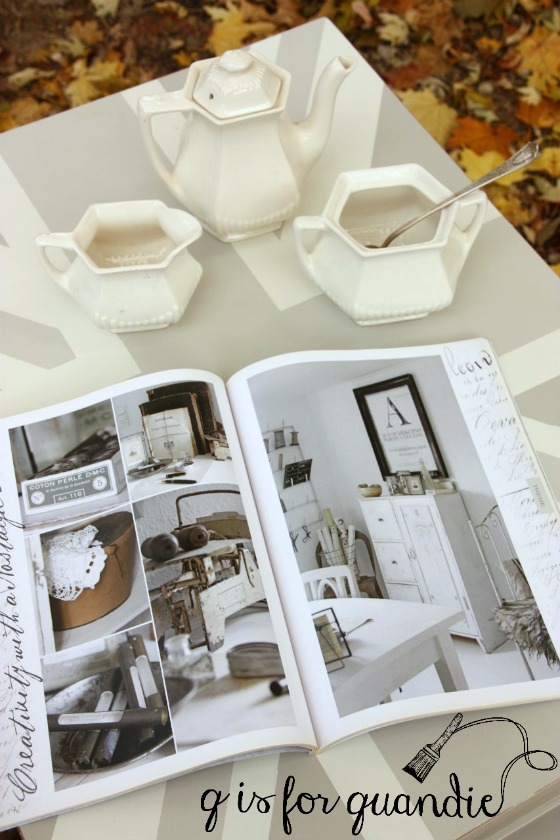
I included the magazine with crisp whites and greys in this next photo to help you see that the Fusion colors I used are warmer versions of white and grey.
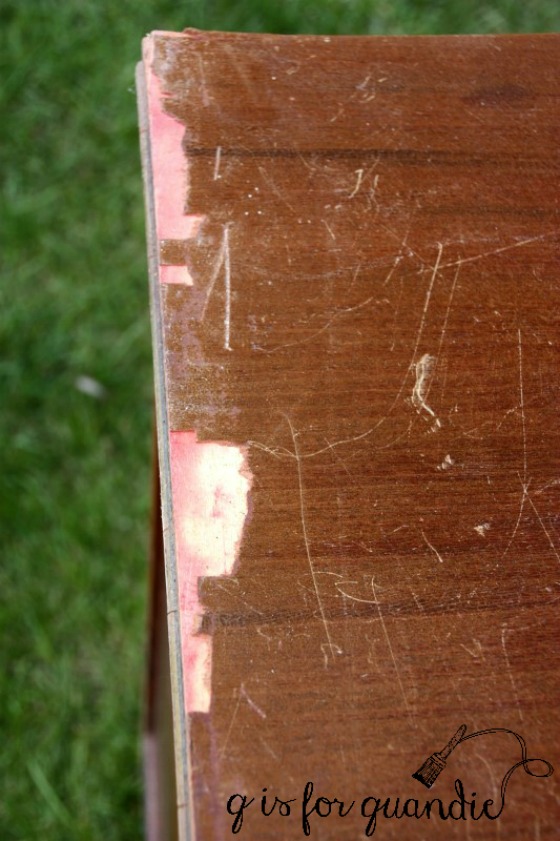
By the way, looking at how shiny those tops were, you might be wondering how well the paint did adhere as I was using the tape. I debated using a coat of Fusion’s Ultra Grip on just the tops, but in the end I didn’t. Instead I sanded them really well to rough them up. I also gave each paint color a full 24 hours or so to dry before using tape on it. I used the yellow Frog tape (for delicate and freshly painted surfaces) and I had absolutely no issues with paint pulling off on the tape.
After I made the decision to add the union jack to the table tops, I realized that I had the perfect replacement knobs. It’s hard to see in the photos, but these knobs say “Regent Clockworks London” on them.
Unfortunately I only had two of them. I had purchased them at World Market so I checked on line to see if I could buy two more, no dice. Then I went to my local World Market to look for them, again, denied. Argh.
I’m going to have to come up with two similar, but not matching knobs for the second table.
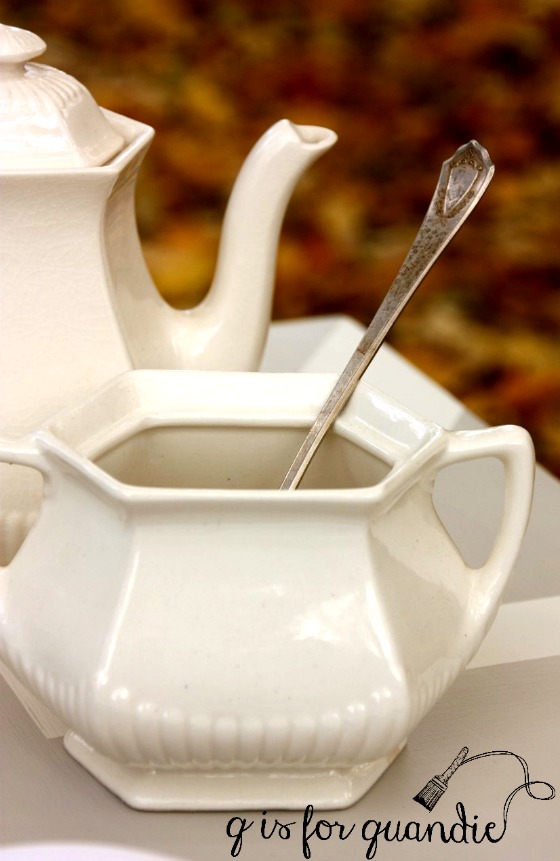
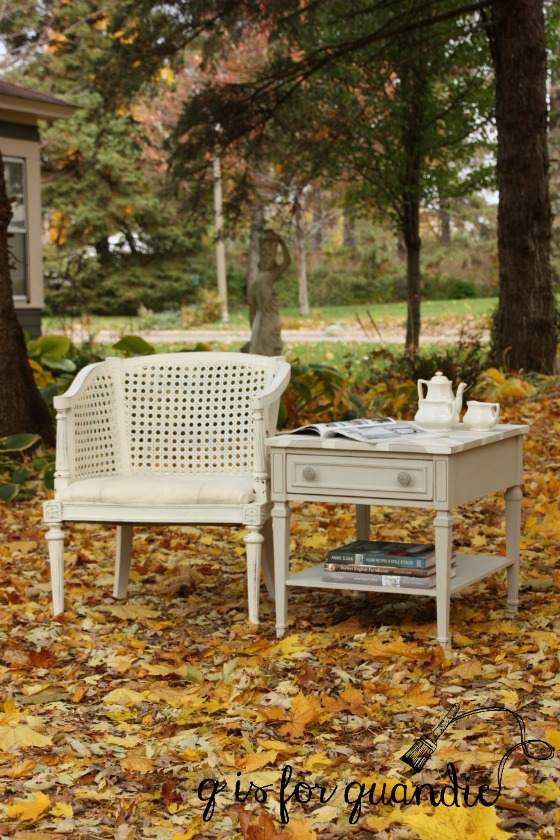
It seemed appropriate to stage my photos with my Perfect English Farmhouse book and an English ironstone tea set.
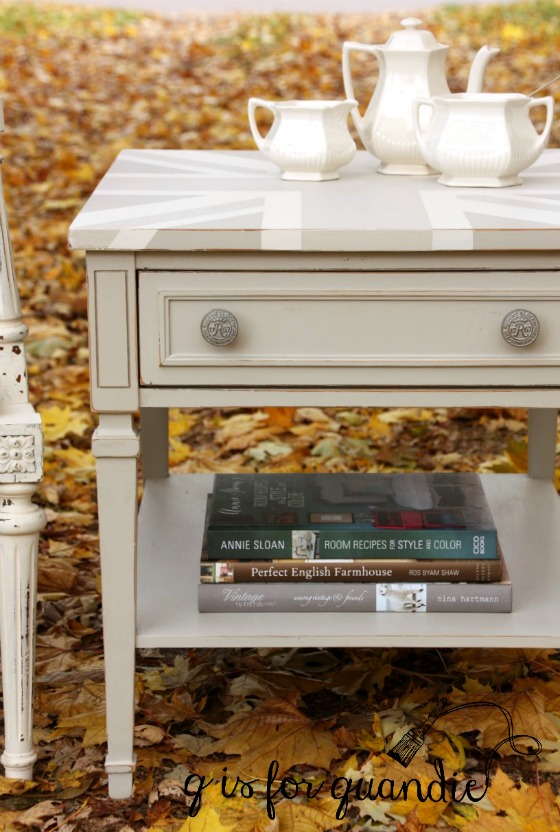
I think a paint job was exactly what these tables needed to give them a little more personality.
What do you think?

These tables are for sale. For more info, be sure to check out my ‘available for local sale’ tab.


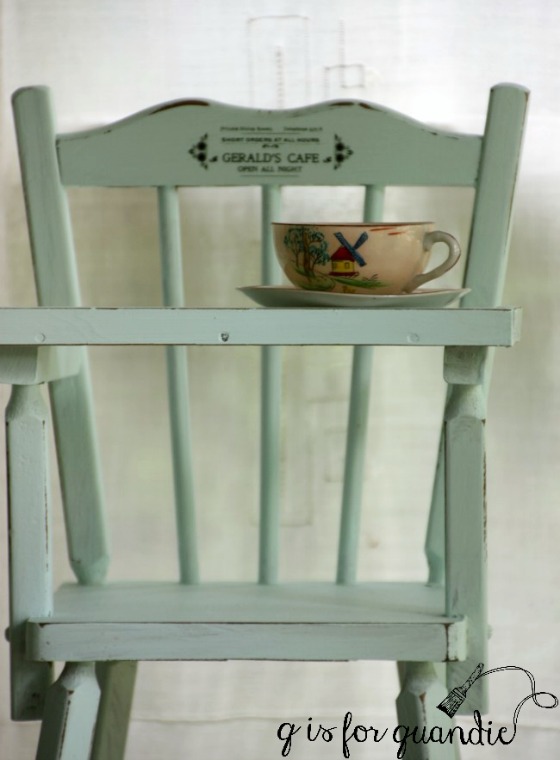
 Now this sweet little high chair is the perfect spot for feeding Gerald the fuzzy elephant at all hours.