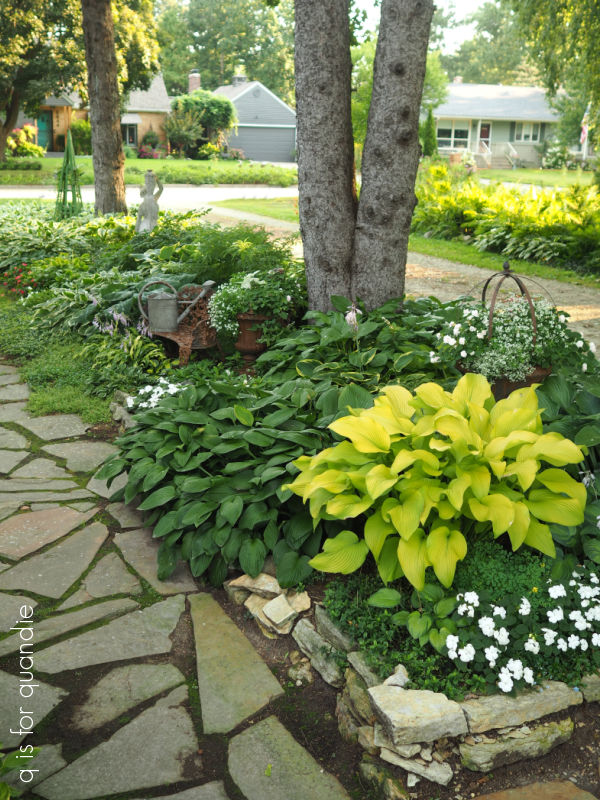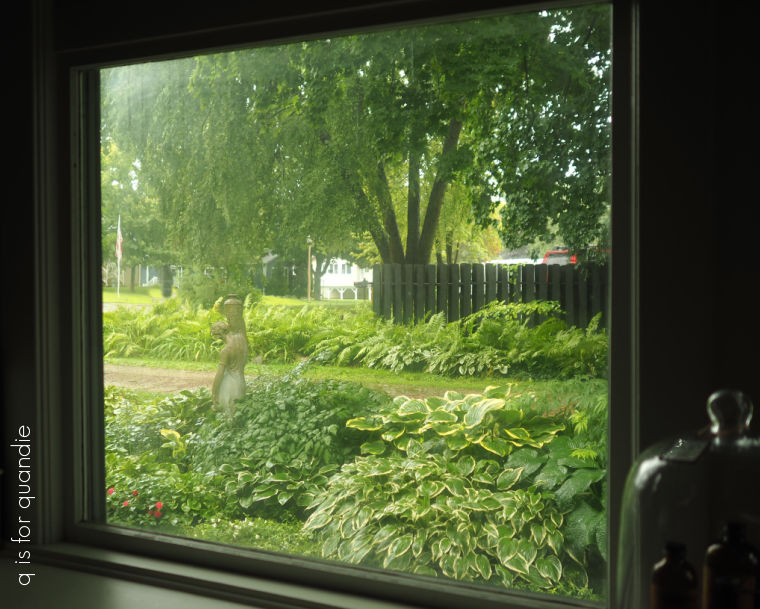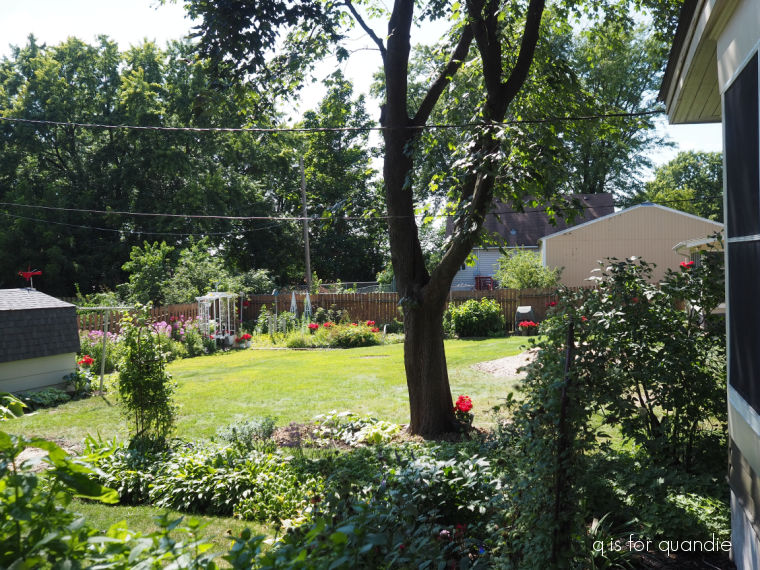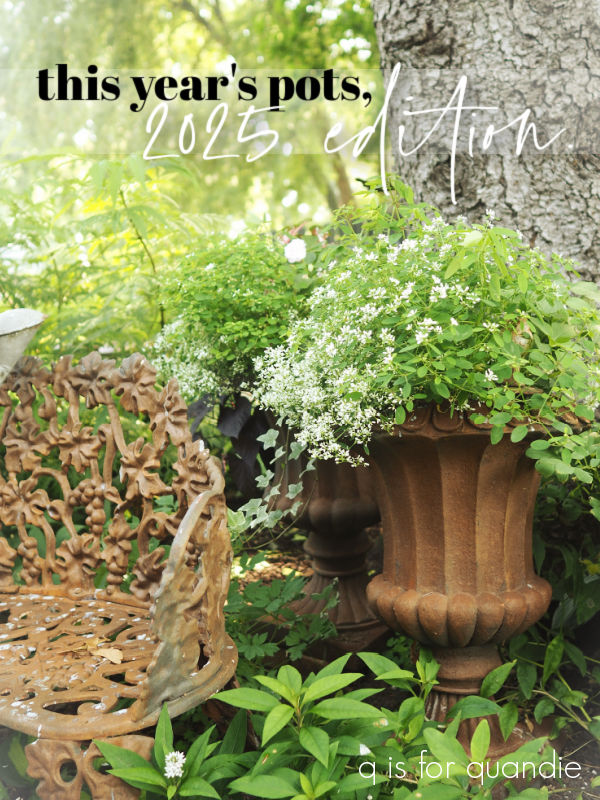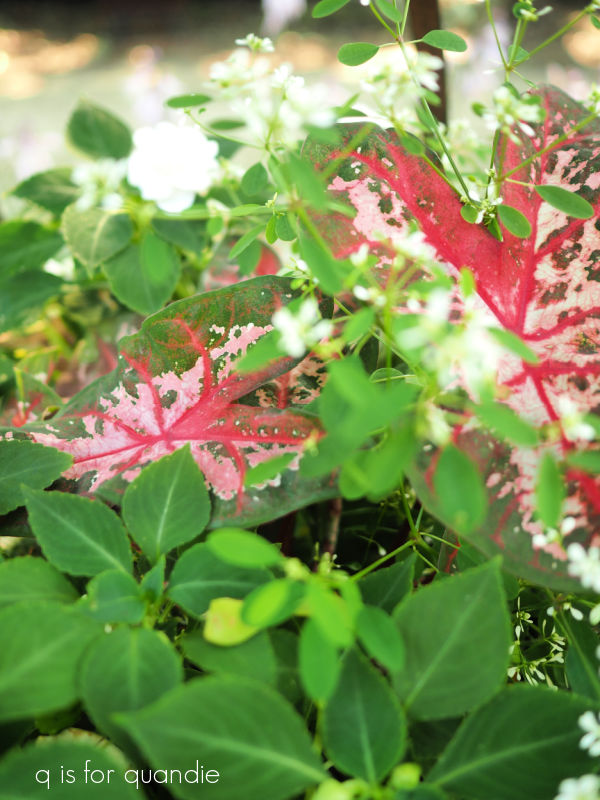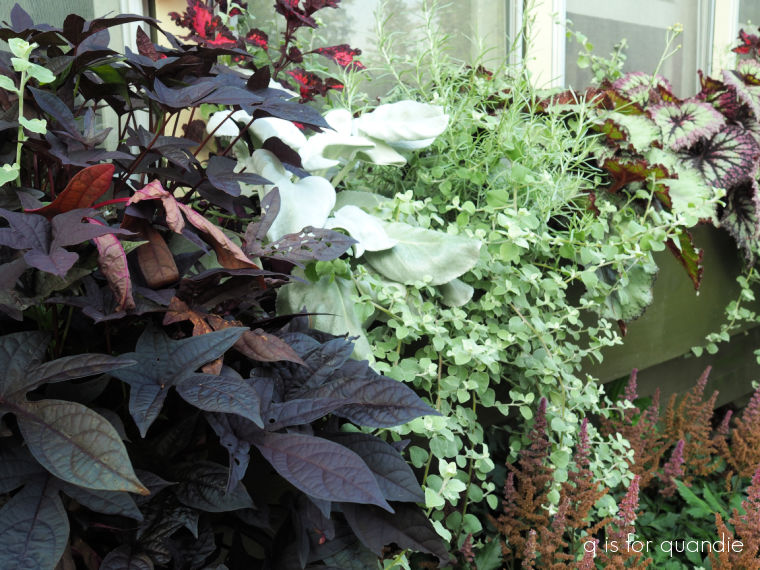
Good morning from the garden.
It seems like planting pollinator friendly plants is getting all the buzz these days (pardon the very bad pun).
I have to admit that I’ve never planted anything just because it’s good for pollinators. That quality is way down on the list of things I look for in a plant. I figure any flowering plant is better for the environment than just having a lawn, right?
I do sometimes choose things specifically to attract hummingbirds though, like Salvia guaranitica, or Black & Blue Salvia.

After all, who doesn’t enjoy seeing a pretty hummingbird in the garden? I can verify that yes, the hummingbirds definitely love this one.
This year I’ve discovered that the Swallowtail butterflies really like my verbena bonariensis.
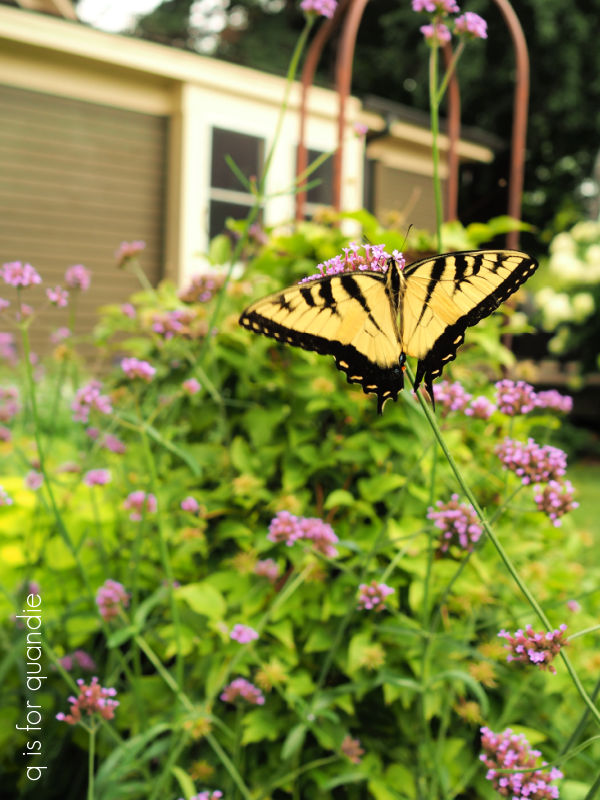
As do the bees.

So that’s an added bonus to growing it, but I would grow it anyway because I love the look of it.
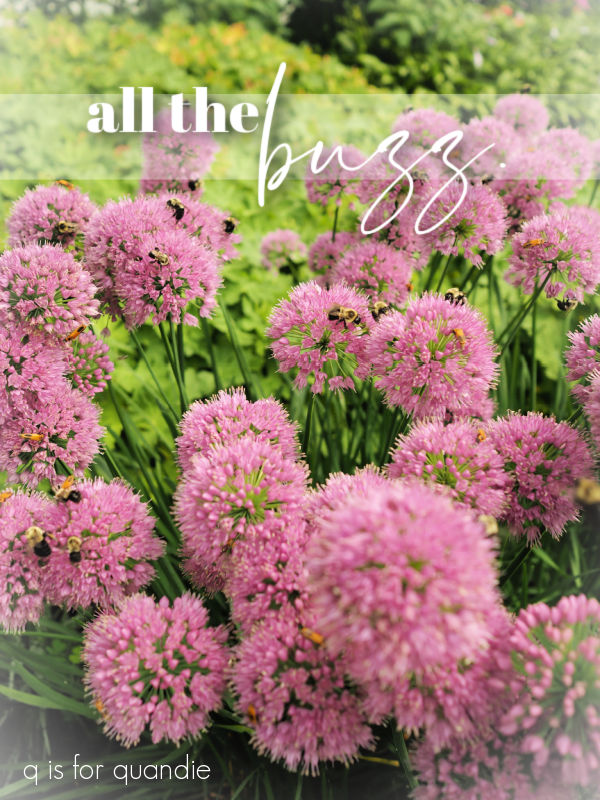
And that brings me to my Serendipity Allium.

I planted these about three years ago, and this is the first year that they’ve really looked fantastic. That’s about right, the first year they sleep, the 2nd year they creep, etc. This is their year to leap!
I also had 4 or 5 seedlings sprout up around the main plant this spring, so although they aren’t especially known to re-seed freely, mine definitely is.
I have to say, these things are bee magnets!

Look closely at the photo. Do you see how many bees are on there?!
Although the big fat bumble bees aren’t particularly aggressive, they still would prefer that I not mess with them in the garden. I’ve never been stung by one, but they do chase me away by buzzing around my face and bumping into me which is just as effective.
So I’m pretty much avoiding weeding in this area for the time being and just letting the bees have their fill.
But to be honest, I’m just blaming my lack of weeding on the bees because they are a convenient scapegoat. I usually get a little tired of gardening about this time of year. It’s probably lucky that I live in zone 4b/5a because I don’t think I’d enjoy having a longer gardening season. Even our short growing season is a bit too long for me.
One last thing, while we’re talking about bugs, over the last couple of years I have been approached by at least half a dozen door-to-door sales people trying to get me to sign up for their pest control services.
They always catch me while I’m out in the garden, and they always use the same tactics mentioning that they are only in the neighborhood because my neighbor John Doe (insert actual neighbor’s name here) uses their service. The latest saleswoman was very charming, mentioning how amazing my gardens were and appreciating how much work they must entail. And wouldn’t I like to get rid of those pesky spider webs?
I always say that I’m trying to encourage pollinators, not kill them. The I’m told, ‘oh, but our product is plant based’ … um, yeah, but it still kills insects right?
Anyway, I recently did some research and found a press release from the MN Attorney General’s office warning people about door-to-door pest control scams (you can find that here). Apparently they are running rampant in the Twin Cities. So if you are local, or if this is also happening where you are, just be warned. Send those door-to-door salespeople packing, no matter how charming they might seem.
I’d love to know which plants in your garden are the biggest pollinator attractors. Leave a comment and let me know.