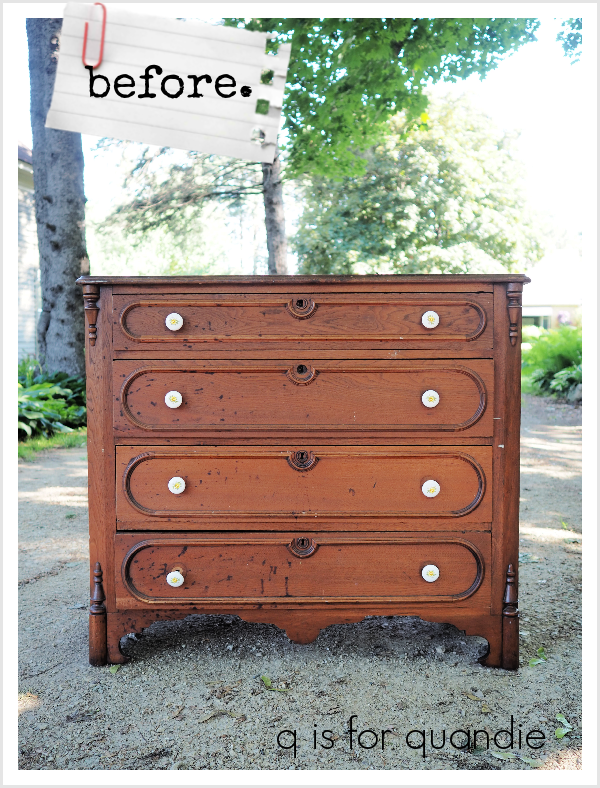
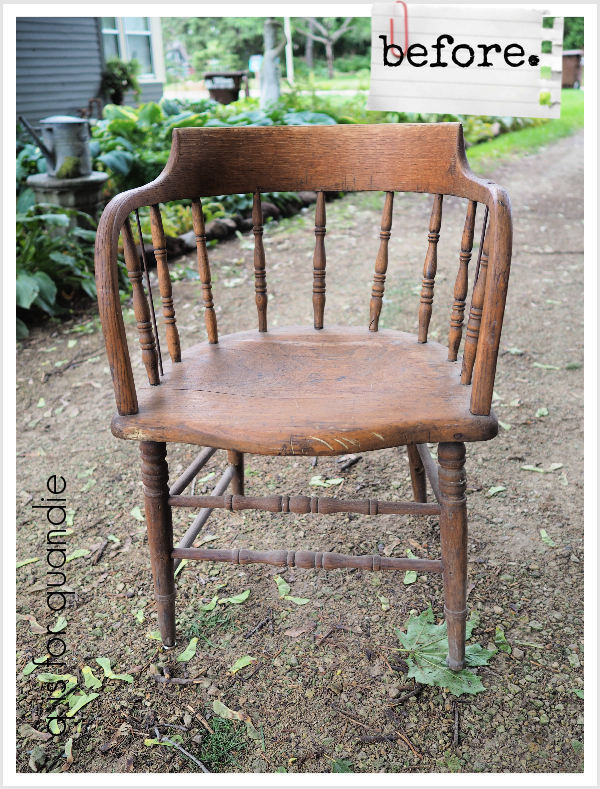
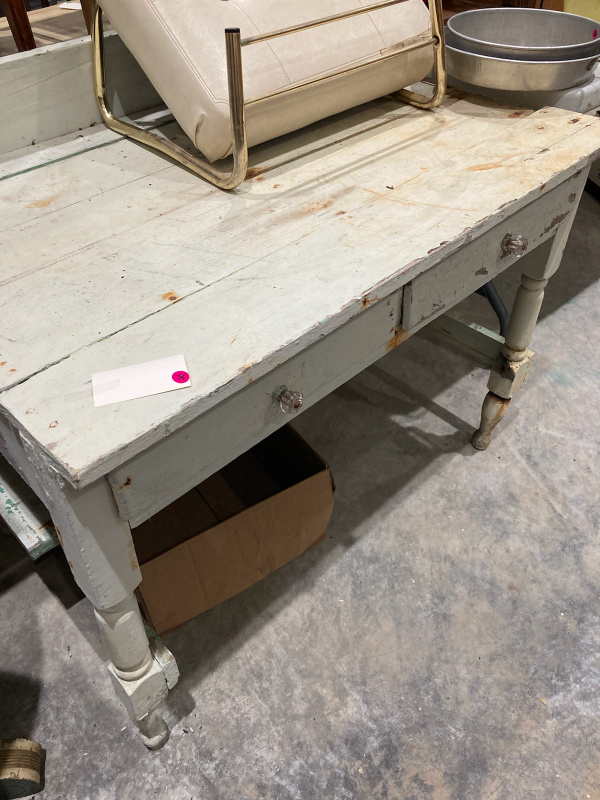
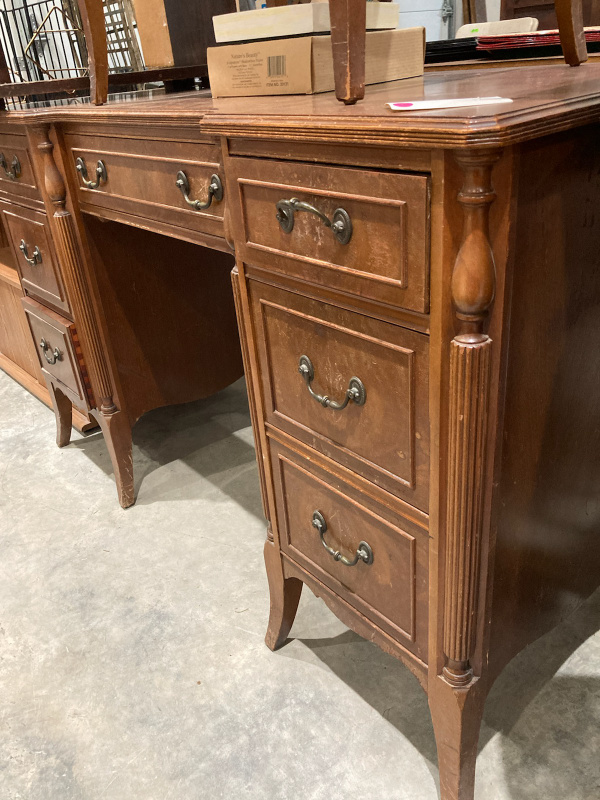
I think I already shared the story of how I acquired today’s piece. My picker, Sue, found it at a garage sale that wasn’t too far from our homes. I was at work at the time, so she texted me a photo and said she’d pay for it and ask them to hold it, if I could send Mr. Q to pick it up. So after a few exchanges of text messages, Sue had purchased it, and Mr. Q had picked it up and brought it home. And I never had to leave the office 😉
My handyman, Ken, repaired the runners inside the dresser and re-glued a few things. Once he was done it was ready for me.
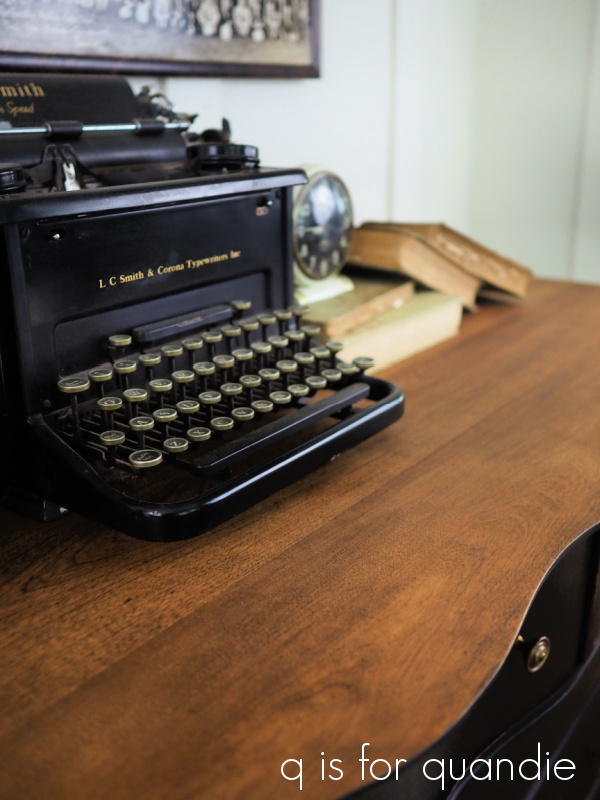
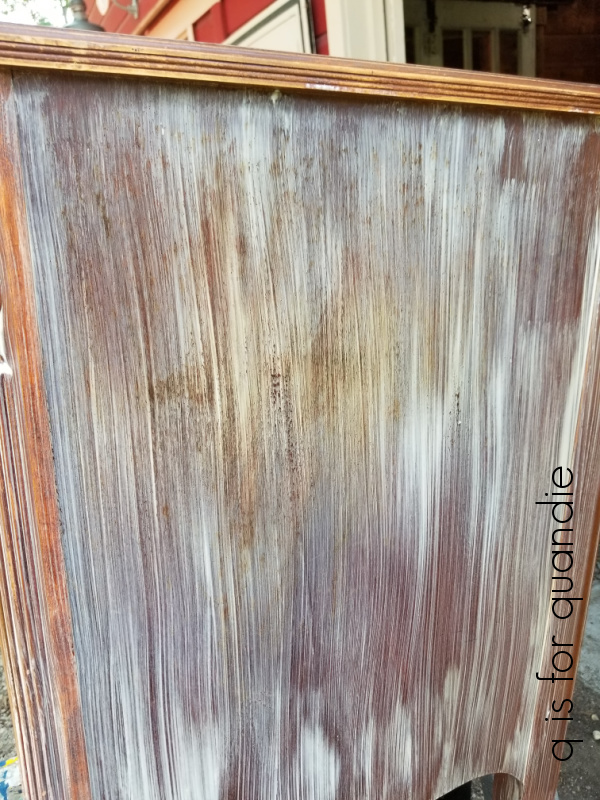
I’ve been watching a few furniture makeover experts on YouTube lately and so many of them just sand off old finishes rather than using a chemical stripper. Especially when the piece is solid wood rather than veneer. So I decided to give that a shot on the top of this dresser and it worked like a charm. I started with an 80 grit paper on my orbital sander, then moved on to a 120 grit, followed by a 220 grit. Easy peasy! This sort of work is only possible for me in the summer when I can work in my carriage house workshop and I don’t have to worry about the dust (I don’t have one of those fancy sanders that suck up the dust).
It can also be a bit of a problem because I usually get up around 6 a.m. to start working out there this time of year. I’ll work until the day heats up too much to be comfortable. I don’t think my neighbors would be real excited about listening to my orbital sander at that hour. Using a chemical stripper is much quieter.
By the way, as I was doing the sanding while wearing a mask I realized that this was one upside to COVID. I used to absolutely struggle with wearing a mask while I worked, but now I barely even notice it.
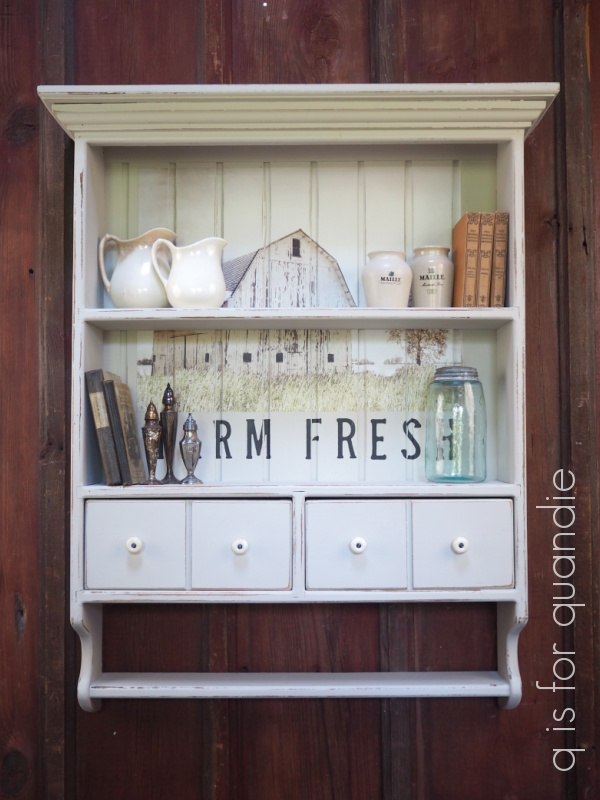
Once I had the top sanded down, I pulled out the drawers and removed those porcelain knobs that came with the dresser yet were totally wrong for it. You can see the knobs a tad better in this photo from a week or two ago …

White porcelain with yellow roses on them. Totally wrong for this piece!
Once those were off, I also had to remove some ancient contact paper that was lining the drawers. That is one of my least favorite tasks, and I think that plays a part in why I don’t like to line drawers myself. I know that sometime down the road, someone is going to have to remove that stuff and I hate to do that to them.
Next up, I dug through my stash of knobs and was happy to find that I had 8 large wooden knobs that would be perfect on this piece. I’m really glad that I kept all of those wooden knobs that I used to remove from dressers back in the day.
All that remained was to choose the paint. I decided that this dresser was the perfect candidate for some milk paint. There’s something about this particular style & age of furniture that just screams milk paint to me. So I dug through my bin of already open milk paint thinking I’d have to create a custom mix using a couple of colors, not having enough of any one color for the entire piece, but then I stumbled upon the Homestead House Soldier Blue.

If you aren’t familiar, Homestead House milk paint is the same milk paint manufacturer that makes Miss Mustard Seed and Fusion milk paint. This was their original line of milk paint and they have over 50 colors to choose from. So if you’re looking for a new color to experiment with, check them out!
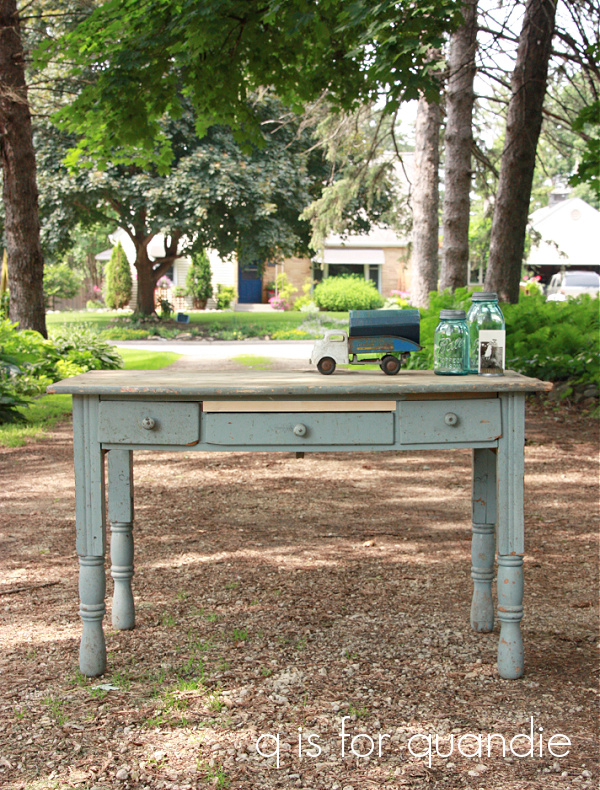
You guys have seen me use this color on a couple of smaller items including this wooden bucket.

But I still had quite a bit of it left, easily enough for this dresser. And really, ever since I first cracked open this color I knew I wanted to use it on a full piece of furniture one day. This was that day!

I cleaned the dresser, scuff sanded it lightly and then brushed on two coats of Soldier Blue. I won’t go over my tips for using milk paint here, but if you aren’t familiar you can check them out in my milk paint basics post.
After two coats of paint were dry, I sanded to distress the edges with a 120 grit paper and then smoothed out the flat areas using a 320 grit paper. I did not get a lot of chipping on this one, but much like with the black dresser that I shared a week or so ago, the existing finish on this one was quite dried out so I didn’t expect a lot of chipping. So once again I created my own distressing by sanding down the edges of the piece.

I vacuumed away the dust and then topped it all off with Dixie Belle’s Big Mama’s Butta.

I’m really loving this product for use over dark shades of milk paint in particular. It totally brings out the depth of color. You can apply it with a rag, or use a waxing brush which is what I did here. Simply apply with the brush, then wipe away any excess with a clean, lint free rag (the lint free is especially important over darker colors like this one). After 12 hours you can buff the surface to create additional shine, but as we all know, I prefer a more flat look so I don’t do much buffing. By the way, the Butta’ cures in about 7 days.

Today’s q tip: If you’re using a brush to apply Butta’ over a dark paint color, be sure to scoop out the Butta’ onto a paper plate (or something more environmentally friendly like a pretty vintage china plate that you purchased at a garage sale for a dollar) first to avoid dipping your brush back into your full container of Butta’. This way you can avoid contaminating your entire supply of Butta’ with dark flecks of paint. This is especially important with milk paint that is more prone to chipping.
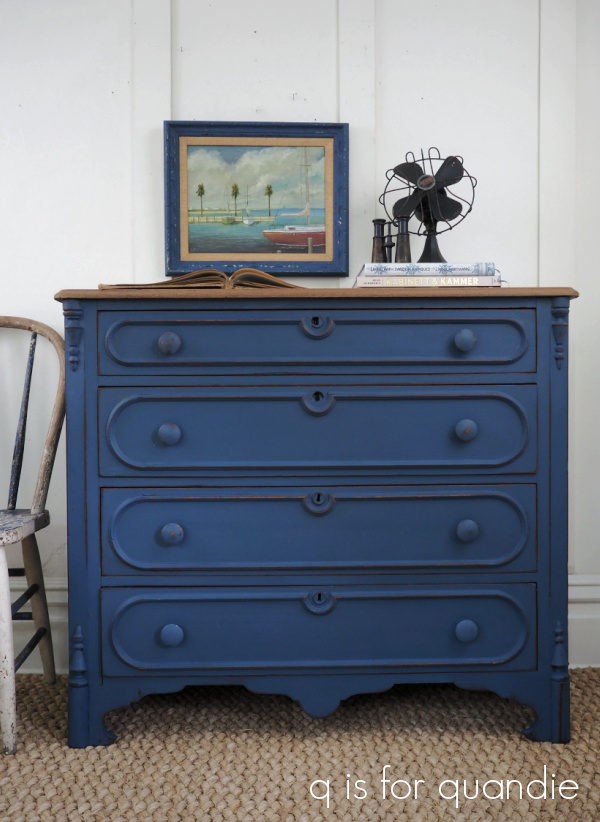
Initially I was planning to use some dark wax over the bare wood top of this dresser, but the more I looked at it, the more I loved the way the natural color of the wood played against the Soldier Blue paint. So I decided to simply add Dixie Belle’s flat clear coat right over the bare wood.

I wasn’t worried about the imperfections because I love how that adds some history to a piece. But at the same time, this top is protected for future use with three coats of flat clear coat.
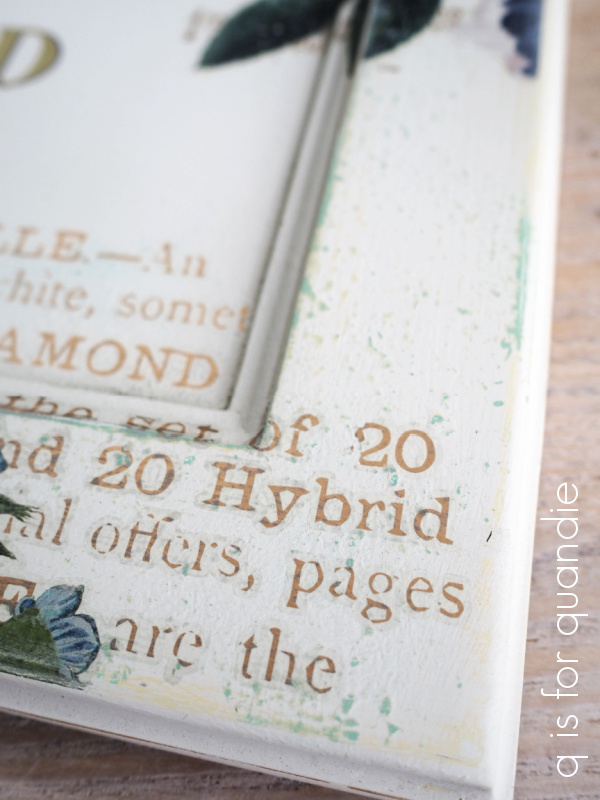
I staged this piece with a painting that I picked up at an estate sale a couple of weeks back.

It’s an original oil painting, but I don’t think it’s valuable. One of these days maybe I’ll find a lost Rembrandt at a garage sale, but I’m pretty sure this isn’t it.
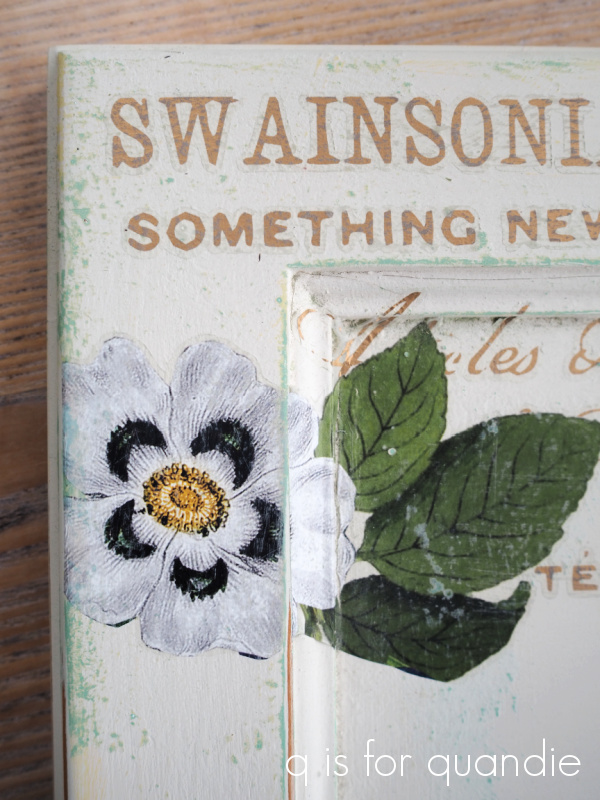
I just thought this painting was really pretty. The colors and subject matter are soothing. I really disliked that frame though, so I used the Soldier Blue that was leftover from the dresser to paint it.

Now it pairs beautifully with the dresser.

So, what do you think of this makeover?
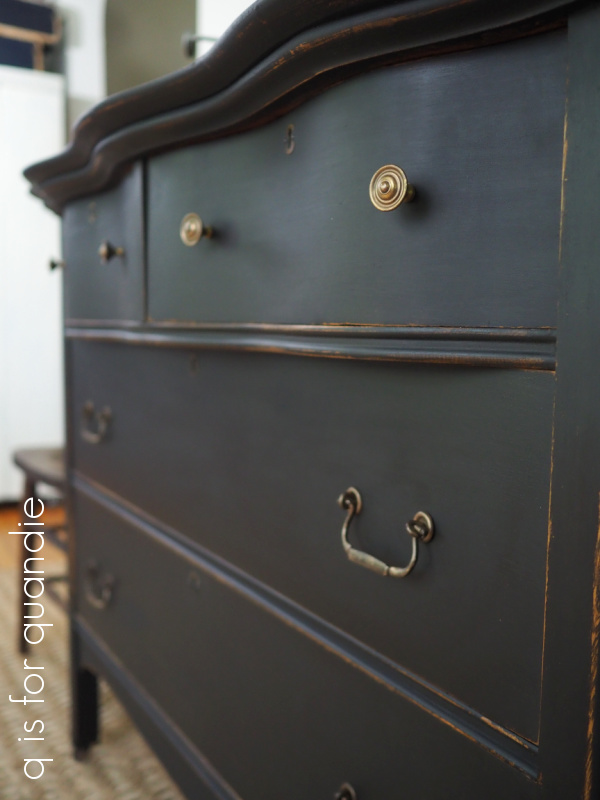
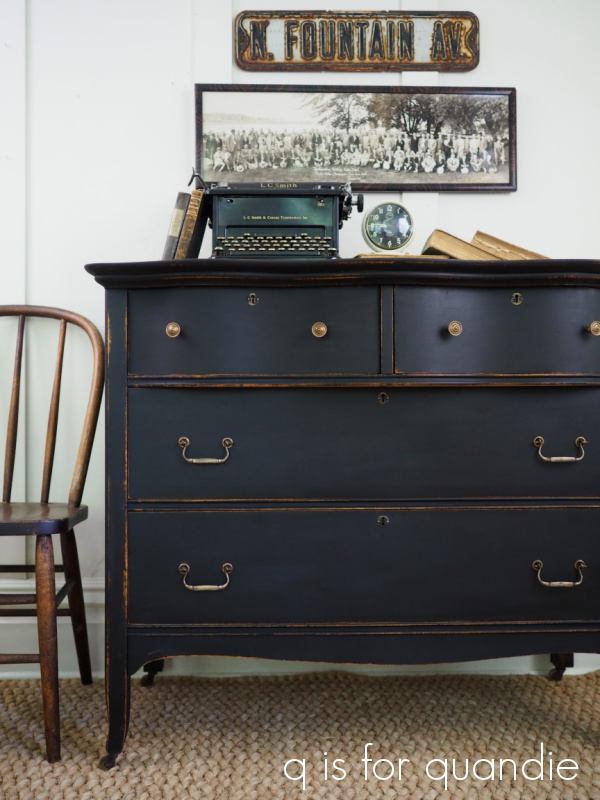
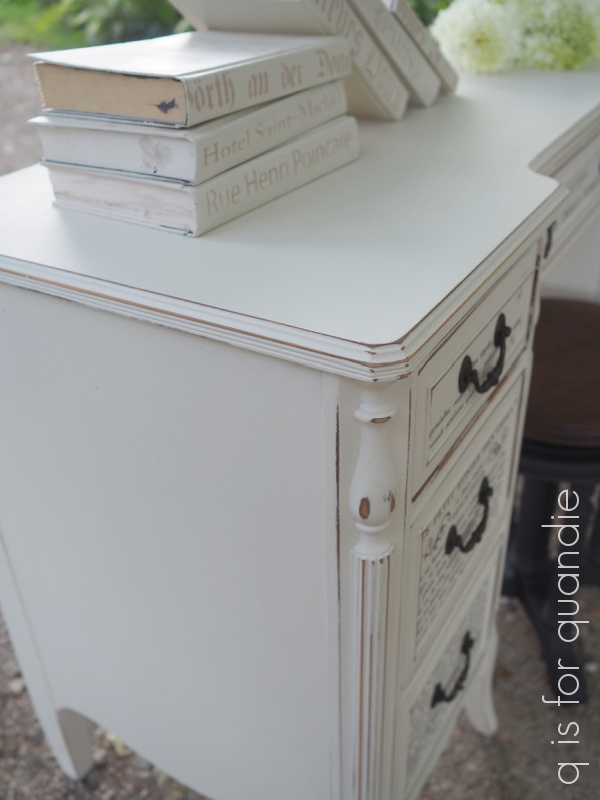
And if you had to pick, which of the three dressers I’ve shared recently is your favorite? Is it the team player painted in Typewriter black …
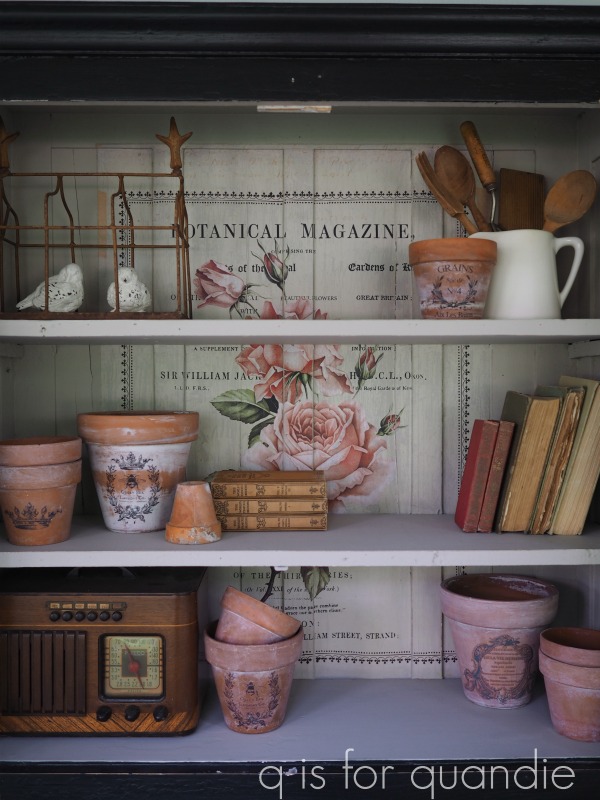
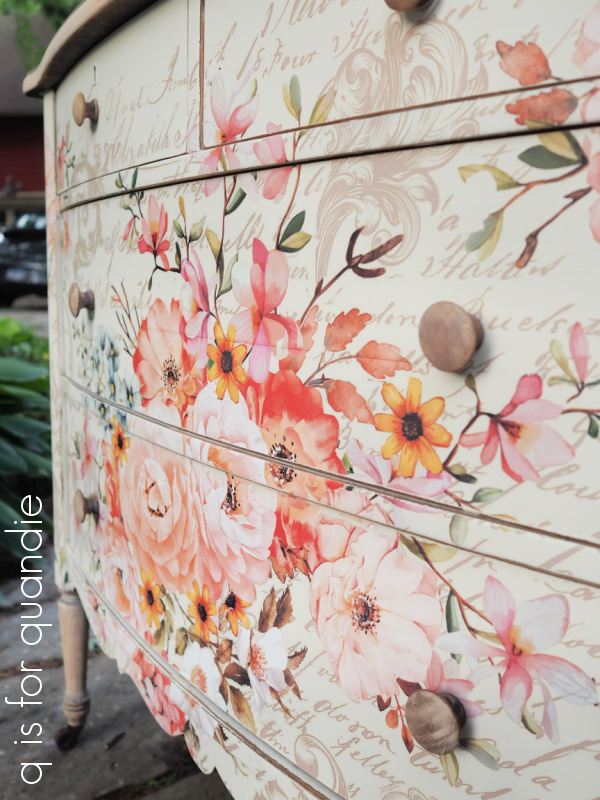
Or the star of the show with its beautiful floral transfer?

Or is it today’s dresser painted in vibrant Soldier Blue?
Leave a comment and let me know which one you liked best.
If any of you locals are in the market for a dresser, be sure to check out my ‘available for local sale‘ page for more details on this one. P.S. the painting is for sale as well.
Thank you to Homestead House for providing the Soldier Blue milk paint, and to Dixie Belle for providing the Big Mama’s Butta’ and the flat clear coat used on this dresser.


 What do you think? Now, I’ll just have to wait and see how long this one takes to sell. I’ll keep you posted.