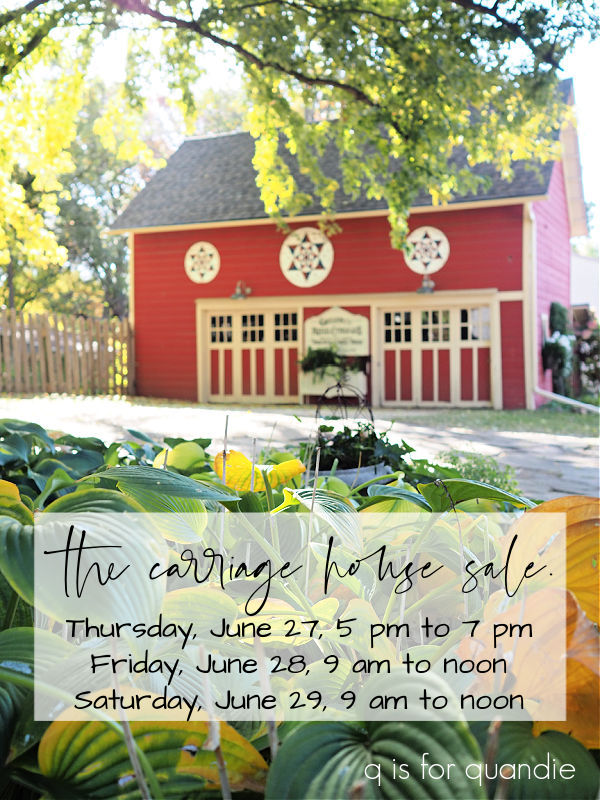
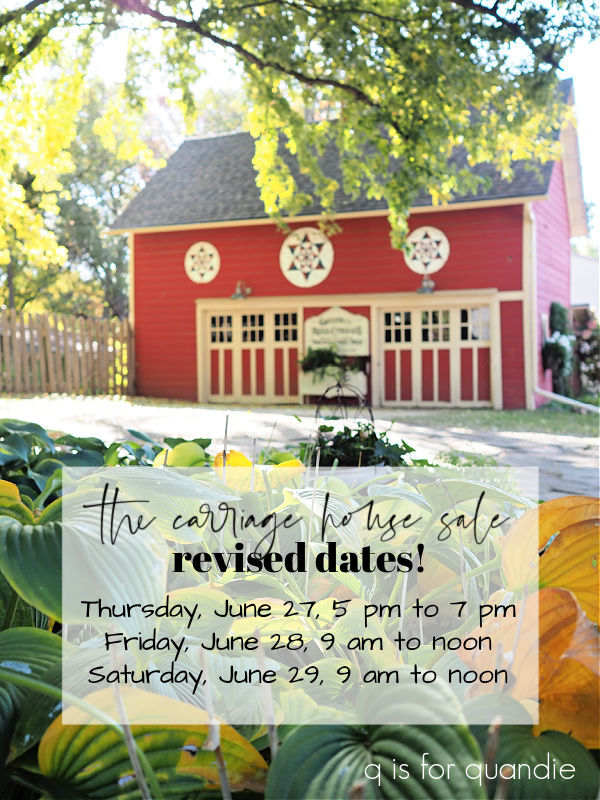
Well, the carriage house sale is over. I thought some of you may be interested in hearing how it went.
But before we get to that, one quick thing. One of our very first customers at the sale on Thursday evening purchased this metal exit sign …
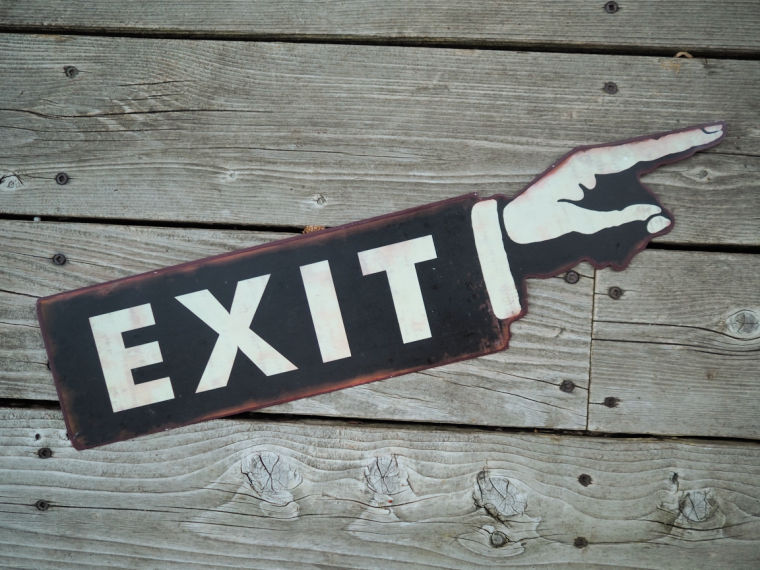
Unfortunately, my sister wrapped it in newspaper and then set it down on the table. It never made it into the customer’s bag (or maybe it was a box). In other words, someone purchased this sign, but it didn’t go home with them. If it was you, please reach out to me by either leaving a comment here on the blog or emailing me at qisforquandie@gmail.com so that we can get this to you.
Now, on with the sale recap.
First up, the weather. It was not great. Thursday evening was cloudy, humid and a bit drizzly at times. Luckily we had tents to help keep things dry, and there wasn’t any severe weather. Friday was cloudy, humid, wet from overnight rain and rather chilly. Once again, tents were a necessity. We finally saw some sun on Saturday, but it was quite breezy and still chilly. I ended up having to find a jacket to put on!
Next up, the attendance. We had a great turn out on Thursday evening. It was fun to see so many familiar faces, and to meet some new ones. Friday was quite a bit slower, but sales were still decent. We blamed the lack of attendance on the gloomy weather. However, Saturday (the nicest day weather-wise) was nearly a complete bust. We literally had $26 in sales on Saturday and probably under a dozen shoppers stopped by, although I did meet a couple of my blog readers which was lovely.
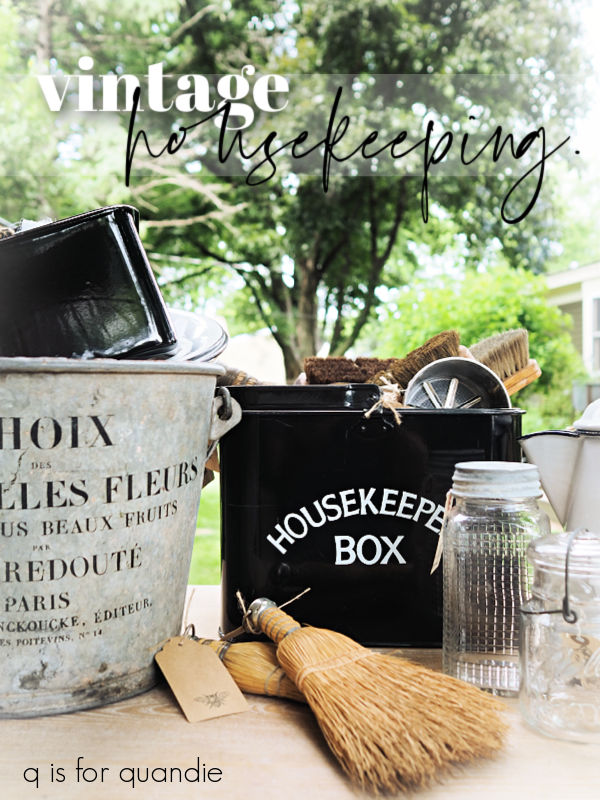
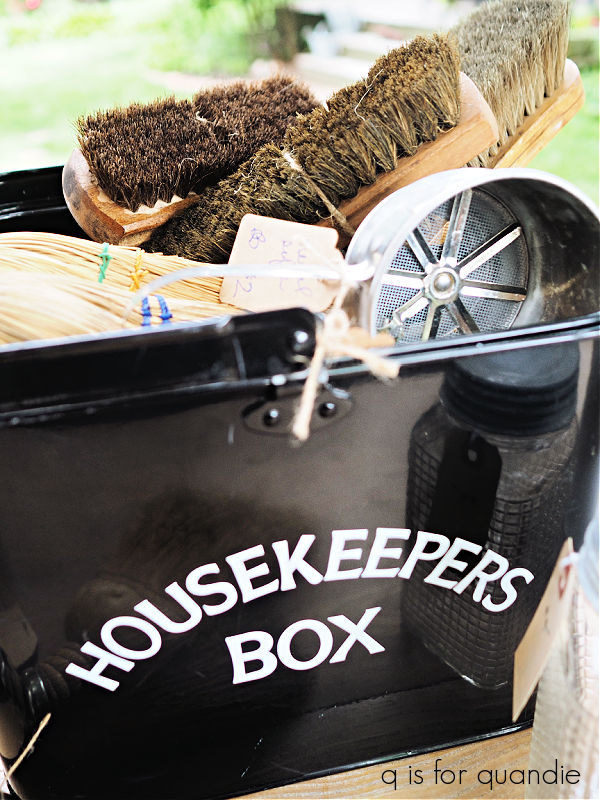
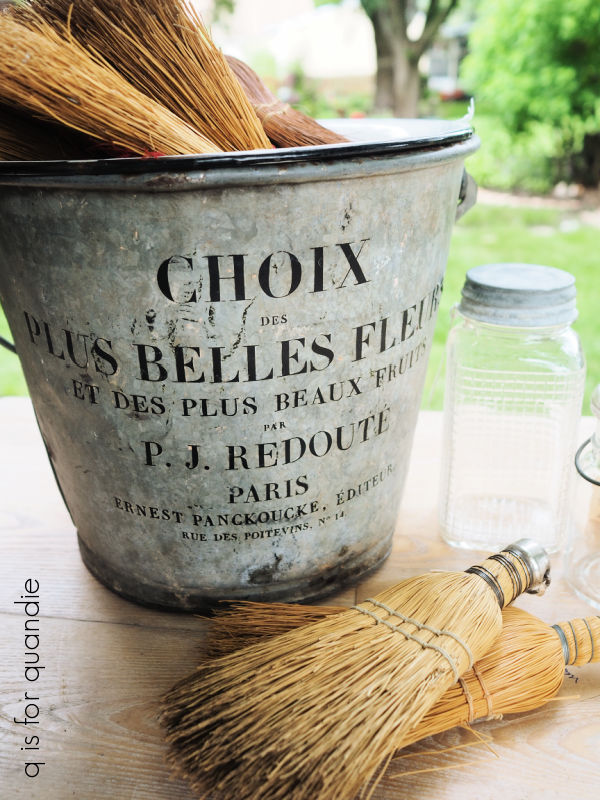
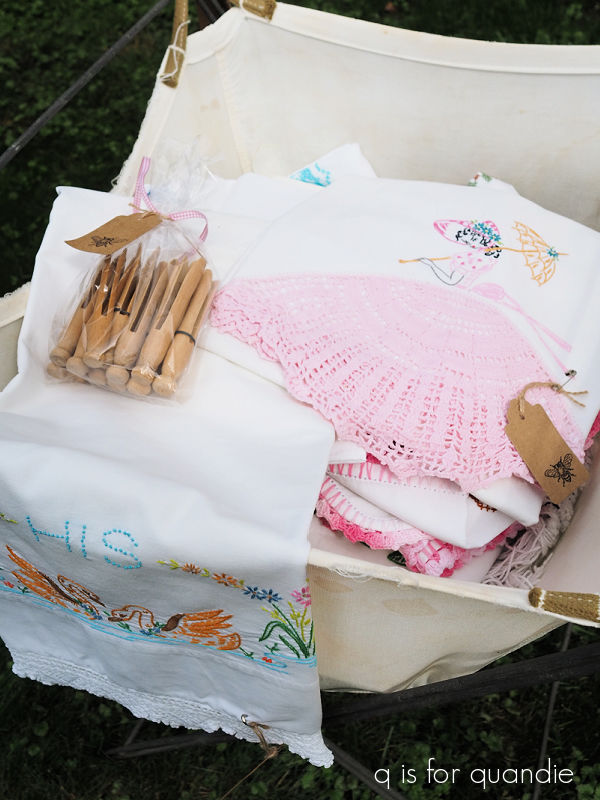
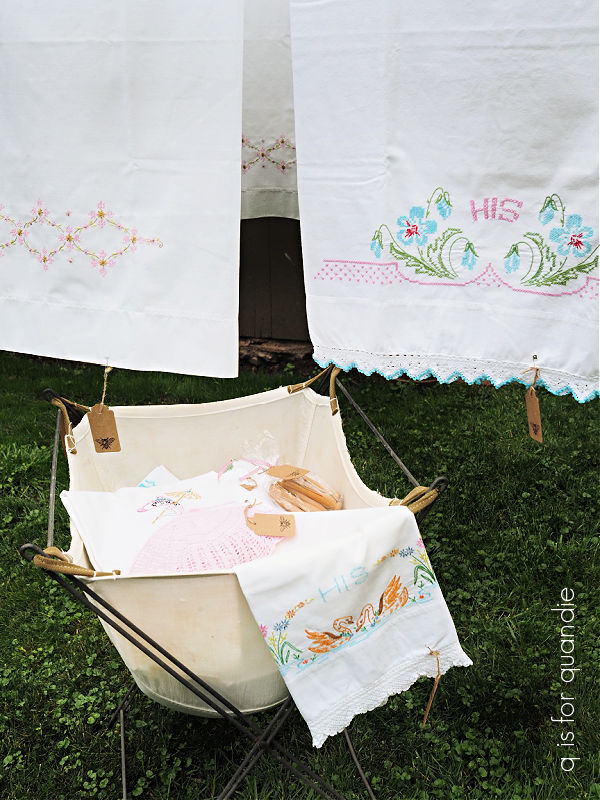
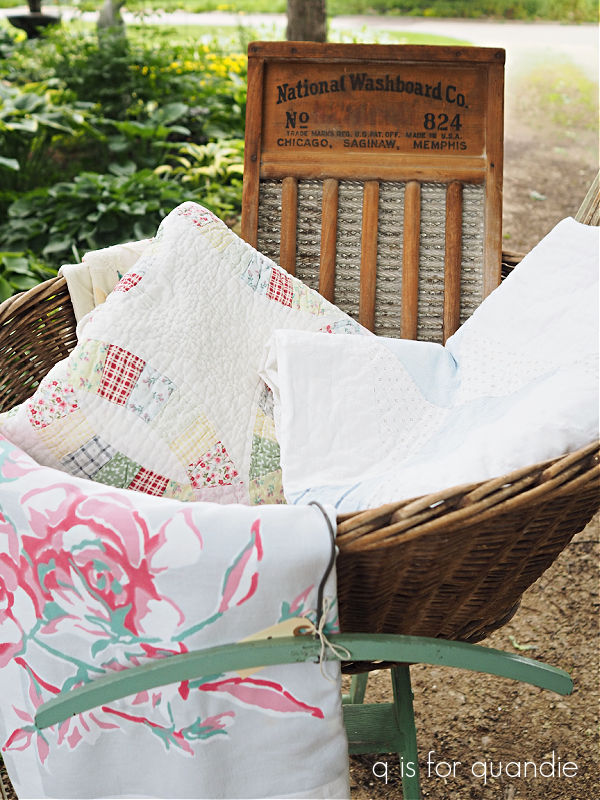
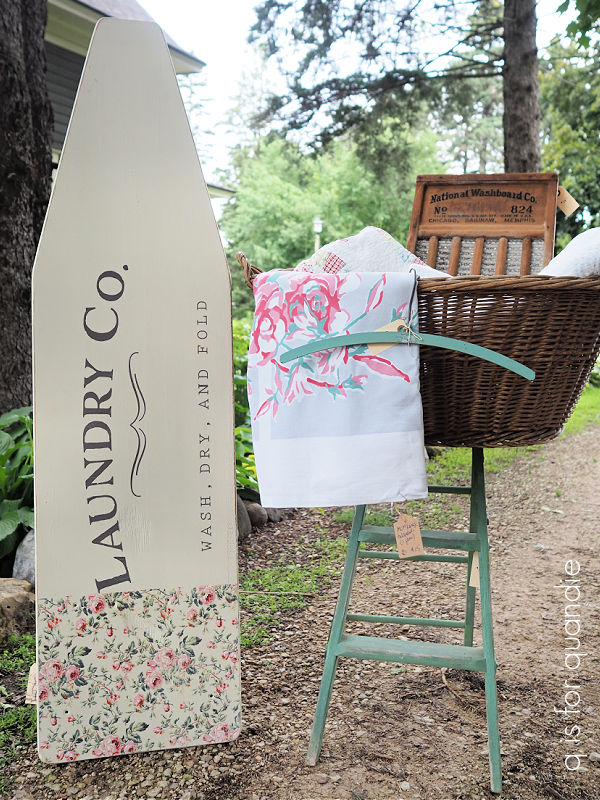
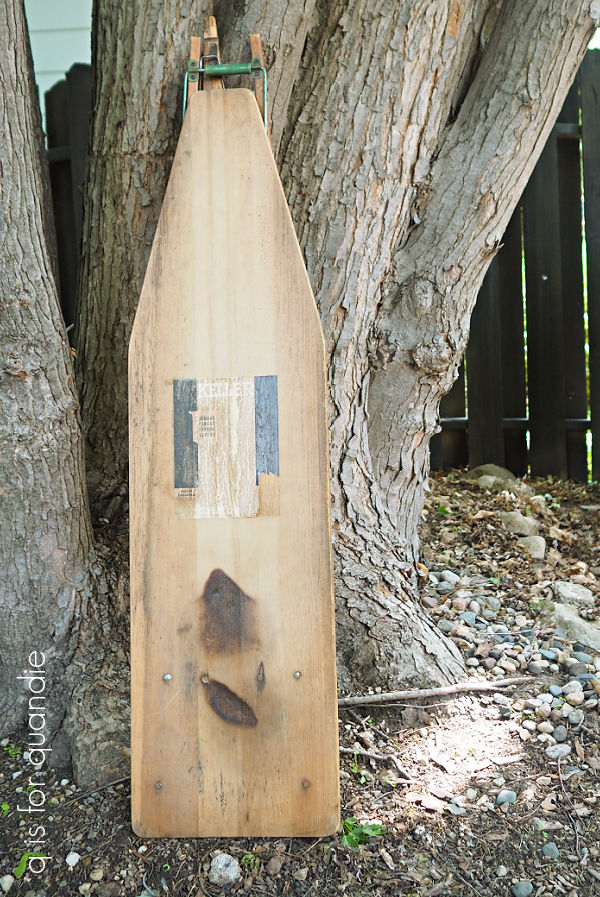
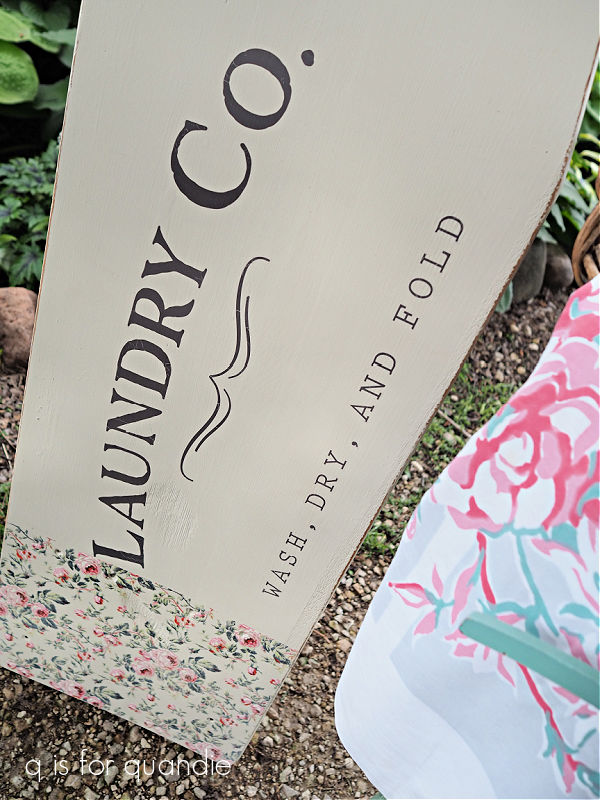
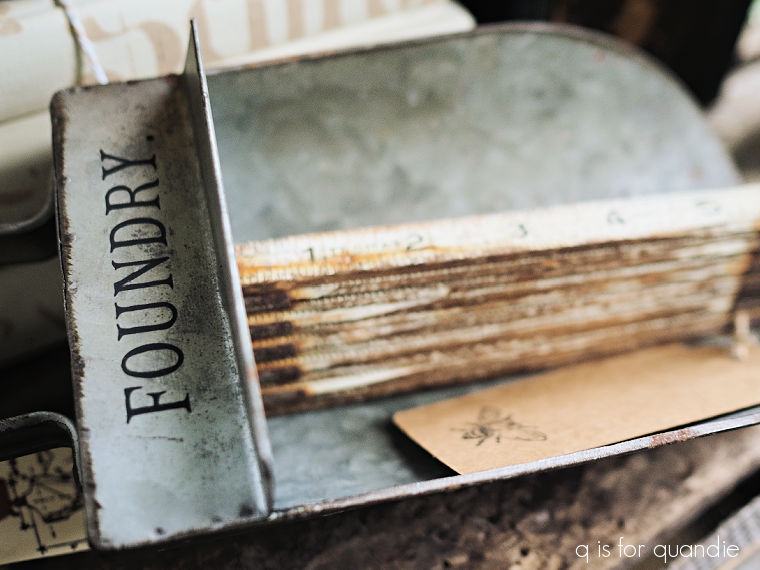
I had a bit of a mix of merchandise for the sale. Naturally I had all kinds of projects that I’d shared here on the blog the past year or two, like my cupboard door signs and painted buckets.
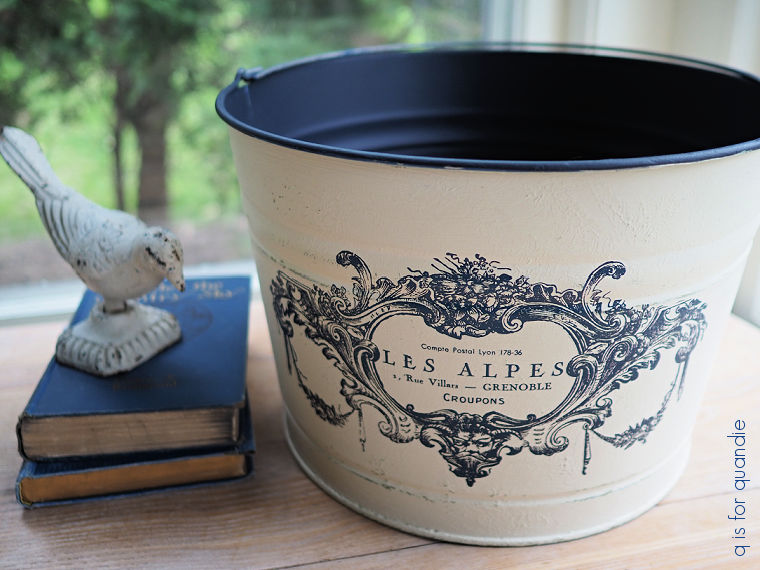
As you can imagine, these items were priced on the higher end for a ‘garage sale’, but certainly not high in general. For example, that bucket was priced at $28.
Unfortunately, not very many of these sorts of items sold. I’m telling myself that it was the higher prices that held them back, not a lack of talent on my part. I hope.
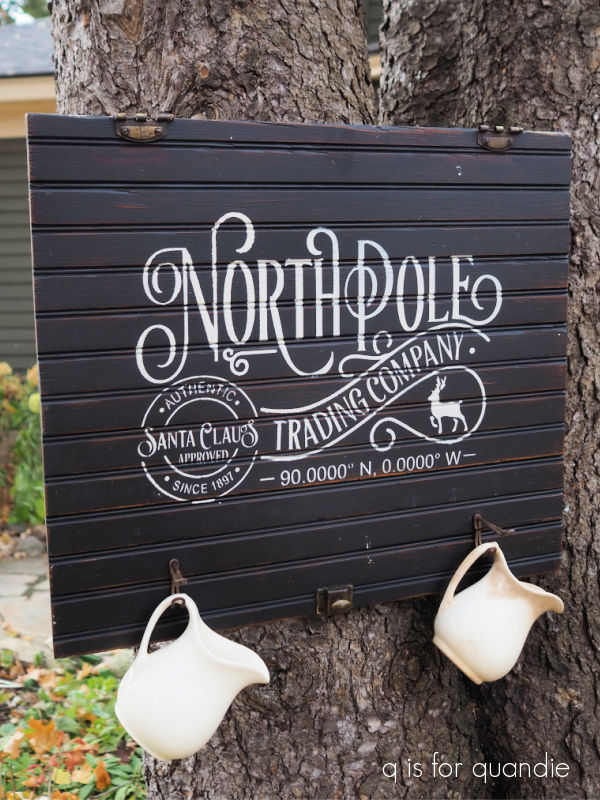
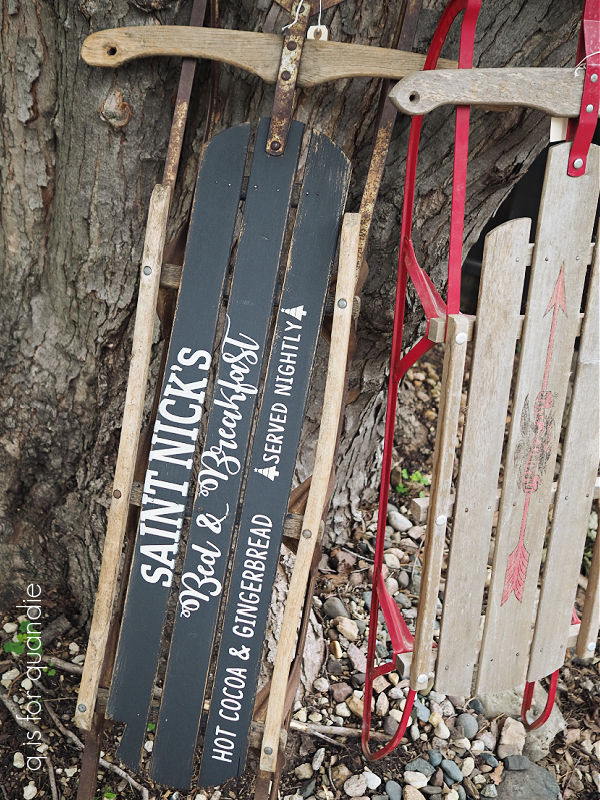
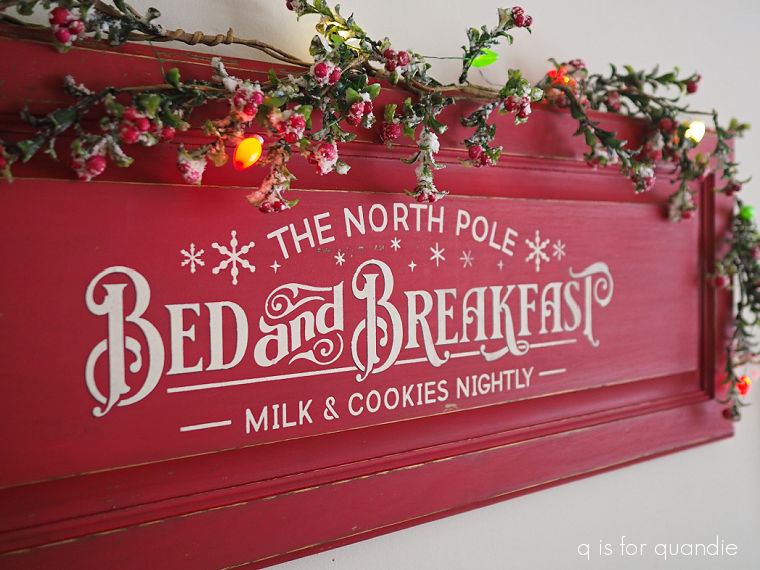
I did sell the North Pole Bed & Breakfast sign …
But not many other signs.
Surprisingly, my furniture sold well. In the past that wasn’t usually the case.
I sold the bookcase …

and the washstand.

And a huge thank you to Shelly who drove 2 hours to come to the sale, and then did it again the next day to come back for the green legged table.

That pair of white folding chairs also sold.

I do still have my rooster cupboard though, and I have to admit I’m not sad about that.
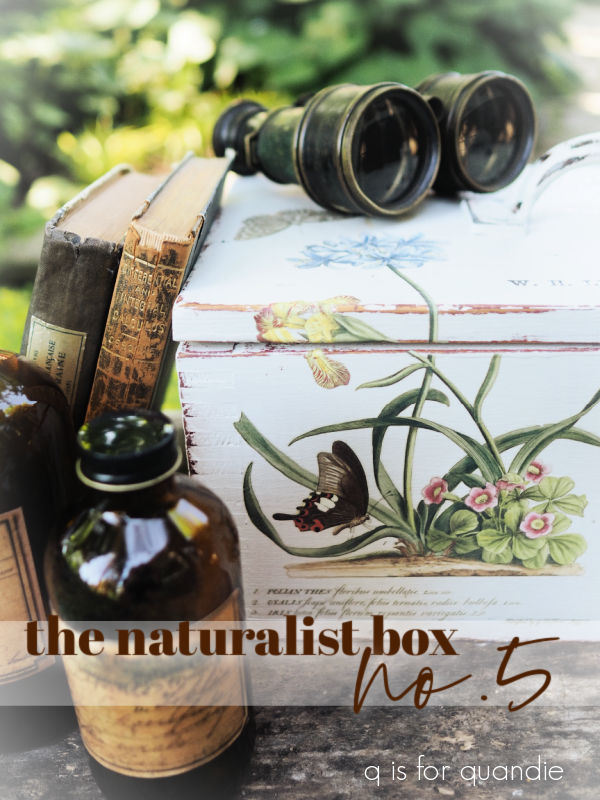
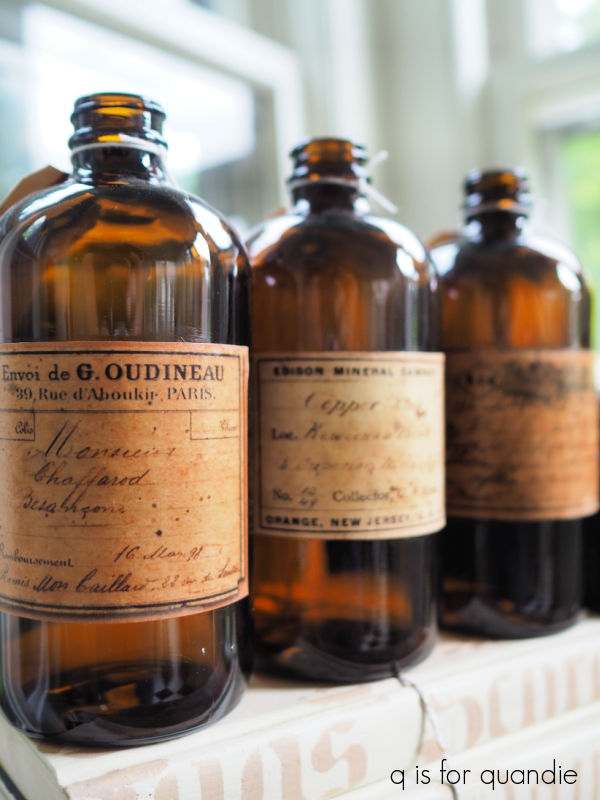
Not much sold from the ‘science-y’ area. I was surprised that the really cool beaker didn’t sell.
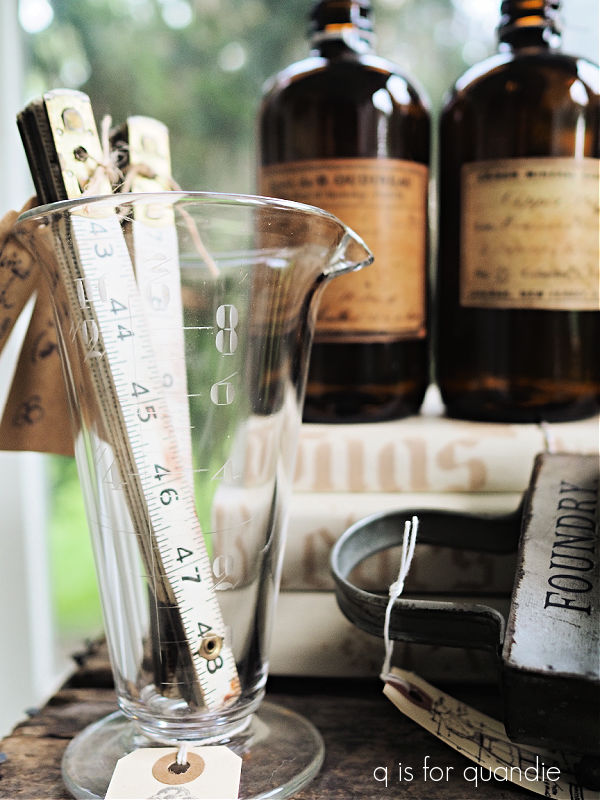
It would make a fun vase.
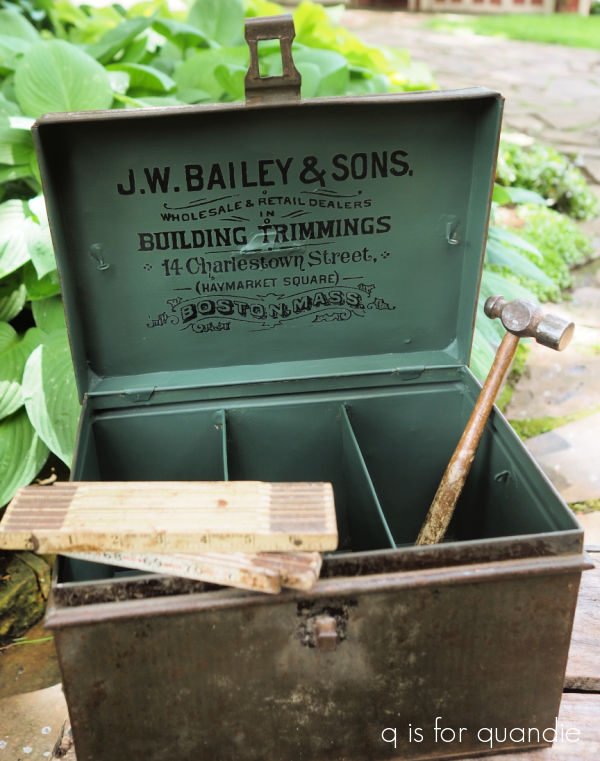
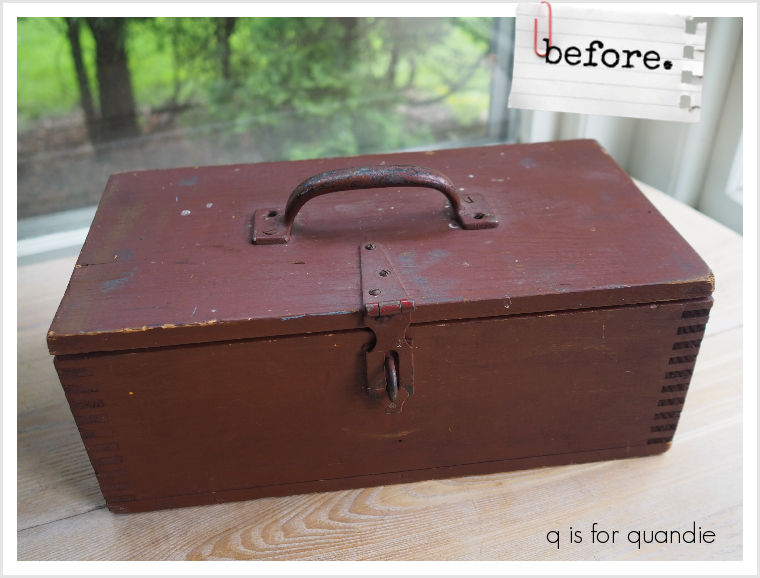
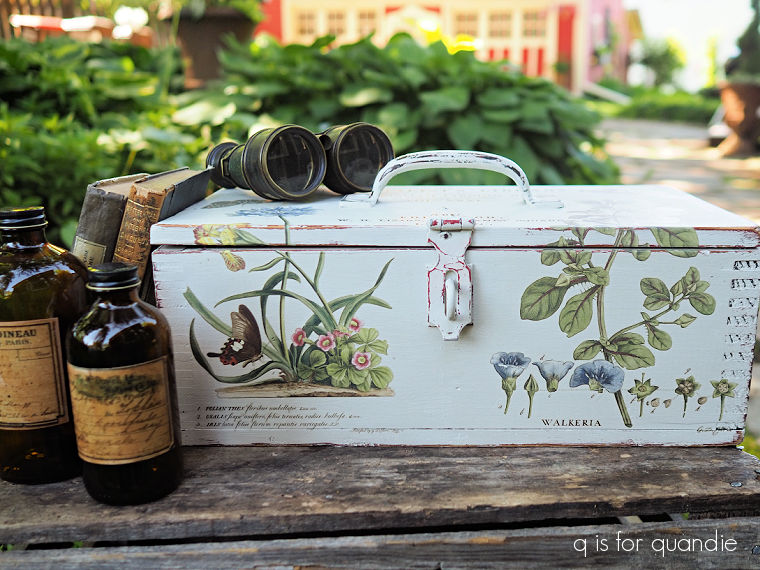
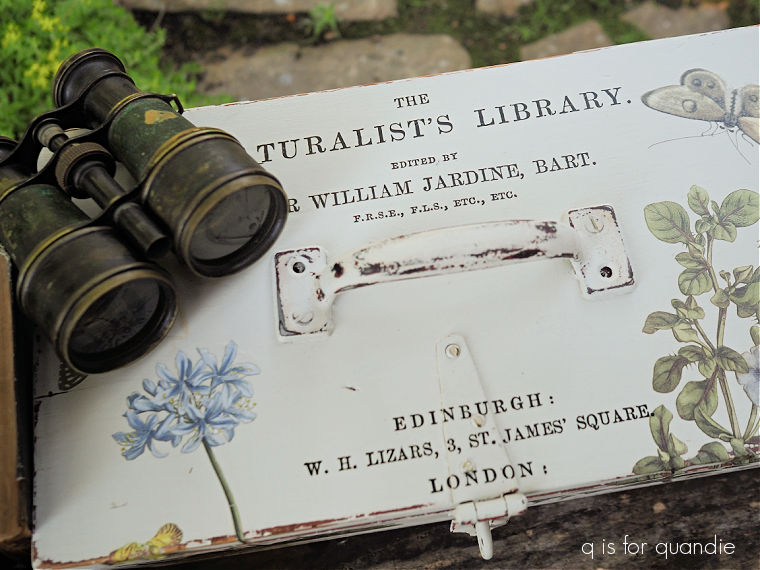
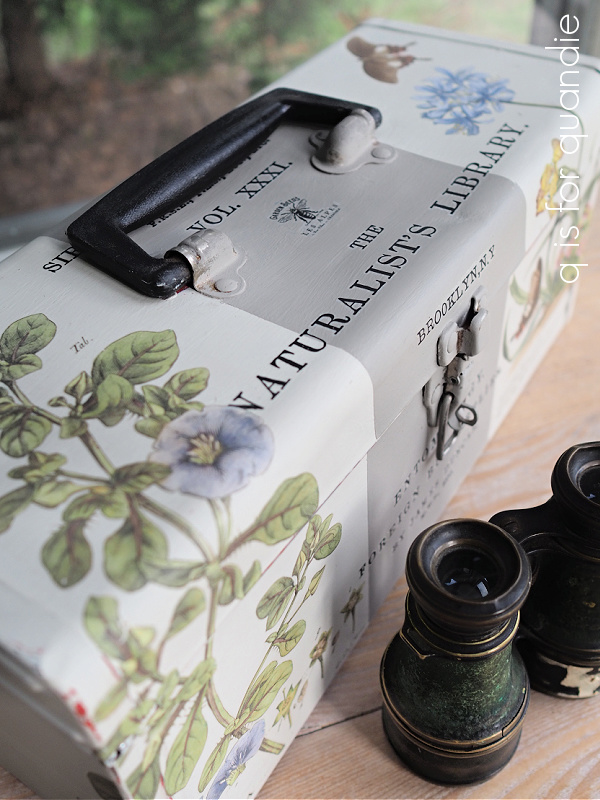
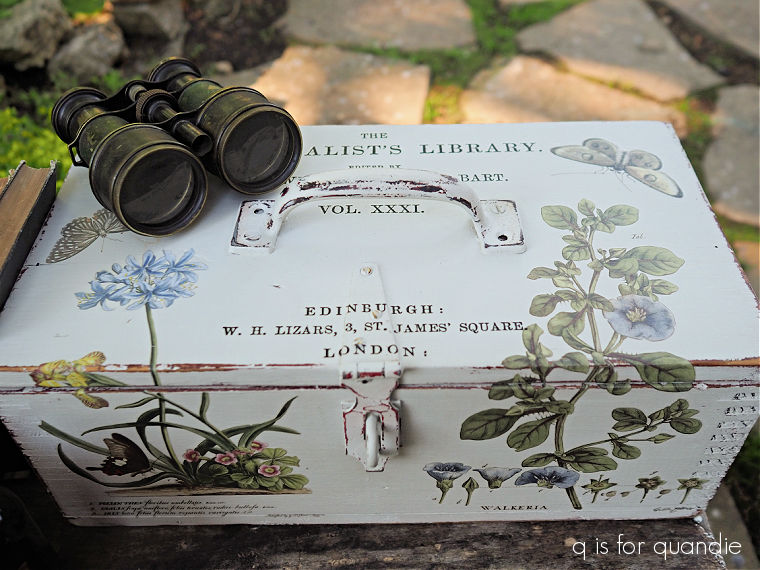
However, the Naturalist’s Box did sell.
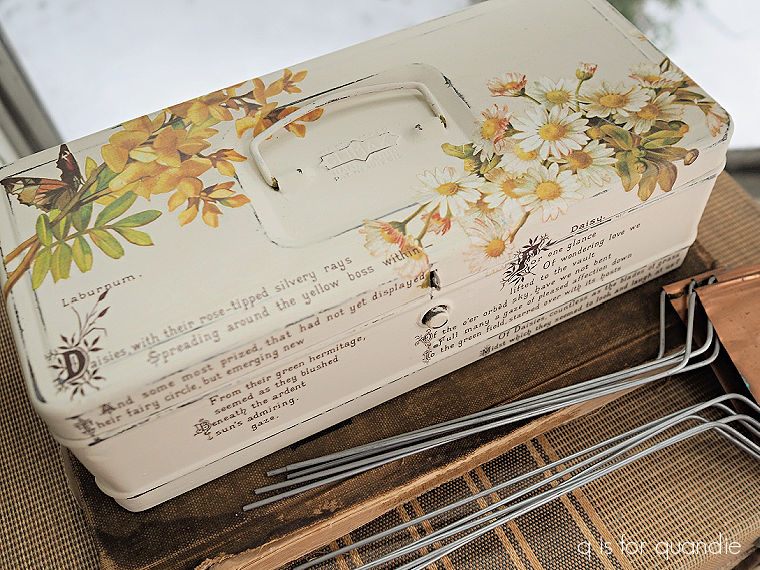
As did my daisy lockbox.
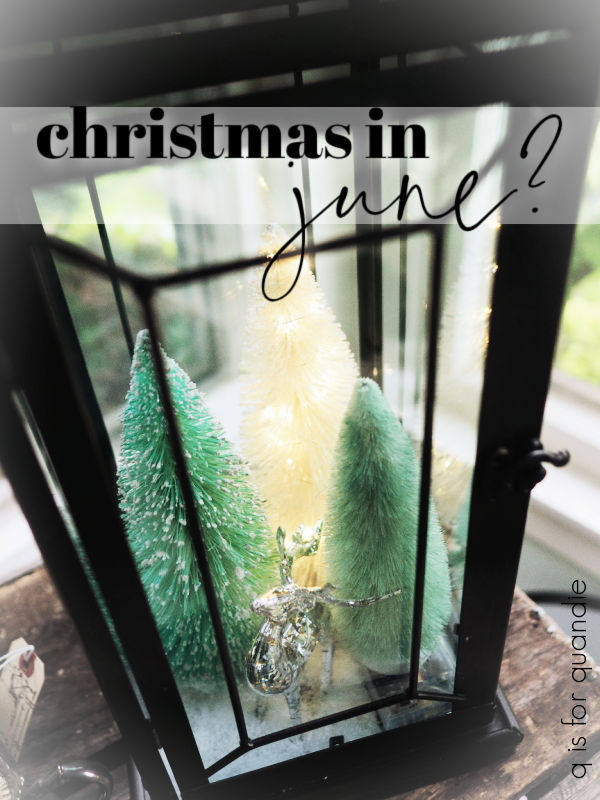
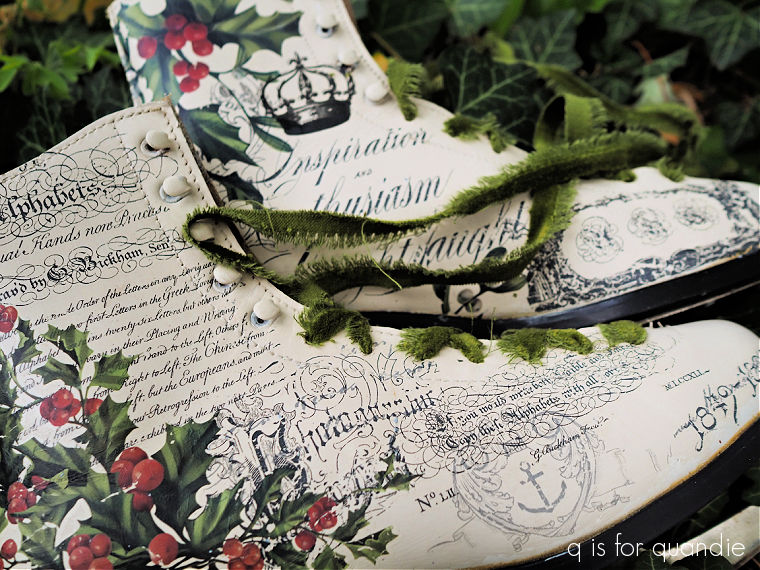
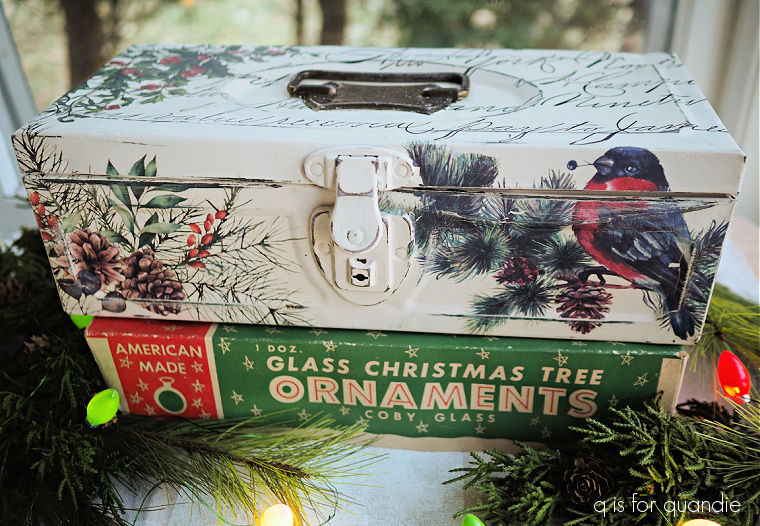
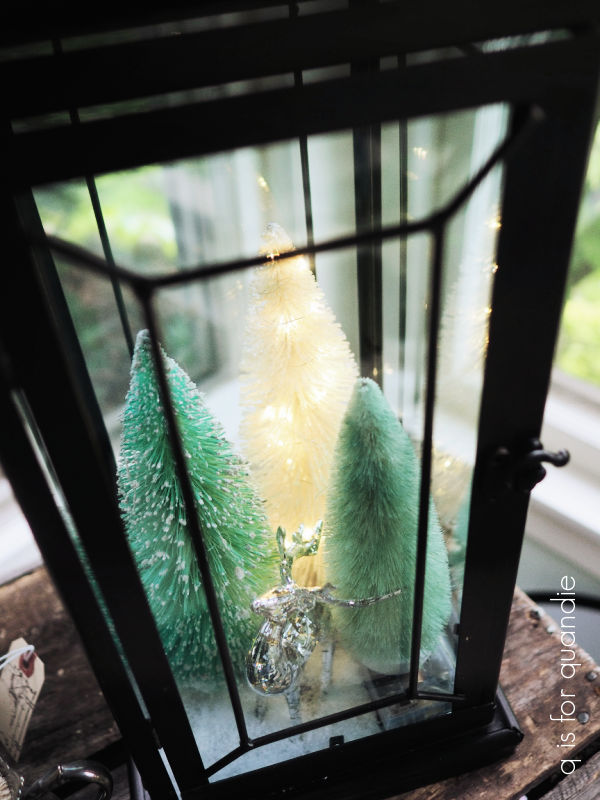
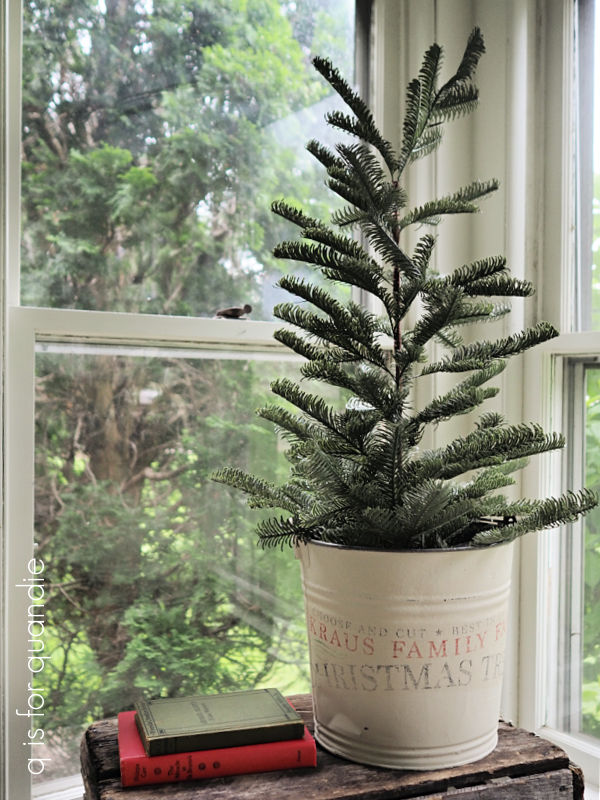
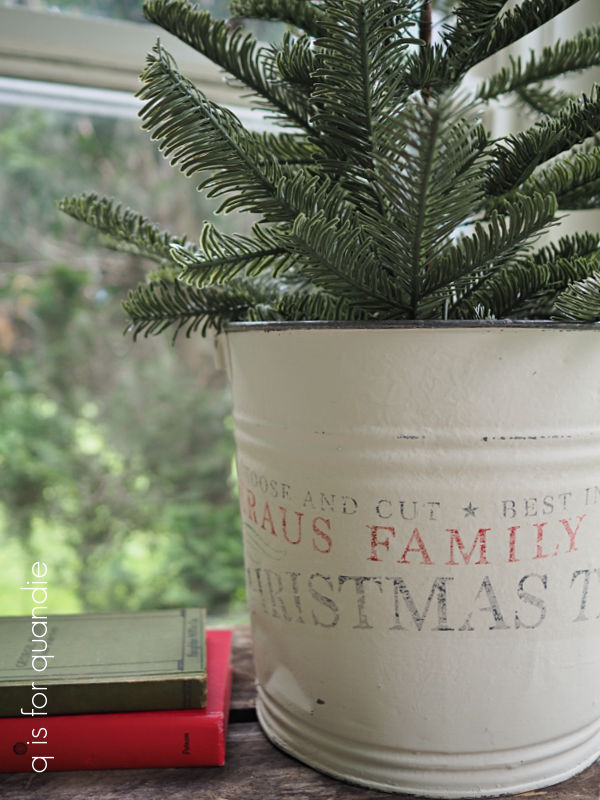
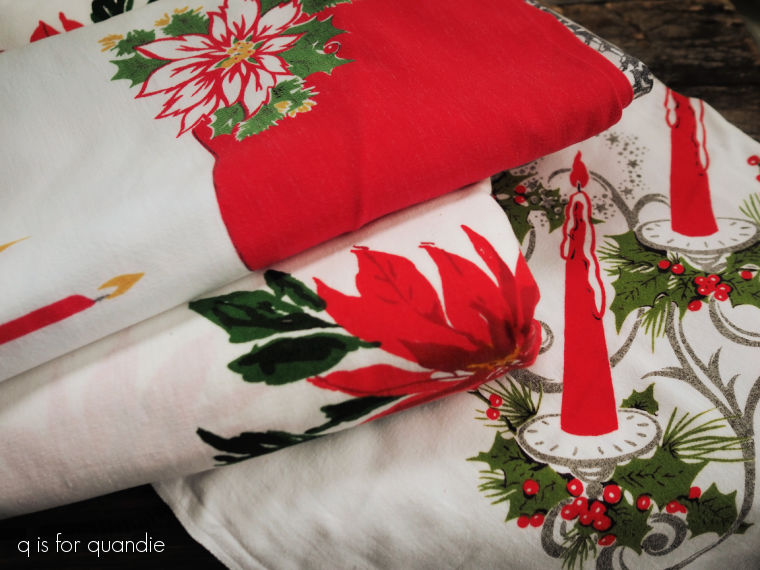
Not much of our Christmas stuff sold. That’s not terribly surprising though is it? No one is thinking about Christmas decorations in June.
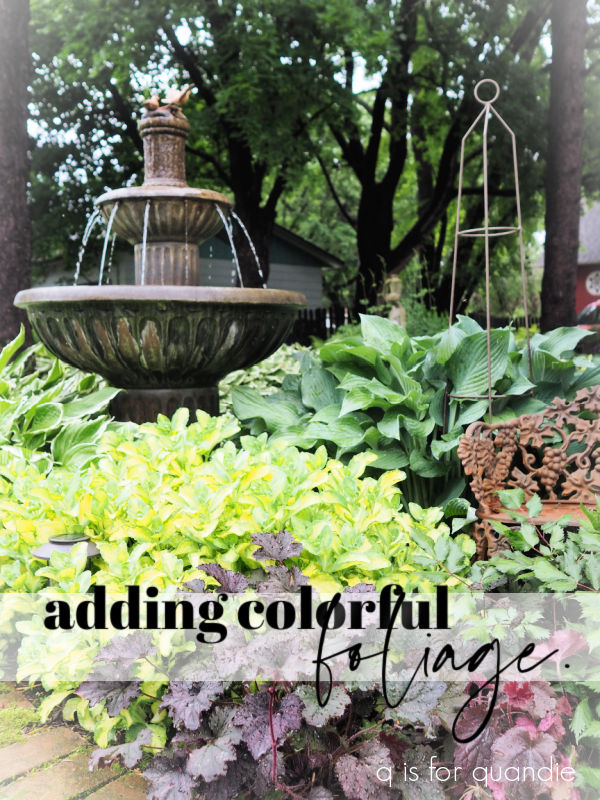
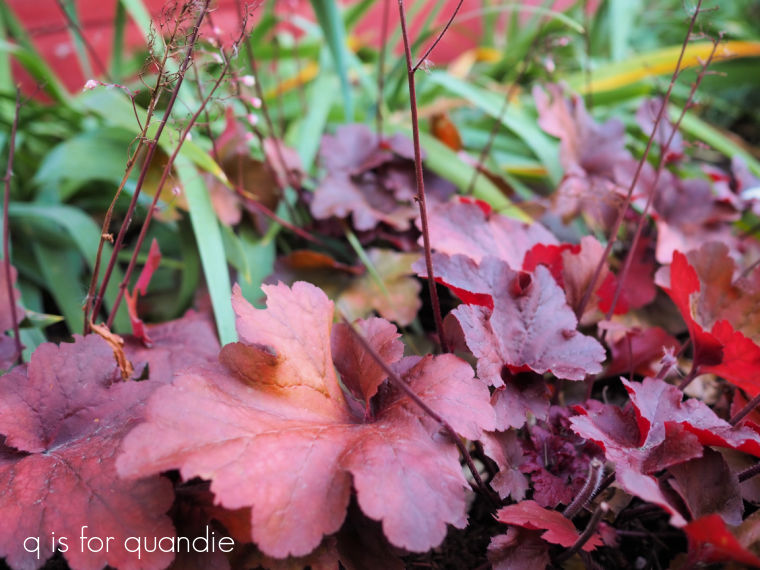
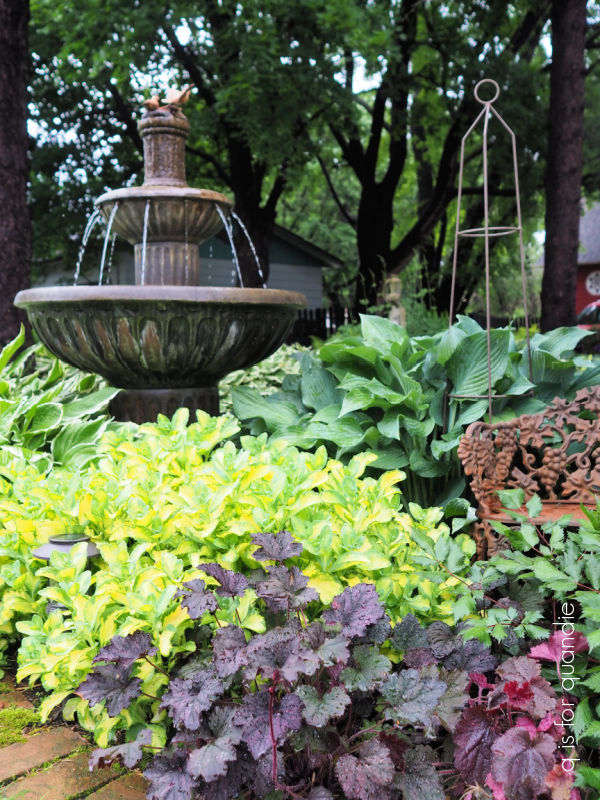
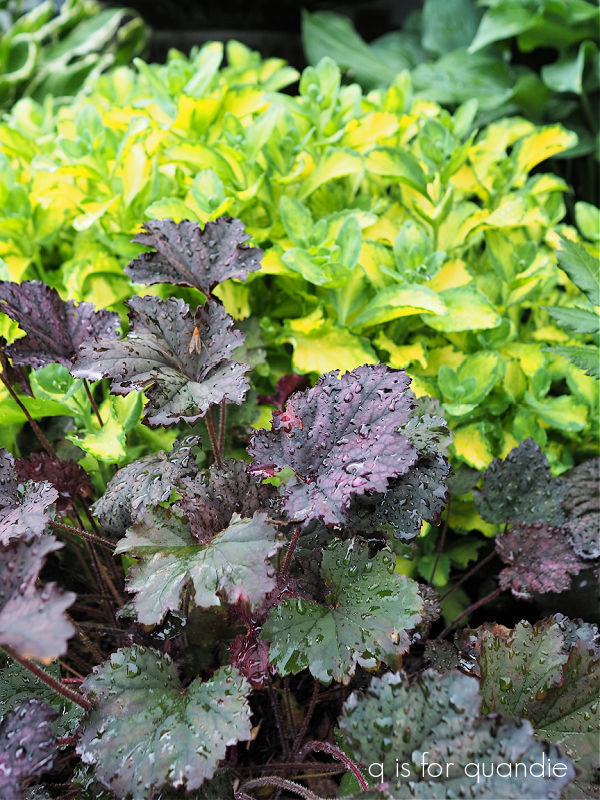
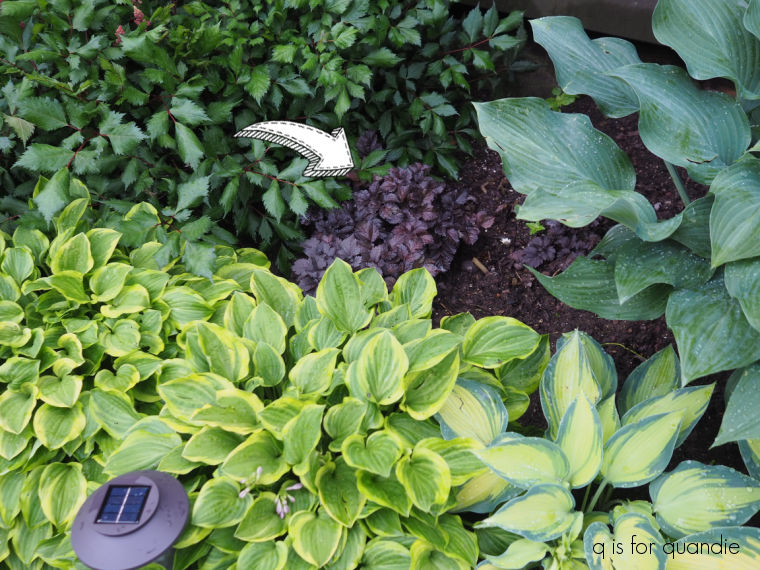
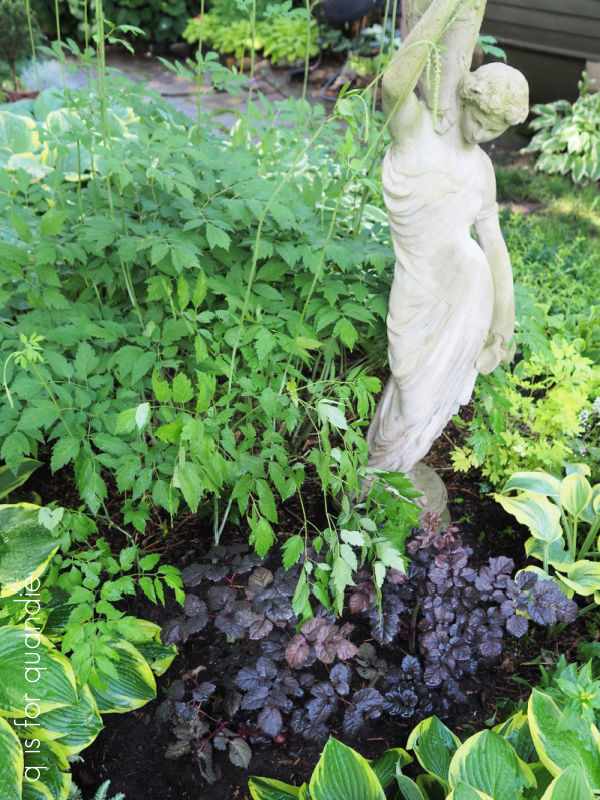
But what did sell really well was anything garden related.
It wasn’t surprising that the adorable cement dog was one of the first things to go.

As was rusty St. Francis.

All in all, despite bad weather and a really low turnout on Saturday, I’m going to call the 2024 Carriage House Sale a success. In all I sold 243 items (what?! how did I possibly sell that much, and yet still have so much left?).
So the question is, will we do it again? I can’t make any promises, but I’m definitely thinking about it. I’m considering focusing on a garden themed sale next year, maybe even including some plants. I also think it would be better to have it earlier in the season, perhaps the first weekend in June? Lots to think about between now and then.
In the meantime, I’m going to take a bit of a blog holiday over the next week. I need to take some time to pull my workshop back together, and I’ll also be enjoying the 4th of July up at Lake Pop-a-gasket (a.k.a. Lake Wapogasset).
Thanks again to all of the locals (and even not so locals) who stopped by!