We’ve become an Amazon Prime society, conditioned to expect that anything we order online should be here within a couple of days, right?
I’m finding that shipping times are all over the place when it comes to dollhouse items. I will say that miniaturecrush.com delivers my orders with Amazon-like speed. They do have a small advantage in that they are located in Savage, MN which is just a little over half an hour away. But they also get their orders into the mail a.s.a.p.
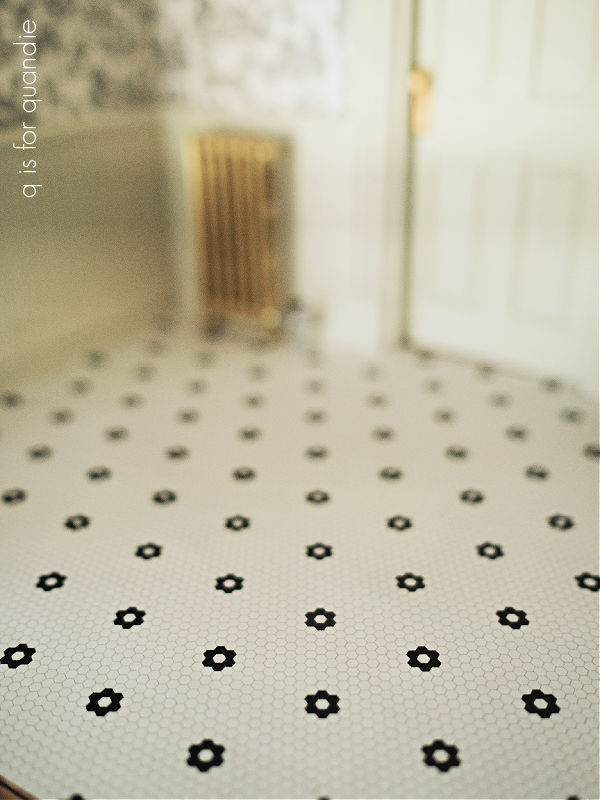
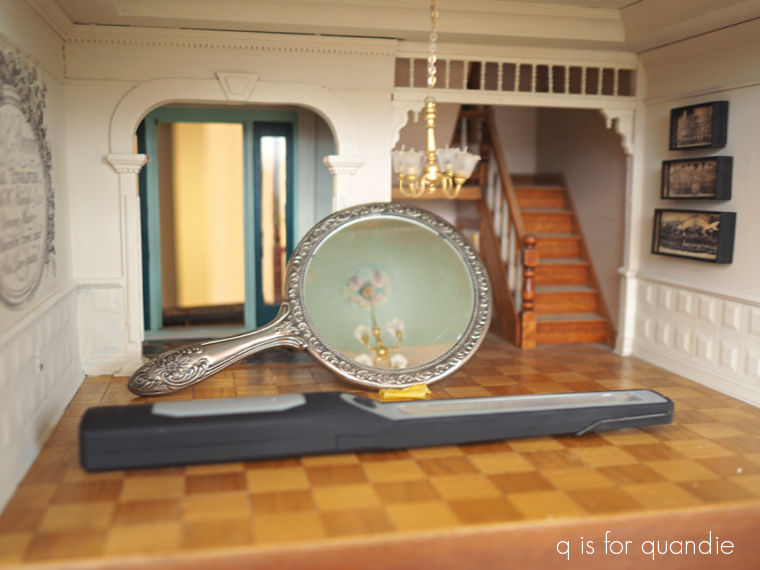
Then there are smaller, more custom orders like the mirror I ordered for the bathroom.
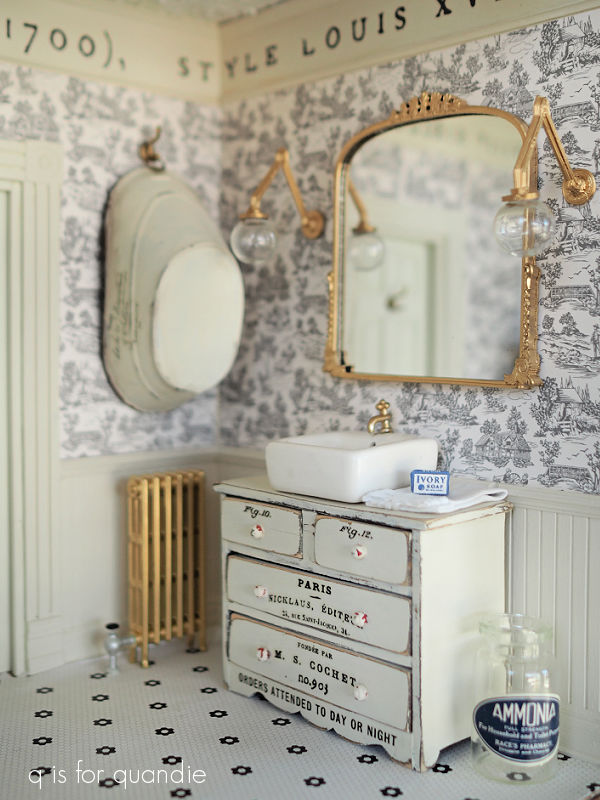
I ordered it from Emily Grace Minis (via Etsy). It took 12 days to arrive, which I know is perfectly acceptable, but it felt like 12 weeks! It was totally worth the wait though. It’s perfect in my dollhouse bathroom.
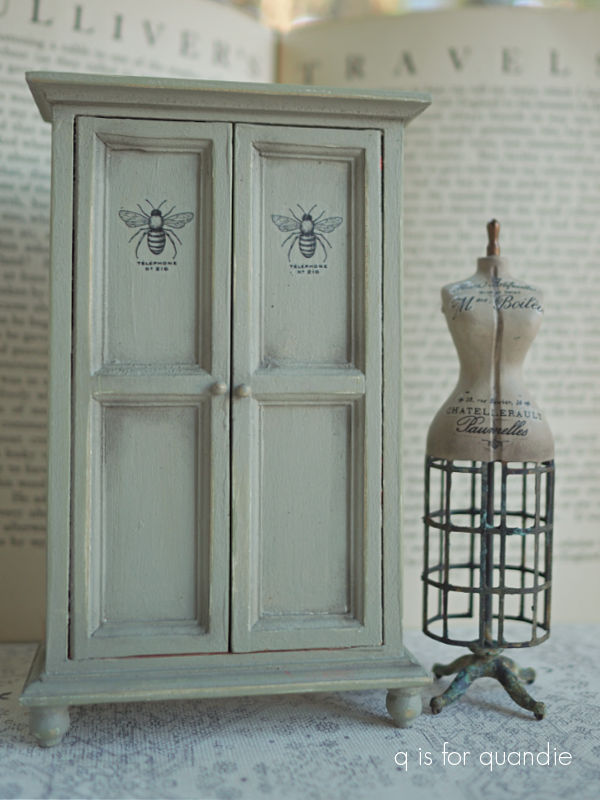
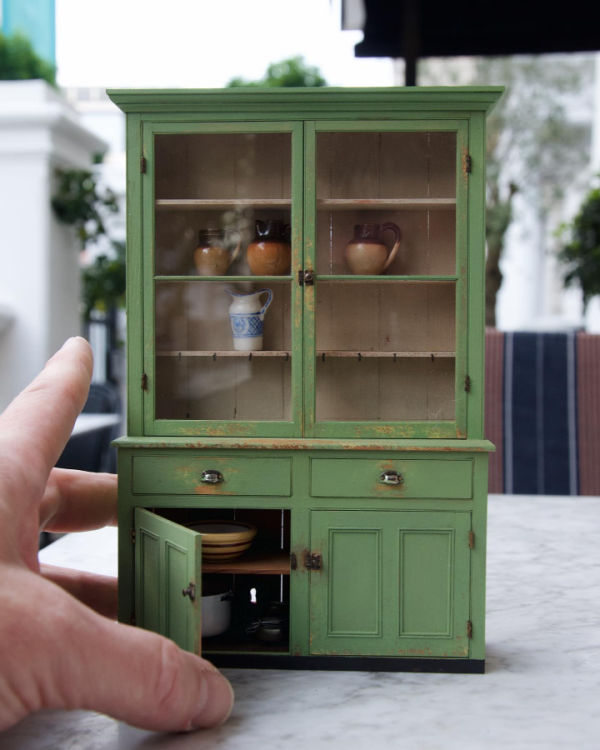
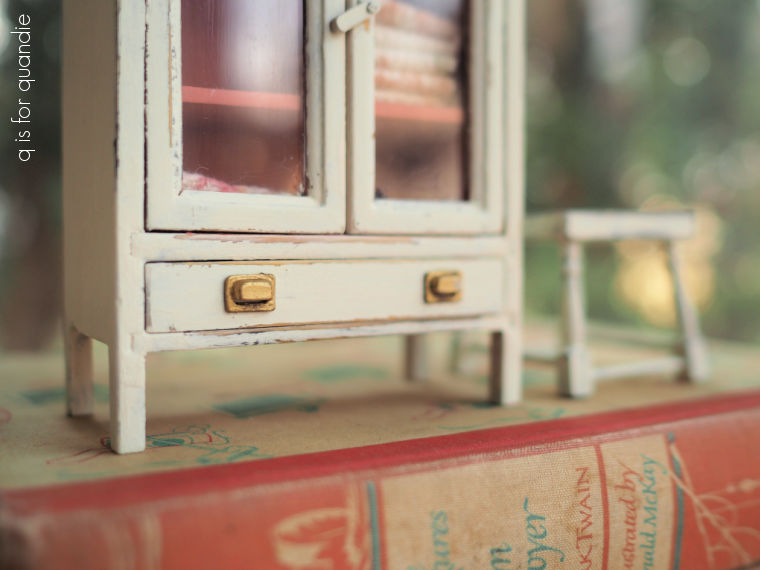
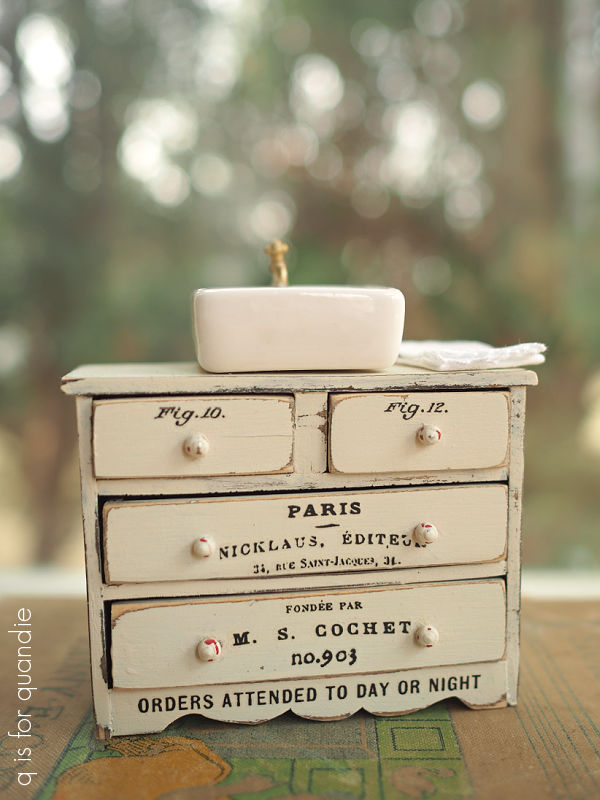
As I waited, I was working away on a few other furnishings for the dollhouse bathroom starting with this little cupboard that was shipped to me promptly from Miniature Crush.

After removing those little gold knobs from the drawer and taping off the plexiglass, I scuff sanded the piece to prep it for paint.
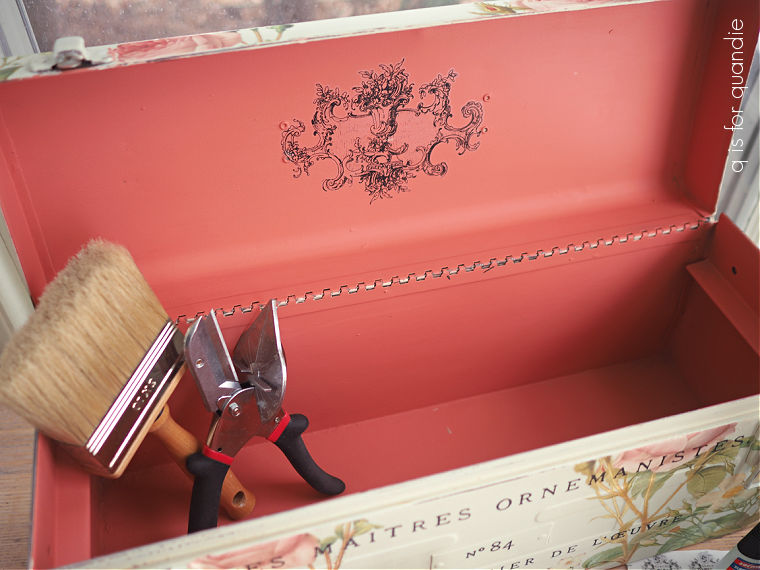
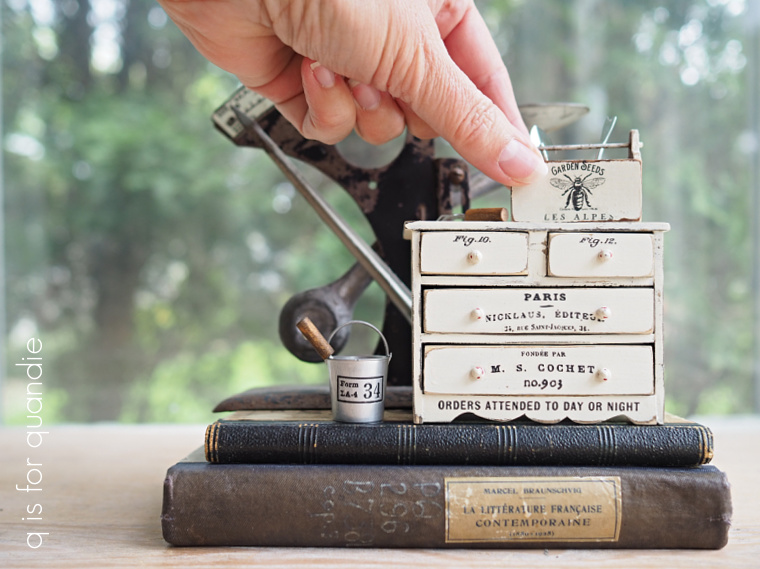
I had to chuckle when I noticed that there were measurement notes written inside the drawer area.
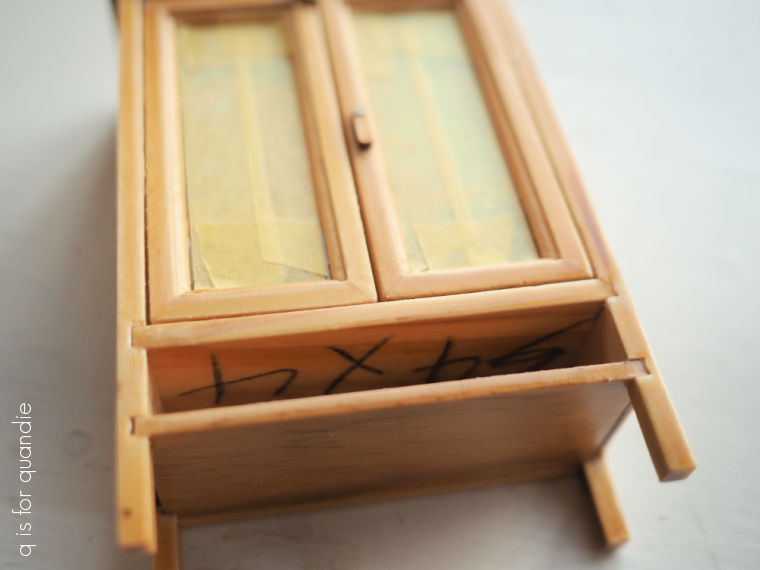
Just like I often find on full-sized furniture!
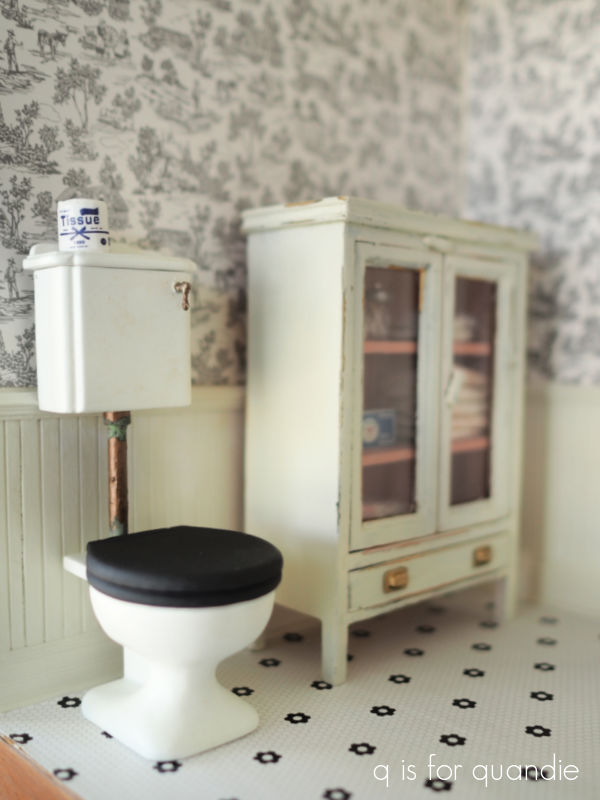
Next I painted the inside of the cupboard in Dixie Belle’s Cottage Door and the outside in Drop Cloth, and added a topcoat of their Big Mama’s Butta.
Then I lined the drawer with another of the Tim Holtz Worn Wallpaper Scraps.
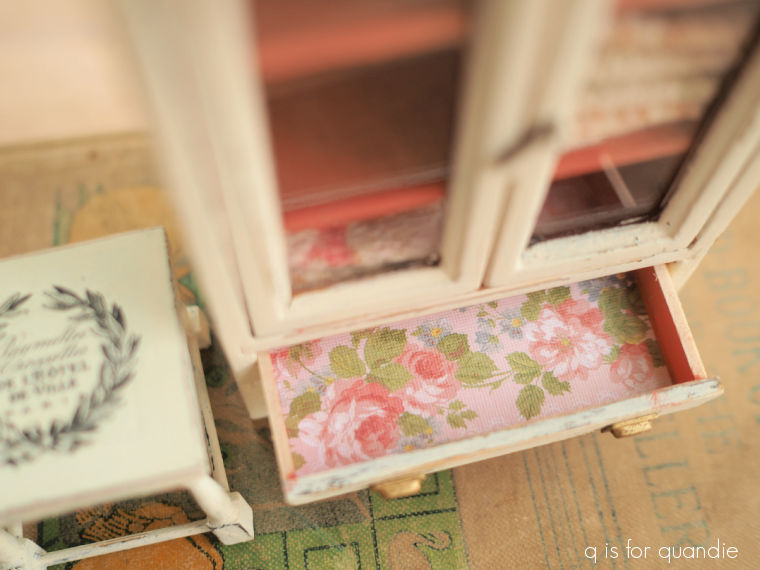
I also decided to swap out those original round gold knobs on the drawer for some of the same cup pulls that I used on the sideboard in the dining room (they are also from Miniature Crush).
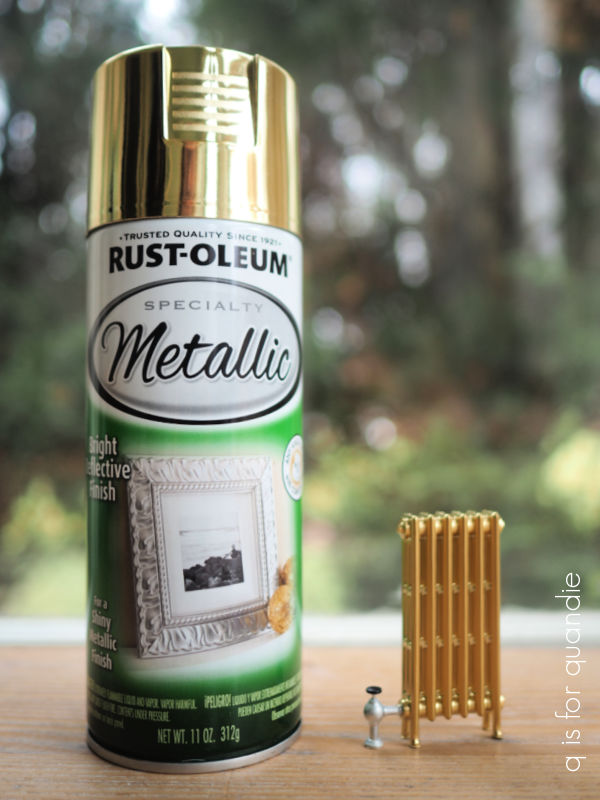
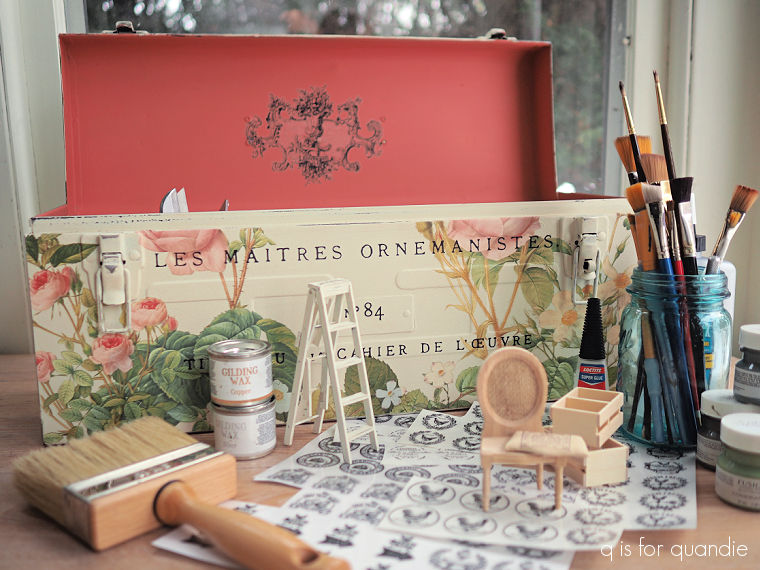
But this time I added a little of Dixie Belle’s Gilding Wax in Gold to them. As you’ll soon realize, I decided to go with gold finishes throughout the bathroom.
I also ordered a new toilet online, along with a handful of smaller items for the bathroom from Factory Direct Craft. That order took even longer to arrive than the mirror, but I did finally get them.
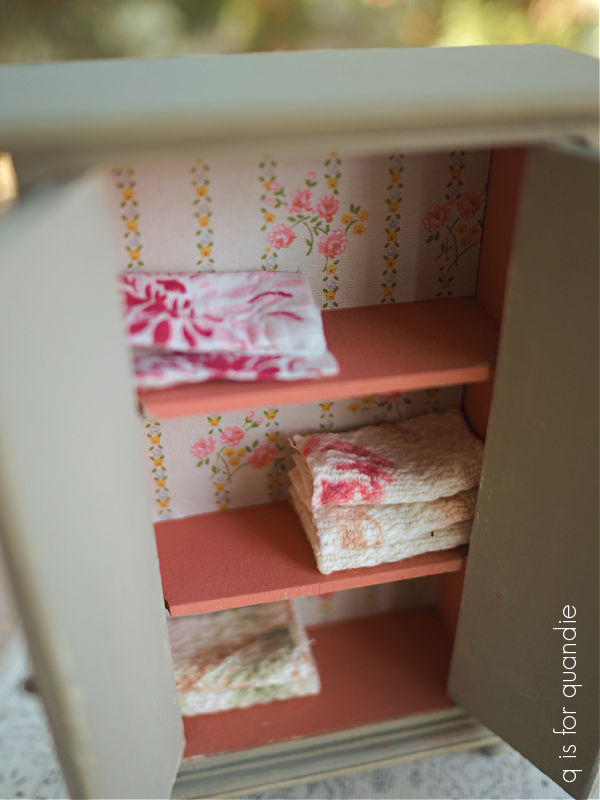
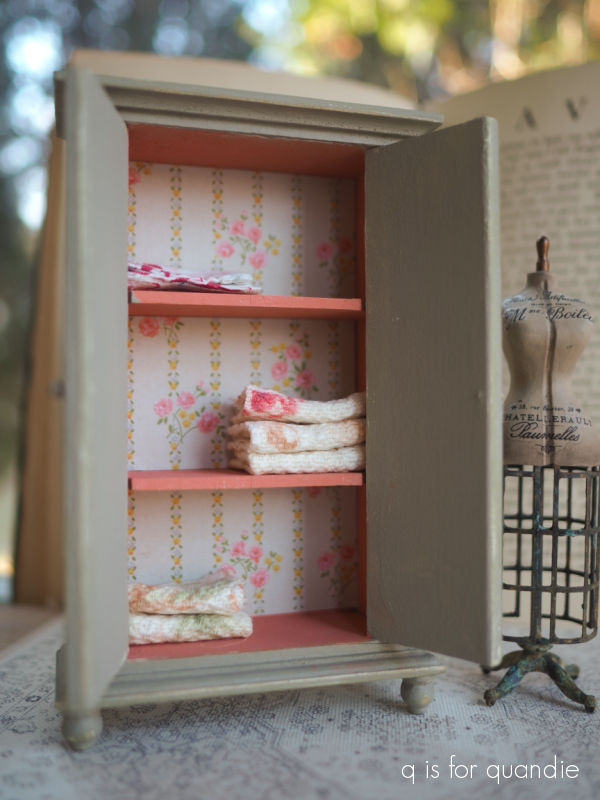
A few of the mini’s that I ordered from Factory Direct Craft went into this cupboard including some t.p., a little jar of q tips (because I had to have q tips, right?), and a box of first aid supplies.

Which brings me to the toilet.
Comically enough, this is the most expensive item I’ve purchased for my dollhouse to date at $67.50. Ridiculous, I know. But I searched high and low online for a realistic looking toilet in a style that I liked and this was the best option I found.
But even at that price, I didn’t love it when it arrived looking like this …

(photo from Factory Direct Craft website)
I felt it was a bit blah. The silver piping and handle looked like painted plastic, and the rest was just too white. Also, FYI, the Factory Direct Craft website claims this item is made of porcelain and it definitely is not. It’s plastic (possibly 3D printed??). But I figured I could work with it.
I painted the toilet seat black using Dixie Belle’s Midnight Sky, then I painted the pipe and the handle in their Bronze Patina Paint. I added just a little of the green activation spray from the Patina Paint line to the pipe to give it some realistic looking corrosion.
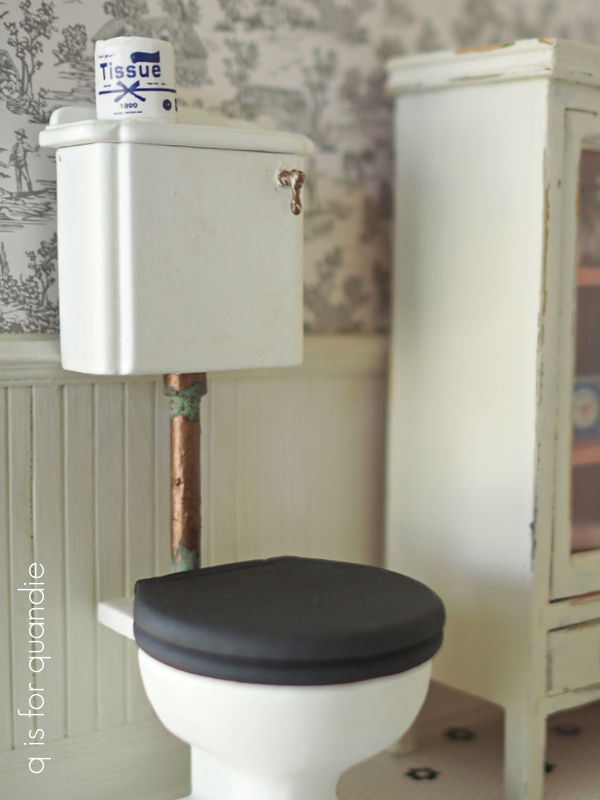
I purchased some gloss spray clear coat to add a little shine and make the toilet look more like porcelain, but I’m going to have to wait for a little warmer weather to add that (I don’t like to use spray paint inside the house in winter).
Next up, the sink.
You may remember this dresser that I painted up back in June 2022.
Well, I decided it would be the perfect base for a bathroom sink. It was much easier to accomplish this in miniature since it doesn’t actually have to have plumbing 😉
I found a flat bottomed sink at Miniature Crush and then just added it to the top of the dresser.
Then I used a little more of that Gold wax to make the faucet gold rather than the silver that it came in.

Now, you may have noticed that my bathroom doesn’t have a tub or shower. The thing is, I really wanted to use that little cupboard in the room, and there wasn’t space for both that and a tub. Plus, more importantly, I couldn’t find a tub that I liked that wasn’t even more expensive than that toilet!
So I decided that since this is my dollhouse, I can do whatever I want.
And in this case, that means no tub or shower. However, my friend opK gave me this little metal tub a while back, so I painted the outside of it in Drop Cloth and added a re.design with prima knob transfer to it. I also painted the inside in Dixie Belle’s Copper Patina Paint, but you can’t really see that while it’s hanging up.
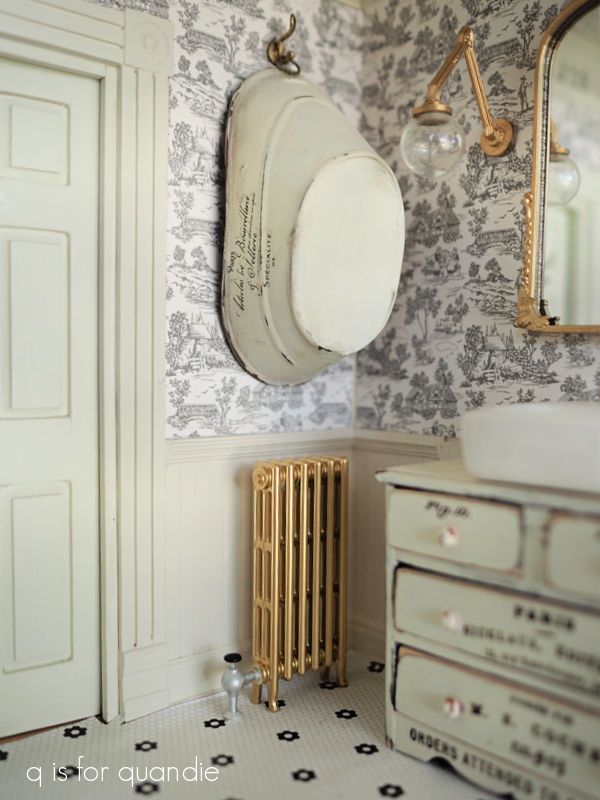
I hung it from a teeny tiny hook that I also added Gold gilding wax to. I added a gold hook to the bathroom door as well.
The hooks are from Miniature Crush, and I glued them in place with super glue. I wasn’t sure how well they would hold, but so far so good.
Unfortunately, the wall sconces on either side of the mirror don’t actually light up.
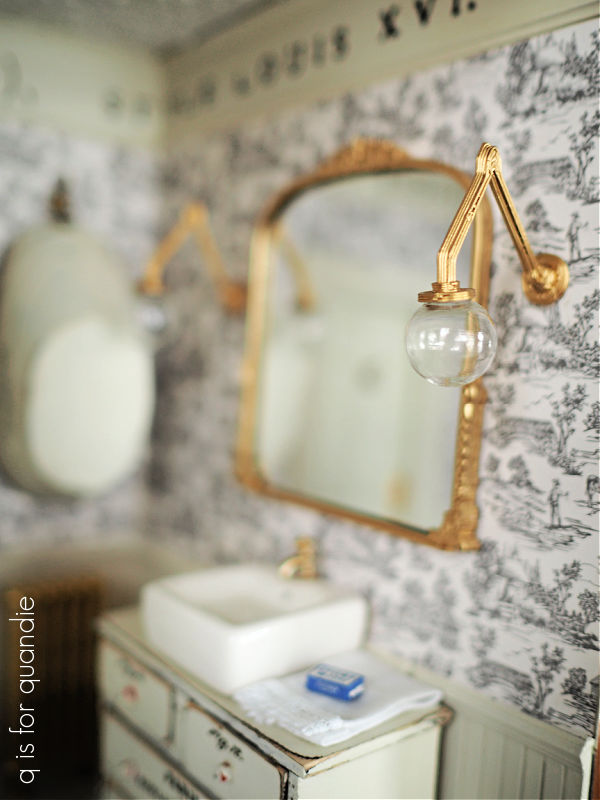
The would be much cooler if they did. But no, they are just made out of plastic and I have them attached to the wall with some tacky wax. So maybe at some point I’ll swap them out for something else, but for now they are good enough.
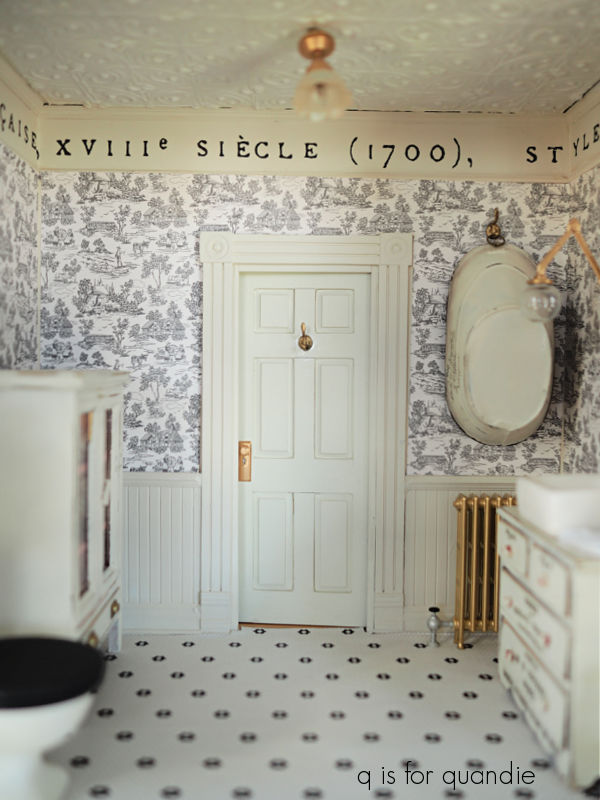
And with that, I’m calling the bathroom finished.
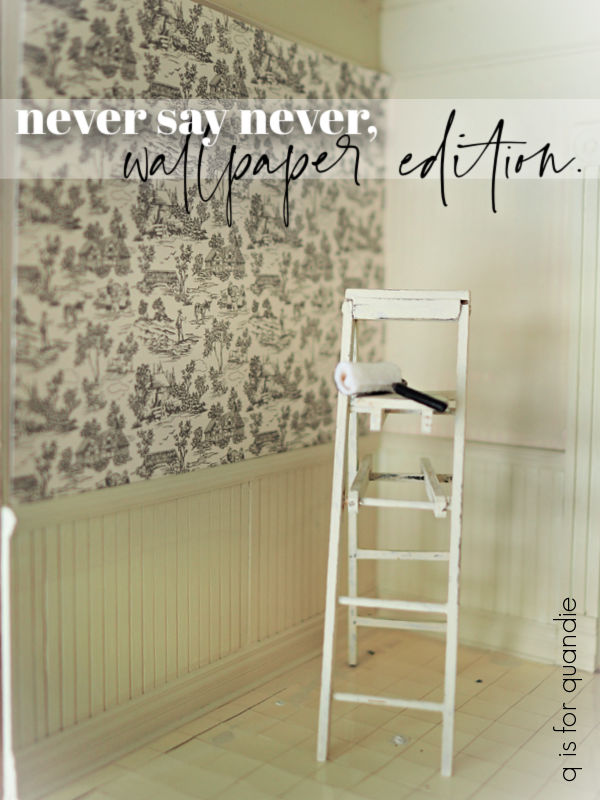
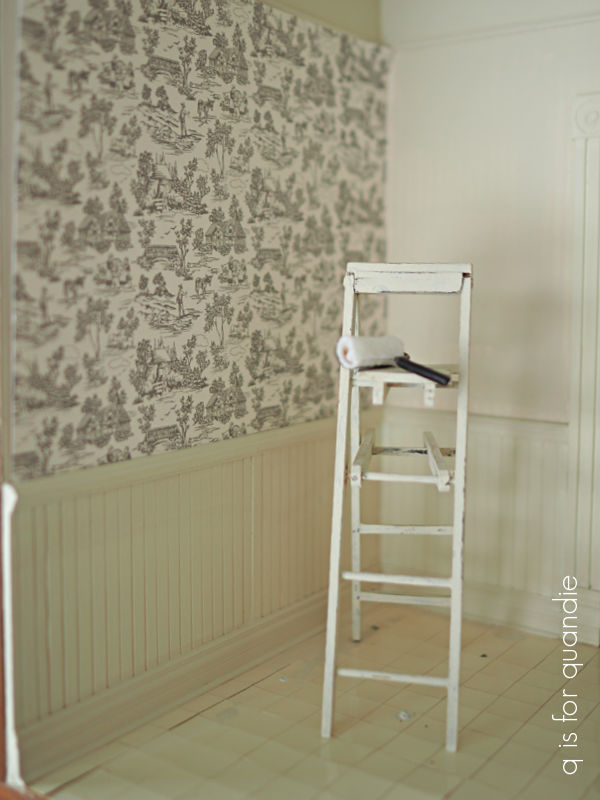
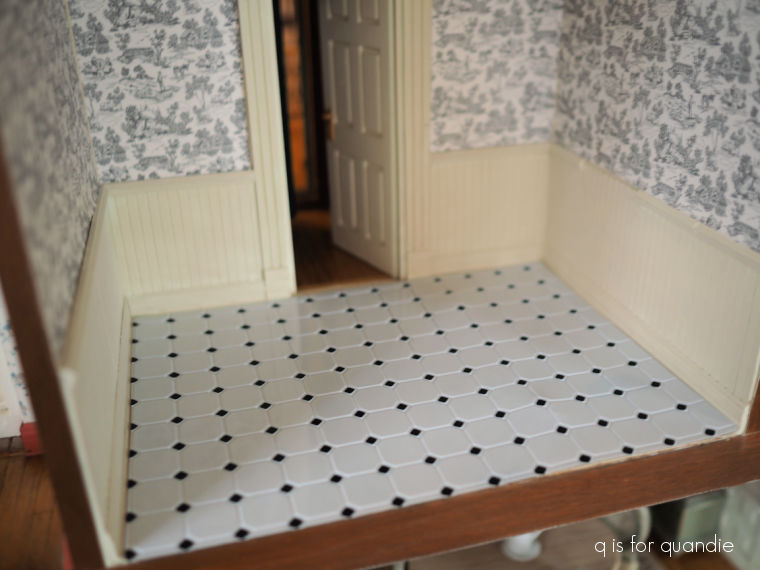
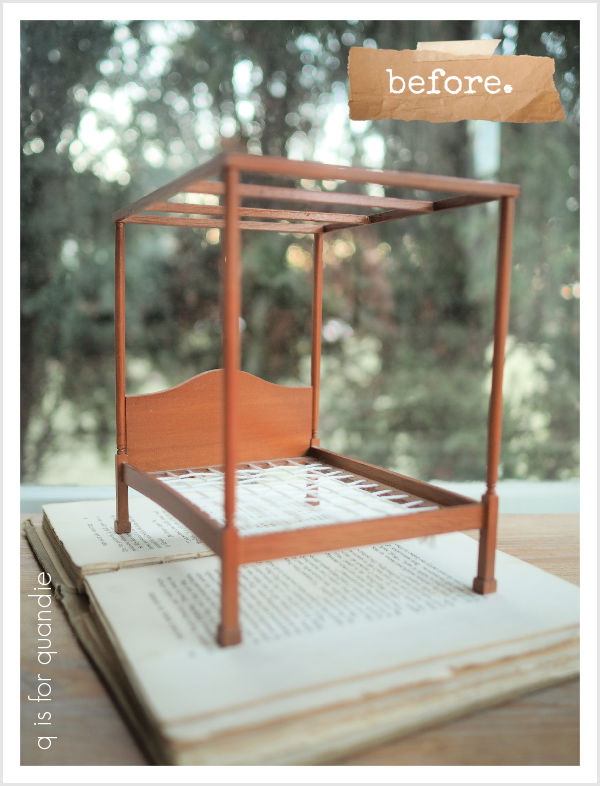
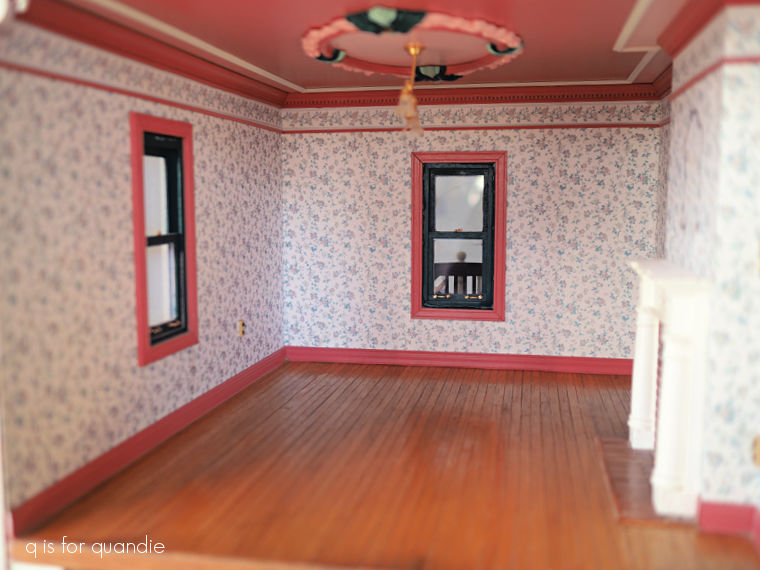
Here’s a look back at the ‘before’.
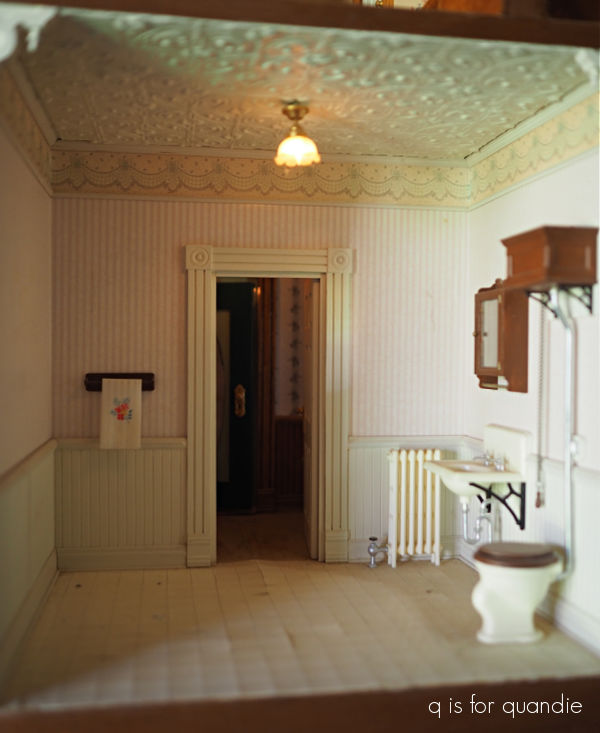
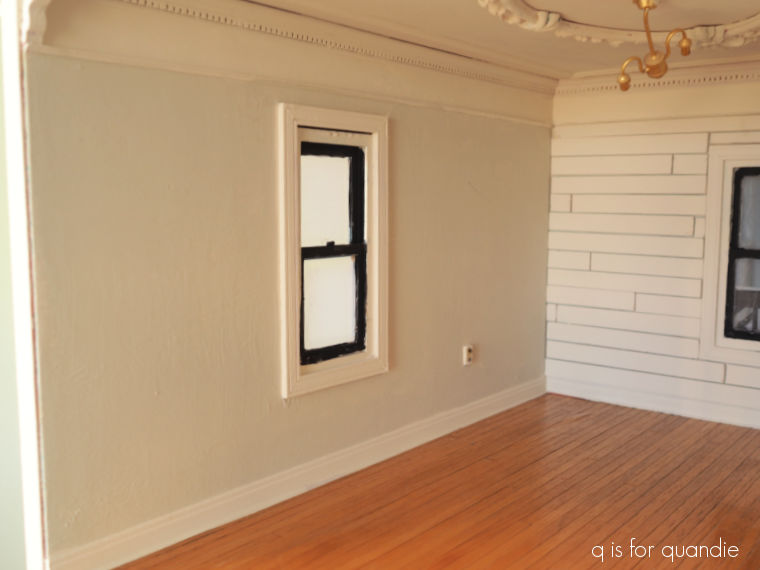
And here is the ‘after’ …

What do you think? Leave a comment and let me know.