When my friend Meggan, the master thrifter, mentioned that she was packaging all of her family Christmas gifts in vintage suitcases this year, I knew I had to share that with all of you here! So I asked her to pen another guest post for us (she has done a couple in the past as well). So with no further ado…
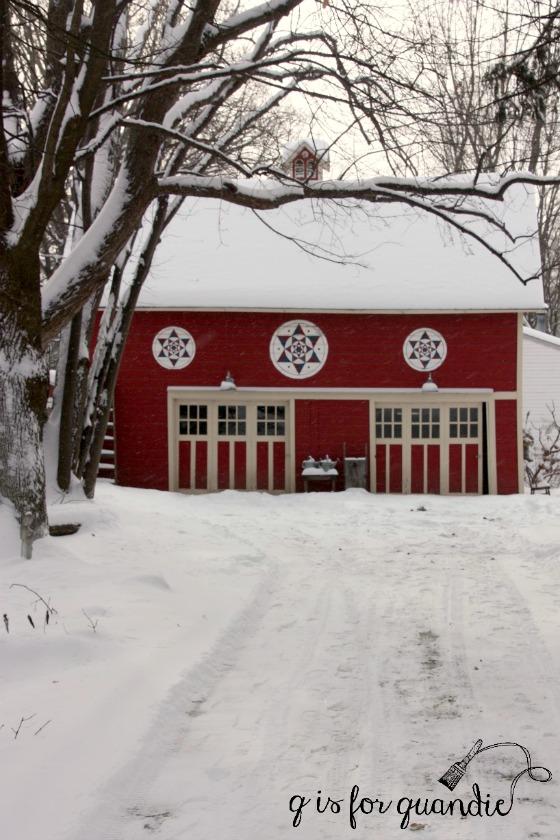
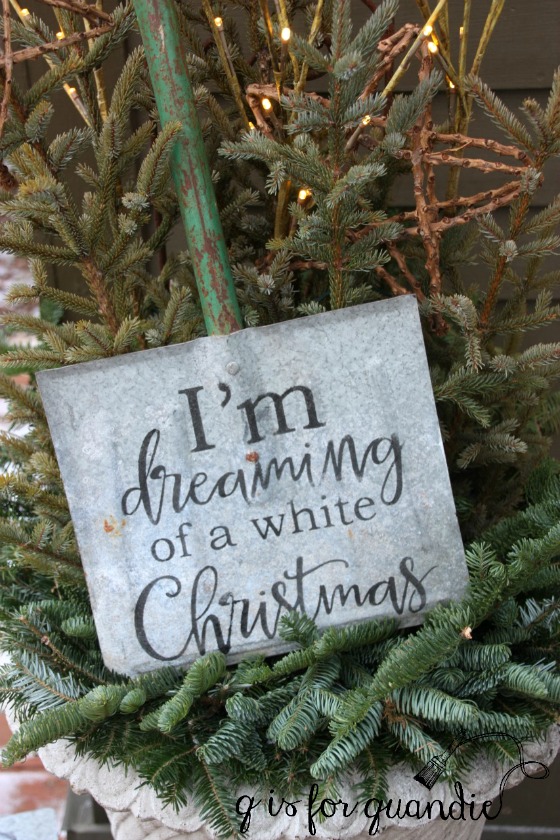
Happy December everyone! It’s definitely feeling like Christmas up here in the Minnesota tundra. Our thermometer reached 26 below last weekend. Ok, we get it, it’s winter. But, like Linda’s recent post on dreaming of a White Christmas, it does something to my psyche in readying for the holidays. Cozying up by the fire, making a hot toddy (my latest favorite is adding a splash of eggnog to my tea. FYI there is eggnog liqueur…you’re welcome) and enjoying the twinkly lights amidst the early darkness helps to create a festive ambiance. Over the past few years, I’ve made a concerted effort to lighten the load and simplify in all areas of life, but it has certainly applied to the holidays. My decorations have decreased by more than half, but I’m loving them twice as much because I’m only saving things that are sentimental or that which I truly love. Linda and I (and I’m guessing most of her readers) share a deep appreciation of vintage, so when she asked if I would contribute a post on how I incorporate it into my decor, I jumped at the chance.
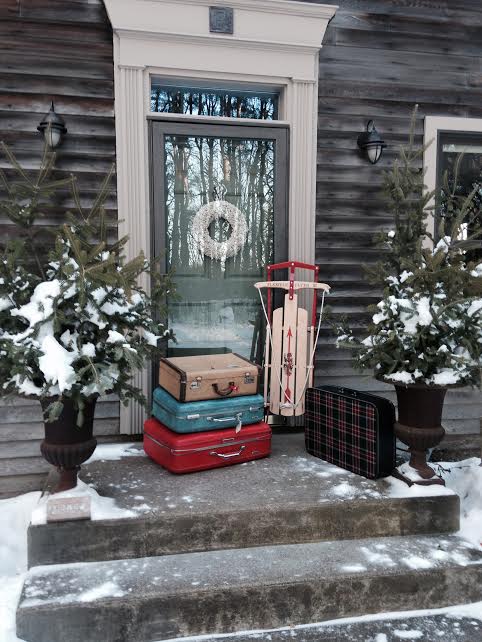
In the spirit of simplifying and using what I have instead of purchasing packaging, I had the thought of putting my families gifts in vintage suitcases. Turns out, this may be my new “go to”. It’s so easy, I can’t believe I never thought of it before seeing how much I love them. Of course, this Christmas may go down as “that one year when all of our gifts smelled like old lady”, but I care not. I did my best by spraying them down with two different essential oils (lavender and purification for any fellow oil lovers) as well as placing baking soda inside to absorb scents.
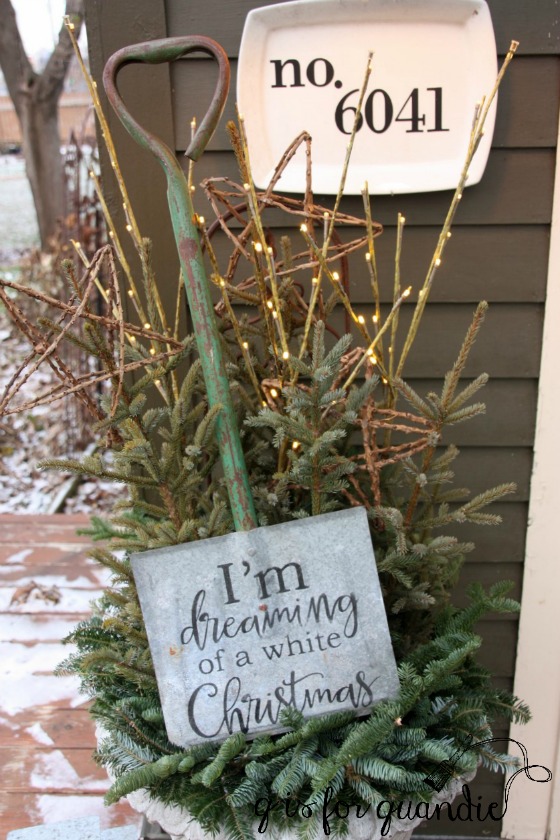
Thrifty tip: If you buy a larger tree, you can cut the lower branches for urns. I just poured boiling water in my outdoor urns and we put our extra boughs there for a festive entrance.

I found the sled at Goodwill for a mere $7 after my 50% off coupon was applied. Alas, it’s not a true vintage Flexible Flyer, but I loved it nonetheless.

The turquoise suitcase was a curbside find and had a vintage clarinet inside. It came with the original luggage tag from American Trans Air, arriving in MSP.
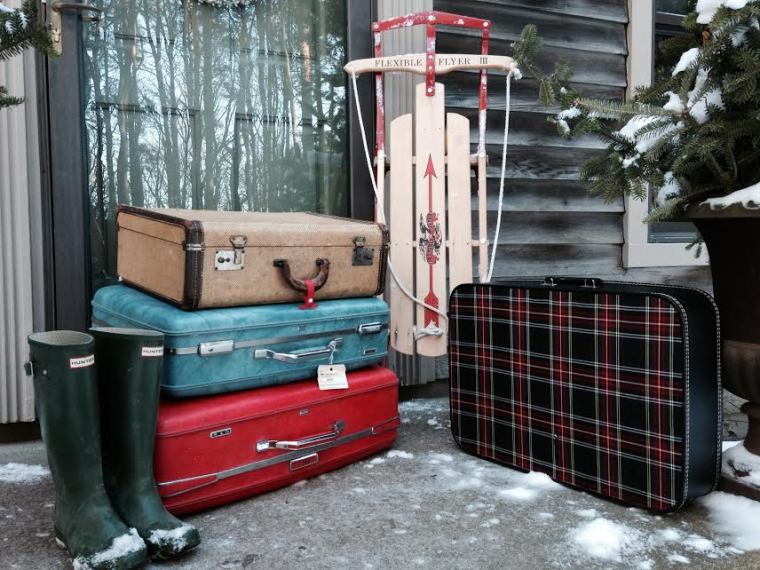
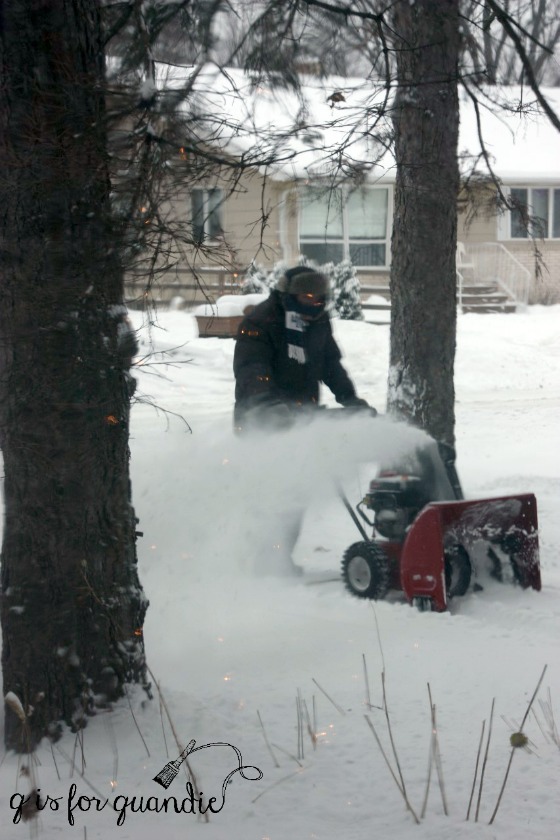
Although I tend to favor older vintage cases, I liked the red and turquoise together. Plus, they were large enough to hold some of the items I will show later on in the post! Funny trivia, we have a metal roof which lends itself to avalanche-esque snow slides when it comes off. Only about 5 minutes after I finished taking photos, the entire front side of the house let go and everything was covered in about 6 inches of heavy snow. That was lucky!

As you walk in our front door, there is a hanger made from old tin ceilings. I just added some scrabble tiles and greens from the tree. For a more year-round idea, it’s fun to put your address numbers on in the same fashion and change the inserts with the seasons.
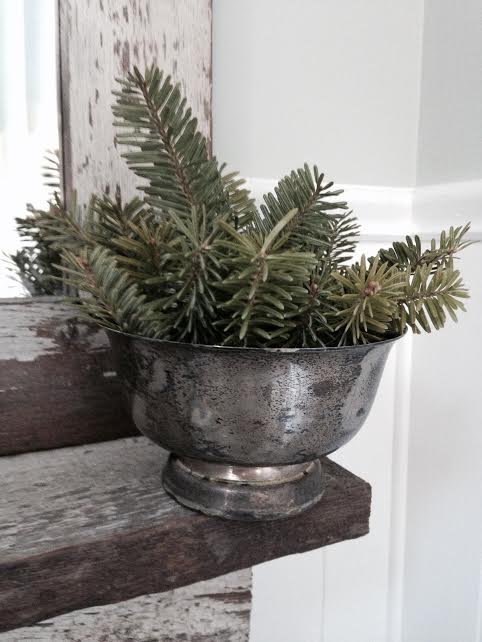
Whenever I see aged silver at garage sales or thrift stores, I pick it up. This small bowl was 50 cents and I use it all the time. I love the patina, so again with small greens, this sits on the barnwood mirror in our bathroom.
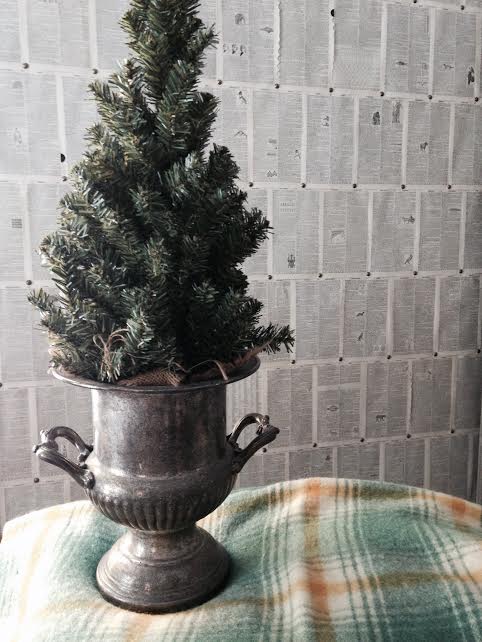
Continuing on with the silver, this beautiful vessel graces my office. I don’t do a lot of fussy decorating, a lot is just simple greens. I did put a small tree like this in our oldest boys’ room with the addition of the tiny LED fairy lights. They are battery powered and so easy to use. Target has them in their $3 section this year and I highly recommend them!
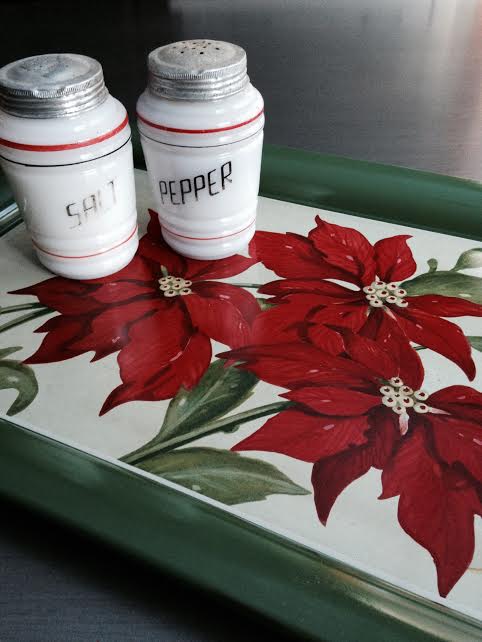
My Mom gave me this beautiful poinsettia tray as well as the milk glass shakers. She and I will often shop our local thrift stores for post Christmas sales. Last year, I found a set of 12 trays that are off-white with pinecones for a total of $4. They make beautiful gifts or if you’re like me, sometimes you just want to eat dinner in front of the TV and they work great for those lazy nights!

Sorry for the photo quality, but I wanted to share this vignette on my mantle. I love using old books throughout our home to add height, texture, or in this case color to a display. These faded red books added a charming vintage feel next to the mercury glass tree. The silver tree plays “White Christmas” which is my all time favorite holiday movie and is also a thrifty find.

More vintage french books to elevate this massive poinsettia. A dear friend of mine passed away last January. The last time I saw her, I admired her green lunchbox where she was storing her batteries. She insisted I take it (she knew my love of all things vintage and green). I declined, but really did want it :). She wouldn’t let me leave without it and I’m so glad she didn’t. I don’t physically have her with me anymore, but I will use this every year to hold my cards and have wonderful memories of our times together. She also insisted I take the plaid wool blanket that was in the photo with the tree in the silver bucket. It was in her trunk and I again complimented her quality choices for utilitarian pieces. It’s a good lesson. Use what you love and make your everyday beautiful. It really does make a difference. Also, share your gifts. Abundance comes back twofold with generosity.

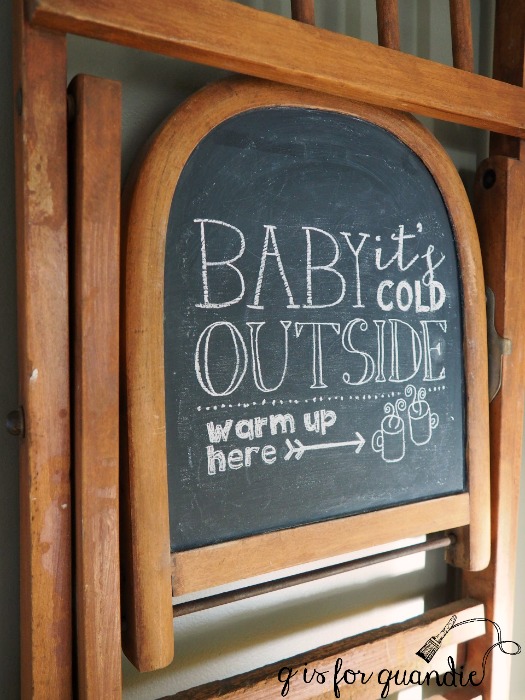
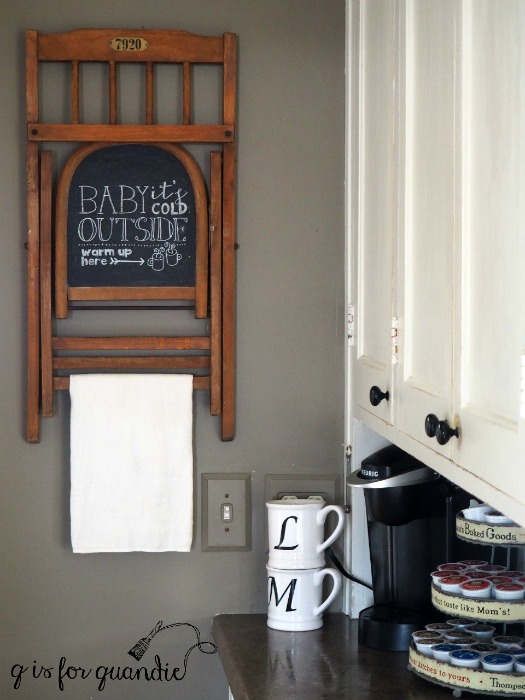
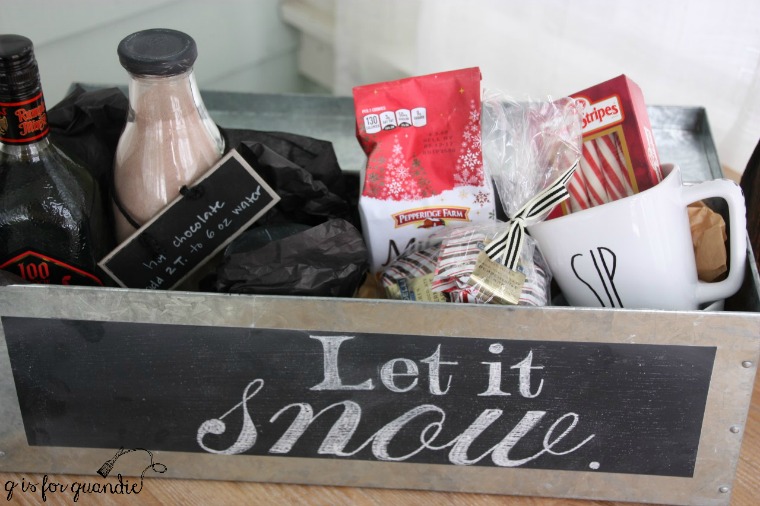
I’m always using the vintage chalkboard in my kitchen. This time it was for a message from our elf named “Jack Smooth”. One boy wanted to name him “Jack” and his brother liked “Smooth”, so “Jack Smooth” it is 😉 Of course, if I had my act together, I would have a perfectly stenciled quote like Linda does. Hint hint Linda, your skills are welcome here anytime!

Since I showed you my suitcases, I thought you may like to see what made it inside of them. I often gift my family and friends vintage items. They are unique, one-of-a-kind gifts that are usually quite well made as well as economical. This vintage snowsuit was $2! We will be snowmobiling out to our cabin this winter and our oldest son is receiving this gift to help outfit him! He is 13 and all of a sudden had a huge growth spurt, so no shoes or skates fit him at all! These skates were a thrift score as well.

Our middle boy is the lucky one to get these extremely well-made snowshoes found on consignment. They are made in Wisconsin and came in at a small fraction of retail. But, my favorite is the vintage wool jacket from Bemidji Woolen Mills which for you non-residents, is in northern Minnesota. The business was created in 1920 and is still manufacturing quality products at http://www.bemidjiwoolenmills.com/ The “Paul Bunyan Jac” shirt I found for $10 can be purchased currently for $134.
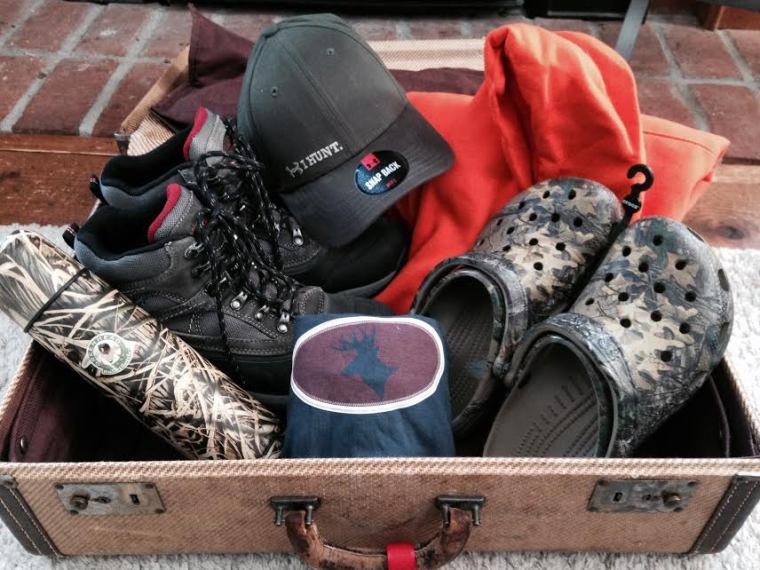
This case holds hunting themed gifts for our oldest. He loves all things hunting/camo and rightfully so. He got his second deer this year, which is currently feeding our three boys in their lunch boxes. I can get behind a sport that contributes to the grocery budget! Again, since he grew out of all of his shoes, he gets a pair of hikers found at a thrift store for $6. The camo crocs I had to order online and I just know I will find some at Goodwill directly after Christmas (Murphy’s Law). Linda was with me when I found this camo thermos for $2. The other items are either thrift or clearance retail. I gather all year round when I see things I know they will like. It saves a ton in the long run. Sometimes I’m surprised at how little shopping I need to do around the holidays as it’s already in my cache 🙂
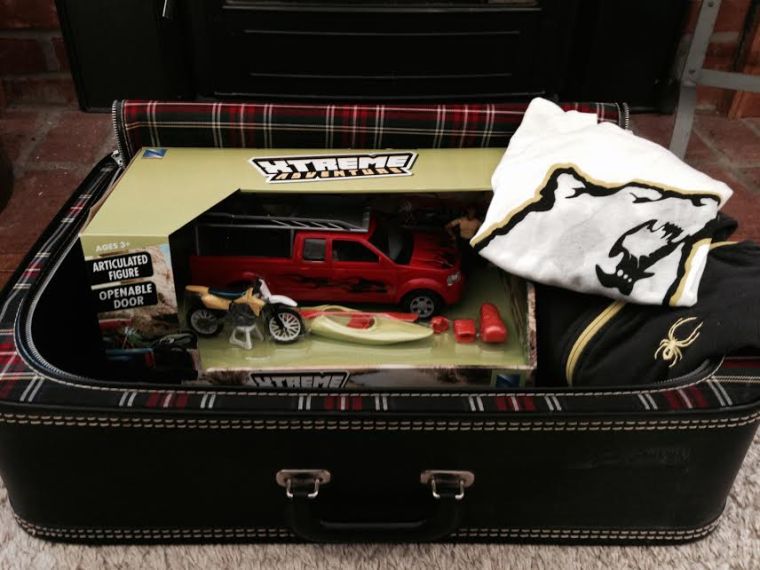
Our youngest son’s suitcase contains an adventure toy and a few clothing items. These toys with the open fronts have always been so difficult to wrap. A soft-sided suitcase was the perfect solution because it stretched to hold the awkward shape and no frustrating taping for me!
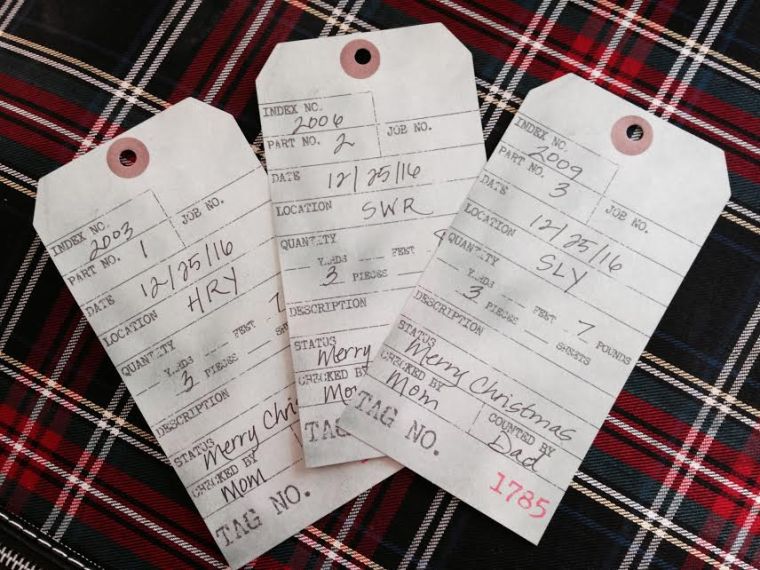
I would’ve loved to create vintage inspired luggage tags from scratch. However, simplicity. So, Michael’s craft store had some pre-made tags and although they aren’t necessarily travel themed, I added a three letter identifier like “MSP or LAX” for each boy. Henry: HRY, Sawyer: SWR, Sully: SLY. It’s really for me, isn’t it? 😉 Hahaha. I added their birth orders and birth weights in other sections to personalize.

They don’t quite fit under the tree, but I’m loving what they add in terms of style. More trivia: I placed these by the tree yesterday and as I sat with my hot toddy last night, the entire tree tipped over and came crashing down. Water and glass spilled everywhere so, thankfully, only the red case was under the tree and it’s hardsided!

Thanks to Linda for sharing her space here at Q and thank you for reading along! I wish you all an inspiring holiday surrounded by all that you love.
Cheers,
Meggan
Thanks so much for sharing your amazing ideas for a vintage Christmas with us Meggan! And to those of you at home, if you enjoyed Meggan’s post (and really, how could you not?) I hope you’ll take the time to leave a comment for her in appreciation. I know she’ll read and enjoy every single one!