I have wanted a ship lap wall ever since the first time I binge watched Fixer Upper. I can’t remember who told me about that show (I’m pretty sure it was Meggan, am I right Meggan?), but I watched the first episode and was hooked. That was back when I still had cable TV and they happened to be having a Fixer Upper marathon one winter day while I was painting a piece of furniture in my piano room. I think I watched the entire first season in one day. I fell in love with ship lap walls that day, and I bet thousands of other viewers did as well. Twenty years from now the next generation of DIY’ers will be cursing us as they have to remove the ship laps walls that have become dated.
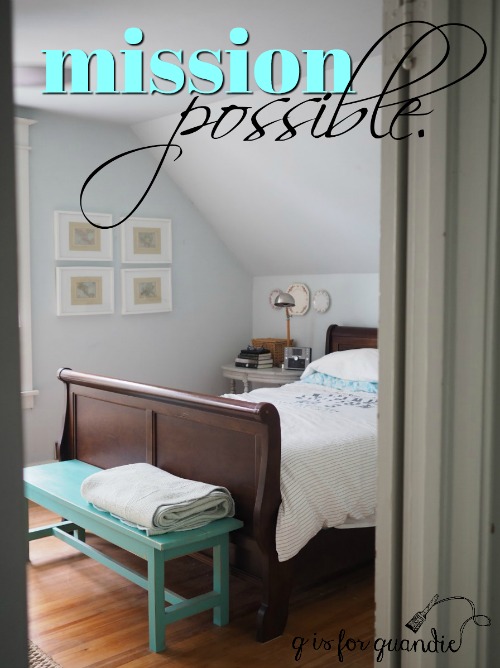
But in the meantime, my ship lap dream has finally come true. We’ve added a ship lap wall as part of our master bedroom makeover.
I read lots of ship lap wall tutorials before beginning my project and although I took bits and pieces of wisdom from each one, I didn’t follow any one method exactly so I thought I’d share a post about how we did it.
I’ve decided to add a new feature to my blog posts and I’m going to call it the p.p.p., the putzy-est part of the project. It seems like nearly every project has one of these, right? Well, in the case of this wall for me it was buying the wood. Please note the important words for me. I don’t know why, but I find that figuring out and acquiring the appropriate supplies is always the most intimidating part of the project. I’m sure most of you have no issues with this at all, it’s just me.
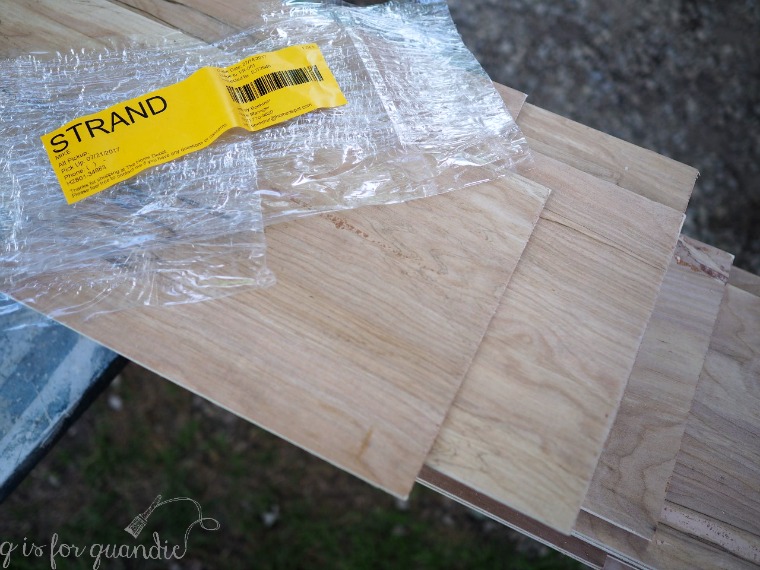
It began with calculating how much wood I would need. I measured my wall and then calculated the total square footage as a starting point. Then I decided to make my boards 8″ wide because that would fit pretty evenly floor to ceiling on both the vertical lower portion of the wall and the upper angled part of the wall with a 6″ board at the very top. Next I did the math to calculate how many 8′ long x 8″ wide boards I would need. Then knowing that I would get 6 boards out of every 4′ x 8′ sheet of wood that I had, I figured out that I would need 4 sheets. To double check I calculated the total square footage of 4 sheets, 128 square feet, and compared it to the total square footage of my wall, 112 square feet. Seemed like a good bet, so I went with it. It was a little nerve wracking because after I had the pile of wood everyone kept looking at it and saying “are you sure you got enough?” No, I wasn’t sure, but I was optimistic.
Next I made a few phone calls to find out which DIY store would cut the sheets into 8″ strips for me. Menards was out, they don’t provide that service. Home Depot said they’d do it for 50 cents per cut. Perfect.
So Mr. Q and I drove over to our local Home Depot and this is where things really got putzy. First we had to find someone to help us find the right wood (we ended up using 1/4″ thick sheets of 4 x 8 underlayment). The first employee had no idea where that was, so she had to call someone from lumber. That guy pointed out the right wood, but then sent us to the Pro desk to arrange to have it cut. The guy at the Pro desk was on the phone, so after waiting for about 5 minutes for him to finish that call, he then told us that we needed to go back to the lumber guy to arrange the cutting. When I pointed out that the lumber guy sent us to him, he then suggested maybe someone at the customer service desk could help us out … all the way at the other end of the store.
But then we got lucky. Sarah at the customer service desk was super helpful and friendly. She arranged for our wood to be cut, told us they’d call when it was ready and processed our payment for the sheets without charging us for the cuts. Nice! The p.p.p. was done!
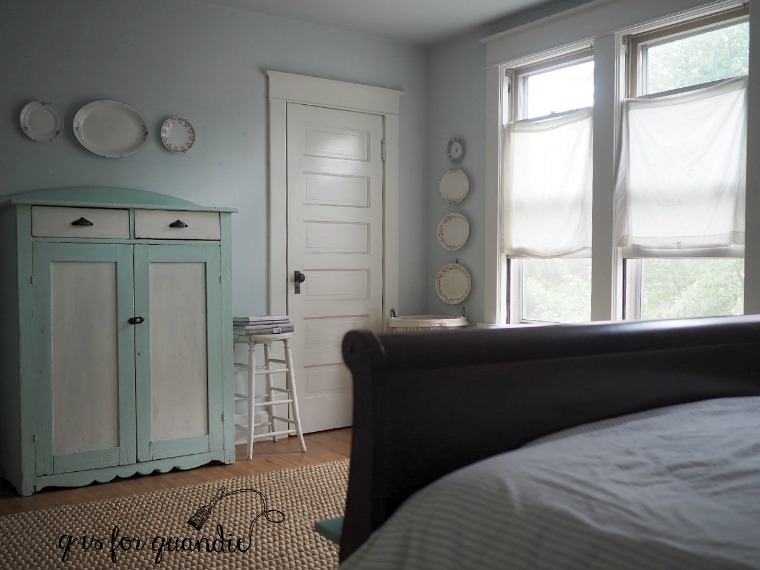
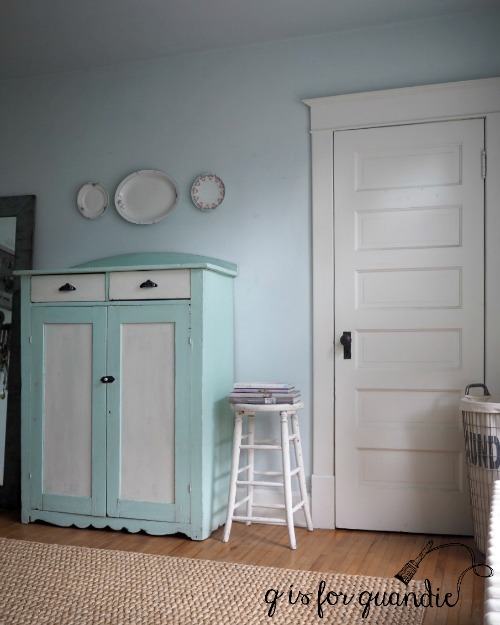
My next step was painting the room. I painted the other three walls and the ceiling in a Benjamin Moore color called Edgecomb Gray.

I wanted just a hint of color so that our beautiful white trim would still pop.

I expected this color to be more gray, after all ‘gray’ is in the name. It really is a greige, in bright light it looks like a very pale warm gray and at dawn it definitely looks more beige. The color changes throughout the day as the light outside changes.
The ship lap was was going to be painted in a shade of white from Dutch Boy called Cotton Blossom. I used this color in my living room and piano room and I knew I liked it. So I painted the wall that was going to be ship lapped with the Cotton Blossom. I highly recommend doing this, especially in my case because I can see little bits of wall behind the ship lap. It’s good that I didn’t leave that wall blue.
Next I had to sand both edges of each of the 24 – 8′ boards. I tried hard not to think about the math … sanding 48 edges … but sometimes I can’t help myself. The blade that Home Depot used to cut them must not have been terribly sharp because those edges were pretty jagged. This was certainly not the most fun part of the project, but I cranked it out in an hour or two.
With the boards sanded and the wall painted, it was time to attach the boards to the wall. For this we called on our amazing handyman neighbor, Ken. He brought over his chop saw and his pneumatic brad nailer. We absolutely could not have done this job without Ken and his tools. So many DIY’ers talk about how easy these sorts of projects are, but the reality is that unless you already have the tools, it’s not really do-able. If we’d had to buy the tools for this project, it would have cost quite a bit more. Thank goodness we have Ken! We set up the chop saw right in the bedroom which ended up being the best decision ever. Running up and down the stairs every time we needed to make a cut (which ended up being a lot) would have really been a pain.
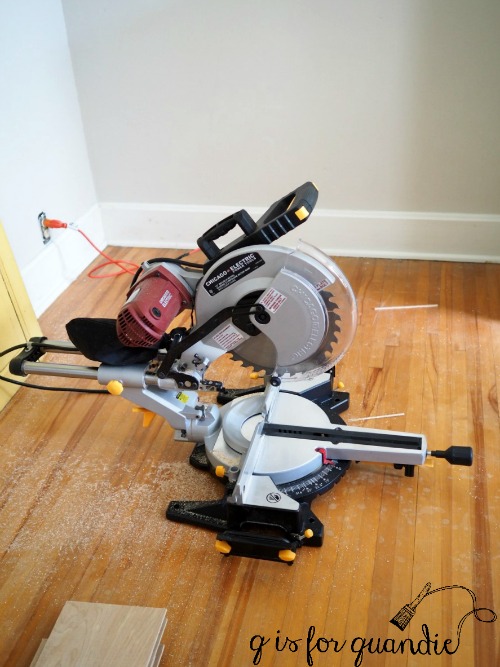
And since we’re having those floors sanded and refinished this weekend anyway, what’s a little more sawdust?
Now, keep in mind that I have plaster walls in my 1904 house. We’ve never had much luck trying to find studs, so we decided not to bother about that. We used 1″ brads and just used plenty of them to keep the boards in place. I didn’t want to use glue of any kind because I know that one day, when it has become outdated, someone (possibly even me) is going to want to remove the ship lap. If the boards were glued in place that would be so much more difficult.
 I know Ken struggled to come to terms with my decision. He’s afraid one day a board will fall off in the night and take out Mr. Q and I while we sleep peacefully underneath. But I seriously doubt it. If anything the end of a board might pop up, in which case we’ll just add a couple more brads to hold it down.
Ken also wasn’t happy with the cutting job that Home Depot did. As you can see, some of the cuts were really not straight at all. Plus the boards ranged in width from 7′ 7/8″ to 8′ 1/8″. This left gaps between the boards that varied from one end to the other. At this point, I had to introduce Ken to the concept of embracing the imperfections.

After all, those original ship lap walls were certainly not perfect. Ship lap was just a base to build upon with plaster, it wasn’t precise or even meant to be seen. I direct you to this photo from magnoliahomes.net. Take note of the total lack of perfection, fairly raw edges, uneven boards, and also note that the nail holes are not filled.
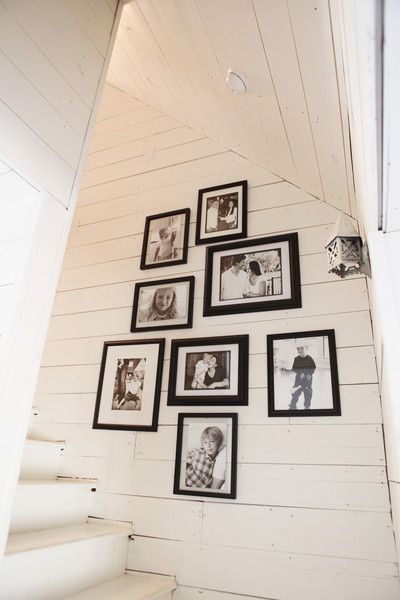
To me, this is ship lap at its finest and this is the look I was going for.
So ’embrace the imperfections’ became my mantra of the day as Ken and I attached the faux ‘ship lap’ boards to the wall. This part of the project went way faster than either of us expected. We started after lunch and were done before dinner. I think it took about 4 hours in total. We did get a little help from nnK and Mr. Q towards the end of the day as we got to the top of the wall. We needed two people to hold the planks in place and a 3rd to operate the nailer. We just randomly staggered the lengths of the boards. I didn’t want to see any sort of pattern.
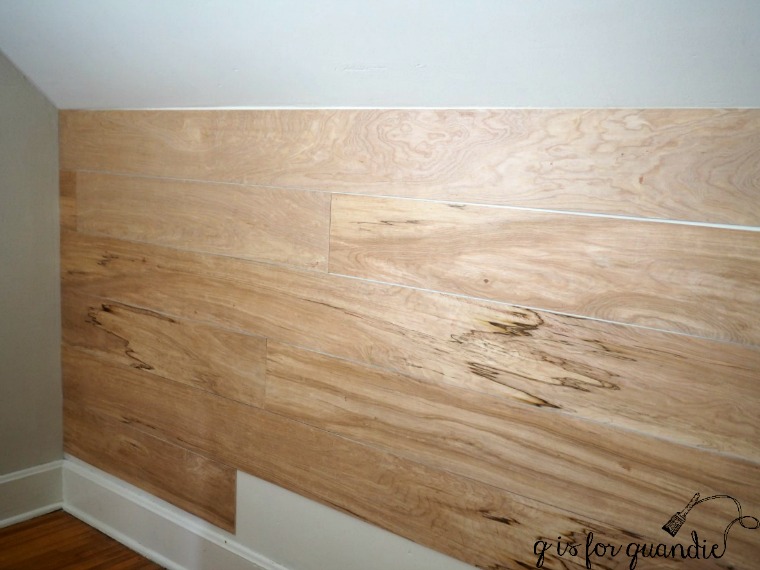
The next day I primed the boards with a stain blocking primer. I wasn’t sure what those water stains on the boards were all about, but figured a stain blocking primer would be a good idea. Then I added a coat of Cotton Blossom. And if you’re wondering, no, I didn’t fill the nail holes. They are just barely visible up close.
And voila, my ship lap wall is finished.

Speaking of imperfections, you may have noticed that my bottom ship lap board ends about 2″ above the baseboard. Yep, my math wasn’t quite right after all. Ken really wanted to fix that, but I decided to just let it go. This wall will have stuff in front of it all the way across and no one is ever going to even notice this flaw.
Mr. Q must really like how the ship lap turned out because he suggested we consider adding ship lap to the same angled wall in his new study (the former guest room). Now that he’s suggested it, I realize he’s totally right. It would be perfect in there. While we’re at it, it would also be fabulous in the guest room. And now that I know how easy it is, we just might do it!
But first, I have nnK’s college kids coming to refinish the floors this weekend. Once that task is done, the really fun stuff begins. Bringing the furniture back in, some old pieces and some new pieces (not brand new, but new to me), and changing out some fixtures.
Be sure to stay tuned to find out how it all turns out!