a rusty toolbox.

Back when I sent a welcome email to Miss Mustard Seed, a.k.a. Marian Parsons, she offered to send me some of her products to try.  How totally awesome of her, right?  But I had to admit, I’d pretty much worked with most of them already.

However, I thought I vaguely remembered reading somewhere that her Tough Coat Sealer had been re-formulated to have more of a matte finish since the last time I’d used it.  So I asked her to please send me some of that.

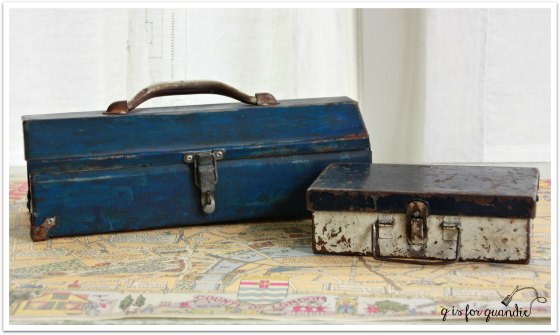
So the other day when I was contemplating what product to use to seal the rusty toolbox I brought home from that garage sale I wondered if I could use the Tough Coat Sealer.

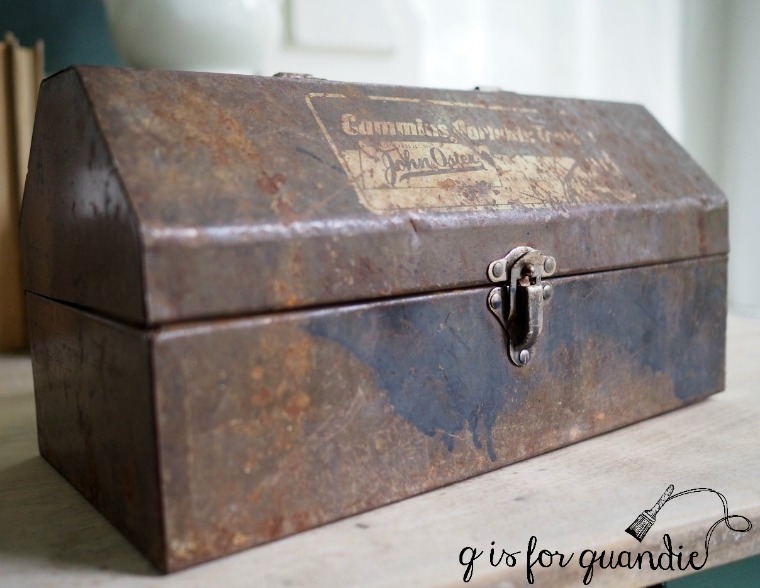
The toolbox isn’t terribly bad on the outside, but the inside was quite rusty.  It was rather greasy and dirty as well.

So I did a little google research.  I googled “using Miss Mustard Seed Tough Coat Sealer to seal rusty metal” and that search took me directly to this post from Miss Mustard herself where she conveniently addresses that question in the comment section.  She also mentions the reformulation of the Tough Coat Sealer in the post itself.

So, full steam ahead.

I first scrubbed the toolbox well with Dawn dishwashing soap and one of those 3M Scotch Brite scrubbies.  I tend to use dishwashing soap when I’m trying to cut grease.  I suppose that TSP substitute would work just as well, if not even better, but I haven’t tried that.

I wasn’t aiming for perfection here, just an easy clean up and coat of sealer that would allow me to store stuff in the toolbox without it getting all gross.

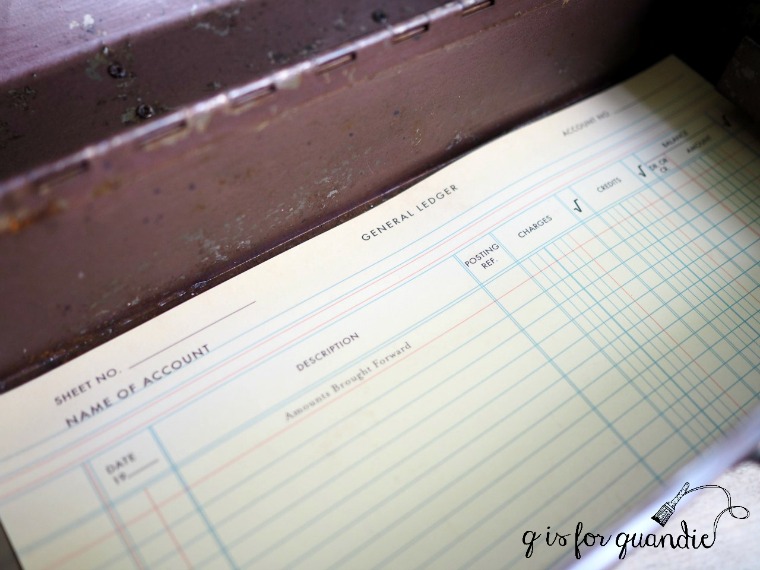
Once the toolbox was dry, I simply brushed on the Tough Coat Sealer.  I gave the inside bottom of the toolbox a 2nd coat just to be sure I was taking care of that rust, while every other surface only received one coat.  Here’s how the inside looks after …

Much improved, wouldn’t you say?

Although it’s cleaned up and the rust is sealed, I also added a paper liner just to make it a little prettier.  I used one of my favorite October Afternoon papers, and just laid it in place with no adhesive.  If it gets grungy over time I can easily replace it.

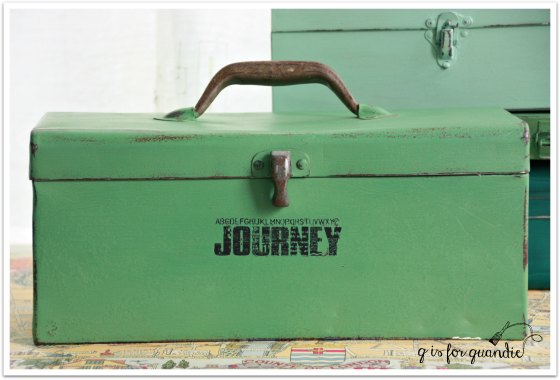
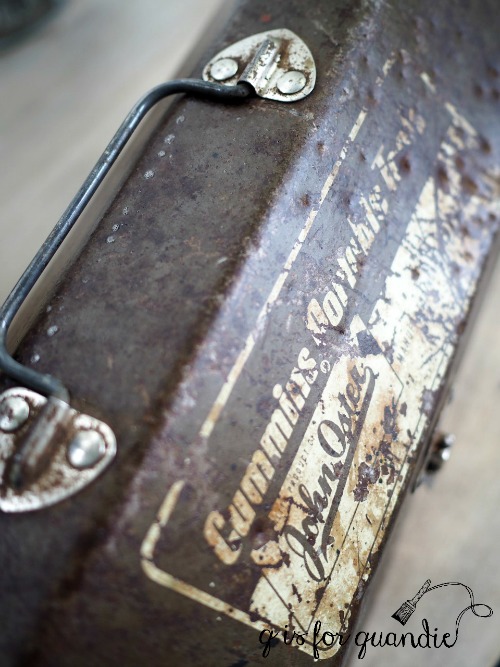
Here is how the toolbox looks on the outside with its coat of Tough Coat Sealer.

I did save the label.

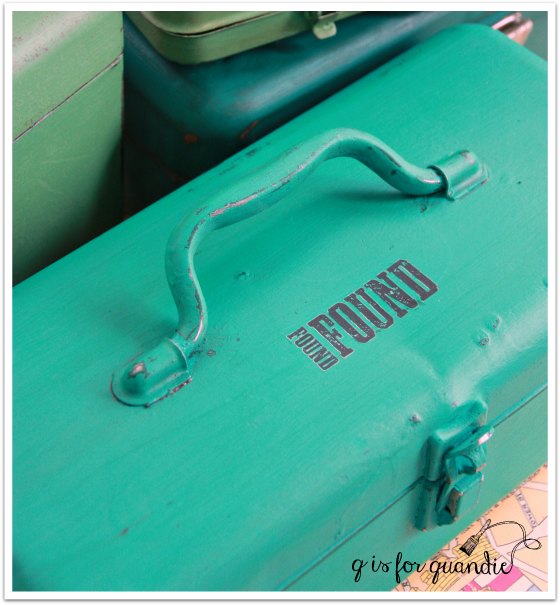
I think I might use the toolbox to store my ribbons.

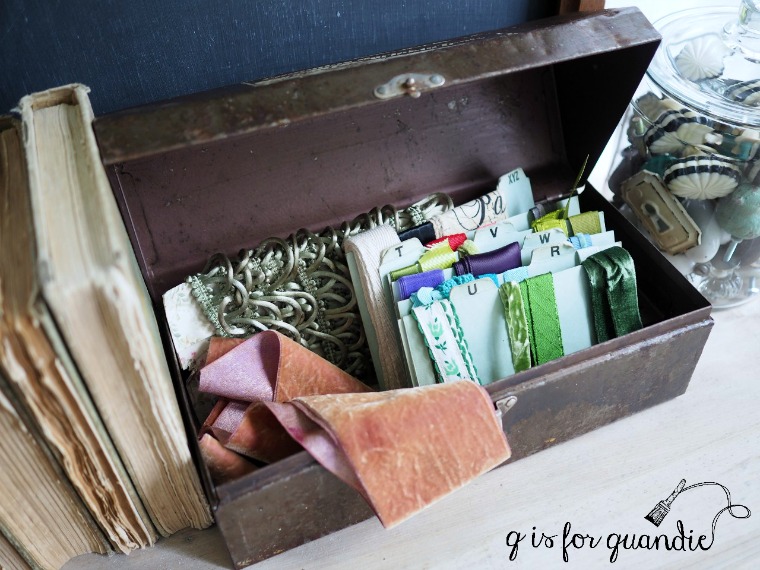
I don’t really know why I have such a fascination for rusty old toolboxes.

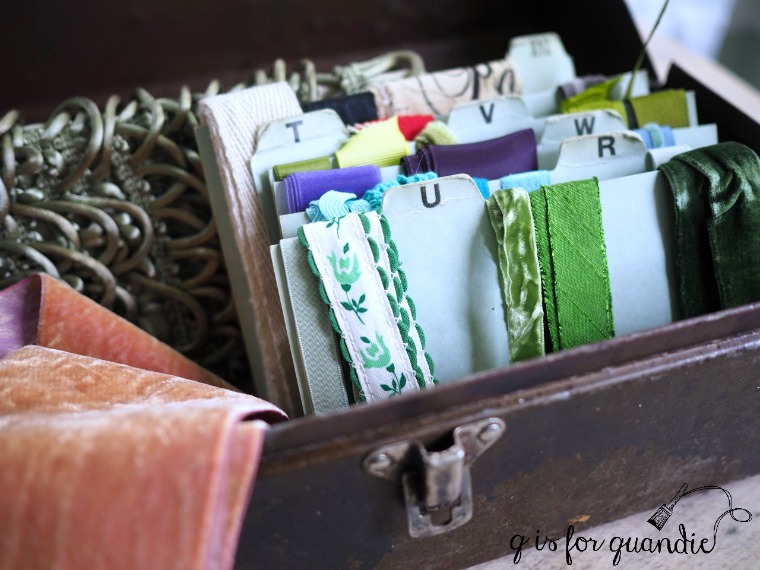
Something about them just appeals to me, especially when they are used for something unexpected, like vintage ribbon.

Looking at the ‘before’ and ‘after’ pics side by side you might be thinking that they don’t look all that different, but that actually was my goal.  I wanted to seal the rusty metal so it wouldn’t rub off on things or continue to deteriorate, but I also wanted to retain the rusty aged patina.

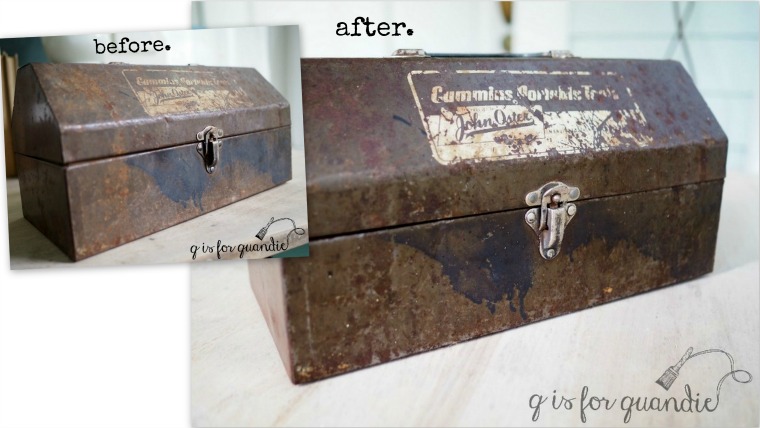
The Tough Coat Sealer did that perfectly.  It added a tiny amount of shine and it darkened up the color just slightly as well, but for the most part it didn’t change the look by much.

So the next time you need to seal some rusty old metal, consider reaching for the Tough Coat Sealer.

And speaking of Miss Mustard Seed, tomorrow is her workshop with Carver Junk Co.  I think they may still have some spaces left and tomorrow is supposed to be cool and stormy, so a perfect day for hanging out indoors and learning about milk paint.

I’ll be there and I’d love to see you there too!

hello fall.

hello-fall-toolbox-blog

There really aren’t any great ‘sayings’ for fall.  It’s not like Christmas, which has a bazillion; ‘be merry’, ‘peace on earth’, ‘let it snow’, blah, blah, blah.  I’ve seen ‘happy fall y’all’, which is so not me.  Let’s face it, a Minnesotan can’t really pull off y’all.

But the simplicity of ‘hello fall’ really appeals to me.  I can get behind that one.

So much so that it has inadvertently become the theme for our upcoming Carriage House Sale!

It started with a simple chalkboard …

french-wheat-chalkboard

Then came some toolboxes.

toolboxes

The reddish-orange one is one that I chose to leave in its original color.  I thought it would work nicely with some fall mums.

hello-fall-red-toolbox

The second toolbox is painted in another of Fusion’s new colors, Mustard, the perfect color for fall.  I have to warn you, this one might not make it all the way to the sale.  My co-worker Jodie has been eyeing it up so I’m pretty sure she’ll be nabbing this one from me.

hello-fall-mustard-toolbox

I added the wording to the toolboxes using my Cricut machine and some adhesive vinyl.  I love how it turned out!

So then I had to add some ‘hello fall’ messages to old plates.

hello-fall-plate

It was a no brainer to spell out ‘hello fall’ in vintage blocks.

hello-fall-blocks

Finally, I threw together a couple of ‘hello fall’ book page banners.

hello-fall-banner

So, in other words, we are going to be more than ready to say hello to fall at the Carriage House Sale on Saturday!

toolboxes r us.

At my June Carriage House sale a friend, Kathy, purchased some of my painted metal toolboxes.  Remember them?

She decided that it would be fun to package all of her Christmas presents in vintage toolboxes this year (how awesome, right?) and so she needed a few more.  She asked me to advise her on how to paint some of her own.  I decided that it would work better if she just brought all of her unpainted toolboxes over one afternoon and we painted them together.  After all, it takes just a little paint to cover a toolbox and she wanted all different colors.  It would cost a fortune to buy all of the colors of paint, plus wax.  I was happy to share my paint, I seem to have a ton of it these days.

As it turned out, she had quite a few toolboxes to paint, so we recruited some extra help in the form of my sister and my friend Terri and last Sunday afternoon we painted all of them.  My niece came by too, but she was working on her own painting project.

Once Kathy had brought all of her toolboxes in, I first vetoed painting two of them.  They had some great patina and Kathy totally agreed that we shouldn’t lose that.

blue boxes before

We did add some rub-on’s to them for a little extra pizzazz.  This particular rub-on came from Hobby Lobby.

boxes 1

But the rest of the toolboxes went in the pile to paint.

boxes before

We started by sanding them all lightly and then wiping them down with TSP substitute.  Next we taped off any bits that we didn’t want to get paint on.  And we started painting.

boxes in progress

We used a variety of paints including Fusion mineral paint, Dixie Belle chalk paint and Urban Rooster chalky paint.

Kathy learned the hard way that you shouldn’t paint all sides of your box at once.  She realized once she had it all covered that she couldn’t set it down!

box boo boo

I kidded her that she just had to hold it up in the air until it dried!  We solved the problem by setting it on a paint can.  She could fix the slight ring on the bottom with her second coat.

We did notice that the Fusion paint dried much more quickly than the chalk paints, so if you are ever planning to paint a bunch of boxes in one short afternoon, Fusion might be the better choice.  Aside from that, we found that all of the paints worked well on the metal.

We put two coats of paint on each box.  Once dry we sanded to distress and added wax.  We unanimously agreed that we preferred using a dark wax on the darker colors, but a clear wax on the lighter ones (Laurentien and Lily Pond).  Finally we added rub-on’s to each box.

boxes after

Above photo:  top box is in Fusion’s Laurentien, middle box is in Dixie Belle’s Kudzu and bottom box is Fusion’s Renfrew Blue.

This next box is painted in Fusion’s Lily Pond.

box in Lily Pond

And this is another one painted in Kudzu with a Tim Holtz rub-on.

box kudzu

The box that we all thought was the ugliest to start with was our favorite in the end.

boxes after 2

This is the dark green box on the top of the stack in the ‘before’ photo.  Huge improvement right?  And ironically this is the only box where we didn’t tape off the handle and latch because the prior owner had spray painted every bit of it green.

So, no need to even bother with taped off handles and latches!  Just paint the whole thing!

box fav close up

It’s painted in Urban Rooster’s Jaded Rooster and that is a Tim Holtz rub-on, available at Hobby Lobby and Michaels the last time I checked.

We had a really fun afternoon being creative, we laughed and joked and basically behaved badly.  For a snack we had french bread dipped in flavored vinegar’s from Stillwater Olive Oil Co.  My favorite was the Cara Cara Orange Vanilla balsamic vinegar.  That stuff is to die for.  It would make an amazing salad dressing.  We also sampled Cinnamon Pear and White Pomegranate.  We added some Pistachio oil that I picked up at the Vom Fass in the Mall of America.

And best of all, Kathy went home with her trunk full of fab painted vintage toolboxes all ready to be filled with Christmas goodies!

Linked up with:

The Blissful Bee