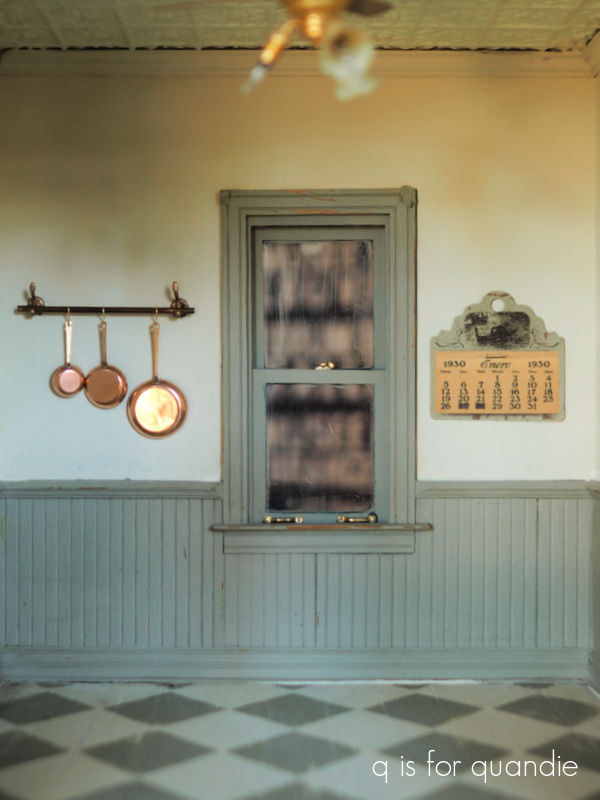
My niece stopped over the other day and after taking a look at the progress I’ve made on the dollhouse she decided that the kitchen is her favorite room so far.
Want to take a look and see if you agree?
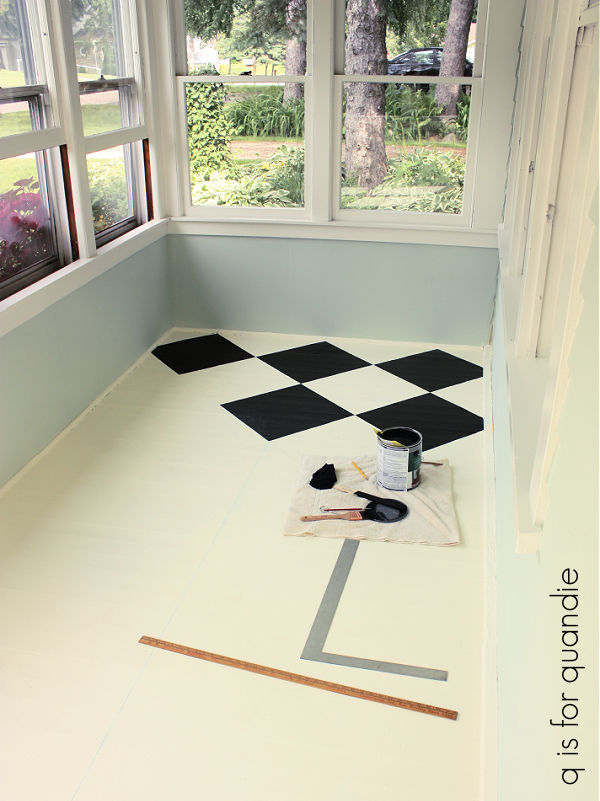
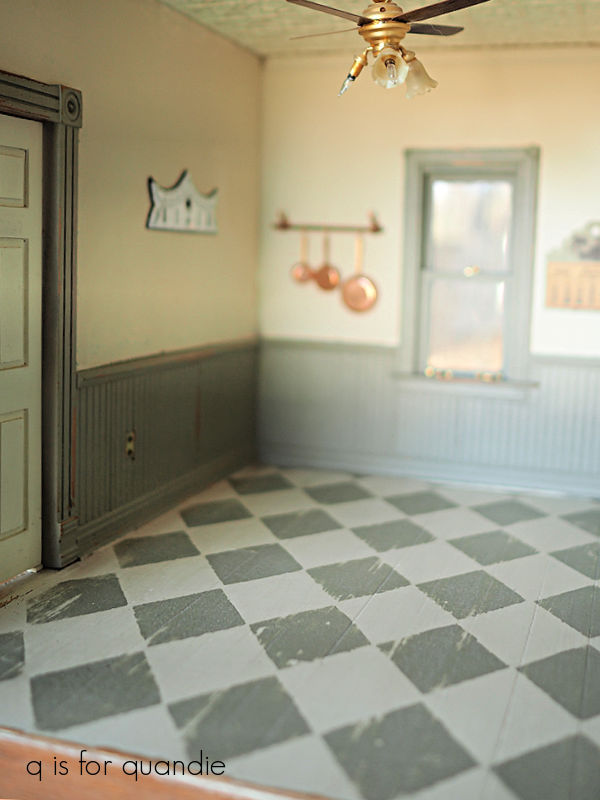
Last week I shared the bones of the room including the painted floor.
Now let’s take a look at the furnishings.
I purchased a faux mini ‘AGA’ stove from Miniature Crush, and it arrived looking like this.
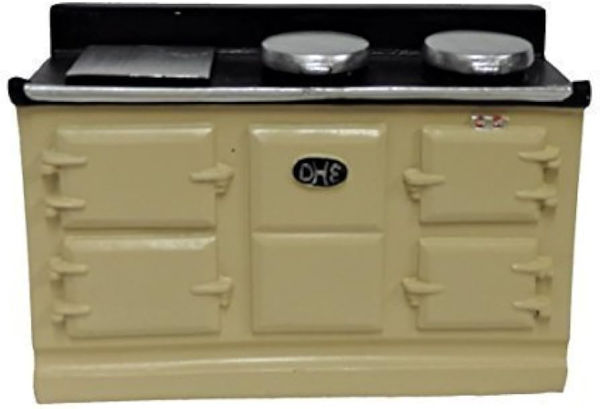
I borrowed that picture from the internet because I didn’t manage to take a ‘before’ picture of my actual stove.
Anyway, it looked a little too ‘molded’ to me when I got it (perhaps it is 3D printed?). Plus that ‘cream’ color was way too yellow for my color scheme. So I decided to customize it a bit with some paint. I painted the bottom part in Dixie Belle’s Drop Cloth first. Then I added a little of their Bronze Patina Paint to that front edge of the top that was originally silver, as well as to the hinges and handles on the doors to make them look a bit more realistic.

I also used more of the Dixie Belle Earth powdered pigment to add some shadows around the doors on the front to give them a little more depth.
What might be jumping out to you the most in that ‘after’ photo though are the adorable pot filler and the copper pot.
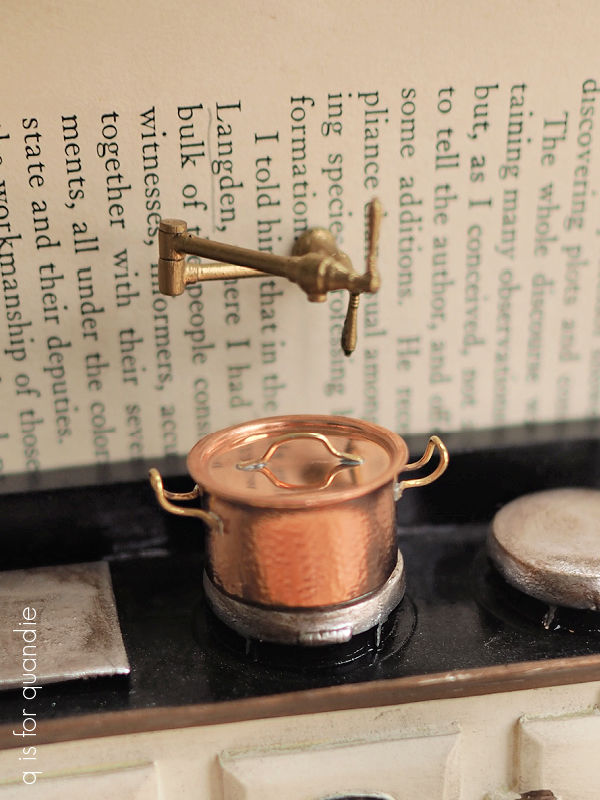
Aren’t they awesome?!
The pot filler came from Tease Miniatures via Etsy and was just under $12. It was available in a bunch of different metallic finishes, but I went with gold because I thought it looked the most realistic.
The copper pot was another splurge purchase at $26 from dollhousechandeliers (also via Etsy), but it was worth it. You can buy less expensive versions of miniature copper pots for sure, but these have an impressive level of detail.
I ordered the farmhouse style sink from The Modern Dollhouse. Unfortunately, I paid $26.95 for it from them and I have since discovered that the exact same sink is available from Miniature Crush for $15.99. Live and learn, right? My advice is to shop around when purchasing miniatures. Or if you’re too lazy to shop around (guilty as charged), then at least just check Miniature Crush first.
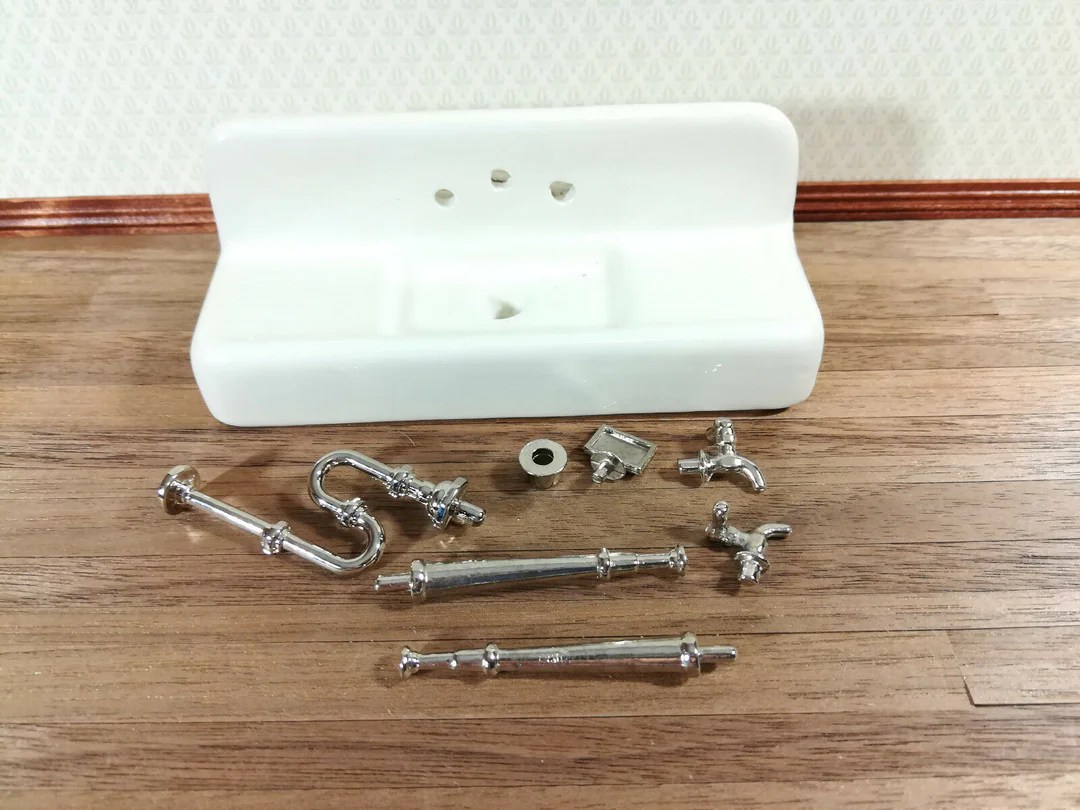
The sink arrives unassembled either way.
That made it easy for me to repaint the ‘chrome’ pieces before using super glue to attach them. I sprayed them with a black primer first, then brushed on Dixie Belle’s Bronze Patina Paint.
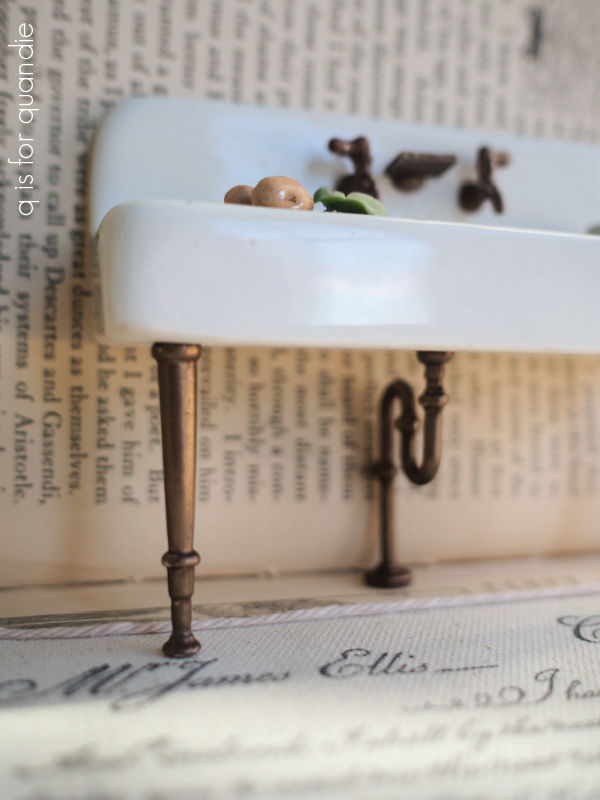
I think the bronze looks a bit more aged than that shiny chrome.
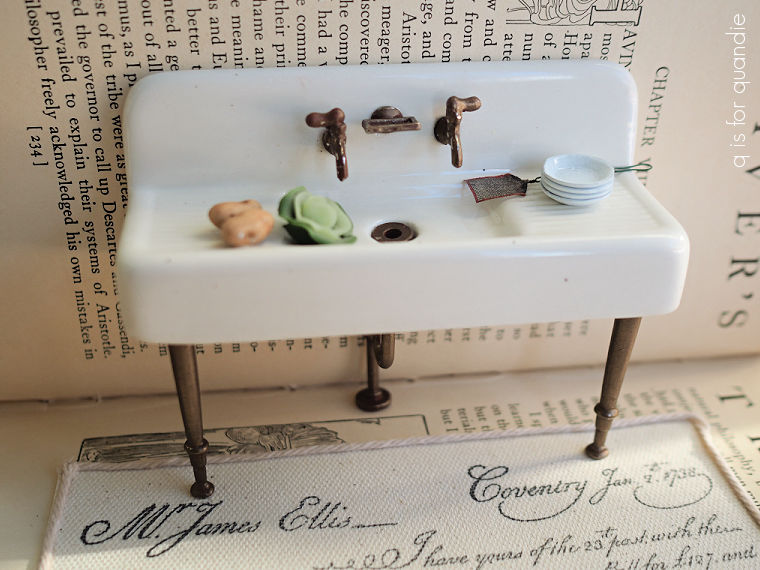
By the way, the original sink that I put in the dollhouse back in the 90’s was quite similar to this one …
The legs on that one aren’t quite as good, and it didn’t have the drain pipe either. But I have to say that a good farmhouse style sink never goes out of style. In my opinion anyway.
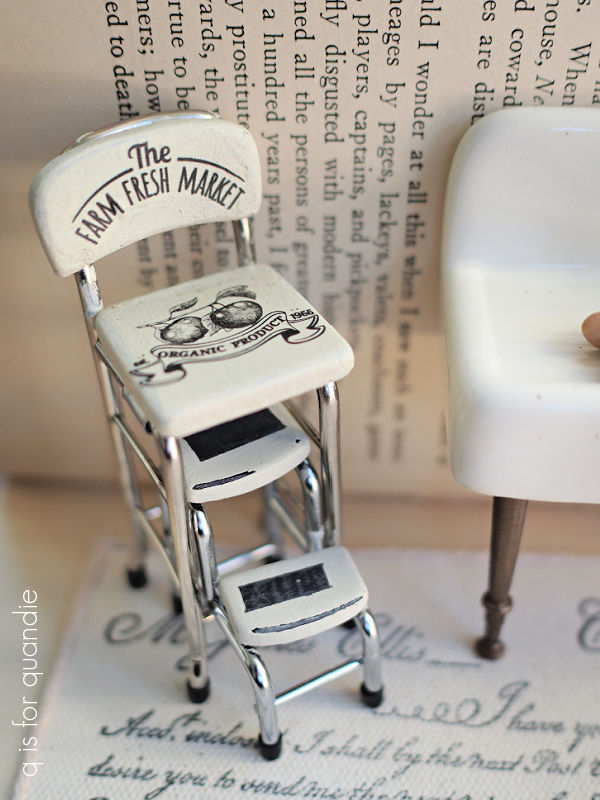
Next up I purchased a Cosco style stool from Miniature Crush.
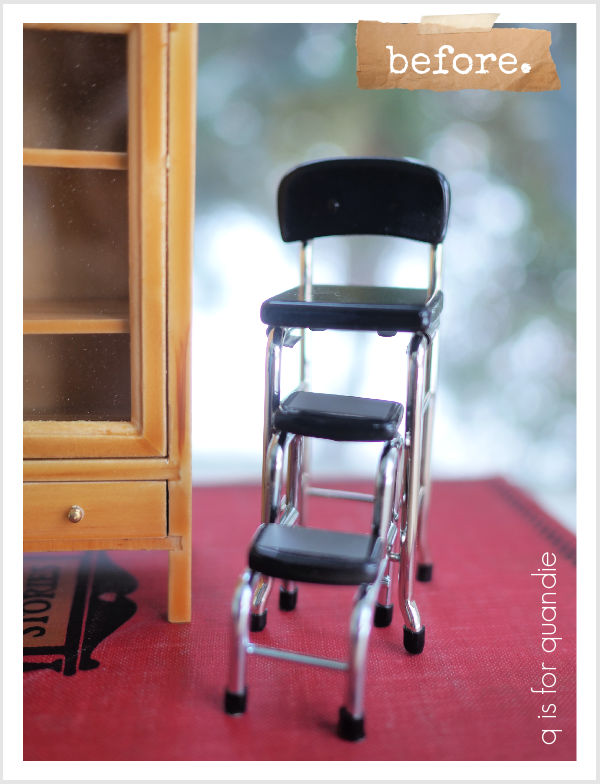
This time I left the shiny chrome alone, but I painted the shiny black bits in Drop Cloth and added a re.design with prima knob transfer.
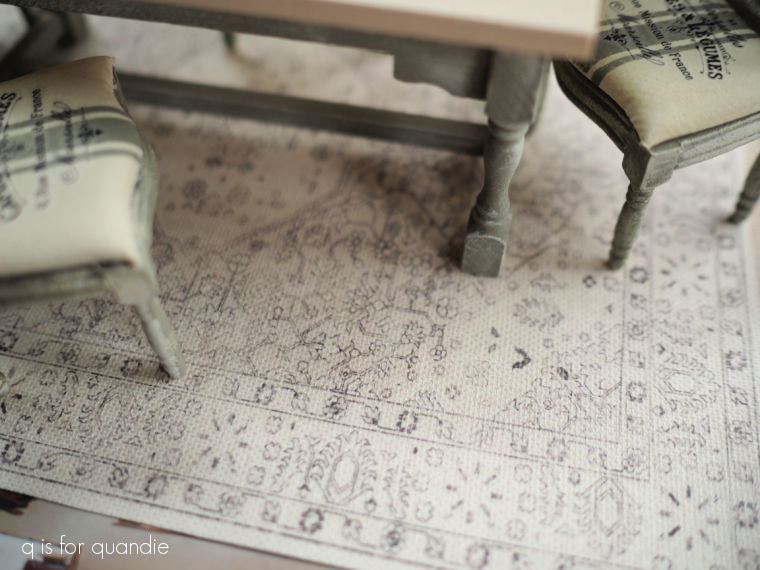
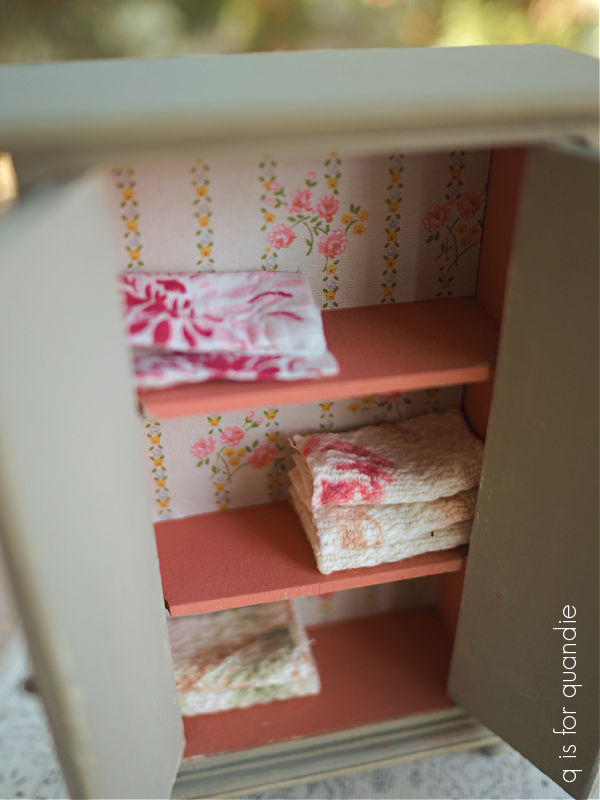
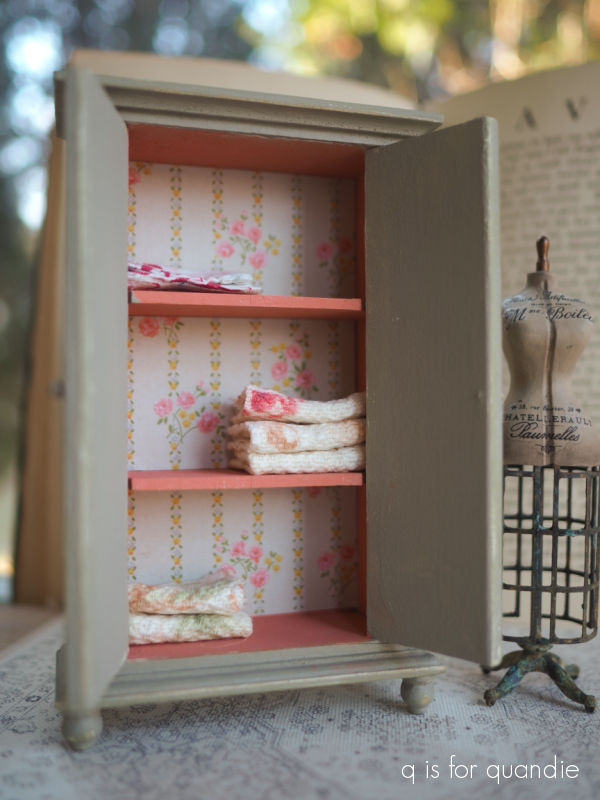
You may be noticing the ‘rug’ under the sink and stool. I made that rug by using one of the I.O.D. Ephemeral Type stamps and some of that printable canvas that I purchased for printing my own rugs.
I simply stamped the image onto the canvas using VersaFine Clair ink in a color called Morning Mist. Then I glued some cotton twine around the edge to finish it off.

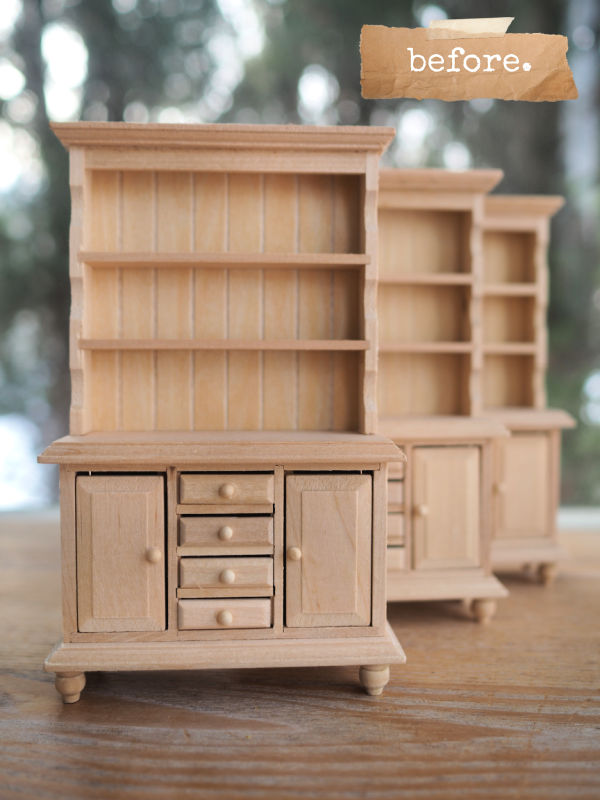
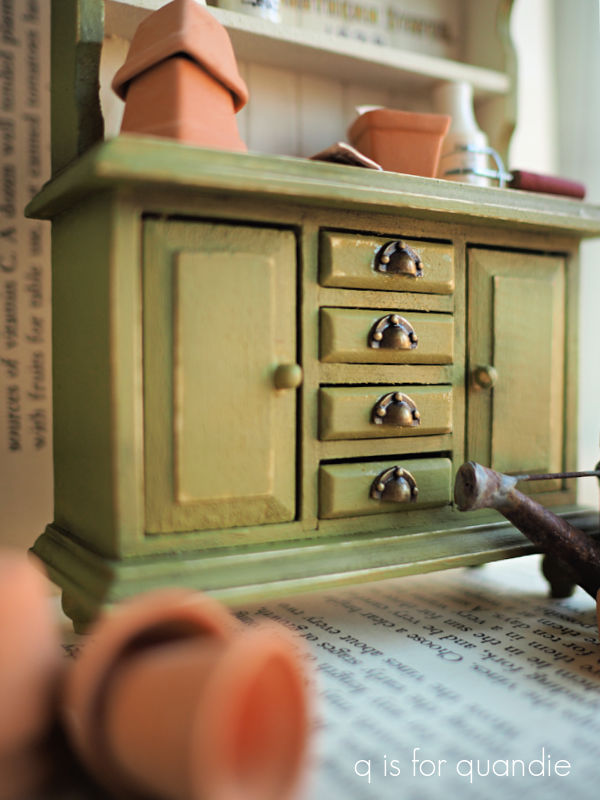
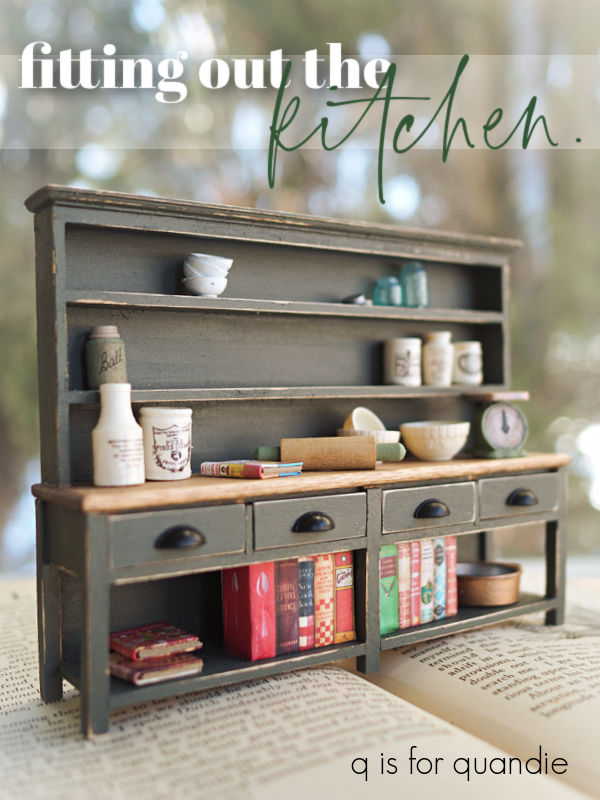
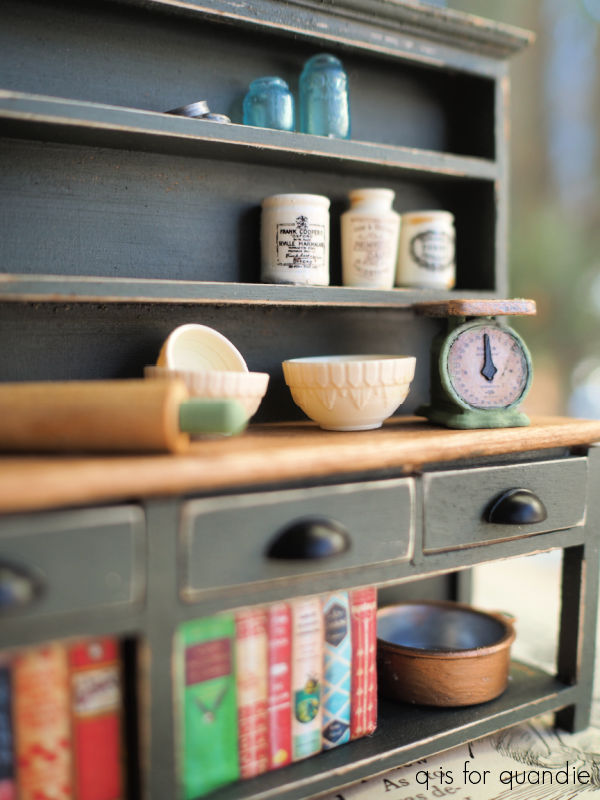
That brings me to the kitchen cupboard which was also purchased from The Modern Dollhouse.
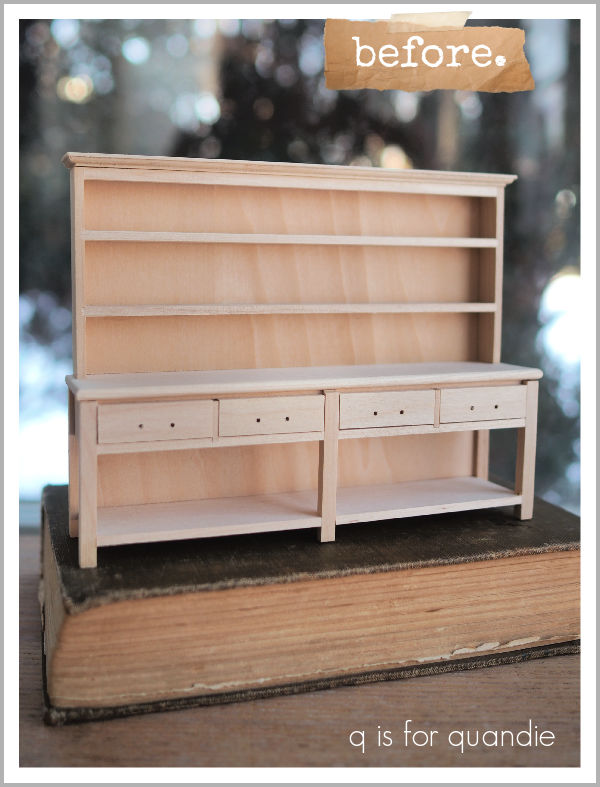
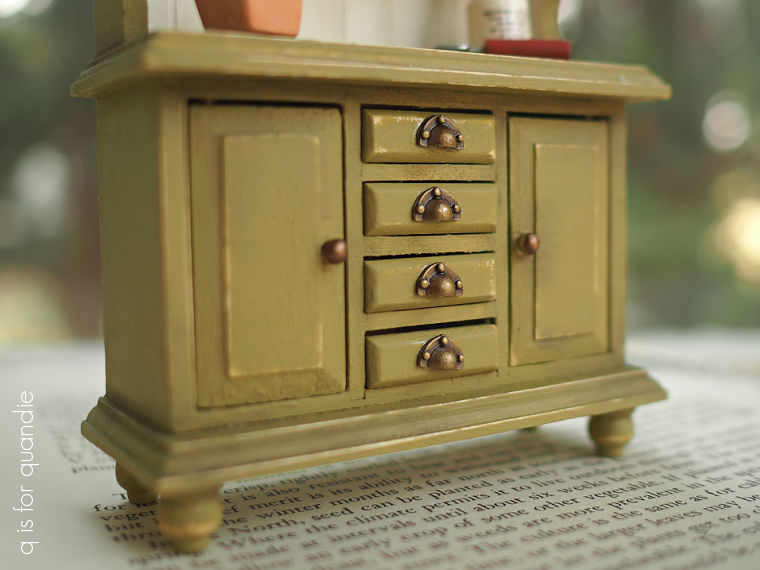
This time I shopped around a bit first. It turned out that I could get the unfinished version with cup pulls (which you’ll see below) from The Modern Dollhouse for $24, while Miniature Crush also had a couple of finished versions of this piece in white or walnut with different pulls for $28.99. I wanted to experiment with using stain on the unfinished Basswood, and I also liked the cup pulls better than the pulls on the other versions, so I went with the unfinished one.
After a light sanding with 220 grit paper, I applied Varathane wood stain in Early American to the entire piece. I have to say that it didn’t really stain evenly. But the work surface looked good stained, so I kept that and just painted the rest.
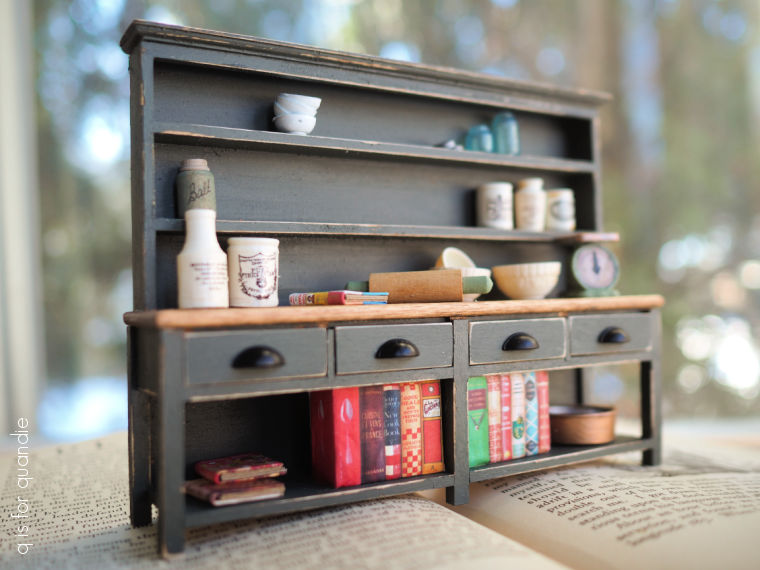
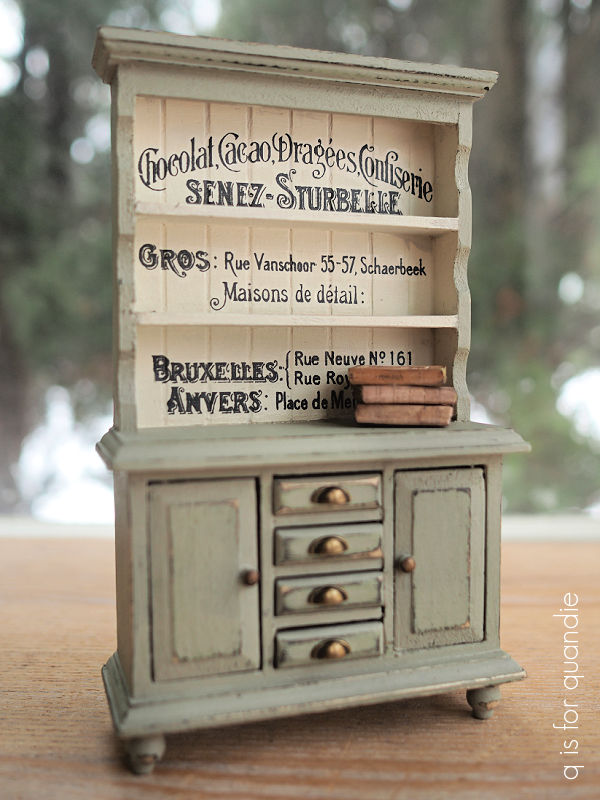
I painted it in Fusion’s Everett. In my post about my Welsh cupboards I mentioned having purchased a few samples of Fusion in some of their newer colors and this is one of them. I really could have just used Dixie Belle’s Collard Greens and been just as happy though.
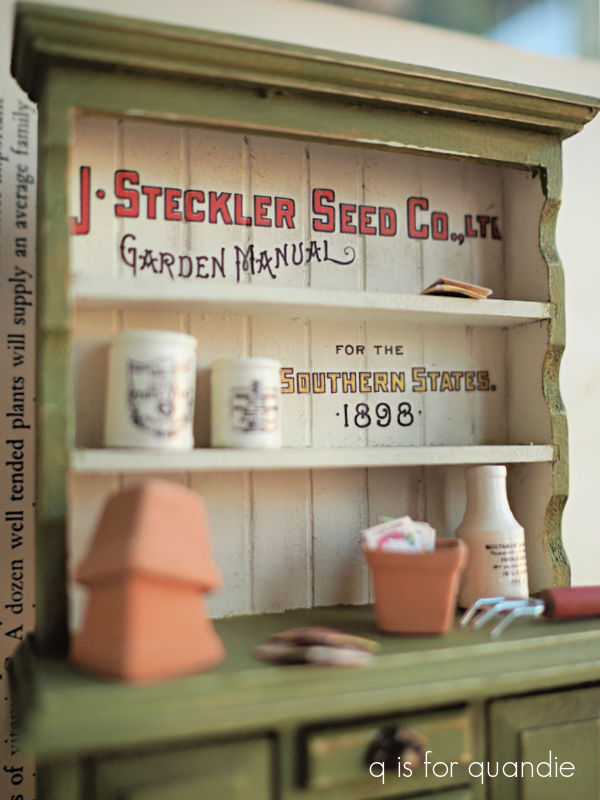
I still have a way to go when it comes to filling up the cabinet, but for now I think it looks good enough. The cookbooks on the bottom shelf are another printable from Etsy, this time from Easy Print and Cut.
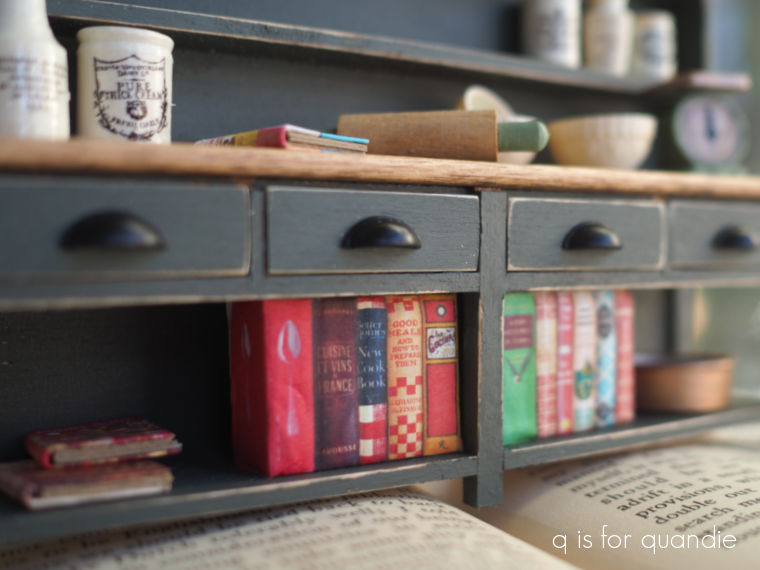
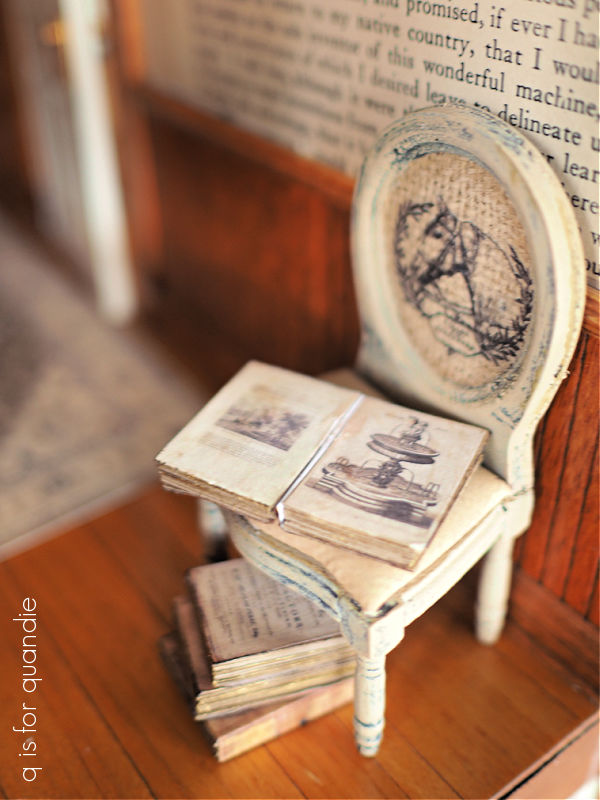
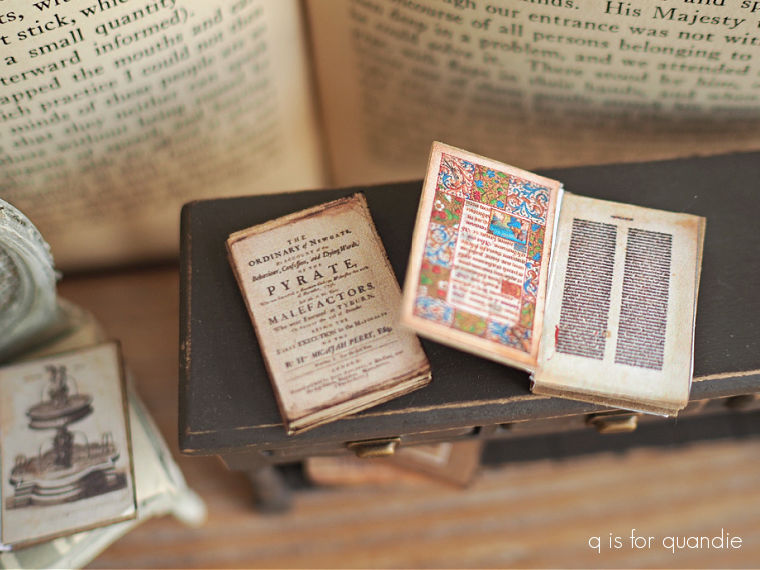
I paid $3.83 for the printable file and it came with two ‘stacks’ of books (those shown above) that I cut out and wrapped around some floral foam (because that’s what I had on hand, but Styrofoam would probably work better), and some individual books that I created using the same process as the books I shared a while back (here).
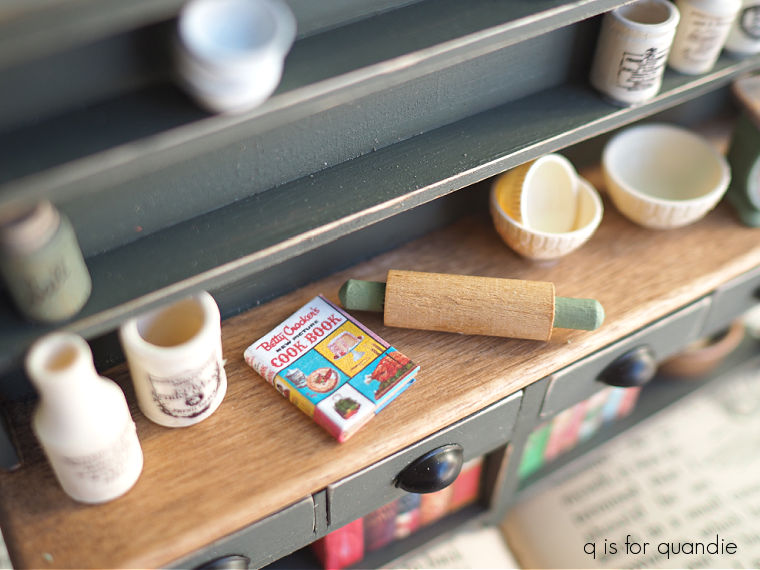
Most of the remaining items in the cupboard are from Woodland Trail Whimsy on Etsy including the mixing bowls, English crocks, blue ball jars and the scale.
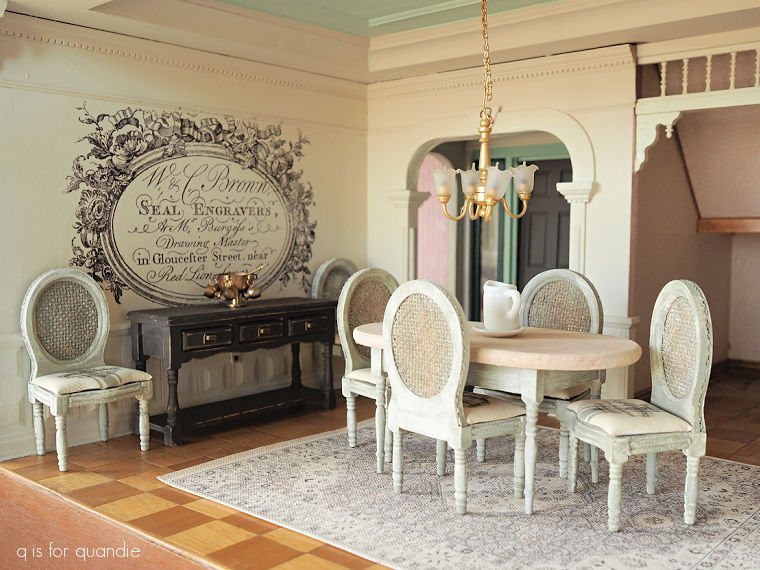
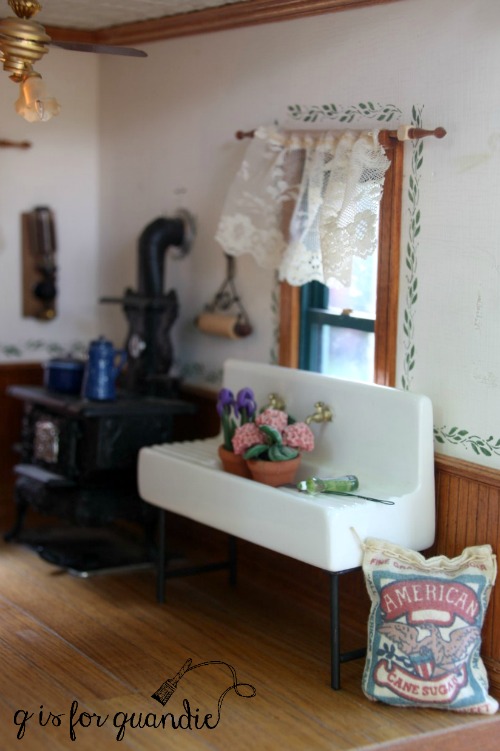
You must be wondering at this point how it all looks in place.
One thing I’m noticing about my dollhouse is that the rooms are deep, and there are plenty of windows and doors. So that leads to both having to put things in front of the windows (like the sink), and having to place things along those deep side walls rather than along the back walls.

But I don’t especially want to have everything just lined up down the sides, so I tried moving the sink to the back wall instead of along the side.

It sort of works like this, but it does feel like everything is crowded towards the back.

That give me a little space in the front of the room to potentially add a small table and chairs though.
I’ll have to work on that down the road, but for now I’m calling the kitchen finished.
What do you think? Would you line things up along the side walls, or put that sink at the back? Leave a comment and let me know.