how to create a miniature rug.

Today I’m sharing a ‘how-to’ post on creating your own rugs for a dollhouse or other miniature display.

I’ve already shared my mini rugs eureka moment, when I figured out that you can purchase printable canvas and create your own rugs using downloaded .pdf files.

I found my canvas sheets on Amazon, but I’m sure you can find them in other places as well.

I’ve purchased several different downloadable .pdf files for printing rugs via Etsy.

So far this one in shades of lavender remains my favorite.

I purchased that from MinatureMoo.  The rug in shades of blue in this next photo is also a .pdf purchase from Miniature Moo.  Unfortunately, apparently this shop is no longer selling on Etsy.  I guess I’m glad I got these .pdf’s when I did.

I think downloading printable rugs is the easiest option, and purchasing the file is generally fairly cheap.  I paid $5.37 for each of those files.

Another option would be to find a good quality image of a rug online, re-size the image to suit your needs, and then print it out.  I haven’t actually tried this approach, so I can’t really give you any advice on how to go about it.

Once I realized that these canvas sheets worked really well for printing rugs, I thought that perhaps I could also use some stamps to create a unique rug as well.  You saw my version of that in the dollhouse kitchen reveal.

To create that rug I used an I.O.D. Ephemeral Type stamp with some VersaFine Clair ink in a color called Morning Mist to stamp the canvas.  Then I glued some cotton twine around the edge to finish it off.

I had created another rug using that same stamp set for my U.K. hallway.

You can’t see it terribly well in that photo, but in case you didn’t notice, the writing is in French.  And somehow, it just seemed wrong for my U.K. hallway to have a French rug.  Right?

Then at about 3 a.m. one night, a light bulb went off in my head.  I have a small Union Jack stencil that I got ages ago from Maison de Stencils (no longer in business as far as I know).  Perhaps I could stencil my own Union Jack rug!

I started by cutting a piece of that printable canvas to the size I wanted.  Then I taped off a narrow border around the edges and gave it a base coat of Dixie Belle’s Drop Cloth.  Once dry I centered my stencil and painted it in a mix of Drop Cloth and Dried Sage.

Once that dried, I went back over just the triangles with straight up Dried Sage.

Although I liked the way the stencil worked on the rug, I felt like the Union Jack needed to be bigger for this size of rug … and this is the size of rug that I needed in the U.K. hallway.

So it was back to the drawing board.

For my 2nd attempt, I decided to just draw the design on the rug using a ruler, lots of measuring and a pencil and then paint it in free-hand.

This time I went with an even more subtle selection of colors using just Drop Cloth, and that custom mix of Drop Cloth and Dried Sage.  Rather than painting the full background, I just painted the stripes.  So those triangles are unpainted.

One important note if you are going to paint on the printable canvas, the paint will cause the canvas to curl up a bit.  I solved that problem by ironing the ‘rug’ flat again once the paint had dried.  I also anchor the four corners of the rug to the floor using some double sided tape.

I hope this post has given some of you some ideas for creating your own miniature rugs.  Be sure to leave a comment if you have any other methods that you like to use.

worth the wait.

Sometimes things are absolutely worth the wait.

And in this case it felt like a rather long wait.  I placed my order for the items that you’ll see in a minute on February 17 through Etsy, and they arrived on March 27.  So yeah, a bit of a wait.  But well worth it.

I’m talking about some miniatures that I ordered from Twelve Times More Teeny.  She is located in Oviedo, Spain, and her items are made to order.  Hence the wait.

This wasn’t like the time I ordered a paint can and roller from Sweden without realizing it.  I’ve learned my lesson since then and I always check to see where items are coming from now.

So even though I realized that this shop was in Spain, I just had to give it a go.

But I bet you want to see what I’m talking about.

Well, I ordered some miniature china.

First up, a set of cannisters.

Aren’t they awesome?  I have found that they don’t quite fit where I wanted to put them though, which is on the shelves of the hutch in the kitchen.  The shelves on that piece are so narrow!

So I’ll have to put them on the work surface instead.

For now I’ve added some inexpensive white plates that I purchased at Hobby Lobby to the shelves.

Next up, I ordered a set of cheese plates …

I’ve hung them on the wall in the dining room.

I may move those to hang over that kitchen door though instead of beside it, we’ll see.

Finally, I just had to have these Union Jack plates for my U.K. hallway.

Again, these are also going on the wall.

By the way, in case you are wondering, none of the plates I got from Twelve Times More Teeny will fit on the kitchen hutch shelves.  But hmmm, I may just have to order some smaller ones!

Also in case you are wondering, I use tacky wax to stick things in place in my dollhouse.

I unexpectedly came across this Department 56 version at the Bachman’s After-Christmas sale last year.  It was considered Christmas merch, don’t know why, and thus was 75% off.  Miniature Crush carries a couple of versions of tacky wax as well.

In the end I was so pleased with my china from Spain that I ordered some more.  This time I ordered a set of floral dishes for the dining room table.  You’ll have to stay tuned to see those, since it will probably be another month before they arrive!

the miniature crush blanket chest.

After meeting the owners of Miniature Crush and taking a tour of their facility, I approached them with an offer to become a content creator for them.

We’re still not precisely sure how that is going to work, but for now they have sent me an unfinished piece of furniture to see what I can do with it as a sort of trial run.  This blog post is written with Miniature Crush customers in mind.  They may not be familiar with the products and techniques I use, so it may seem a bit overly detailed for some of my long-time readers who are already familiar with things like chalk style paint and transfers.

This is the 1:12 scale Blanket Cabinet and it sells for $20.99.

The top doors open to reveal some shelving inside.

As you can see above, this piece comes with the drawer pulls and knobs already in place.  But I wanted to paint it, without painting the hardware.  So I used a razor blade to gently get behind those pulls and pop them off, taking care not to bend them.

Then after giving the cabinet a light sanding with a 220 grit sanding sponge, I gave it a base coat of Dixie Belle Paint Co’s Coffee Bean.

The purpose of this base coat of paint is to provide a color to add some dimension when I later sand my final color to distress it.  I didn’t need to get perfect coverage with that first coat.

I followed that up with a couple of coats of Dixie Belle’s Cottage Door, a beautiful coral/pink.

If you aren’t familiar with Dixie Belle paint, it is a chalk mineral paint which is why it looks quite flat at this point.  Although it doesn’t technically require a top coat for durability, a top coat will add some sheen to the paint and also protect it from dirt and moisture.  Personally I prefer working with a chalk style paint because it distresses really nicely in miniature.  I do water my chalk paint down just a bit to reduce brush strokes which also helps a miniature piece look more realistic.

Once the Cottage Door paint was dry, I sanded it lightly with the 220 grit sponge again to distress those edges.

You can just see a hint of that dark brown Coffee Bean color.

Next up I pulled out the Iron Orchid Designs gilded transfer set called Etiquettes.  I cut out various bits and pieces from that to fill in the recessed sections of those upper doors.

Now you can see why I wanted to keep that hardware in its original gold color.  I knew it would play well with the gilded transfer.

If you aren’t familiar with transfers, they are also called rub-on’s or rub-on transfers.  Wikipedia does a good job of describing them:  “Dry transfers (also called rub-ons or rubdowns) are decals that can be applied without the use of water or other solvent. The decal itself is on a backing material such as paper or plastic sheeting much like a transparency. The dry transfer is placed in the desired location with the backing side up. The decal is then applied by burnishing the backing with a stylus or similar object such as a ballpoint pen. The contact side of the decal includes a pressure-sensitive adhesive; the combination of heat and pressure causes the decal to stick more strongly to the new surface than to the backing. When the backing is removed, the decal remains. This allows for ink only where needed even if the pattern is delicate, because the backing supports the decal while it is being applied.”

Once I had the gilded transfers in place, I re-attached the knobs and drawer pulls using some super glue.  Then I added a top coat of Dixie Belle’s clear wax over the entire exterior of the blanket cabinet.

You have a number of different top coat options available when using a chalk style paint.  I personally like a buffed wax finish for it’s subtle sheen and because it deepens the color ever so slightly.  But you could also choose to use a water based top coat meant for use over chalk paint.  Dixie Belle, for example, has a flat, a satin and a gloss water based clear coat.

One important note, be sure to apply your transfers and/or glue on any hardware before applying wax.  Those items won’t stick very well to a waxed surface.

Now for the inside of the cupboard.  I started by painting it in Dixie Belle’s Drop Cloth, which is a very warm white.  Then I pulled out the Worn Wallpaper Scraps by Tim Holtz.  This is a little packet of 5″ x 8″ sheets of faded, worn floral wallpaper designs.  They are perfect for lining miniature cupboards.  Of course, you could also use any of the dollhouse wallpapers from Miniature Crush for this as well.

One 5″ x 8″ sheet was just enough paper to line the back and the shelves of this blanket cabinet.  I cut pieces of the paper to size, and then used some Mod Podge to adhere them to the cabinet.

I also had enough left over to line the drawers too.

It’s so much fun to see what you can do with these unfinished pieces.  Be sure to check out the complete inventory of them at Miniature Crush.

I’m adding this piece to my ‘miniatures for sale‘ page because I don’t have a spot for it in my own dollhouse.  I am willing to ship my miniatures and can accept Venmo or PayPal payment for them, so be sure to check that out if you’re interested!

it has to go.

As you know, I spent most of the winter working on my dollhouse reno.

And frankly, I’m getting rather tired of having it sitting on my baby grand piano right smack in the middle of the house.  It takes up the entire surface of the piano, leaving not much room for anything else.  If you’ve followed me for long, you’ll know that this is usually where I fold laundry, wrap presents, and paint smalls throughout the winter when I can’t use my carriage house workshop.

So it has to go!

OK, that sounds drastic.  It didn’t have to go far, just out to the three season porch.  The weather is warming up, and I think I can finish up any future work on it out there.

This will be where it stays going forward.  At least for the foreseeable future anyway.  Our house is rather small and I don’t really have any other spot where it would work.

I have to give myself credit for finishing almost all of the rooms over the winter.

I started with the dining room.

Then I worked on the main bedroom.

That was followed by the 2nd floor hallway …

and then the bathroom.

I’ve also completed the 2nd bedroom

the 3rd floor U.K. hallway

and the kitchen.

I filled up the attic space.

And I outfitted the attic rec room.

As I’m reviewing the photos for this post, I’m realizing that I’ve already added some new details to some of these rooms since I last shared them.

For example, I added some framed botanicals to the bathroom.

I added a hand-painted Union Jack rug to the upper hallway (more on how I did that in a future post).

I added the sconces and a painted chair to the master bedroom.

And I added a mirror to the 2nd floor hallway.

After all of that, I still haven’t quite finished the interior reno completely.  I have reached a bit of a standstill on the living room because I can’t quite decided what I want to do in that room.  So rather than rush it, I’ve decided to just wait for inspiration to strike.

I also need to do something with the tower room.

Although that may be nothing more than filling up the bookshelves.  I couldn’t actually reach that room while the house was up on the piano, so now that it’s a bit lower out on the porch I can get to it, but I’m not sure I want to tackle trying to paint that space.

Finally, I still have the exterior gardens and porches to work on.  Those may wait until next winter at this point though.  We’ll have to see how busy I get this summer.

But for now, I’m happy to have the surface of my baby grand piano back as a work space for other things.

I hope you enjoyed seeing the dollhouse project over the winter, I know I was quite focused on it at the expense of working on other vintage item makeovers.  Now that spring is here, I’ll be back out in the garden and am hoping to resume my ‘Sunday mornings in the garden’ posts soon.  I also plan to work on some more significant makeover projects, maybe even some furniture!  I’ll definitely sprinkle in a few more miniature projects here and there though.  Spoiler alert, I have a fun one coming up on Wednesday.

So be sure to stay tuned.

In the meantime, leave a comment and let me know which room in the dollhouse was your favorite!

the patisserie cupboard.

Today I’m sharing this adorable miniature cupboard that I picked up on my visit to Miniature Crush.

I didn’t have a spot in mind for it in my own dollhouse, but I knew it would be a fun painting job regardless.

To start, I removed the gold knobs.  That was easy enough, they pulled right out.  Next I gave the piece a light sanding all over just to smooth out any remaining rough spots.  Then I gave it a base coat of one of Dixie Belle’s newest colors called Thicket, a medium grey-green shade.

I really could have chosen any number of colors for that base coat, it’s just something to distress my final color back to without it just being bare wood.  I wanted to try out this new color to see what it looked like though.  Unfortunately, I didn’t think to take a photo of the cupboard in this color.  Oops.

Next up I painted the shelf area of the cupboard in Dixie Belle’s Drop Cloth.  Once dry, I painted the rest of the cupboard in their Midnight Sky.

I then pulled out the I.O.D. Brocante transfer and cut out this section from one of the pages …

I thought it would fit perfectly inside this cupboard, and it almost did.  The widest lines of wording were just a tiny bit too wide.  So I ended up cutting the individual lines apart and modifying them as needed to fit.

Once I had that in place, I used a damp terrycloth rag to wet distress the edges of the cupboard.

It can be easier to control your distressing when using the wet method v. sanding.  My goal was to distress back to the Thicket color without going all the way back to bare wood.  I achieved that better in some spots than others, for example at the bottom of the curved apron or on the front foot shown here.

However, I went too far on the drawers.

I still love the results though.

Once I had the cupboard distressed to my satisfaction, I replaced the original knobs on the drawers with some Craftsman style pulls, also from Miniature Crush.  Then I lined the drawers using some of the Tim Holtz Curator Snippets.

I finished off the cupboard with a coat of Dixie Belle’s clear wax.

Now, if only I could figure out a spot for it in my dollhouse.

I’ll keep looking.  But in the meantime, what do you think of the Patisserie cupboard?  Leave a comment and let me know.

the attic rec room.

Today I’m sharing the makeover of the attic rec room in my dollhouse.

Here is how it looked before I gave up the dollhouse back in 2017.

It had a pool table, and a wood burning stove.  But those items were long gone when I retrieved the dollhouse from my in-laws.

I debated adding back another pool table, but ultimately I decided not to.  Instead I picked up this sectional from The Modern Dollhouse.

I’m finding that these ‘upholstered’ sort of miniatures are eminently paintable.

Simply water down your chalk style paint with about 50/50 water to paint.  Then just apply it with a brush.  I used Dixie Belle’s Burlap on my sectional.

As you may have noticed, after painting the walls and ceiling in Dixie Belle’s Drop Cloth, and the wainscoting in their Gravel Road, I hung an old sports photo on the wall.

I bought that photo at a thrift store back in February 2024.

I made the throw pillows on the sofa by stamping some drop cloth fabric with some of the I.O.D. Ephemeral Type stamps, then simply gluing the edges shut.

Once the glue was dry, I trimmed the edges with scissors.

I added my Union Jack credenza over by the brick chimney.

I apologize that the Union Jack is still upside down.  I do plan to correct that.

I’ve placed my artist studio on the other side of the chimney.

I’ve had that license plate for ages, I can’t remember where I purchased it.  I like the graphic punch it adds to the wall.

I have the desk that I thrifted tucked into the back of the room …

It definitely needs some more staging.  I’ve also got that fab harp back there, my friend opK gave that to me.

This is quite a large space, so it may take a while before I fill it up.  But for now, I’m calling it mostly ‘done’.

What do you think?  Leave a comment and let me know.

the union jack credenza.

If you’ve followed me for long, you may know that do-overs seem to be a regular thing for me.

For example, this one was fun …

I had originally painted (and sold) that dresser in black and white.

I then purchased it back via Craigslist Marketplace and painted it in that lovely custom mix of Dixie Belle Silk Paint (check out all of the details here).

I also shared a metal box do-over on Monday.

But I will say that a miniature furniture do-over is so much easier than one on a full sized piece of furniture.

Back in November I painted up this Tate Modern Sideboard from The Modern Dollhouse in Dixie Belle’s Silk Paint in Everglades.

I did like how it turned out, but the color wasn’t really working in my dollhouse, so I decided to give it a different look.

I had a small Union Jack stencil in my stash, it was one of those freebies that you sometimes get when you order something larger online.  In this case it was a stencil from Maison de Stencils (I believe they have since gone out of business).

I’d only used it once, and that was to create a patch for one of the pillows on my patio dining set.

The stencil turned out to be the perfect size for the front of the credenza.

I started with sanding the credenza with one of the Dixie Belle Sanding Sponges.  These sponges are 220 grit and I’m finding that they are perfect for working with miniatures.

After wiping away the dust, I gave the piece a couple of coats of Dixie Belle’s Gravel Road on the top, back and sides, and then I painted the door/drawer fronts in their Drop Cloth.

I then applied the full stencil using a custom mix of Dixie Belle’s Dried Sage.

Once the Dried Sage was dry, I went back over just the triangle sections of the design with Gravel Road.

I then sanded very lightly to distress the edges.  I didn’t want to see any of that Everglades green poking through, so I used a very light hand and that 220 grit sanding sponge.  Next I applied clear wax over everything and then used a small brush to add some of the Dixie Dirt in Earth to add some dimension and age.

Finally, I did go back with the Dixie Belle Gold Gilding Wax to add some ‘feet’.

By the way, while I had that Gold wax out, I also gave a mirror a new look.

That is the mirror that was originally in the 2nd floor hallway of my dollhouse.  I thought I had taken a good ‘before’ photo of it, but this is the only one I could dig up.

It’s rather difficult to see, but it originally had a dark, shiny ‘mahogany’ sort of finish on the frame.

All I did was apply the Gilding Wax right over that finish using a q tip.  I did two coats to get a fairly opaque look.

I let it dry (or harden?) for a day or two, then I gave it a quick buff with an old t-shirt and hung it back on the wall in that same spot.

Although, of course, as I shared back in January, that hallway is now wallpapered in book pages.

As for the union jack credenza, I’ll be putting that in the attic rec room.  Be sure to stay tuned for the full reveal of that space coming soon.

miniature crush.

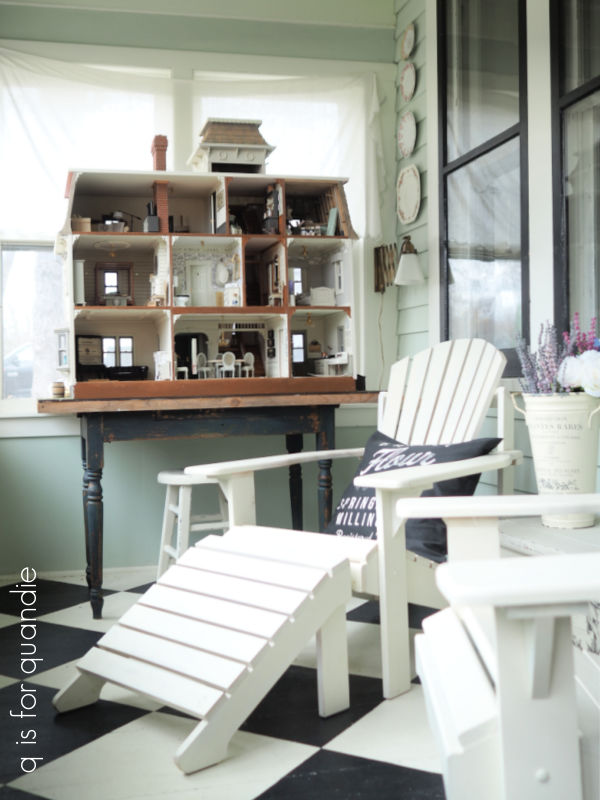
Earlier this week Mr. Q and I drove out to Savage, MN to visit Miniature Crush.

If you’ve been following along on my dollhouse renovation project, you may know that I found them on Etsy.  I initially ordered a couple of things from them through Etsy, but then I searched out their website and started ordering from them directly.

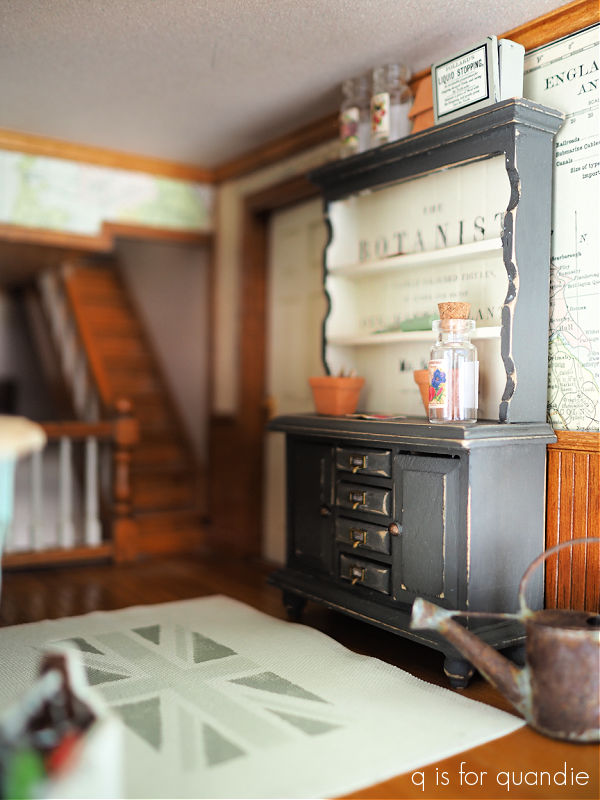
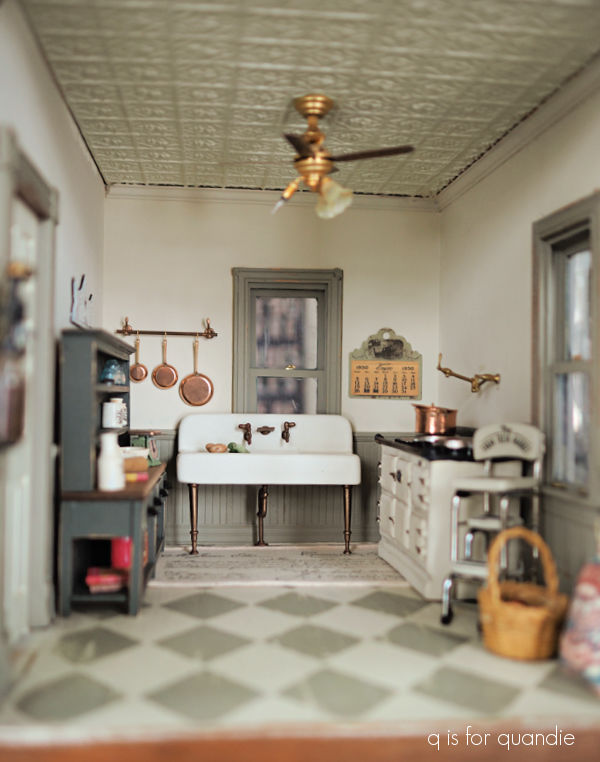
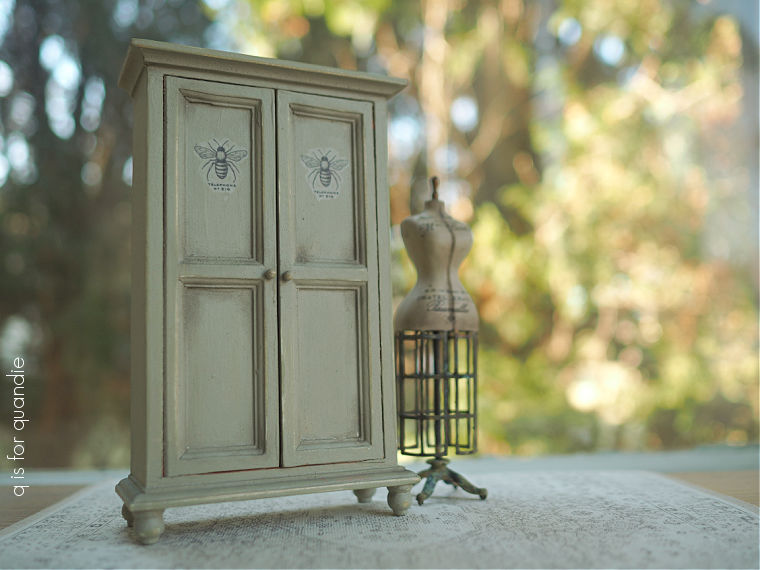
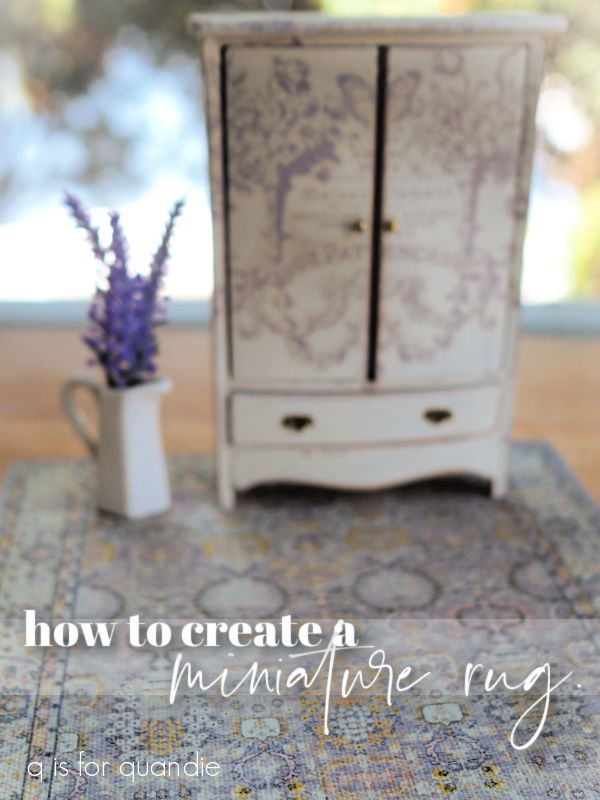
I’ve gotten quite a few things from them since, including this armoire …
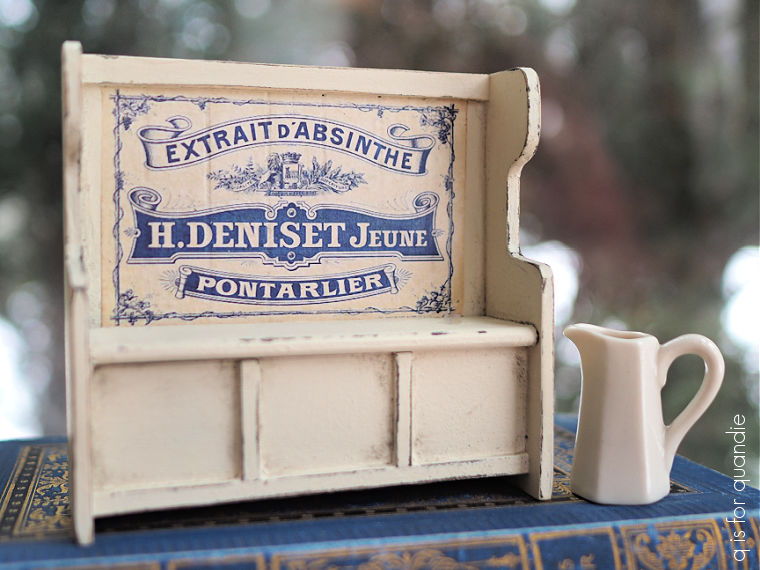
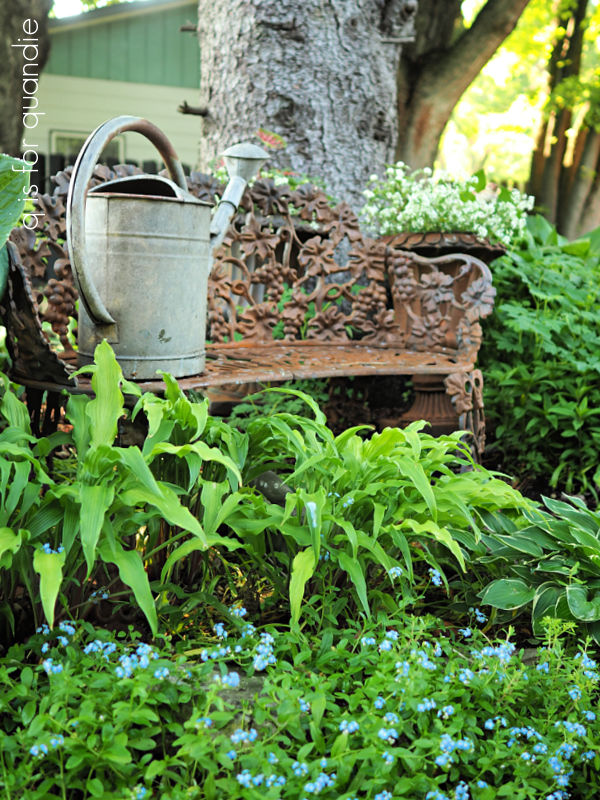
and this bench …

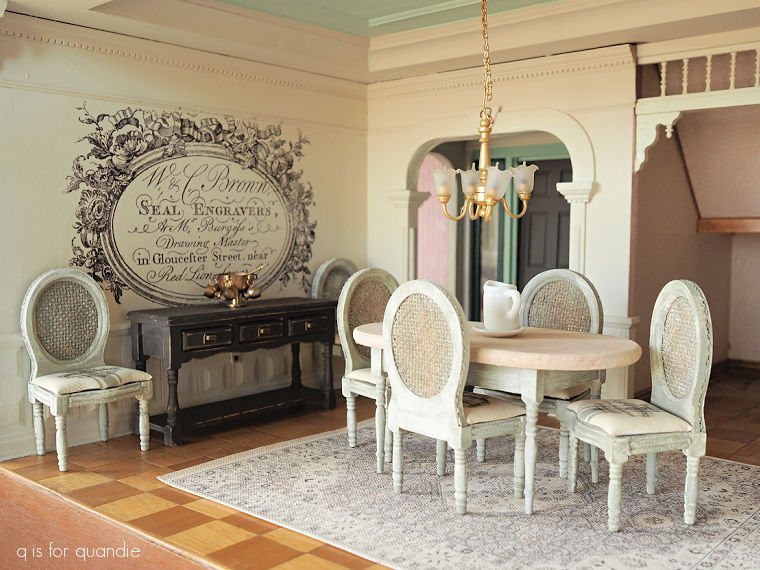
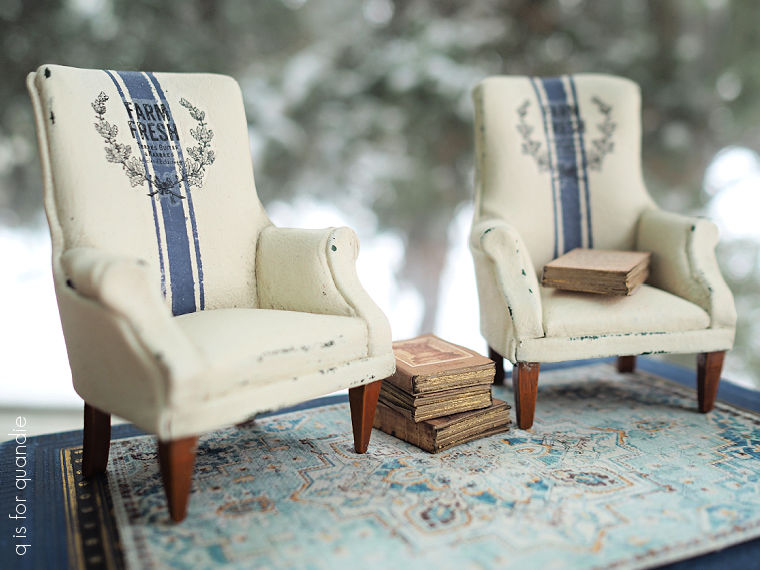
and this pair of chairs …

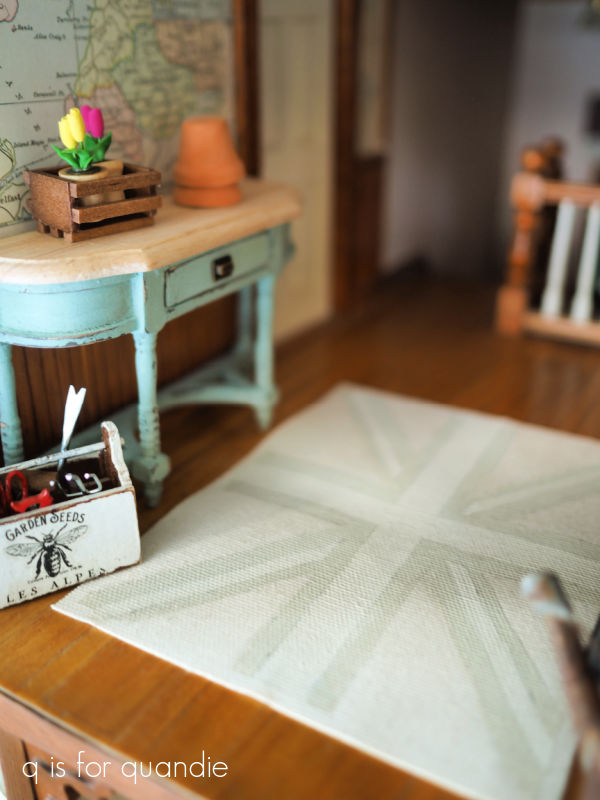
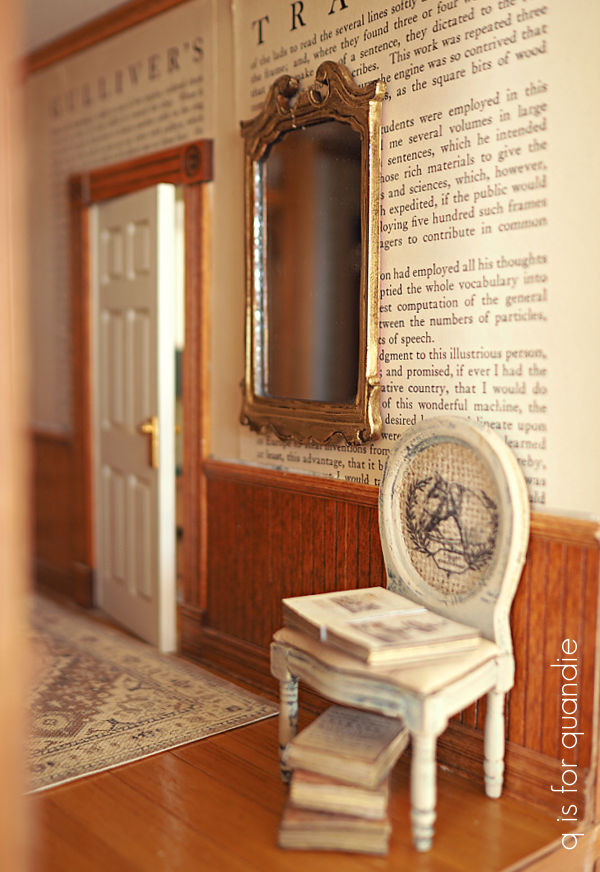
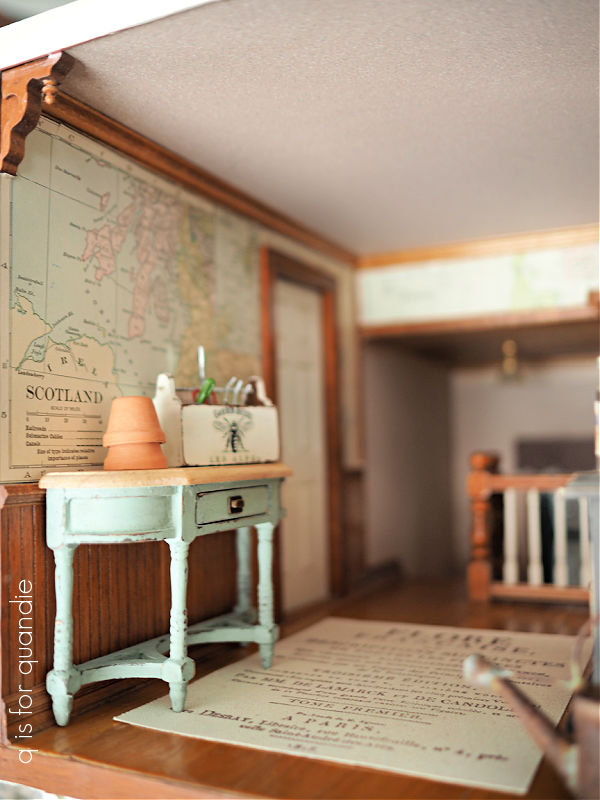
and this hallway table.

I should point out that I painted all of those items myself, they didn’t arrive looking like that.

Anyway, a few weeks back the owners of Miniature Crush reached out to me.  They had seen my blog posts and knew that I was local (well, just across the other side of the Twin Cities from them anyway).  They invited me to come out and tour their facility.

They don’t have a brick and mortar shop that is open to the public, but I thought it would be fun to check out their set up.

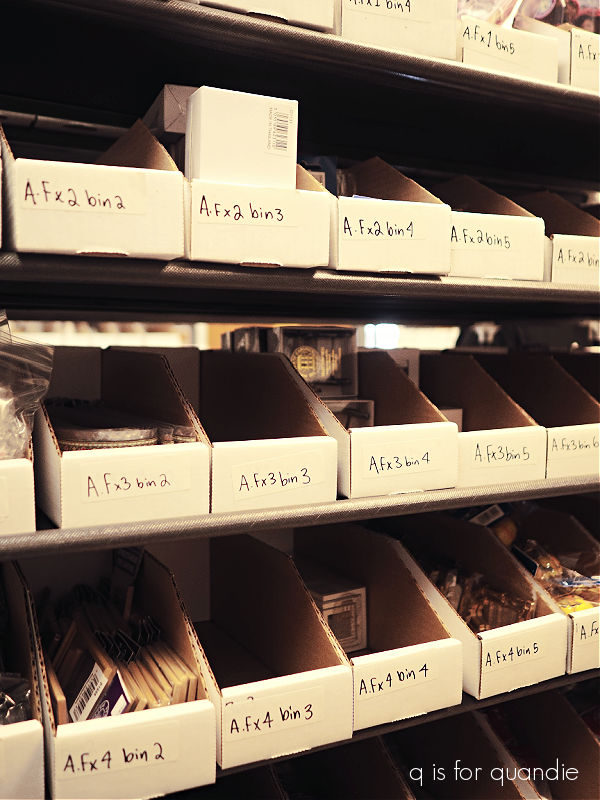
They are very much a family run business, and they started out working out of their basement and selling online in 2018.  Over time the miniatures were taking over though, so now they rent space in an office complex to house their inventory of over 5,000 miniature items.

Hey look, here’s that armoire that I purchased …

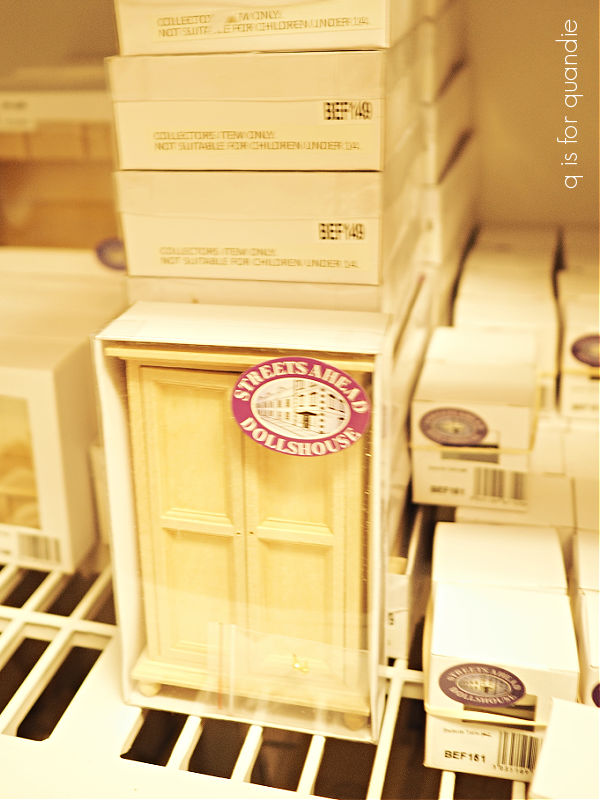
Please excuse my poor quality photo, I haven’t got skills for taking good pics in fluorescent lighting.

They get their inventory from a wide variety of sources.  They carry quite a few items made by individual artisans like Warren Richardson who creates these spectacular chandeliers using Swarovski crystals.

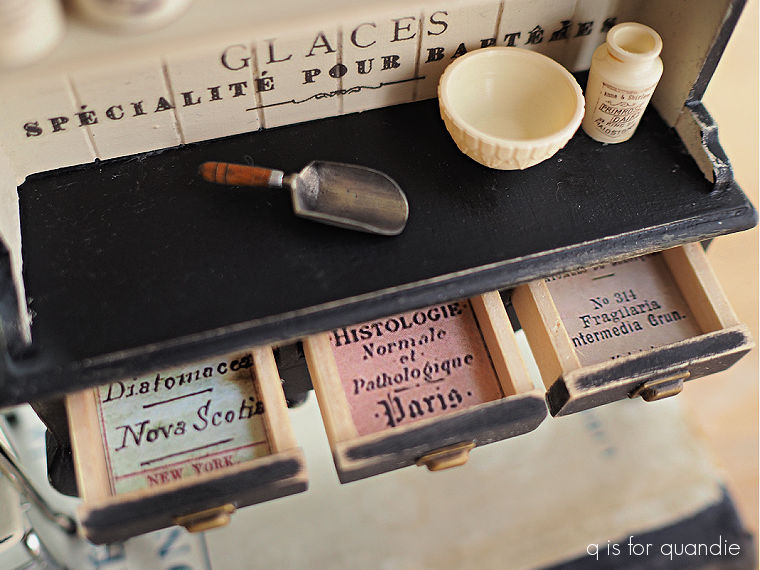
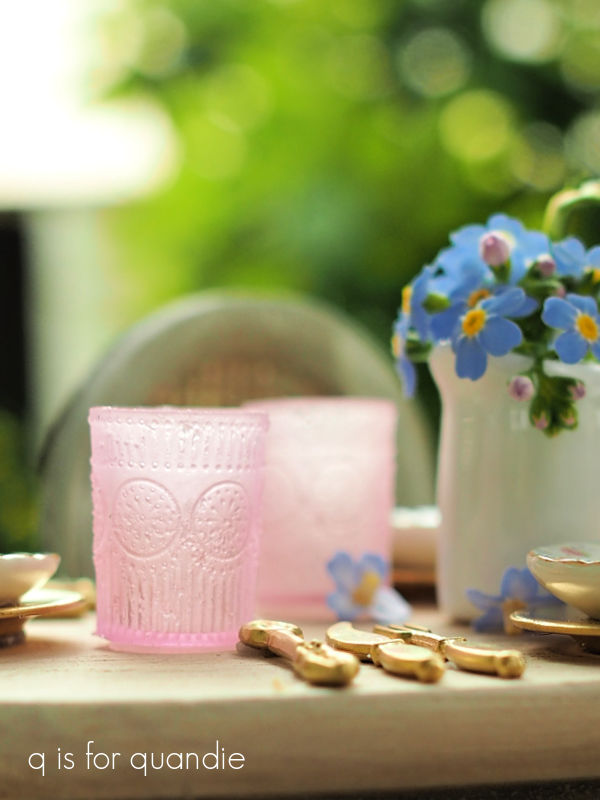
I think my favorite items were the Sir Thomas Thumb pieces like this scoop.

They are so realistic looking!  Although I didn’t bring any of these home with me, I think I’m going to pop back onto the Miniature Crush website and order some.

They also have all kinds of the building supplies necessary for dollhouse making, such as these trim pieces from their ‘lumber yard’.

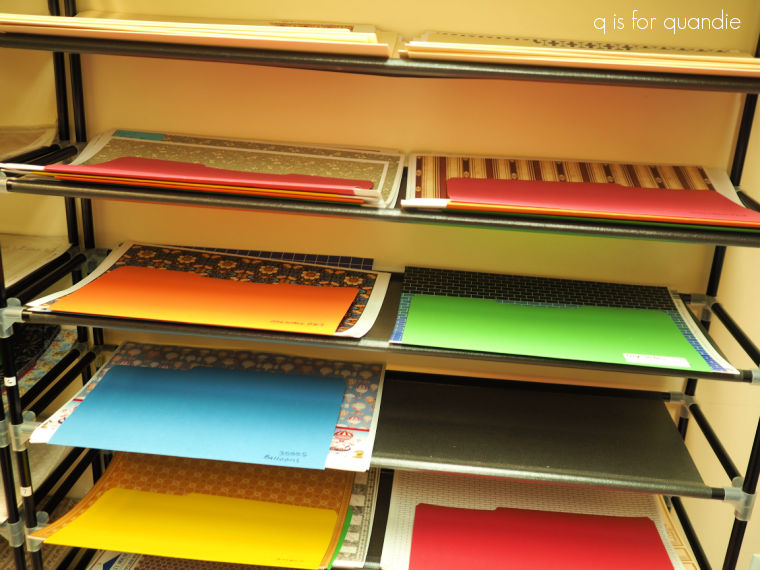
And they had quite a few shelves full of wallpaper.

Plus lots of options for flooring.

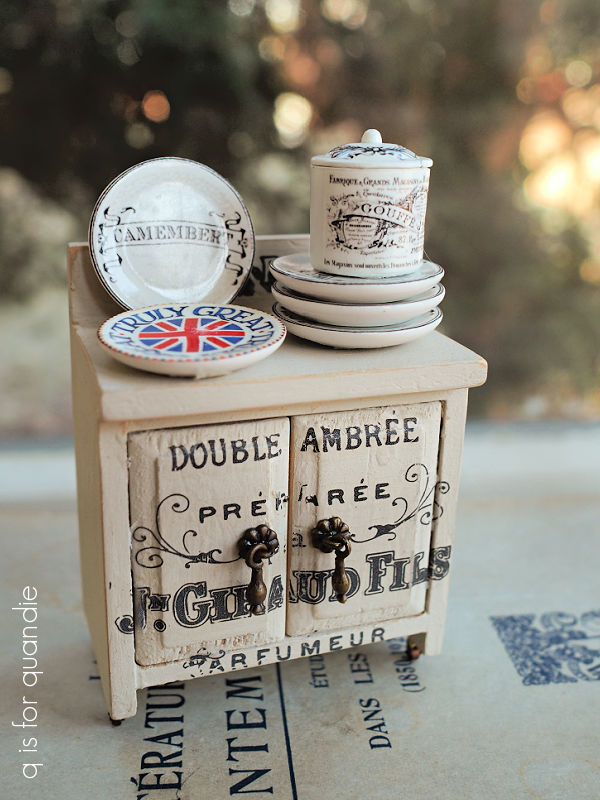
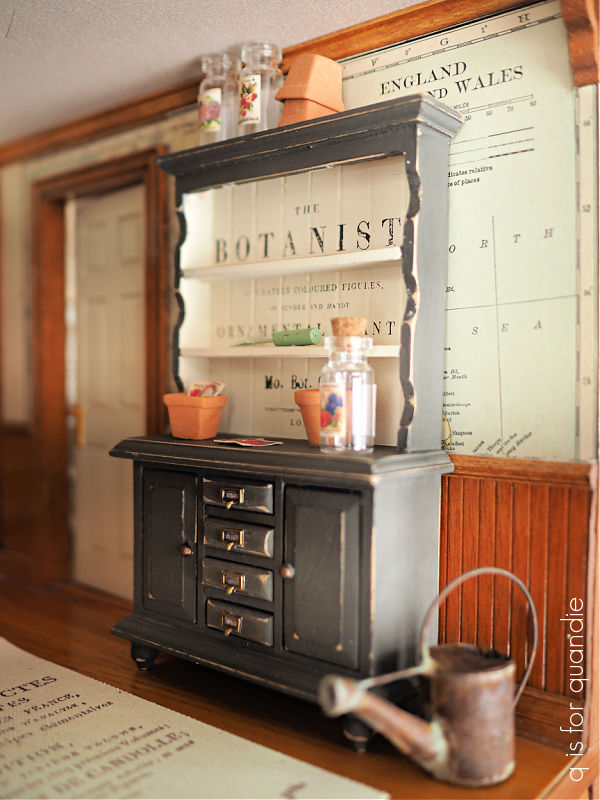
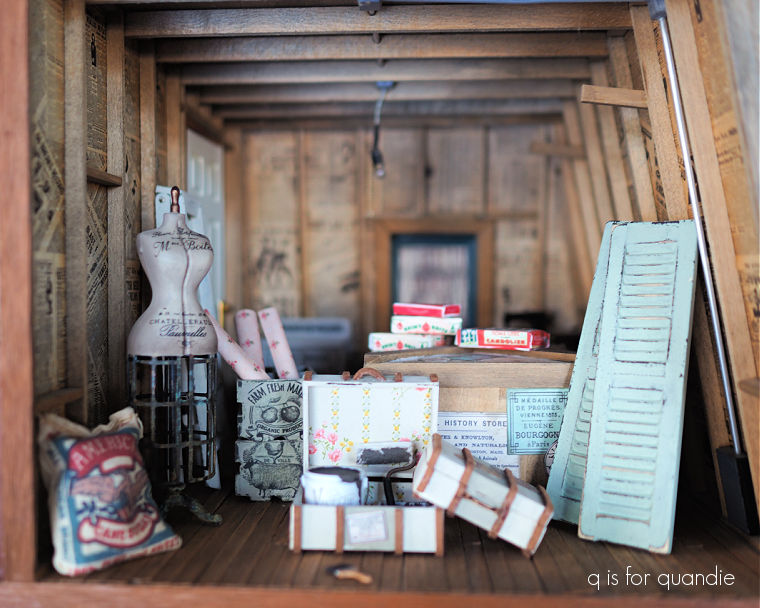
Of course, I did find a few things that I had to bring home with me.

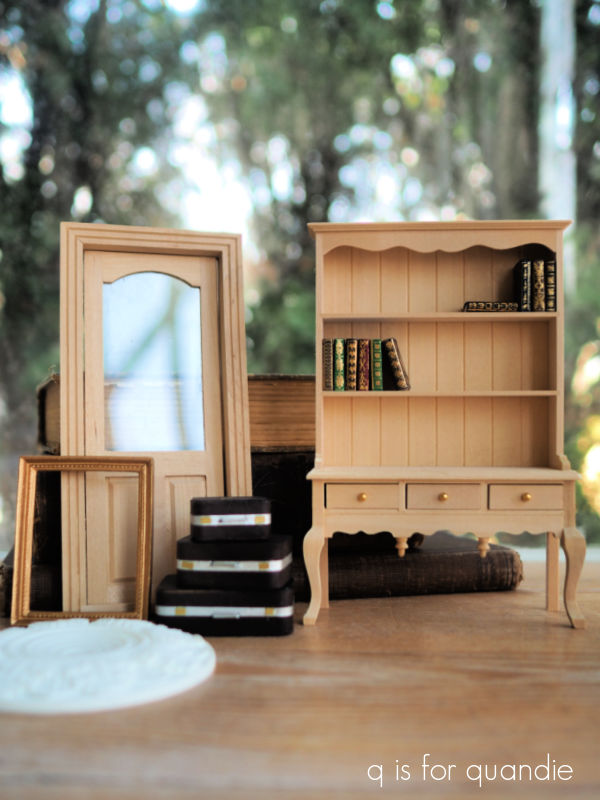
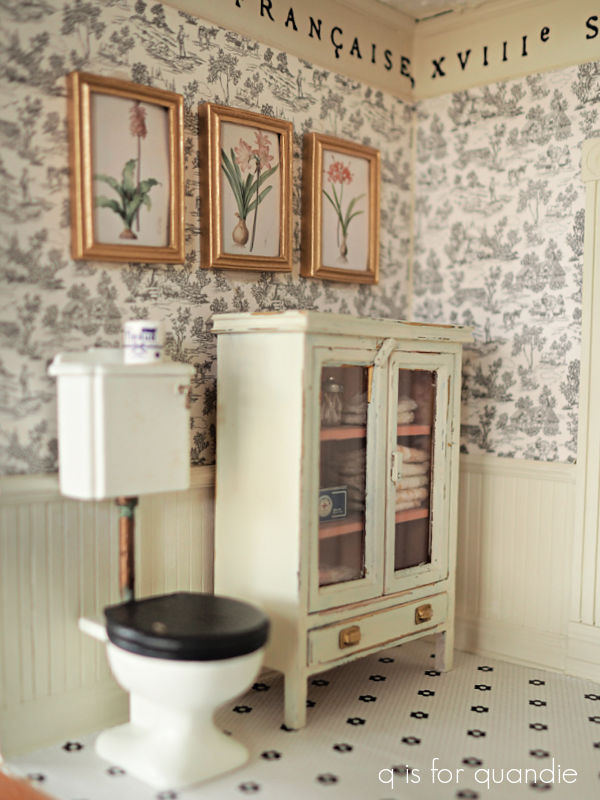
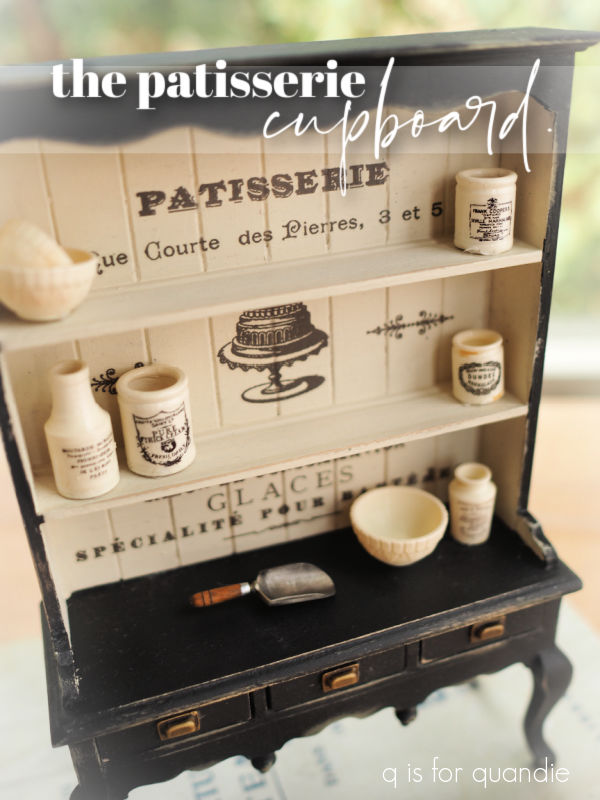
I’m not even sure where I’m going to put this cupboard, let alone what colors I will use to paint it.

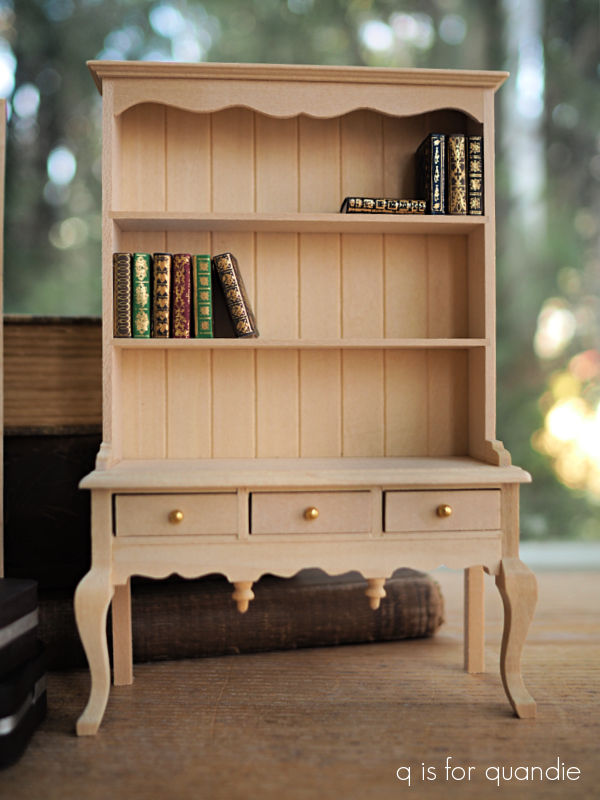
But I thought it was so sweet, I just had to have it.

I also purchased a set of books.

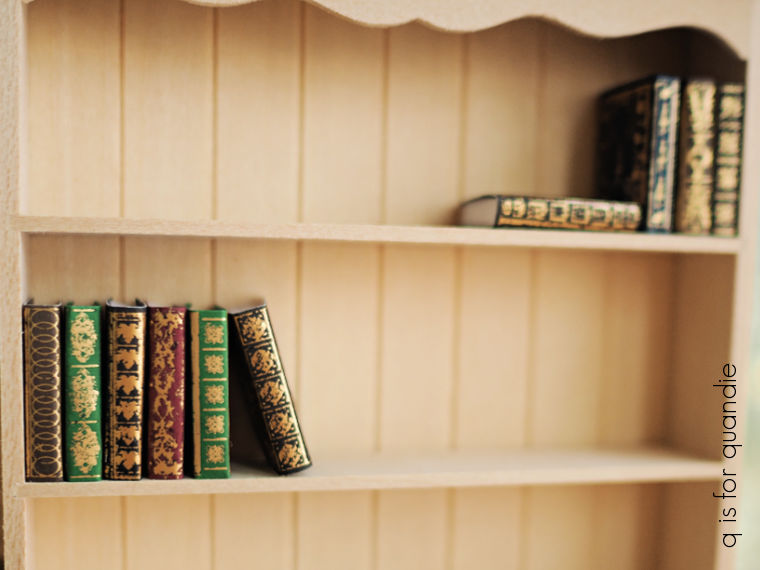
Because, you know, you can never have too many books.

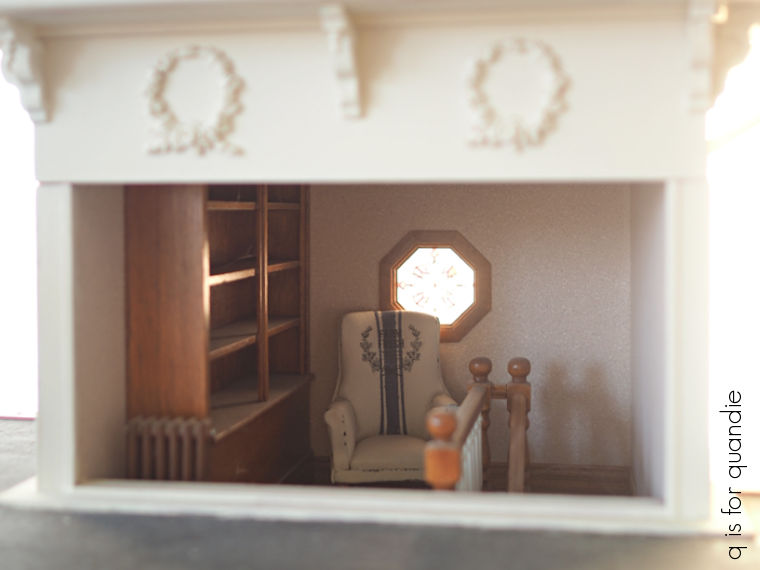
I brought home this ceiling medallion and plan to use it in the dollhouse living room.  I’m not sure yet if I’ll leave it white, or paint it gold.

I’m told that the center of it is the perfect size for holding one of the magnets that many of the battery operated dollhouse lights use.  So I’m going to be on the hunt for the perfect light fixture to affix to it.

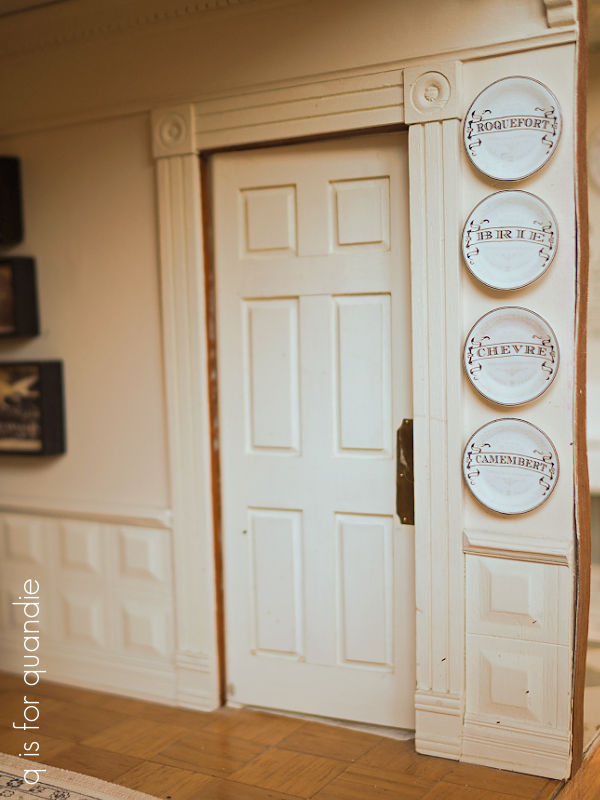
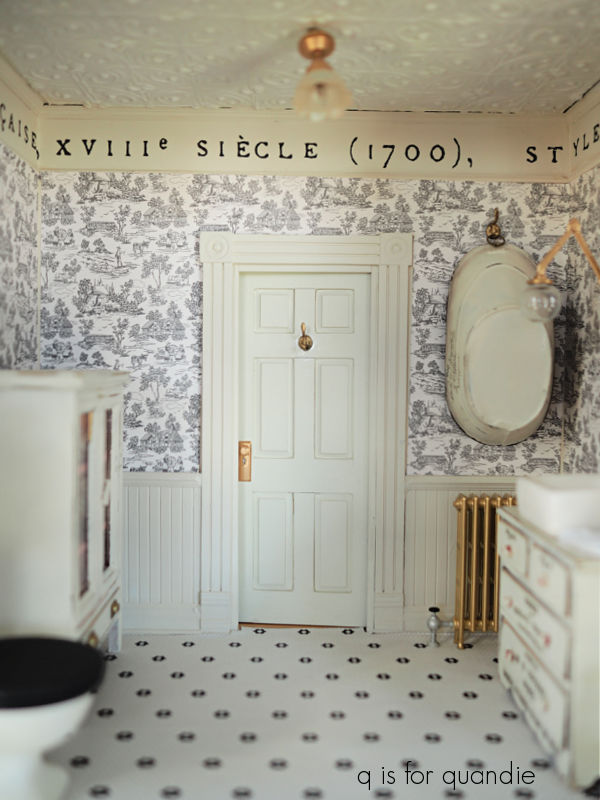
I’m looking forward to doing something fun to this door.

I don’t particularly have a spot for it, but Miniature Crush kindly gifted it to me when I mentioned that it would be perfect with some sort of transfer on the ‘glass’ (it’s actually really plexiglass).

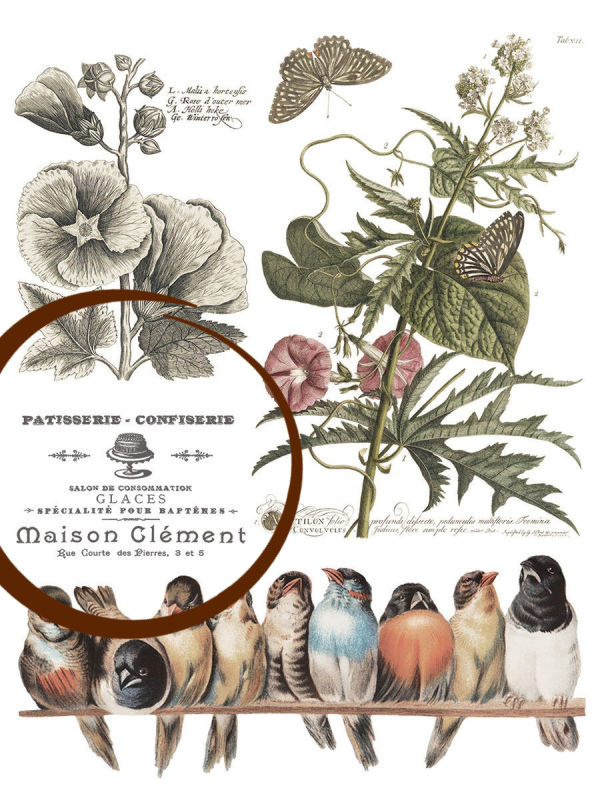
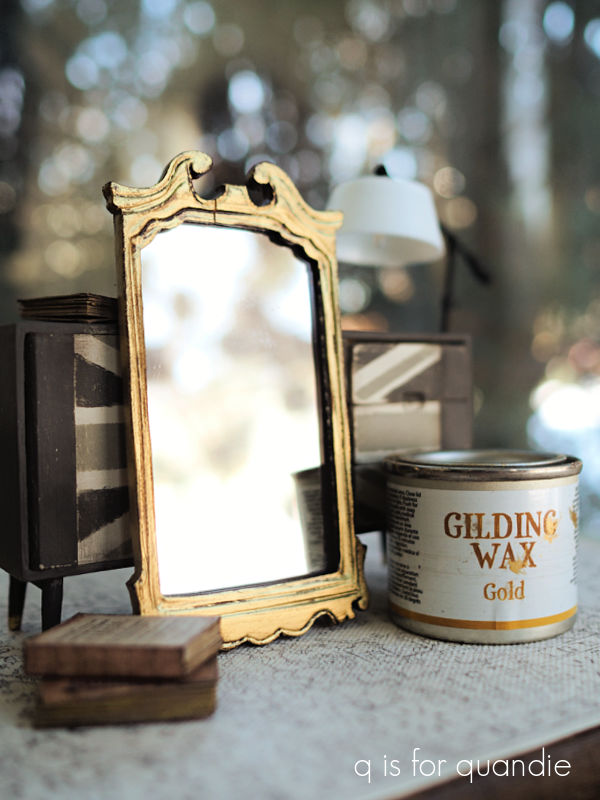
They also gifted me with a little gold frame, and I’ve already filled it with a simple botanical image that I also brought home from Miniature Crush.

I just mounted the print on a piece of scrapbook paper that I cut to fit the frame.

The botanical print is from a box called Notes on Nature that contains 100 little cardstock prints.

I have no idea what I’m going to do with the other 99 prints, but I’m sure I’ll come up with something.

It was very interesting to learn more about Miniature Crush and to see their warehouse.  And I’ve already placed my next order (including that adorable Sir Thomas Thumb scoop) with them online.  I should point out that they make it their mission to ship most orders within 24 hours of receiving them, so I bet my stuff will arrive early next week!
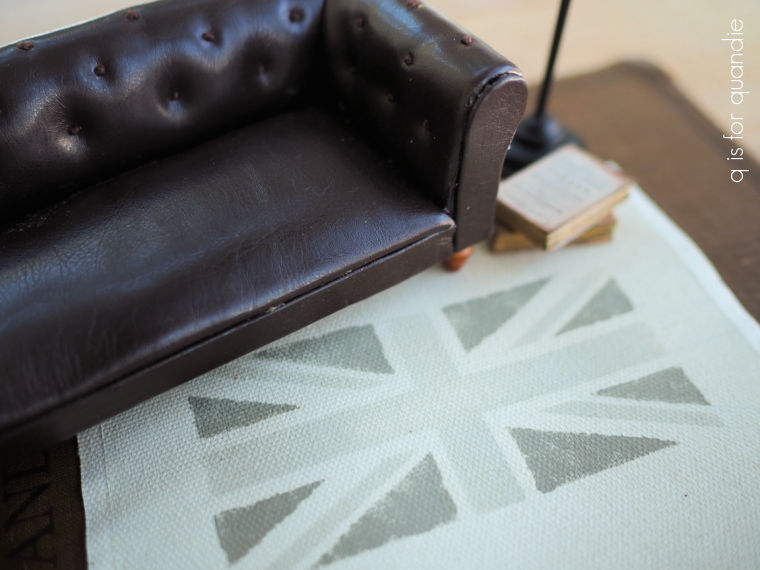
the artist’s studio.

Mother Nature played a cruel joke on me this week.  After spending 9 days in the warm sunshine at my Mom’s house in Las Vegas, I returned home to this …

Very funny Mother Nature. Ha, ha.

Luckily, as you can see, I still have my winter decorations up outside.  To be honest, that’s mainly because they were still frozen in place when I left for my Mom’s.

I’m also very fortunate to have two hard workers to clear the snow away.

That’s Mr. Q and my neighbor/handyman Ken, although you wouldn’t be able to pick them out of a lineup.  And yes, I know it’s crazy, but even at 87 years old, Ken still comes over and snowblows our driveway for us.  We’ve tried to take over, but I think he really likes to feel useful.

But, no worries, it’s supposed to be nearly 60° by next Monday.  So spring really is just around the corner.  In the meantime, this just gives me more time to work on my dollhouse project.

One thing I’ve noticed while surfing Etsy is that the U.K. has some amazing miniatures.  I can’t tell you how many times I’ve seen something on Etsy and thought “I must have it!”, only to look at where it ships from and find the United Kingdom listed.

Not that I’m opposed to buying from the U.K., but most of the time the shipping cost exceeds the actual cost of the item.  Plus, it takes quite a long time to receive items from other countries and as we’ve already established I am not a very patient buyer.

So the item has to be one that I really, really want, and can’t find anywhere closer to home.

Such was the case with the miniature ‘oil painting’ (it’s not a real painting) that I purchased from Artistique via Etsy.

That’s a miniature of Constable’s painting called The Wheat Field, and I just fell in love with it.

It was $32.90 with shipping, so a bit on the pricier end, but I absolutely would buy it again, even though it took weeks to arrive.

Once I had it, I decided I needed to add an artist’s studio area to the attic space in my dollhouse.  And that meant I needed a few more things starting with that adorable easel.

I ordered that from Marquis Miniatures (also on Etsy) along with the blank canvases.

Isn’t the detail on those precious?

The little stool is a piece that I found while out shopping at a 2nd hand store near me.

I had been admiring some stools online that were fairly pricey, but I found this for only $5.  A bargain!

I also ordered a few miniature art supplies from Miniature Crush.

The paint box is from them, but I doctored it up a bit.

I painted the outside of the box in Dixie Belle’s Drop Cloth, and then I added that round label to the inner lid.  That label is from a slightly ancient set of labels from 7 Gypsies, and they are no longer in business.

I also purchased another art box set from Miniature Crush that came with loose paints and a couple of brushes.  You can see the brushes in that blue ball jar on the easel (the jar was from Woodland Trail Whimsy also on Etsy, you’ve seen more of them in my dollhouse kitchen), and I’ve scattered the loose paint tubes on the floor.

Ultimately I’ll be setting up a little corner of the very large attic space in my dollhouse as the artist’s studio.

But I still have a bit to do in that space, so you’ll have to stay tuned for a final reveal of the attic!

In the meantime, what do you think of the artist’s studio?  Leave a comment and let me know.

dining room sets.

I shared my mini Welsh cupboards a couple of weeks ago (there’s only one left, so act quickly if you want it), and today I’ve got the dining room sets that I promised would be forthcoming.

I ordered three of these dining sets from Hobby Lobby.

They are unfinished, and they come with cushioned chair seats that can be glued in place once you’ve added a finish to the chair.

This is the same dining set that I have in my dollhouse, and I decided to paint this first set in a similar fashion to my own.

The chairs and table base are painted in Dixie Belle’s Dried Sage, the table top and chair cushions have a wash of Drop Cloth ( approx. 2 parts water to 1 part paint), with grain sack stripes in Dried Sage and a re.design with prima knob transfer over that on the cushions (for more detail on how I did those chair stripes, check out my original post here).

I still love this look.

But I have to admit the next set has surpassed it as my favorite.

For this set I gave the chairs, seat cushions and table base a wash using Dixie Belle’s Burlap mixed with equal parts water and paint.

I gave the table top a slightly more transparent wash using about 3 parts water to 1 part paint so that the wood grain would show through a bit.

Then I used just a small section from the bottom of one of the I.O.D. Ephemeral Type stamps and very gently stamped it onto the chair seats using VersaFine Clair ink in a color called Pinecone (I found my ink at Hobby Lobby).

I had to practice that a couple of times on a spare cushion first.  If I pressed too hard the image would smudge.  But once I had my technique down, it was fairly easy to stamp the chair seats.  Also, keep in mind I am stamping these before gluing the seat cushions onto the chair.  So they were laying flat on the workbench.

Speaking of which, here is your q tip for today, clothes pins make awesome ‘clamps’ for gluing miniature items.

In this case I placed a piece of cardstock between the cushion and the clothes pins to keep the cushions from denting.

I did seriously consider swapping out the dining set in my own dollhouse for this one, but ultimately decided that the one I have works better with my Gravel Road sideboard.

That being said, I had to have one of these chairs for myself so after perfecting my stamping technique (which involved painting over the seat with solid paint rather than a wash a couple of times and re-stamping it), I’m keeping that spare chair.

I went a bit shabby chic with the third dining set.

For this one I started with a base coat of Dixie Belle’s Coffee Bean so that I’d have something to distress back to.  Then I added two coats of Drop Cloth to the table base and chairs, and a Drop Cloth wash to the table top and seat cushions.  Then I used 220 grit sandpaper to lightly sand the edges to bring out that dark underlayer.

Next I applied some more re.design with prima knob transfers to the seats.

I added a coat of Dixie Belle’s clear wax over everything including the chair cushions to add a little protection.

Much like with the Welsh cupboards, I will be listing these dining sets on my ‘available for local sale‘ page (but they can be shipped to non-local buyers in the lower 48 states!).

So we have Dining Set no. 1 (Dried Sage with grain sack striped seats):

Dining Set no. 2 (Burlap with stamped seats):

and Dining set no. 3 (Drop Cloth with floral seats):

They are $60 each, including shipping to the lower 48 states (or $50 without shipping).  For now I can only accept Venmo or PayPal as a form of payment for shipped items.  Each dining set comes with the table and four chairs.

I’ll mark them sold on my ‘available for local sale‘ page once they are spoken for (first come, first served).  If interested in purchasing one, please email me at qisforquandie@gmail.com to make further arrangements.

In the meantime, which dining set is your favorite?  Leave a comment and let me know.