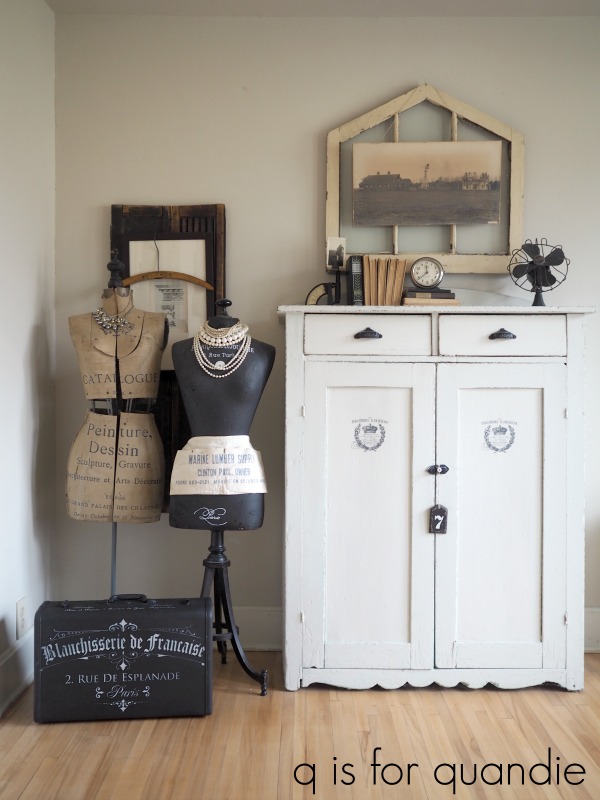
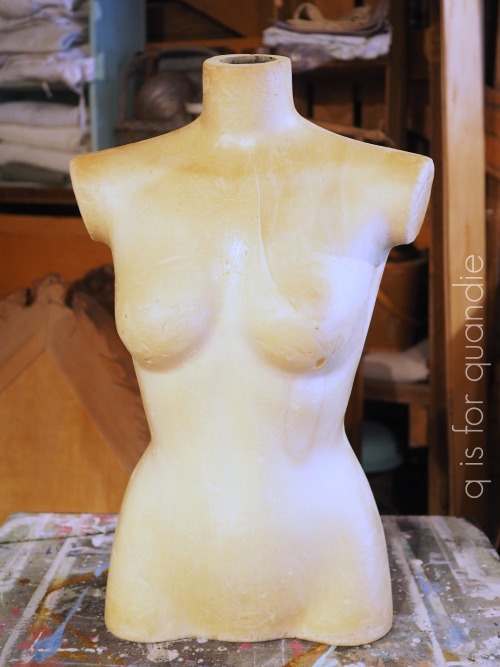
Back in May I picked up this manikin at the Roseville city-wide garage sales.

She’s probably a shop manikin, not to be confused with a dress form that can be adjusted for size. She didn’t have a stand, and she’s just a Styrofoam type material underneath a stretchy knit fabric cover, but I still figured I could do something with her.
After all, I’d worked with something similar when I came up with Lulu.

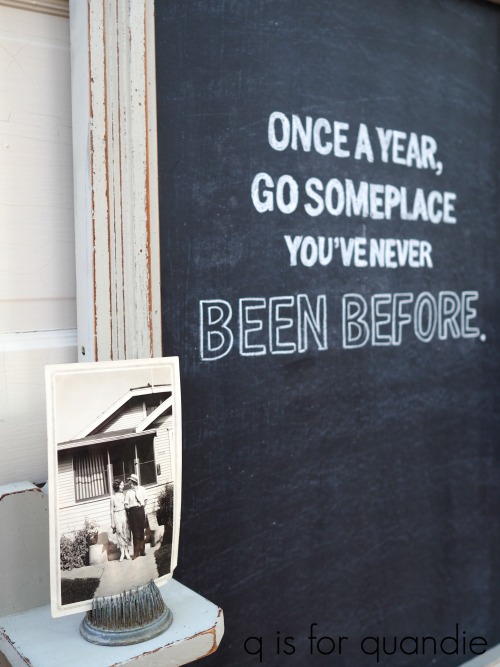
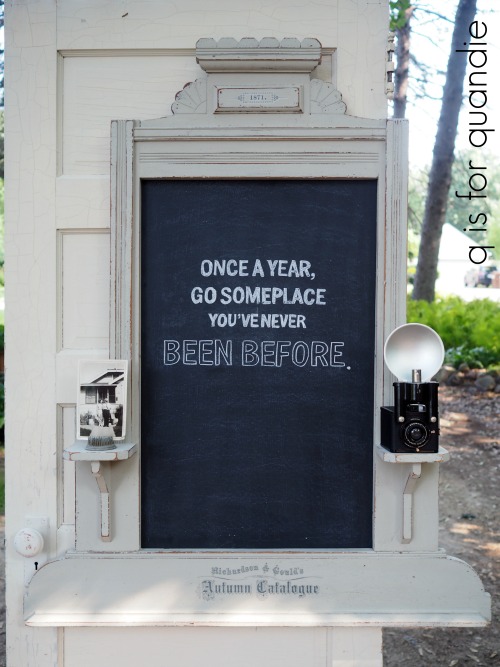
If you look closely you can see that Lulu is also Styrofoam and she has a doorknob for a head (poor thing). I’ve turned her Styrofoam-ness into an asset by using her as a pin board for old photos.
I painted her with black chalkboard paint and used the base to one of those table/lamp combinations to create a stand.

I can’t remember precisely how long ago I cobbled Lulu together, but it was before I had a blog which makes her at least 5 years old or more. She’s held up remarkably well for being made out of painted Styrofoam.
Anyway, I felt sure I could do something similar with the manikin from Roseville.
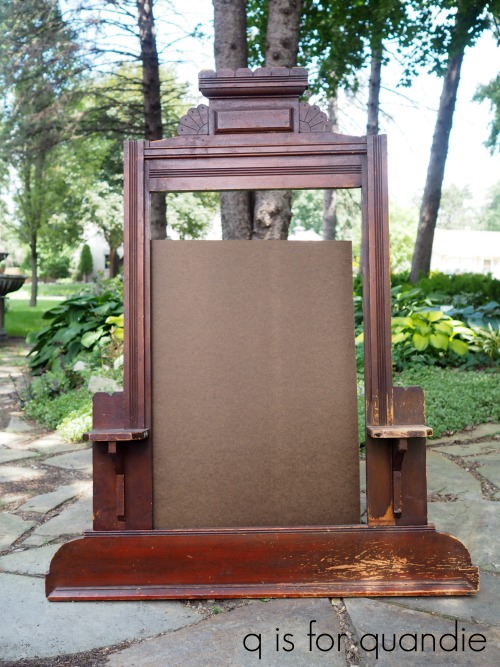
First I had to come up with a stand of some kind. I’d been waiting all summer to magically find another table/lamp but no such luck. But then I remembered that I had an antique metal floor lamp thingie tucked away out in the carriage house.
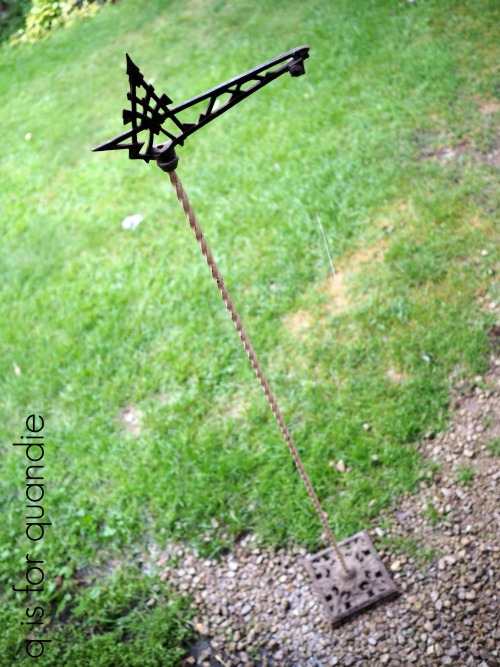
Please pardon the terrible photo. It was raining when I took it, but I just wanted to grab a quick photo to show you what it looked like.
Initially I thought I was going to have to have my handyman Ken cut it down to the right height, or at a minimum cut that top decorative piece off. However, as it turned out the top piece screwed right off and then when I added the manikin torso (which has a hollow metal pole up the center) it ended up being the perfect height already.
Next I removed that hideous stretchy knit fabric from the manikin.
This was about when that song “I’m too sexy for my shirt” popped into my head (who else remembers that song?).
This torso is just way more, well, sexy than Lulu. It almost feels a bit wrong to leave her unclothed. She seems to have a lot more curves to her.
But, I pressed on.
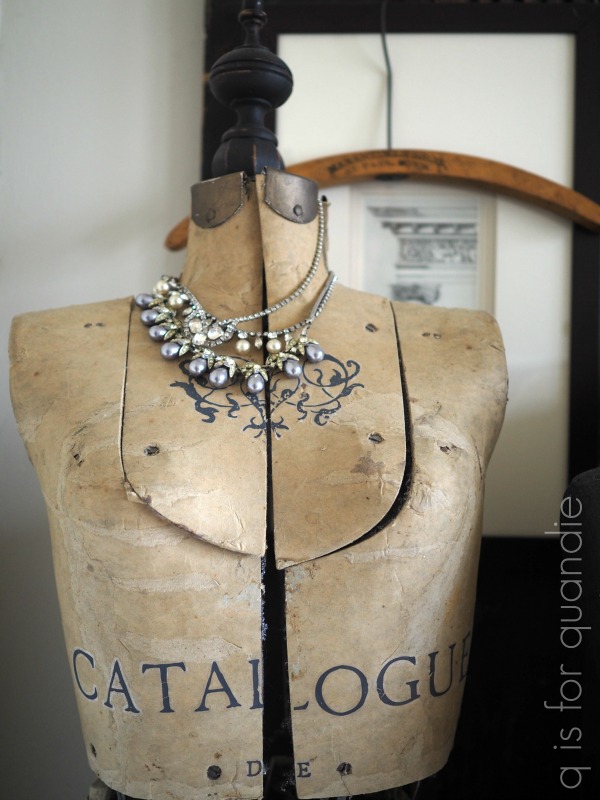
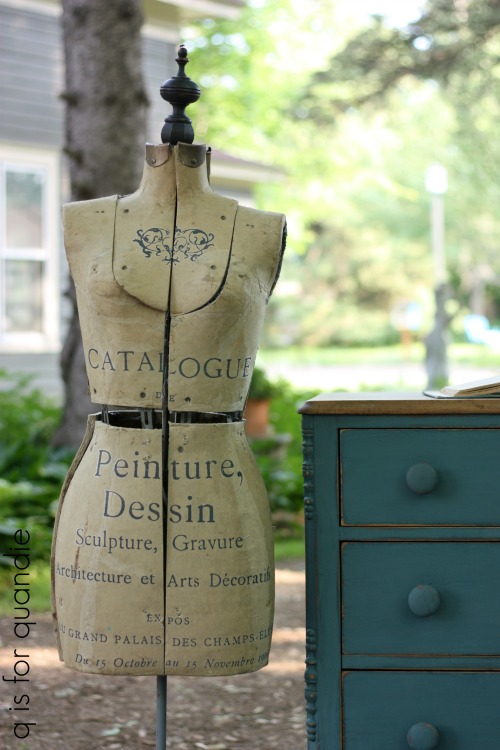
I first gave her a coat of Rustoleum black chalkboard paint. Since it had worked so well on Lulu, I thought it would make a good base coat for this manikin too. But ultimately I knew I wanted to add a Prima Marketing transfer to her like I did with Collette, the dress form that I refurbished earlier this summer …
I had some Homestead House milk paint on hand in a color called Algonquin, which I thought would be perfect for this look. If the milk paint got chippy, I didn’t want to see the yellowish color of the Styrofoam underneath hence the black base coat.
So once the black paint was dry I mixed up the milk paint and added a coat. So far, so good. Once that was dry, I added a 2nd coat and then left the manikin to dry overnight.
The next day I was so excited to get home from work and get the transfer added. But, that was not how it went at all. Instead I went into my workshop only to find that the milk paint had chipped like mad. Except instead of revealing the black chalkboard paint, it was taking it along for the chippy ride and chipping all the way down to the Styrofoam underneath.
This was that moment that you dread in any project. The moment when you realize that you have to start over. Well, actually, even worse. First you have to remove all of the chipping paint, and then start over. Ugh.

Lesson learned: Styrofoam, chalkboard paint and milk paint don’t mix.
Well, it was an experiment. And now we know.
After chipping away all of the loose paint, I gave the manikin a light sanding just to be sure she was ready for another go. Luckily I had some Fusion paint in Algonquin on hand. Yes, same color as the milk paint, but this time in an acrylic paint.
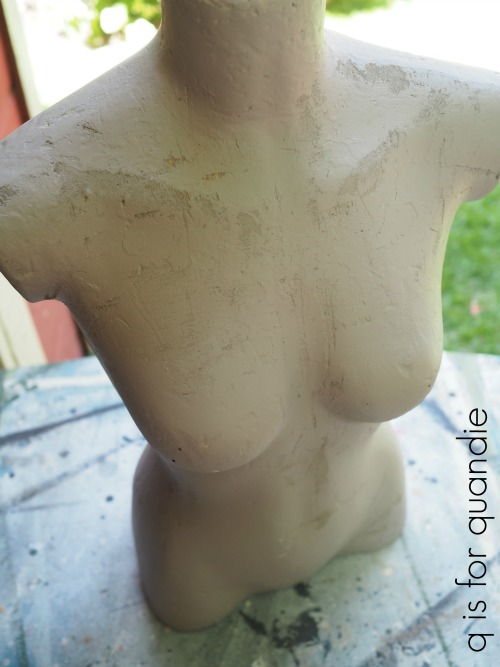
Ahhh, much better. One coat of Algonquin later and things were looking up.
As you can see, I ended up with a lot of texture (some might call it damage, I prefer to call it texture), but that just gives it more character.
Next I applied the transfer.
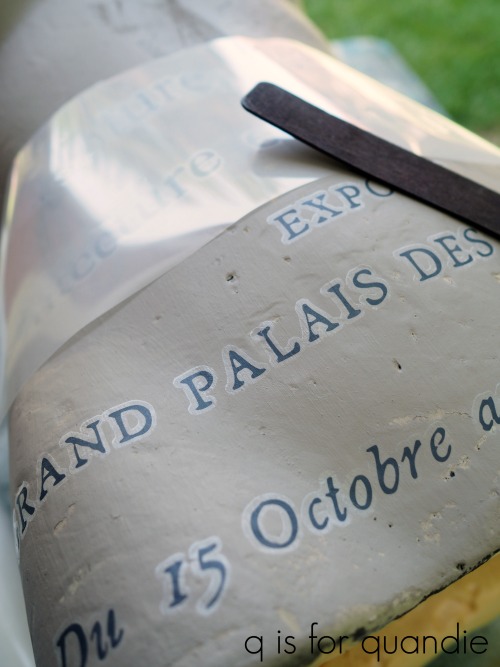
I knew it would be somewhat challenging applying it to a curvy surface rather than a flat one. To make that easier, I cut the transfer into smaller sections which helped quite a lot.
In the end it went surprisingly well. If you try something similar, just be sure to go slowly and make sure each letter is adhered before moving on to the next.

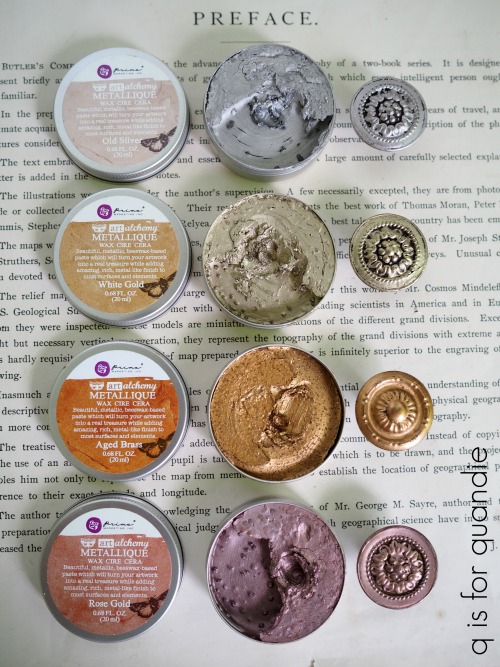
I still wasn’t done though. Next I added a coat of Miss Mustard Seed Clear Wax followed by a coat of Fusion’s Expresso Wax. It’s always wise to use a base coat of clear wax before adding a dark wax to make it easier to blend your dark wax.
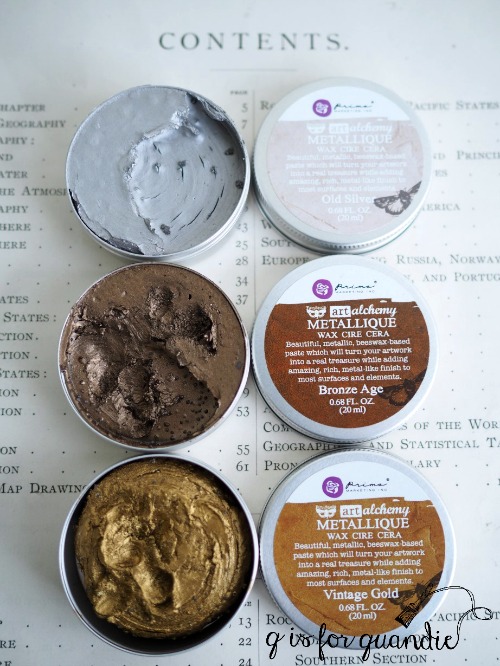
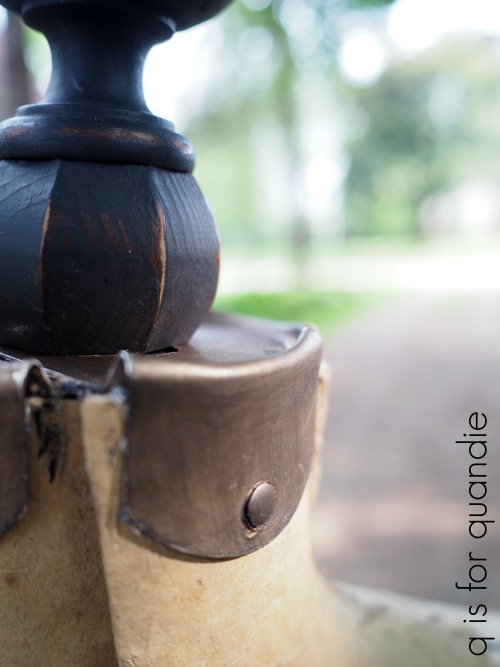
I also painted the wooden topper on her neck in Algonquin and then added a Tim Holtz number rub-on. I finished that off by adding some of the Prima Marketing metallique wax in Bronze Age to the screw that holds it in place.
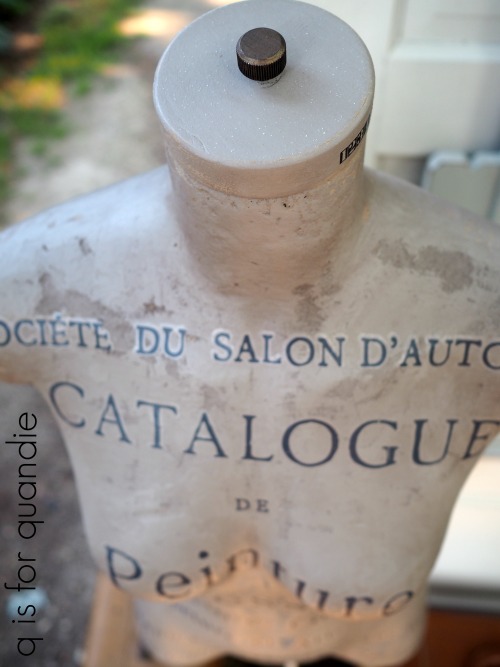
When she was all done I decided to call her Coco.
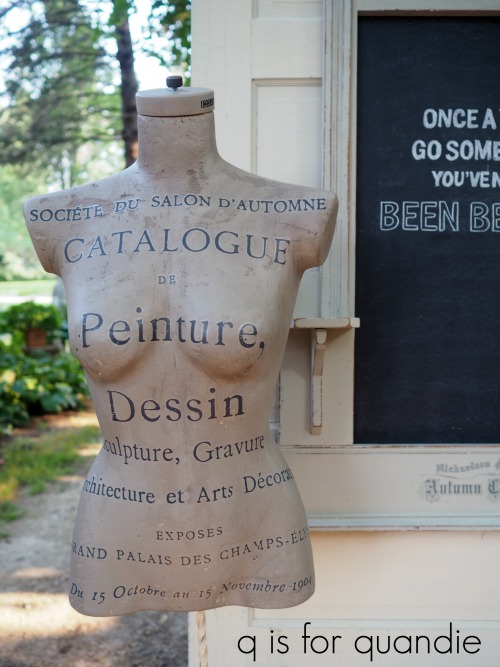
She almost looks a bit like she’s made out of stone or plaster.
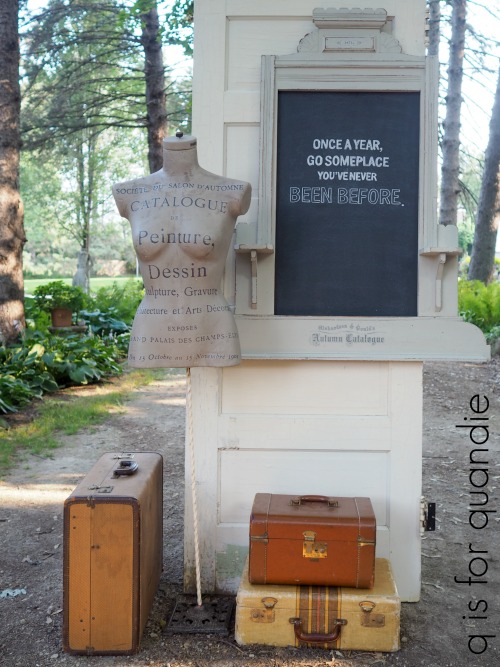
I ended up bringing her in to Reclaiming Beautiful (the shop where I sell on consignment) on Wednesday evening and even though I still wonder if she’s just a bit too sexy for her shirt, someone snatched her up right away Thursday morning!