A little while back Dixie Belle sent me some of their new silkscreen stencils from their Belles and Whistles line.
I’d never actually tried using a silkscreen stencil before, so I decided to do a little playing around with one this past weekend to see how I liked it.
I pulled out a little wooden bench that my picker found for me and gave it a coat of Dixie Belle’s French Linen, followed by taping off some grain sack style stripes and painting them in Drop Cloth. Once all of that was dry, I sanded it down with some 220 grit sandpaper to smooth out the ridges left by the taped off lines and distress the edges.
Then I pulled out the Fresh Eggs stencil from the Farmhouse set and saw that it was going to fit on my bench perfectly.
Silkscreen stencils are a little different from typical reusable stencils. First up, they are slightly sticky (on the sticky scale, I’d say they are sort of like a post it note) on the back and they come stuck to a backer sheet. You’re going to need that backer sheet to store your stencil, so don’t toss it away when you peel it off for the first time. They are also not rigid like a typical stencil and can be curved around an edge which could be a handy feature.
I peeled the stencil off its backer sheet and applied it to my bench.

A couple of things at this point. First, you’ll see that I have yellow tape on the edges. That’s not because I need it to hold the stencil in place, the stickiness has it firmly in place. I added the tape because I used a large stencil brush and I didn’t want to get any stray paint over the edges of the stencil.
Second, I do kind of wish these weren’t made out of that darkish purple material. It’s a little difficult to get your placement right because you can’t see through it terribly well. I wonder if we can convince Dixie Belle to make them in a more transparent color.
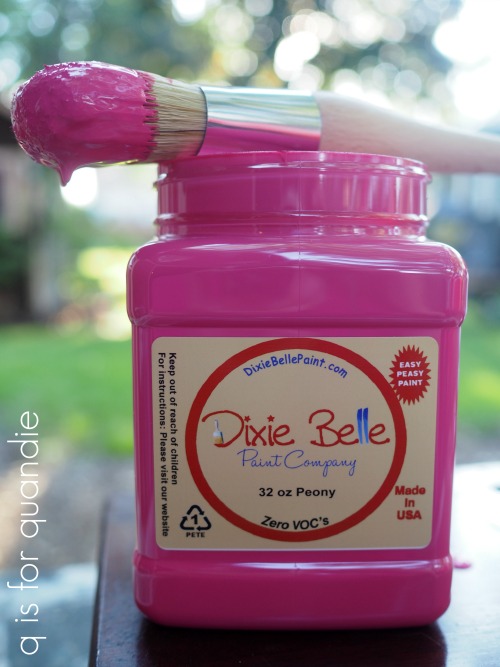
Next up I grabbed my Dixie Belle paint in Gravel Road and applied the paint using my stencil brush. I have to admit, I did that “wrong”. It wasn’t until after I was done that I realized the little plastic thingie in the package was for applying the paint.

You can simply scrape the paint over the stencil using that bit of plastic (you know, as in ‘silk screening’). Ooops! Well, no worries, because my method worked beautifully too. Clearly these silkscreen stencils are much more forgiving than traditional stencils.

The really great thing about using a silkscreen stencil is that you get a nice crisp result with very little effort. No need to worry about getting too much paint on your brush and getting a sloppy, splotchy looking result.
So for those of you who struggle to get a crisp, clean edge with traditional stencils, a silkscreen stencil might be just the ticket.
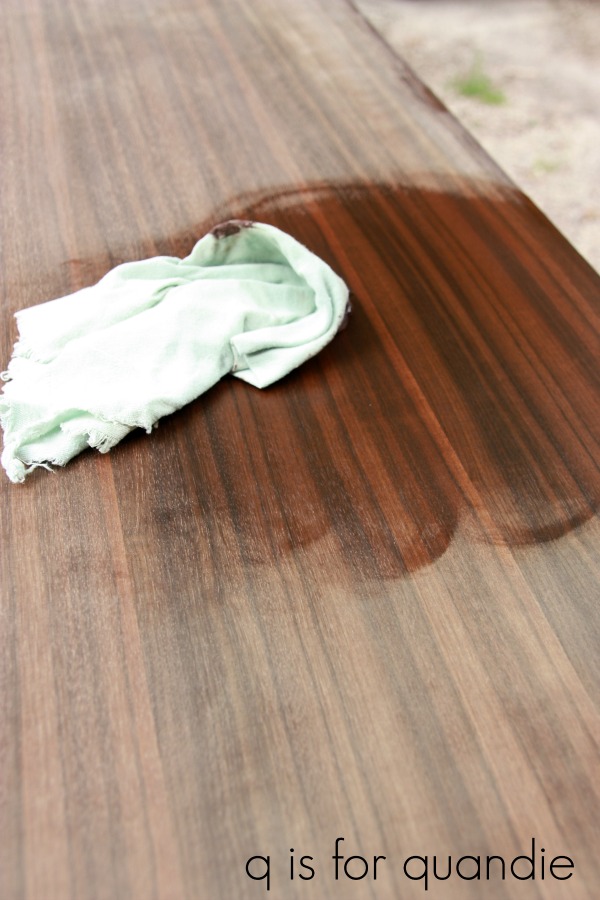
Once the paint was dry, I sanded over the stencil to give it a more blended, faded appearance and then I coated the entire bench with some clear wax.

It seriously couldn’t have been any easier. Recently someone asked me if the sticky stencil would pull off fresh paint, but I didn’t have any issues with that at all. I don’t think it’s sticky enough to be a problem.
Now, here’s the kicker. These silk screen stencils can only be re-used about 8 to 10 times, and then only if you wash the paint out of it after each use. In other words, you have to keep it clean people. I know myself well enough to know that I’m going to find that tricky. I always intend to keep my stencils clean, and I always start out that way. But two or three uses in I usually slack off. We’ll see how many uses I can get out of this one before throwing in the towel.

So let’s recap the pros and cons of silkscreen stencils.
Cons: You have to clean them, and even with dedicated cleaning they are only good for about 8 to 10 uses. It’s difficult to see through the dark purple stencil material when placing the stencil.
Pros: It’s much easier to get a crisp, clean result. They can have a much higher level of detail than traditional stencils. They don’t need to have those bridges in letters that you have to fill in later. They are more flexible, so you could stencil around a corner.
I thought it might be fun to give away a couple silkscreen stencils so one of you can give them a try.

The rules: Simply leave a comment on this blog post to be eligible to win.
Your comment must be left on this blog post, not on Facebook or Instagram. You are not required to follow my blog, although it would be awesome if you did!
I will randomly draw the name of a winner for today’s prize from all of the comments left on this post by Wednesday, June 30, 2021 at the stroke of midnight (U.S. Central time).
The fine print: no purchase necessary, you must be 18 years of age or older to win, void where prohibited by law, the number of eligible entries received determines the odds of winning, approximate retail value of prize is $50, if the prize is not claimed by Friday, July 2, 2021 another name will be drawn at random to win, blah, blah, blah.
As always, thanks to Dixie Belle for providing the paint I used on this little bench as well as their silkscreen stencils.


 If you’re keeping track at all, this will be the 3rd small project I’ve done with this one transfer. I’ve already used it on a


 q tip: If you decide you simply must have a transfer on your piece but you’ve already waxed it, you will need to wait 30 days for the wax to cure before adding the transfer. Or you could remove the wax with mineral spirits, but who wants to go down that road?


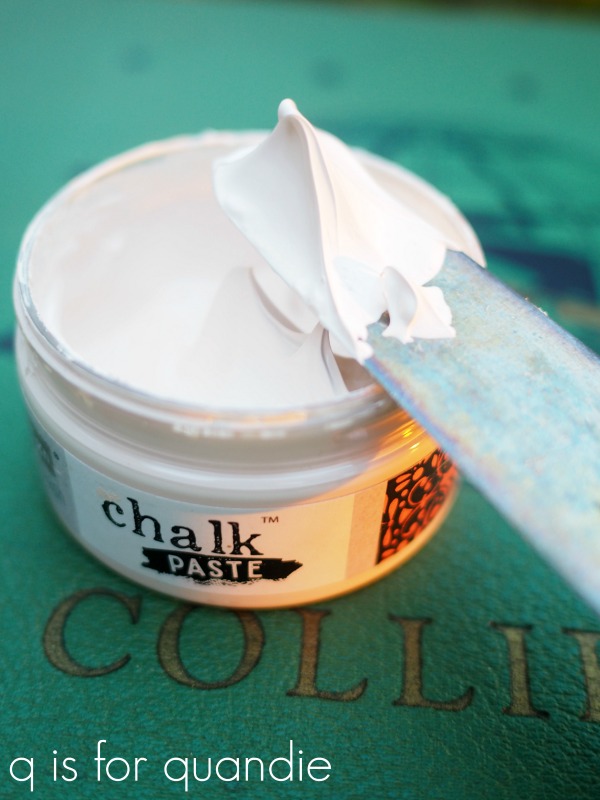
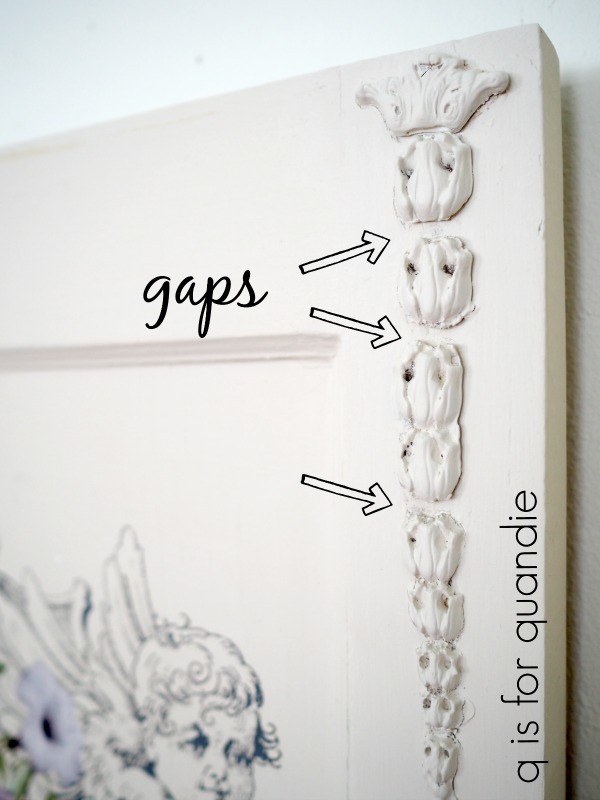
 Experiment no. 1 – I painted the oval in a pale blush color that sort of matched the Hubbard Squash chalk paste. Then I pulled out Prima’s Lenore Corners raised stencil which is .04″ deep. These thicker stencils are perfect for this technique.