

Several months ago Prima Marketing sent me a box full of goodies. Included in the box were several jars of this stuff …
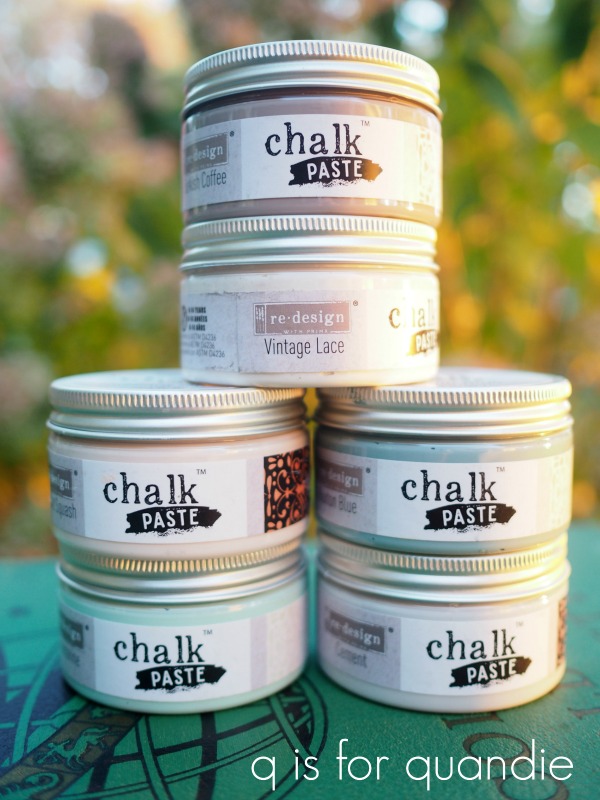
Chalk paste.
It sure does come in some pretty colors. This pale blush pink is called Hubbard Squash.
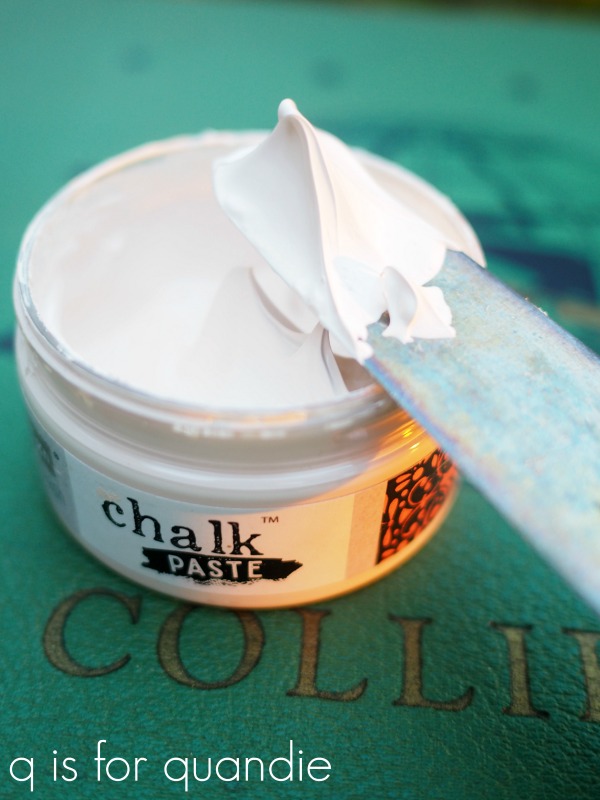
And it has the most deliciously creamy, thick consistency, sort of makes me want to spread it on a cake. But I’m pretty sure that’s not what it’s for.
So I wondered, what exactly is this stuff?
I’d never heard of chalk paste and had no idea what to do with it. So I did some googling and it seems to be a sort of cross between chalk paint and a texture paste. I found that a popular option is to use it with a stencil to create a raised design.
It was time to do some experimenting.
I happened to have this pair of oval wooden plaque thingies that my picker found at a garage sale for 25 cents each. Perfect for experimenting.
 Experiment no. 1 – I painted the oval in a pale blush color that sort of matched the Hubbard Squash chalk paste. Then I pulled out Prima’s Lenore Corners raised stencil which is .04″ deep. These thicker stencils are perfect for this technique.
Next I used a putty knife to smooth the Hubbard Squash chalk paste over the stencil. I made sure that the openings in the stencil were fairly uniformly filled in with the paste and then pulled the stencil away.

I let the chalk paste dry overnight to be sure it was good and set up. Then I sanded it lightly to smooth out any rough edges.

Next I pulled out some of Prima Marketing’s Decor Wax in a color called Diamond Dust. The Diamond Dust is a pale, iridescent gold. I used a q-tip to lightly apply it just to the raised sections of the stenciled chalk paste.
![]()
It accented the raised stencil just enough and I thought this might be a very pretty look on the right piece of furniture.
Experiment no. 2 – For the 2nd oval I painted the base in a medium shade of greige and then used the off-white Vintage Lace chalk paste with Prima Marketing’s Madelia Gardens stencil.

In this case there is more of a contrast between the color of the base coat of paint and the color of the chalk paste. As you can see, I did get some seepage from the chalk paste under my stencil. I didn’t especially like the look of that, so after sanding the dried chalk paste to smooth it out, I painted over the entire oval with some Dixie Belle paint in Drop Cloth which improved the look. Then I added a segment of Prima Marketing’s Endless Story transfer to the remainder of the oval.

From this experiment I concluded that chalk paste stenciled over a contrasting color of paint is probably not a good look for me. The look of that seepage under the stencil is too messy for me. However, I really like the subtlety of a uniform color over the entire thing.
Experiment no. 3 – I pulled out the last two wooden plates I had from Prima Marketing for a third experiment. This time I first painted the plates using Dixie Belle’s Gravel Road. Then I used the Iron Gate chalk paste, which is a dark charcoal grey similar to the Gravel Road.
Again, once the chalk paste had set up, I sanded it to smooth out any rough spots. Then I painted over the whole plate with Dixie Belle’s Vintage Duck Egg. Once that was dry I sanded it back to reveal some of the original color of the Iron Gate chalk paste.

As you can see, each of these techniques gives a slightly different look. None of them are right are wrong, it just depends on the look you like.

I can’t really say I have a favorite, although I tend to prefer more subtle looks like the white paint over the white chalk paste. It’s just enough to provide a hint of texture without being too much.
How about you? Which one is your favorite? And have you ever tried chalk paste? If so, what did you do with it. I’d love to know, so be sure to leave a comment.
Thank you to Prima Marketing and Dixie Belle Paint Co for providing the products used for these projects.

The chalk paste works great with adhesive screen print stencils. I’ve used it to do chalkboard type signs.
I hadn’t considered raised stencil on furniture for it though… But I think adhesive stencils would definitely work better!
LikeLike
I’ve never tried one of those screen print stencils. I definitely need to check that out and see how I like them. Thanks for the tip 🙂
LikeLike
I used a screen print stencil/paste for the first time a few weeks back. You’ll love it Linda! And these are beautiful. I like both, can’t choose a favorite… I want them both..lol. Have a great day. xo
LikeLike
I will definitely have to give them a try!
LikeLike
Okay you have just inspired me. I have a buffet that has molding panels on the doors, but is pretty plain. I’m a gonna do that raised up thing on the inside of the panels! Oh. Oh. Oh. I’m so excited. Thanks for helping me get excited about my next project! All 4 of your looks are amazing but I think I’ll go with a tone on tone. Thank you oh goddess of all things creative.
LikeLike
LOL, I love that new title, perhaps I can get Mr Q to start calling me that 😉 I love your idea too. A tone on tone raised stencil would be gorgeous inside those panels!
LikeLike
What immediately came to my mind was a red brick wall pattern with an ivy stencil over it. It could look nice on a shelf or even ceiling cornice molding.
LikeLike
A raised stencil on the ceiling would be pretty fab. Although my neck hurts just thinking about doing it 😉
LikeLike
Love the tone on tone…and those plates would look great on a wall. I can see putting it on a planter too…although I’m not sure if it would work going around? May be easier on a flat surface. Never heard of this stuff before – good to see how it works!
LikeLike
It’s difficult to stencil on a curved surface. Although Prima Marketing does make some flexible, adhesive stencils that might work, they are also thinner than a normal stencil so it would probably be tough to get a good result with the chalk paste.
LikeLike
You might avoid that seeping color by first painting the stencil with the same color as the background and then sand it slightly leave the stencil on and then use the lighter color? I make a lot of signs and always stencil first with my base color it really helps! I love your work!
LikeLike
That’s a great tip Kim. I’ve heard of doing something similar when trying to get a crisp line with tape, but never thought of trying it with a stencil. I’ll have to try that next time!
LikeLike
Really great look!
LikeLike
Thanks Valerie!
LikeLiked by 1 person
Less expensive than decorative wood molding and wood appliques…..but the results are more of a gamble! Thanks Miss Quandie!
LikeLike
I think the Modeling Material used with the molds is probably a better substitution for wood molding and appliques rather than the chalk paste. The chalk paste is more of a substitute for texture paste. You could never use the chalk paste with a mold. But if you like using wood molding and appliques, you really do need to check out the molds that Prima has come out with recently. I’ll be sharing another here on Friday, but they have quite a few that are perfect for furniture.
LikeLike
I prevent the seepage factor when I do raised stencils by first lightly spraying the back of the stencil with Loctite Spray Adhesive. To make sure I don’t get and adhesive “boogers” left on my paint job, I then stick the sprayed stencil to a piece of cardboard or blue shop towel prior to using it. It leaves the stencil the perfect amount of sticky to prevent seepage while not pulling the paint up or leaving a residue behind. Each of your experiments turned out uniquely beautiful. I don’t know how you do it but when you create, it’s truly remarkable. All of your work is inspiring and you have a way of teaching that makes anything seem doable.
LikeLike
Great tip Christie! I’ve always avoided using spray adhesive on my stencils because I don’t want leave glue residue behind on my freshly painted pieces, but your technique sounds like a great way to avoid that. And thank you so much for your kind words, they make my day 🙂
LikeLike
I’d bought a special eraser in the past to use to remove adhesive residue but since learning to stick my lightly sprayed stencil to a piece of cardboard or blue paper shop towel before using I’ve never had another issue with adhesive boogers or residue. It sure made things a heck of a lot less of headache. Besides the fact the glue “boogers” were just nasty! Now my stencils always come out perfect. I have no bleed under or blurriness and it helps keep raised stencils from being irregular and messy and makes it easier to spread, smooth and maneuver whatever texture medium you use. It sure would be cool if I was able to help a pro like you have an easier time with something!
LikeLike